Cutting the Cord - RV Enthusiast Magazine

Cutting the Cord

by | Feb 1, 2023 | Pro Tip, RVEXPERT

Photos by the author
Making two power cords out of one long one reduces weight and removes a big load off your shoulders.
Lugging around a 50-amp power cord can be backbreaking. Not only are these 30-foot cords heavy, but they can be stubborn to roll up and store — especially when it’s cold outside and the casing gets stiff. Practically speaking, you don’t always need the full length of cord to plug into the utility box at a campground and, frankly, a shorter cord will work most of the time.

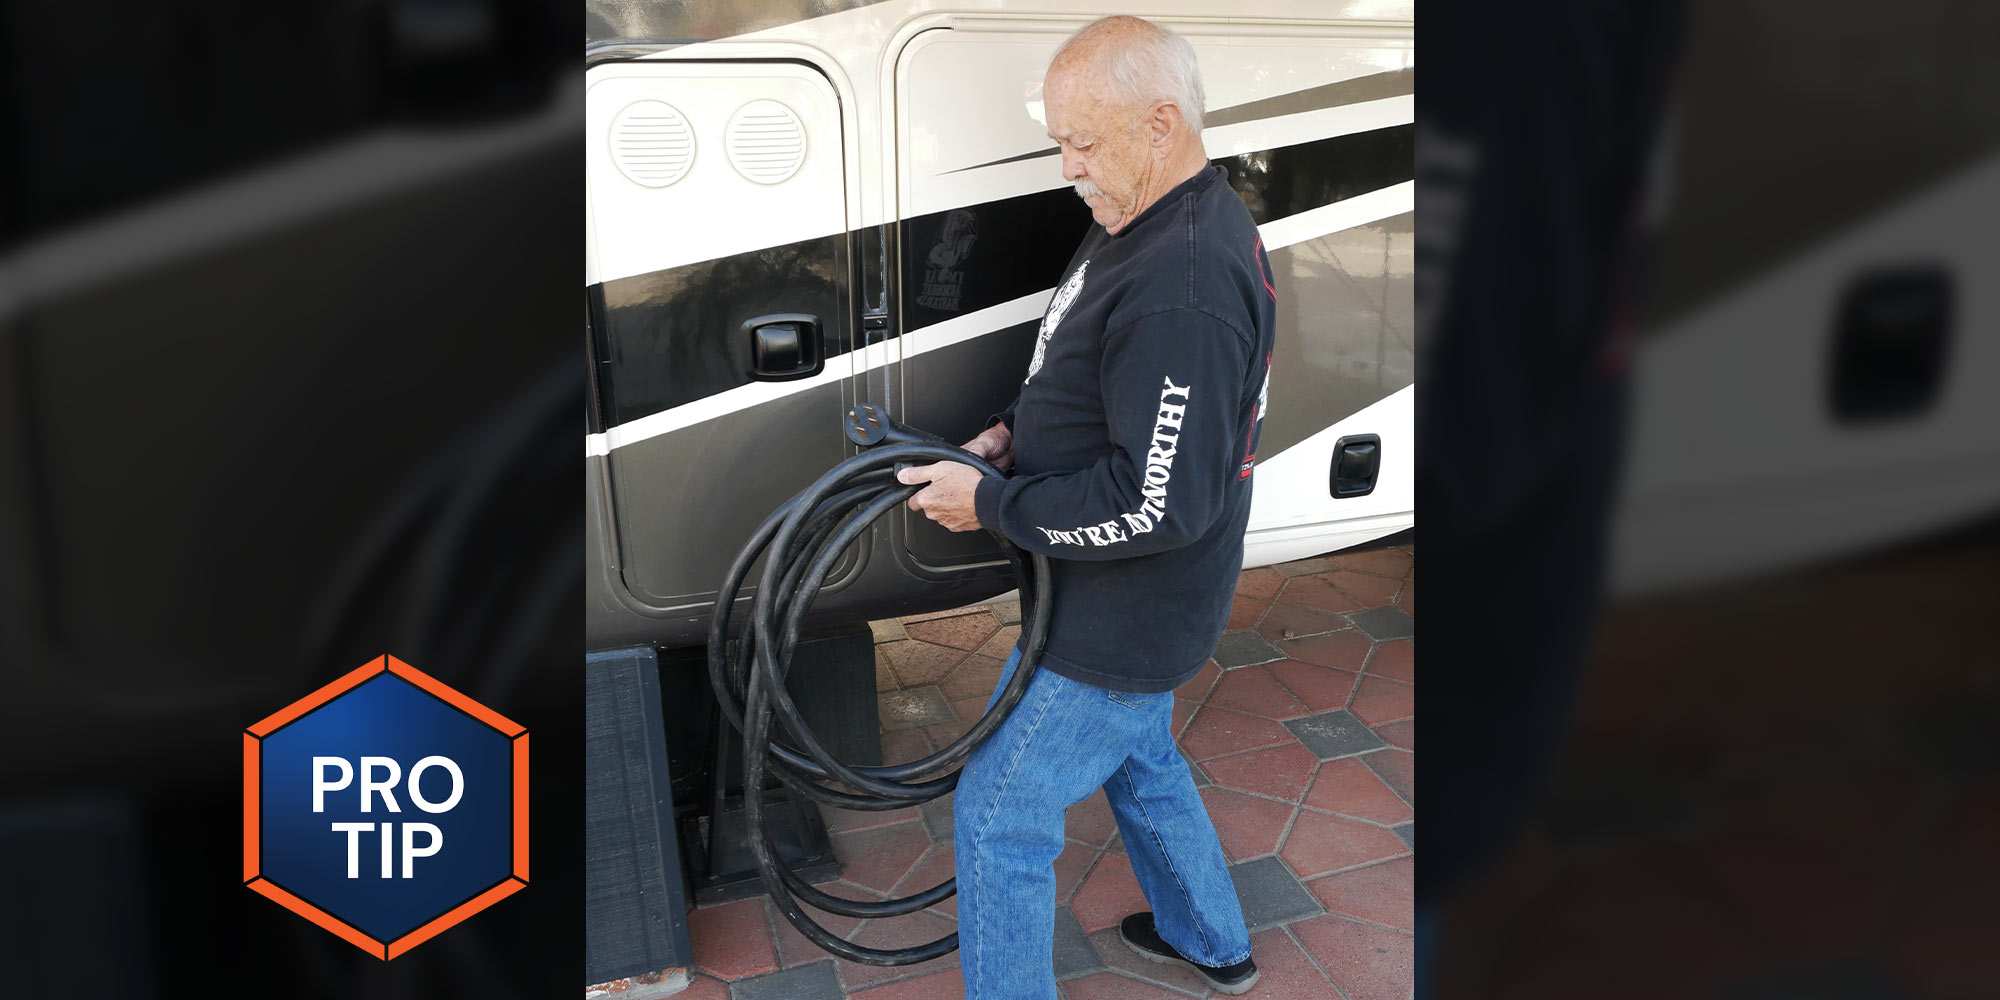
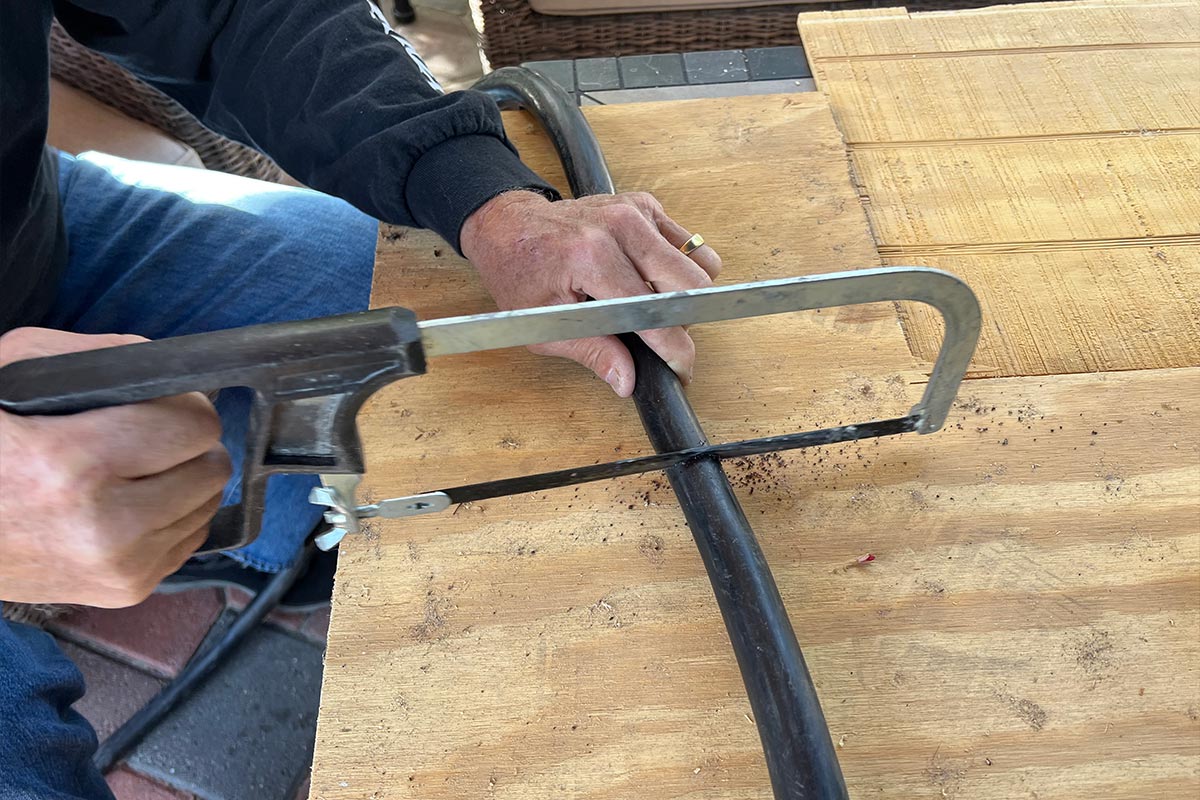
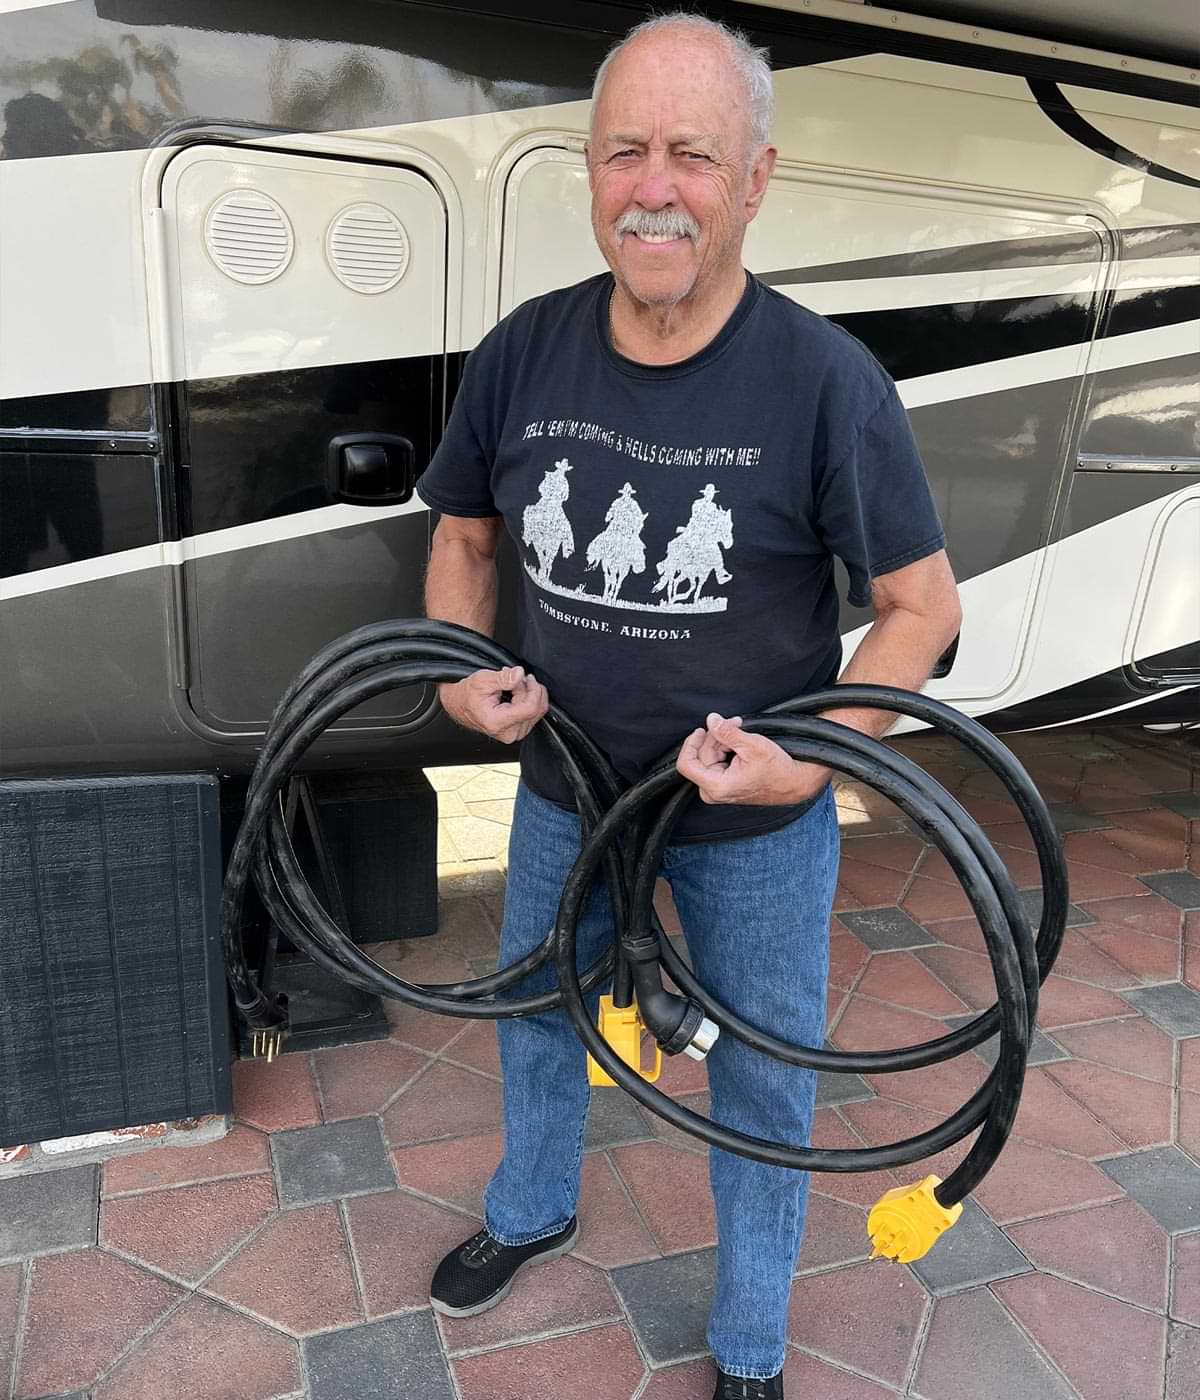
You could buy a shorter cord to supplement the longer version that came with the RV — or you can cut it in half and add the appropriate ends to make two cords out of one.

Replaceable plugs and receptacles are readily available; we chose the ones offered by Camco and found the pair on Amazon for just under $40. Search for “Camco Powergrip RV 50 amp plug and receptacle” and you’ll find individual listings. While there are numerous plugs and receptacles out there, the Camco products meet National Electrical Manufacturers Association (NEMA) standards, which are American National Standards Institute (ANSI) accredited. ANSI 1192 standards are the ones adopted by the Recreation Vehicle Industry Association (RVIA) for construction compliance.

RV technician marks the center point of the 50-amp power cord with a sharpie
The 30-foot, 50-amp power cord was stretched out on the patio to find the center point. In this case, the owner wanted two 15-footers, but any length combinations can be cut depending on personal needs.
using a hacksaw and OSB as a surface, the 50-amp power cord is cut at the center
Most do-it-yourselfers won’t have a commercial cable cutter, so the next best tool is a hack saw. It takes a while to cut through the wires, but the result is clean, without fraying the ends.
It goes without saying that before you begin to make the modifications, disconnect the cord from the power source. For this project we cut the cord after folding it in half and marking the center point; you can also measure the cord and spit the distance. These are hefty cords and unless you have a commercial wire cutter, it’s best to cut the wires with a hack saw. Keep in mind any combination of lengths can be used, depending on personal experience with utility box locations and the connection point on your RV.

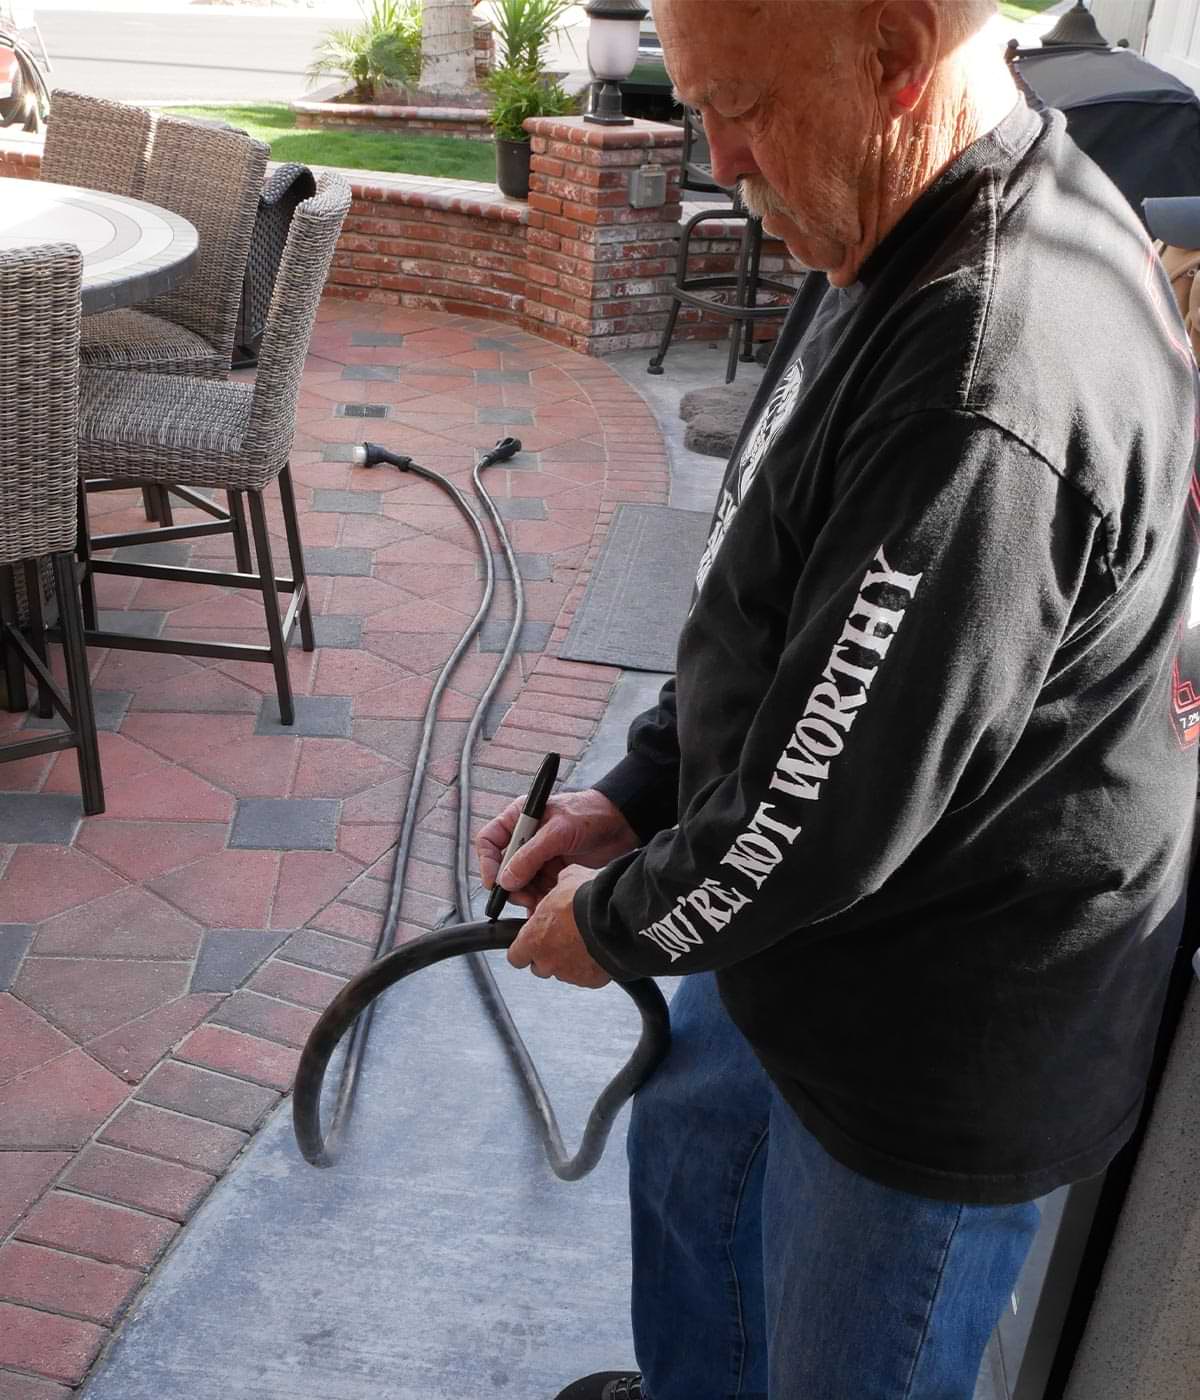
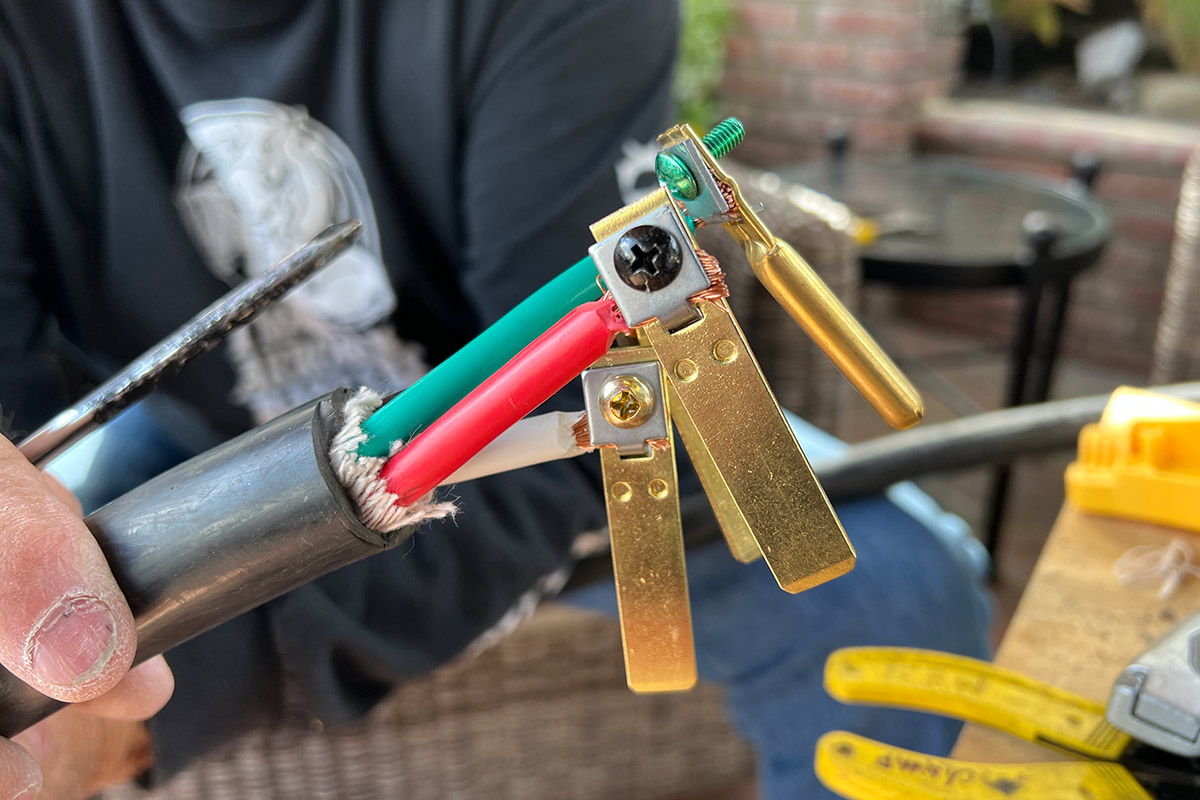
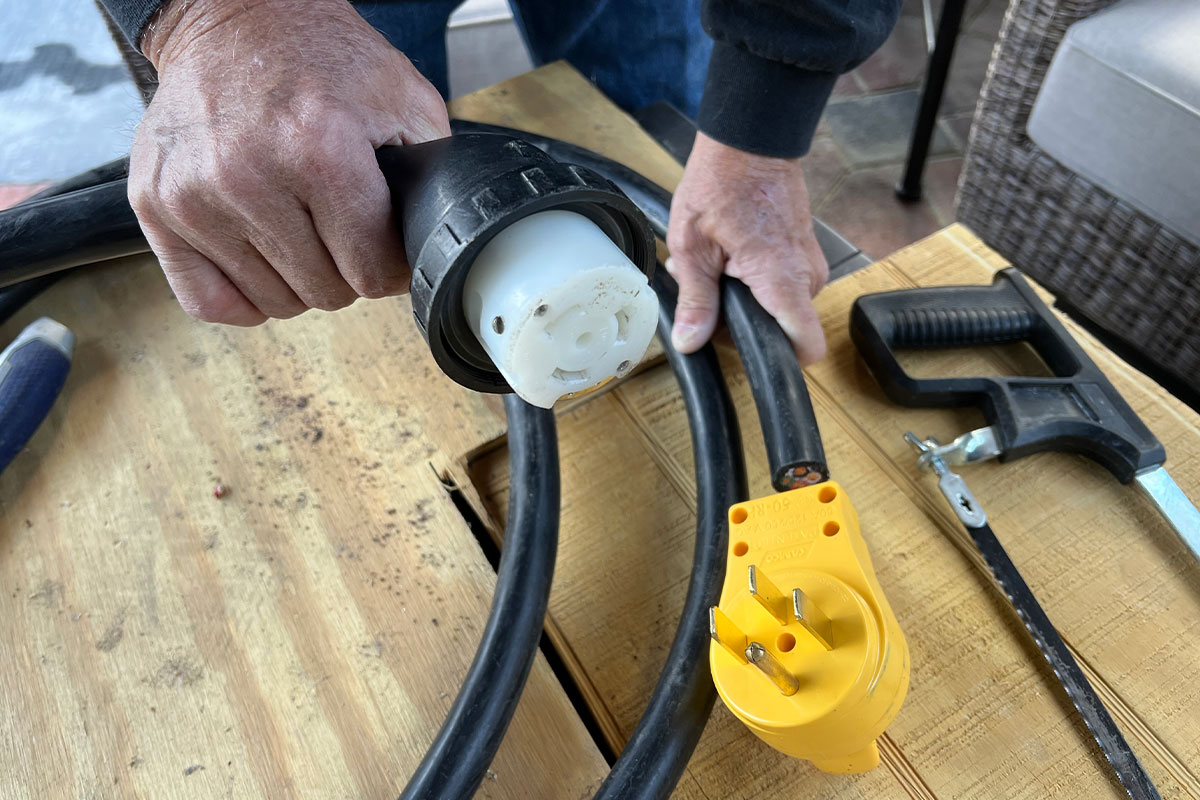
Once the cord is cut you’ll need to match the right ends, with the plug attached to the other end of the cut cord still with the RV connector. The other length of cord gets the receptacle — the plan being to be able to connect the two new ends when the entire 30 feet are needed. Wiring the two ends is not complicated, but the wires are big and bulky and require proper orientation when connecting to the terminals, which is clearly described in the instructions.

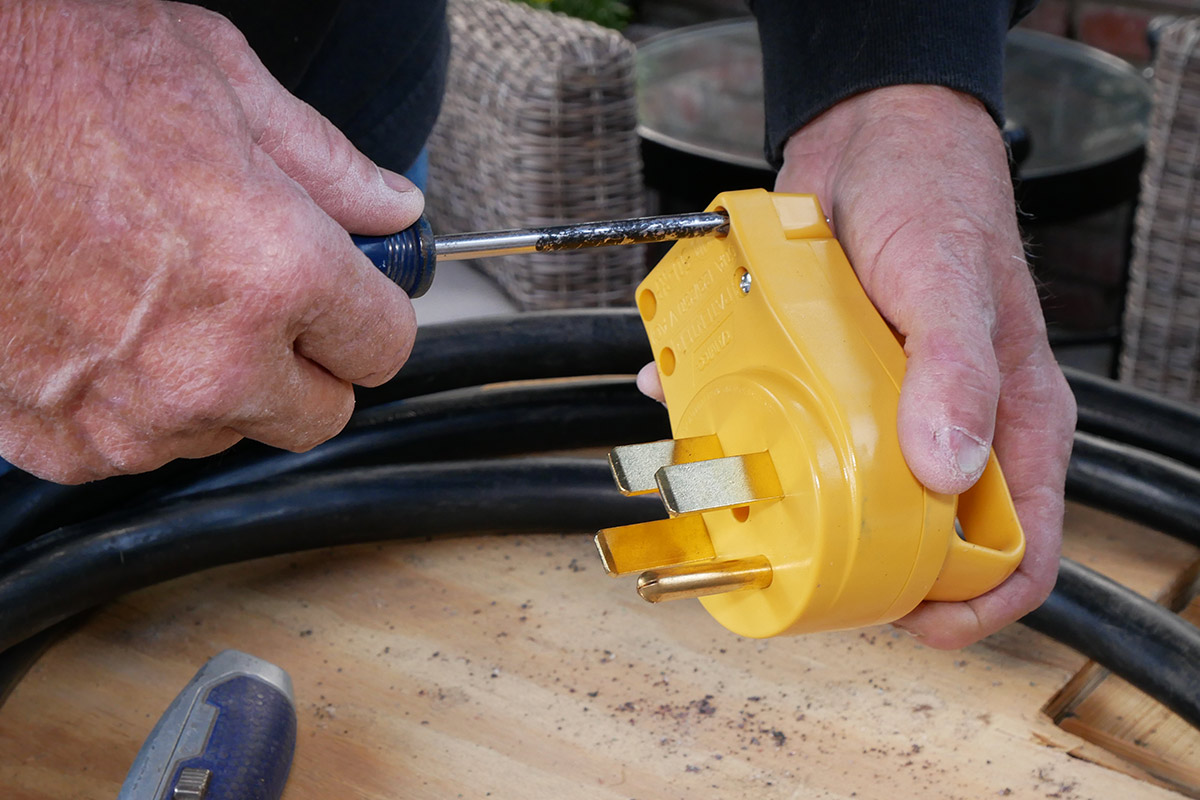
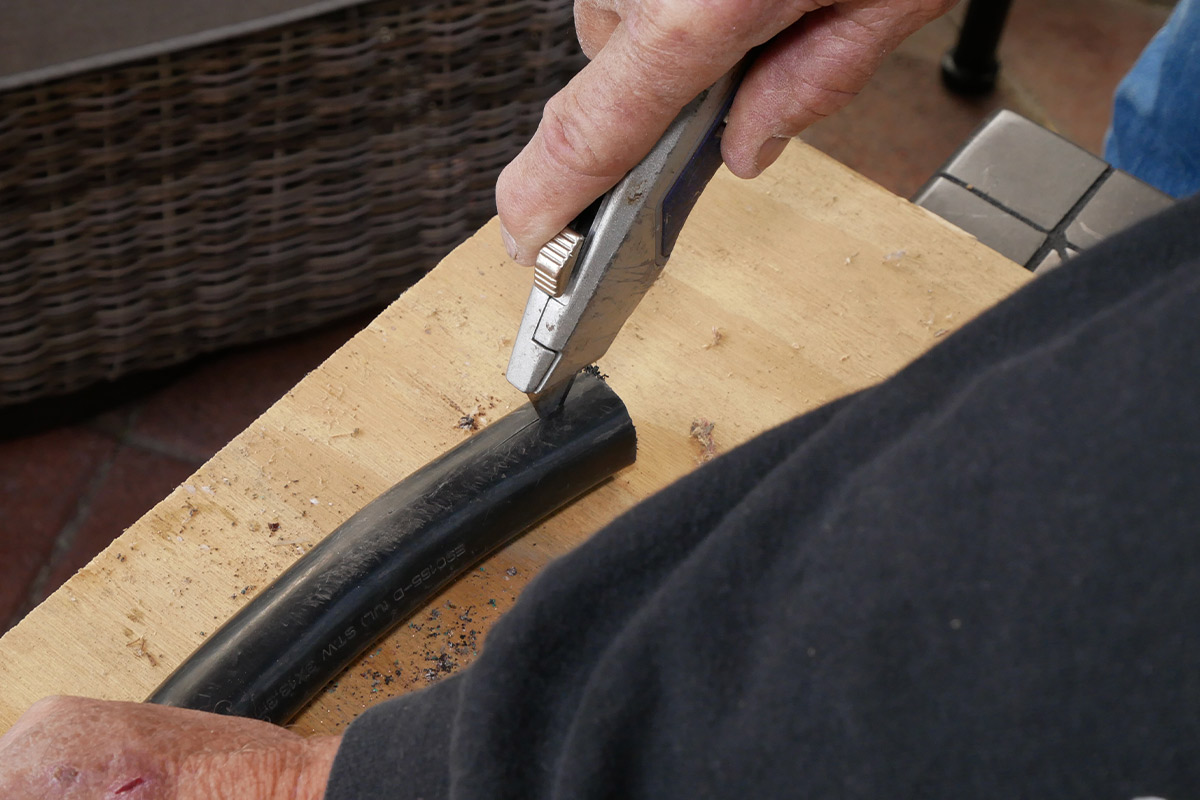
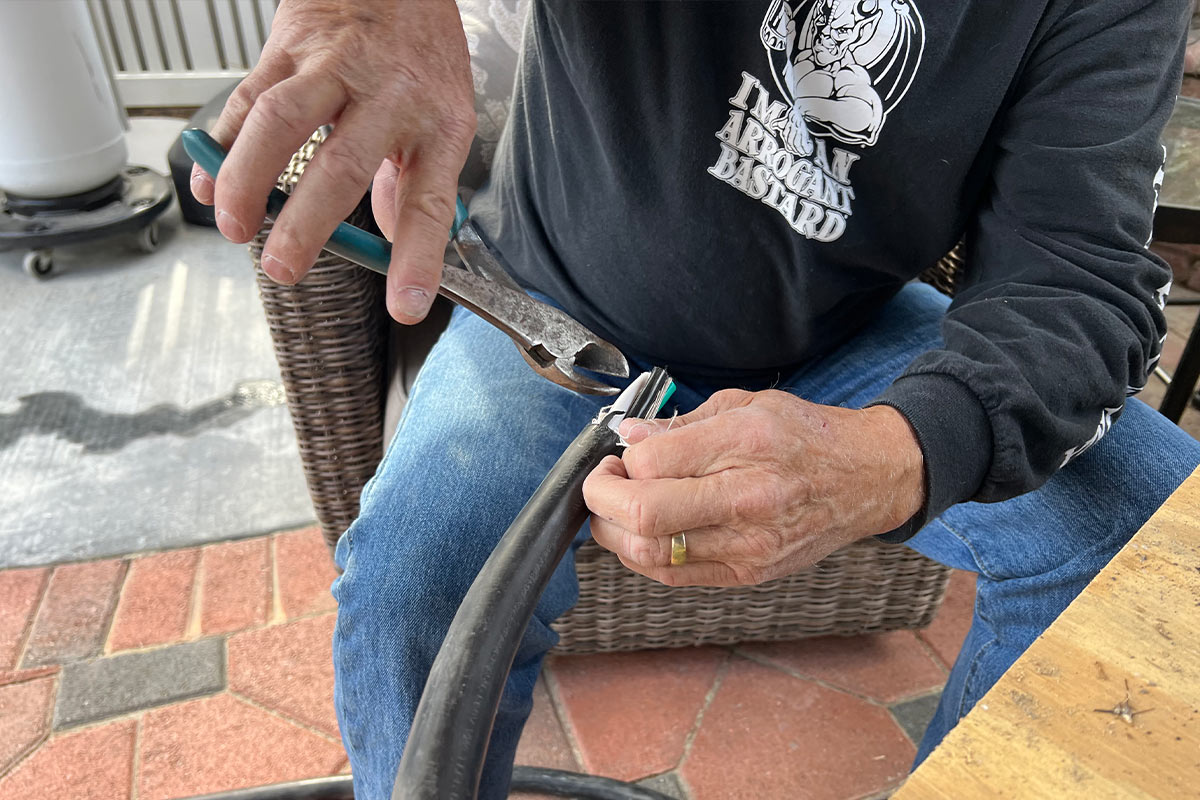
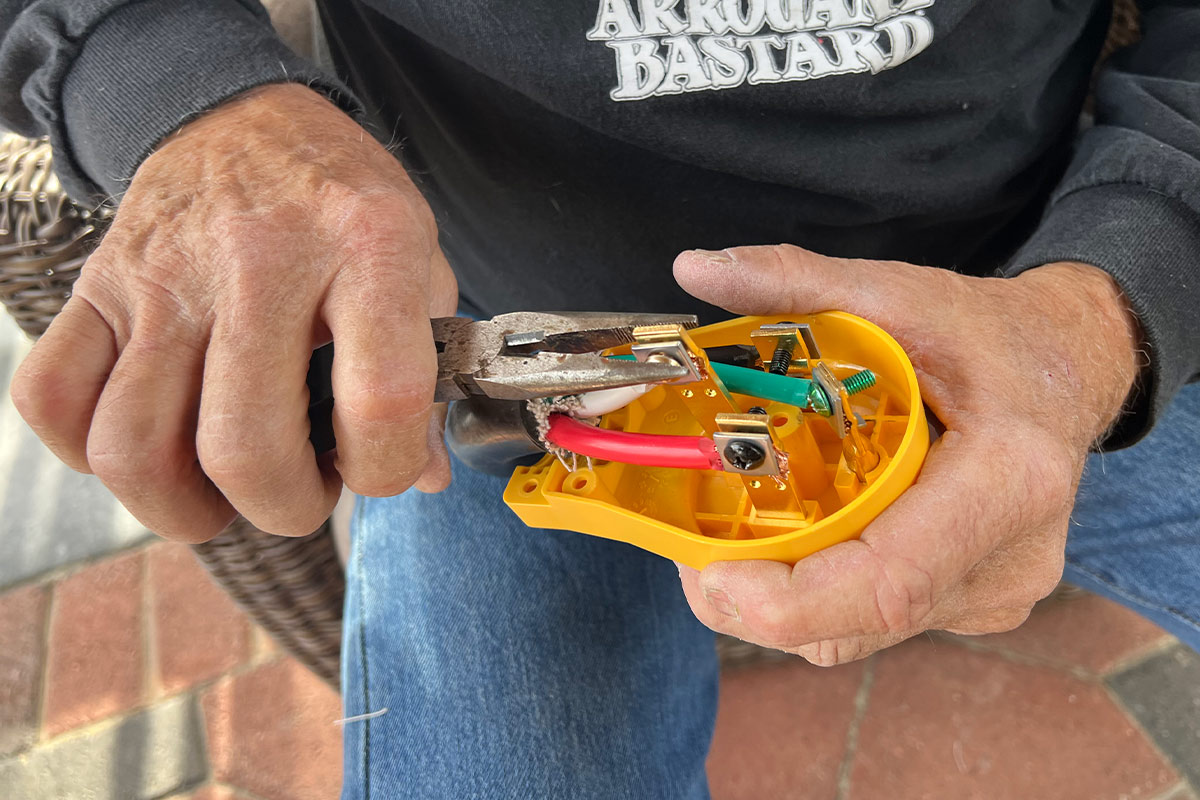
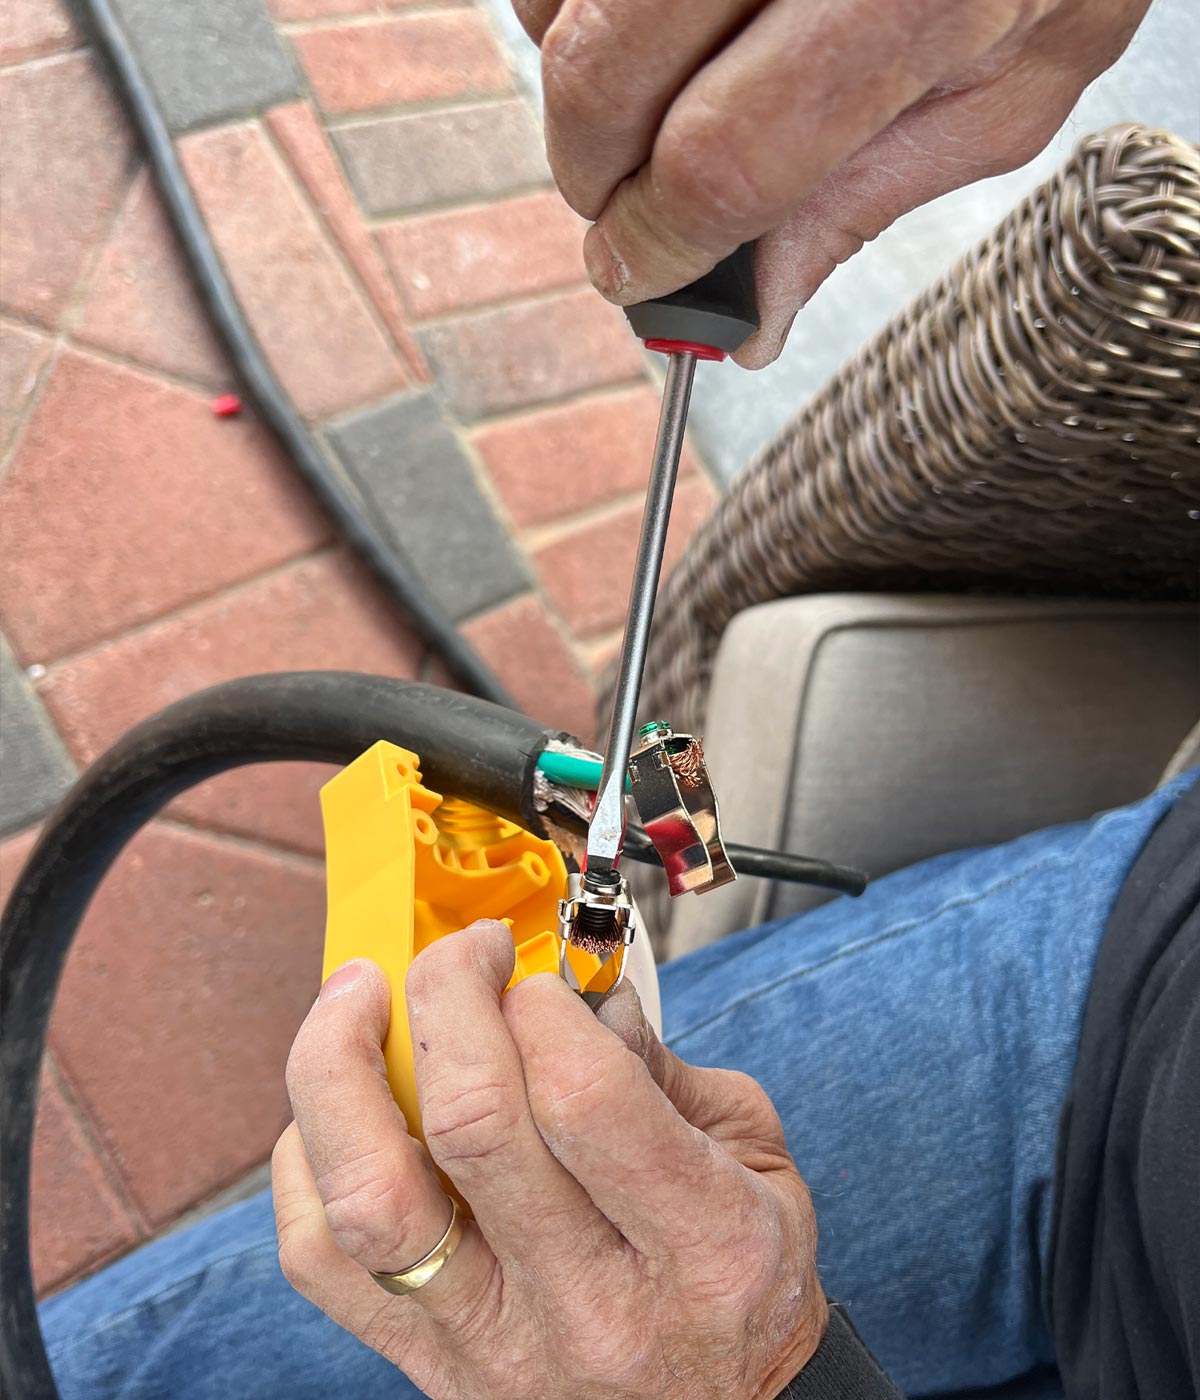
The best tool for connecting the plug and receptacle is a heavy-gauge wire strippers; since most of us won’t have this, a decent utility knife works fine. Diagonal cutters will also come in handy for removing the fabric-type material between each wire when wrapped in the casing.

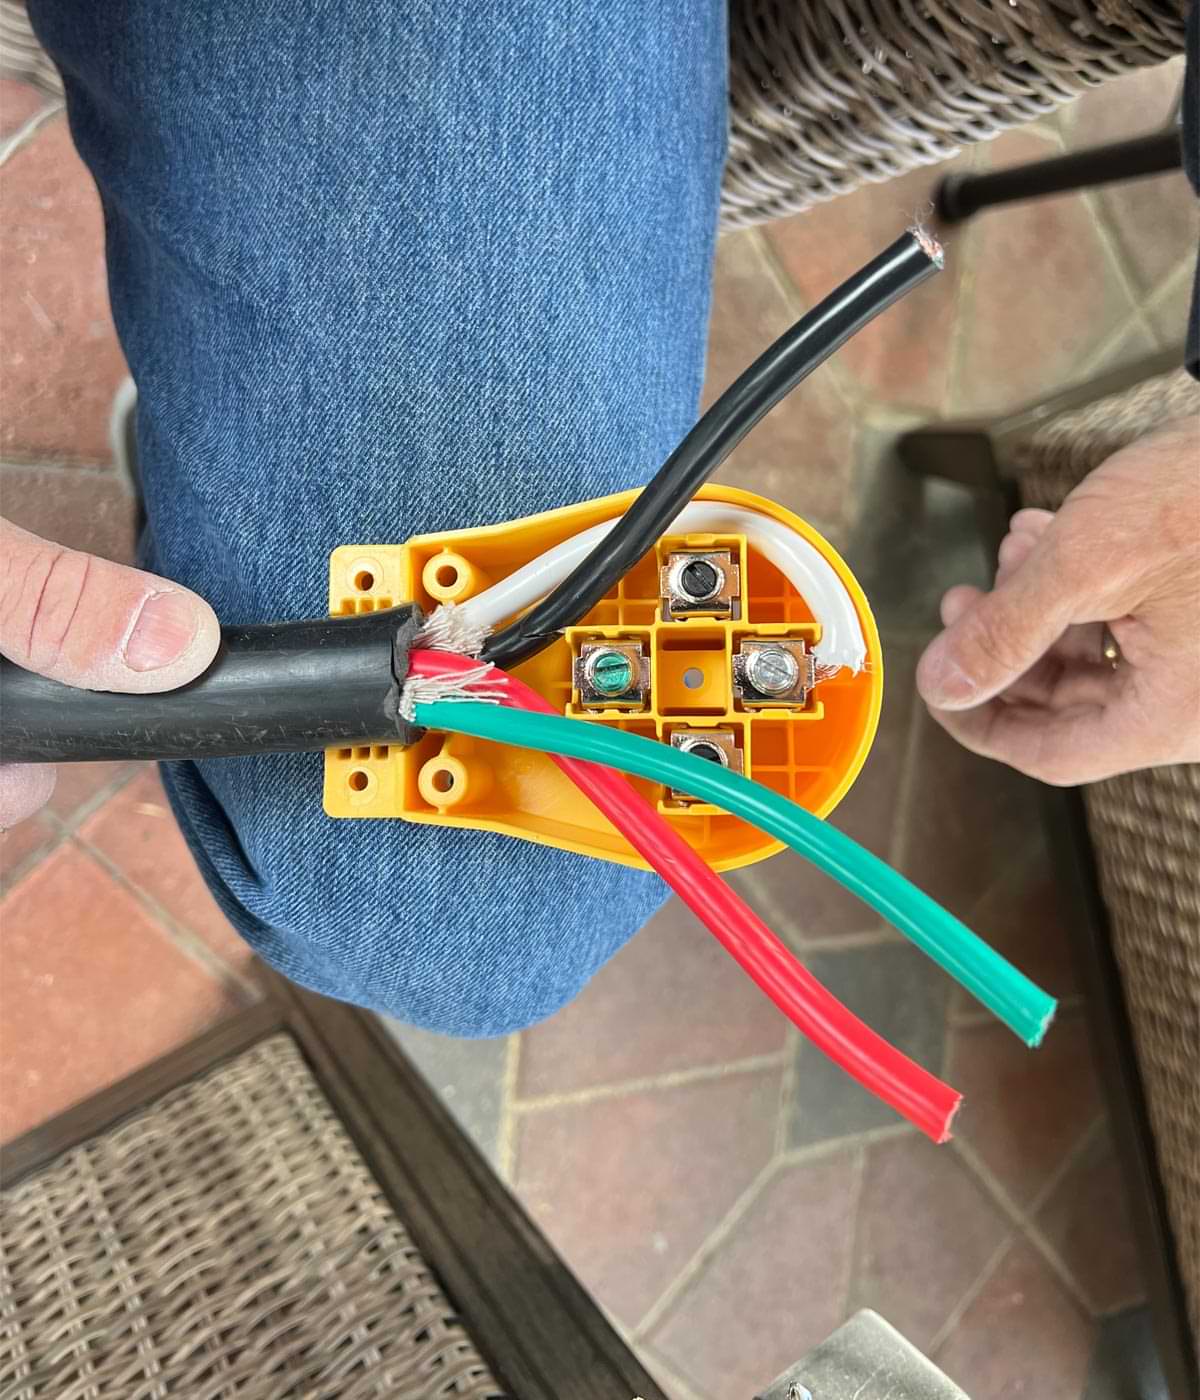
Carefully measure the wires as they relate to the terminal locations inside the plug and receptacle and cut back the insulation with the utility knife. Start with longest wire first, paying close attention to where the cable with be secured in the strain relief clamp. Make sure none of the wire strands touch each other. Figure on a couple hours to get the job done.

a screw is removed from the yellow two-piece plug using a screwdriver
The two-piece plug and receptacle ends can be separated by removing five screws, which also frees the strain relief block.
using a sharpie, a white wire in the two-piece plug is marked for length
Once the terminals are exposed, the wires are marked for length. Start with the longest wire and be cognizant of where the casing will land in the strain relief block.
a utility knife is used to make a cut along the cord casing
using a diagonal cutter, the end of the casing is removed from the wires
Removing the right amount of casing from the wires is best done with a utility knife. You’ll have to be careful not to cut any of the wires. It’s best to score the casing and use a diagonal cutter to pull off the casing. Take your time here and cut in sections; you don’t want to cut too far and waste wire.
close view of the wires from the exposed power cord, each colored wire ending with a screw and clamping plate
The only way to connect the wires to the blade terminals in the plug end is to push them out of the housing to establish access to the screws and clamping plates.
the blades are returned to the housing in the proper order
After connecting the wires, the blades are returned to the housing in the proper order. The wiring schematic is clearly presented in the instructions accompanying the new plug end.
a screw is tightened on the closed plug housing
Double check the wiring locations and close the plug housing by tightening the screws. Make sure the cable is securely seated in the strain relief at bottom of the plug housing.
a hand holds up the other end of the plug cable

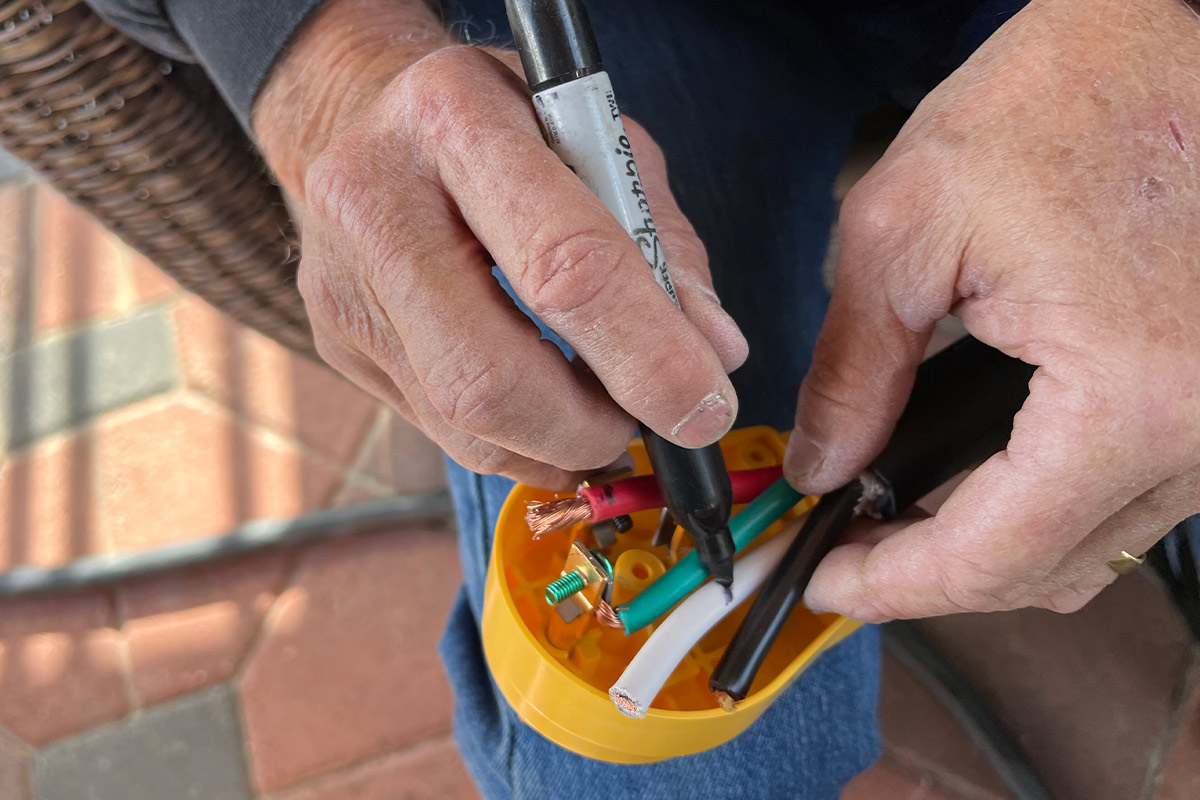
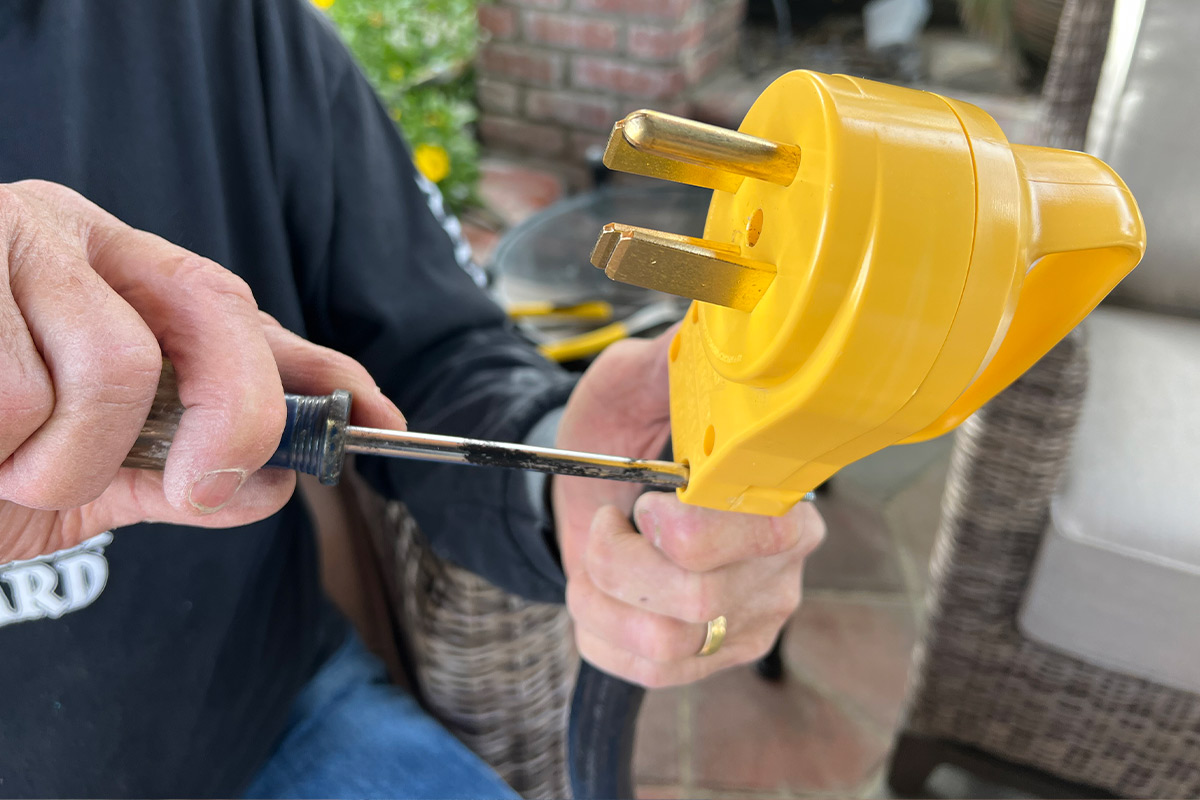
The plug end must be connected to the cable with the fitting for attaching to the RV receptacle on the other end.

close view of the wiring inside the second receptacle, with the white wire wrapping around the top and the other three wires yet to be cut to size
When wiring the receptacle, the neutral (white) and ground (green) wires are in opposite positions. Make sure the white wire is long enough to snake around the side of the receptacle to the top terminal, then cut the others to size.
the wires are secured
The wires are secured by loosening the set screw and positioning neatly within the clamping plate (plug) and pole (receptacle). Neatly gather the wires at the ends and make sure there are no wayward strands that can cause a short. Treat the terminals with a good contact conditioner, like DeoxIT (not shown).

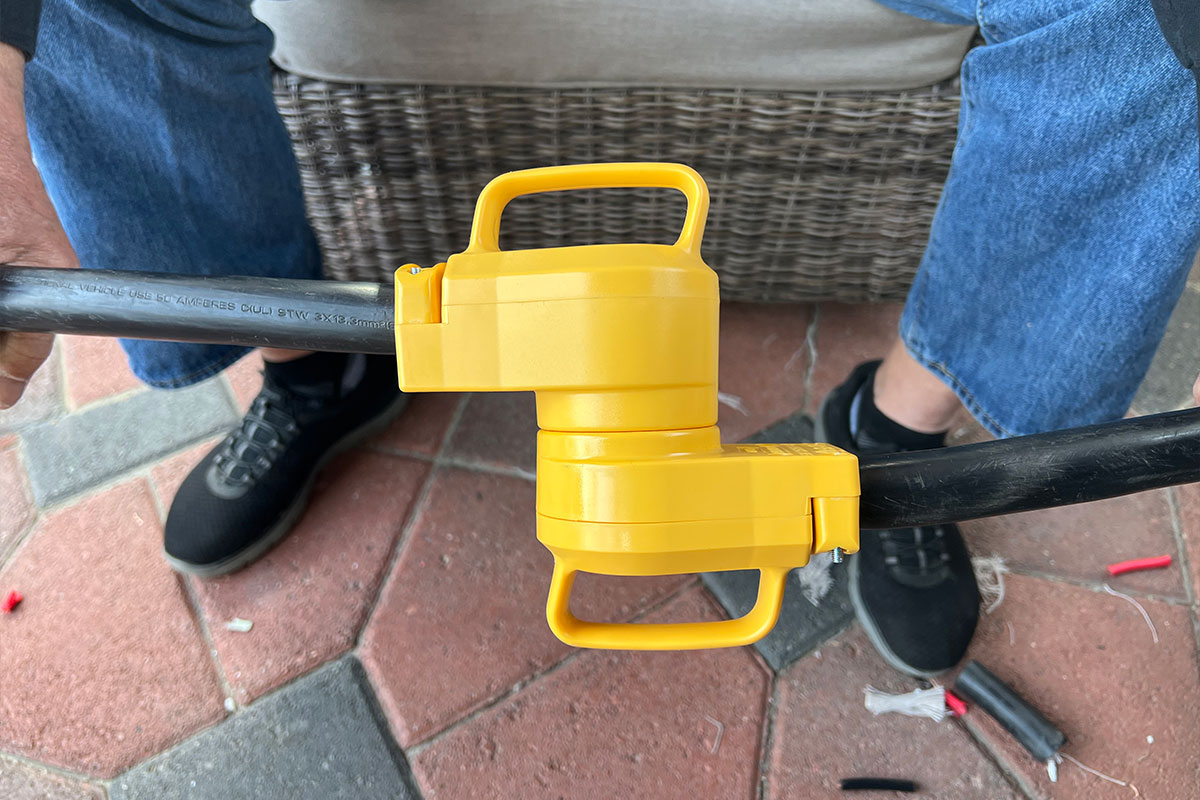
It’s possible that connecting the plug and receptacle when the entire cable is needed will result in a tight fit. Each end has a molded handle, which provides a good grip when pulling apart but might require that two people to play tug-of-war at first. Consider adding a thin coating of dielectric grease to the prongs and treat the wire connections inside the plug and receptacle with a corrosion inhibitor like DeoxIT contact treatment from Caig Laboratories (caig.com).

the plug and the receptacle connected
When the full length of power cable is needed, the plug and receptacle are connected. The fit will be tight, but the molded handle/grips will help make the connection easier to pull apart. Consider coating the blades with dielectric grease to reduce friction.
a man carries two power cords
Your shoulders will thank you for reducing the weight and bulk after cutting the power cord in half. Finding adequate storage will also be easier.
Get Updates
Subscribe today and never miss an issue!
Get all the latest tips and news to keep you moving on that open road!
RV Enthusiast January/March 2024 Issue
Current Issue
January/March 2024
Spring is back in bloom and with it we are proud to present our latest issue of RV Enthusiast! The January/March issue covers furnace failures and how to fix them, the best batteries for boondocking, quick and easy weekend projects, PLUS so much more!

Already a Subscriber? Click here for Access to the Full Issues.

Share This