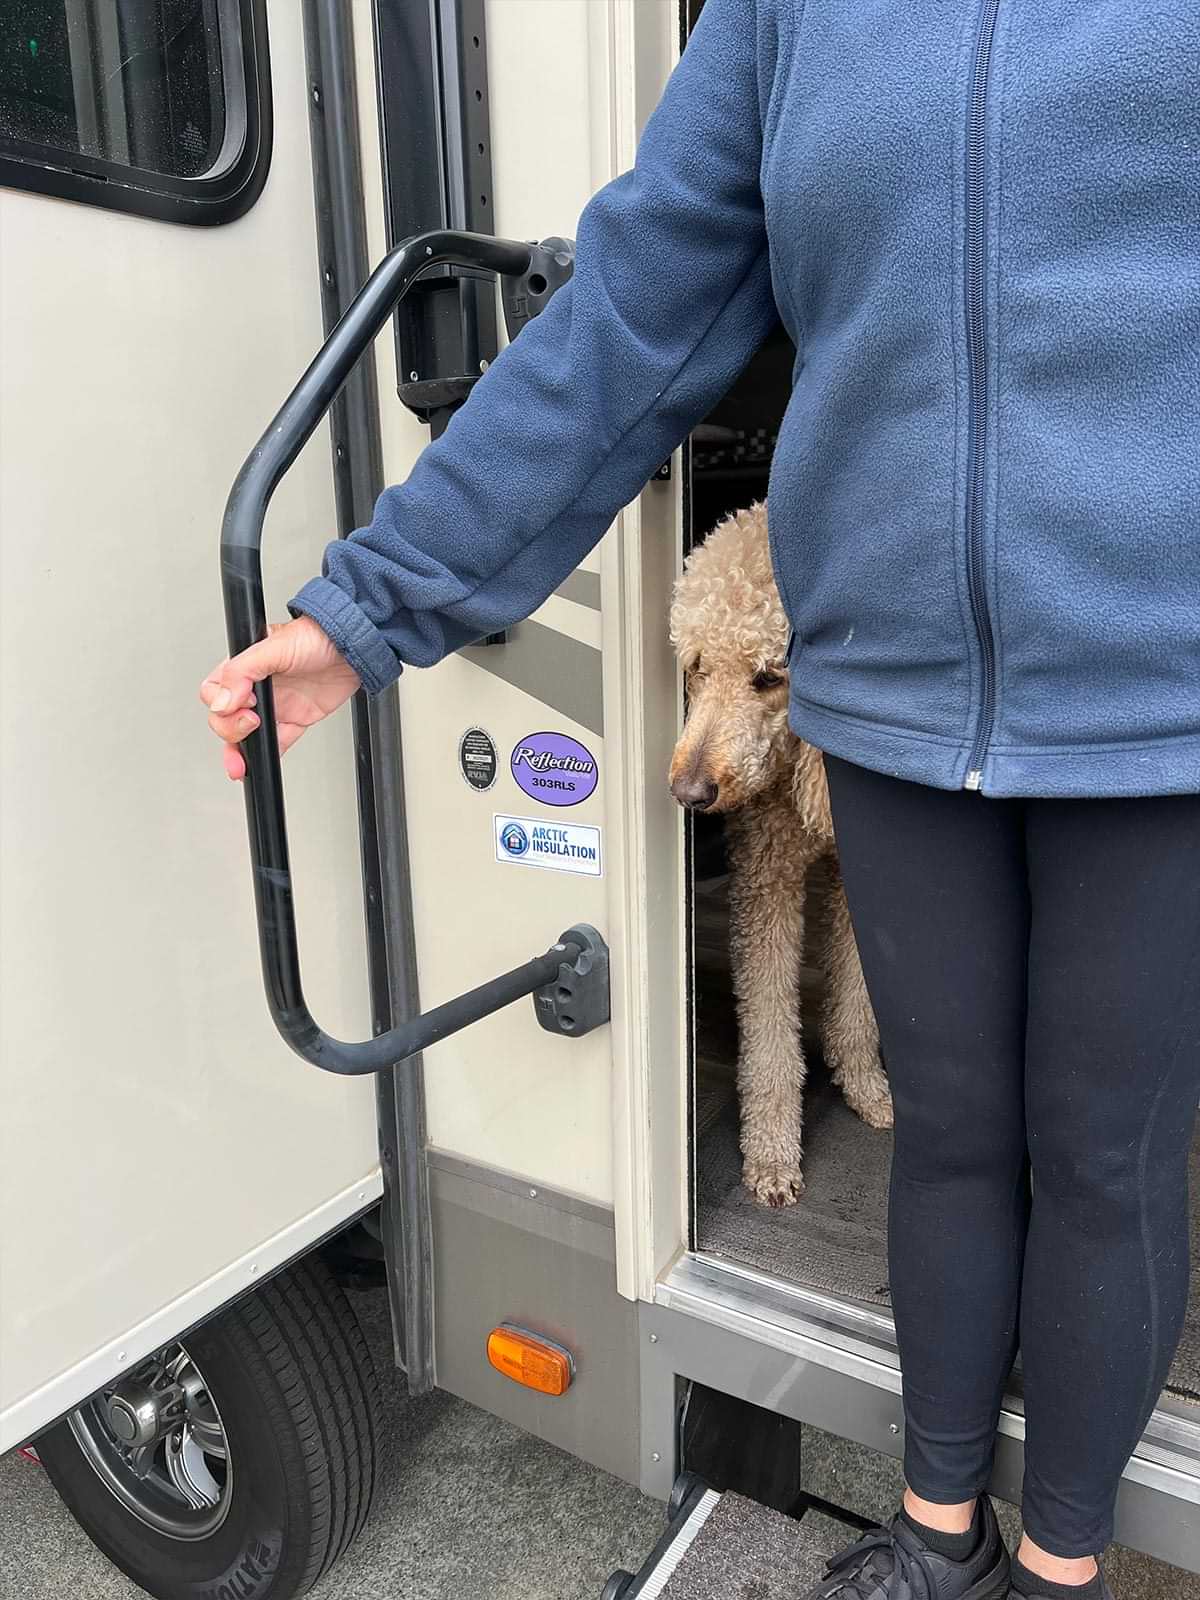
Get a Grip
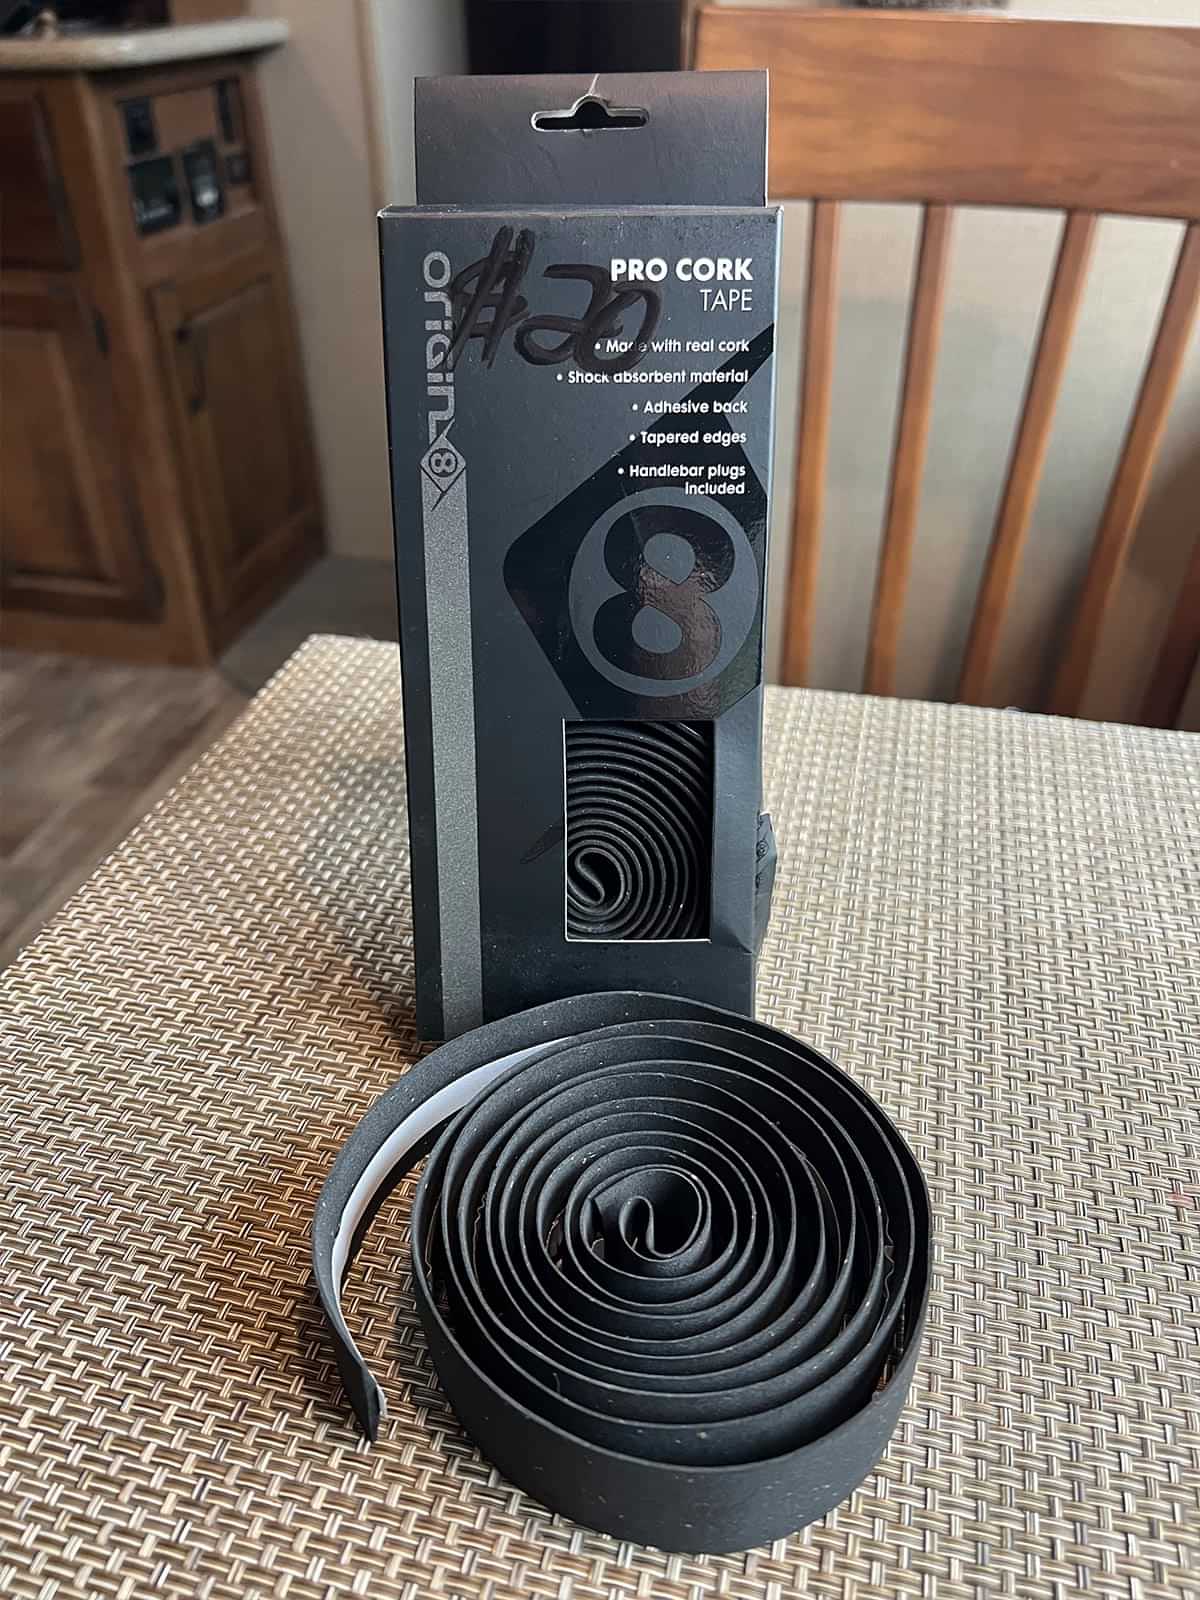
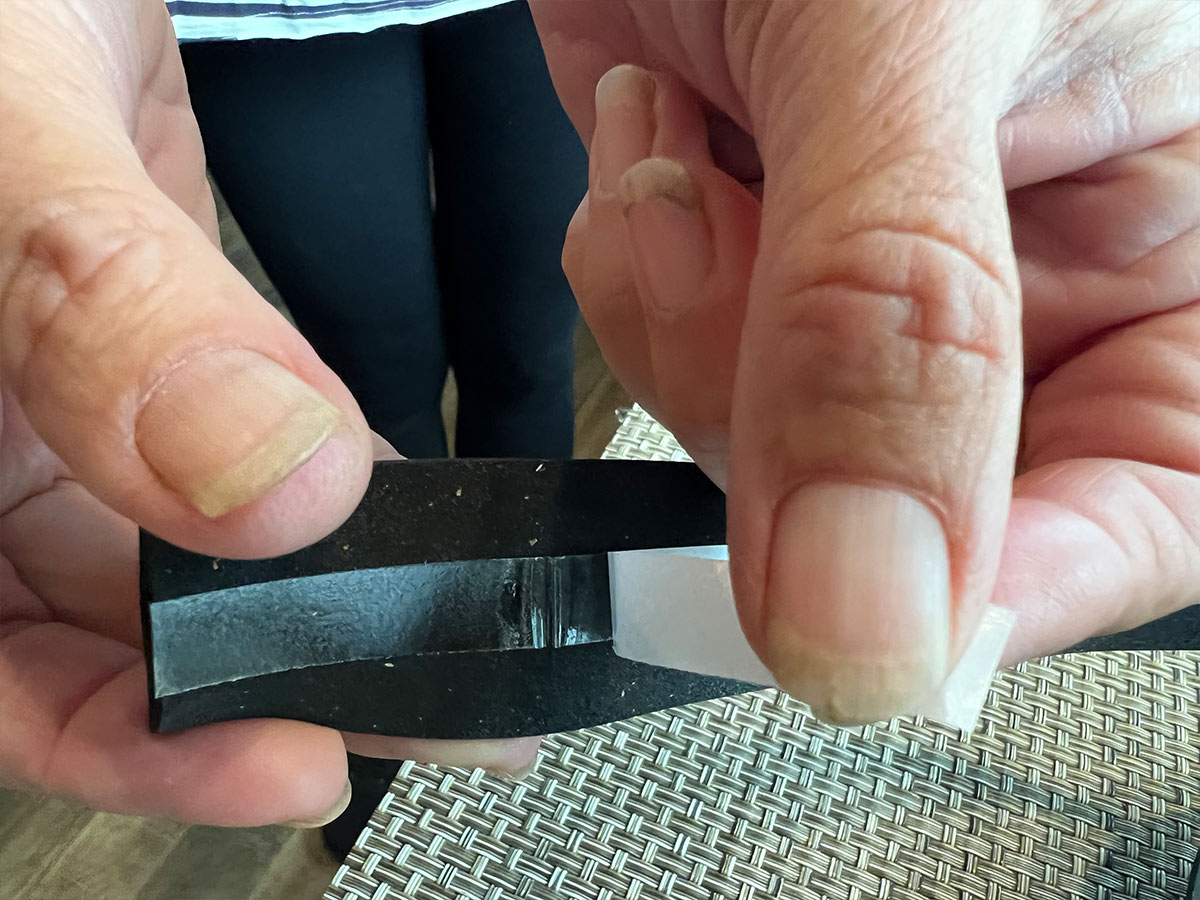
Replacement foam grips are available from RV supply stores and online, but I discovered that bicycle handlebar tape — the stuff bicycle riders use on their drop handlebars — works even better, allowing your hand to stay planted without losing a grip or your balance. While traveling last summer, the foam grip on the grab handle of our fifth wheel ripped off. Not wanting to wait for a replacement to be shipped (there were no RV supply stores in the area), I procured handlebar tape while visiting a local, small-town bicycle shop, for $20. There are dozens of handlebar tape styles on the market in different patterns and colors — some thicker than others. I was happy to find handlebar tape in black that was impregnated with real cork. It was fairly thick and offered plenty of shock absorption. Higher-end tape, used by hardcore bicycle enthusiasts, is even thicker and prettier — albeit much more expensive.
The installation should only take 30 minutes after the remnants of the foam are removed. The metal handle was cleaned thoroughly with a microfiber towel and alcohol. Wrapping the handlebar tape starts on the lower end; if you start at the upper end, the edges of the tape will curl, catch your hand and bend out of shape permanently — and look ugly.
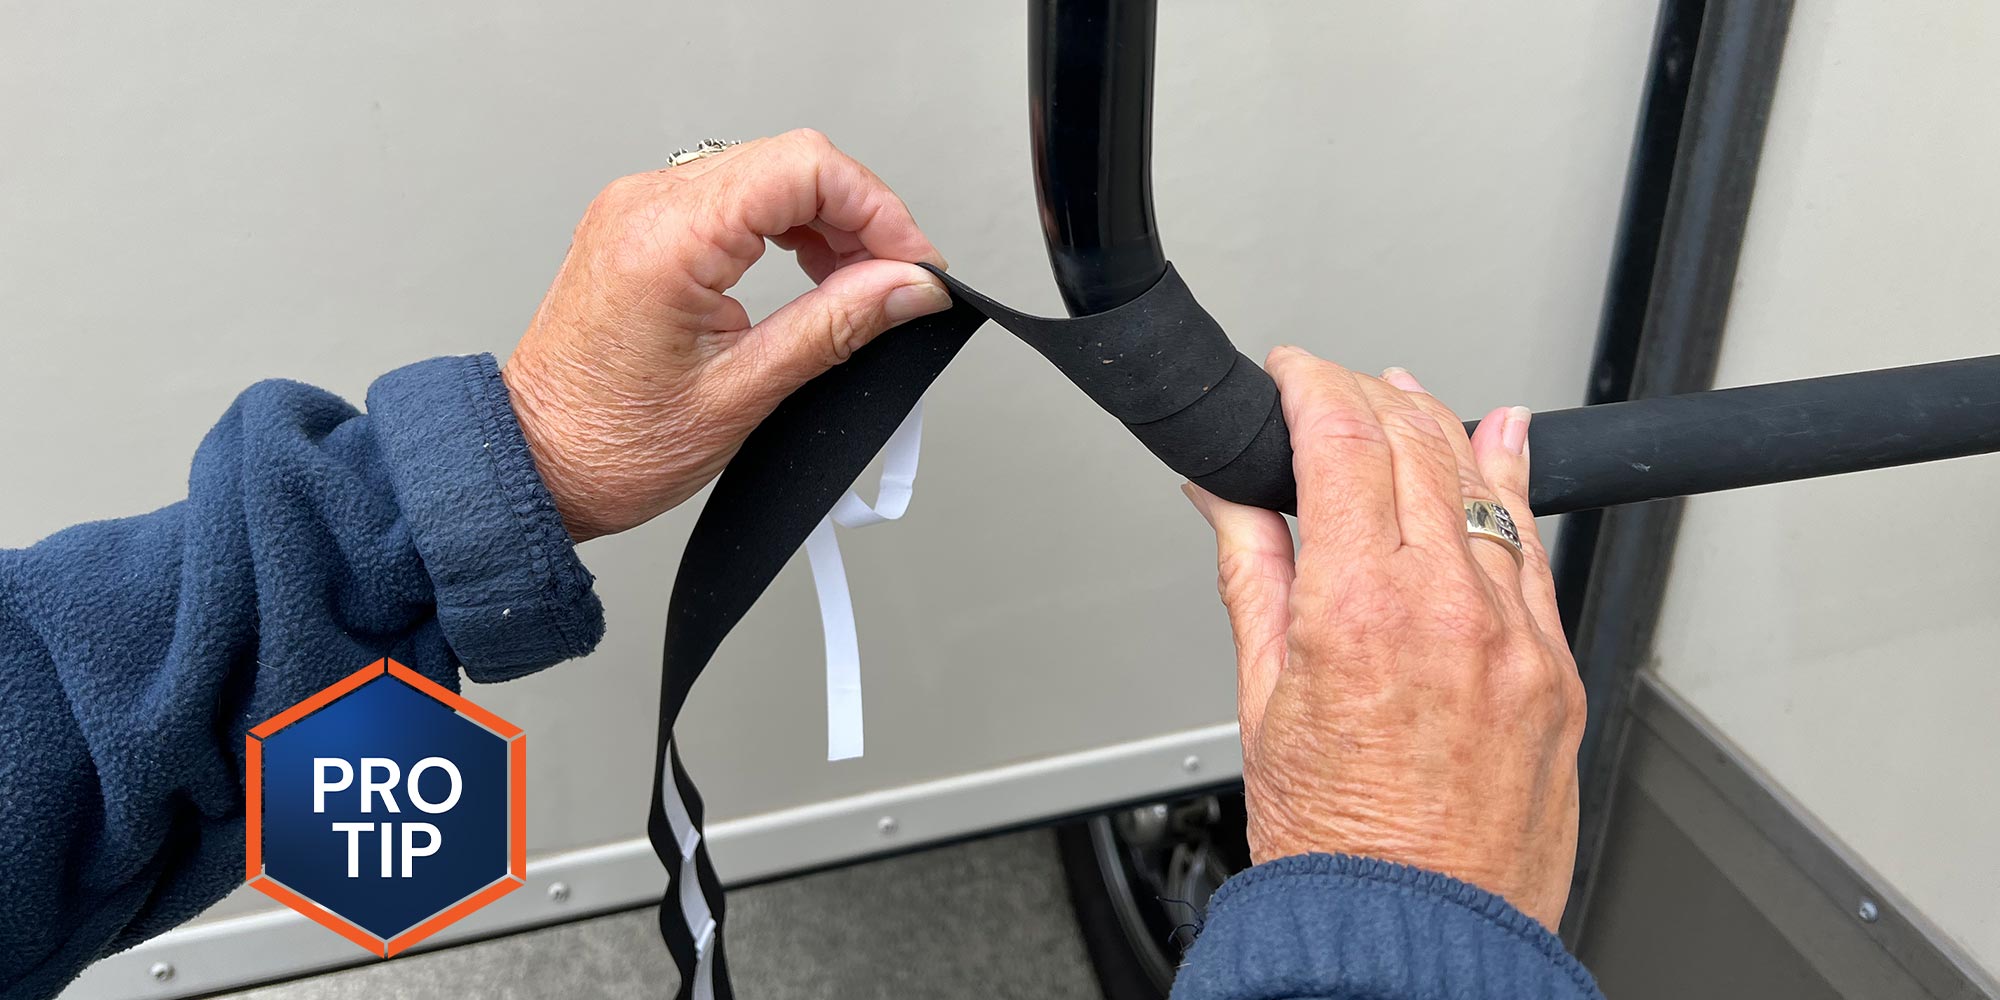
Handlebar tape uses a narrow strip of adhesive tape in the center, which helps adhere to the metal and makes it easier to wrap without creating creases. Remove only a small section of protective backing at a time and start wrapping from the bottom of the grab handle. The typical handlebar tape will provide about 23 running inches of coverage. After wrapping a couple inches of the grab handle, stop the process and secure the bottom end with good quality black electrical tape. Don’t go cheap here; you need electrical tape that will stay put for a long time. I recommend 3M Super 33+ tape available online or at hardware stores.
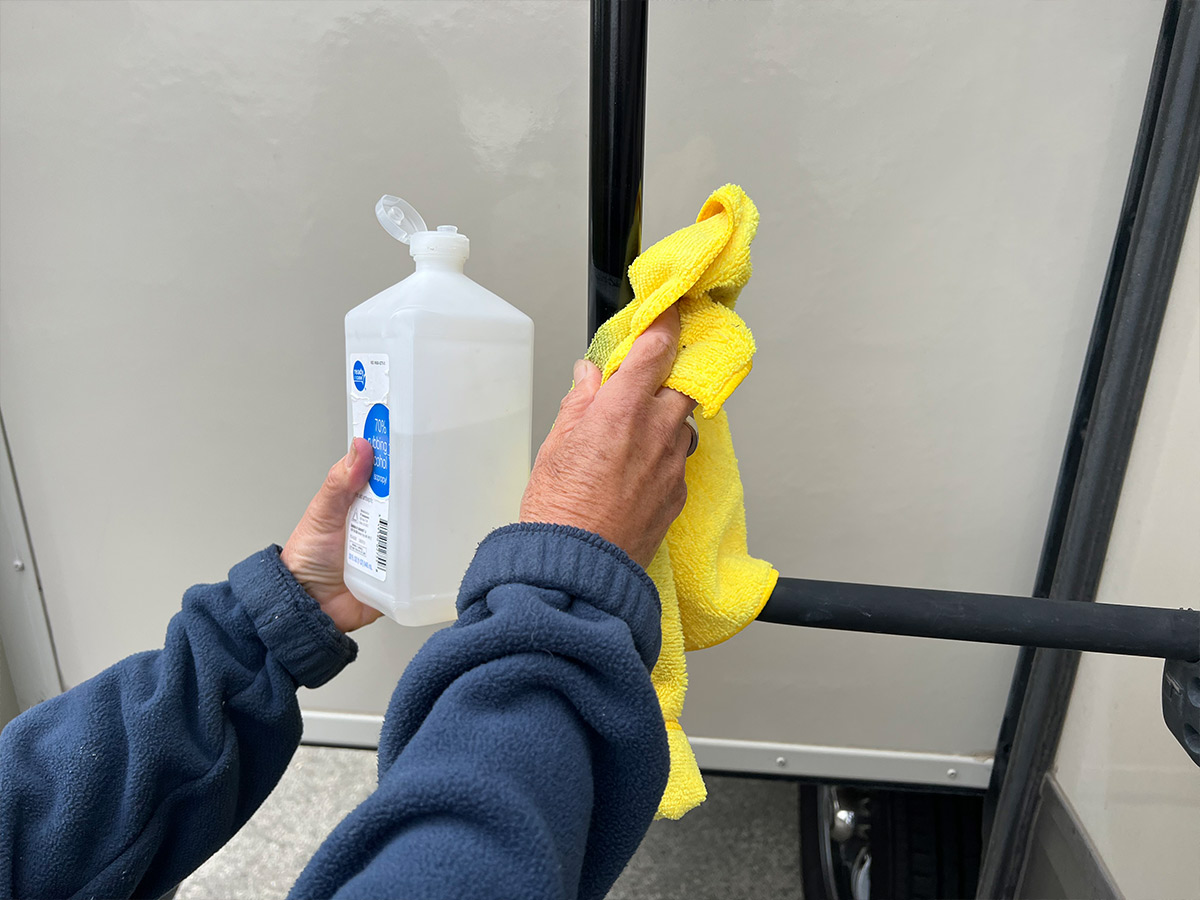
Before starting the process of wrapping the grab handle with bicycle handlebar tape, the metal surface was cleaned thoroughly using a microfiber towel and rubbing alcohol.
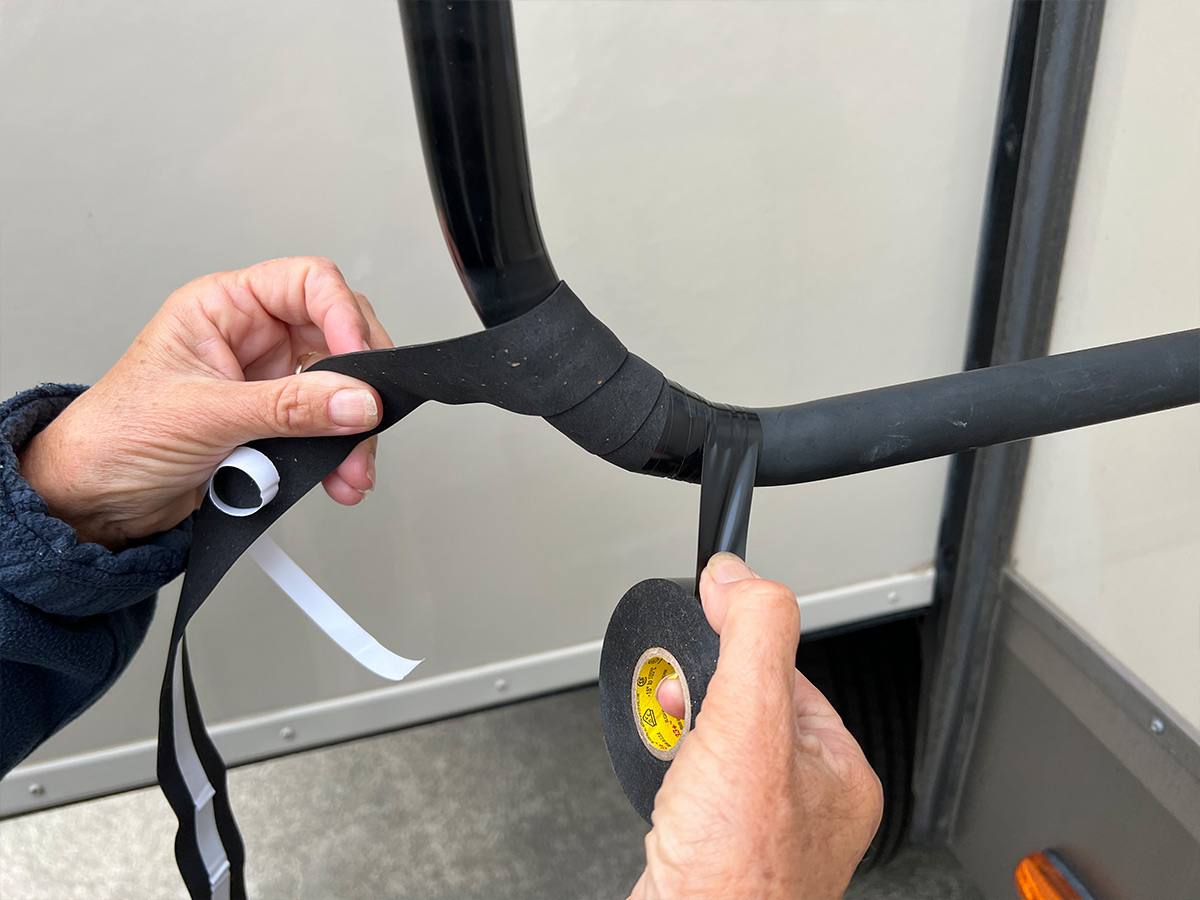
Remove a short section of backing at a time from the adhesive strip and start the process of wrapping the handlebar tape from the bottom of the grab handle. Once a few inches of handlebar tape is applied, seal the end with numerous wraps of black electrical tape. Don’t even think about using cheap tape here; I recommend 35 Super 33+, available online and in hardware stores.

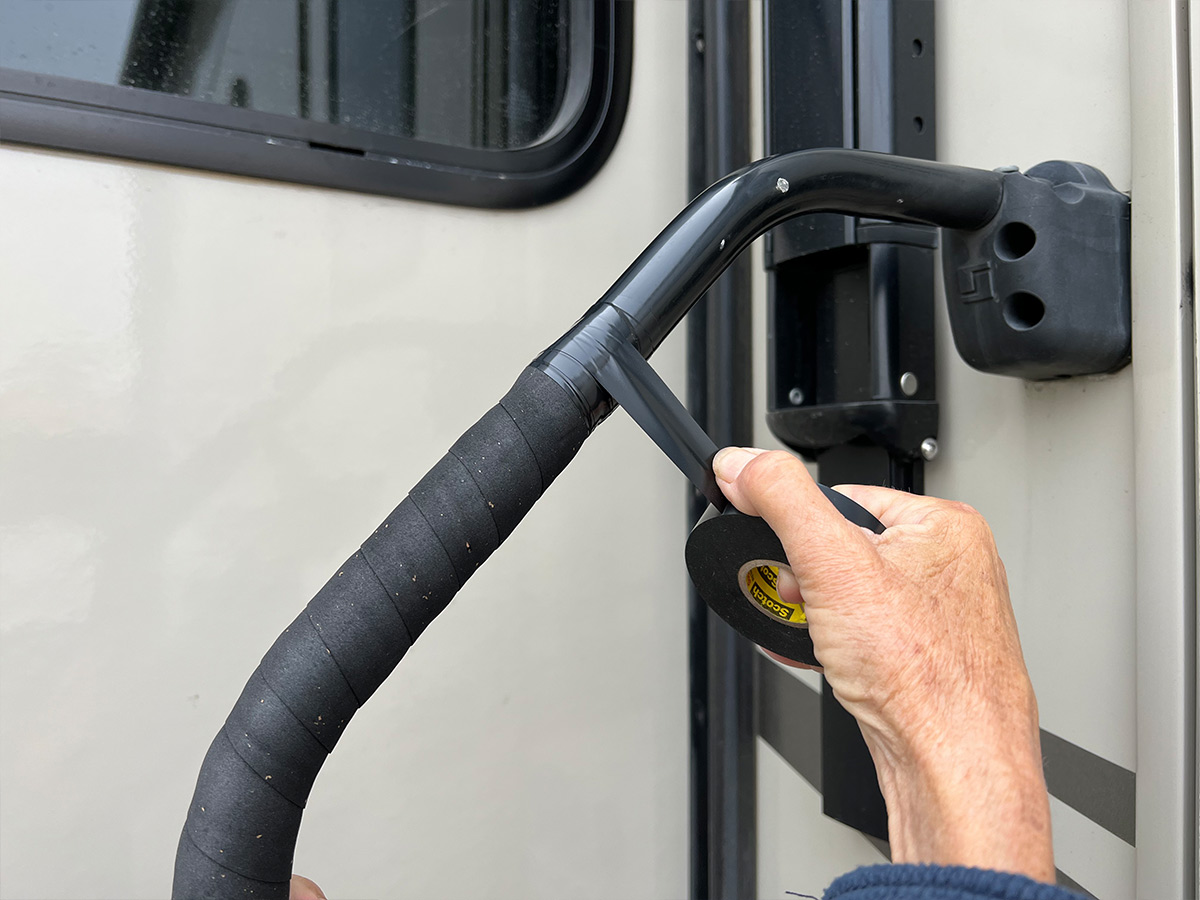
Continue wrapping while stretching the handlebar tape slightly and overlapping the edges close to the outline made by the adhesive strip. Taking your time will prevent having to pull the tape off multiple times and compromising the adhesive. When you reach the top of the grab bar, wrap the end with the aforementioned electrical tape and you’re done.
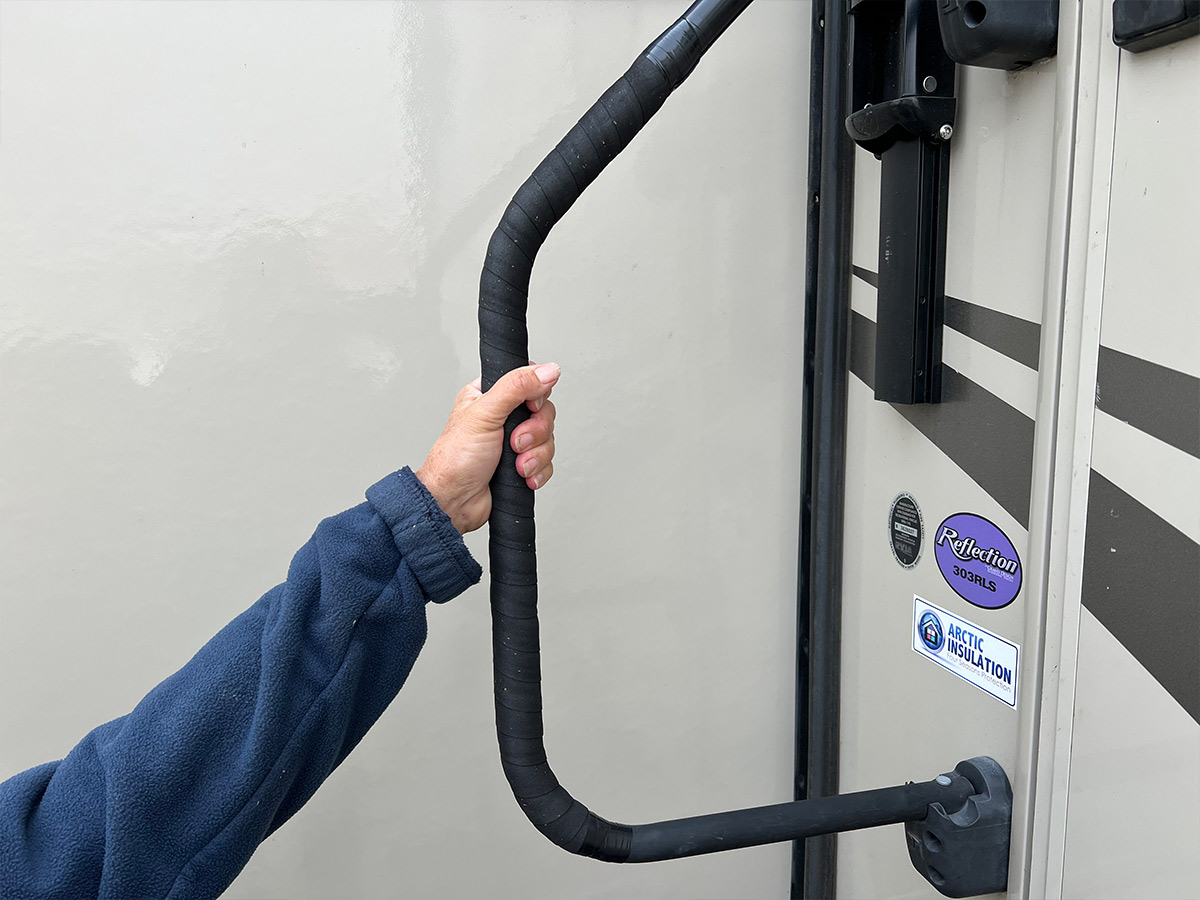
Not only does the handlebar tape improve aesthetics of the grab bar, but it also feels good to the touch.

Already a Subscriber? Click here for Access to the Full Issues.