No Nasty Surprises: Adding an Extra Dump Valve Body Can End Messy Sewer Connections
Adding a dump valve body to the end of the termination pipe makes sure you won’t be “treated” to a handful of waste.
Commonly, the dump valves on travel trailers and fifth wheels are mounted directly to the holding tanks and are fitted with remote handles, which can also be problematic (but that’s another story). Leakage from the dump valves can allow the contents to fill the termination pipe, and — you guessed it — end up on the ground and your hands when opening the cap before attaching the sewer hose.
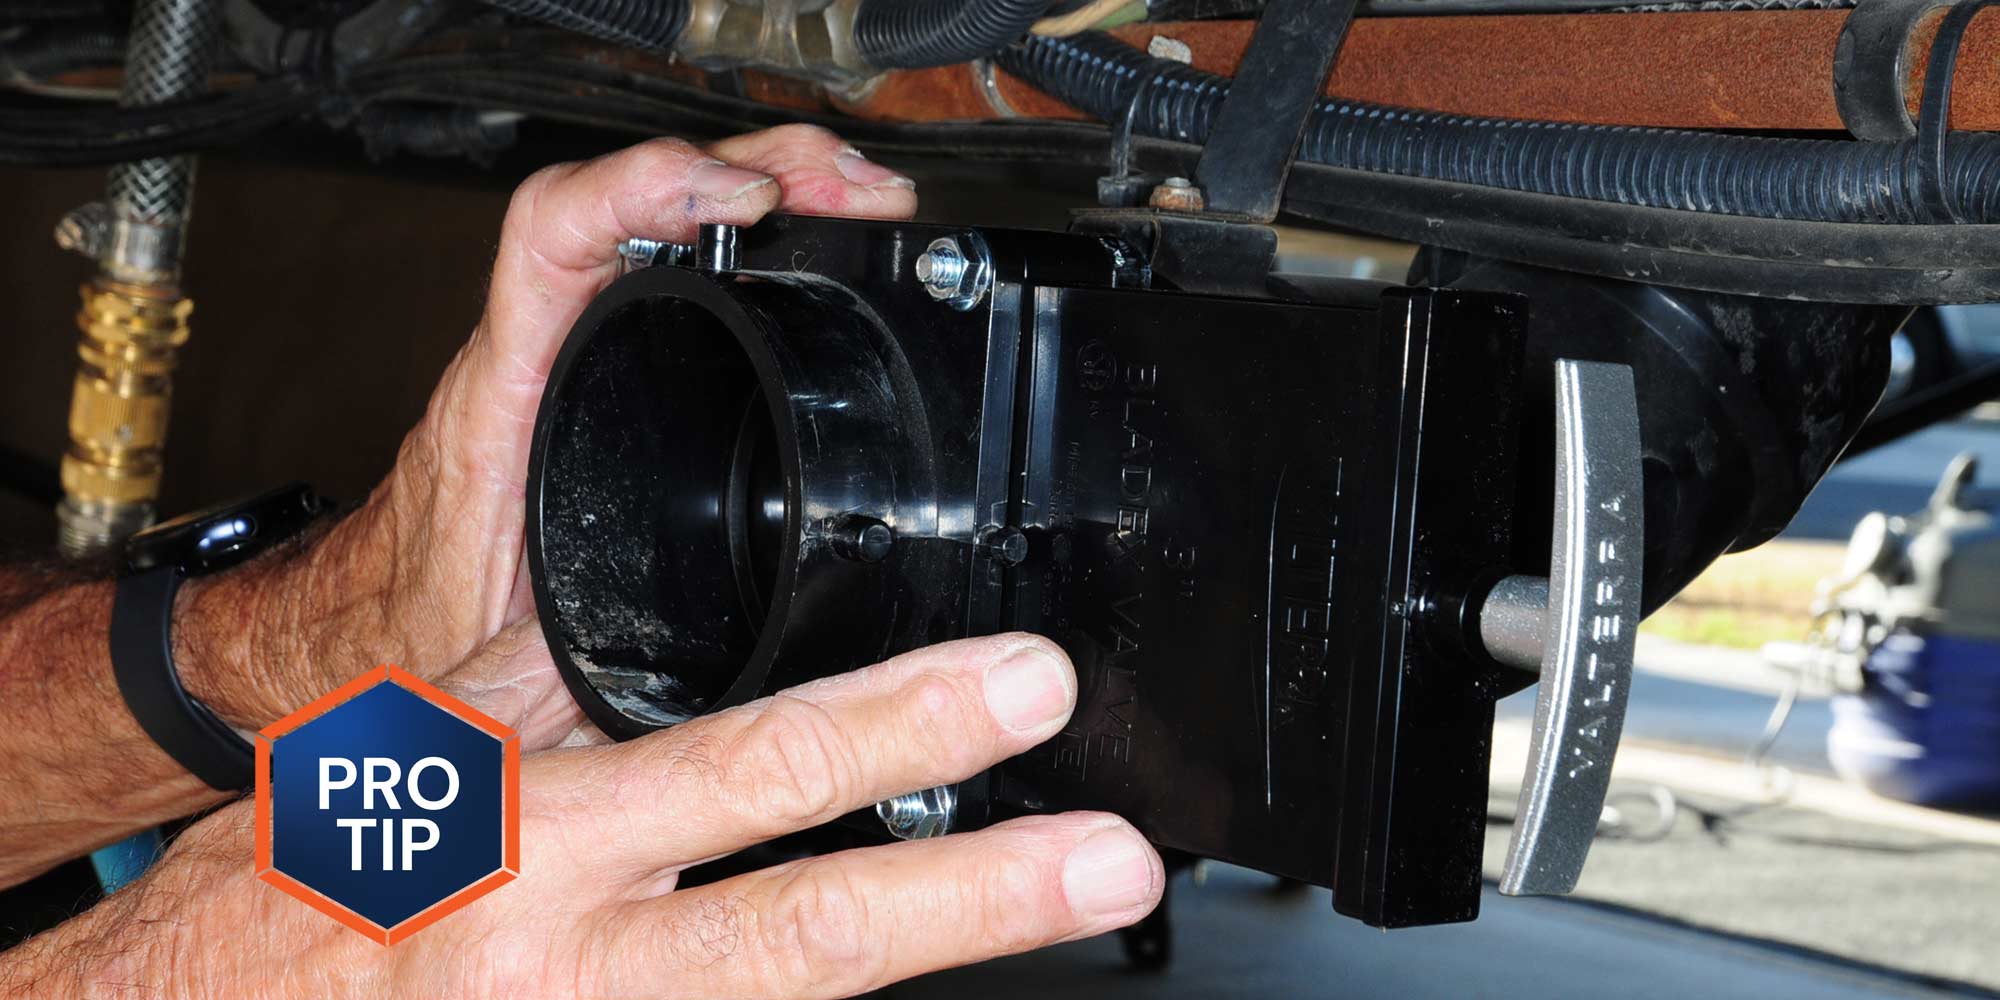
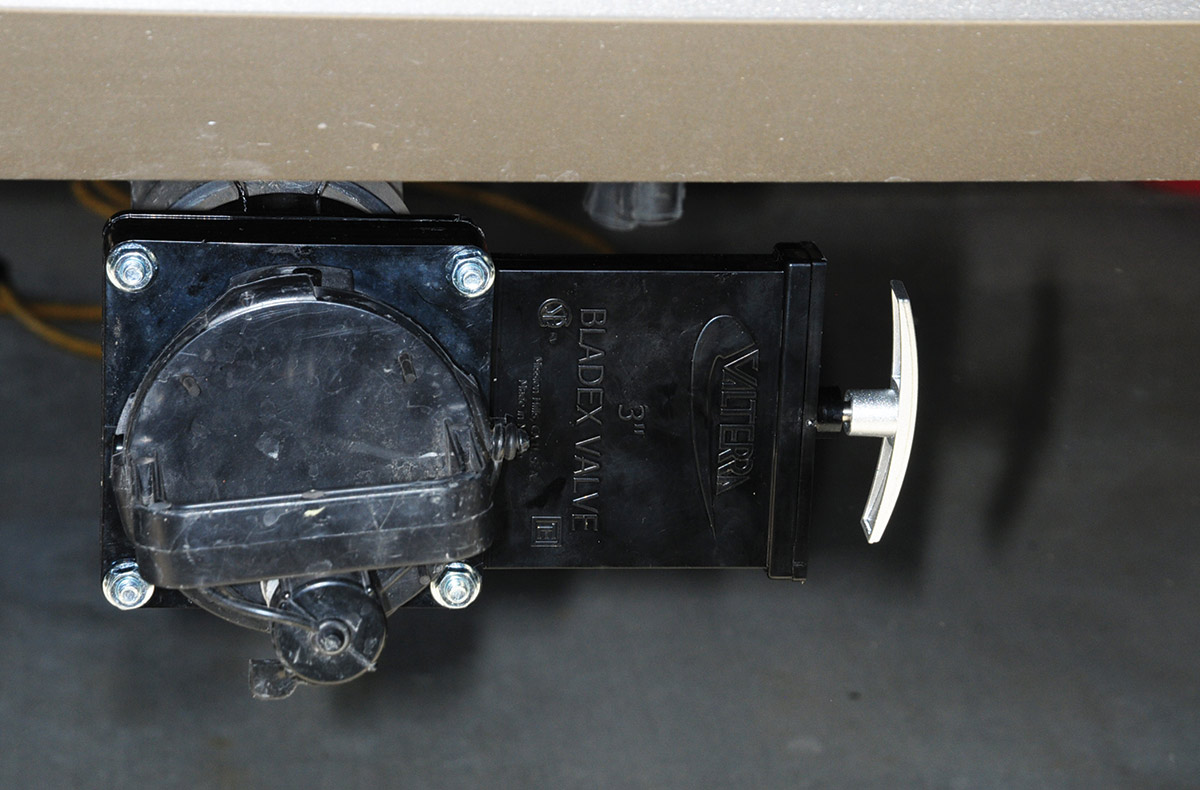
The solution to avoiding embarrassing moments (if you prefer not to tear into the underbelly and repair/replace the existing dump valves) is to add a secondary valve body to the end of the termination pipe. With the slide valves closed, leaking waste will continue to back up in the pipe, but the added valve will block the contents from exiting the pipe until the T-handle is pulled, after the sewer hose is attached. And it’s easy to keep this valve clean, since it’s right out in front of you.
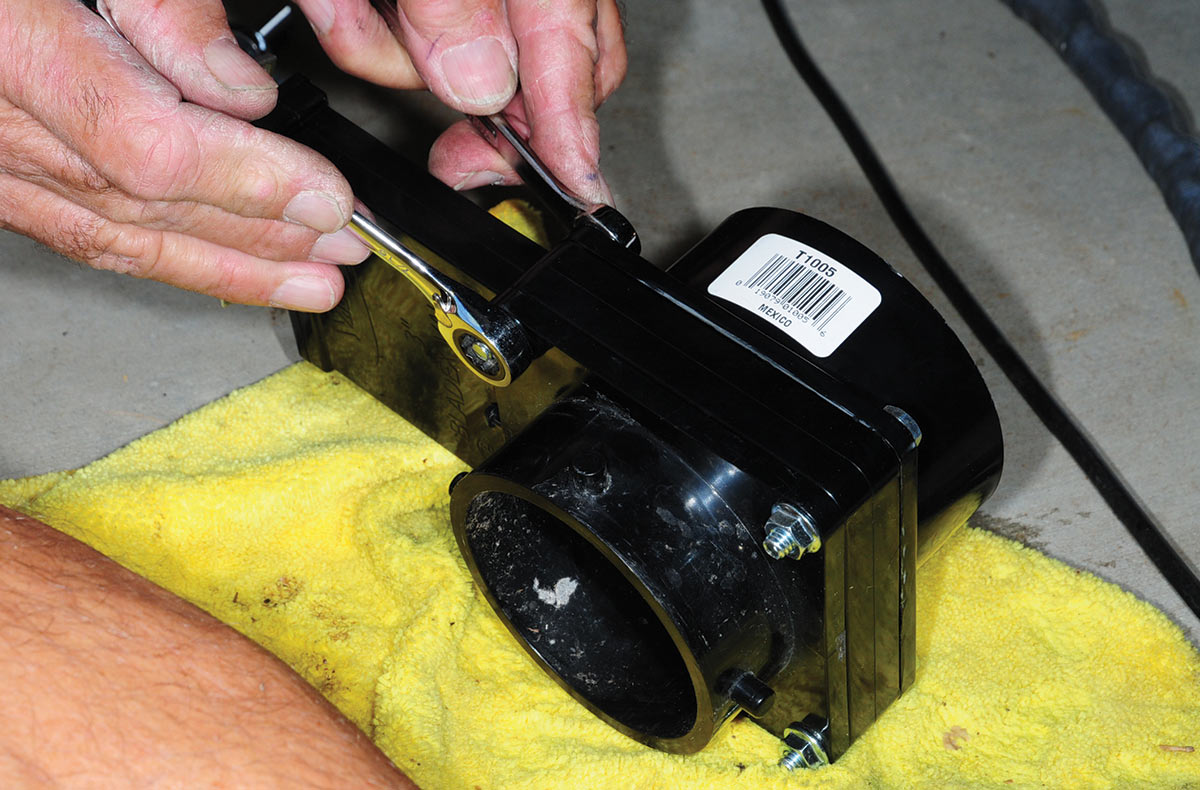
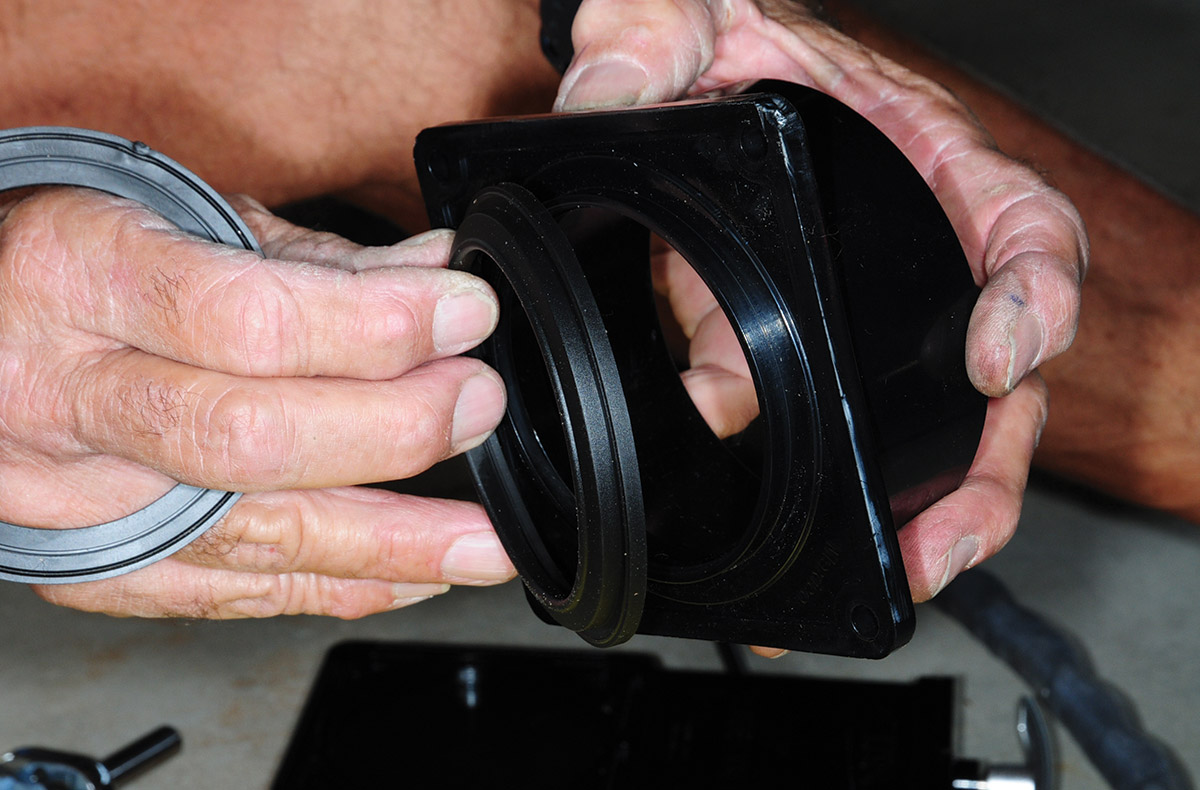
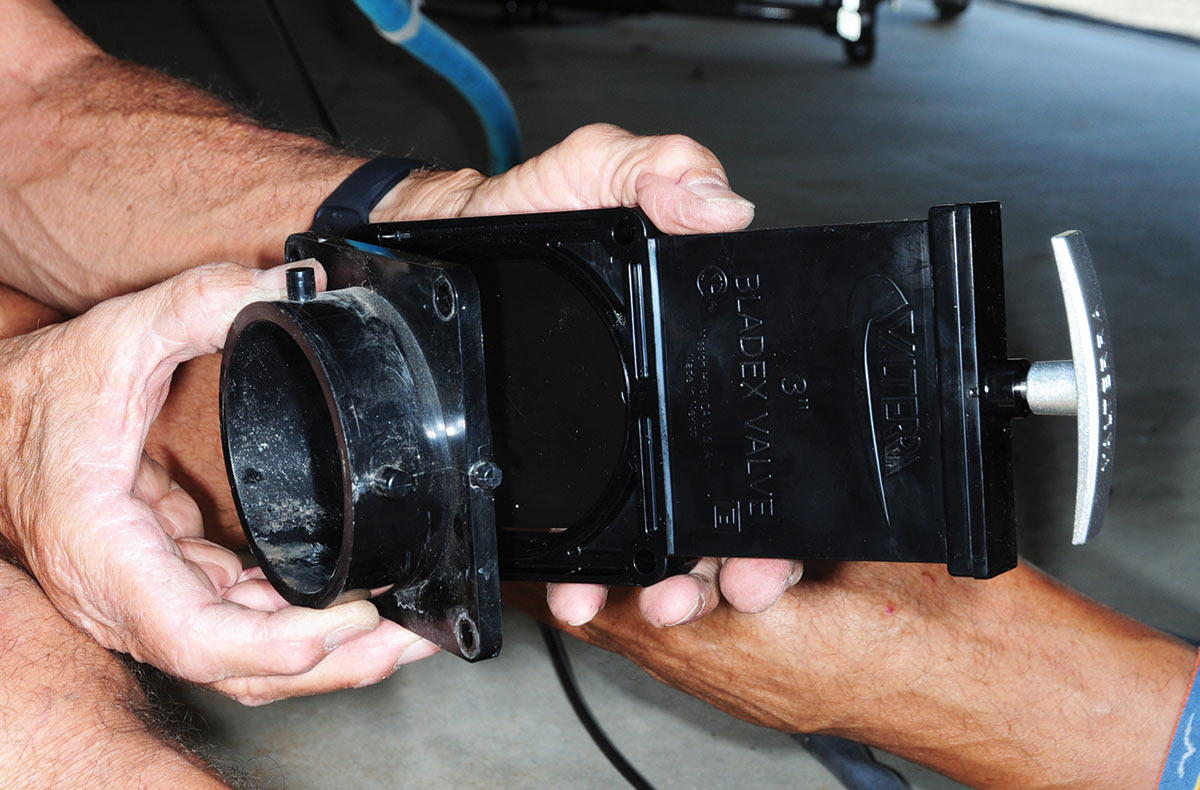
The first step is to make sure the termination pipe is clean (tanks dumped) before cutting off the existing bayonet flange, which accepts the sewer hose and cap. This can be easily accomplished with a hack saw. In most cases, there will be plenty of extra pipe to glue on a Valterra T1005 3-inch slip-hub flange (https://amzn.to/3ymO9BP), which will be bolted to a new Valterra T1003 VPM Blandex 3-inch waste dump valve body (https://amzn.to/3EVKGwO) along with a Valterra T1009 3-inch bayonet flanged fitting (https://amzn.to/3pT5i2f) on the other side. It’s just a simple matter of securing the three pieces, using the four bolts and nuts that were provided with the valve body. Just make sure the gaskets are seated properly and the nuts are not overtightened.
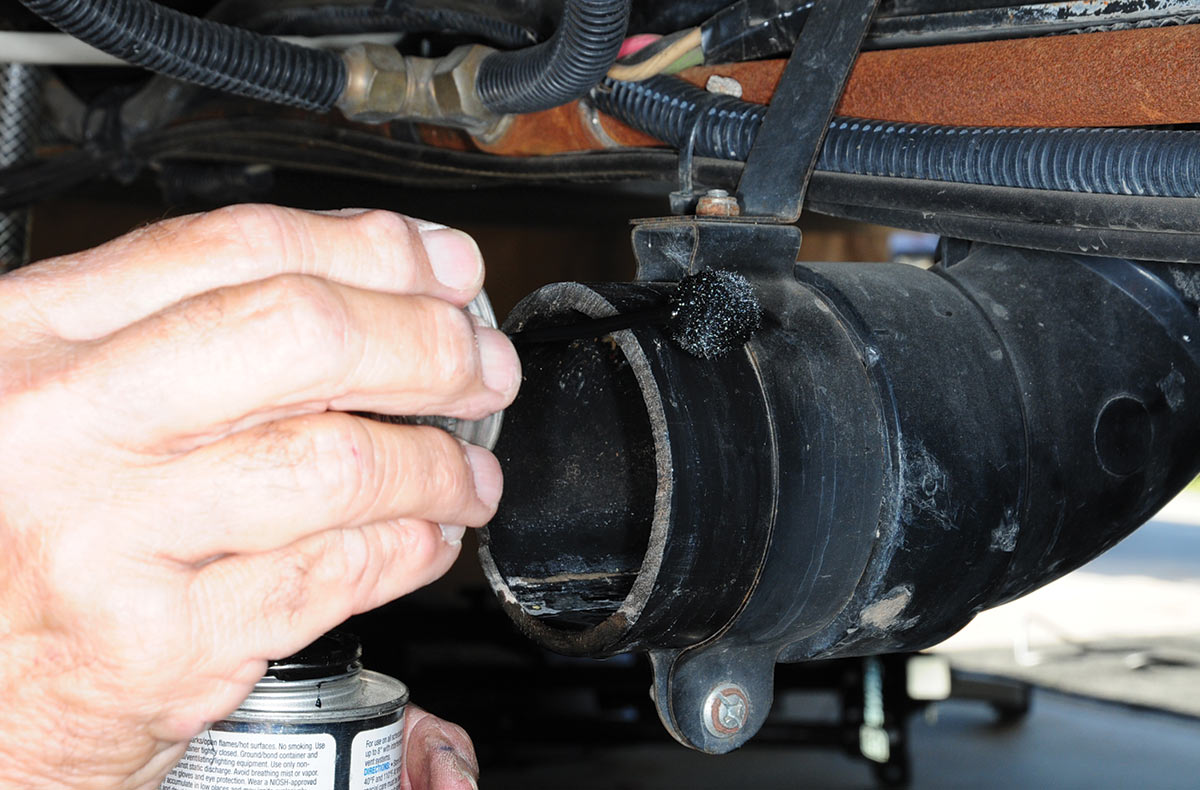
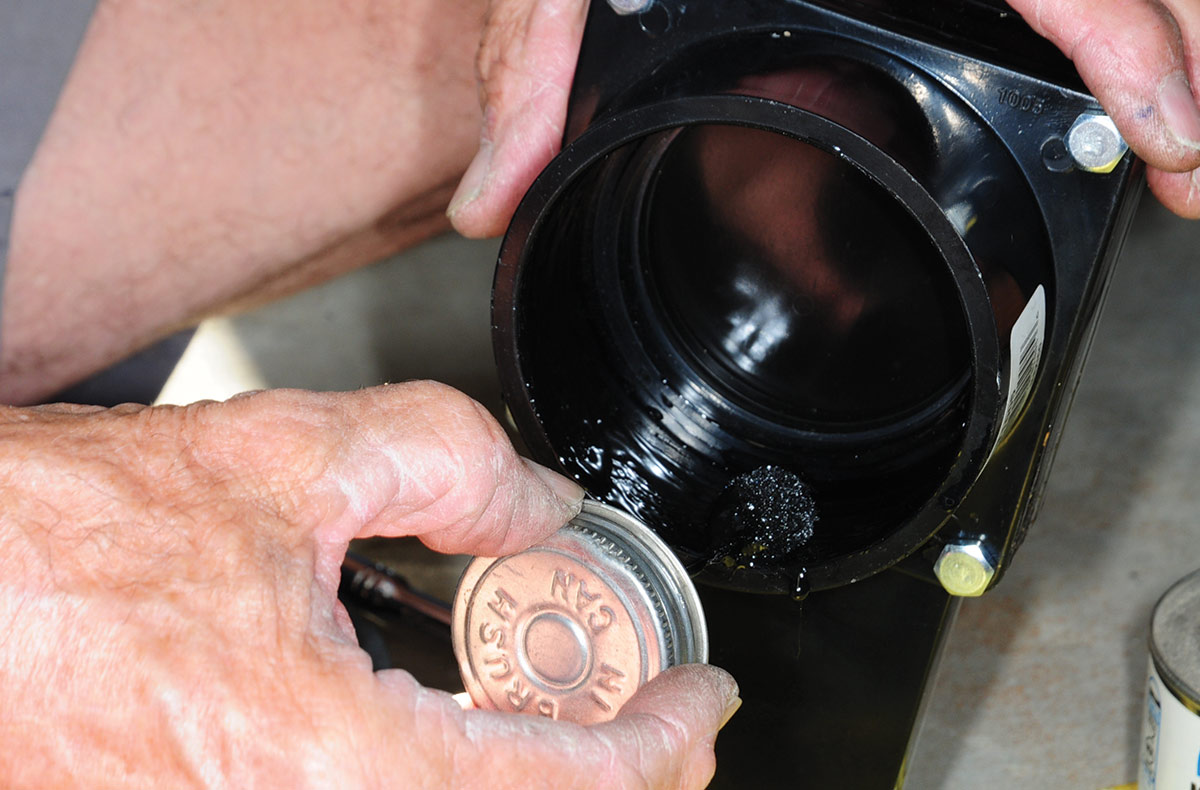
Once the outside of the termination pipe is cleaned with alcohol, a coating of ABS cement is applied to this surface, as well as on the inside of the slip hub. ABS cement sets up quickly, so you’ll only get a few seconds to orient the dump valve body with the attached fittings. The total cost for the three pieces was $36.26.
Keep the new body valve slide closed and when it comes time to dump the holding tanks, simply remove the cap and attach the sewer hose before pulling the T-handle on the new valve body. No muss, no fuss — and you won’t get that dreaded handful of “icky stuff.”

Already a Subscriber? Click here for Access to the Full Issues.