Privacy Matters
Windows in trailers/fifth wheels come in two varieties: opaque and tinted. The opaque-style window eliminates the need for a privacy covering but will still allow in light. It also prevents a clear view to the outside, which could be problematic when identifying strangers knocking on the door. Tinted windows, on the other hand, provide the view and diffuse harsh light, but also put occupants on display at night without some type of privacy cover. Installing Lippert’s Thin Shade and frame sections offers the best of both worlds.
You’ll have to verify window size to make sure the kit will fit without modifications, but for the most part, the hole opening is universal — chances are the door was made by Lippert, the largest single supplier to the RV industry, so fitment should present no issues.
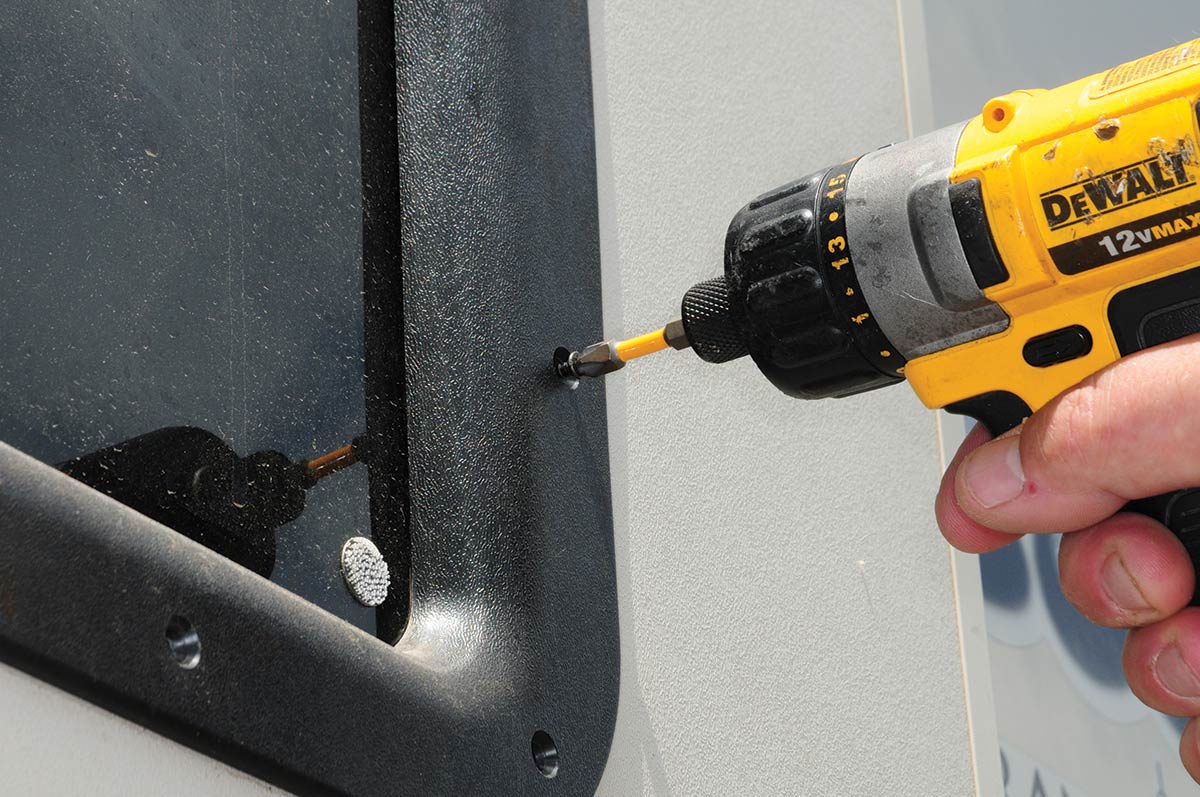
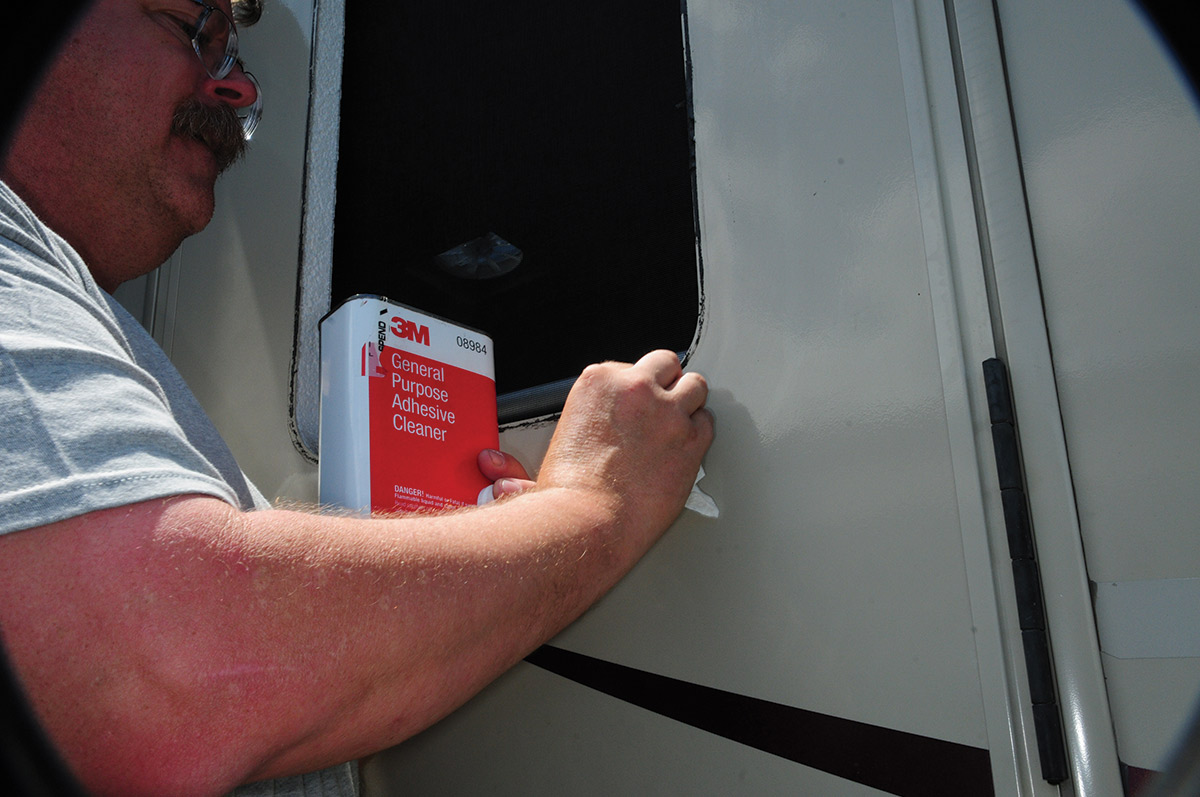
Popping out the existing window requires removal of the screws around the inner frame and pushing on the outer frame and window. It’s best to have a second person on the other side just in case the window gets away from you while popping out. The existing frame may be a little sticky, depending on the age of the trailer, but for the most part it does not require a lot of pressure to get the job done.
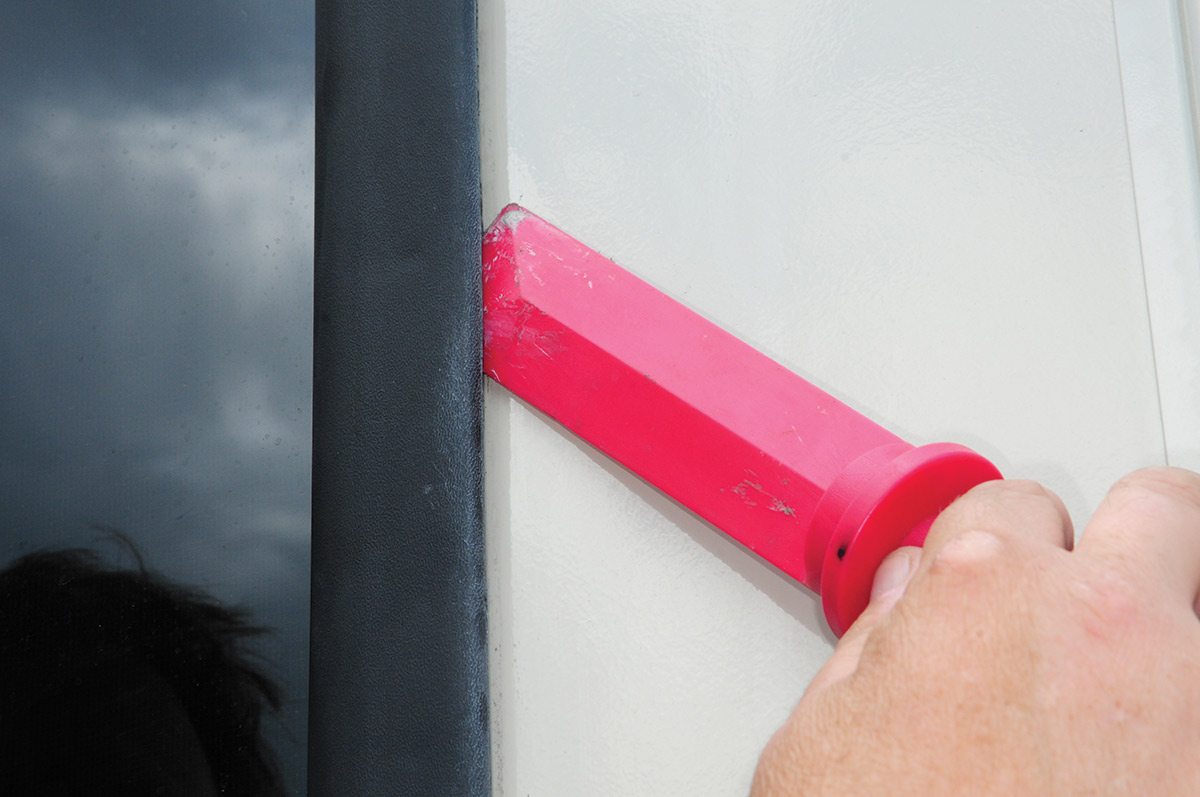
Once the window frames are free, the old sealant must be removed. The fifth wheel for this project had been fitted with an aftermarket replacement for the stock opaque window, so there was more sealant to contend with than normal. A plastic razor blade scraper (various products are available at Amazon and local hardware stores) was used to scrape away the bulk of the sealant (in this case butyl tape) and the residue was cleaned with alcohol.
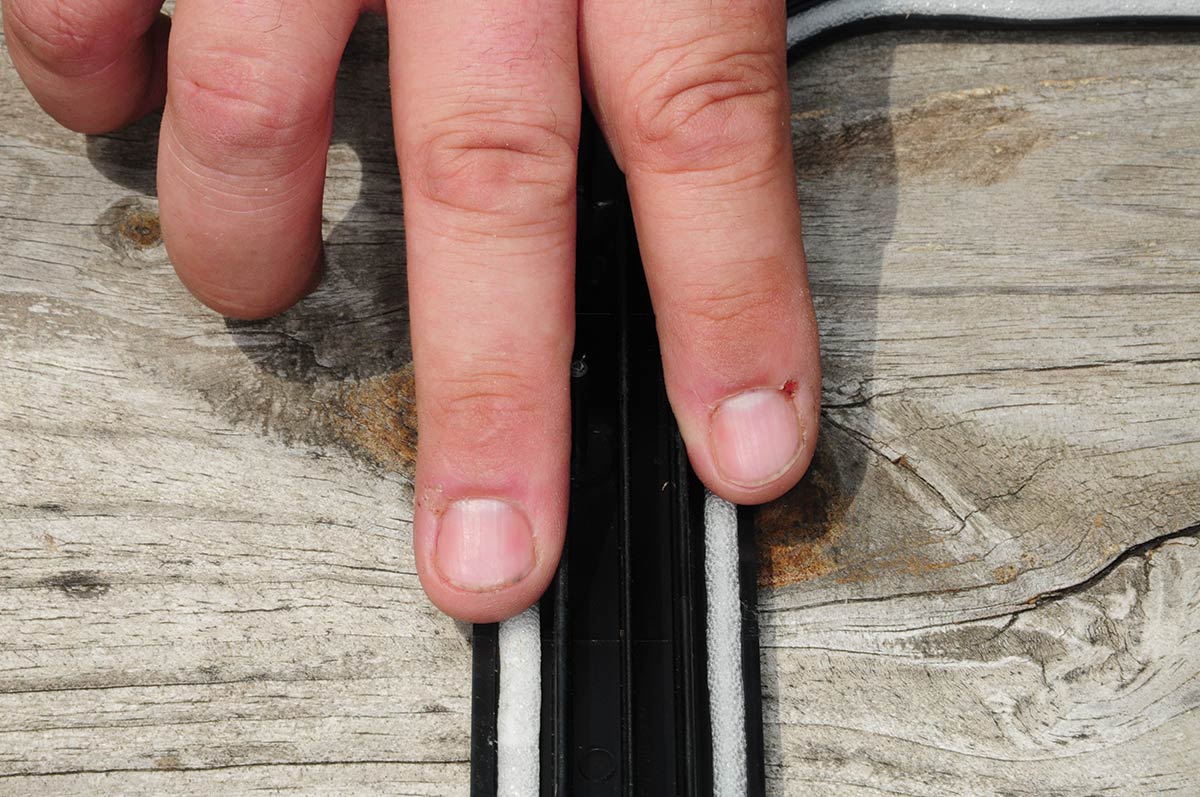
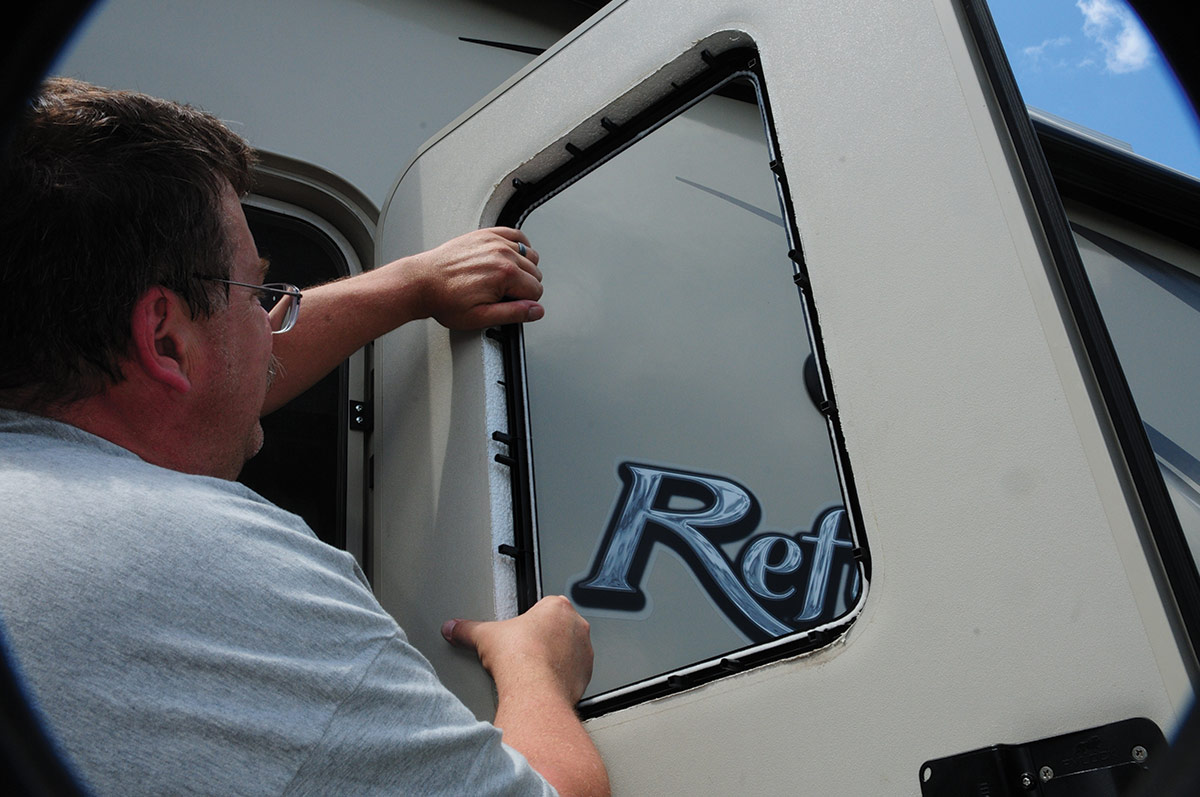
The Thin Shade (Part No. 786036) fits into the inner frame, which attaches uniquely into the outer frame (Part No. 711862). Barbed studs molded into the edges of the frame are mated to the other side; when pressure is applied, the two sides are seated. There are no screws to install into the inner frame as done with conventional counterparts. While the process is easy, you only get one shot at mating the two frames — and it takes quite a bit of pressure to make sure the seal on both sides is tight. The caveat: Don’t plan on removing this frame without damaging the barbs and plastic frame. Obviously, we’re speculating since we didn’t test that supposition, but realistically, there should be no reason to remove the window unless the glass becomes damaged.
Before sandwiching the frames, the glass is positioned, making sure it’s seated properly against the built-in seal. Again, a second person can help placing the three parts of the frame and window, if necessary.

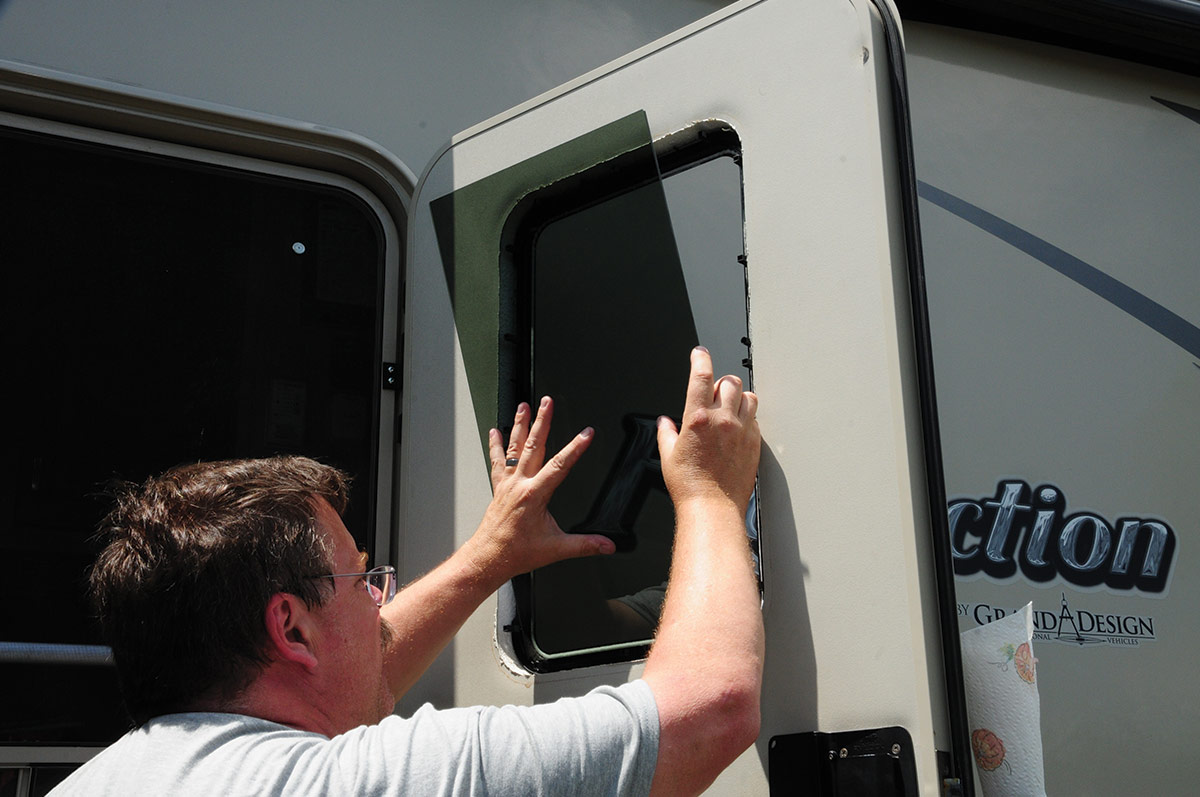
There’s an obvious snapping sound as the barbs are seated and we were comfortable that the seal made by the outer and inner frames was tight — but just in case we ran a bead of silicone around the upper edges of the outer window frame. Clear silicone from a small tube was used to run the small bead and cleaned up with a caulk finishing tool, easily procured on Amazon or from a local hardware store.
The last step was installing the Thin Shade, which could not be easier. Maneuvering it at a 45-degree angle allows the shade to fit between the inner frame and window. Levers on the top and bottom of the frame hold the shade in place. It only takes a minute to accomplish this task. When you want privacy, simply grab the “handle” at the bottom of the shade and pull it down. It moves smoothly with little effort and covers the entire window.
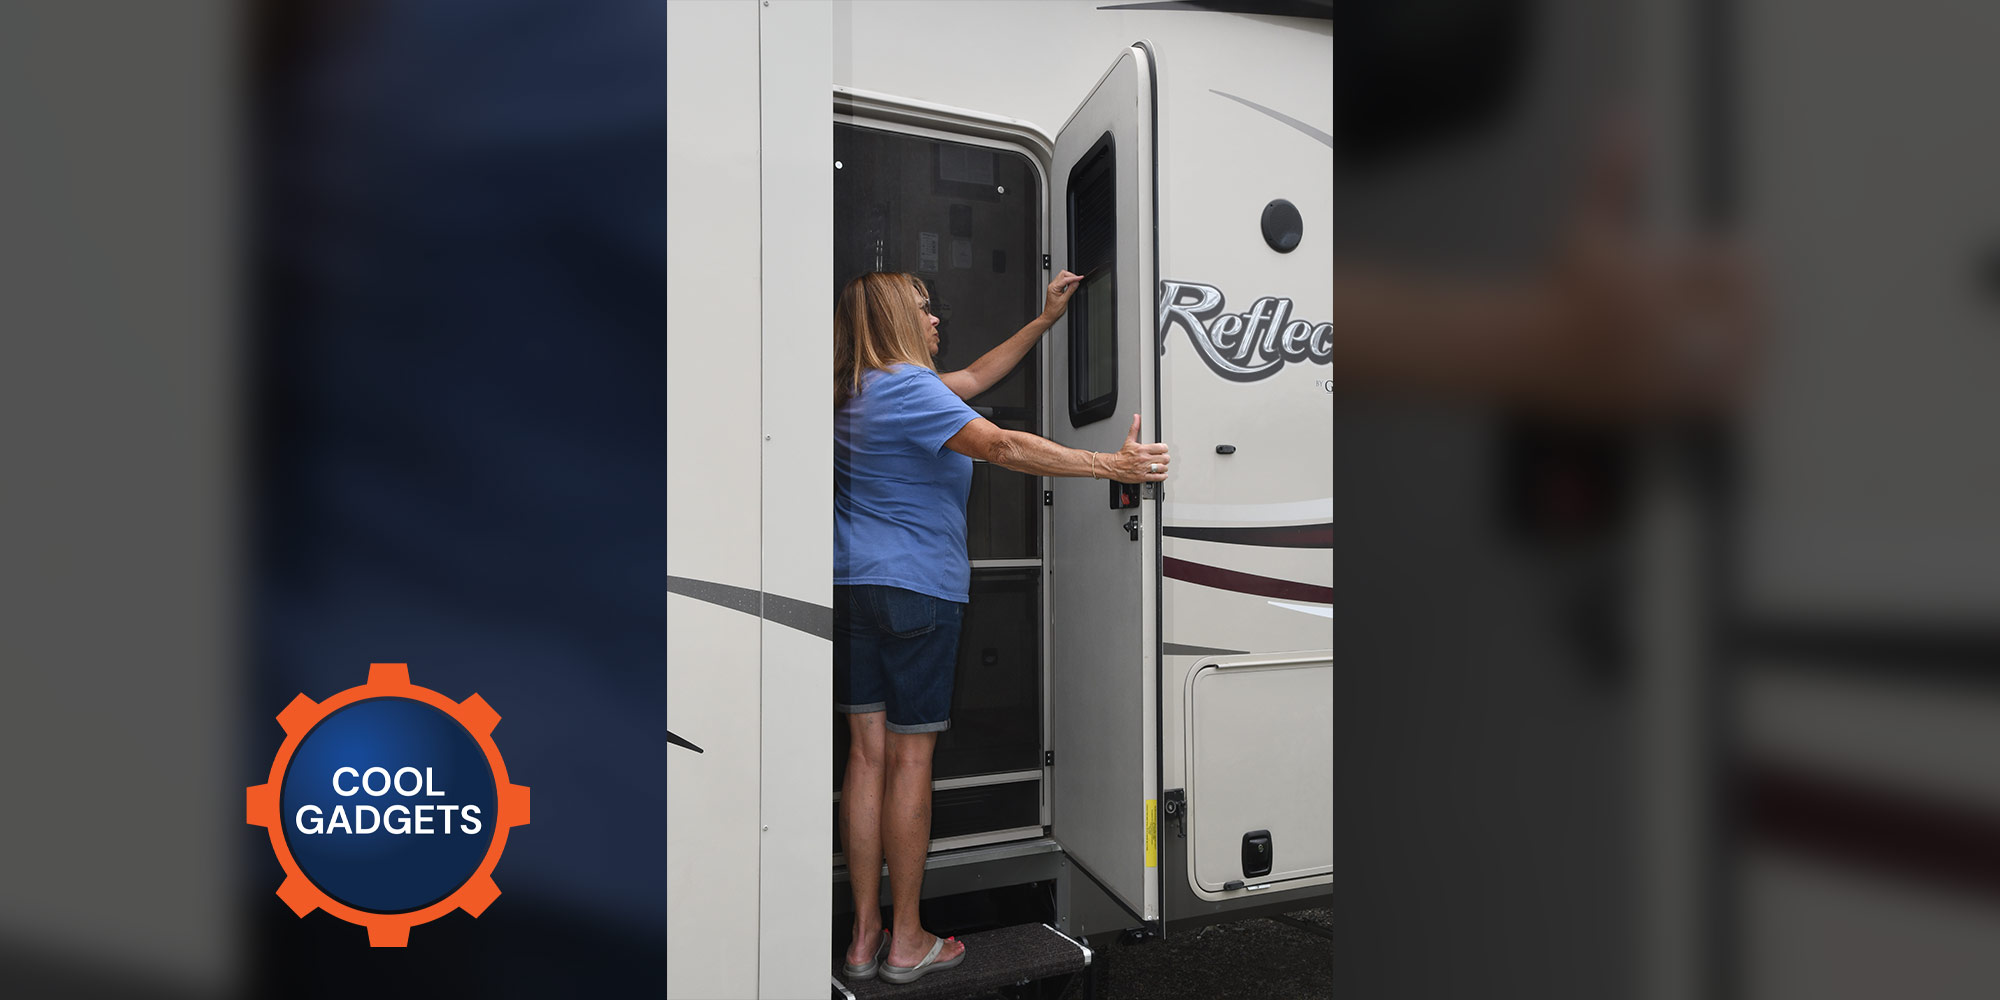
Since the screen has to be separated from the entry door in order to reach the Thin Shade, most owners will have to get into a routine to pull it down before the door is closed. If the shade becomes damaged — through misuse or after exposure to heavy rain — it can be replaced easily without tools. The frames, window and Thin Shade retail for $99.95.


Already a Subscriber? Click here for Access to the Full Issues.