Getting Closure - RV Enthusiast Magazine

Getting Closure

by | Oct 20, 2022 | Pro Tip, RVEXPERT

Photos by author
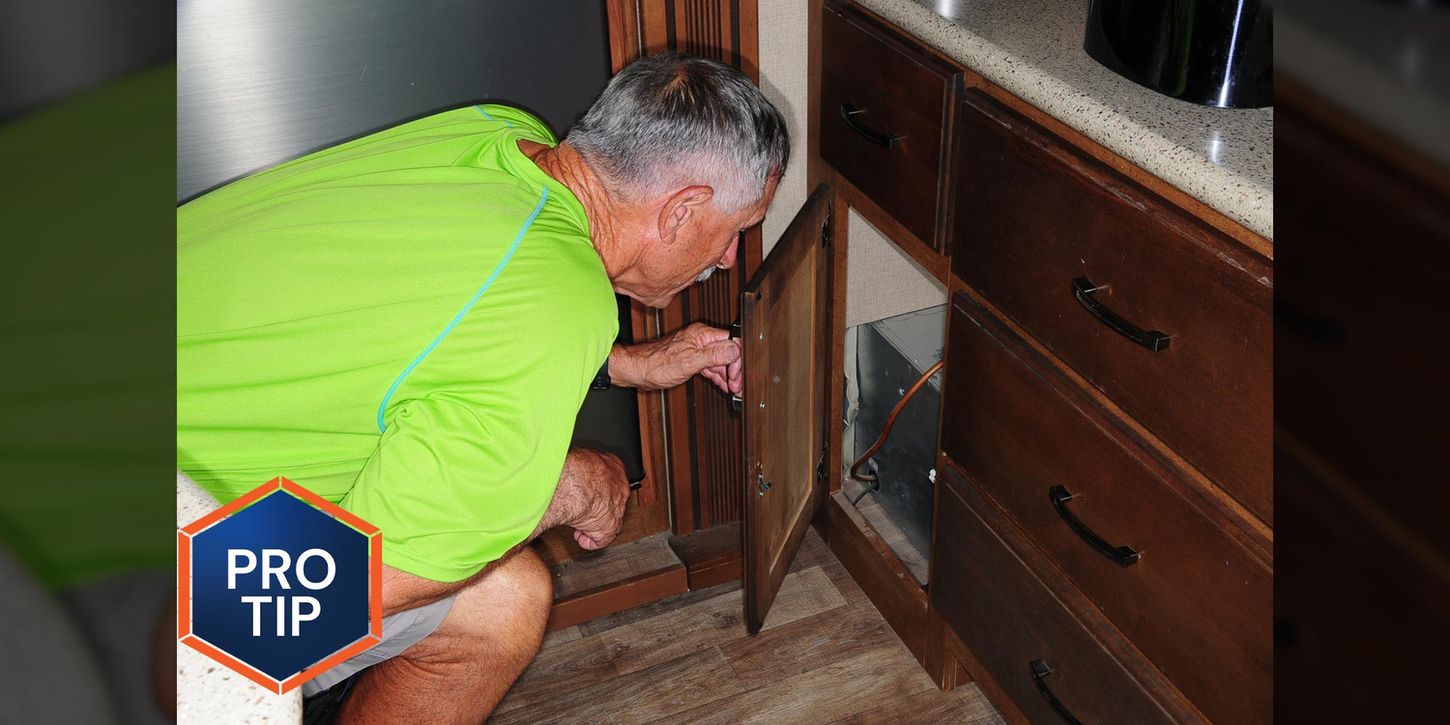
When the hinge holding the cabinet door leading to the area behind the water heater failed from stripped holes in the frame, a new latch was installed to provide immediate access and prevent the door from opening while on the road.
Imagine what would happen if all the cabinets and drawers inside an RV were not latched to prevent movement while on the road. That’s right — almost all the stored goods would end up in a jumbled mess on the floor. To prevent such a malady, manufacturers provide some type of restraint on all the doors and drawers. Probably the most common latch is a catch with a spear strike that is held by spring tension. For the most part, it works — but over time the parts can fatigue and no longer prevent accidental opening.

Fortunately, these latches are easy to replace.

In my fifth wheel, one of the cabinet doors leads to access to the water heater, so the manufacturer sealed it shut with another hinge. Not exactly rocket science, but it kept the cabinet door secure — until, that is, the screws let loose from the wood. Although nothing was stored in the cabinet, allowing the door to swing freely presented a big problem: When it opened on the road, it had the potential to jam against the slide-out molding, which would have caused quite a bit of damage if not noticed before operating the slide. The solution? Replace it with the same type of latching mechanism holding the other drawers and cabinet doors in place.

These latches are common and usually available at home improvement and hardware stores and online. I found a decent-quality latch at Lowe’s for $1.28 but the bins were not overflowing with inventory, so I stocked up. The latches are called Catch with Spear Strike; they are made of zinc-plated steel and are silver in color (part #689104).

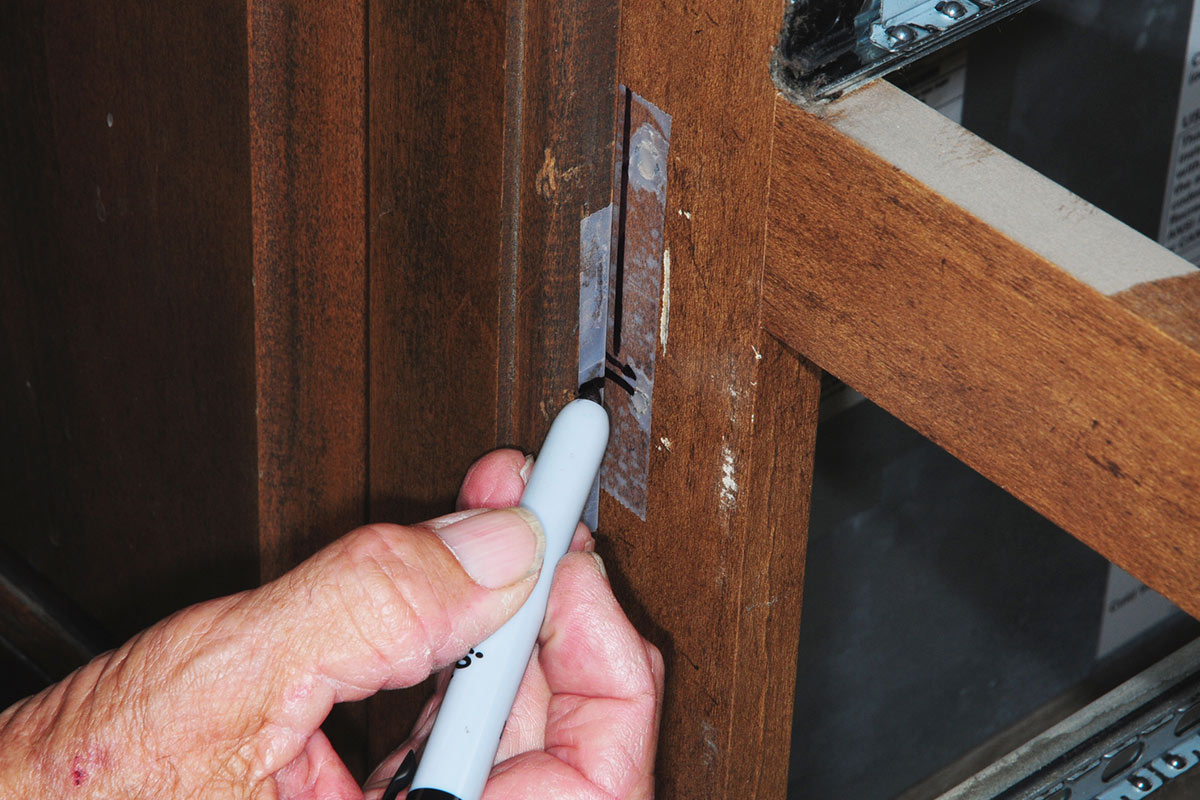
Installing the latch takes some measuring and maneuvering to line up properly because the mounting surfaces are not accessible when the door/drawer is closed. Placing tape (masking, duct or even transparent with a writable surface) in a strategic location and marking the center with a Sharpie assured accuracy when driving the screws into the two pieces that make up the latch. The old holes for the hinge were later filled with a putty stick matching the cabinet color.
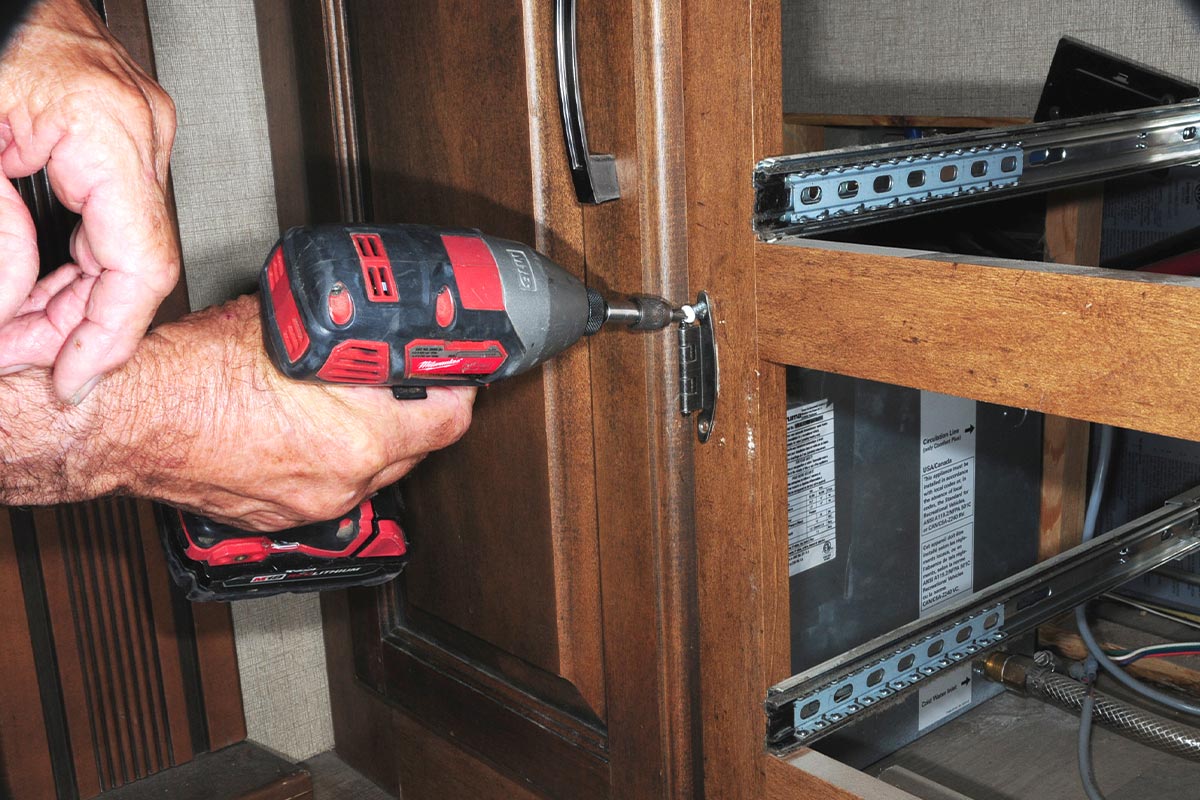
a screw gun is used to release the hinge that was jerry-rigged to hold the cabinet door
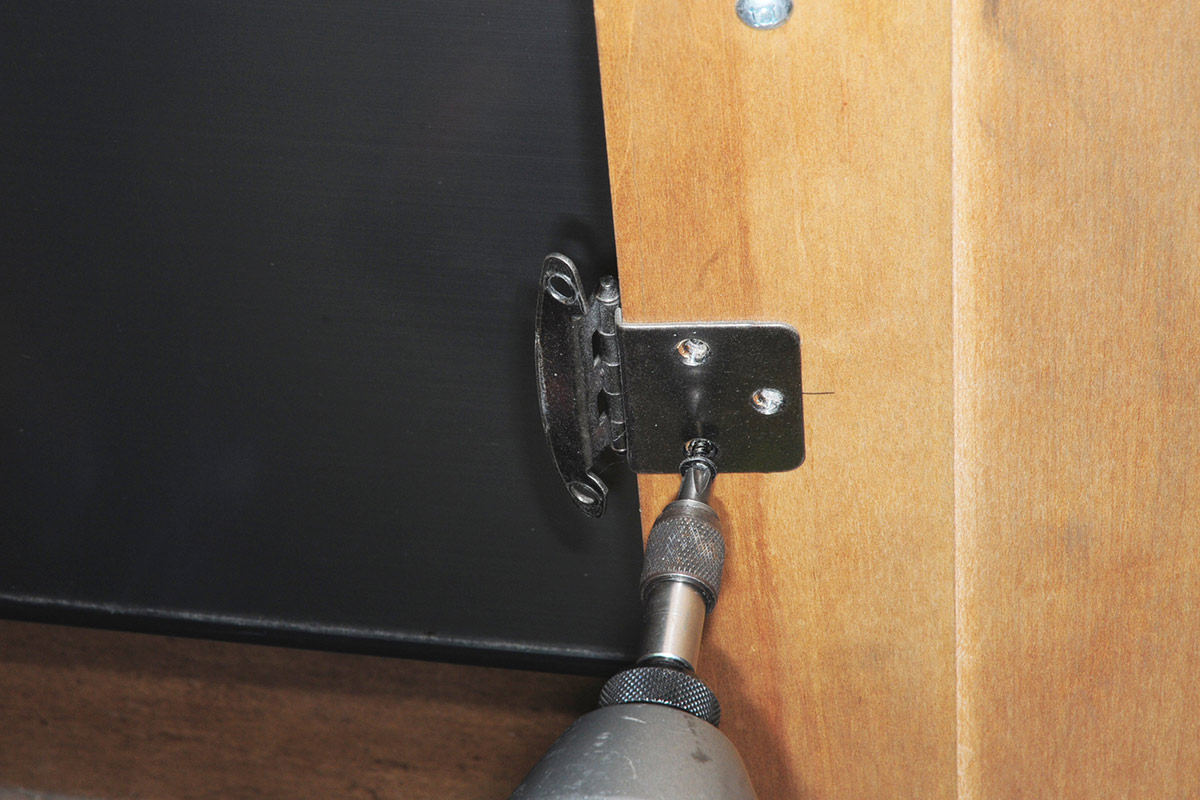
the hinge is unscrewed from the inside of the door
The cabinet door near the slide out was held shut with another hinge, permanently attached to the wood structure. The door led to the area behind the water heater and, over time, the holes were stripped after opening multiple times. Adding a new latch provided immediate access and held the door tight to prevent accidental opening while on the road. To start, the hinge that was jerry-rigged to hold the cabinet door was first released from the frame and then from the inside of the door.
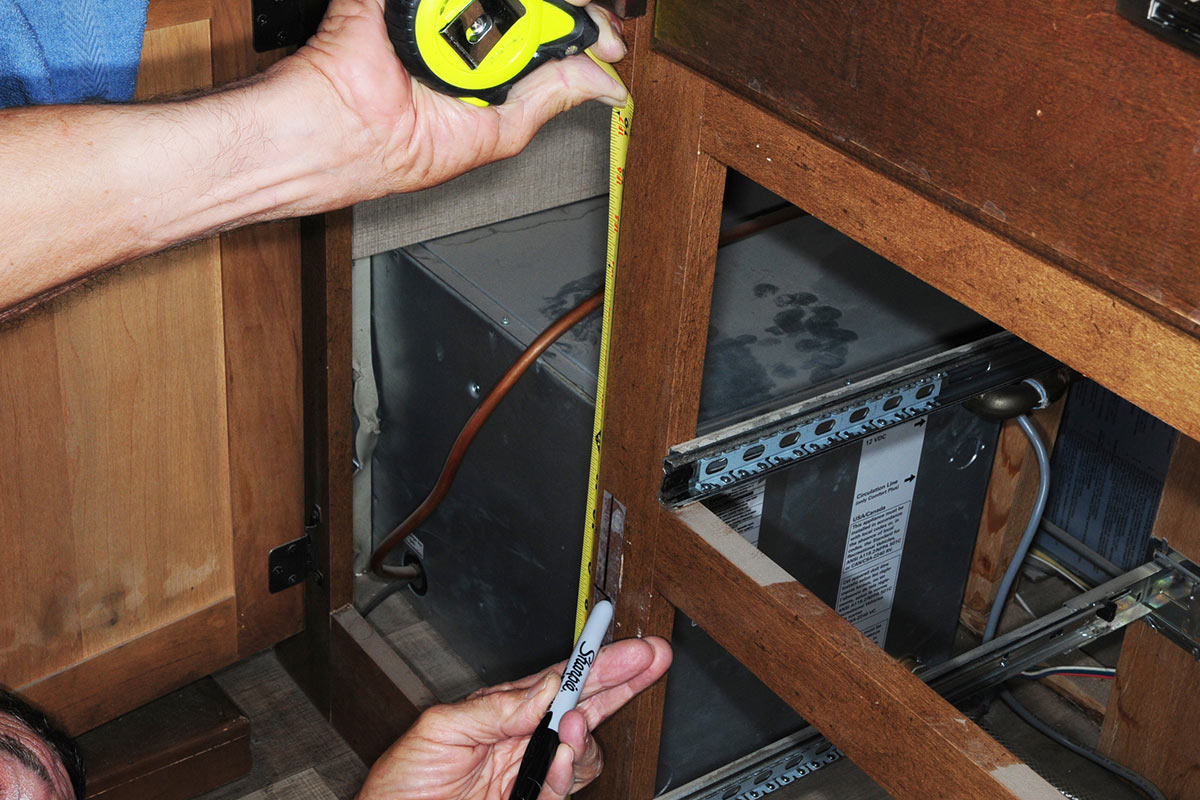
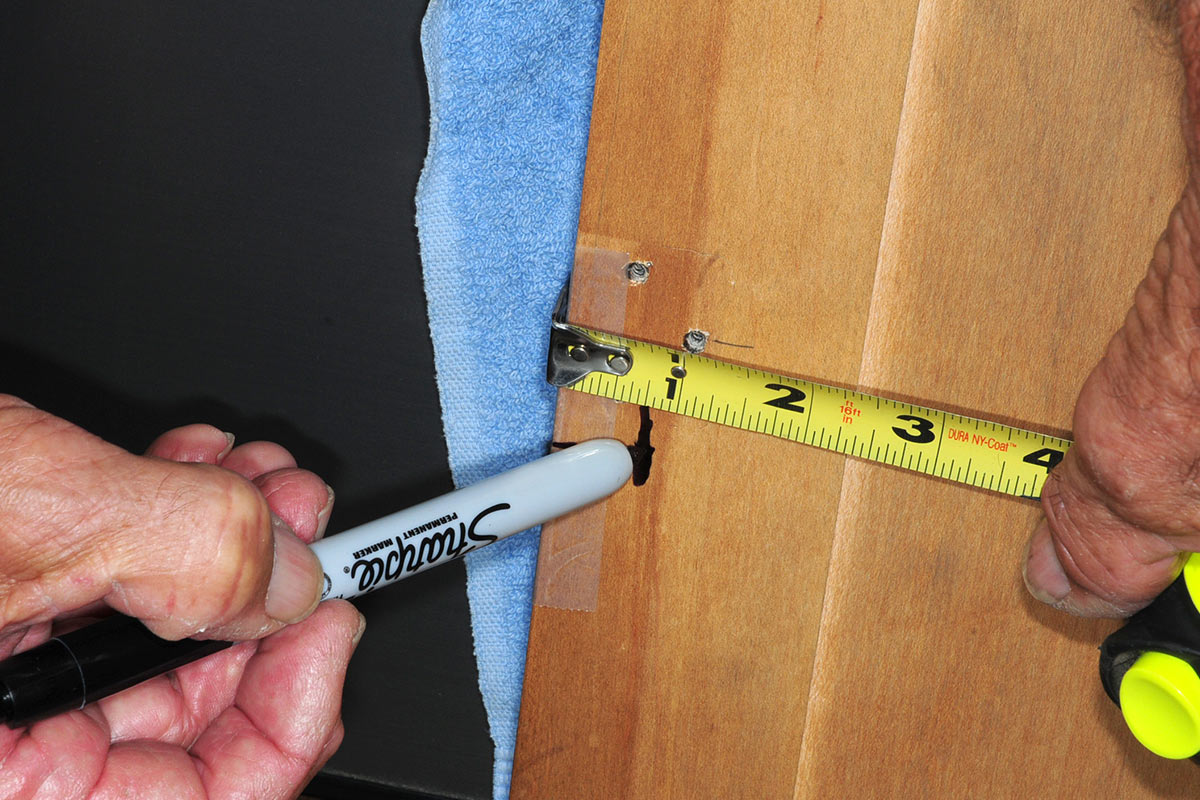
measuring tape, a marker and a strip of tape are used to measure and mark the placement of the new latch
We removed the adjacent drawer to give us more room to work on establishing the proper location for the new latch.
The cabinet door near the slide out was held shut with another hinge, permanently attached to the wood structure. The door led to the area behind the water heater and, over time, the holes were stripped after opening multiple times. Adding a new latch provided immediate access and held the door tight to prevent accidental opening while on the road. To start, the hinge that was jerry-rigged to hold the cabinet door was first released from the frame and then from the inside of the door.
We removed the adjacent drawer to give us more room to work on establishing the proper location for the new latch.
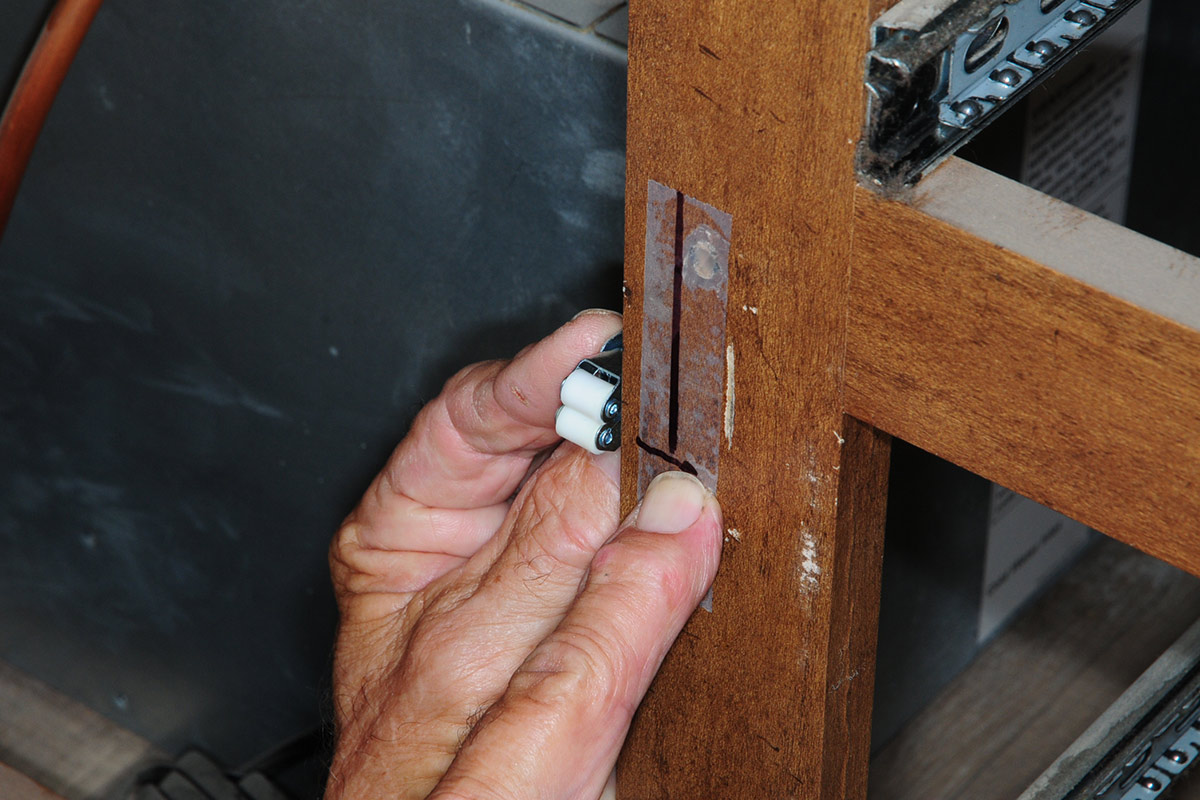
the new latch is held to it new place to test the location
Scotch Matte Finish tape was placed in the center-point area so the location for the catch could be marked without writing on the wood and leaving permanent “graffiti.” Without using the tape, the process would only be guesswork.
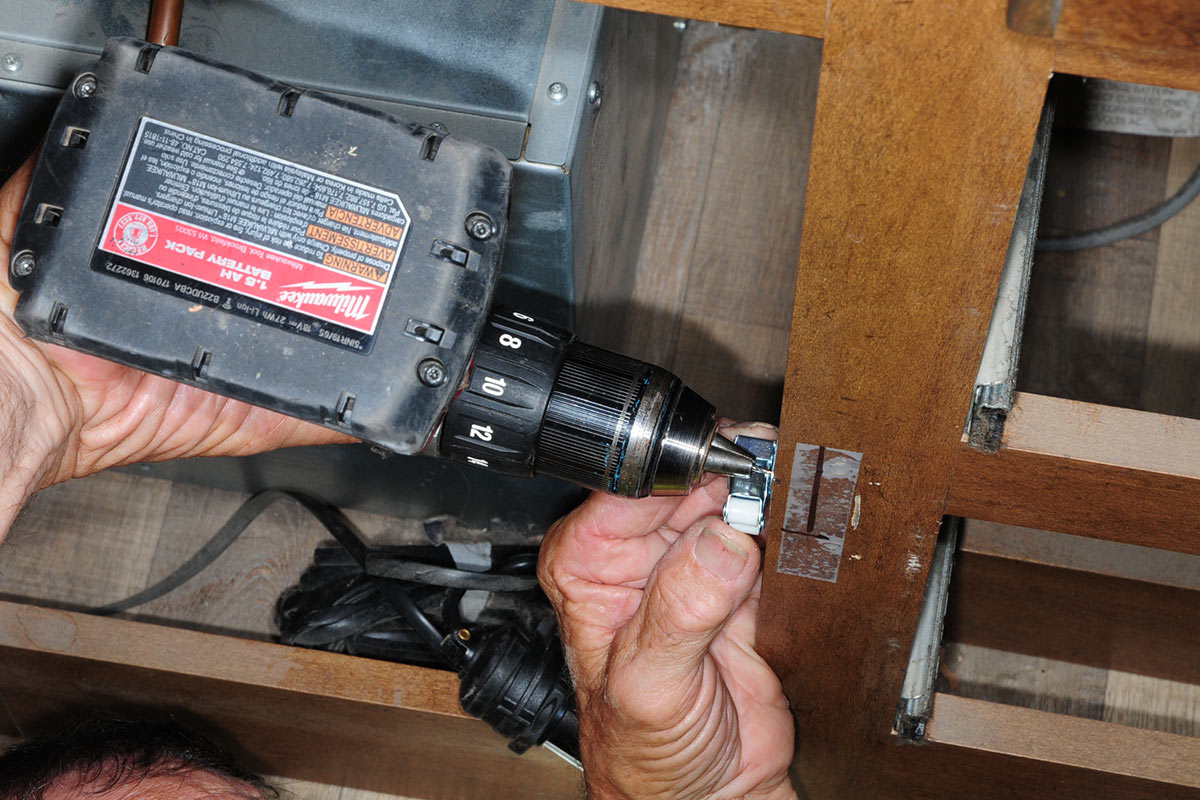
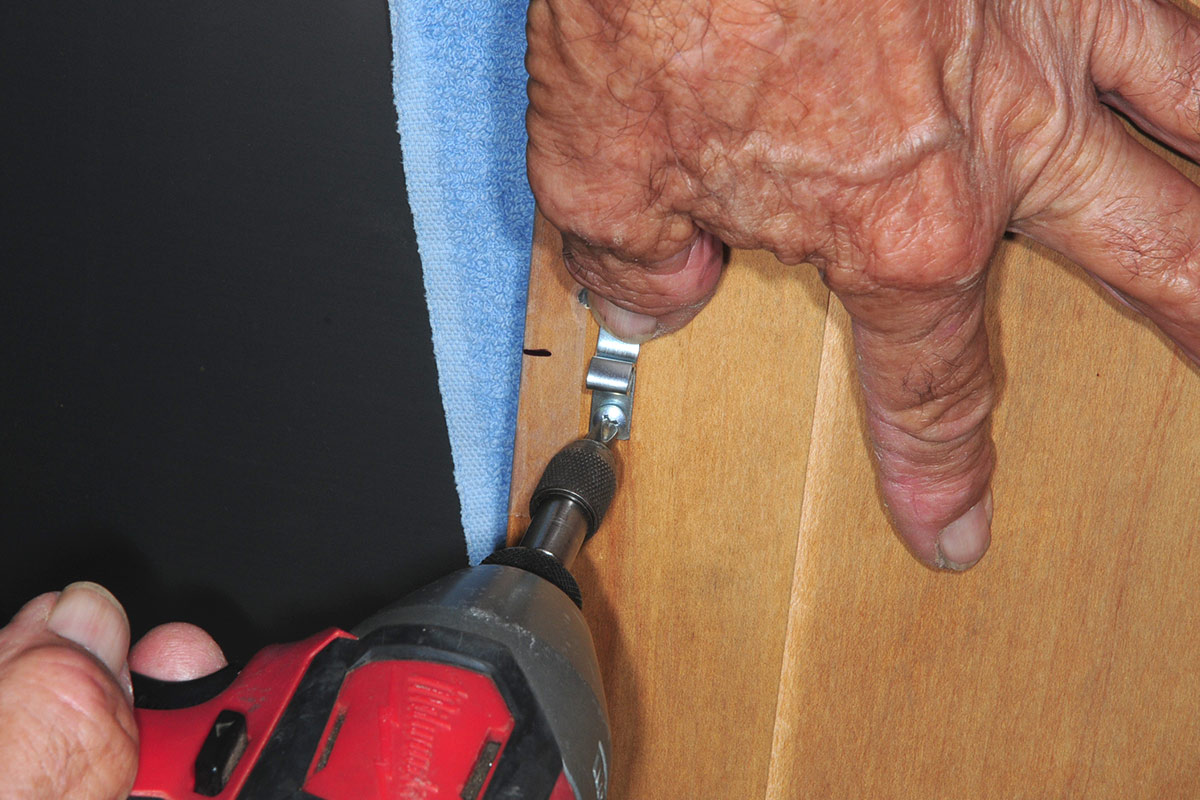
pilot holes are drilled into the frame in relation to the catch body
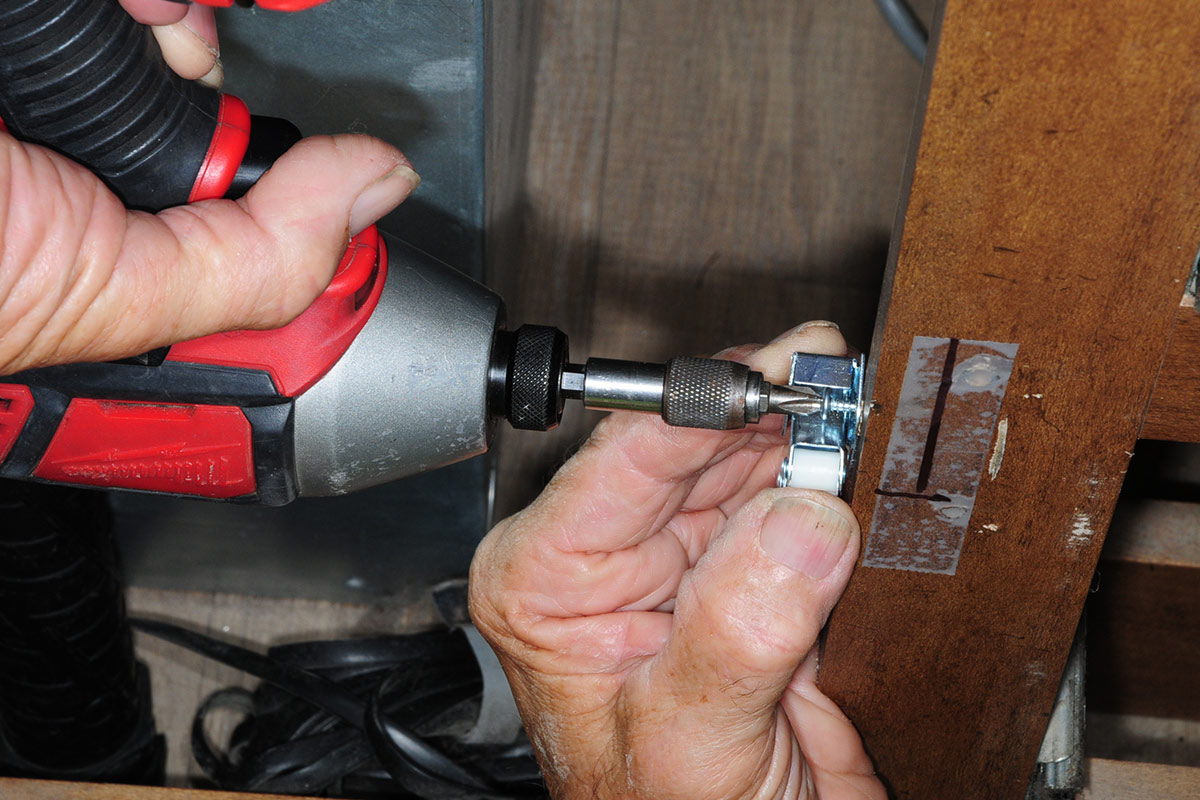
screws are driven into the wood to hold the catch body in place
Pilot holes are drilled into the frame in relation to the catch body and screws were driven into the wood to hold it in place. Use caution when using a screw gun; the holes in the wood are easy to strip.
Scotch Matte Finish tape was placed in the center-point area so the location for the catch could be marked without writing on the wood and leaving permanent “graffiti.” Without using the tape, the process would only be guesswork.
Pilot holes are drilled into the frame in relation to the catch body and screws were driven into the wood to hold it in place. Use caution when using a screw gun; the holes in the wood are easy to strip.
the spear strike is attached to the backside of the cabinet door using a screw gun
measuring tape is used to figure out exactly where the strike will enter the catch
The tape is marked to show where the spear strike will be located on the cabinet door. A measuring tape is needed to figure out exactly where the strike will enter the catch.
the spear strike is attached to the backside of the cabinet door using a screw gun
With all the locations marked, the spear strike is attached to the backside of the cabinet door using a screw gun with the torque setting as low as it could go.
The tape is marked to show where the spear strike will be located on the cabinet door. A measuring tape is needed to figure out exactly where the strike will enter the catch.
With all the locations marked, the spear strike is attached to the backside of the cabinet door using a screw gun with the torque setting as low as it could go.
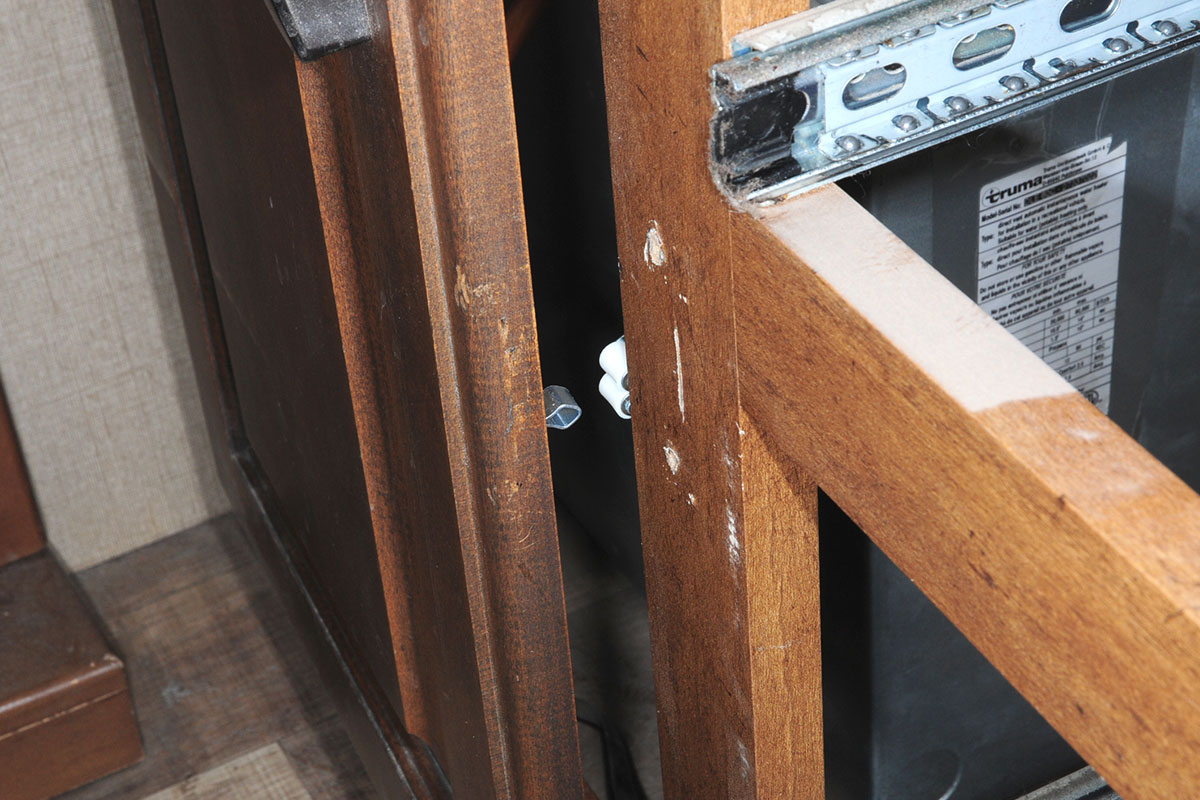
view of the new latching mechanism on the cabinet door
The new latching mechanism worked perfectly and there was plenty of resistance to keep the door from opening while on the road. Later, a putty stick was used to fill in the old holes left by the original door hinge.

Now the cabinet door closes tightly — and I have immediate access to the area behind the water heater without having to remove a hinge and strip the holes for the screws. And, I have inventory on hand to fix other cabinet doors and drawers when necessary.

Get Updates
Subscribe today and never miss an issue!
Get all the latest tips and news to keep you moving on that open road!
RV Enthusiast July/August 2024 cover mockup
Current Issue
July/August 2024
As the summer days linger on, escape the heat with the newest edition of RV Enthusiast! The July/August issue covers Improving RV A/C Efficiency, Rear- and Side-View Cameras, Truck shock Repair, PLUS so much more!

Already a Subscriber? Click here for Access to the Full Issues.

Share This