Cooling Trend
When heat zaps the efficiency of an absorption refrigerator, adding strategically placed blower fans and a dose of fiberglass insulation can overcome high ambient temperatures — and make your ice cream frozen again.
Although absorption refrigerators have grown in size and capacity, they still utilize cooling units that require heat to move the hydrogen, ammonia and water solution up through the boiler into the condenser. One of the major drawbacks to using high temperatures to make the refrigerator/freezer cold is its operation in hot weather. High ambient temperatures allow the absorber coils to get really hot, which interferes with the separation of the hydrogen, ammonia and water before it goes into the storage tank. As the ammonia vapor tries to turn back into liquid, the temperature needs to be controlled. Efficiency really suffers when the ambient temperature rises well above 100-degrees F.
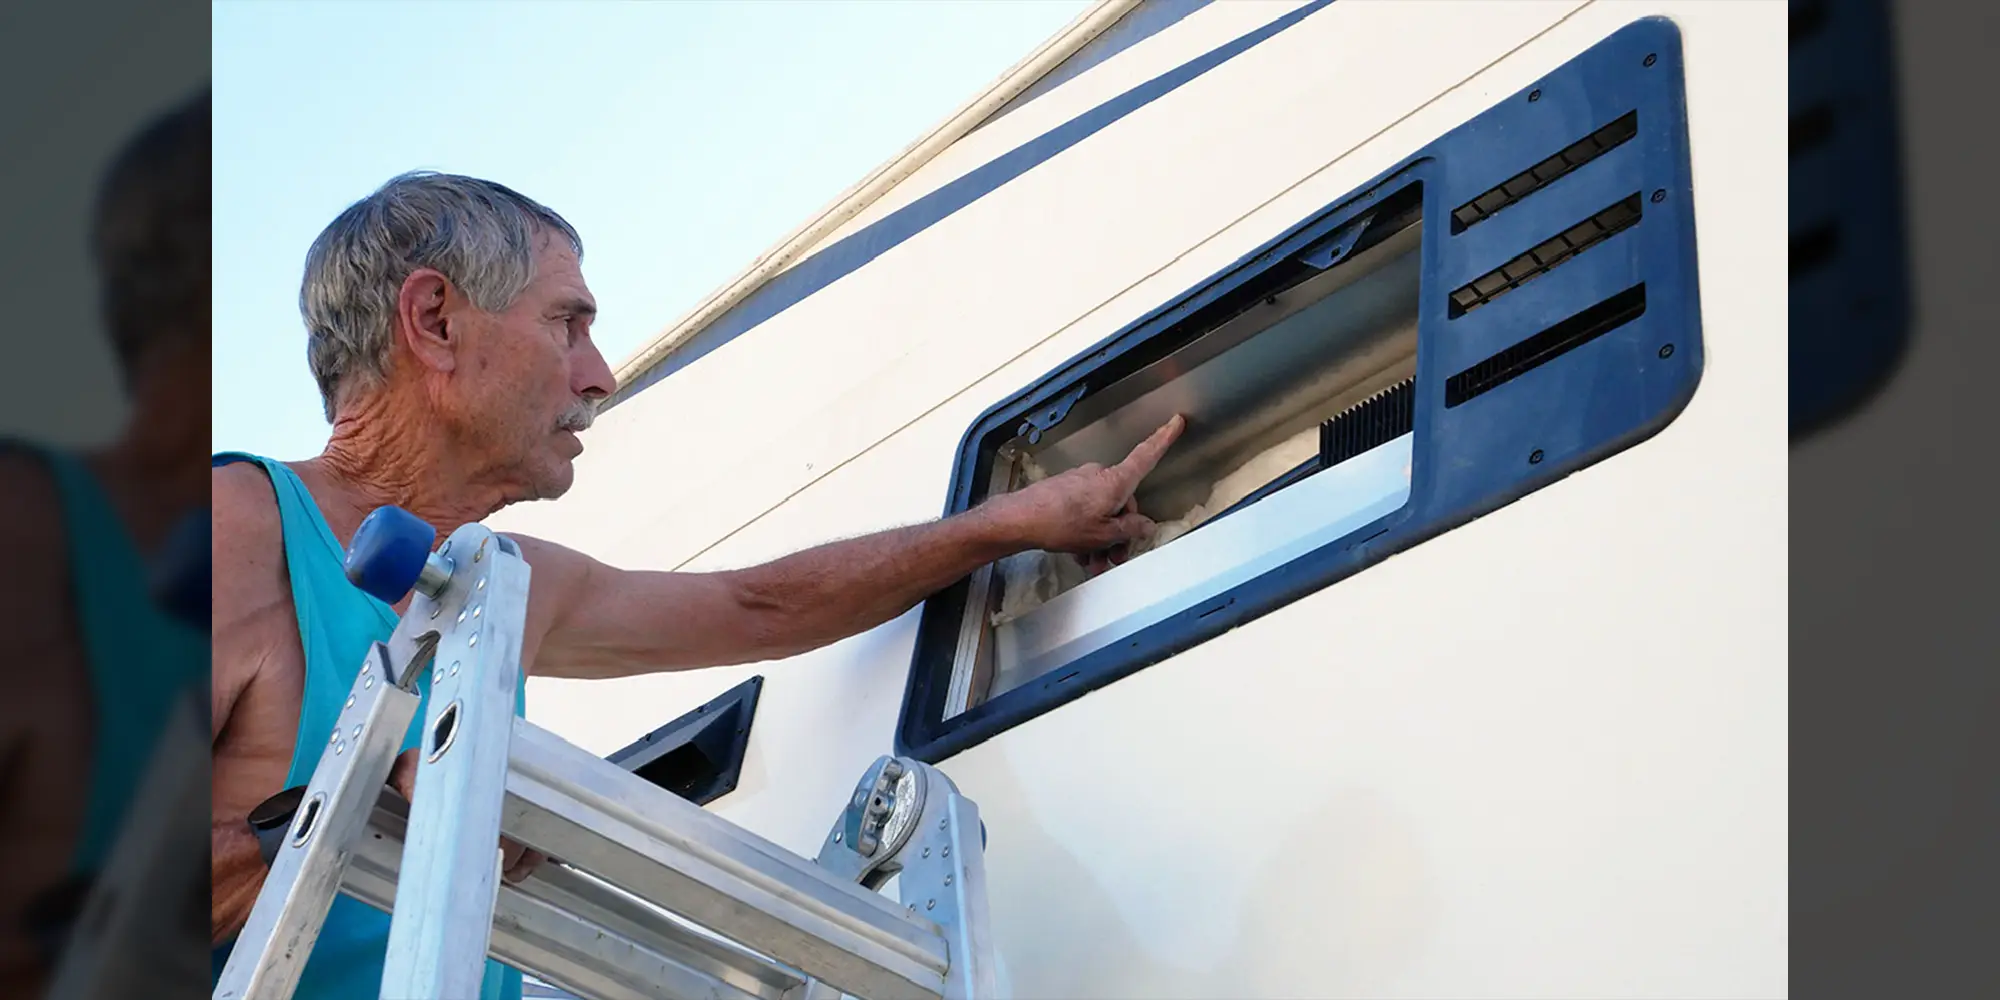
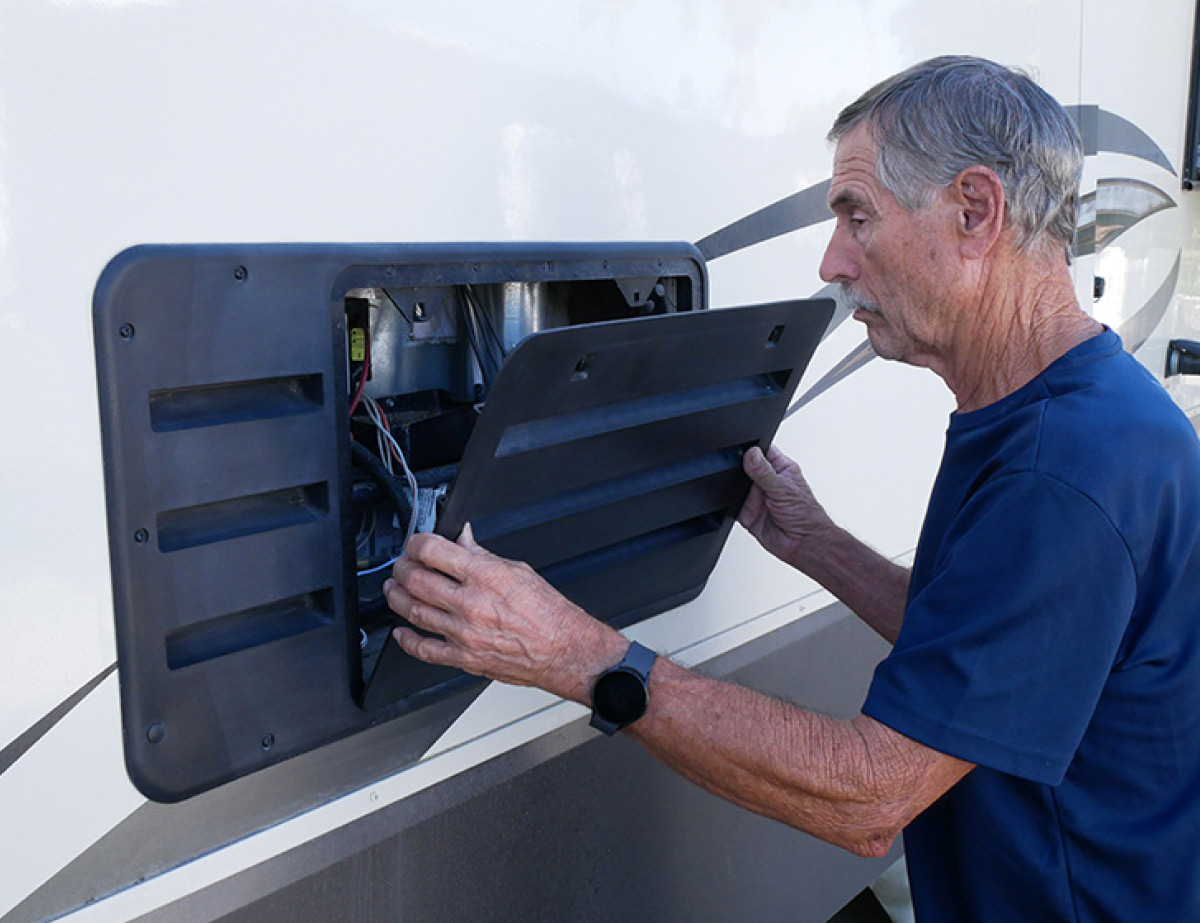
To combat any loss in cooling efficiency, refrigerator manufacturers have very specific installation instructions that allow heat to be removed from the back of the refrigerator. The heat extraction process is even more critical when the refrigerator is mounted in a slideout, because the traditional roof vent is replaced with a second wall vent. We all know that heat rises, so moving the heat out through a side vent is more restrictive since the heat has to take an unnatural pathway.
Over the years, I’ve learned that adding additional fans in strategic locations will make a world of difference when it comes to removing heat in compartments not configured for maximum ventilation. Also, a two-door refrigerator does not produce as much heat as its four-door cousins because there’s only one electric heating element as opposed to two in the bigger models — and the much larger cooling unit emits far more heat. Thus, adding fans to move the air more efficiently through the vents lowers the heat index, which results in colder temperatures in the refrigerator/freezer boxes.
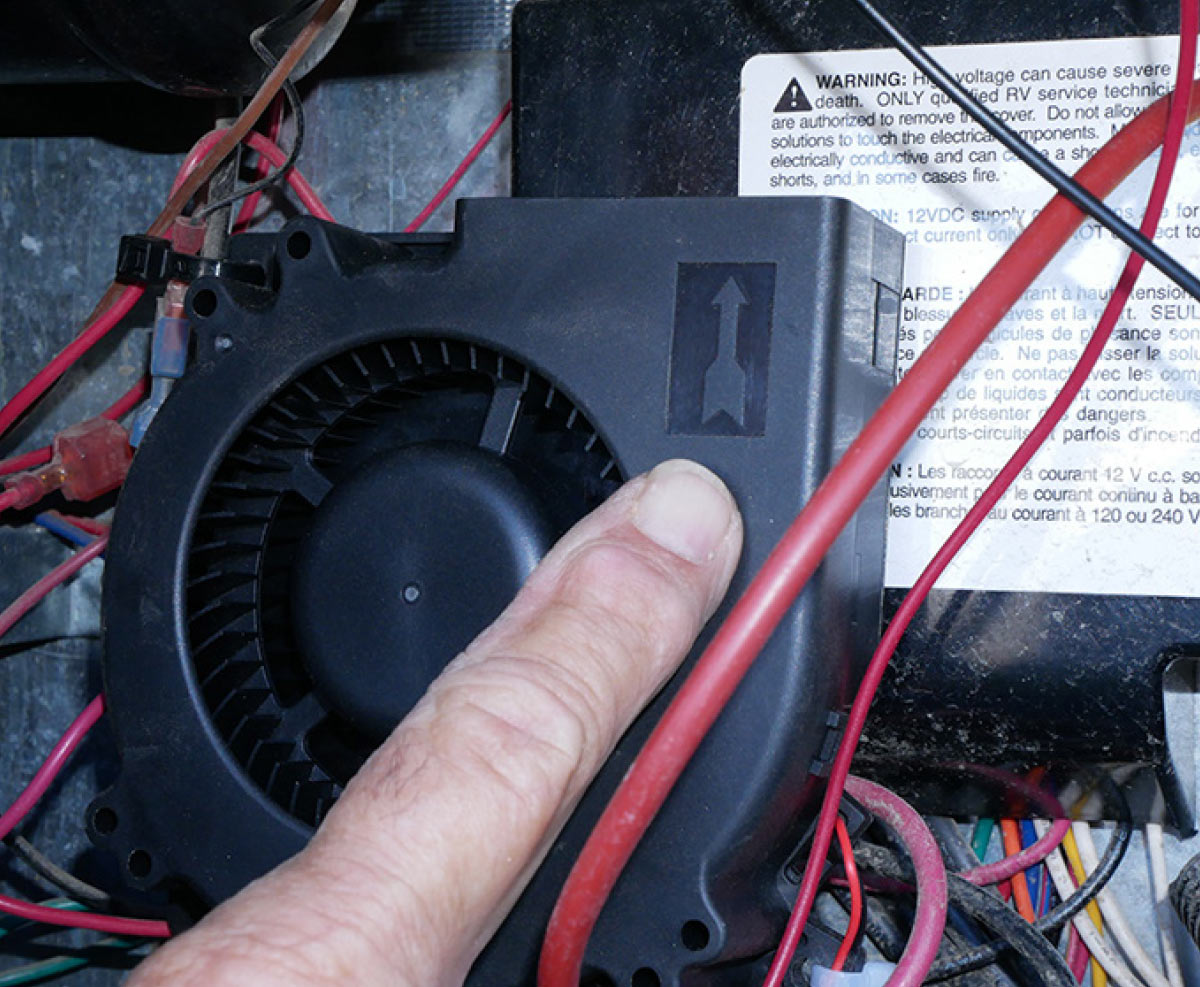
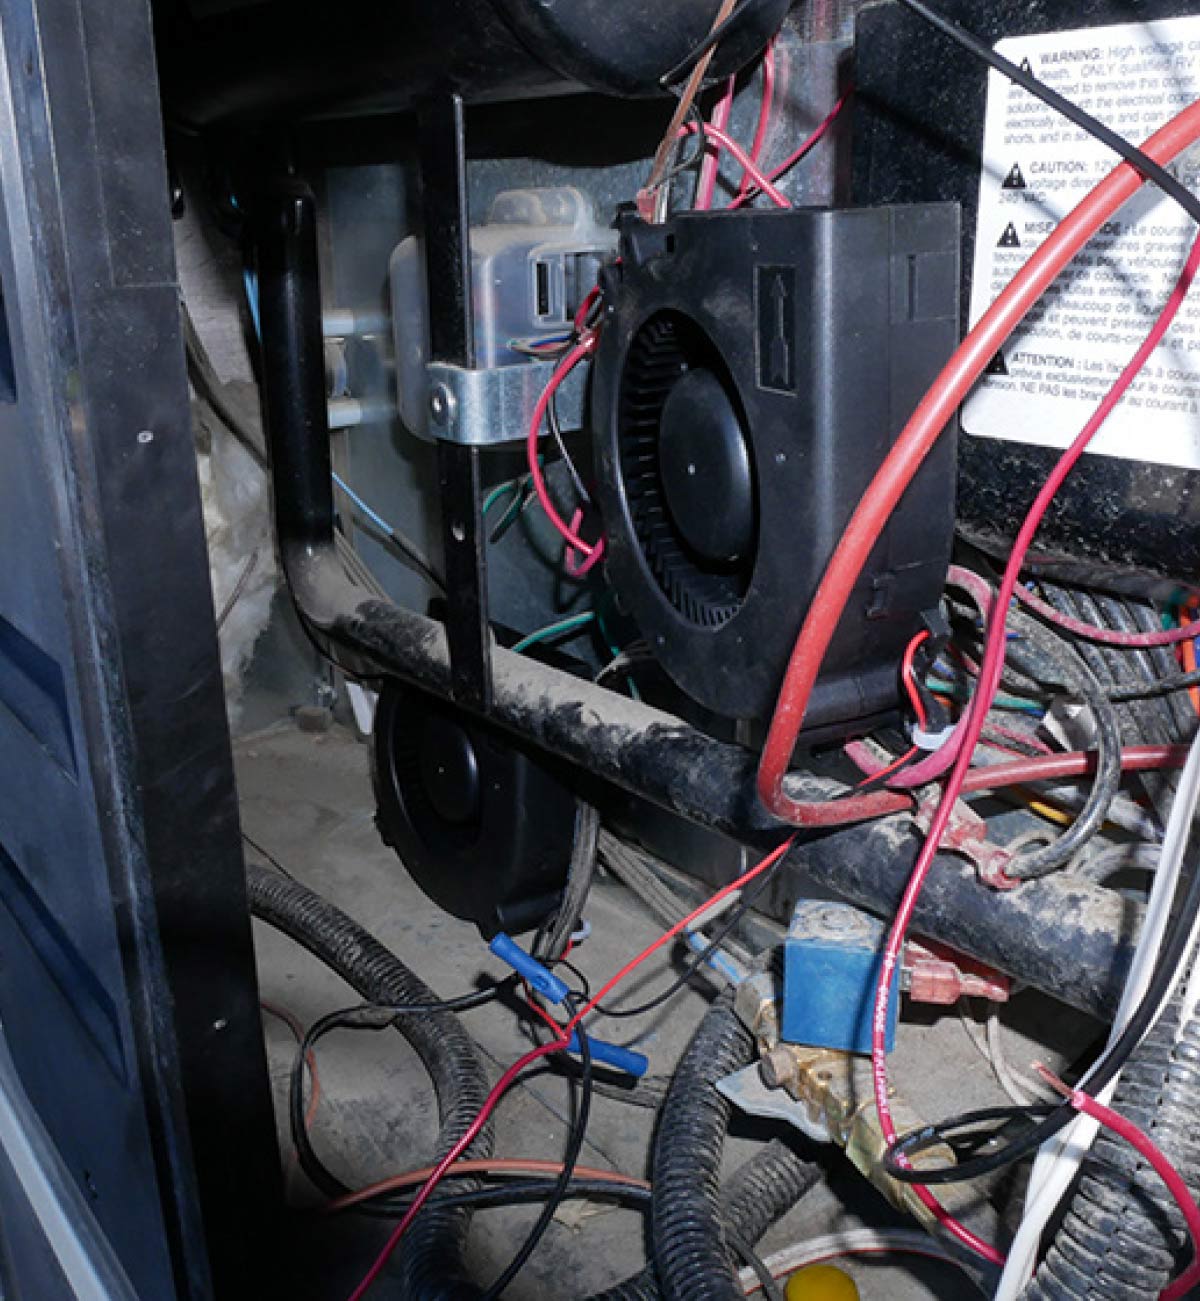
Most of the four-door model gas/electric refrigerators are using one or two small cooling fans (sometimes three) mounted in the back of the cooling unit. Nice try, but they are oftentimes mounted in the wrong place to provide optimum heat removal. Most of the time they are mounted right above the absorber coils and too far down below the low temperature condenser cooling fins — essentially not doing much.
Another problem — in a slideout installation — is when the refrigerator is installed higher than the top vent, forcing the heat to go all the way to the ceiling and cavitate before “trying” to be forced out the vent. This is not efficient.
Yet another dilemma is the lack of a ramp between the ceiling and the top rear of the refrigerator, which when installed correctly prevents heat from collecting at the top of the refrigerator. It’s like putting an icebox in the sun. Realistically, the refrigerator should be removed and the compartment revamped to be more efficient, but that’s a big job — and in this case made even more difficult because of the kitchen island counter that was in the way.
The solution was to add stronger fans — and position them in such a way to move the heat out of the compartment, a process that I have been using for many years with great success.
Before the modification, the owner was running the refrigerator on the No. 9 position, which was the maximum. The refrigerator compartment was maintaining only 50 degrees F at the time (during three-digit summer temperatures), which was not a safe temperature for food. The freezer was struggling to keep food frozen. As the ambient temperature dropped, the box temperature when down a bit — but still not sufficient to maintain safe food for more than a day or so.

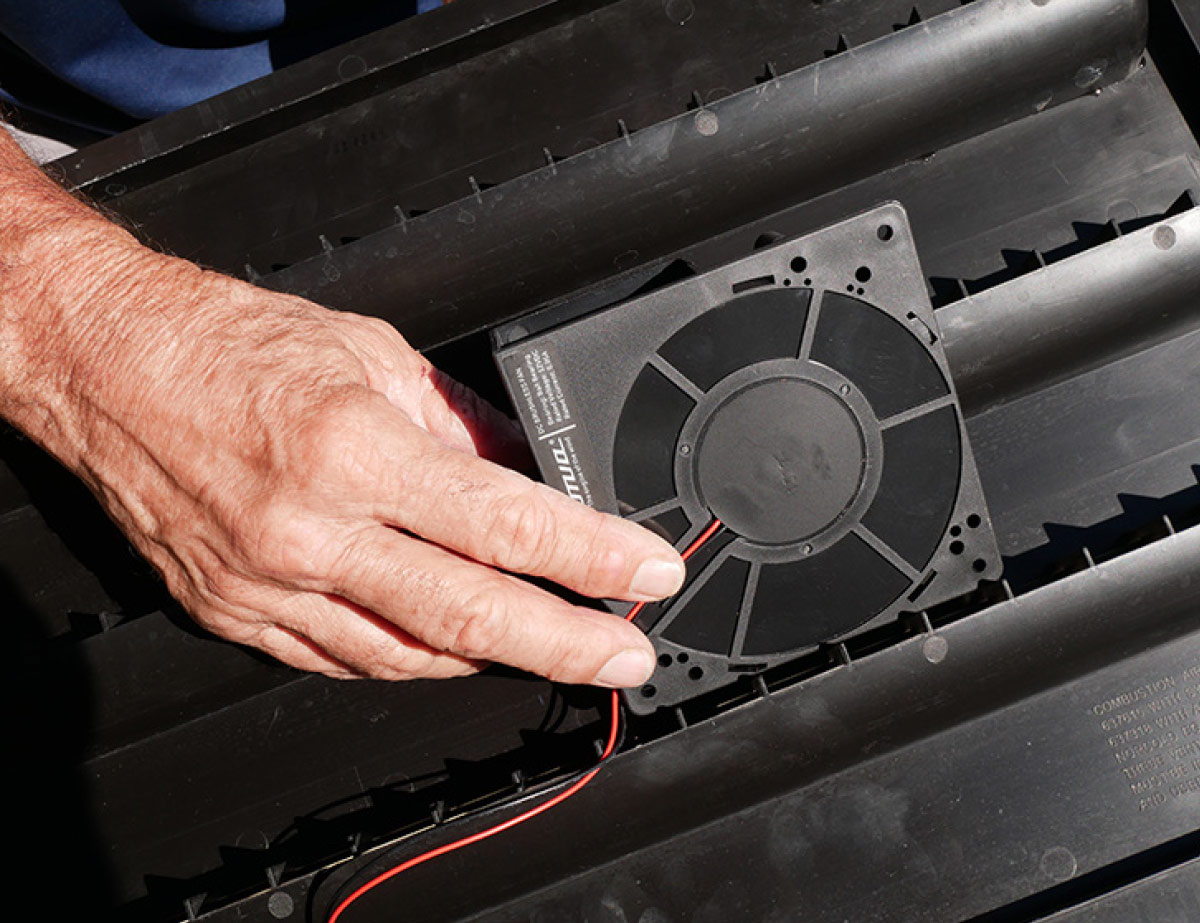
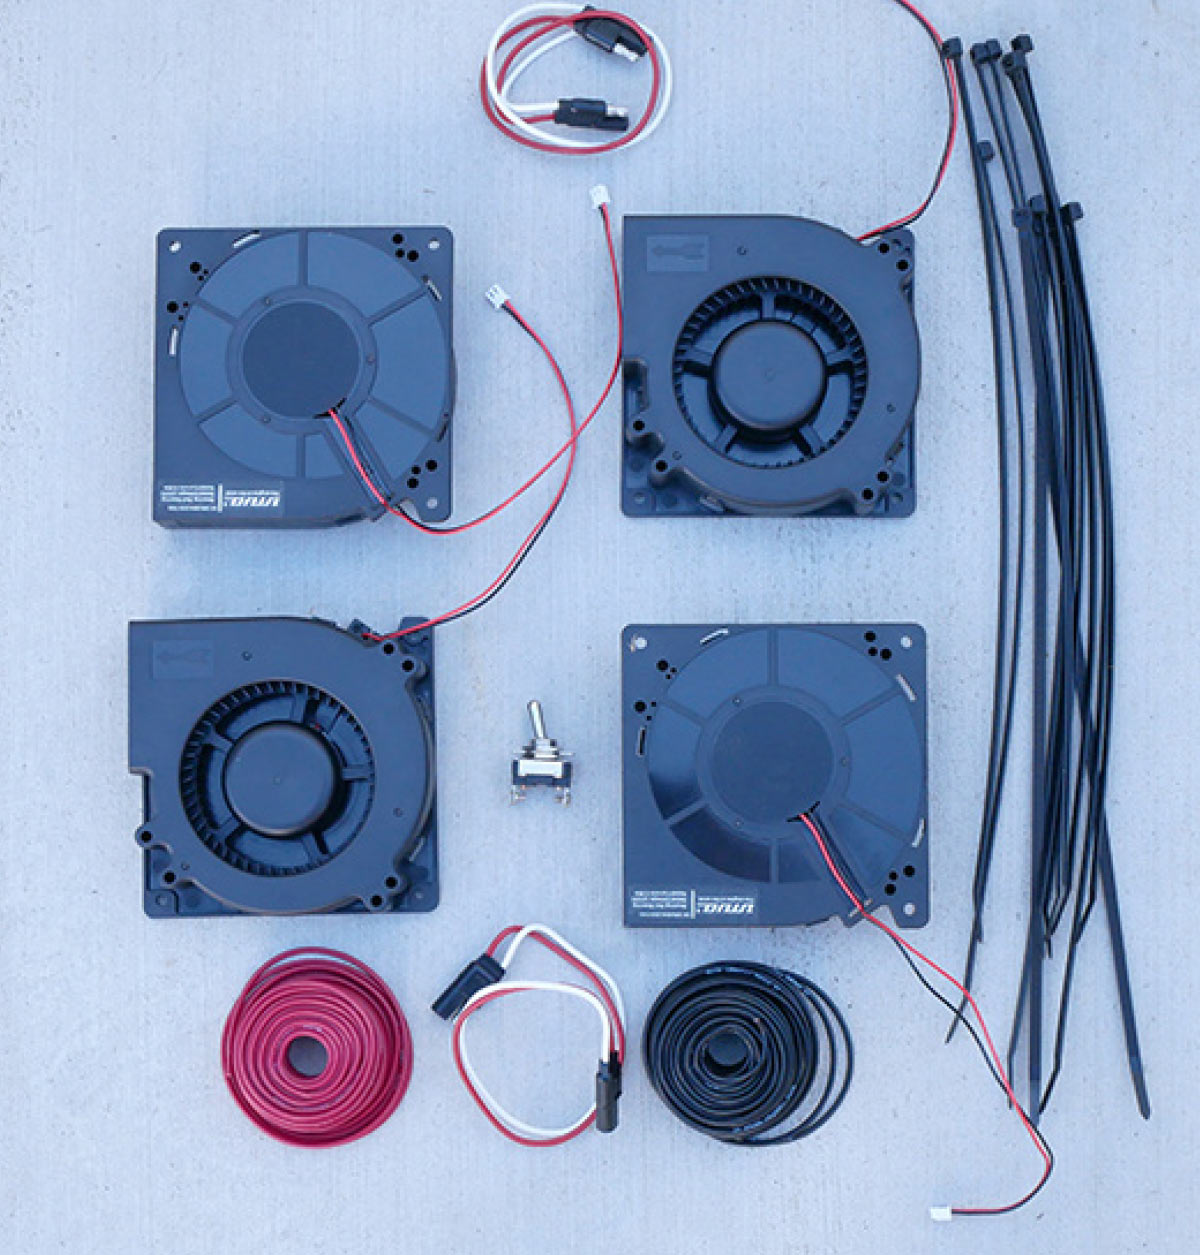
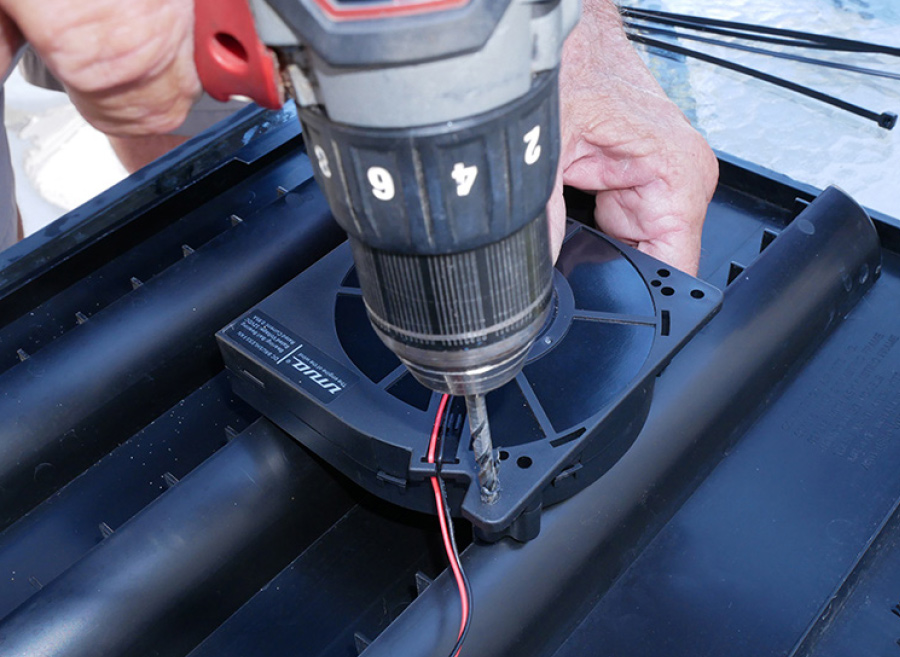
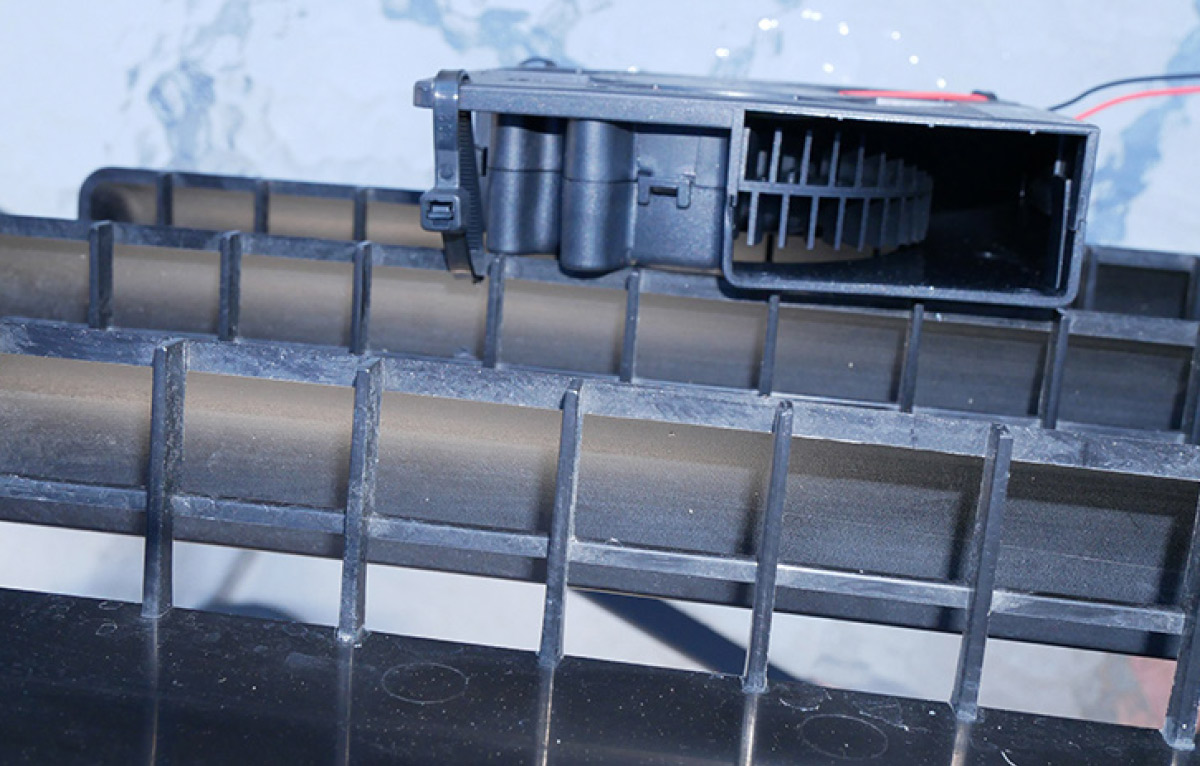
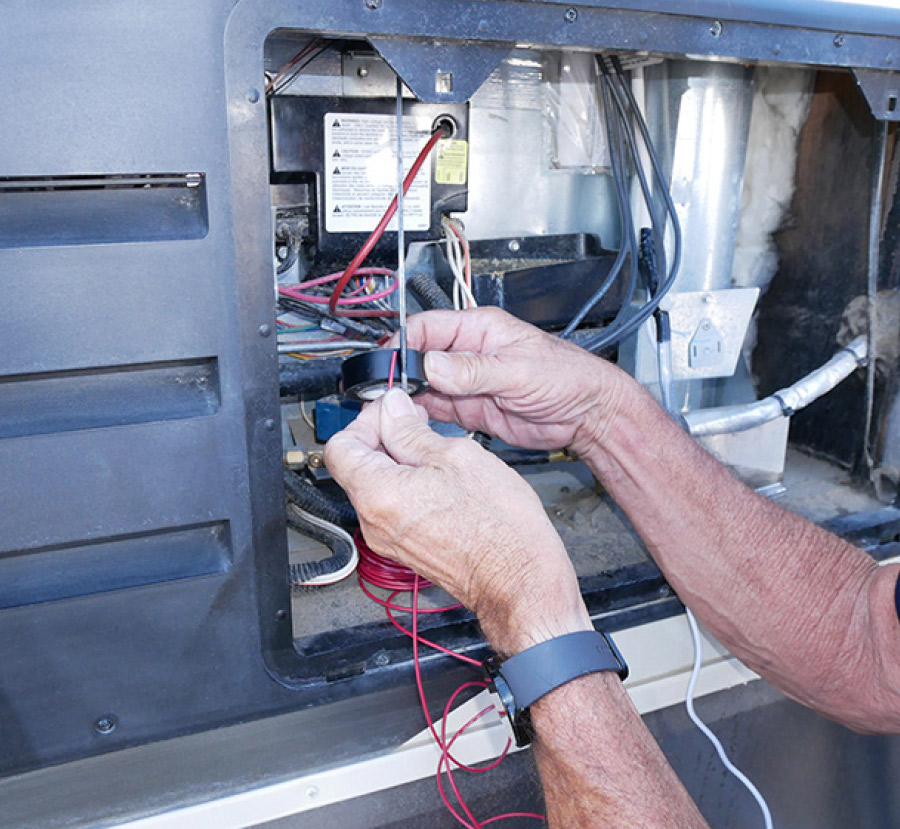
Finding the best locations for the fans took some experimentation over the years; I finally came up with a plan that was relatively simple to implement and the results have been fantastic. One fan is installed on the back side of each vent door (upper and lower) and two are mounted below the absorber coils, one higher than the other. In this configuration, the bottom fan in the vent panel was mounted so that it could pull air in from the outside and feed that air to the fans mounted below the absorber coils. The fan mounted in the upper door is positioned so that it pulls the air from the top of the compartment and blows it out through the vent opening. The original fans did very little and were left alone; they are controlled by a thermostatic disc at the evaporator near the boiler.
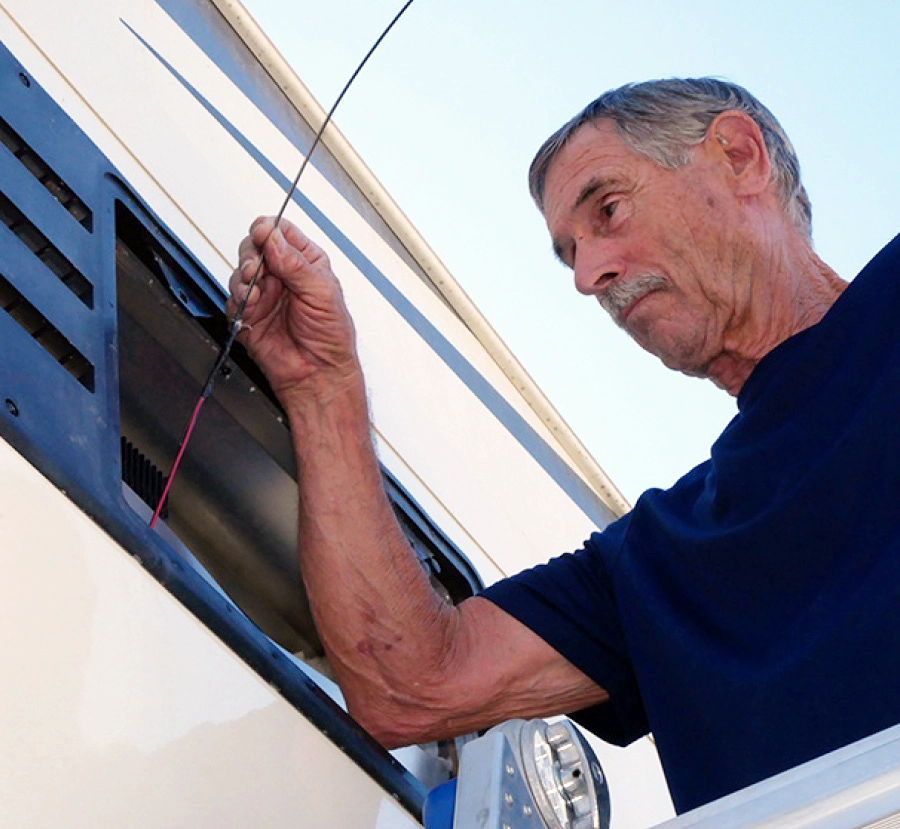
The placement of all the fans is critical — use caution to stay away from the right side of the refrigerator where the burner is located; this area can be extremely hot. The fan on the lower access door was mounted a little to the left of center so that it would blow towards the absorber coils, which were to the left of the insulated burner assembly. The two other blower fans were mounted below the absorber coils right in the middle of both absorber coil sections. The upper blower fan was mounted in the middle of the access door since would not be affected by the burner. We also installed a couple of two-pin connectors in the wiring to the fans in the vent doors so they could be released when opened.
All of the fans were mounted with cable ties; over period of time the heat will probably cause them to become brittle, but they can be replaced.
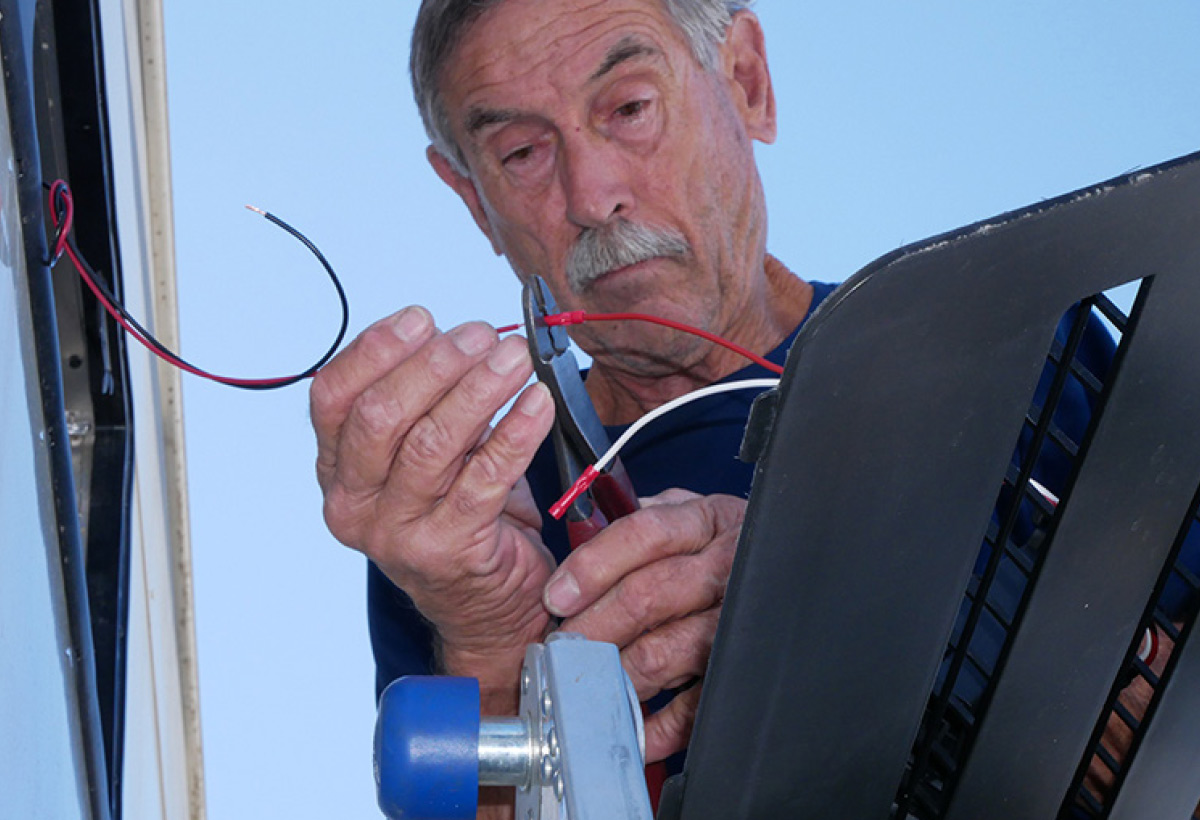
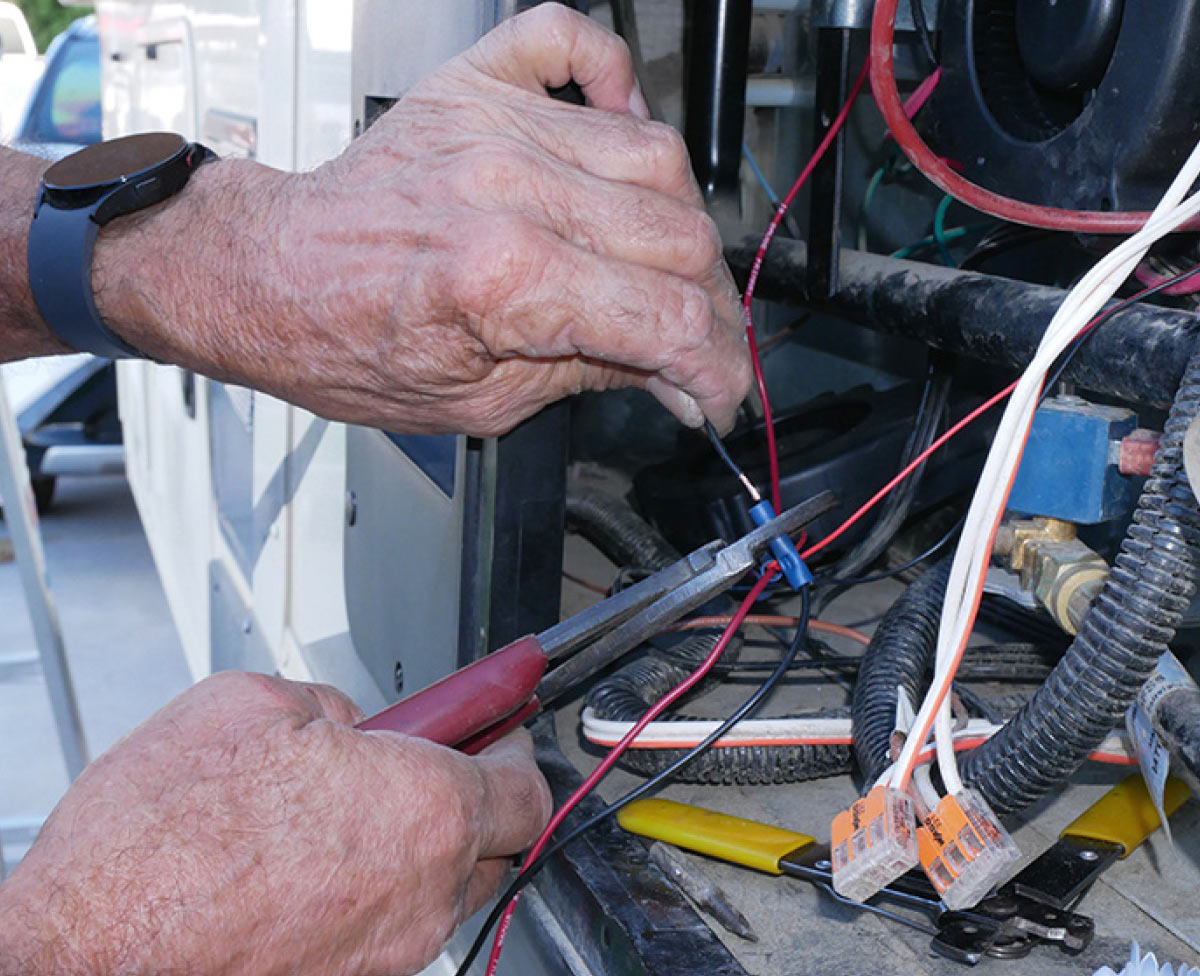
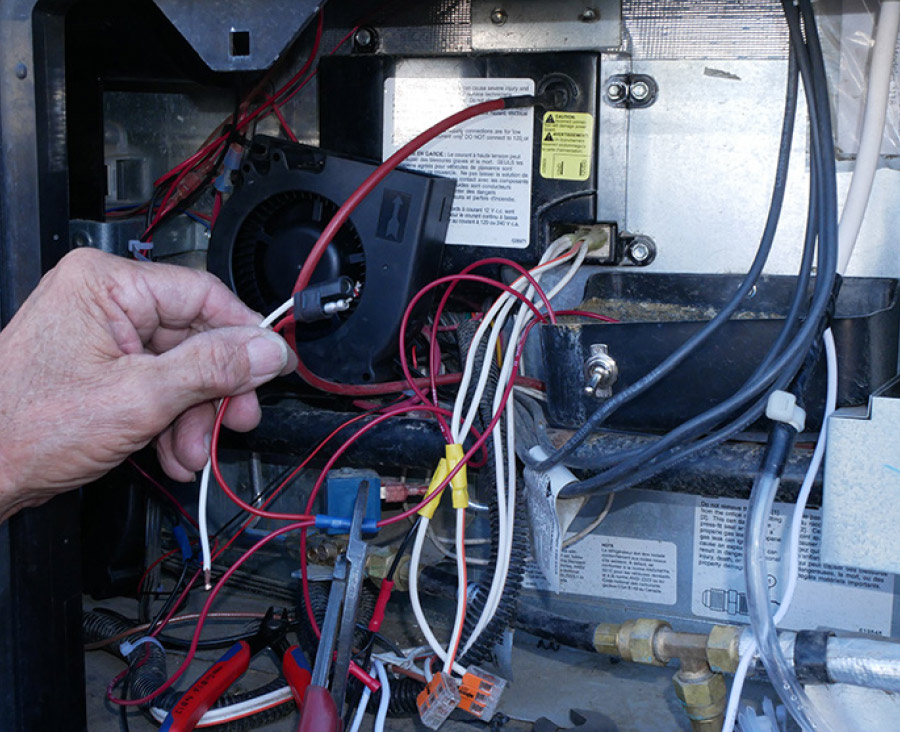
In order to get power to the fans, we simply tapped into the 12-volt DC wires going to the refrigerator. These fans don’t draw enough power to affect the function of the refrigerator; a 5-amp fuse was also installed in line. A switch was also installed behind the lower vent door to turn off the fans in cooler weather when they are not needed. It would be more convenient to have the switch inside, but that requires additional installation time as well as finding a practical path for the wiring. You should never drill holes in the refrigerator to route wires.

Another set of Beech Lane fans that we purchased were mounted to the evaporator fins inside the refrigerator. These fans can also be found on Amazon (search “Beech Lane 12V Refrigerator Evaporator Fin Fan”) and sell for $39.99. They attach quickly with alligator clips and are designed to circulate the air down the back of the refrigerator and to the top when the door is closed; they also reduce frost build-up. There are three fans in the plastic housing and together they pull only 1 watt and produce little noise (20db). The 12-volt DC power wire was routed down through the condensation drain tube to the outside and connected to a power lead. The ground lead was connected to the negative wire on the interior light, which was only a few inches away.
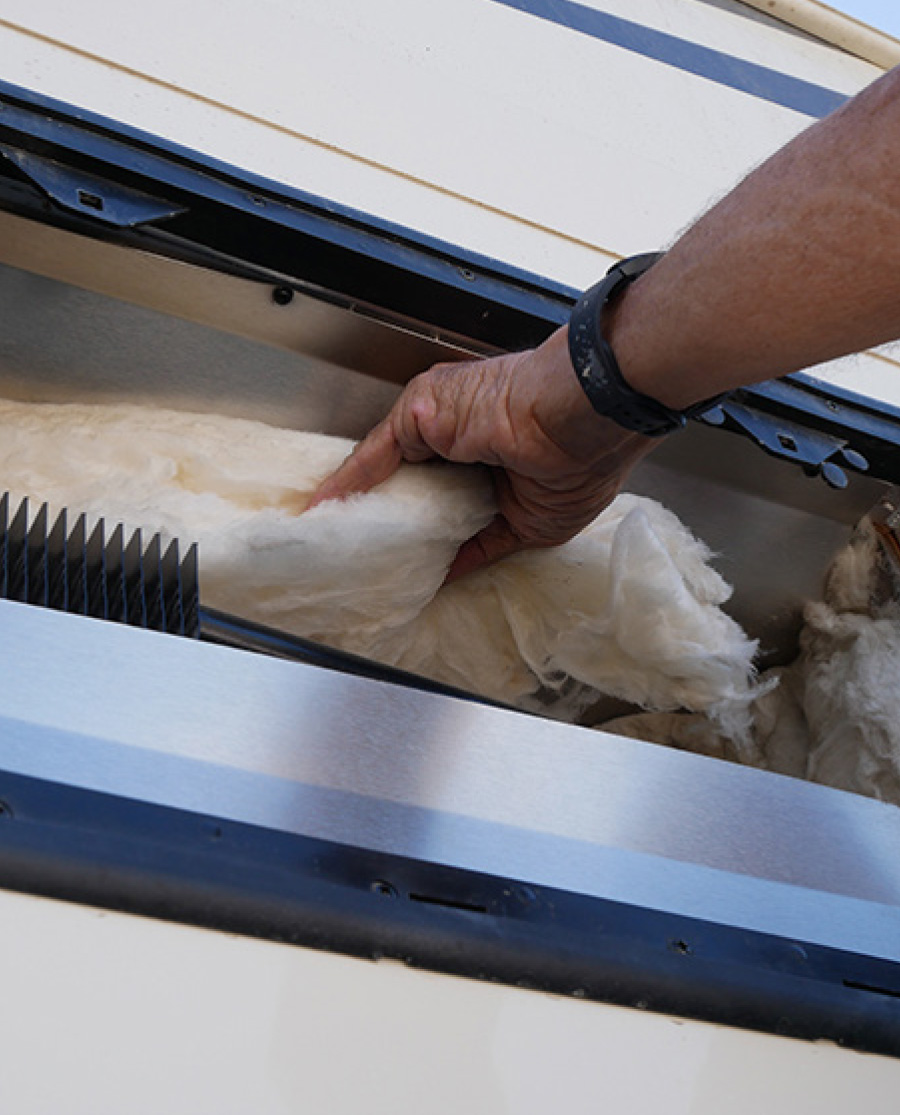
We then addressed the problem of the questionable installation of the refrigerator in the compartment. We are not able to remove the refrigerator, so we needed to come up with some way of stopping the heat from building up on the outside of the absorber coils. We were able to stuff R13-rated fiberglass insulation between the absorber coils and the outside wall, while taking care not to get it balled up and into the absorber coil gaps. The area only needs about 3-4 inches of insulation (in height).
The next part of insulation targeted the top of the refrigerator inside the compartment to prevent the heat from attacking the aluminum-foil covered Styrofoam on the refrigerator exterior, which affects the freezer compartment. The insulation only needs to come to the edge of the refrigerator. Ideally, if we removed the refrigerator, we would have made an angled ramp from the top of the refrigerator to the top of the access door. This was not possible because even with the vent door removed, there was not enough access to install such a ramp. The insulation was a good second choice.
This whole process can be repeated for a two-door refrigerator, but you will only need three blower fans (maybe only two) depending on the installation of the refrigerator.
The next day the owner of the fifth wheel excitedly reported that the temperature inside the refrigerator was down to 35 degrees F — and he once again had frozen ice cream. We know how important that is! Instead of running the refrigerator on the highest setting (No. 9), the lower temperatures were maintained while set on No. 4 — and even lower temperatures were achieved when the side of the fifth wheel was out of the sun. Not only does the food now stay safe, the owner will likely realize a saving in energy costs, especially when running on propane while parked off grid.
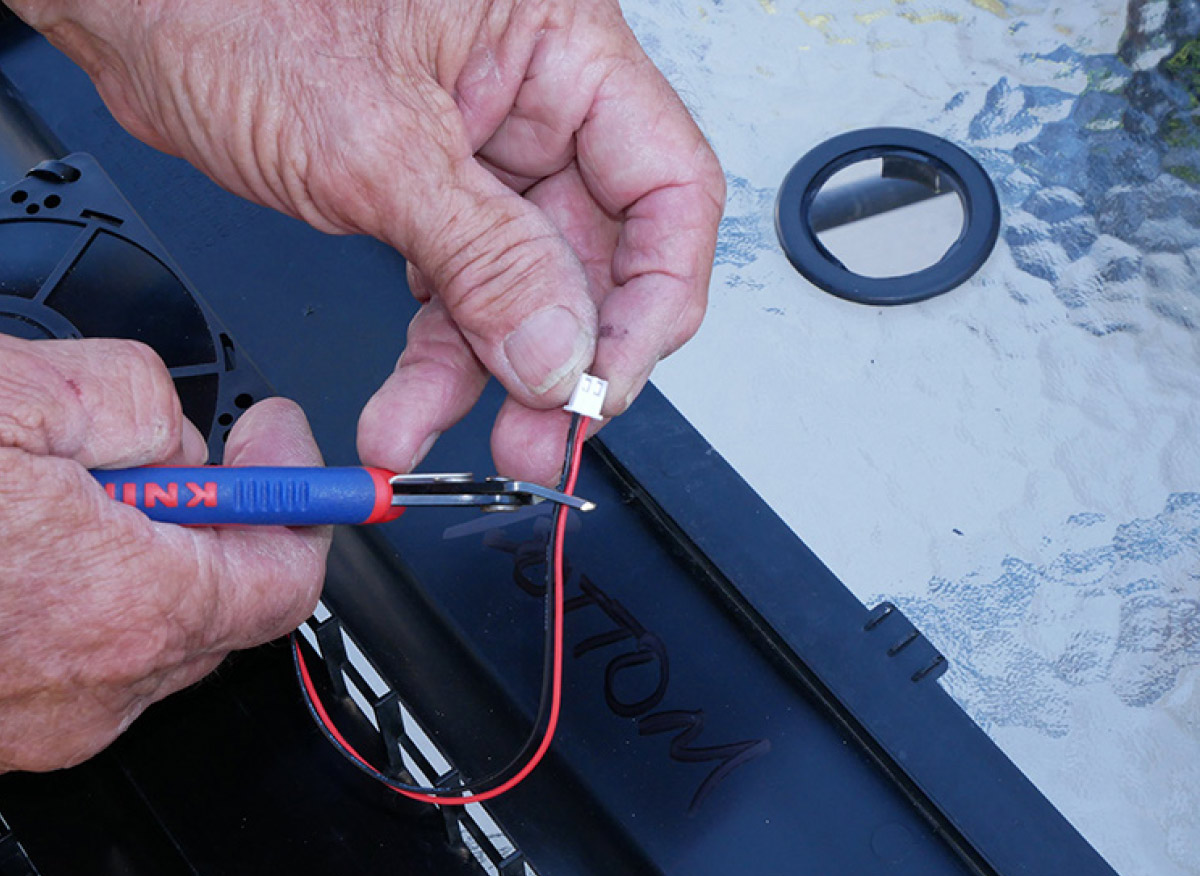
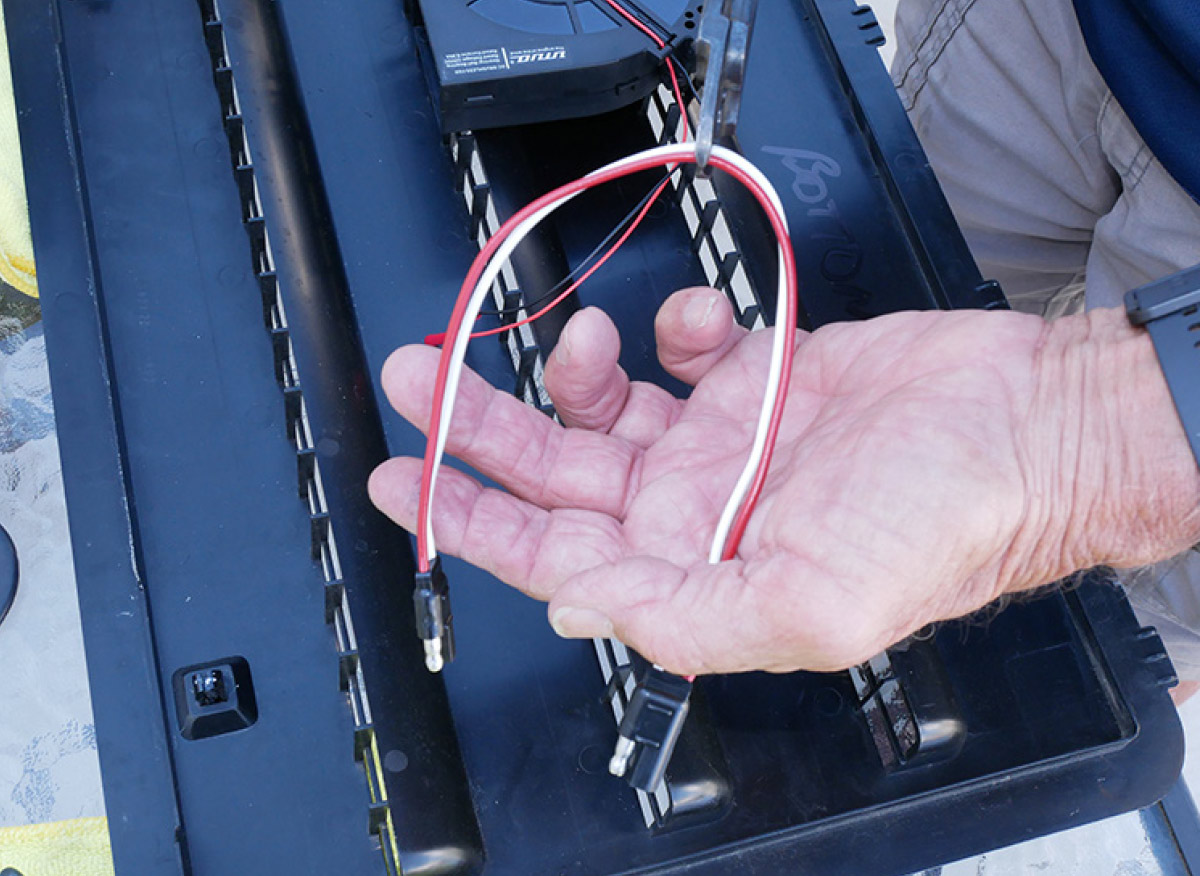
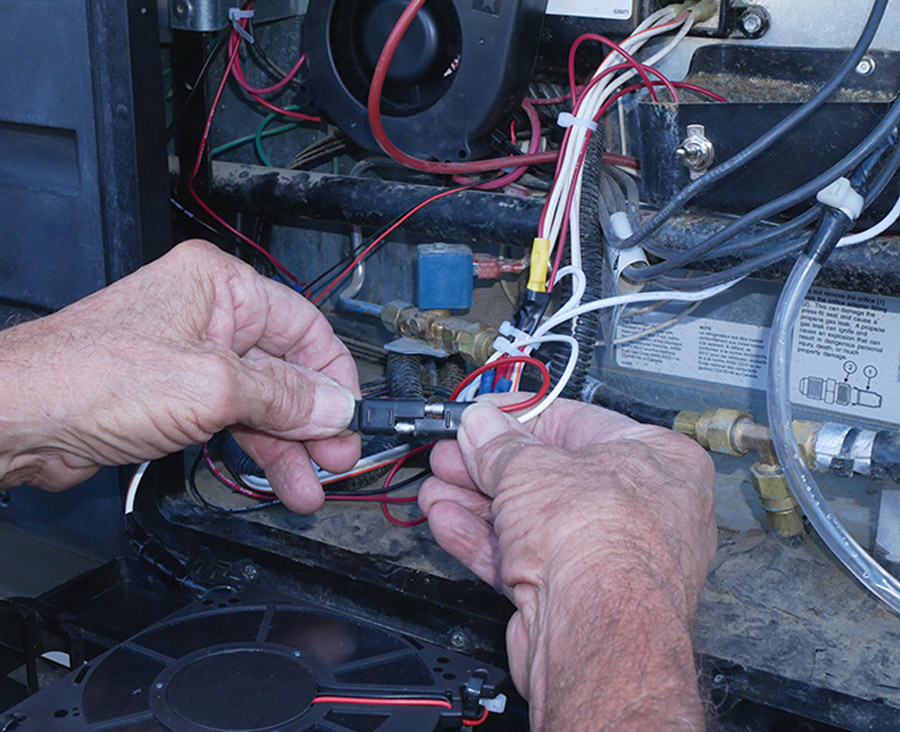
We cut the connectors off the wire pigtails from the new fans mounted in the vent panels. These wires were then butt-connected to a short pigtail with a two-pin plug, which can be disconnected when the panels are removed for access down the road.


Already a Subscriber? Click here for Access to the Full Issues.