No More Puddles After Showering
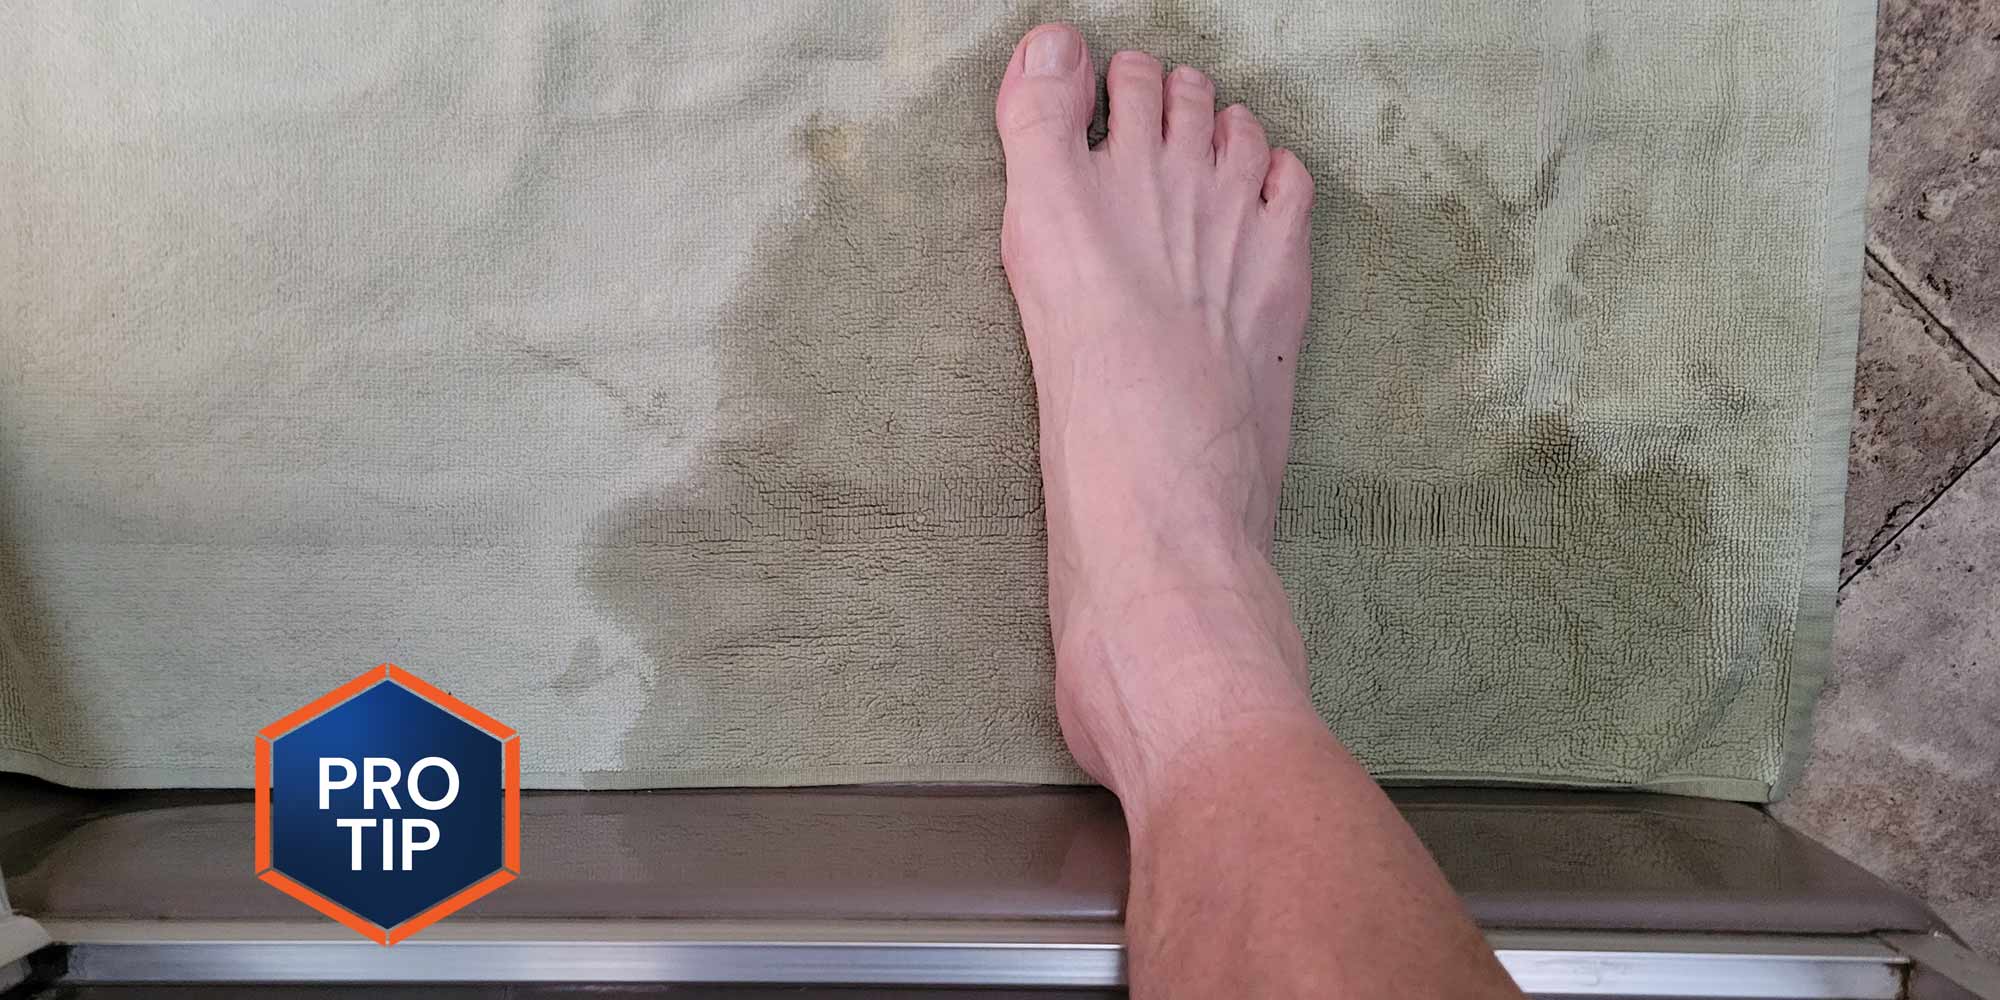
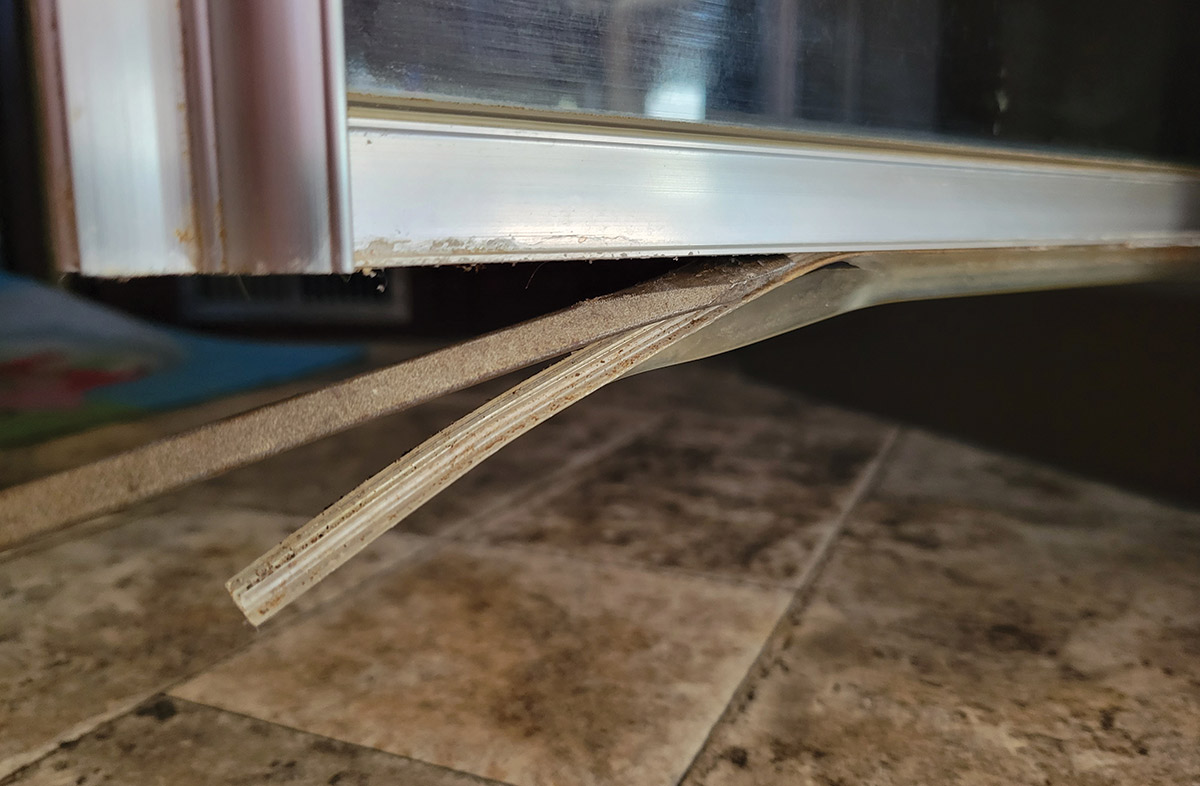
A large percentage of RV showers are fitted with a glass door that opens outward in similar fashion to a residential setup, only smaller. Many of these shower doors have a seal on the bottom to prevent the water from running out onto the floor. Unfortunately, these seals don’t last as long as one might expect, falling prey to deterioration that leads to tearing and pieces falling off. This allows the water to escape onto the floor. While it’s possible to put a towel down, doing so is not the most convenient and you end up with a soaked towel or a puddle on the floor, making it hard to dry your feet — much less the damage from water standing on the floor.
Data plates with the shower-door manufacturer name and model number seem to disappear, making it difficult to find replacement parts — and if they are available, good luck finding replacement parts these days. I struggled for years with the problem before finally discovering a simple silicone seal strip made by 3M. It has the company’s venerable adhesive tape laminated to a flexible edge that looked like it would work, so I took a chance and ordered a 26.3-foot, 1 ¼-inch-wide seal strip ($13.59 on Amazon). Length and widths of these rolls of flexible strip are all over the place when you go online, but if you Google “26.3 feet silicone seal strip” you’ll find this exact roll at Amazon.
Since this seal strip comes in several different widths, you’ll need to measure your shower door first to get an idea how far the edge of the silicone strip needs to protrude past the bottom of the door so it will prevent the water from splashing out.
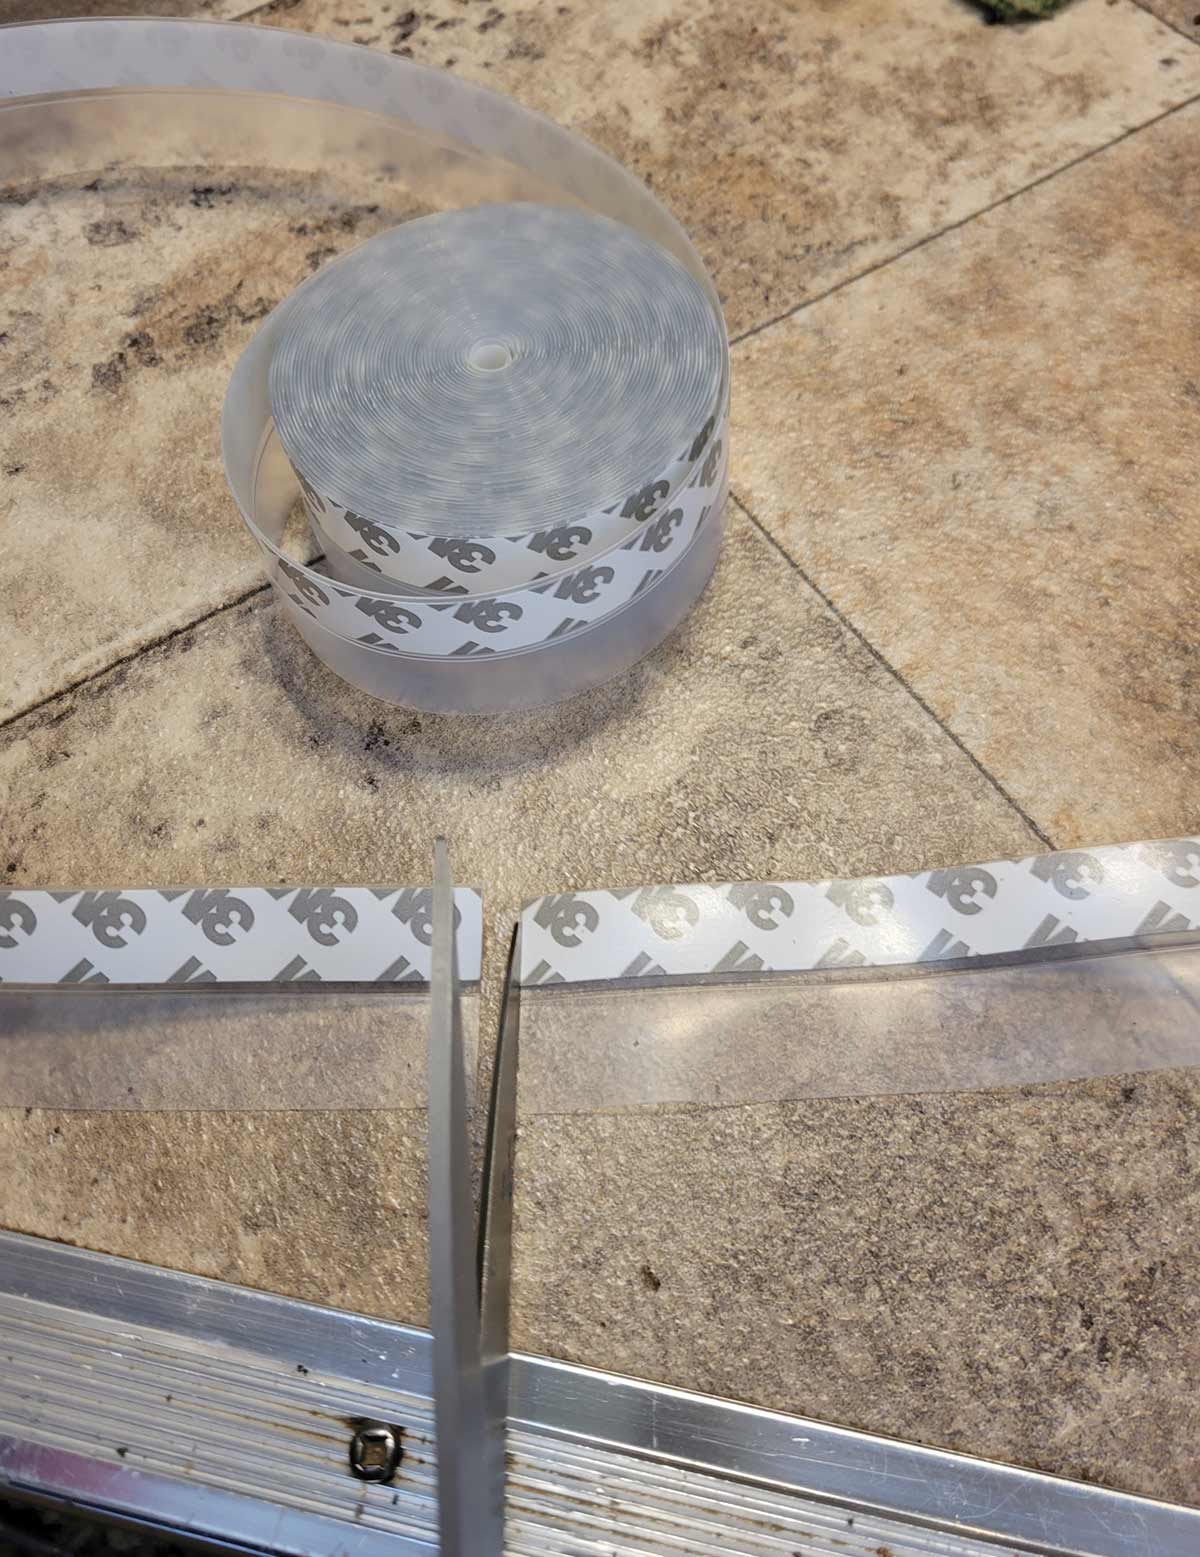
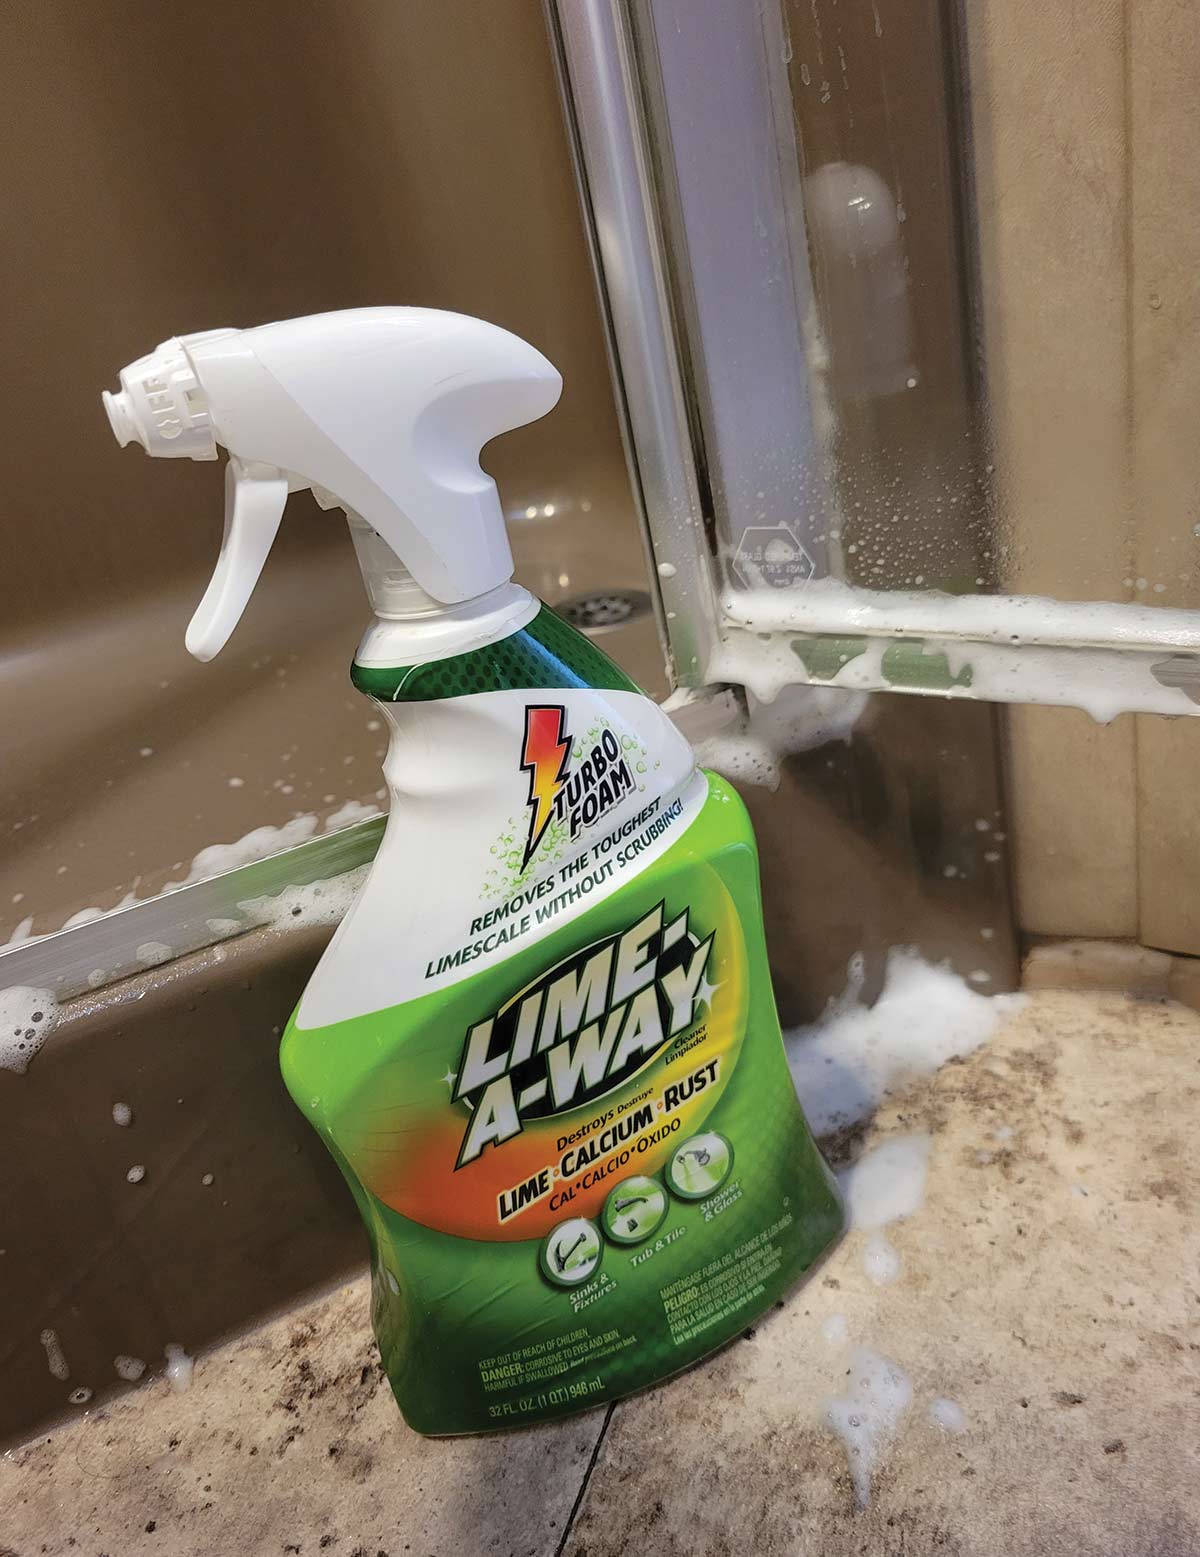
The installation is real simple. Measure and cut a piece of the 3M seal strip to run the entire length of the door. Preparation is the key to success: If your door bottom has a lot of calcium deposits, you will need to first remove all the crud and smooth out the surface (we prefer to use Lime-a-way foam) before trying to stick on the seal strip — trying to apply the tape over a rough surface is an exercise in futility. Once the surface is rid of any calcium deposits, clean the area with alcohol and allow to dry thoroughly.
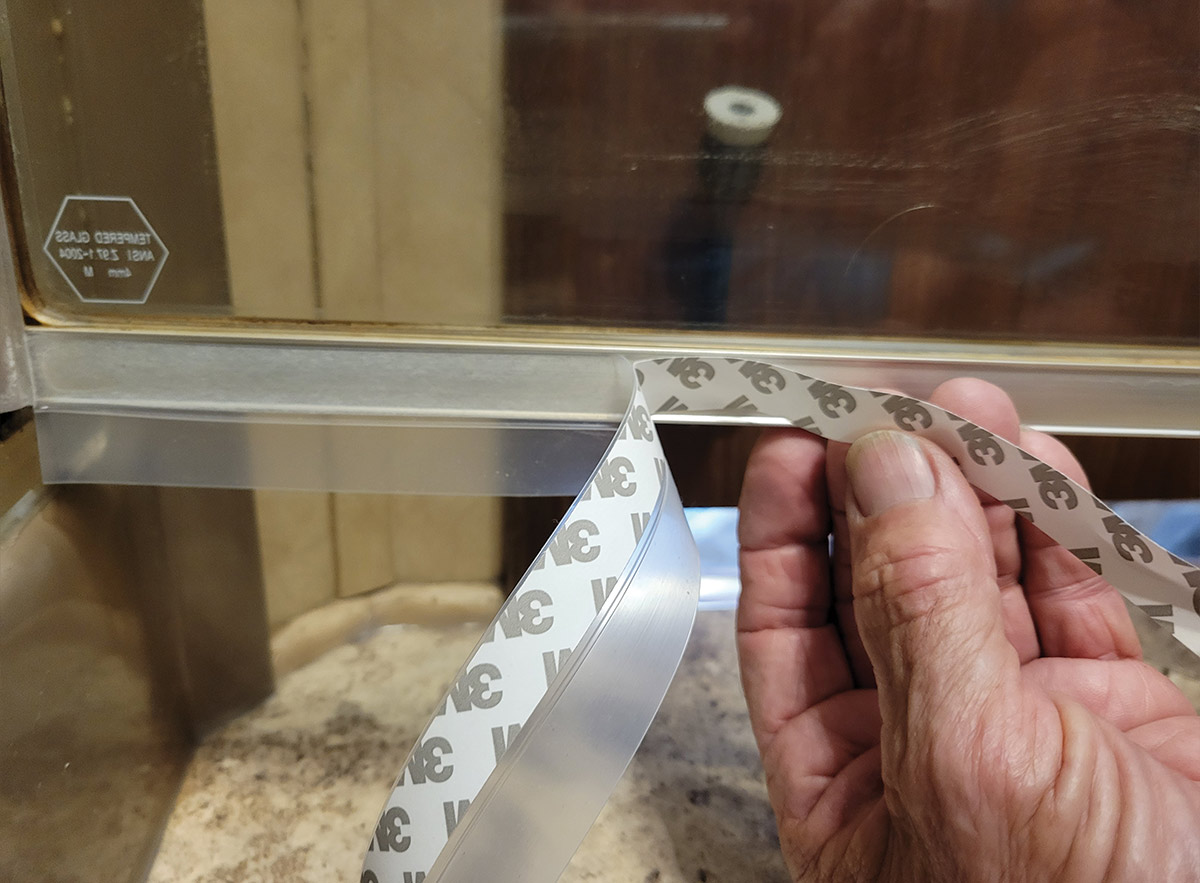
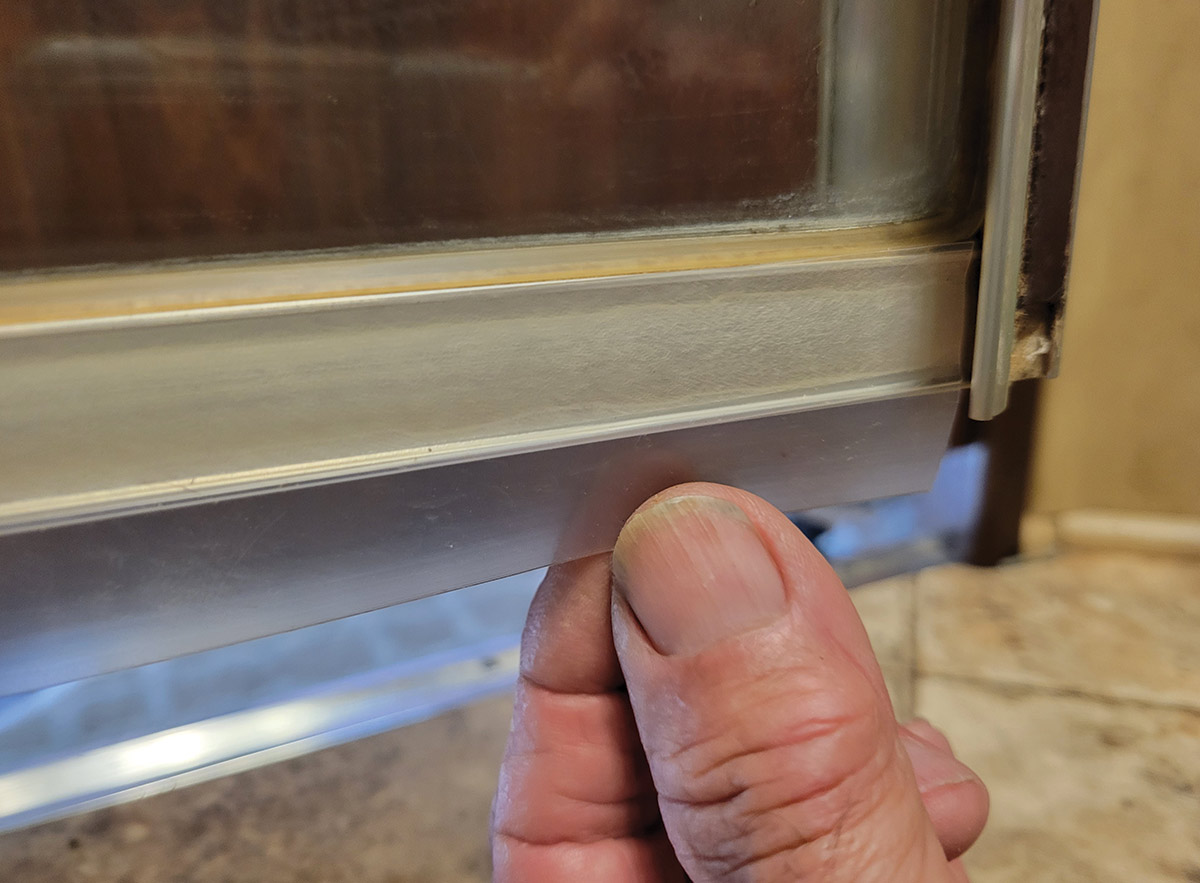
Slowly peel back about 1 inch of the adhesive cover and apply the strip to the door frame a little bit at a time. Don’t get in a rush; once it sticks to the surface it’s difficult to get off. When you are satisfied it’s in the correct position, press down on the strip to make sure it will stick properly. Depending on how the door/frame closes, it may be necessary to cut the seal tape to go around any protrusions. It’s also possible to attach the seal strip to the shower-pan frame where the door shuts against it, if necessary.
This simple project solved a problem that went on for too many years. It keeps the water in the shower pan where it belongs and there are no more sopping wet towels and feet. It’s likely, too, that you’ll find other uses for this silicone seal strip, including projects to fix drafty windows, doors, vents or maybe even making a refrigerator gasket repair.
Already a Subscriber? Click here for Access to the Full Issues.

