Technically Speaking – Q&A: Nov/Dec 2023

Rubber Roof Repair
I have a 2000 25-foot motorhome that is showing major signs of wear on the rubber roof. More than half of the roof has turned black, which I’m assuming is because the white coating on the rubber has deteriorated. I took the motorhome to a service center and got a quote from my local dealer to replace the rubber roof and almost fell over when I heard how much the job was going to cost.
Friends of mine have suggested that I put a new coating on the existing roof, which is not that difficult. Do you agree? I’m afraid if I leave it alone, the roof is going to get much worse and I’ll have no choice but to install a new roof at a much higher cost.
— Dwayne Roberts
Dwayne, I assume you have the original EPDM roof — and after 23 years it’s, well beyond its lifespan due to age, sunlight and weather. The black color is typical for a roof that old.
If you decide to have the rubber roof membrane replaced, make sure that the service people use a high-quality TPO material; it will last much longer than the original roof. I think you’ll be okay using a long-lasting coating on the roof and you can probably do it yourself, which will save a lot of money. Just make sure there are no serious tears or missing sections of membrane. Generally, the membrane needs to be in fairly decent shape to make a coating work properly. There are products available at RV supply stores that are designed specifically this purpose. Just stay away from hardware store products that contain silicone or the petroleum distillates. Dicor markets products for this purpose and are DIY friendly.
Keep in mind that preparation is critical for a proper bond. You should hang plastic sheeting all around the motorhome because coating the roof is a messy job — and you don’t want this stuff dripping down the sidewalls. I usually scrub the roof with a medium bristle brush and a good cleaner twice to make sure the surface is free of oil, grease and dirt before applying the sealer.
Use a medium-nap paint roller to spread the liquid coating as evenly as possible, working your way front to back. You may need to use a paint brush to spot-apply the liquid around the vents, TV antenna and whatever else is up on the roof before rolling out the main coating.
It’s best to do this job in mid-spring or early summer when the weather gets warmer; refrain from applying this stuff when the weather is cold or rainy.
If your motorhome is a keeper, consider having a professionally applied roof coating that replaces the original membrane. RV Roofing Solutions specializes in the replacement of roofs for RVs and its technicians will do the job where the rig is parked or stored. The company has a good reputation, and its roof replacement is likely the last one you’ll ever need.
Tracking Down Power
—Roger Ramirez
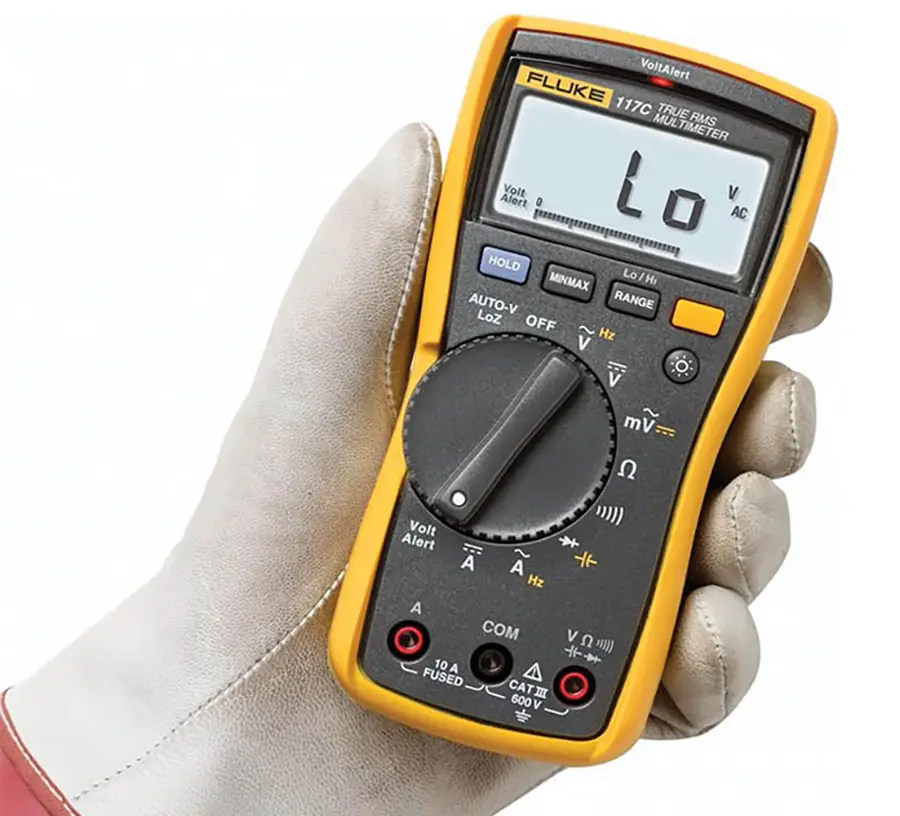
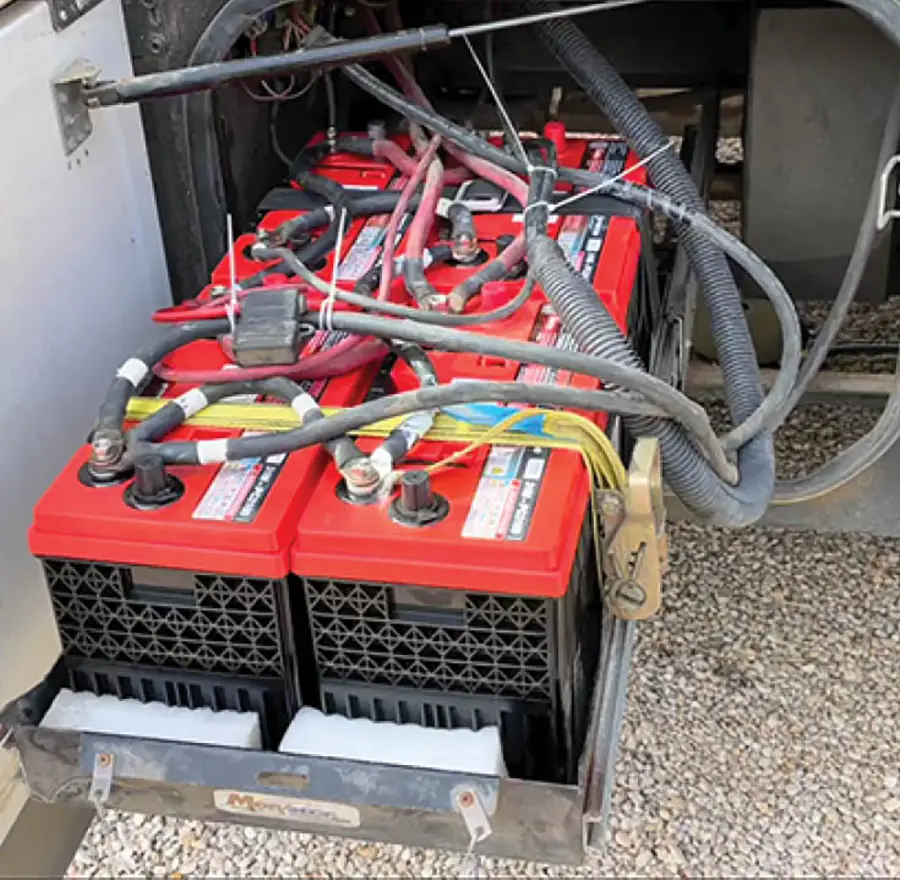
Roger, first you need to check that the battery cutoff switch is in the On position. Then you need to confirm that the batteries are really fully charged. If they are, you will need either a 12-volt DC test light, or better yet, a multimeter to trace the voltage from the batteries to the various accessories and lights. There is likely a fuse or circuit breaker close to the batteries that has blown or tripped. You’re getting power when hooked up to electric because of converter output.
Start by checking the voltage at the batteries after discharging them for 10 minutes or so to deplete the surface charge. It’s possible your problem can be attributed to sulfated batteries (or old age) that have not been conditioned properly during storage. Let’s say the batteries are good, which means you’ll need to check the aforementioned fuse or circuit breaker to be sure that there is voltage on both sides. Confirm there’s not a break in the line to the converter, which is probably not likely. If it does have power to the converter, then there could be two different scenarios: either the converter does not have a good ground or there’s a problem with the components inside the converter. Since you didn’t mention the brand and model of the distribution panel/converter, I’ll give you a general idea of what to test.
In order to eliminate a ground problem, you’ll need a jumper wire connected to the negative post on one of the batteries all the way to the converter and then use your voltmeter or test light to probe that ground and the positive wire at the converter. If at that point you have voltage, then you’ve got your answer — a bad ground. Of course, I’m assuming that the battery terminals are clean, not only on the surface but also at the point where the terminals lay flat against the battery. Once everything is buttoned up, check the voltage at the battery when connected to electric; when the batteries have discharged, you should see 13.8 to 14.2 volts DC.
Battery Swap
—Harlan Williamson
Changing to a lithium system always presents a little bit of a challenge, but it’s well worth the conversion — especially if you do a lot of boondocking. The longevity feature alone is worth the cost and effort. As far as the solar charge controller is concerned, check the owner’s manual to determine if it can be programmed for lithium batteries; if not, you’ll have to replace it.
As far as the converter is concerned, you didn’t mention whether it is a standalone converter or one built into the distribution panel. Many Progressive Dynamics converters can be set with the right parameters to handle lithium batteries, and you might be able to plug in a Charge Wizard (progressivedyn.com) to alter programming and change charging voltages. The process is much more complicated than just knowing a single output voltage. If the converter is inside the distribution panel you may be able to replace the module to make it lithium compatible. In any case, you’ll be looking at multi-stage charging capabilities.
Keep in mind, too, that you have another alternative: Odyssey dual-purpose absorbed glass mat (AGM) batteries offer a number of improvements versus traditional flooded lead-acid batteries, including proprietary manufacturing technology that allows Odyssey to fit more plates into similarly sized housings. This results in a substantial power increase: Odyssey claims its batteries provide twice the power (engine cranking pulses up to 3,125 amps for 5 seconds) and three times the life (up to 10 years of service) of conventional batteries. They can also be used at 80% depth of discharge to support house loads and can be operated at temperatures as low as -40°F. Well worth looking in to.
Frozen Pipe
—Joshua Stevenson
Joshua, unfortunately there’s no easy way to find breaches in hidden water lines or fittings that have succumbed to freezing temperatures. You will need to try to determine how the water lines are routed and if there’s access to the areas behind the wall or floor. Generally, manufacturers do not put fittings behind walls or somewhere without access, but it’s possible.
The first thing I would do is determine whether it’s a hot or a cold line. Turn on the water heater and check if the dripping water is warm. At that point, the “fun” begins. Isolating a broken pipe without a visual confirmation is difficult. It may be possible to cut the line on both sides of the leak and install a new section of Pex tubing, which you can find at home-improvement stores and RV parts stores. Slip-on fittings, like those from AquaLock (watts.com) or SharkBite (sharkbite.com) will make the connections simple. If you determine that the leak is coming from a T or another fitting behind the wall, your only choice is to remove panels and/or cut panels to gain access.
Are you stymied by a technical problem with your RV? Write to RV Enthusiast Technical Director Bill Gehr at [email protected]. Bill will answer inquiries as space permits.

With the summer season in full swing we're proud to present our latest issue of RV Enthusiast! The May/June issue covers the Best Towable Suspension Upgrades, Absorption Refrigerator Tips & Tricks, Enhancing RV Shower Time, PLUS so much more!
Already a Subscriber? Click here for Access to the Full Issues.