A Glowing Reminder - RV Enthusiast Magazine

A Glowing Reminder

by | Jul 7, 2023 | Pro Tip, RVEXPERT

Adding bright indicator lights below the outside light switches will remind you to turn them off at night.
Leaving porch lights on all night can irritate next-door neighbors; adding indictor lights to jog your memory is the simple way to make new friends.
How many times have you left your RV’s porch light on all night? Those parked next to you know — and probably wish that you would turn the darn thing off! Just walk around the RV park at night and you’ll see porch lights glowing brightly across patios and into their neighbors’ bedroom windows. It’s one of those things that go out of sight (and mind) when the window coverings are drawn and the door is closed. A solution finally dawned on me one morning after my RV’s porch light had been on all night and one of the neighbors complained: Install an indicator light.

Unfortunately, finding a matching switch with a built-in indicator light proved to be a futile process — and changing to another style switch was not in the cards. However, searching online (Amazon) resulted in finding dozens of small LED lights that could be mounted in a hole just below the porch light switch assembly. I settled on LED 8mm panel-mount lights made by Chanzon that come in a package of five ($6.99). These lights — available in a host of colors, from white to red, blue, green, orange and yellow — are designed to be mounted on a flat surface, whether it be in wood or metal. Each has a backup nut so it could be tightened and not come loose down the road. Two indicators were installed, one for the porch light and the other for the “scare” lights mounted in the corners of the fifth wheel.

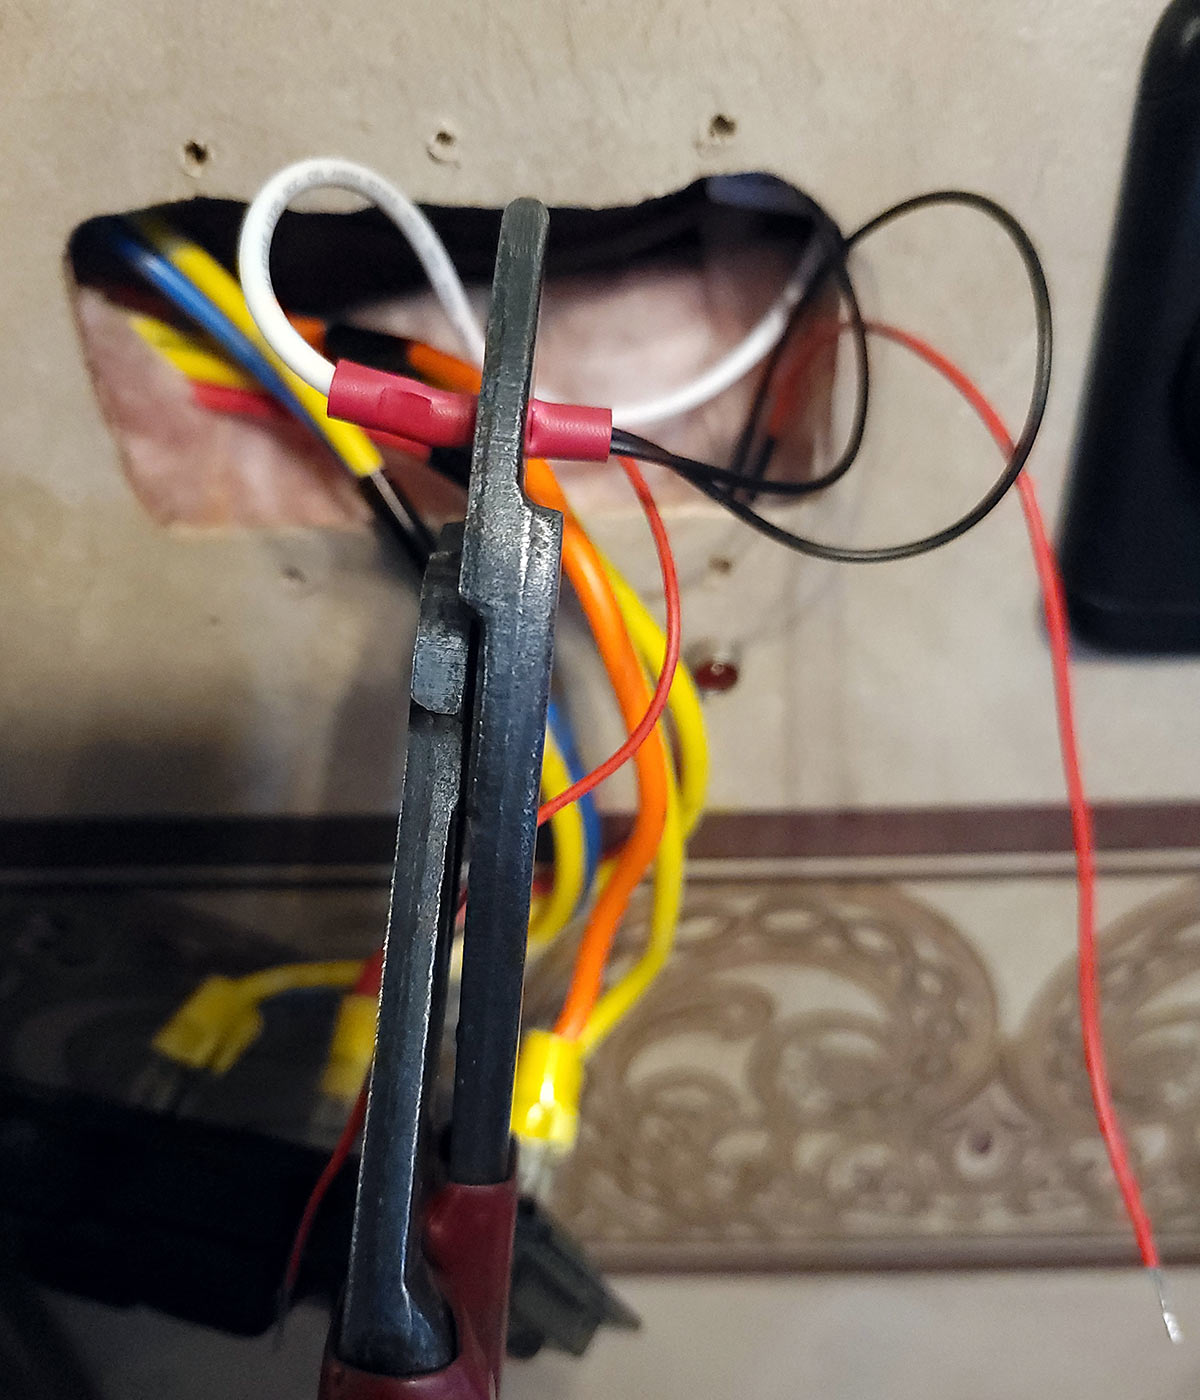
The first step was to mark the location where the lights would be installed. Next the switch assembly was removed, exposing the wiring. The necessary wires were tested using a multimeter: You need to look for 12-volt DC power when the switches are in the On position. Finding a suitable ground location may be the trickiest part; check nearby objects, a vent switch, frame members or any type of a light that requires a positive and negative wire. In this case, there was a metal frame rib right at the edge of the switch assembly, which I was able to drill into and install a ground lug for connecting to the indicator lights.

a hand holds a indicator light with a threaded retaining nut by the wire
Numerous small, bright indicator lights can be found online at Amazon and other sources. The choice is varied, so finding the one that suits your tastes might take some time. The best ones will have a threaded retaining nut to make sure the light stays put on the road.
switch assembly for the porch and “scare” lights is removed to expose the wiring

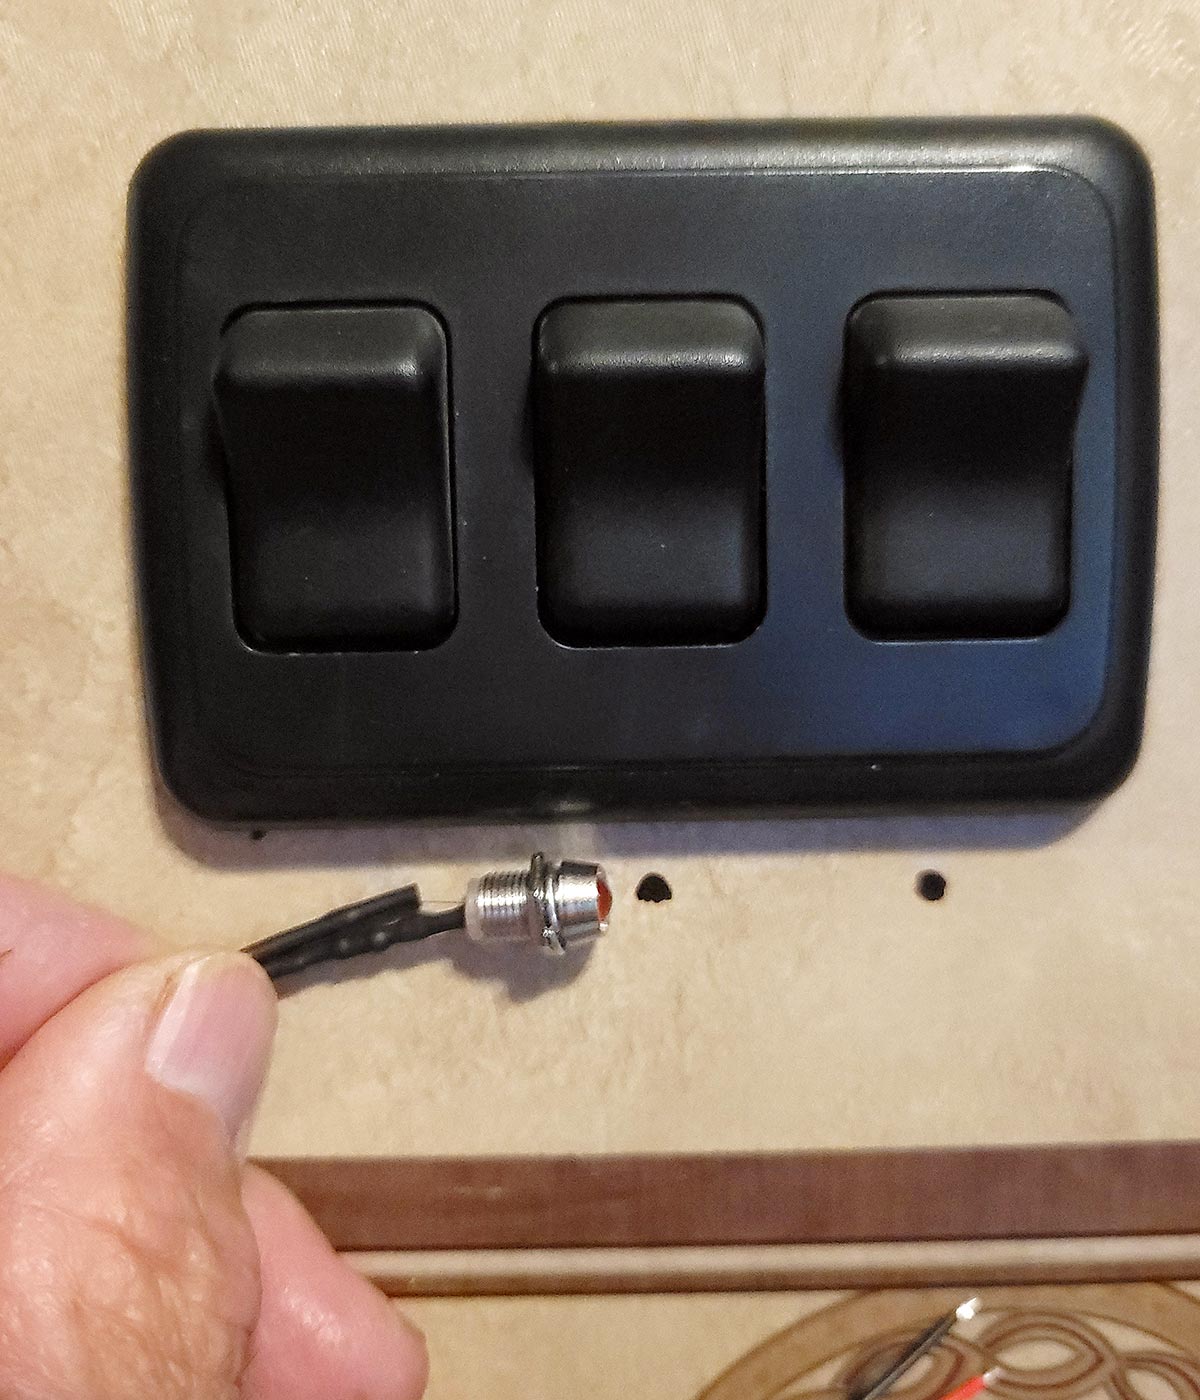
The switch assembly for the porch and “scare” lights was removed to expose the wiring. RVs with only a porch light will have one switch plate. If the switch is behind a cabinet door, it will be necessary to route the indicator light to a location outside the compartment.

ground wires are butt-connected to the leads attached to the metal rib located close to the switches
Ground wires were butt-connected to the leads attached to the metal rib located close to the switches. An appropriate ground can be found at nearby metal structures or from leads to other switches if wired in that manner from the factory.

Once the wiring was established, the appropriate size holes were drilled in the wall below the switches, the wires routed through the hole from the front and the retaining nut tightened.

There are a number of ways to splice into the 12-volt DC wires using connectors, but we elected to solder the positive wire from each light to the respective terminals on the switches (small wire-tap terminals can be used if you don’t have a soldering iron). After the ground wires were connected to their respective lights, the switches were turned On and Off to test the indicator lights. Once confirmed, the switch assembly was re-installed, being careful that the very small wires did not become detached.

positive wires from the indicator lights are soldered to the switch terminal connectors
Positive wires from the indicator lights were soldered to the switch terminal connecters that were live when the switch is in the On position.
close view of a light switch with three toggles, the right two with active red indicator lights below
Indicators mounted below the switches will make sure the occupants are aware that the porch and “scare” lights (if so equipped) are illuminated. It’s pretty hard to miss them – and with six colors available, you can color-coordinate them to match your interior décor.

Now, when the porch and/or scare lights are on, the indicators remind me to be kind to my neighbors — and turn off the lights when not outside.

Get Updates
Subscribe today and never miss an issue!
Get all the latest tips and news to keep you moving on that open road!
RV Enthusiast July/August 2024 cover mockup
Current Issue
July/August 2024
As the summer days linger on, escape the heat with the newest edition of RV Enthusiast! The July/August issue covers Improving RV A/C Efficiency, Rear- and Side-View Cameras, Truck shock Repair, PLUS so much more!

Already a Subscriber? Click here for Access to the Full Issues.

Share This