A Little Privacy, Please
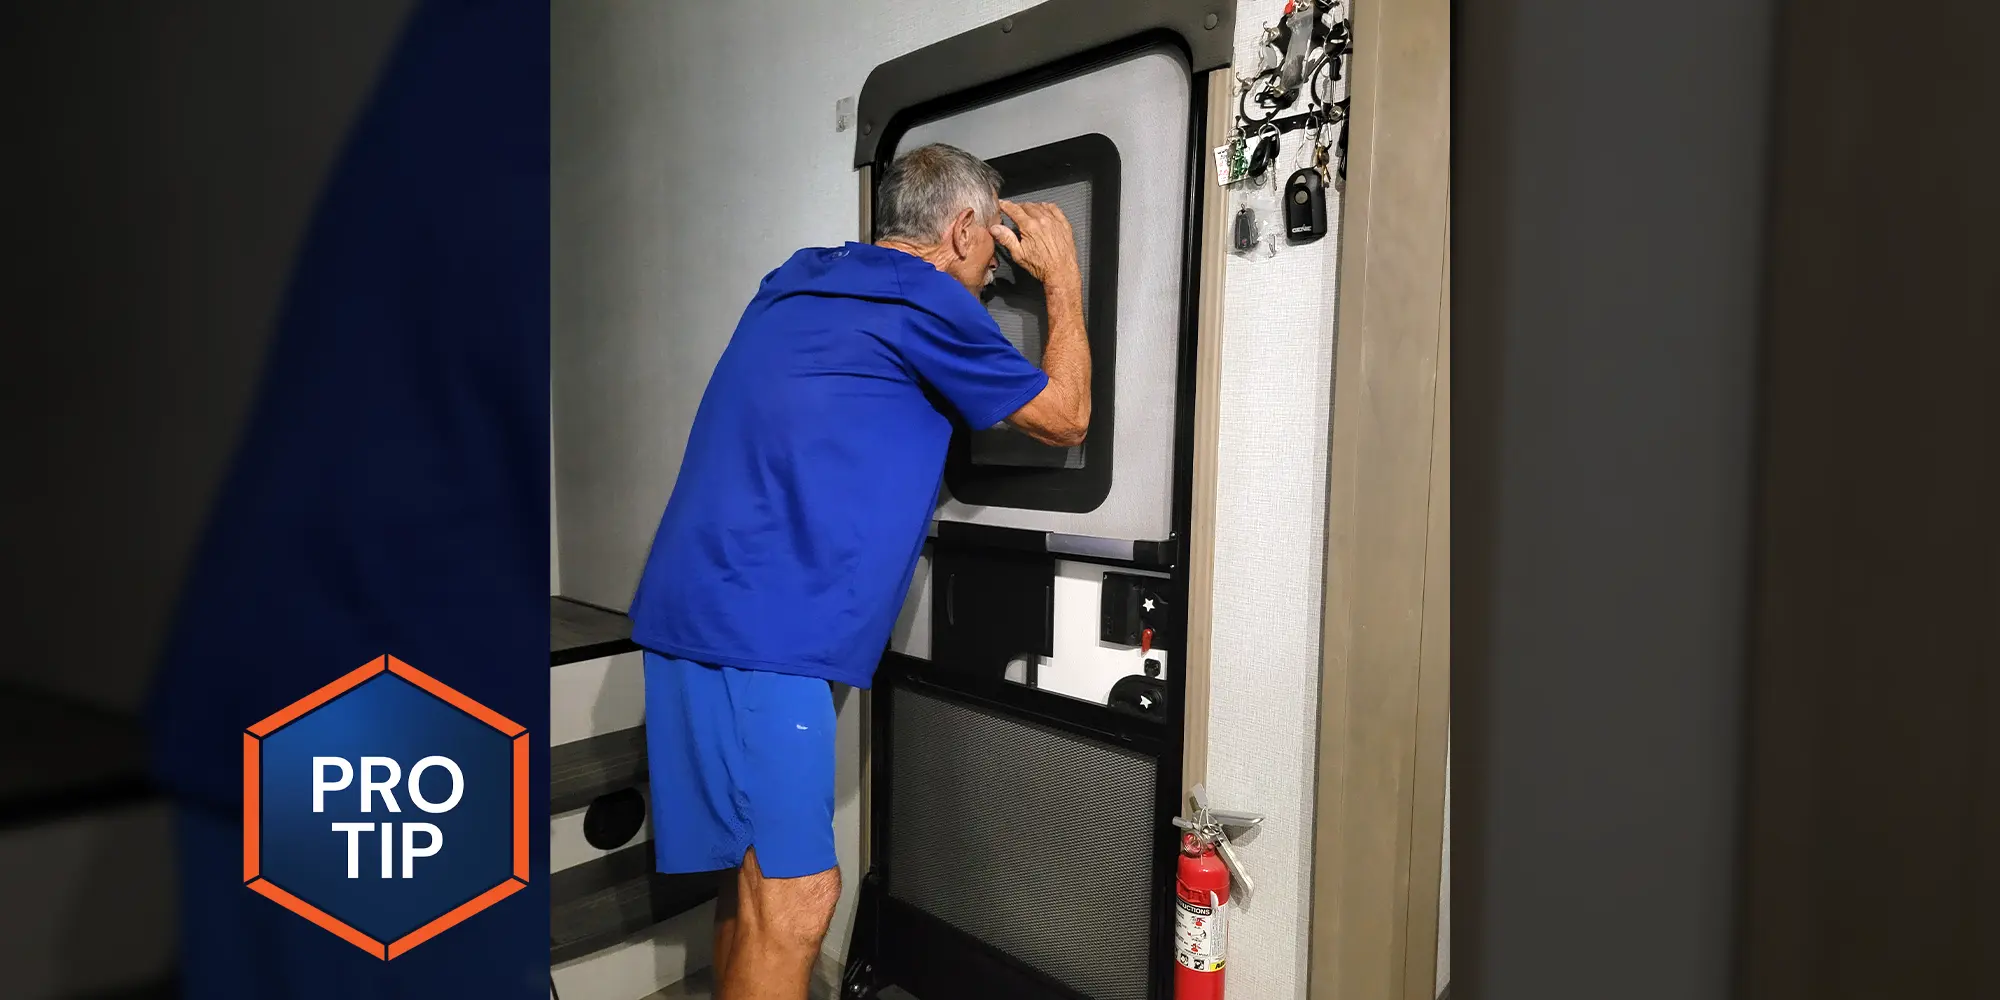
An entry-door window is great to have — but applying self-sticking window film will keep unwanted eyes at bay.
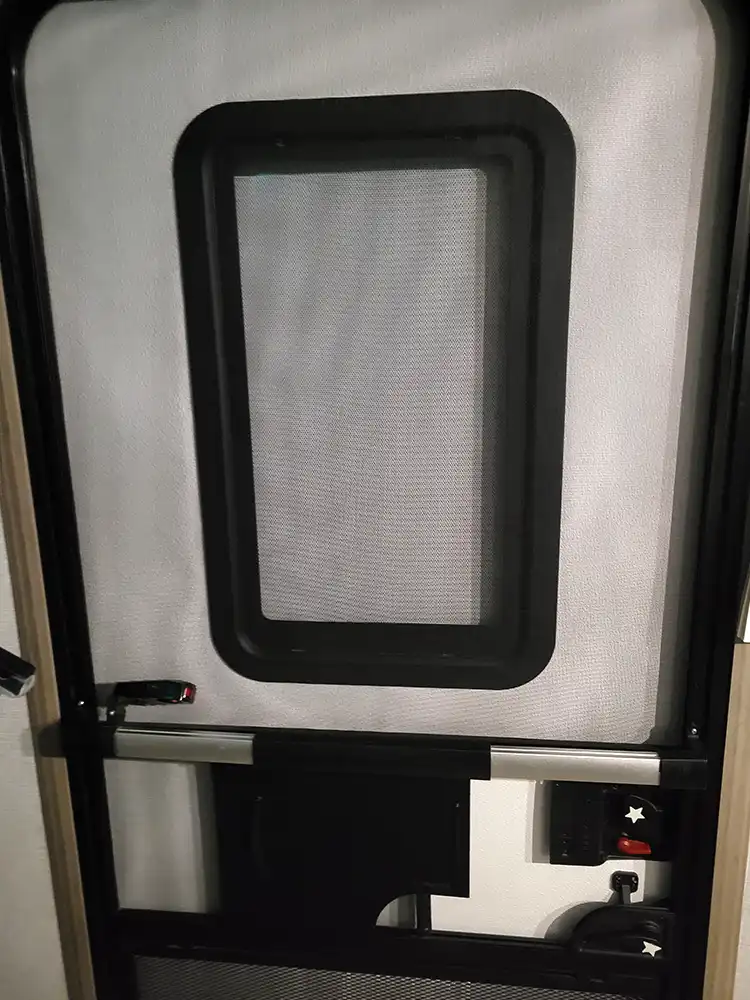
A window built into the entry door is a nice feature, but it does offer strangers an opportunity to peer through the glass if it’s not covered. Granted, unless your neighbor has a window lined up directly across from you in an RV park, or if a brazen individual climbs up the steps to take a look inside, the chances of bystanders seeing much is remote — but it can (and does) happen.
To satisfy my paranoia, I found a solution on Amazon: a perforated, white vinyl window film that not only blocks people from getting a view inside, but it also regulates heat to a certain degree — a great side benefit, especially when the door side of my fifth wheel is facing the afternoon sun.
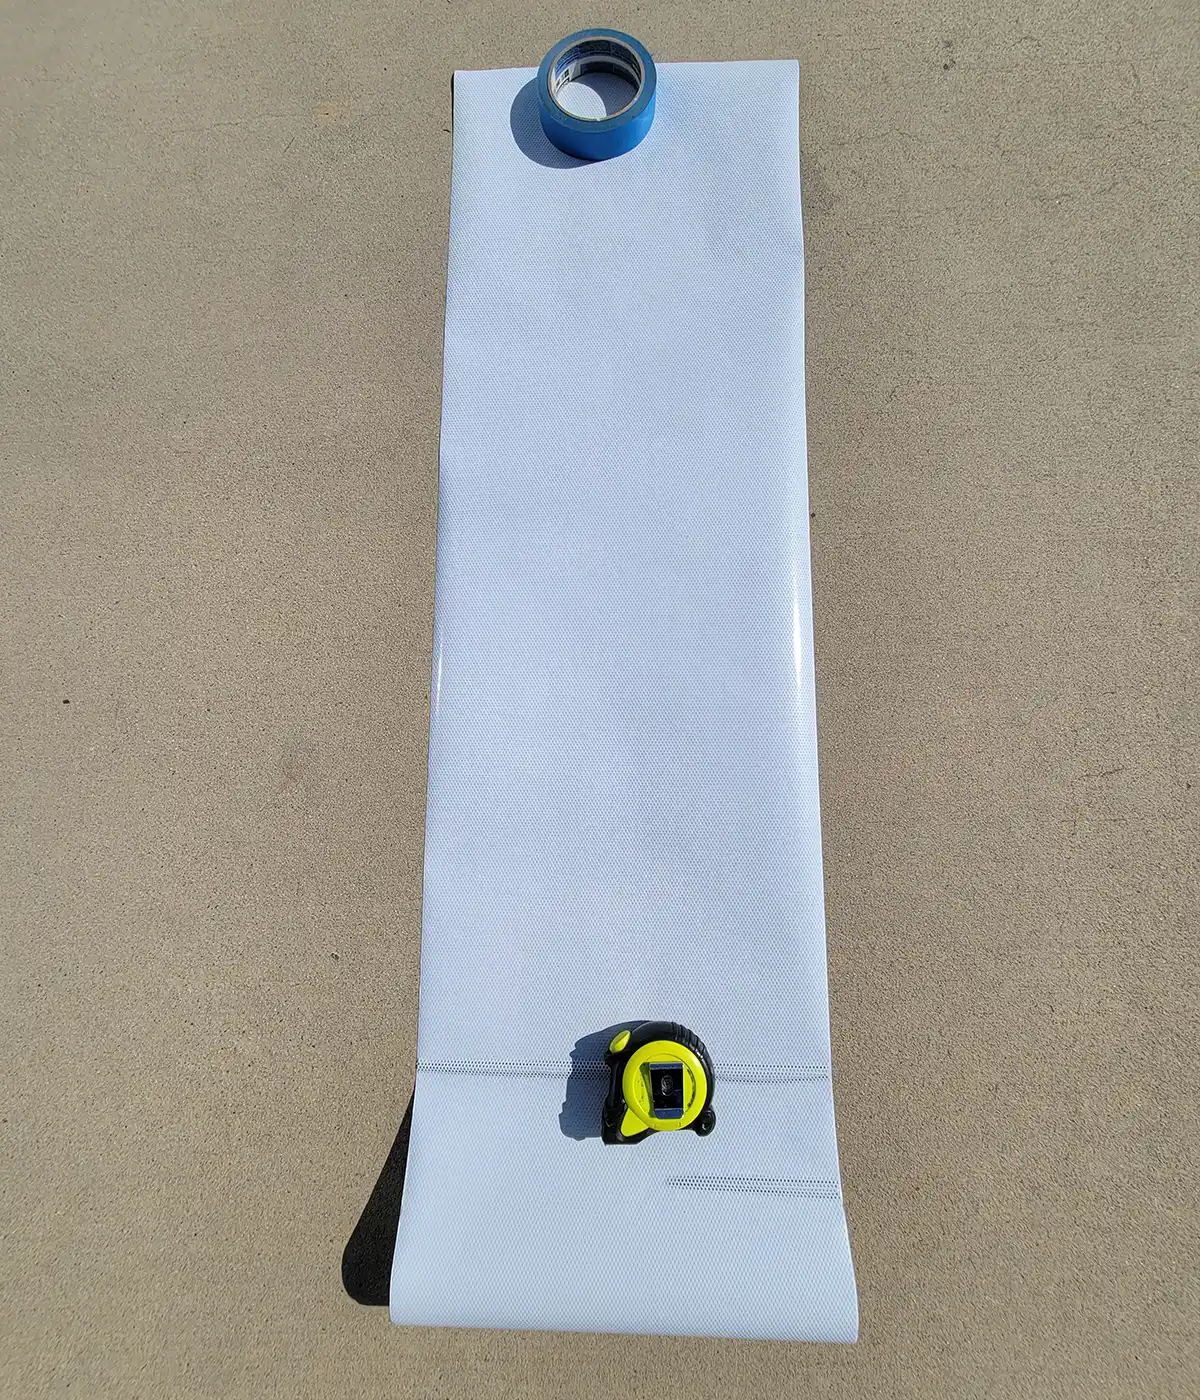
The description is quite lengthy, but you’ll need all the words to locate the same stuff in white that I used for this project. Go to Amazon and search: “VViViD One Way Perforated Window Vinyl Privacy Wrap Film Roll Decal Sheet DIY Easy to Use Air-Release Adhesive 1.5 ft. x 54 inches” ($11.99). This is a DIY-friendly, premium vinyl that’s pretty much a peel-and-stick product. It’s designed to stretch and conform to custom shapes — and the weight and quality of the material is impressive. According to the company, this vinyl should last 4-7 years on outdoor surfaces (and 10 years inside!).
There is no need for special tools. It features an air-release technology, which will allow you to completely remove and reposition the vinyl during the installation. Since the bottom of the vinyl I purchased had a flaw in the material, I took the opportunity to cut off a piece and use it for a test before the final installation. Following the brief instructions, I found the process to be easy — and the vinyl could be removed as advertised. With that test under my belt, I went on to install the bigger piece in the entry-door window.
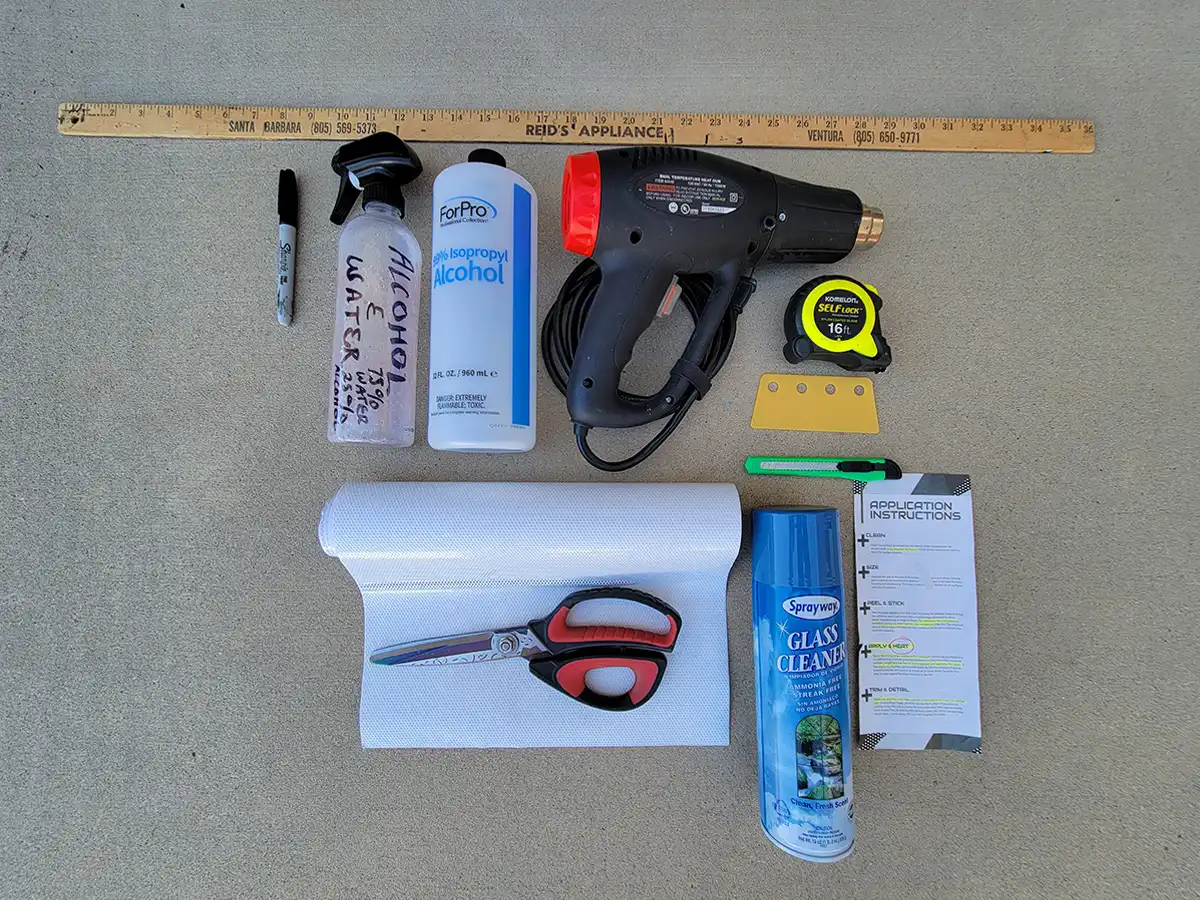
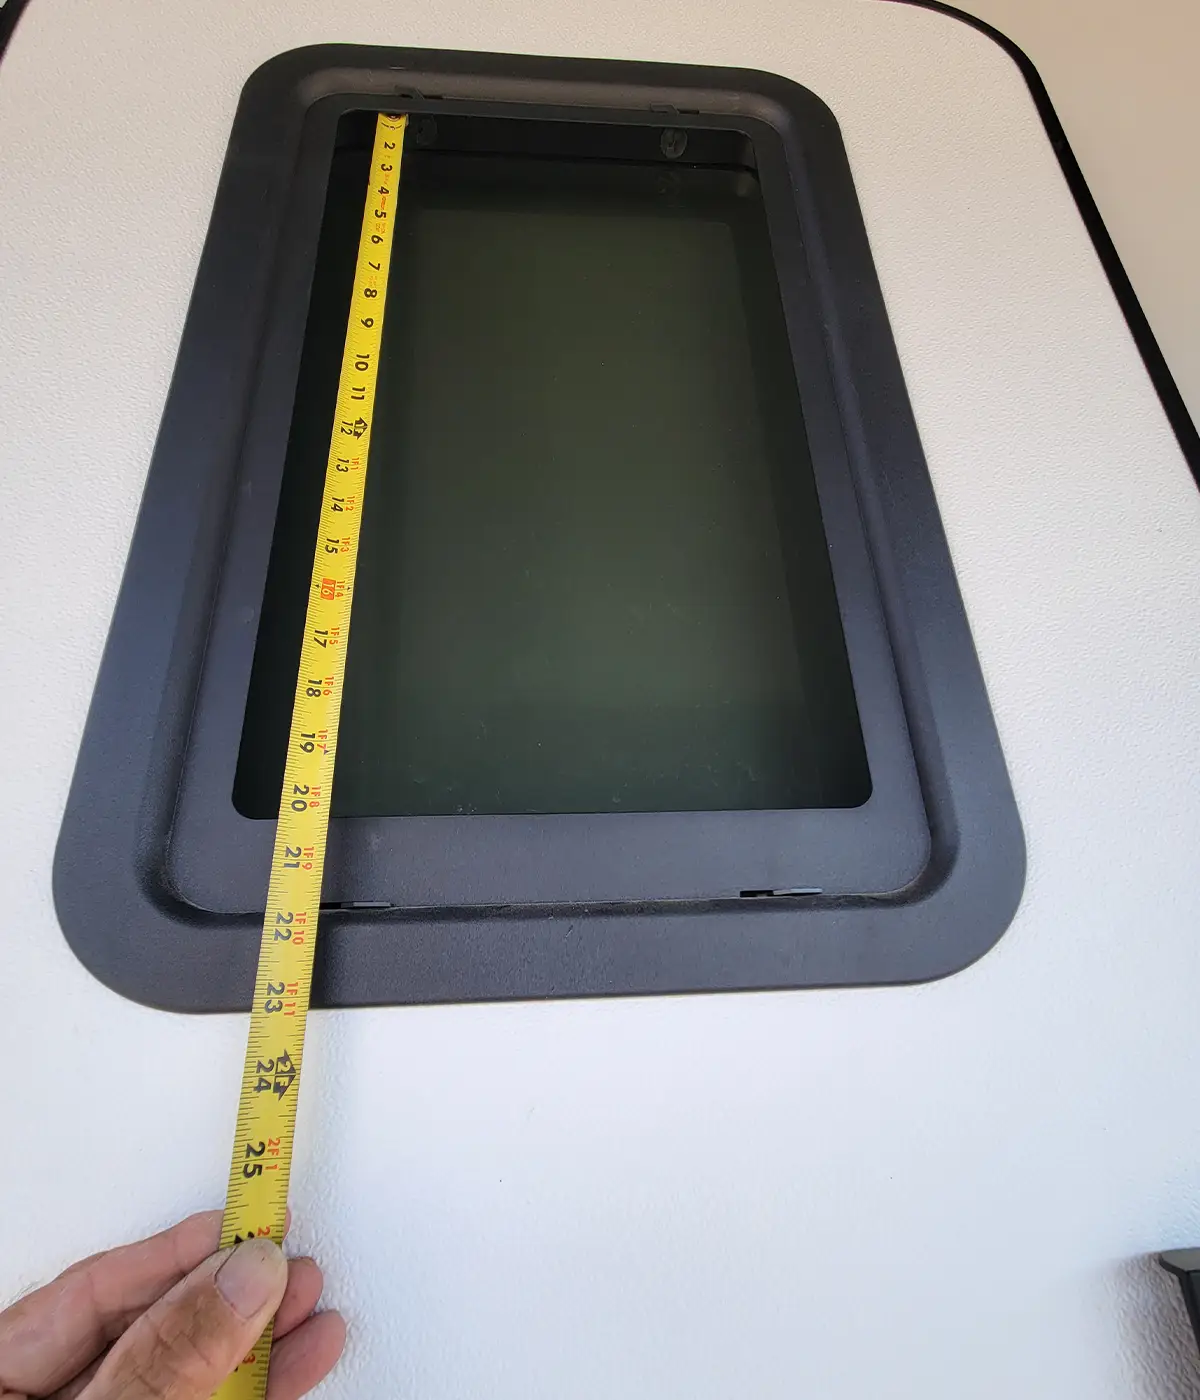
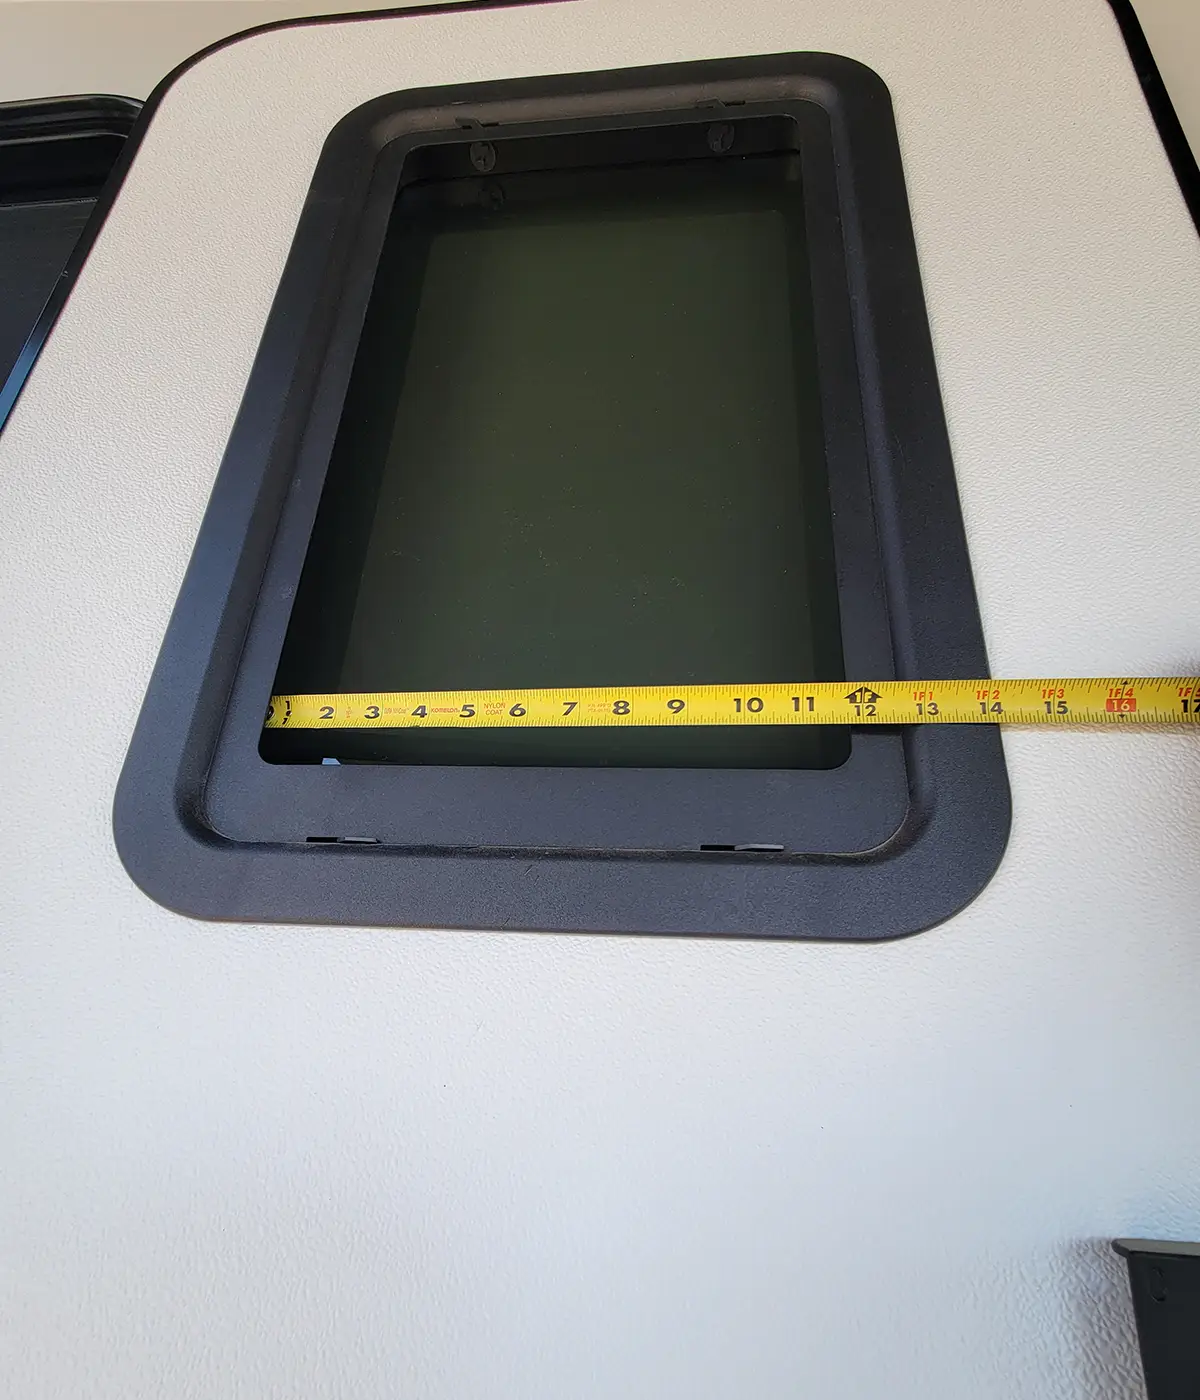
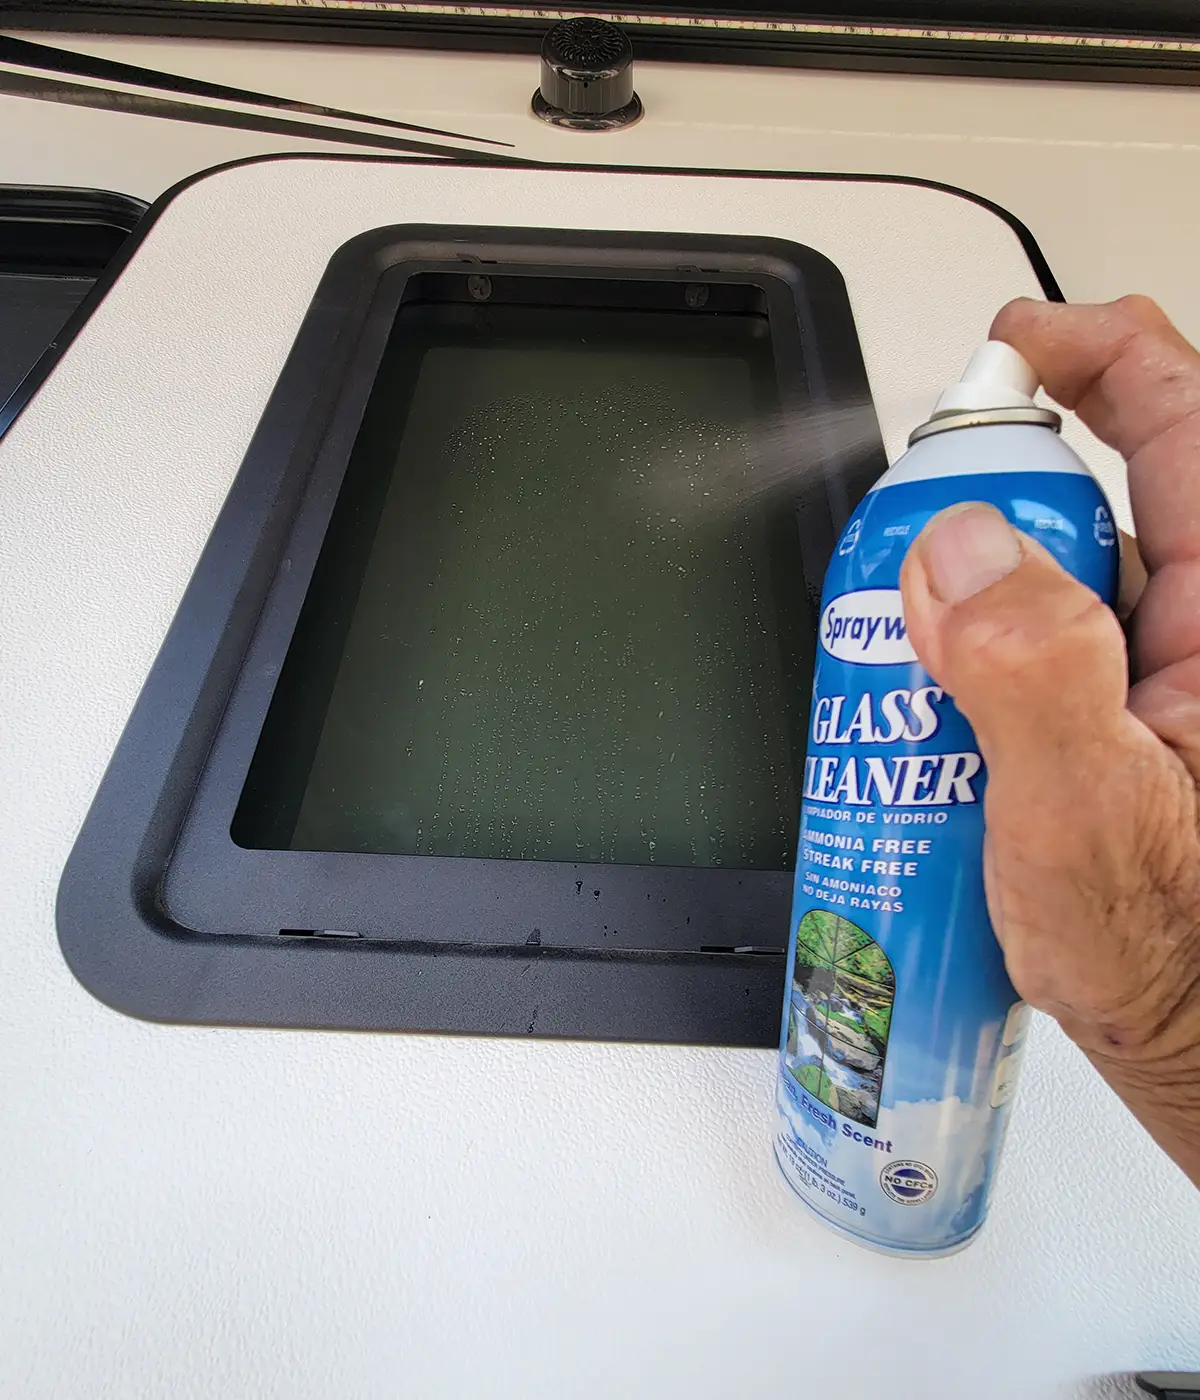
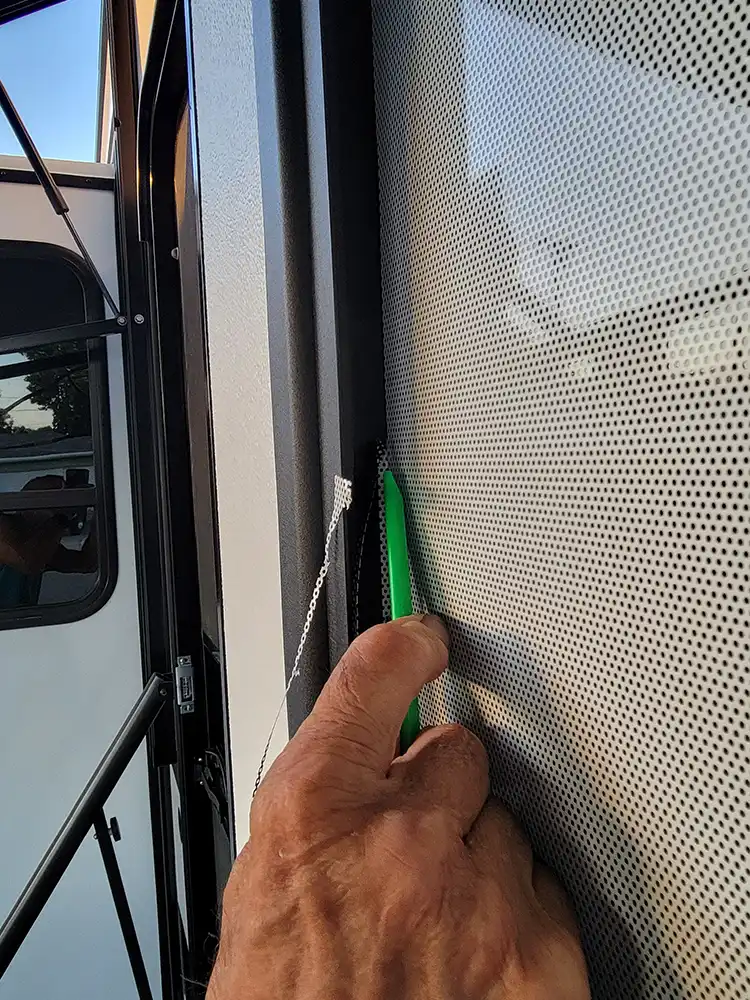
I first placed the material in the sun for a while to soften it a bit and keep it from rolling back on itself since it was rolled tightly from the factory. After marking the vinyl to fit the window (measure twice and cut once), I was very careful to cut inside the black felt pen line with a sharp scissors so that it wouldn’t show after the installation. (Here’s a hint I learned the hard way: make sure the vinyl is cool to the touch before cutting it.) From there, I used a commercial window cleaner and then followed up with alcohol and a dry rag to make sure no contaminants were left on the glass to cause peeling down the road.
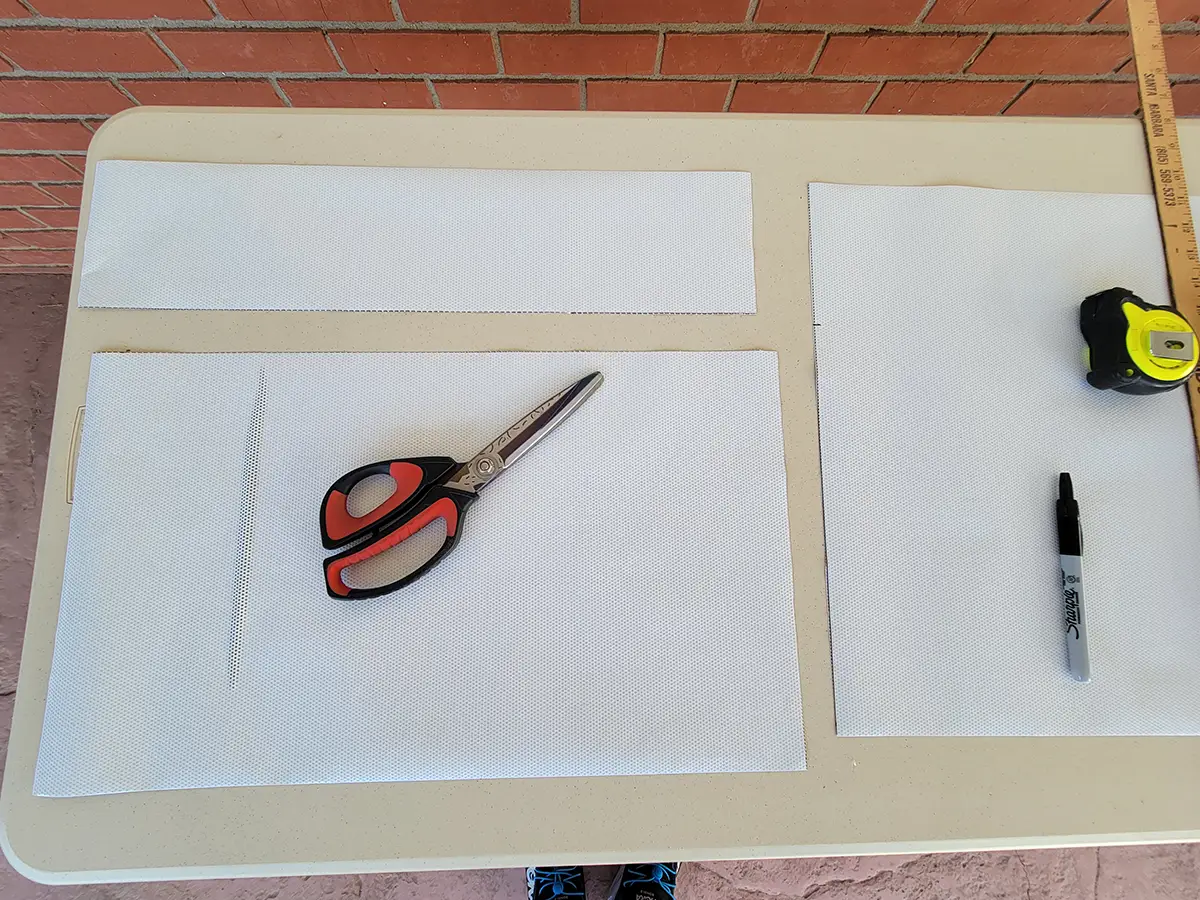
Once the measurements were taken, the vinyl was cut with a very sharp, industrial-grade scissors. Care was taken to cut inside the lines drawn with the felt marker to ensure they wouldn’t show after the installation.
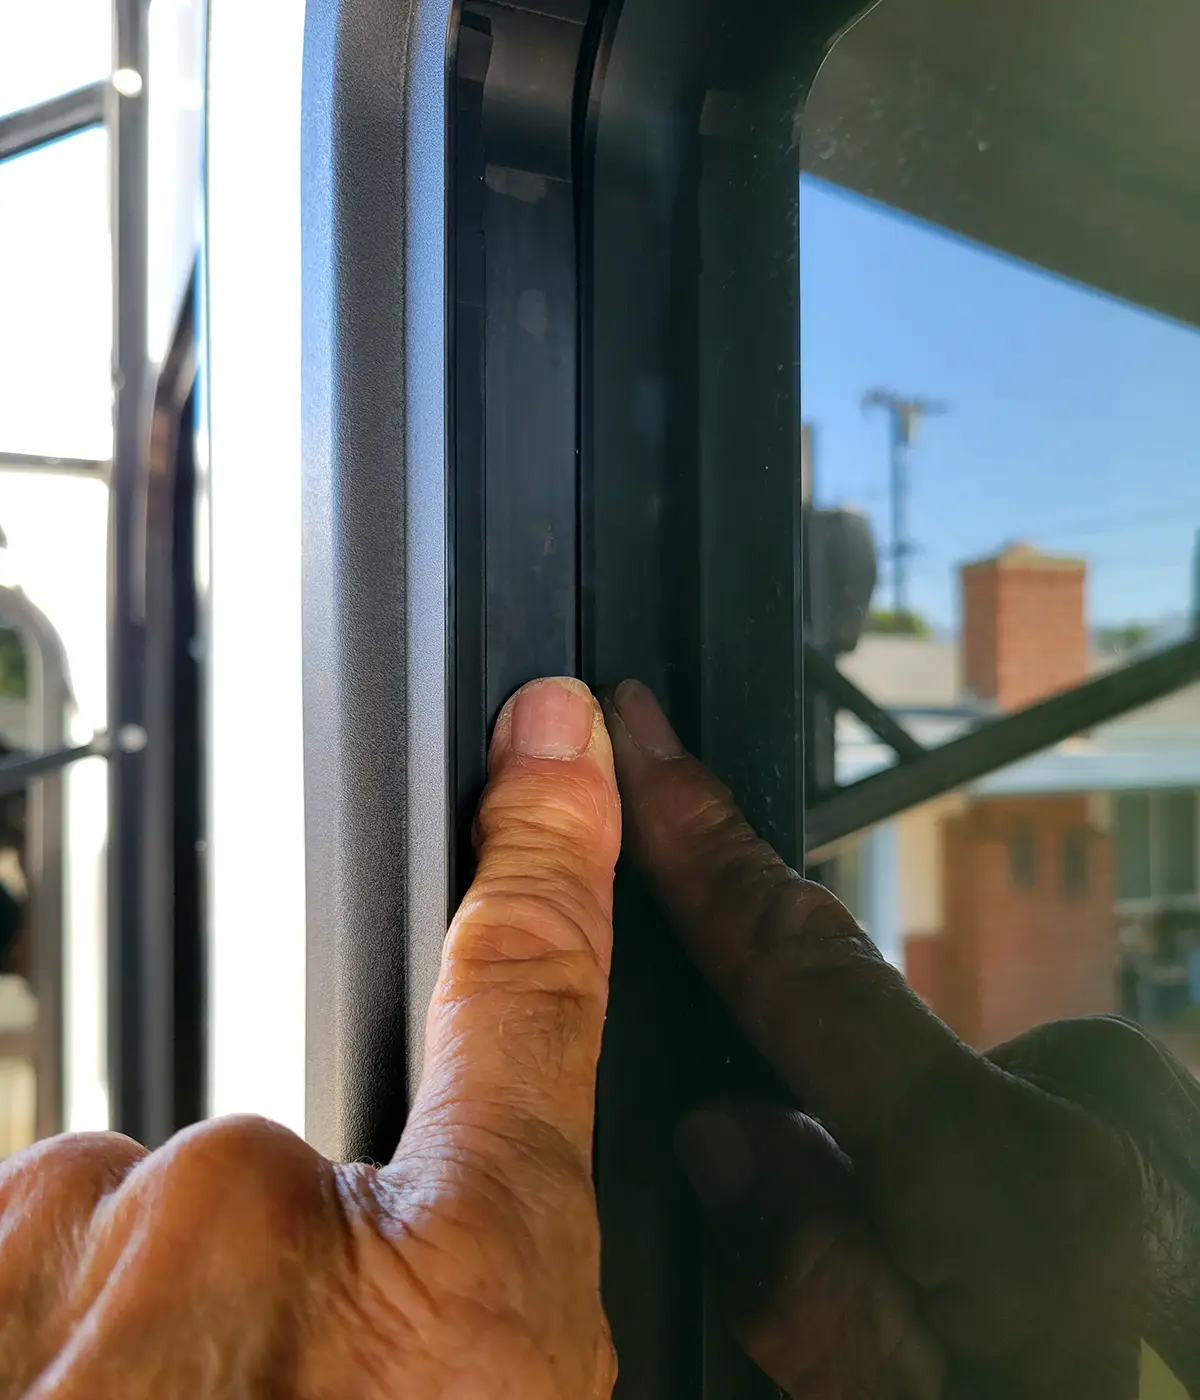
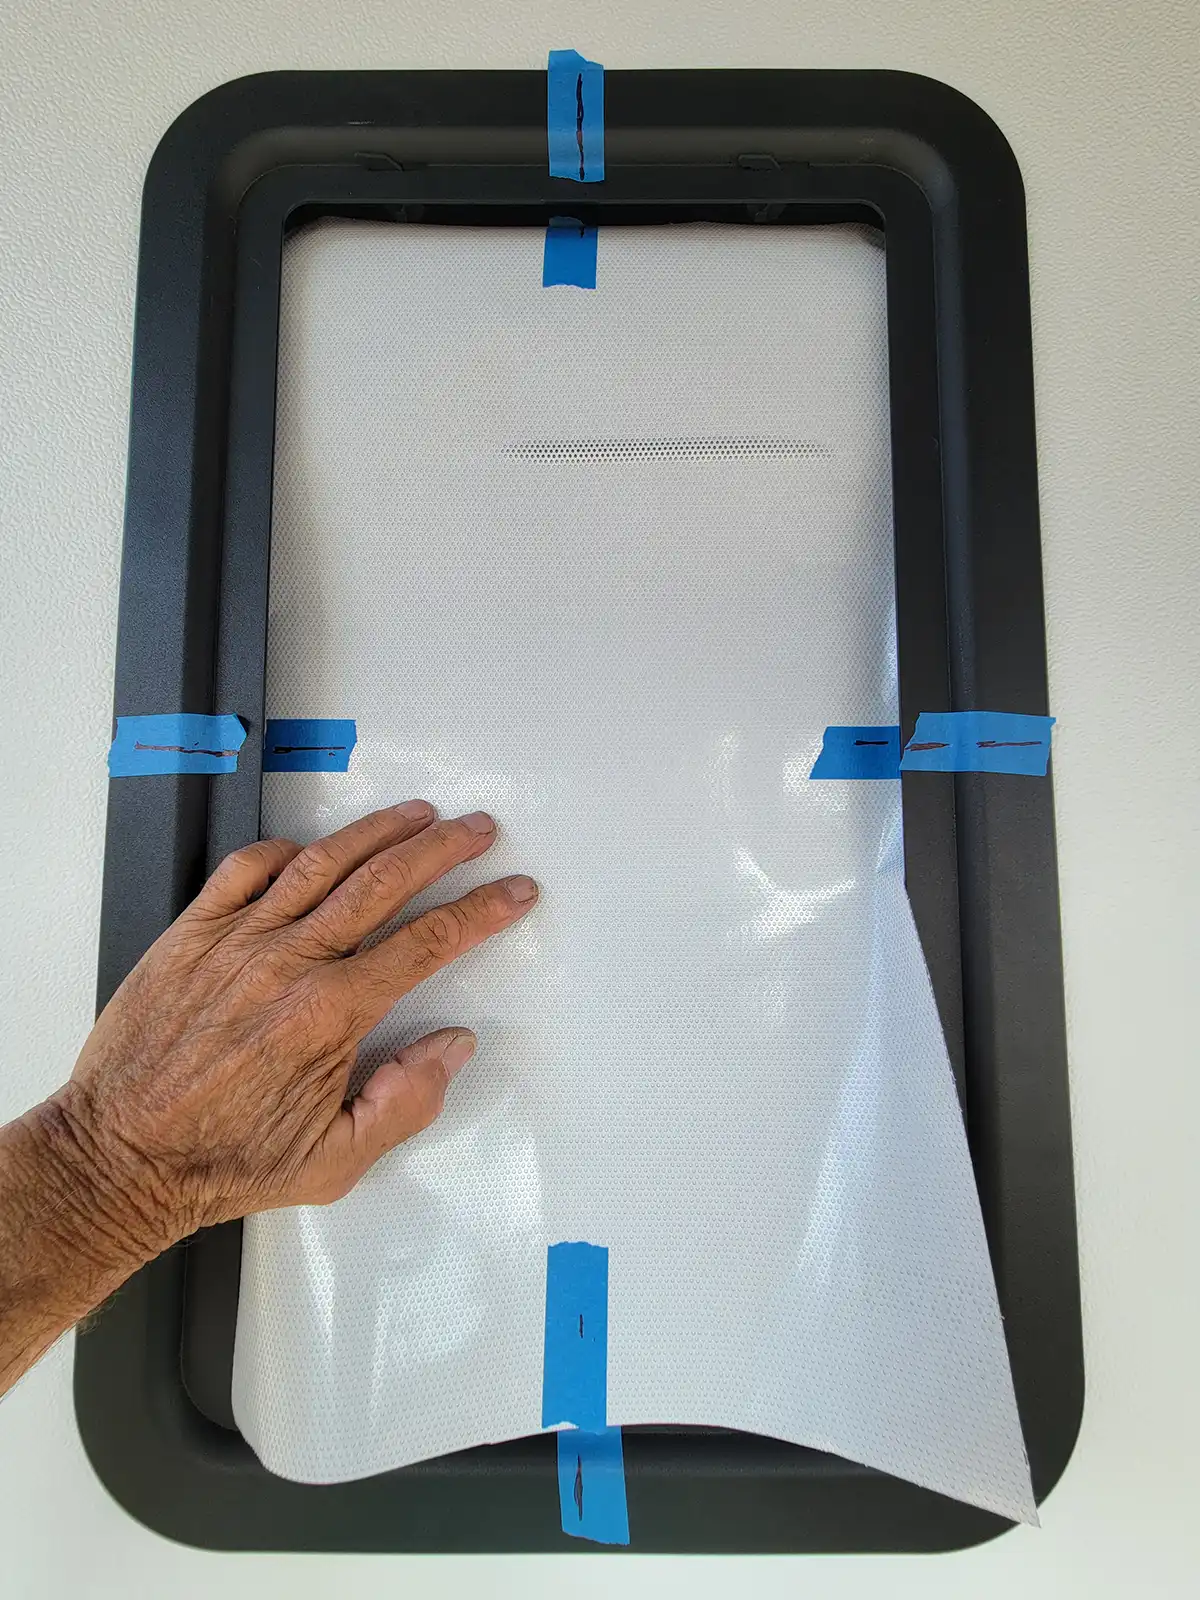
I did run into a slight problem since the window originally had a built-in shade, leaving a lip around the window frame. The challenge was to peel off the protective paper and try to get it through that opening without destroying the vinyl. The lip was ½ inch all the way around, so I had to figure out how to center the vinyl, push it through the opening and tuck the sides into place. To get there, I decided to use blue painter’s tape to locate the center of the glass top and bottom and side to side (placed on the window frame) and apply a corresponding piece of tape on the material itself. The tape was applied after test-fitting the vinyl.
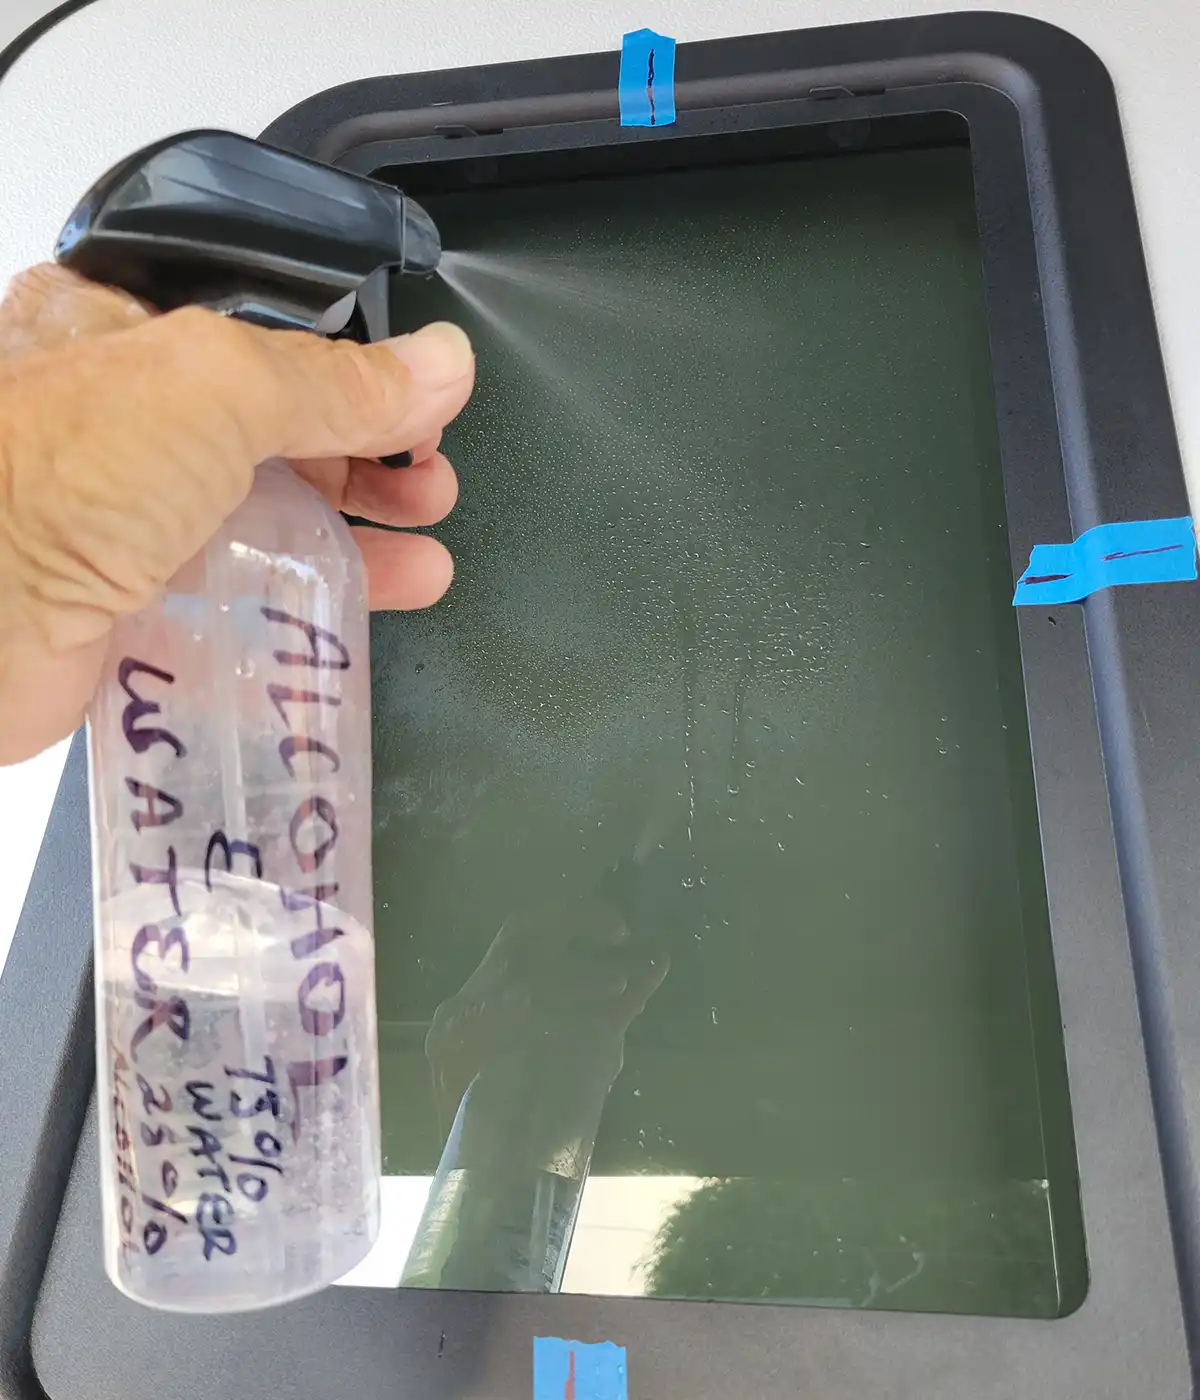
I sprayed a heavy coat of alcohol and water on the window in order to have enough time to peel the adhesive backing and start the process of installation on the wet glass. I lined up the locater marks on the painter’s tape and used a squeegee to level out the vinyl; the bubbles were also pushed out by hand. The adhesive is heat and/or pressure activated, which gave me more control over the installation of the film. Fortunately, the adhesive did not stick to the frame when I tucked it into place; unfortunately, I didn’t cut the vinyl perfectly, leaving maybe a 16th of an inch gap on one side (which really couldn’t be seen anyway). For extra “insurance” I applied a little bit of hot air (low setting on a heat gun) to force the adhesive activation.
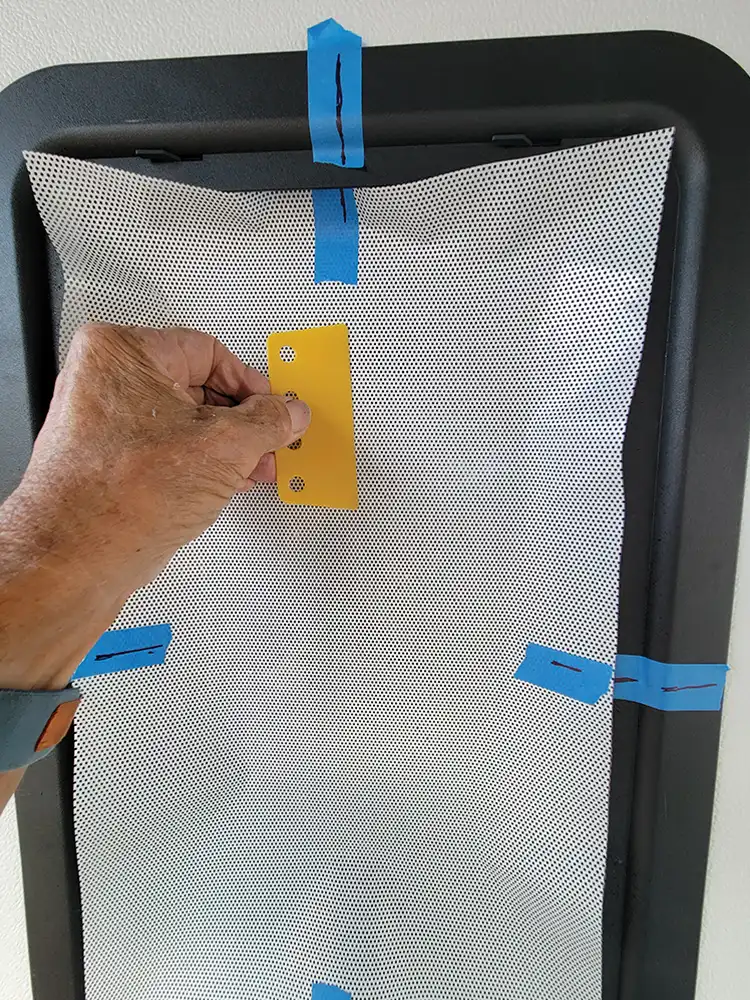
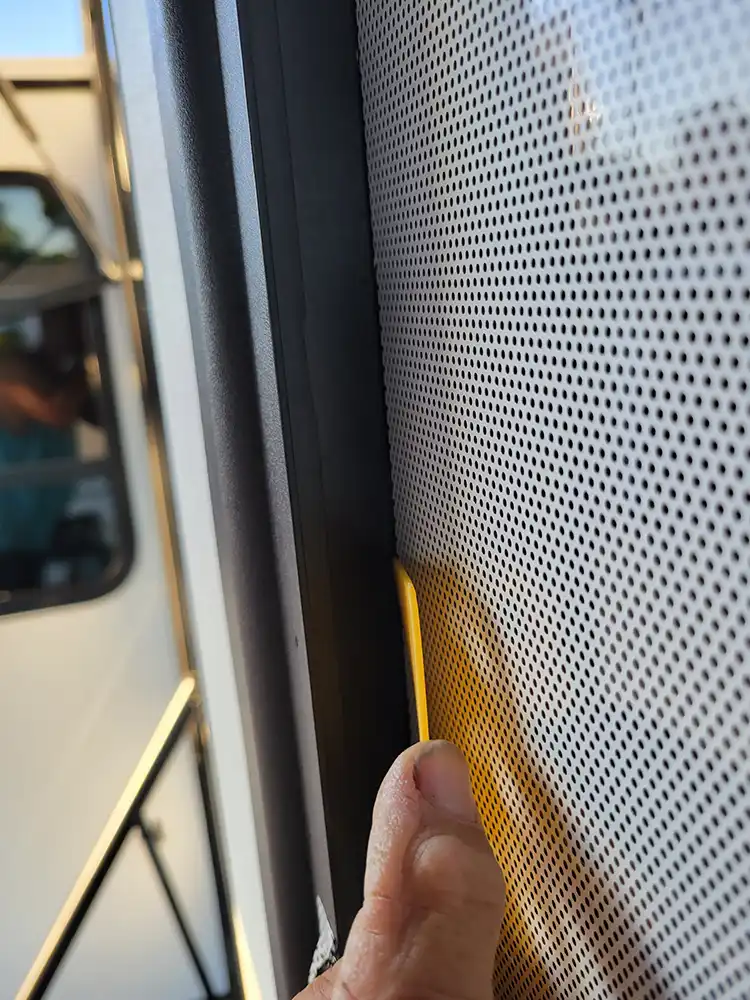
The bubbles were first pushed out by hand (not shown) followed by a squeegee that was moved from the middle to the outside edges of the vinyl. After a few strokes, all the bubbles were gone. Once the vinyl was set and free of bubbles, the painter’s tape was removed and the squeegee was used to push down the corner of the vinyl into the frame channel. This took a little doing to fit since the clearances were very tight.
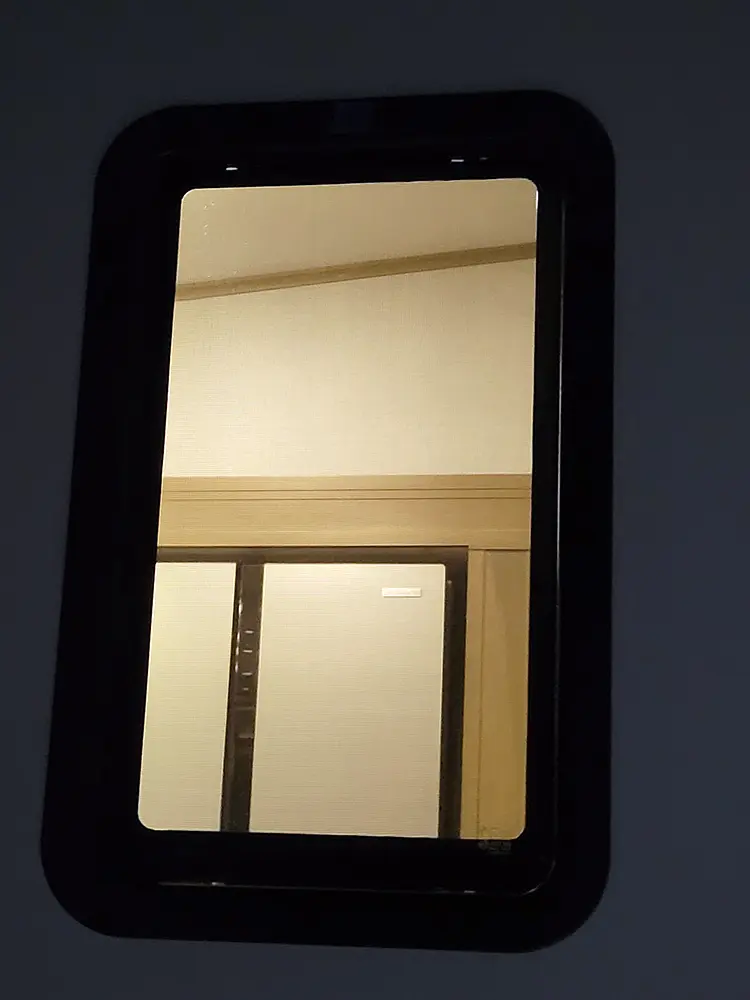
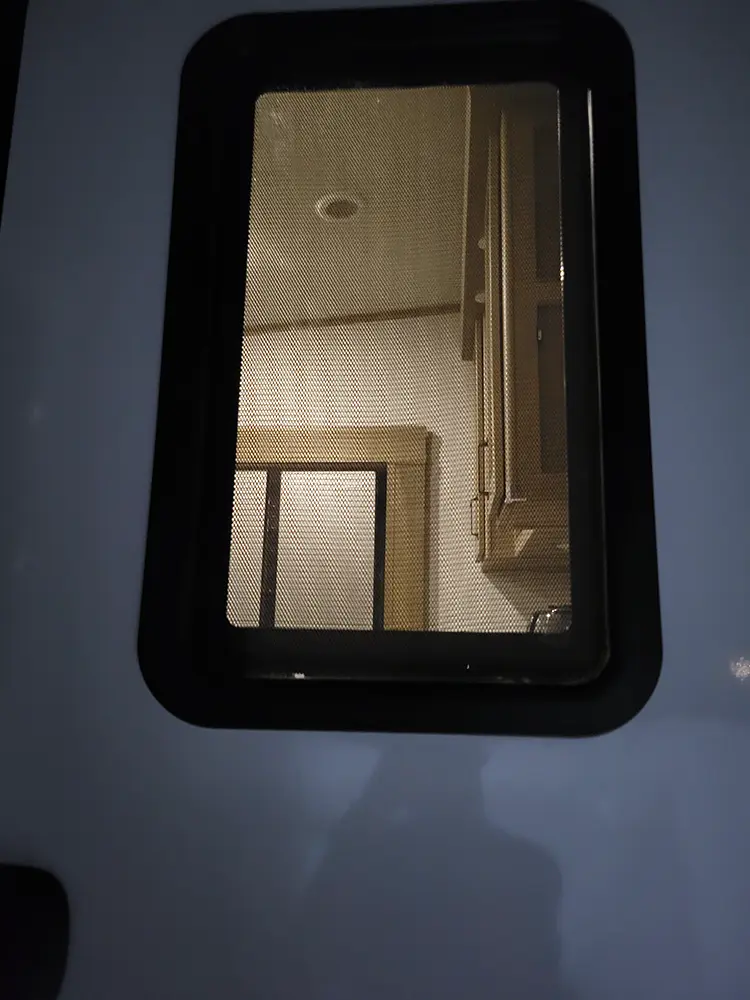
I was pleasantly surprised how hard it was to see in and out at night (keeping extraneous light out at night). With all the lights on, you can see more detail inside, but not very clearly. During the day, it’s almost impossible to see in — but you can still see out the window, which is good for identifying people at the door.
If you’re an exhibitionist, this window treatment may not be for you. For the rest of us, it’s a very inexpensive project with big results.

Already a Subscriber? Click here for Access to the Full Issues.