A Soak to Success
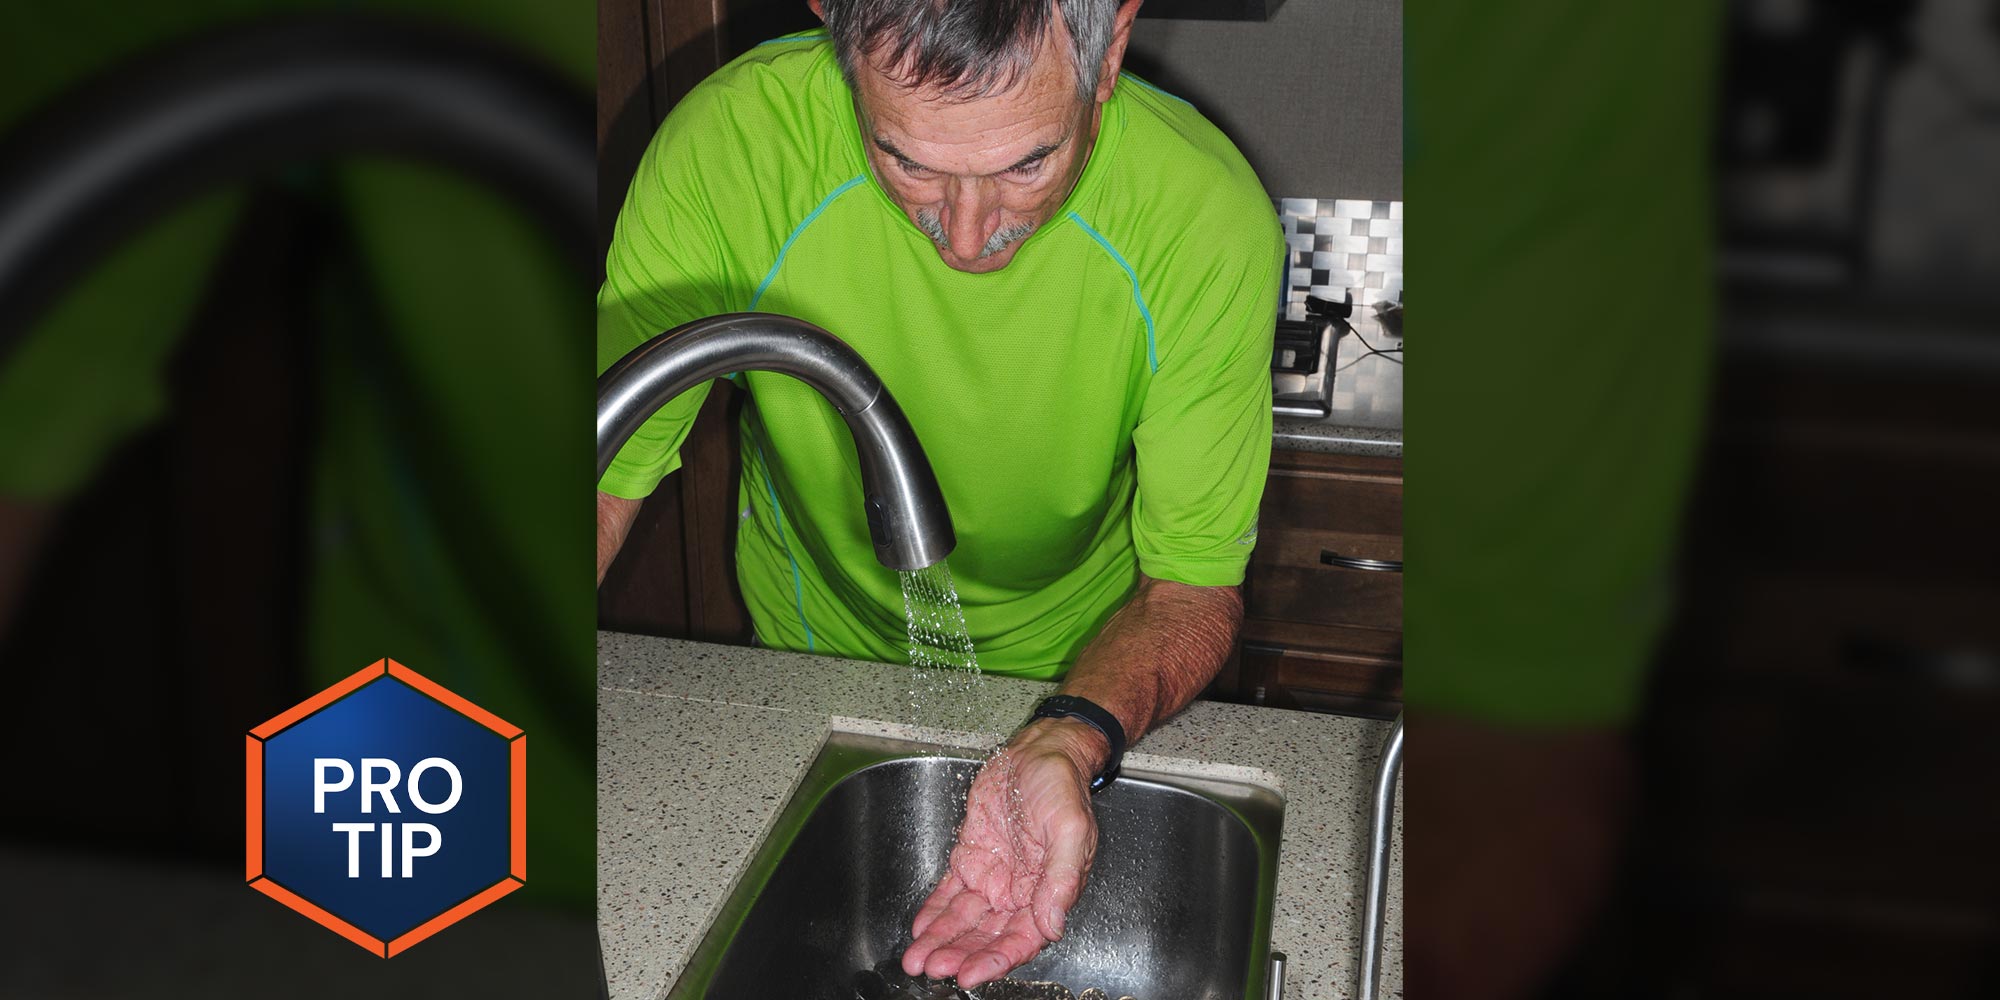
When you’re RVing, you never know the quality and hardness of the water you hook up to at a campground. Hard water wreaks havoc on any RV water system and usually ends up leaving heavy calcium and other mineral deposits on the faucet spray head or aerator — to a point where the water either stops flowing or does a wild dance all over the sink counter. Removing these ugly deposits should be done periodically to keep the water flowing smoothly and prevent damage to the faucets.
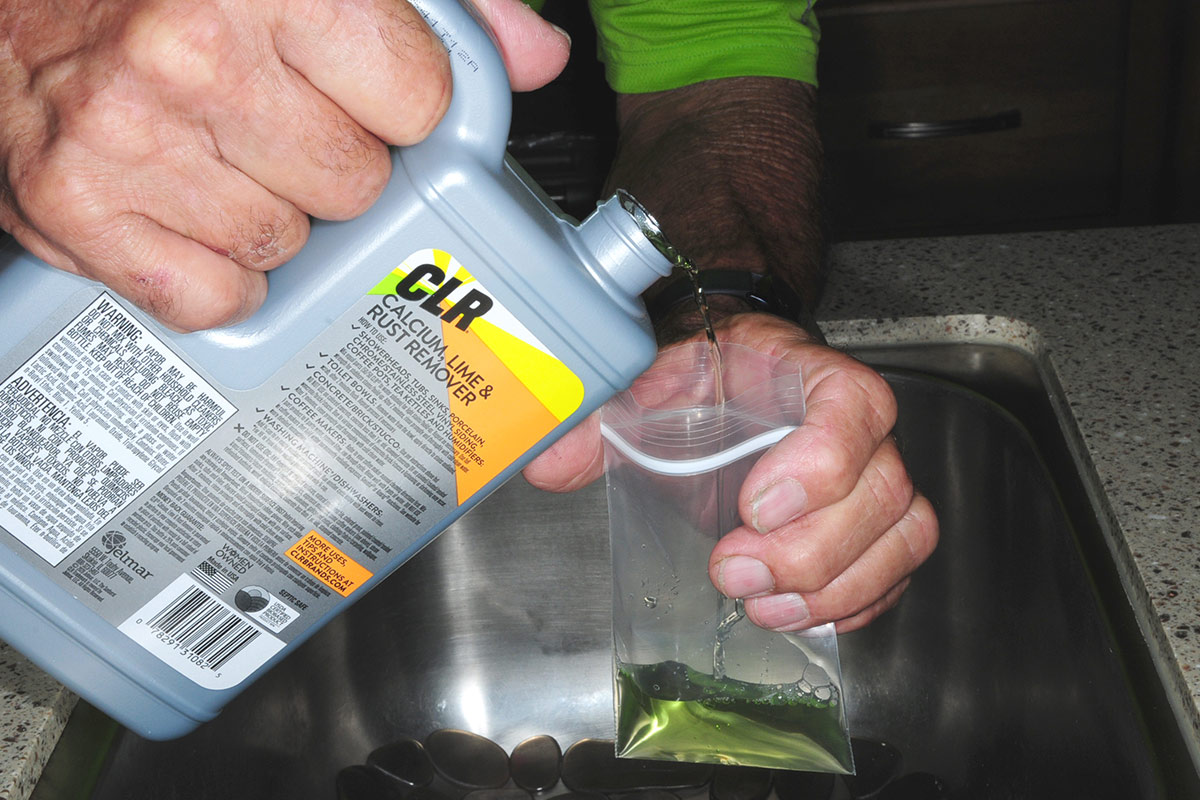
While there are products on the market that are formulated to break up these calcium and lime deposits, finding a way to use them without first having to remove the spray head, aerator and/or even an auxiliary spigot can be problematic. After some head scratching, we found a slick method to get the job done with little effort and expense: We enlisted small Ziploc storage bags, cable ties and CLR Calcium, Lime & Rust Remover, all commonly available in grocery stores and Walmart.
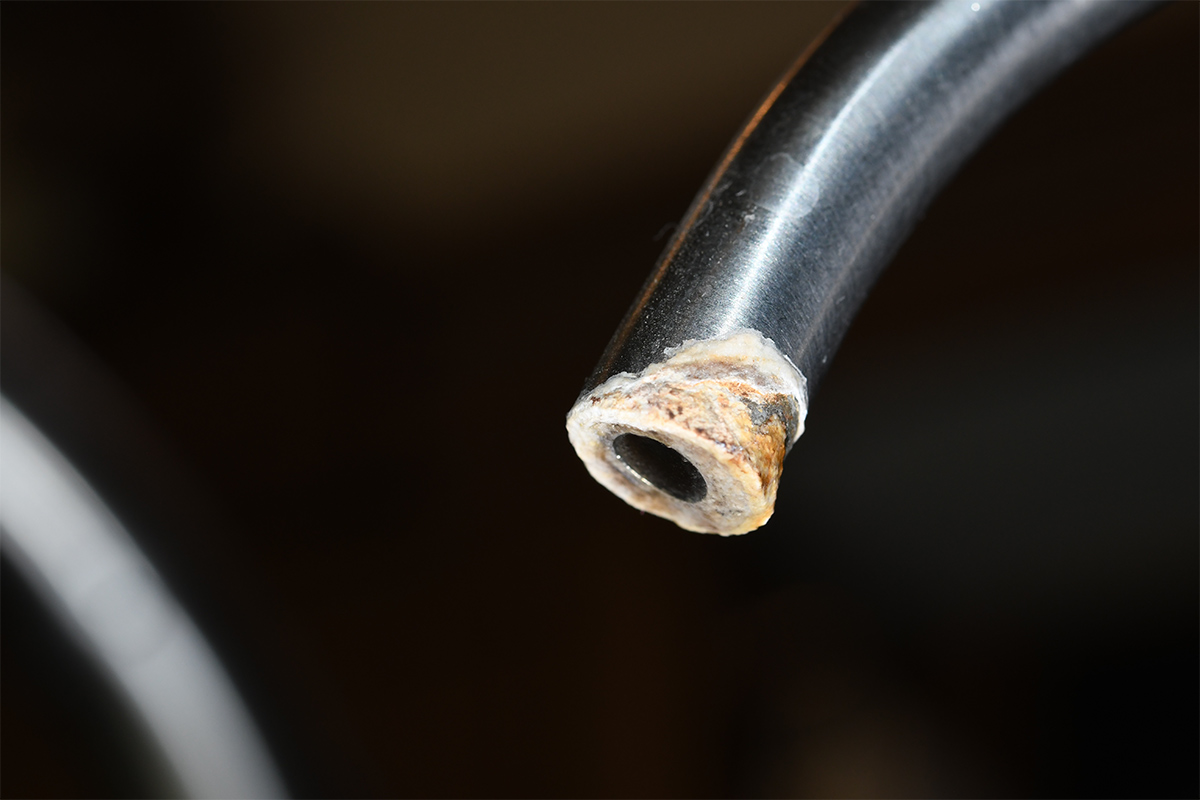
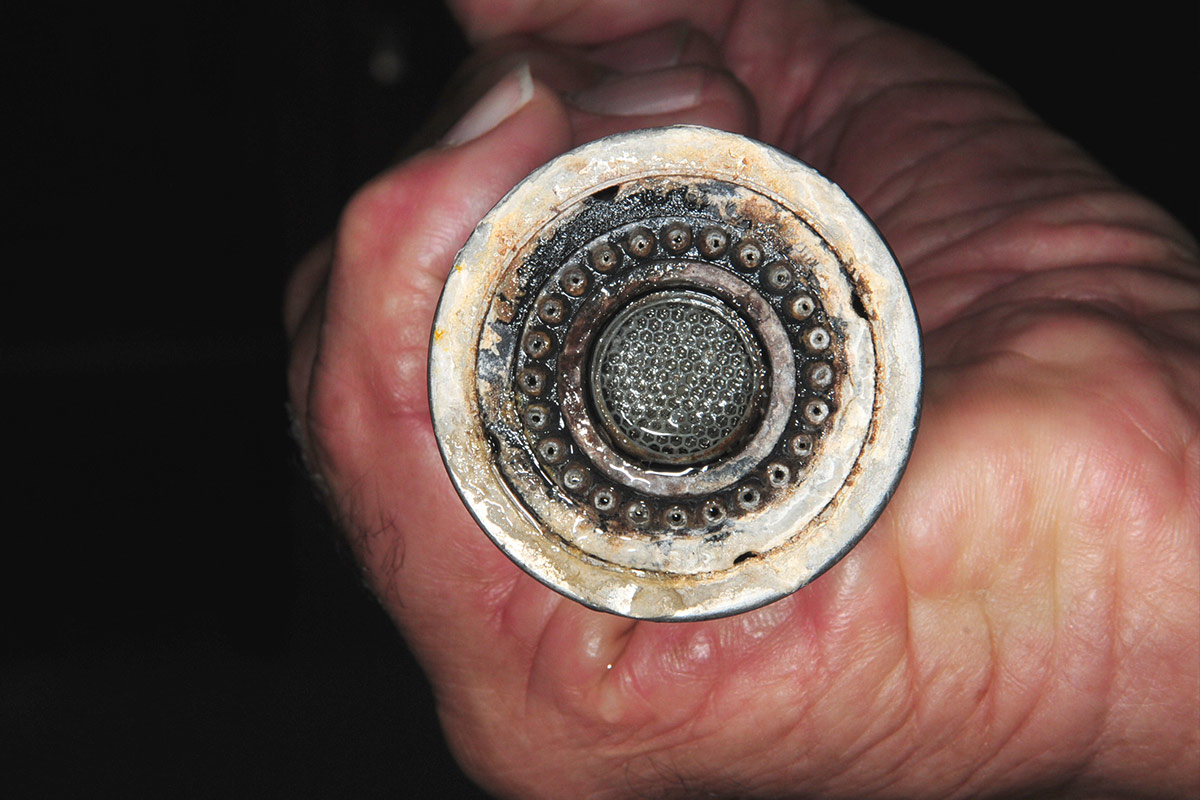
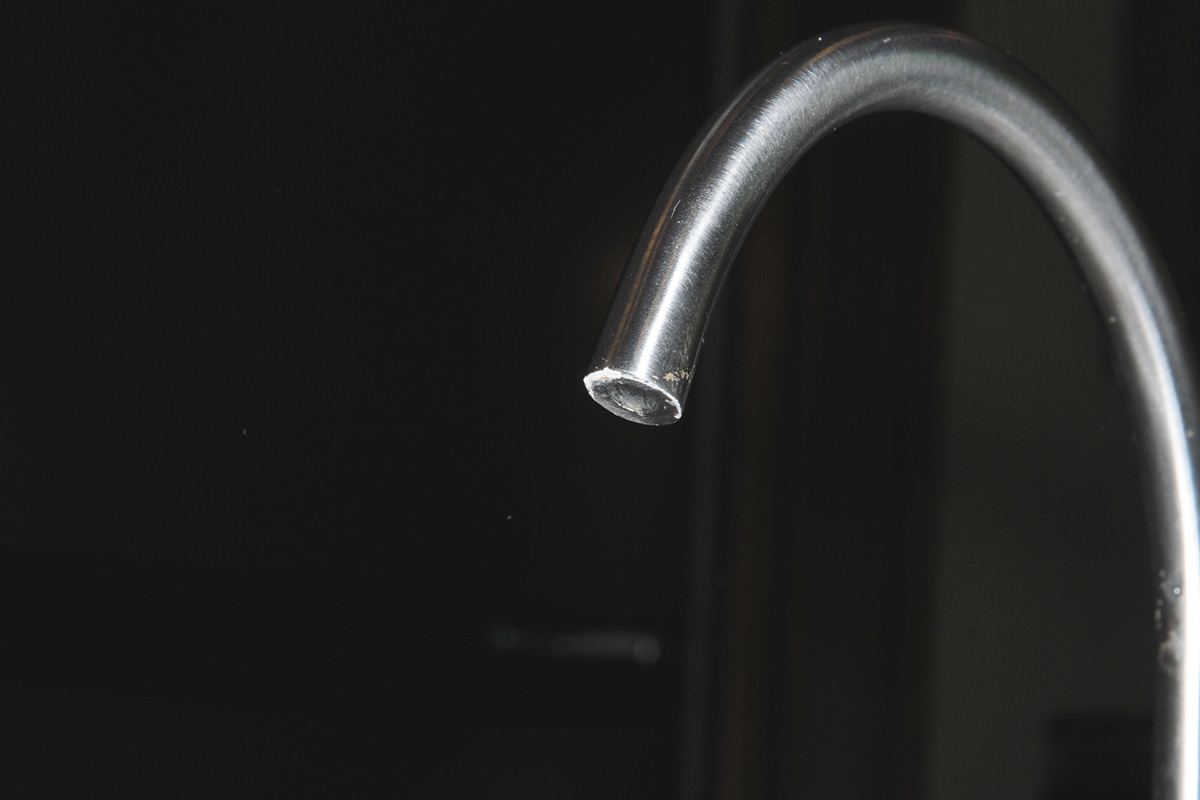
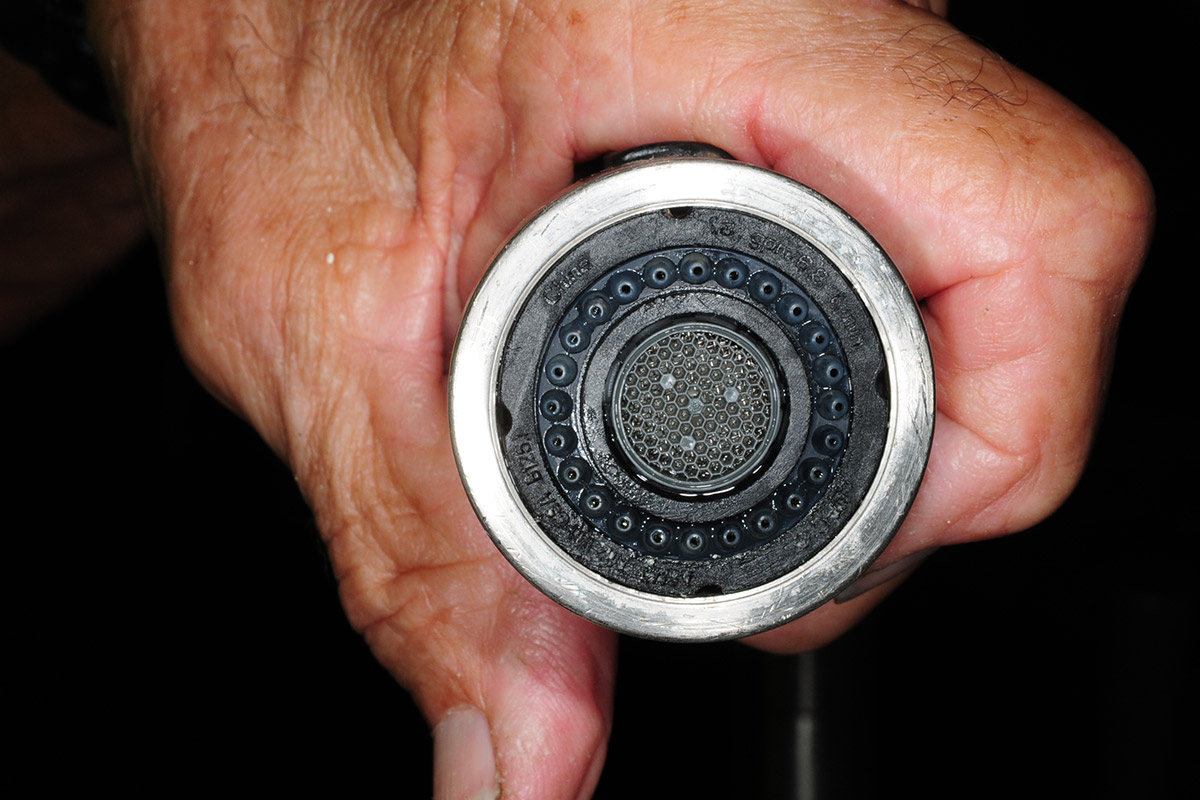
The procedure is simple and even though it may take some time for the calcium remover to work its magic, you can simply walk away and return when the job is done. Our kitchen counter, for example, has a faucet with a removable spray head that was caked with calcium, obviously caused by very hard water. Next to the sink is a smaller faucet that’s dedicated to dispensing purified water and the calcium build up on it was starting to restrict flow, as well.
Small Ziploc bags (there are other brands on the market that work as well) were partially filled with CLR solution, positioned over the faucet to a point where the offending calcium was dunked in the liquid and then cable tied in place. Immediately you’ll see bubbling as the solution attacks the calcium. Leave the bag in place for an hour or so, and most of the bad stuff will be dissolved. If you can leave it stand overnight, the process will work even better.
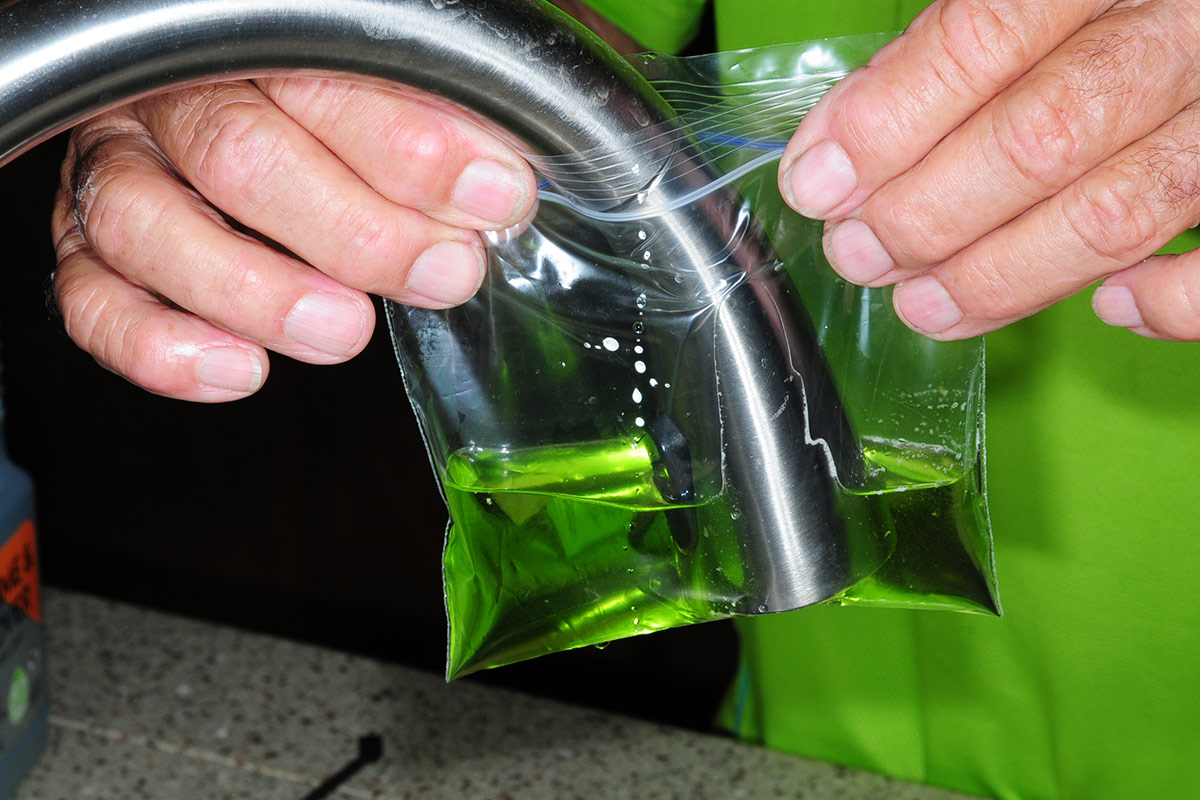
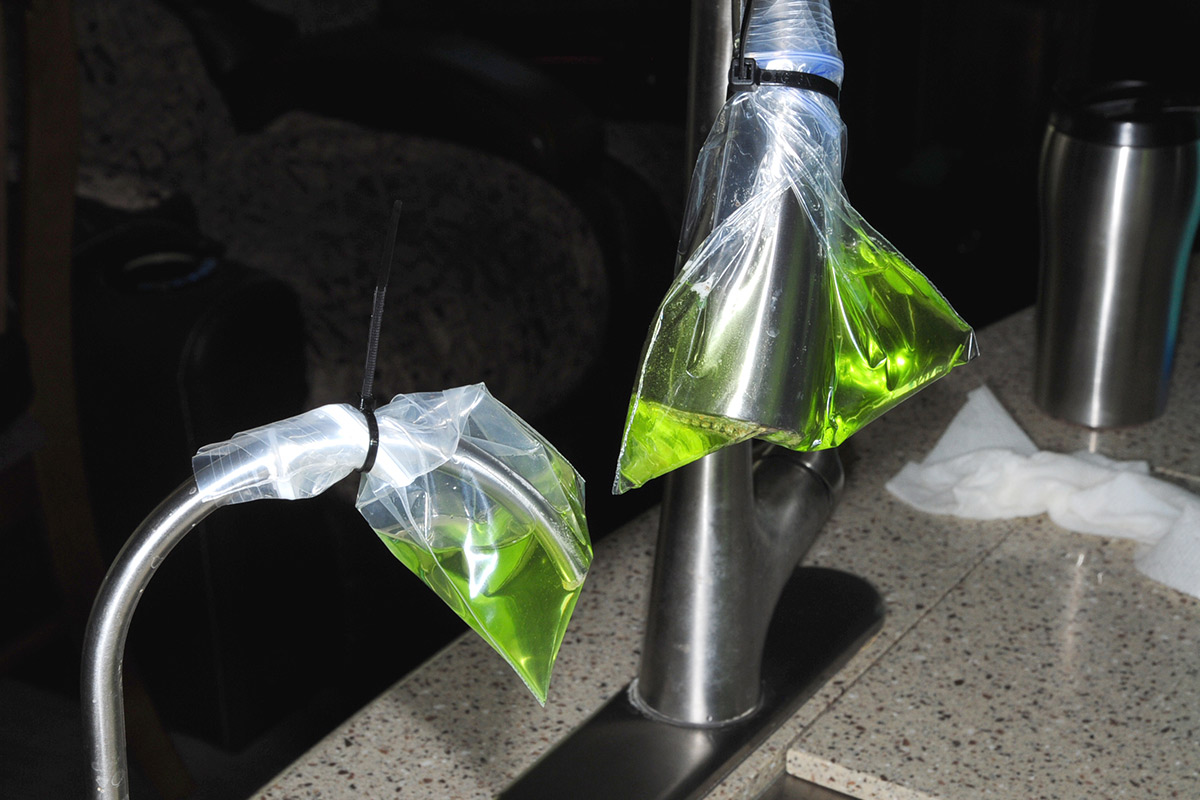
After removing the bags, we immediately recognized that more soaking time would have been better, but rather than do it again, we scrubbed off the remaining deposits with nylon and brass-bristle brushes and scraped off bigger chunks with a razor knife. The deposits came off easily and in the end the spray head and smaller faucet flowed — and looked — like new.
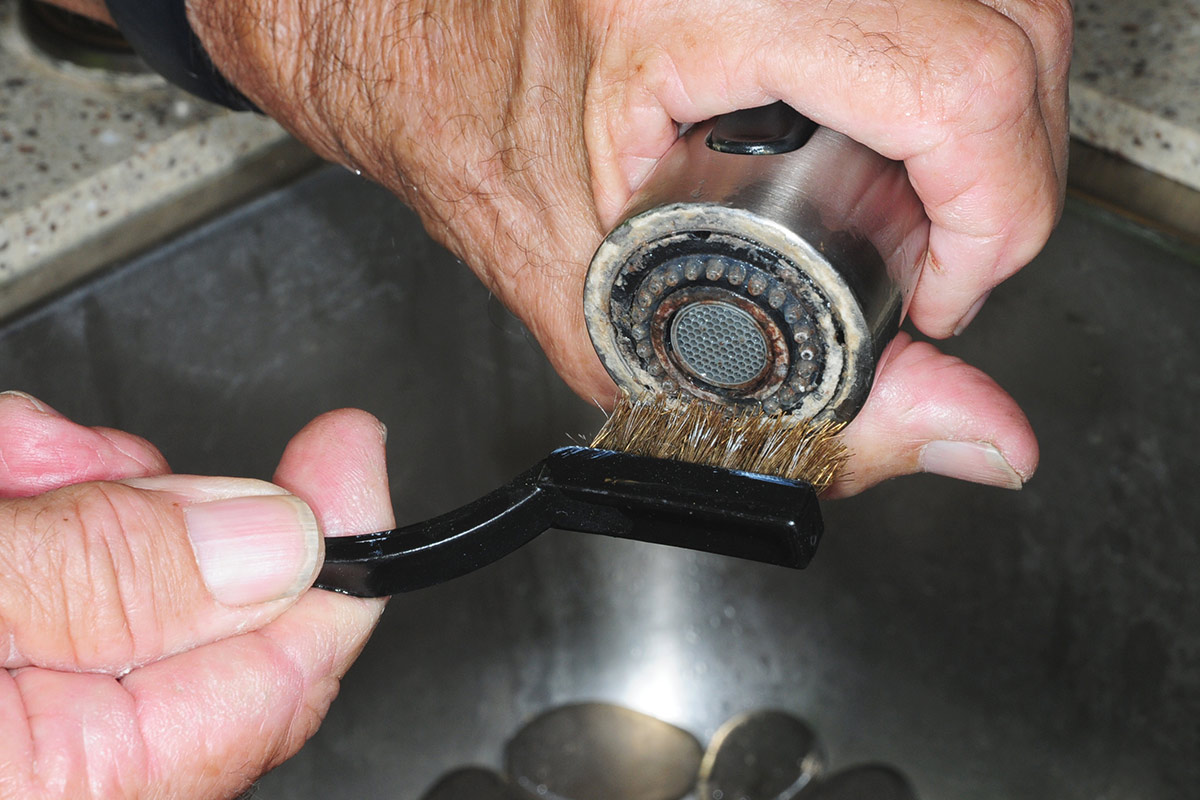
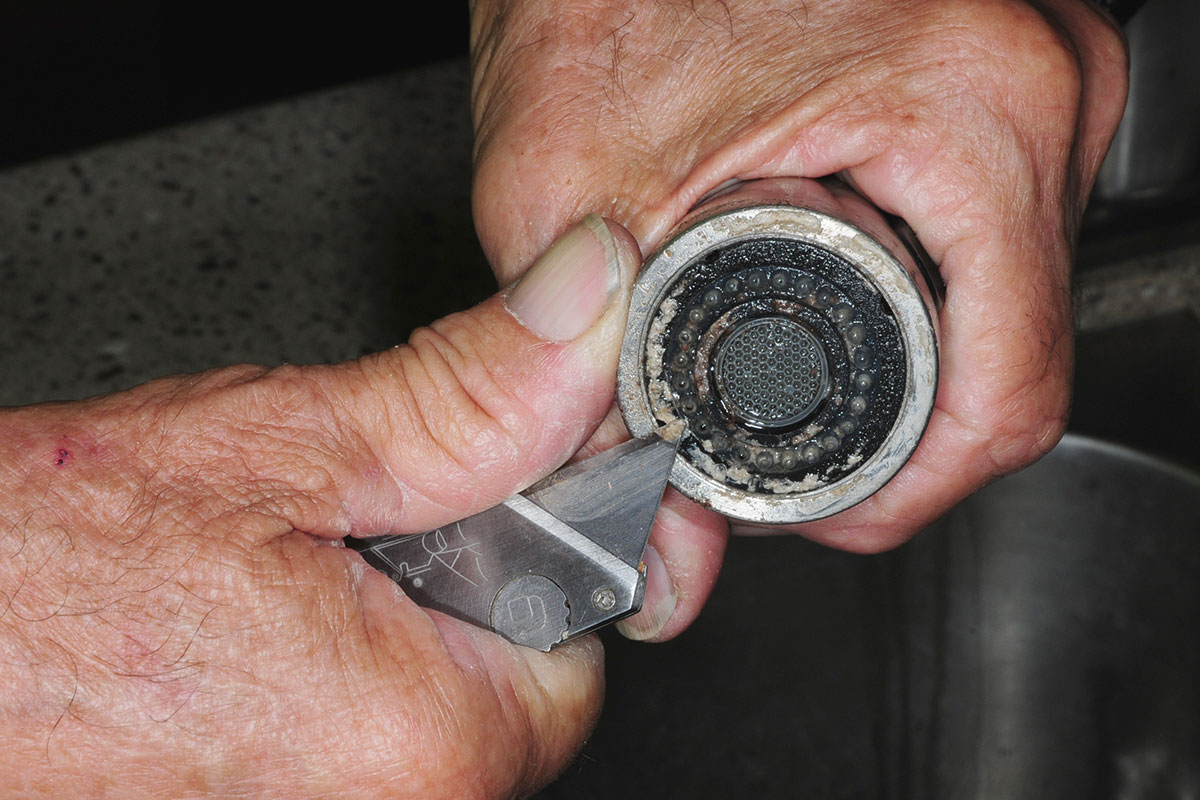

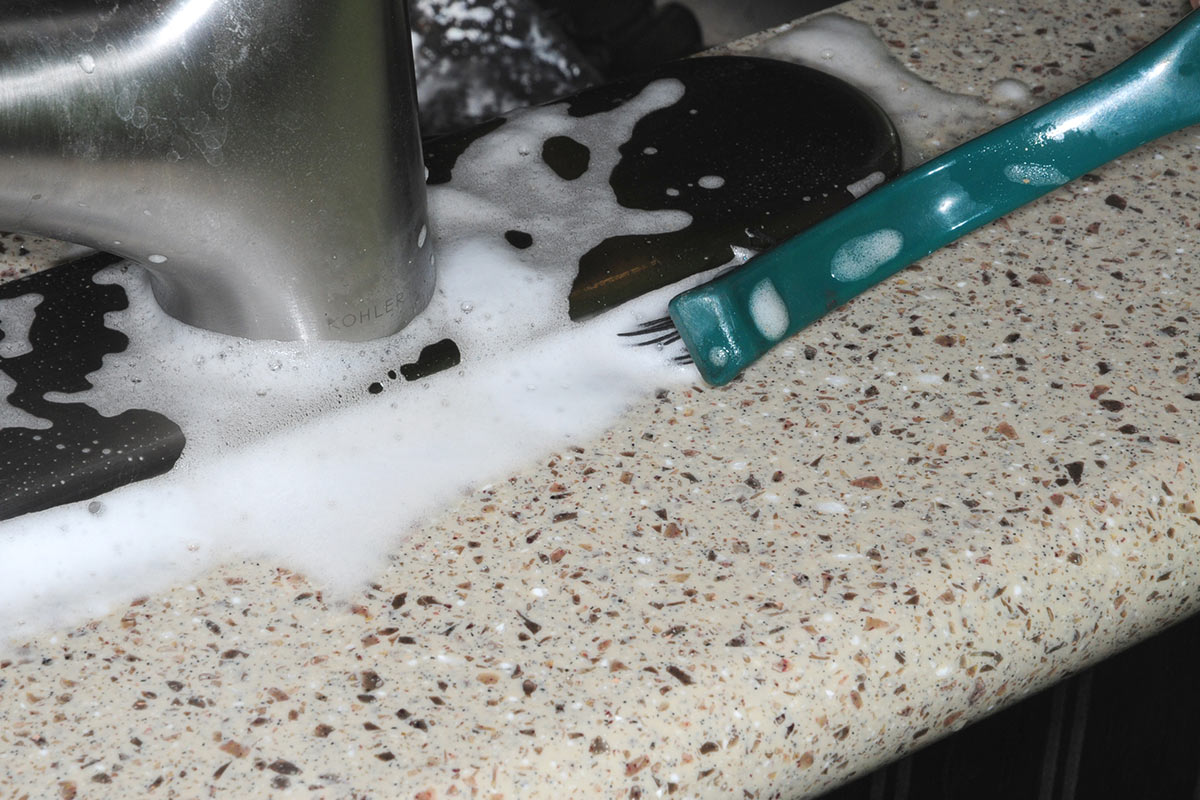
The project was finished off by cleaning the ugly calcium deposits that had collected around the faucet base. We sprayed Foaming Action Lime-A-Way (also available in grocery and hardware stores) on the deposits, let it sit for five minutes and scrubbed the area with a nylon, stiff-bristle brush. The faucet looked good as new — with little effort.
Already a Subscriber? Click here for Access to the Full Issues.

