Blowing a Gasket - RV Enthusiast Magazine

Blowing a Gasket

by | Aug 25, 2022 | Cool Gadgets, RVEXPERT

Once the refrigerator door seal on the magnetic gasket gives way, a common solution is to buy a new door — which is expensive and not very convenient. Creative use of 3M silicone sealing tape can solve the problem without doling out a pile of cash.

Having a refrigerator in your RV is one of the best conveniences for life on the road — but RV refrigerators are not as efficient as home units and performance erodes over time. This is typically due to deterioration of the magnetic door gaskets, which leads to cold air leakage and higher box temperatures. Unfortunately, when these gaskets age and leak the resolution is to replace the entire refrigerator door or try one of the few universal gasket kits on the market.

That said, these universal gaskets are difficult to install — and to make matters worse, if they are not installed precisely the seal won’t last very long and you’ll be back to square one.

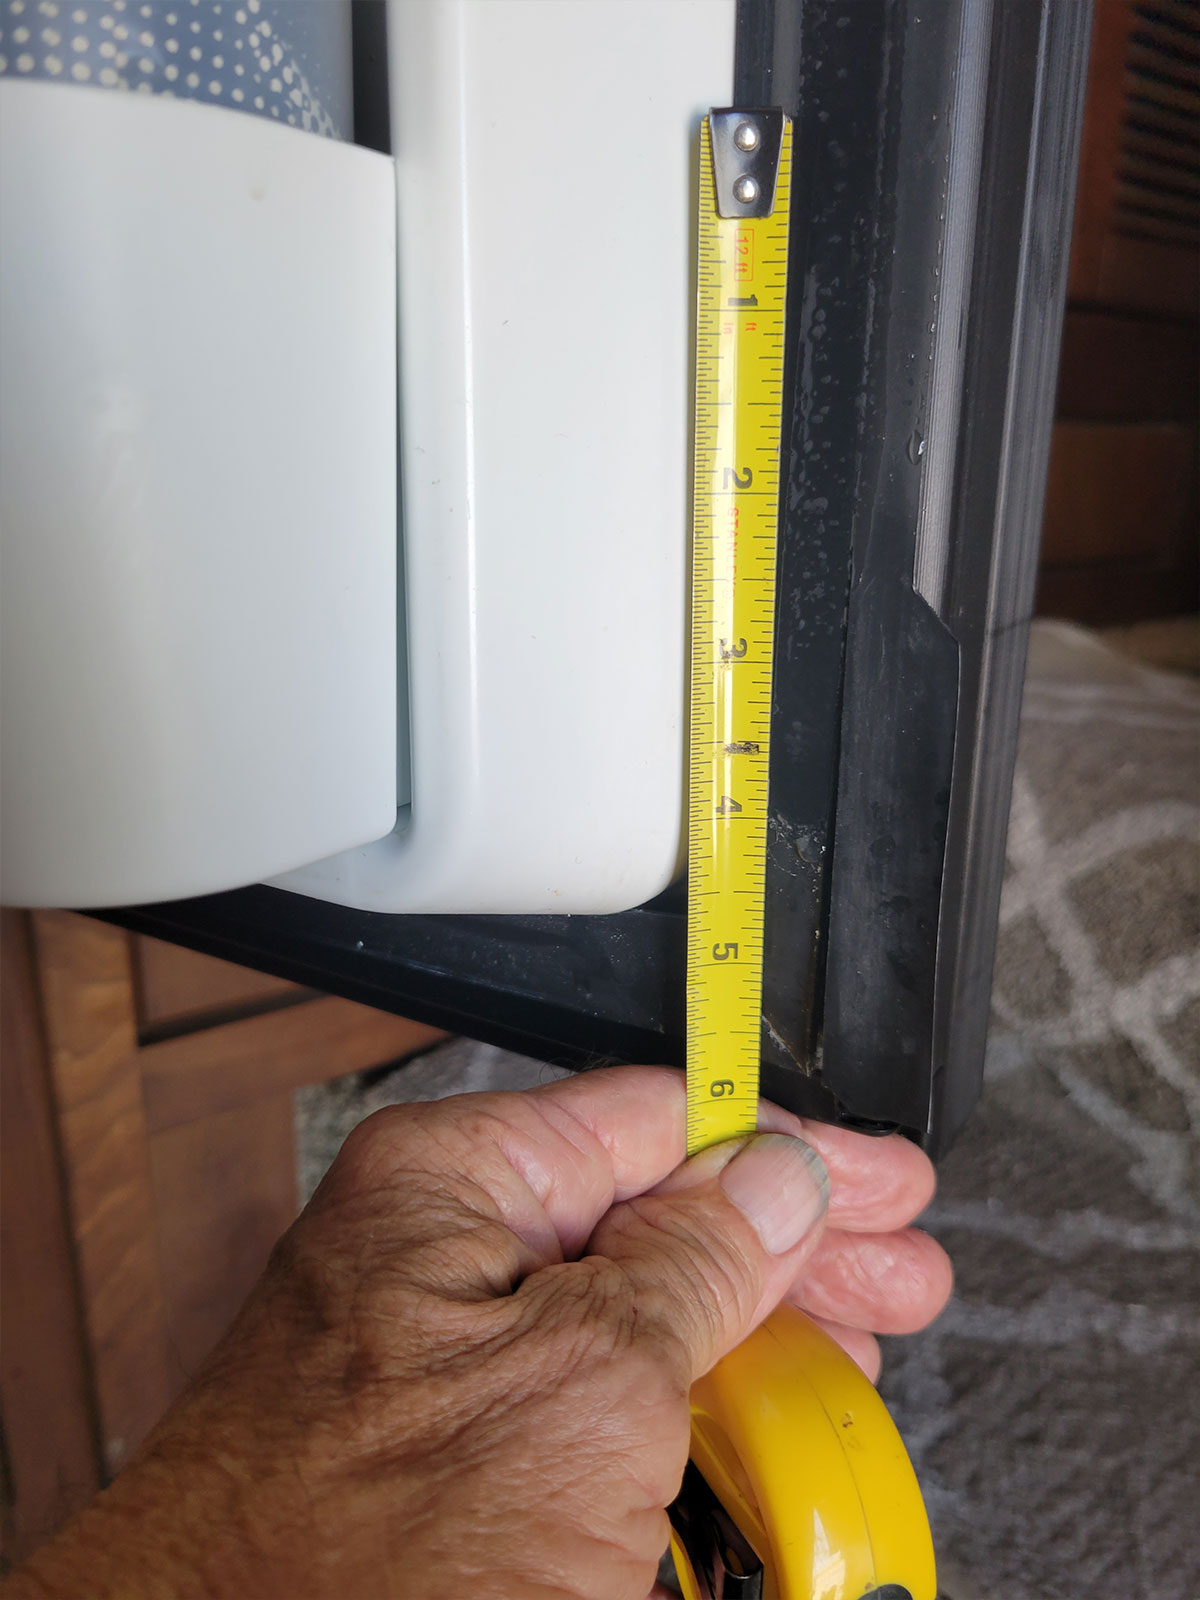
Rather than spring for an expensive new refrigerator door, I decided to try the 3M silicone tape that I used to seal my shower door a while back, figuring I had nothing to lose but a little time. The silicone seal tape comes in a 26.3-foot x 1 ¼-inch roll (if you Google “26.3 feet silicone seal strip” you’ll find this product on Amazon for less than $14).

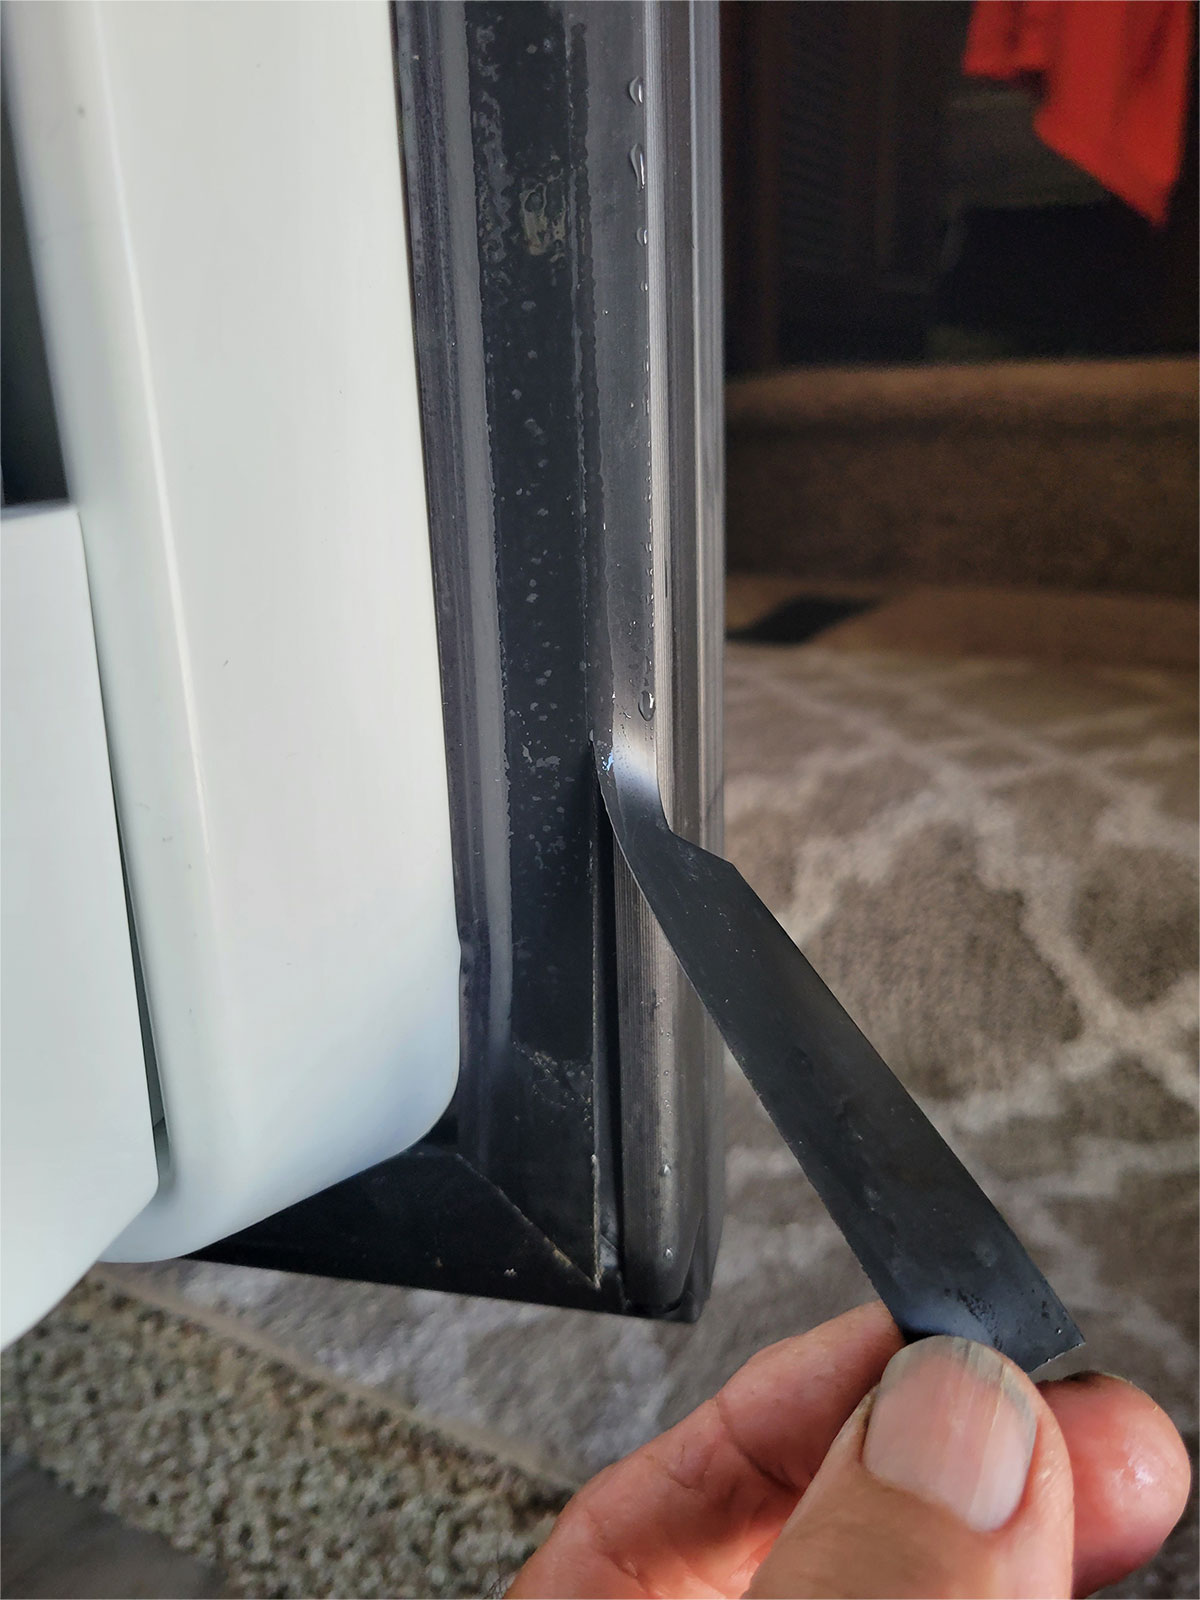
I cut longer pieces of silicone tape to cover a torn seal at the top of my right-hand-opening refrigerator door several months ago and, to my surprise, it is still holding in place even after tugging on it to simulate wear and tear. Now the seal on the bottom of the same door has torn — and since cold air falls to the bottom, this compromised seal was preventing the refrigerator from reaching optimum box temperature. Once again, I cut the damaged section of door seal away from the magnetic gasket to make way for a new piece of silicone tape.

close view of the bottom section of the seal on the magnetic gasket had deteriorated on the door of a refrigerator
The bottom section of the seal on the magnetic gasket had deteriorated on the door of my refrigerator. This short length of seal was impacting cooling performance of the box. The damaged section of seal was lifted and cut off.
a tape measure is used to determine the length of silicone seal tape that will be needed to make the repair
the gasket is cleaned with alcohol applied to a paper towel
After measuring for the length of silicone seal tape that will be needed to make the repair, the gasket was cleaned with alcohol to assure a strong adhesion.
The bottom section of the seal on the magnetic gasket had deteriorated on the door of my refrigerator. This short length of seal was impacting cooling performance of the box. The damaged section of seal was lifted and cut off.
After measuring for the length of silicone seal tape that will be needed to make the repair, the gasket was cleaned with alcohol to assure a strong adhesion.
a strip of 3M silicone seal tape is held to the area that needs repair
The 3M silicone strip has an adhesive backing that is peeled off before applying to the edge of refrigerator door gasket.
the short length of silicone seal tape is carefully applied to the magnetic door gasket
The short length of silicone seal tape was carefully applied to the magnetic door gasket. Firm pressure is used to make sure the adhesive sticks to the gasket.
a finger gestures to another area on the refrigerator that required gasket repair with a larger section of silicone seal tape
Large sections of silicone seal tape were also previously applied to the upper portion of the magnetic gasket on my refrigerator door. After testing for a few months, the tape was holding firmly and doing a great job of preventing cooling losses. This creative repair will save you hundreds of dollars for the cost of a new door — and the hassle of making universal gaskets work properly.

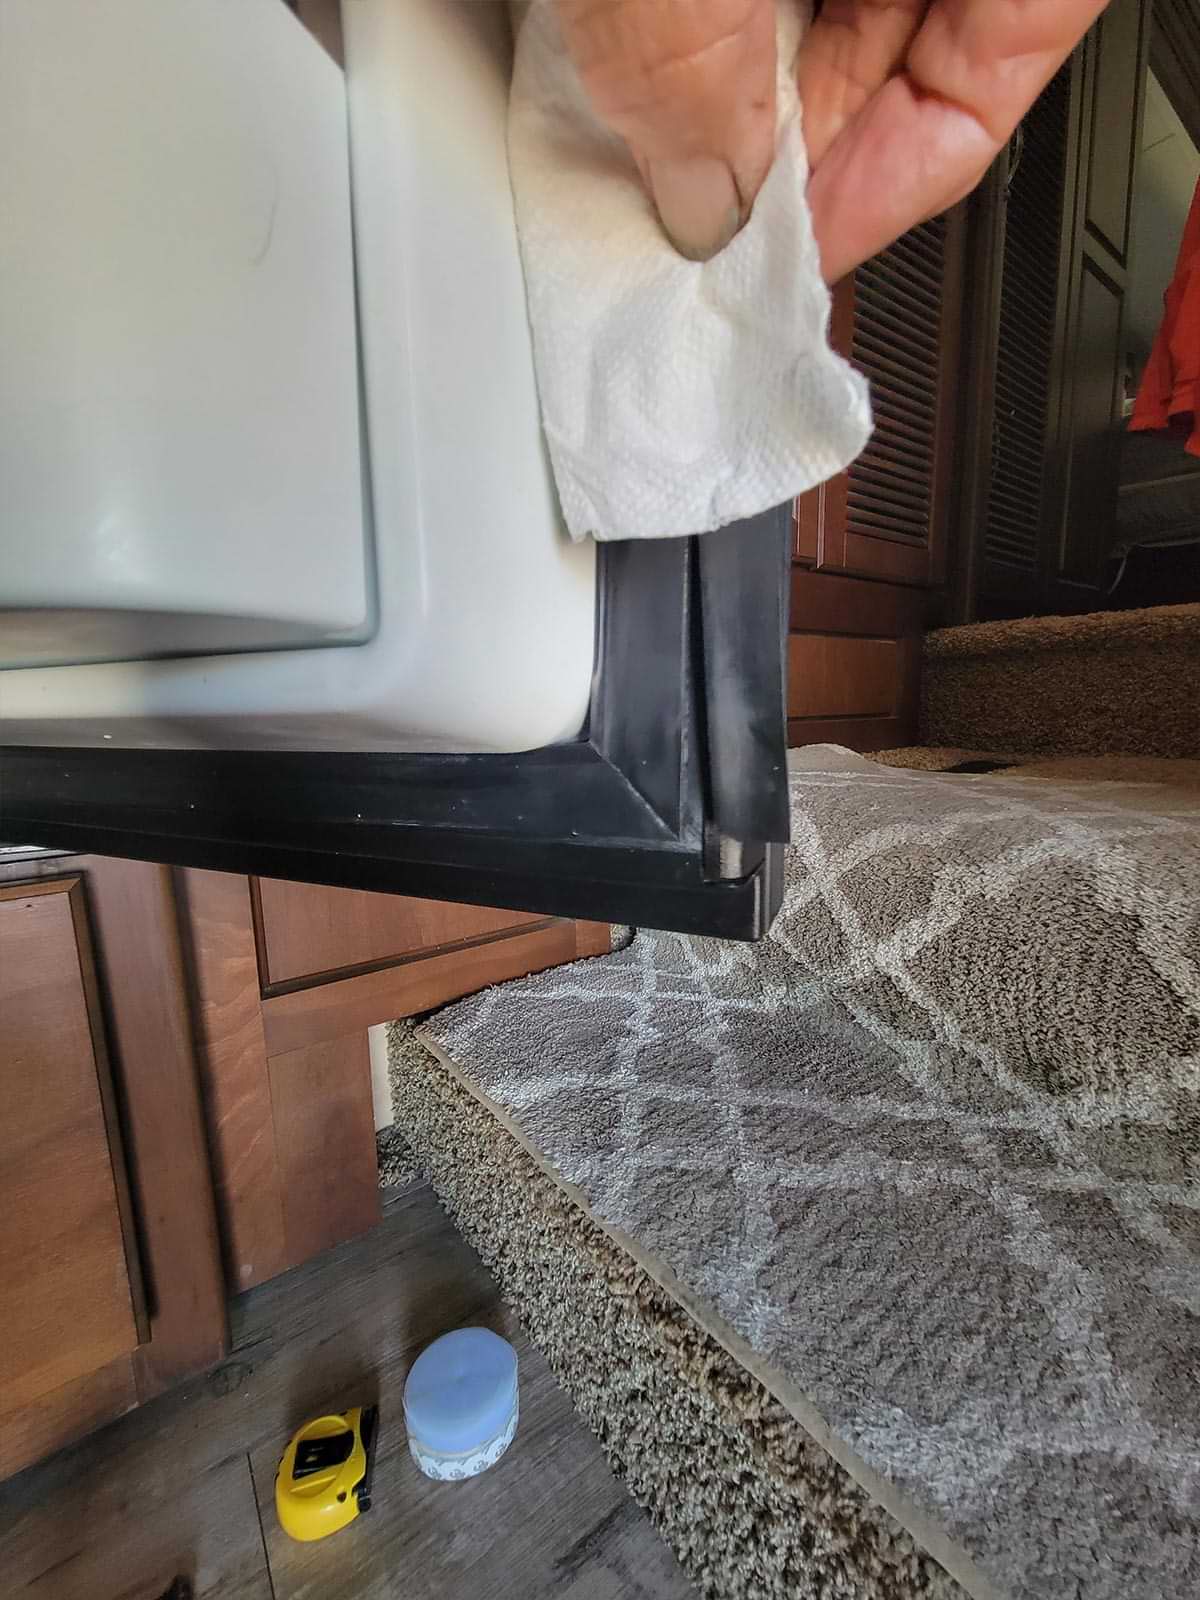
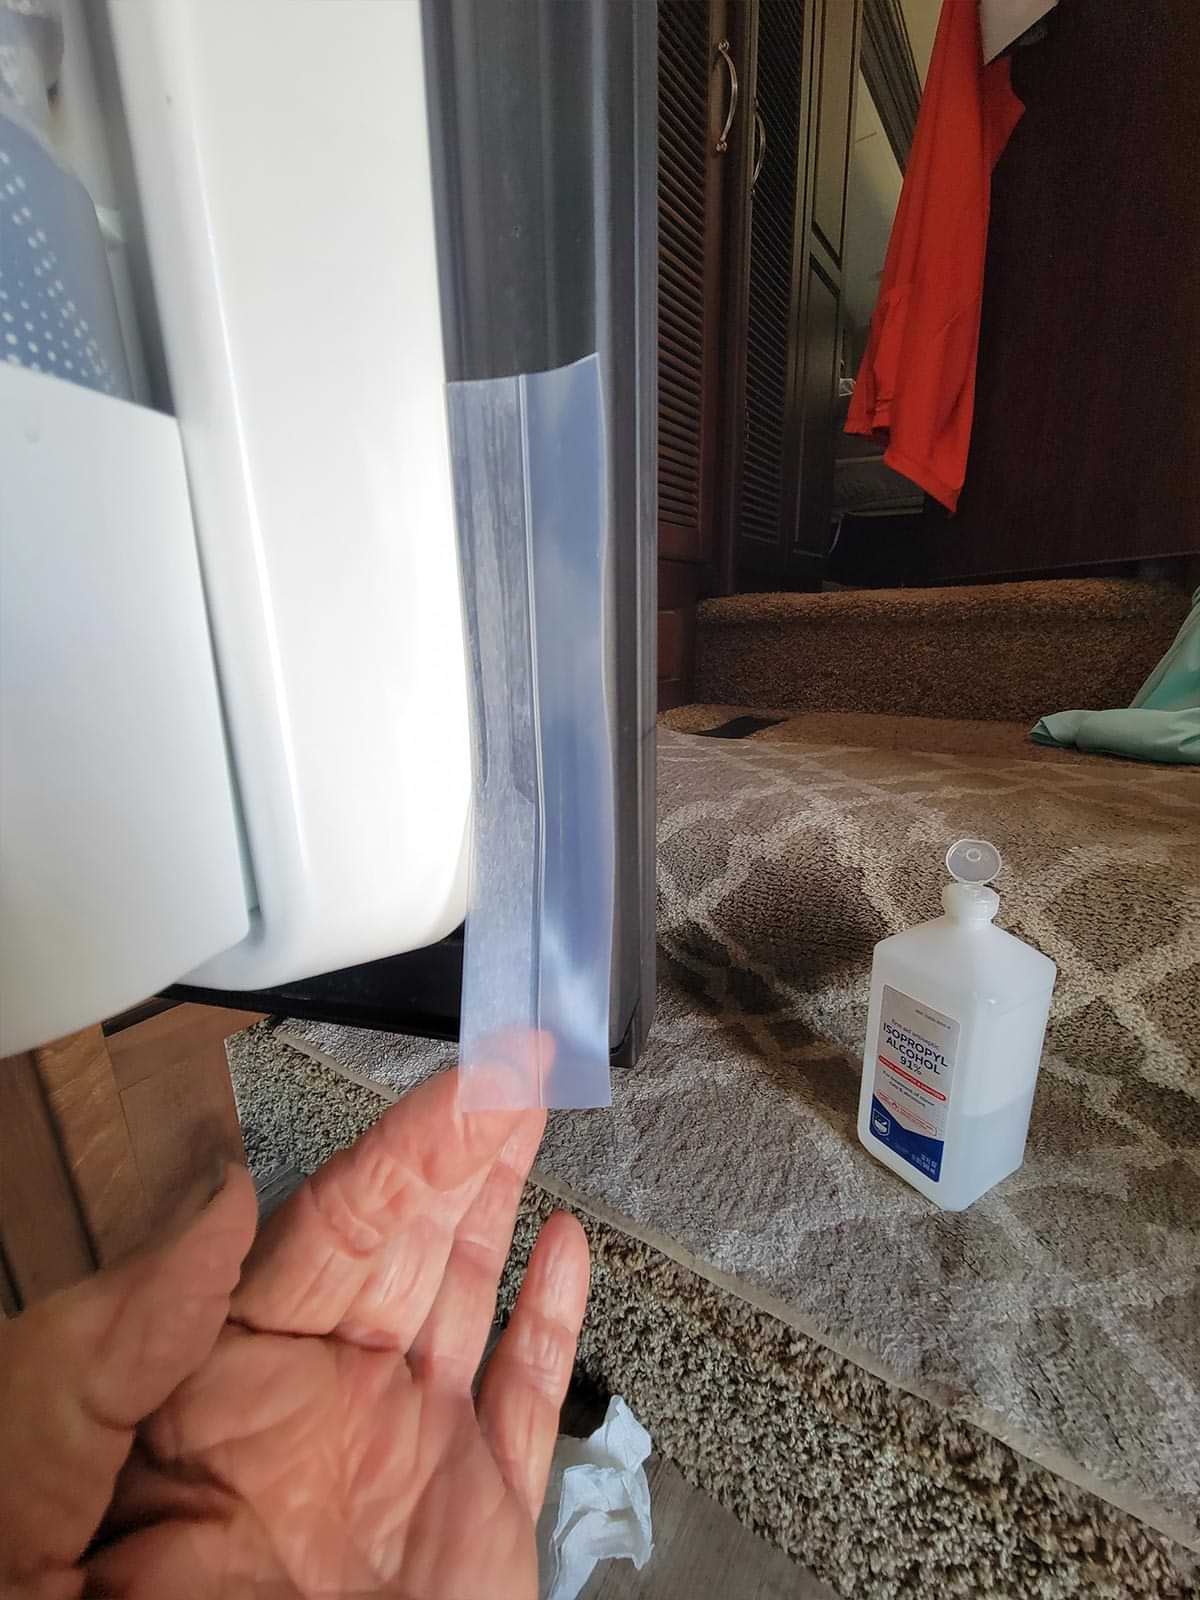
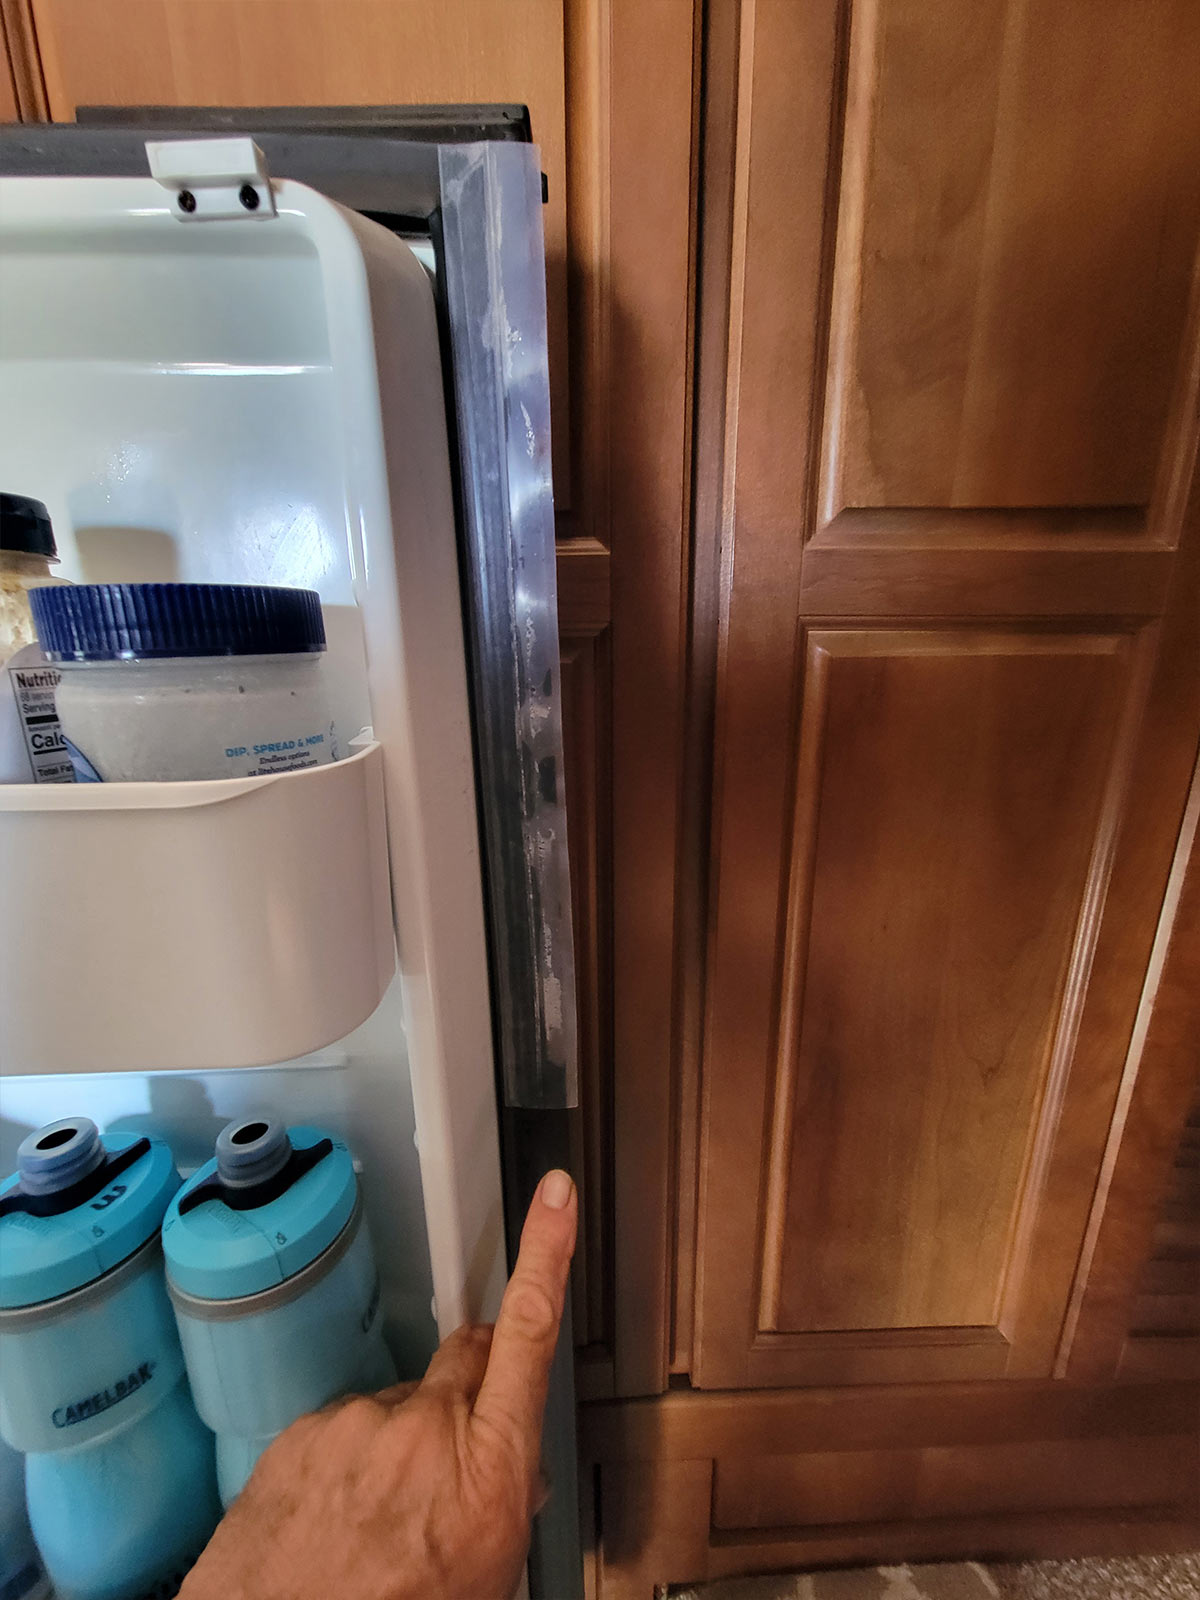
The key to success is preparation of the area where the tape will be applied. Considering that the refrigerator runs full time (I live in the fifth wheel), there was constantly a certain amount of condensation on the seal. Using a hair dryer or a heat gun (with great care) the sealing area was dried thoroughly and cleaned with a paper towel and alcohol. Carefully set the silicone tape on the magnetic gasket and press firmly, sliding your thumbs up-and-down across the seal to make sure that it adheres properly. Next, shut the refrigerator door two or three times to make sure that the seal does not bind.

That’s it — you’re set to go.

One of the good things about making the repair with silicone sealing tape is it can be redone down the road, if necessary. And, you’ll continue to save a bunch of money.

Get Updates
Subscribe today and never miss an issue!
Get all the latest tips and news to keep you moving on that open road!
RV Enthusiast April 2024 Issue
Current Issue
April 2024
No fooling, it's here–our latest issue of RV Enthusiast! The April issue covers 2024's Newest Parts & Accessories, RV OEMs Debut New Entry-Level Towables, an in-depth slideout floor replacement, PLUS so much more!

Already a Subscriber? Click here for Access to the Full Issues.

Share This