Ceramic Coating Primer
The ceramic coating is a chemical that is applied to the paint (and other surfaces) that helps protect it from damage and keep it looking great while repelling dirt and water for far longer than traditional automotive waxes and sealants. A small bottle of ceramic detailer large enough to coat one car will cost between $40-$100, not counting all the preparation chemicals and toppers that go on afterwards. The total product cost of protecting a car with a professional-grade coating can easily cost $200-$300 — and a large RV will be several times that. Remember, that is product cost only; you still need to pay for the labor if you don’t attempt it yourself.
Is it worth it? In my experience, yes. I believe that paint coatings are perhaps the most important product development in the industry in more than 20 years. I use ceramic paint coatings on every vehicle in my garage, including the motorhome, and typically they last a minimum of two years. However, I have seen them last up to five years, depending on exposure level and maintenance.
The process starts with a decontamination wash, the iron and/or mineral deposit removal, and the prepping of the entire painted surface with a clay bar. The entire painted surface must then be paint-corrected (polished) to remove scratches, swirls and micro marring. This can take one, two or sometimes even three entire polishing steps with a powered buffer to leave the paint glossy and free of surface defects. Finally, the last step before application of the paint coating is an IPA (isopropyl alcohol) wipe-down to remove any traces or oil or fillers left from the previous work. Only then is the paint clean and smooth and ready to accept the ceramic coating.
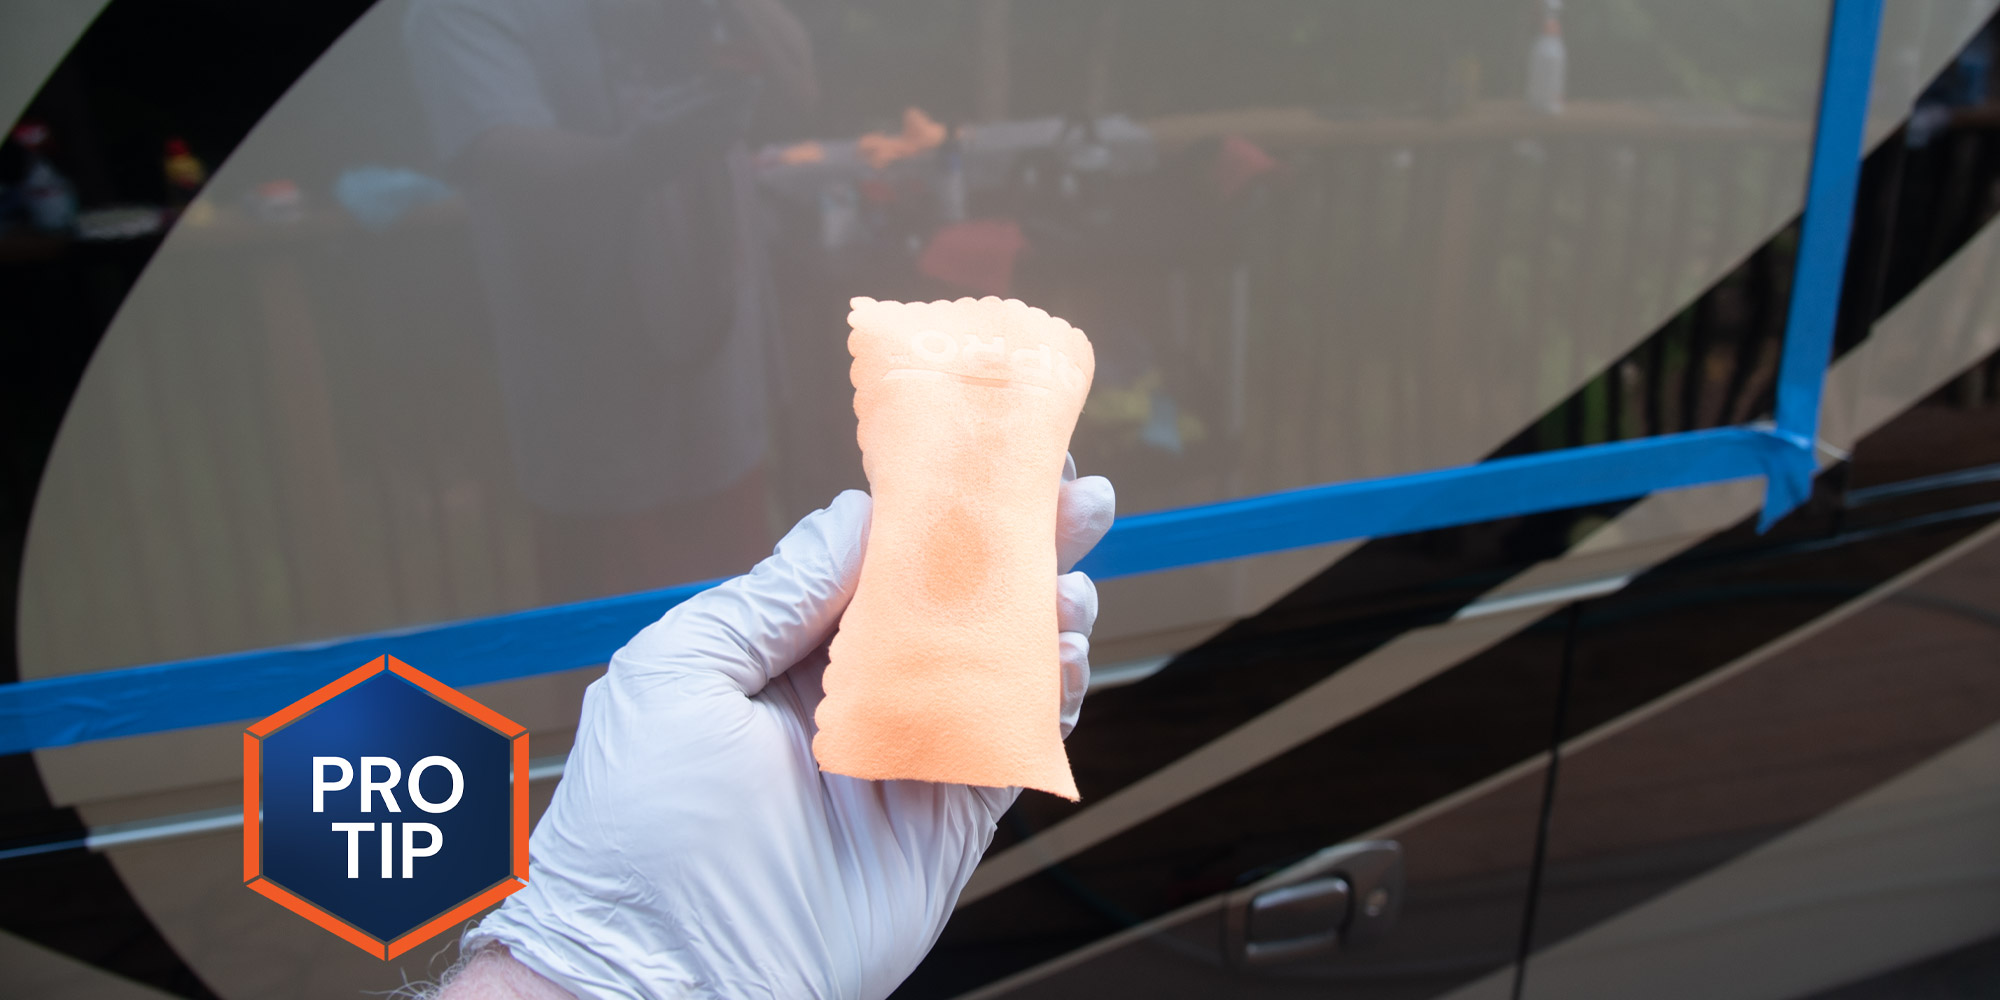
Depending on the brand and type of paint coating used, it may require as little as one layer to as many as three layers of ceramic coating to achieve the desired results. Each layer is hand-applied with special application tools and pads and then allowed to slightly “flash” before wiping down (leveling) with a clean microfiber towel. Once a microfiber towel has been used to wipe off a ceramic coating it should never touch paint again as the coating residue dries in the fibers and can lead to scratches. (This entire process is, as you might have surmised, a very strict regimen and not usually attempted by do-it-yourselfers at home without considerable experience.)
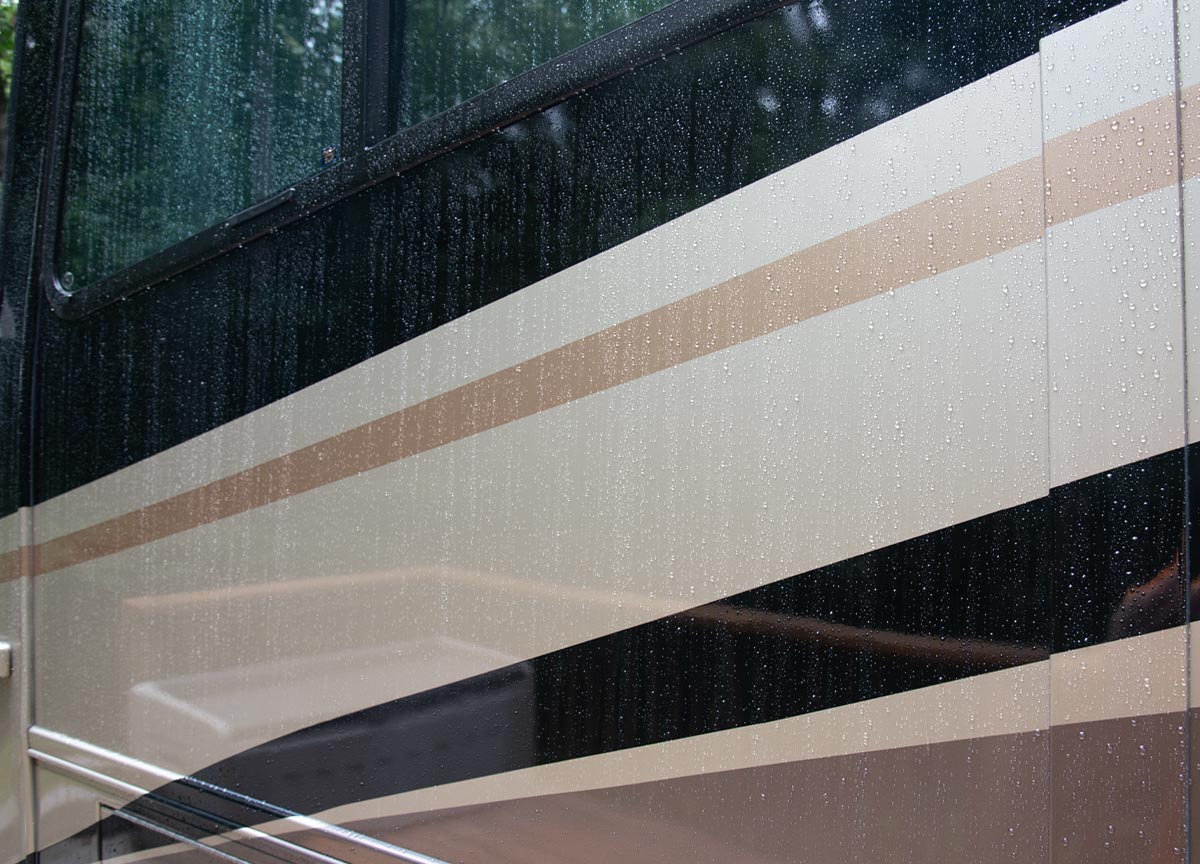
With all the added cost and complexity of the application, you may be wondering why to even bother with a ceramic coating. The benefits are many, but most noticeable as an owner is the ease of keeping a coated RV clean and looking great. Because of the incredible hydrophobicity — the finish’s little or no affinity for water — after coating, the paint is presenting a surface resistant to water and dirt. The water stands up on the surface of a coated surface in a way that has to be seen to be appreciated. This surface makes the paint much easier to wash, dry and to clean, as well.
A coated RV also looks much better because the gloss is so deep. It is also more resistant to UV damage and oxidation than the protection afforded by traditional wax or sealants.
One thing that ceramic coatings can’t prevent, however, is water spotting. If hard water gets on the surface and allowed to dry, the minerals in that water will be left on the surface. However, it will make removing those deposits a lot easier. Understand, too, that although a coated RV is resistant to many things, it is not a hard, impervious shell that prevents scratches or nicks from rocks and road debris. It still needs to be washed properly without the use of harsh scrub brushes on the surface. After a paint coating is applied, it is important to follow the suggestions of the coating manufacturer for washing and maintenance to ensure the coating lasts as long as possible. If you use the wrong products it can lead to “clogging” the coating and reducing the benefits.
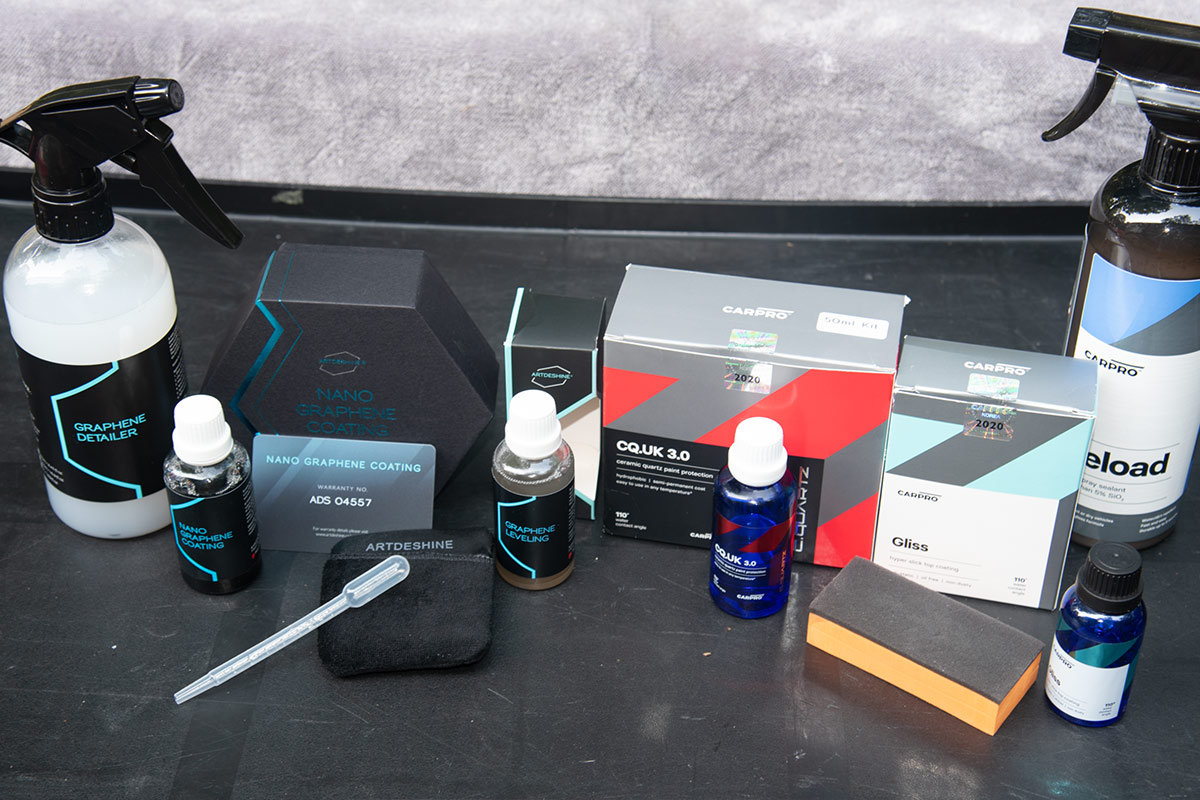
As noted earlier, the process of coating a large motorhome is expensive even if you do it yourself. Expect to spend several thousand dollars to have it done by a professional (and manufacturer accredited) installer. There are many brands of coatings, and each has its own network of installers across the country. Popular brands include Optimum (optimumcarcare.com), CarPro (carpro-us.com), Gyeon (gyeonusa.com), GTechniq (gtechniq.com), Adams Polishes (adamspolishes.com) and our current favorite, Artdeshine (artdeshine.com). Know, too, that in addition to having a network of qualified installers, each of these companies also usually offers a complete lineup of products for those willing to take on the task themselves.
In addition to paint coatings, there are specific ceramic coatings for other parts of a vehicle such as glass, plastic trim, rubber, leather and more. In general, the glass and trim products tend to be the most beneficial to RV owners. We have used many of them and found they do last significantly longer than their traditional counterparts.

Already a Subscriber? Click here for Access to the Full Issues.