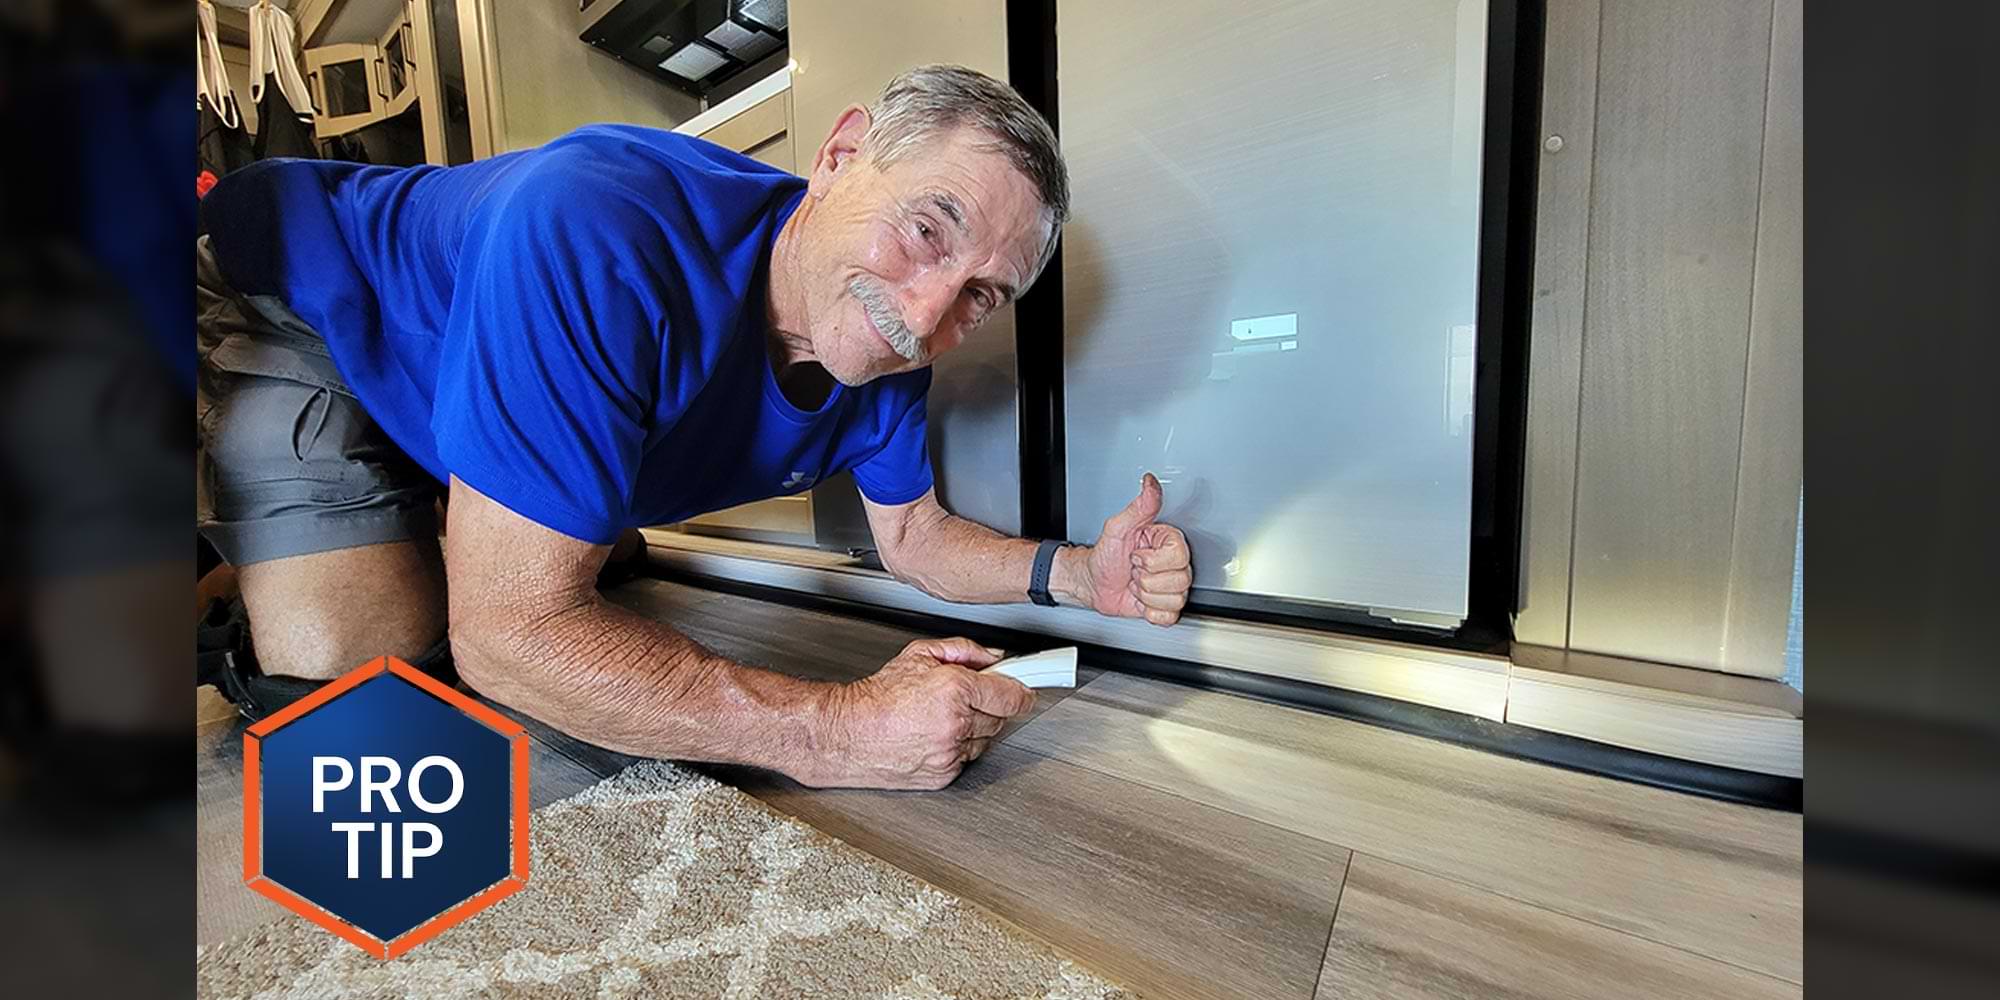
Closing the Gap - RV Enthusiast Magazine

Closing the Gap

by | Aug 18, 2023 | Pro Tip, RVEXPERT

Photos by the author
Blocking the space between the main and slideout floors keeps wayward M&Ms from finding refuge and making a mess. Chasing dropped items that fell off the island counter was humorous at first — but got old fast. Now the bugs and critters are just plain out of luck.
The floor plan in my new fifth wheel works well, but the gap between the floor and the kitchen/entertainment center slideout is wide. It didn’t take long for a bunch of spilled M&Ms to disappear under the ledge and spread out under the slideout floor. Chasing the wayward candy revealed other items that left my clumsy hands and found sanctuary under the slide — not to mention the dust-bunnies that escaped the vacuum cleaner’s suction. RV Enthusiast Publisher Bob Livingston has the same gap under his fifth-wheel’s slideout and he’s still finding Cheerios that fell on the floor more than a year ago.
a dull knife in hand is used to coax loose M&Ms from beneath an RV slide out
The gap between the main floor and the bottom of the slideout structure was more than 1 inch and provided a large sanctuary for items — like my favorite M&Ms — to hang out. It was always a tedious job to remove stuff that managed to roll into the gap.

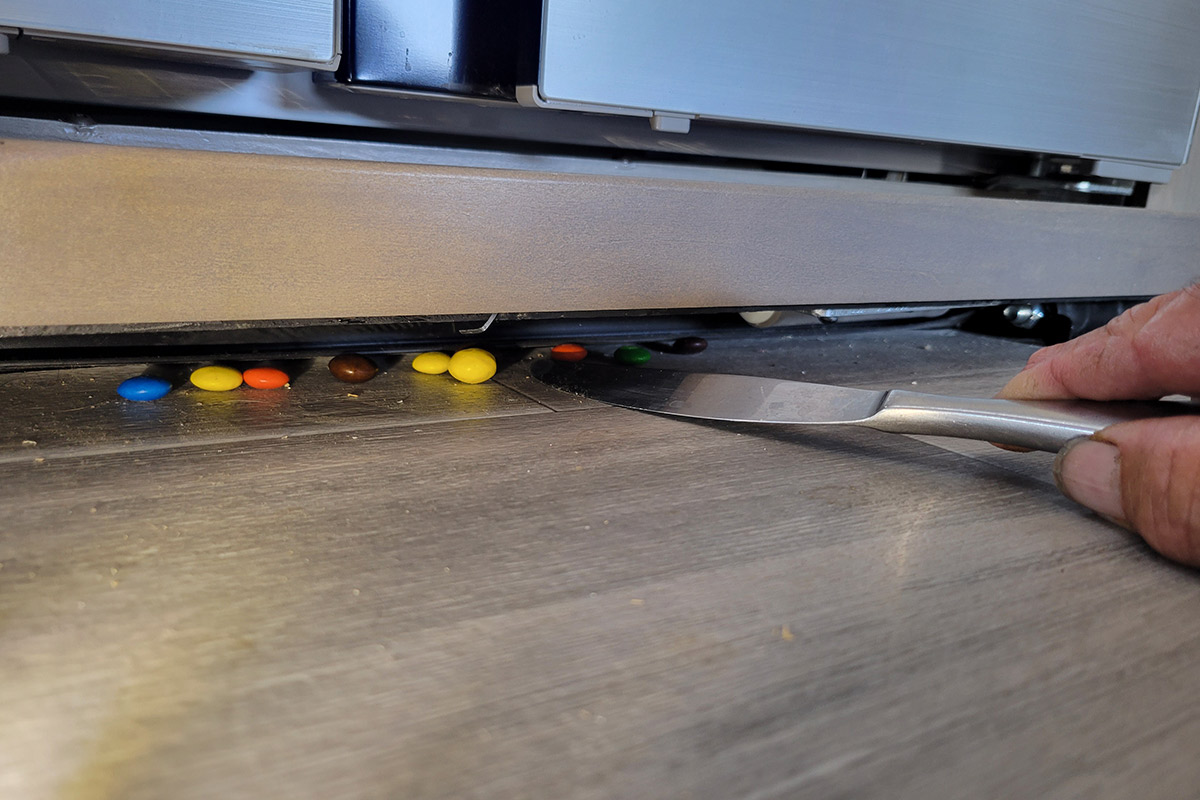
It’s just not a good scene, and likely attracts bugs and mice looking for some nutrition. I needed a solution.

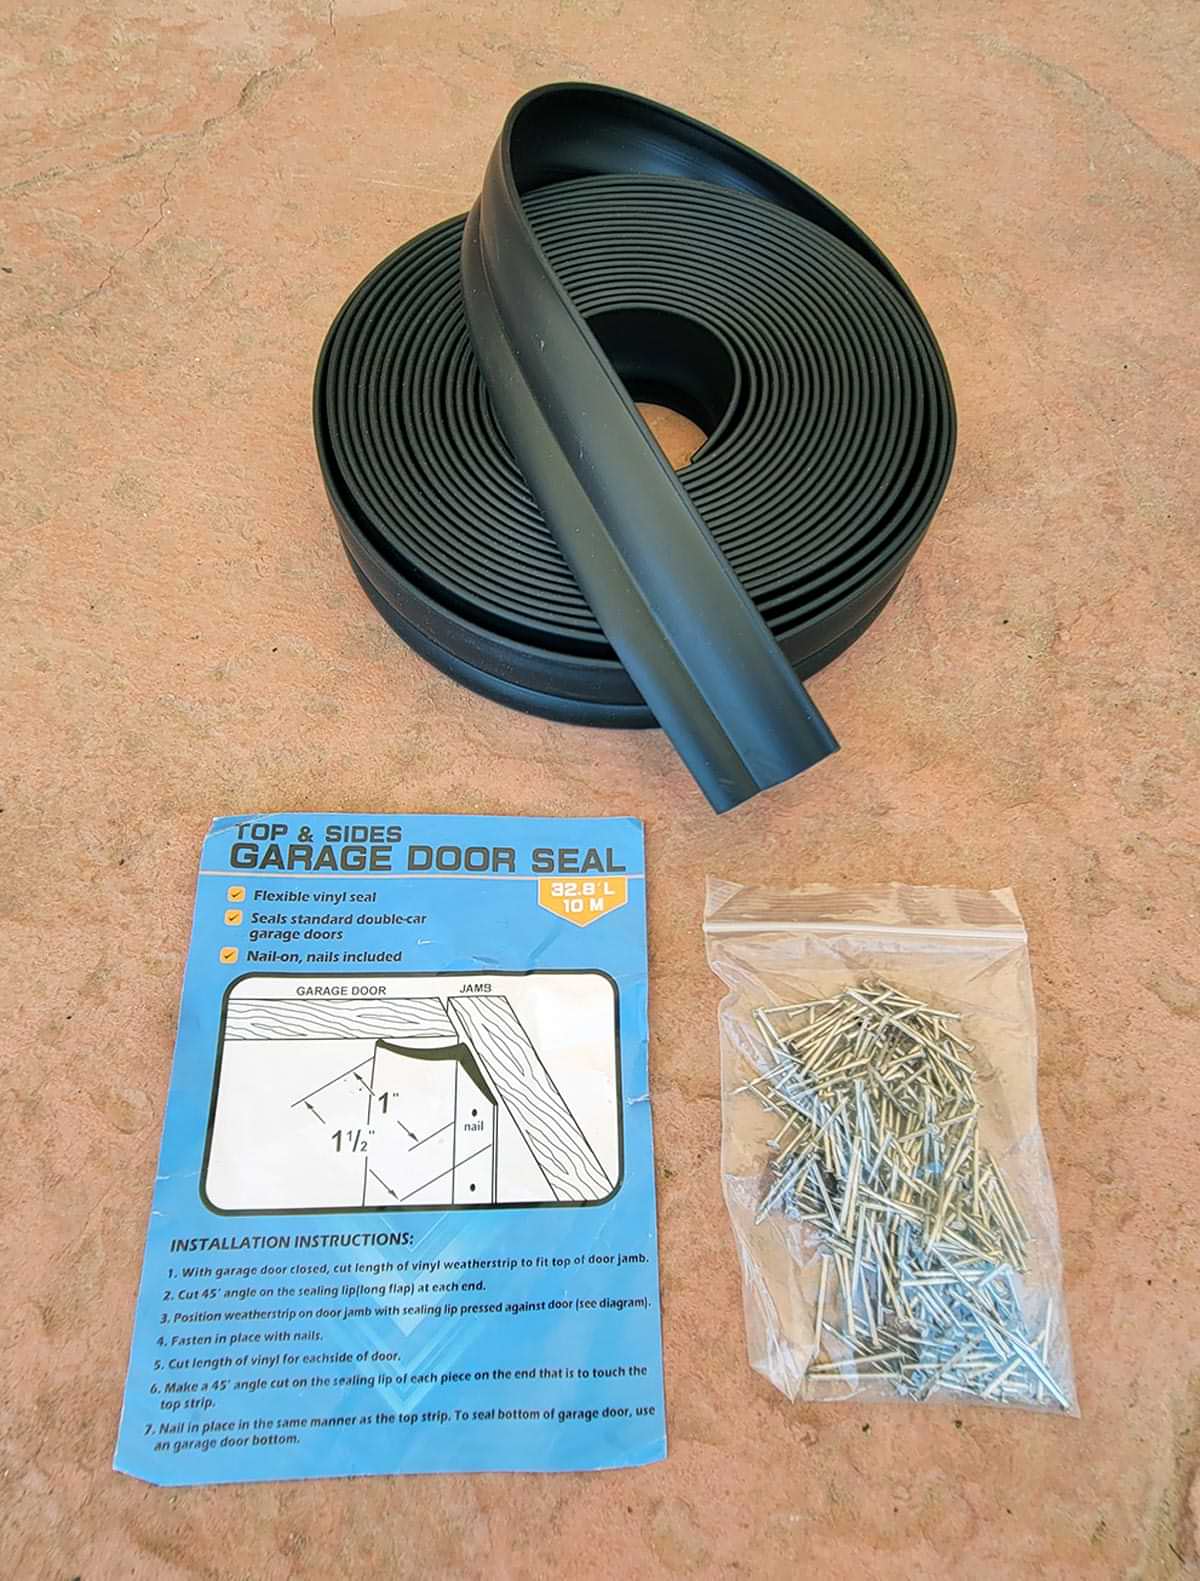
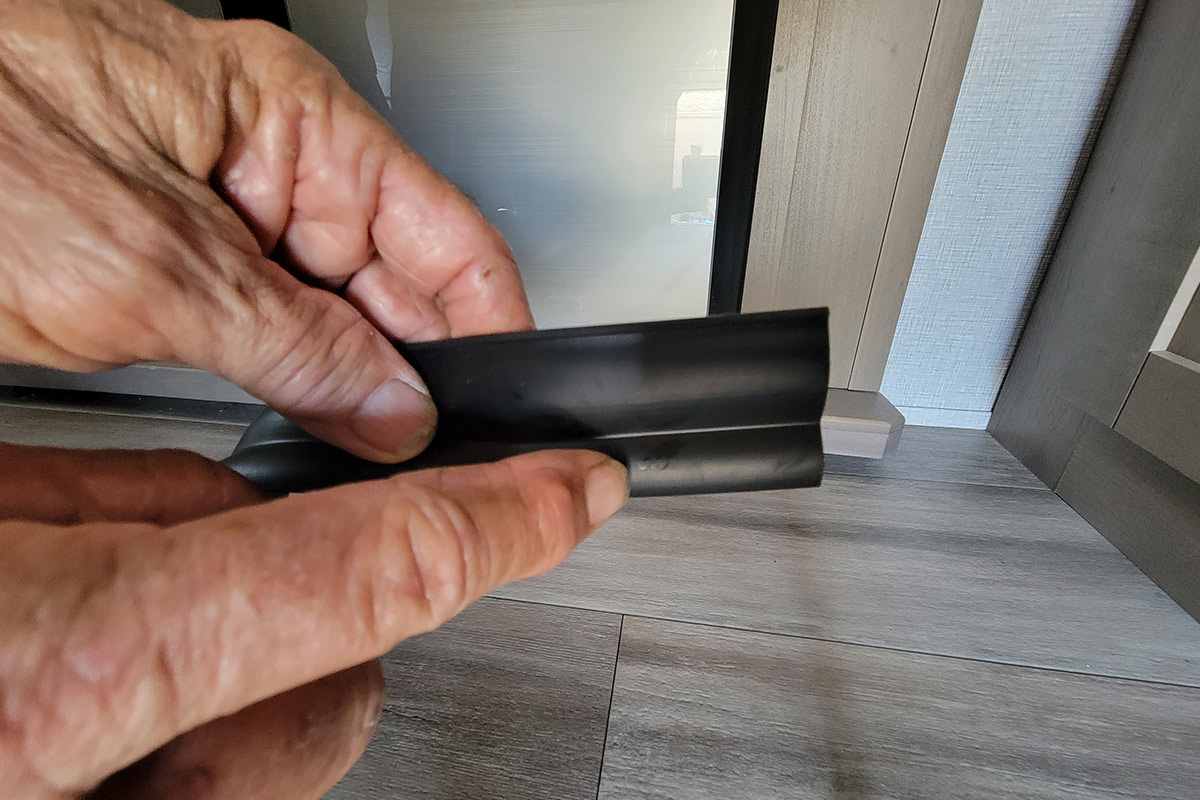
Since the gap is more than an inch high, there’s plenty of space for just about anything that falls on the floor to take sanctuary. I turned to Amazon and while surfing different types of seals I ran across a garage-door seal that looked promising. What I was looking for needed to be long enough to attach to the front of the slideout lip and reach the floor — and not look like an afterthought. Fortunately, the “garage seal” I found — “Garage Door Top & Sides Seal 32.8 feet, Weatherproofing” (Amazon, $10.47 for a 32.8-foot roll) fits the bill.

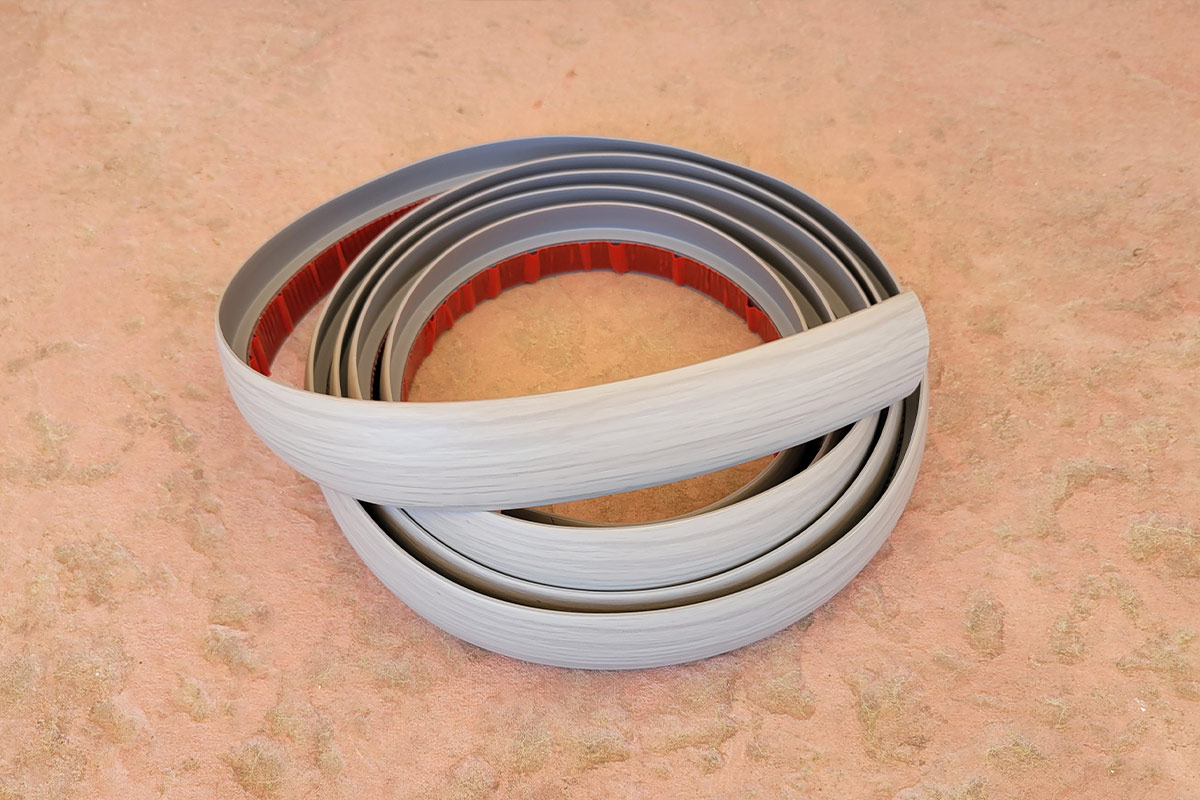
The second part of the project — ever notice there is always a “second part” to what seems to be a simple project? — was to find an adequate step-down molding to provide a finished look of the seal. Since the slideout is exactly 14 feet long, it took two 10-foot lengths of “Floor Transition Strip Self Adhesive, PVC Carpet to Tile” step-down molding (also procured on Amazon; $18.99 for each length). The PVC, Gray Grain Wood molding I selected was almost an exact color match; other colors are also available.

a garage door seal kit and directions on display
a rolled floor transition strip
A black seal intended as weatherproofing for the space between the garage floor and door turned out to be a perfect fit for this project. A floor transition strip was used to provide a finished look to the seal. Both these items are readily available on Amazon and are inexpensive.
The step-down molding came in a tight roll, so it didn’t take me long to figure out I needed to let it bake in the sun for a while to straighten out the material naturally. The garage-door seal was pliable and did not need to be set in the sun.

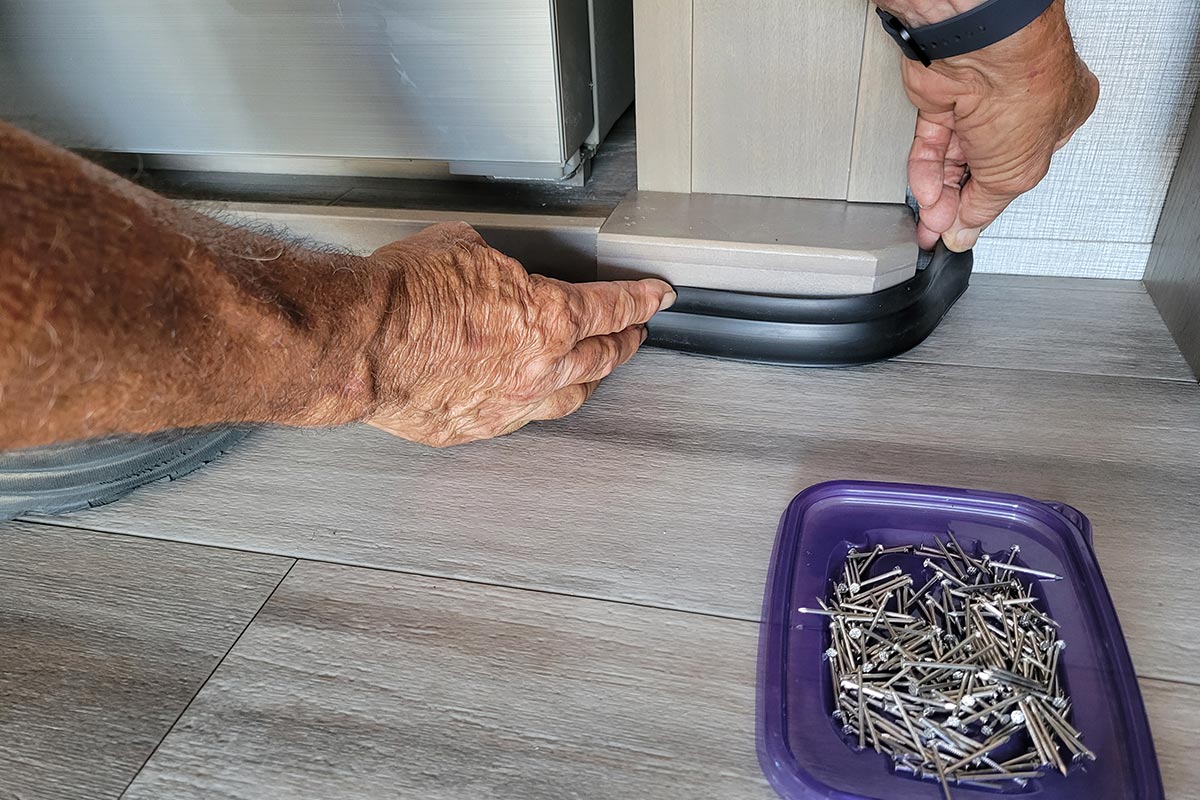
The “secret” to installing the products, as I soon realized, was to install the garage-door seal so it just barely touches the floor. There’s always going to be some flexing and movement as a slideout goes in and out, and it does not need to sweep the floor like a wiper blade — it just needs to prevent items from being lodged under the slideout floor.

close view of a finger pointing to the lip on the black seal
The seal has a lip that glides over the main floor and had plenty of material to mount to the lip of the slideout floor. The seal is made of PVC material that is weather resistant, so it should fare well inside the fifth wheel for a long time.
Prepping for the install, I looked under the ledge and scooped out (and vacuumed) as much “who knows what” before attaching the seal and molding. Since the garage-door seal was much longer than needed, I simply cut it about 6 inches longer for a little wiggle room. The seal came with small nails for attaching to a garage-door frame (which is normally wood, like the slideout floor lip) but I quickly determined that the front face of the slideout was too hard to drive the nails without bending. I decided that pre-drilling would be necessary.

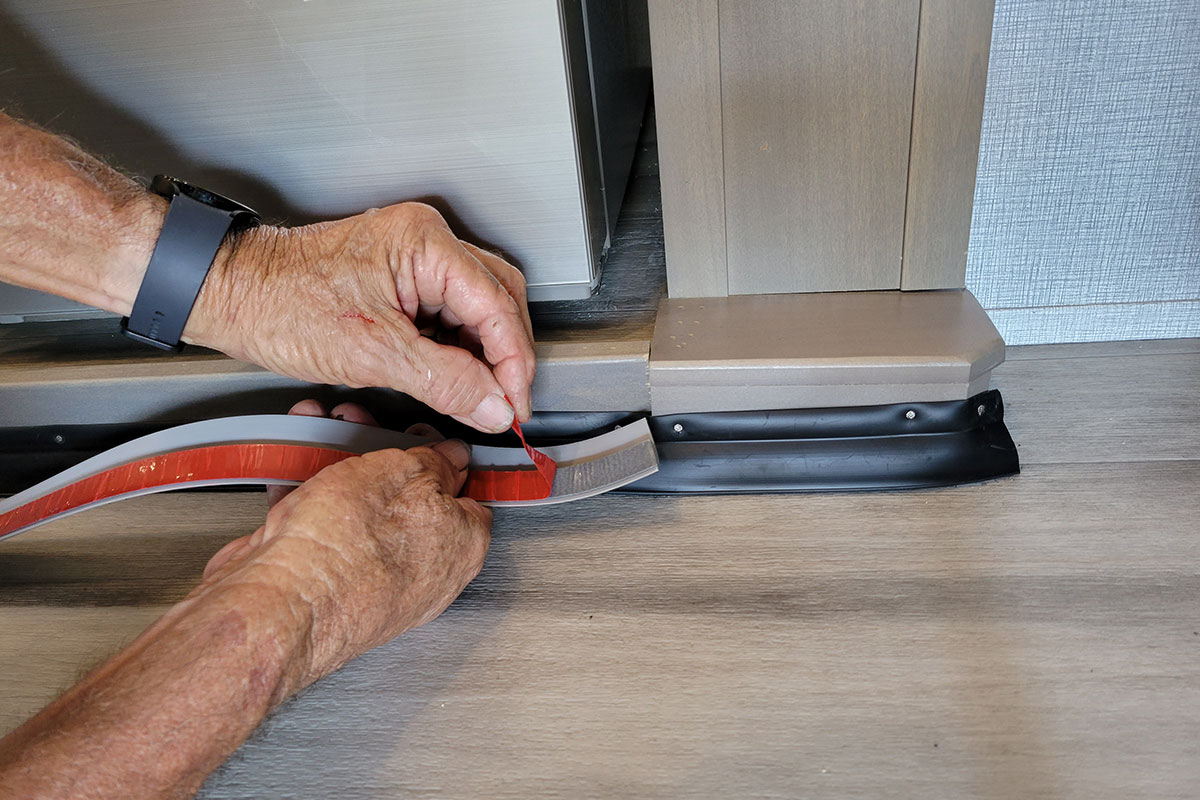
I started at one end and drilled the first pilot hole through the seal and front lip of the slideout, then drove in a nail. From there, the other pilot hole locations were marked with 6-inch spacing and drilled one at a time, and each nail was set. I was hoping that I could make the turn around the edge of the slideout ledge, but that didn’t work because the lip on the side of that curve was too narrow to set a nail. In the end, it was a straight run. The nails have a small flat head on them, so I decided not to pound them into the seal too hard for fear of cutting through the seal.

the black seal is wrapped around the base of the slideout
At first, I attempted to wrap the seal around the ends of the slideout, but the side of the curve was not wide enough to accept a nail. I cut the material 6 inches longer than needed to span the entire slideout floor for wiggle room when installing the seal.
a white chalkboard marker is used to mark locations for the black seal nails
The first hole was predrilled through the seal and the face of the slideout floor at one end. After the first nail was set, subsequent hole locations were marked every 6 inches and drilled for setting the next nail. The nails have a flat head, so care was taken not to cut the seal.

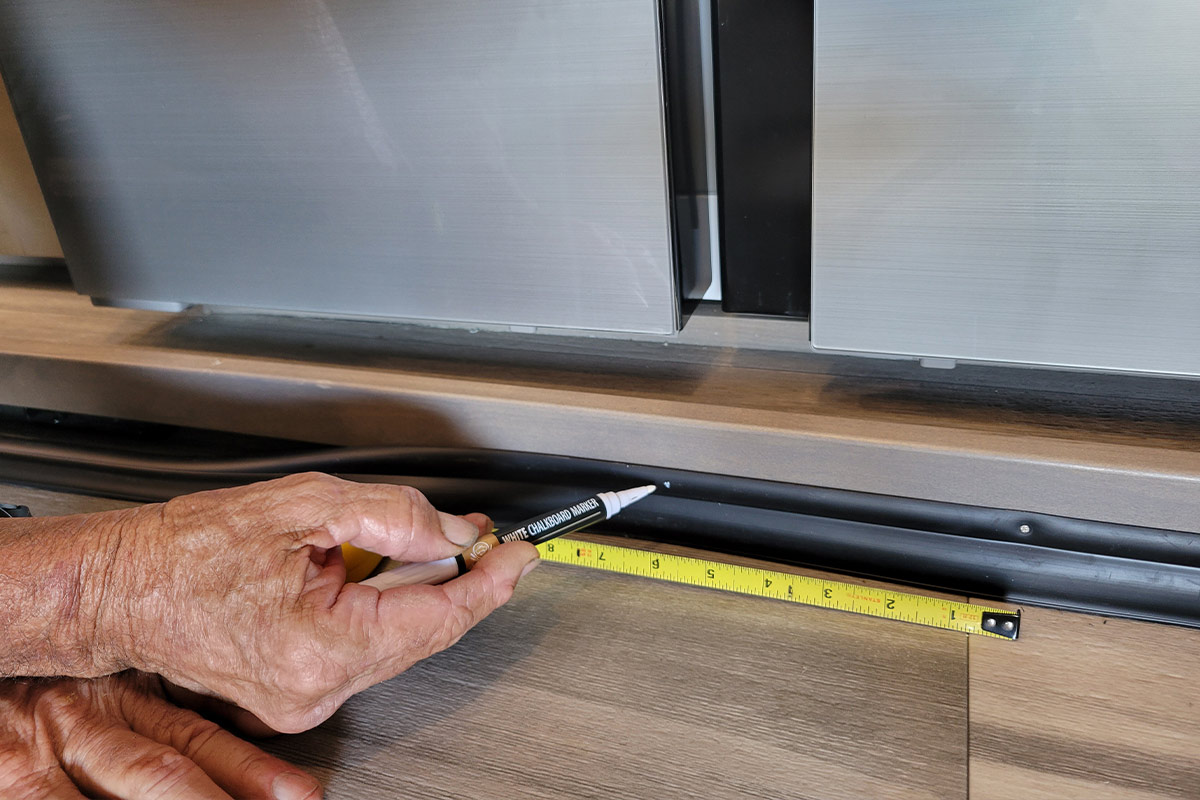
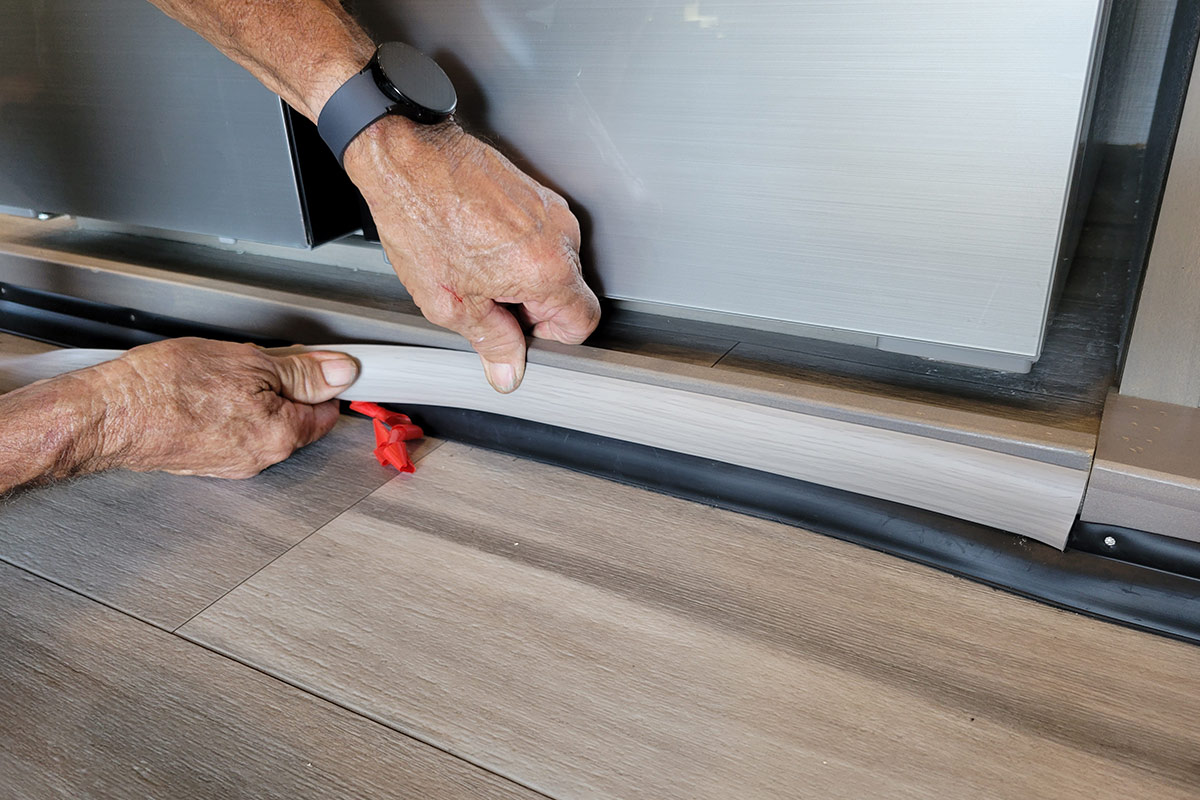
Satisfied that the seal was in place, I used a paper towel and alcohol to clean the entire length of where the molding — which has strong double-sided tape for adhesion — was to be applied. I set the lip of the molding right on top of the rubber seal, which gave me a gauge between the top of the seal and the top of the lip for making a nice straight line all the way across the slideout. The tape stuck better than I thought it would; if it starts to come loose down the road, beige-colored brad nails can be driven through the molding into the slideout floor facing.

the fully attached black seal is cleaned with alcohol on a paper towel
Once the seal was fully attached, it was cleaned with alcohol to make sure the molding adhesive would cure fully.
the first few inches of tape backing is removed from the floor transition strip
the floor transition strip is steadily applied over the top nailed portion of the black seal
The molding comes prepped with tape that offered strong bonding to the seal. The tape backing was peeled off as the molding was set in place. It stuck better than expected, and the Gray Wood Grain provided a finished look to the project. The molding comes in other wood grain colors and in your basic black.

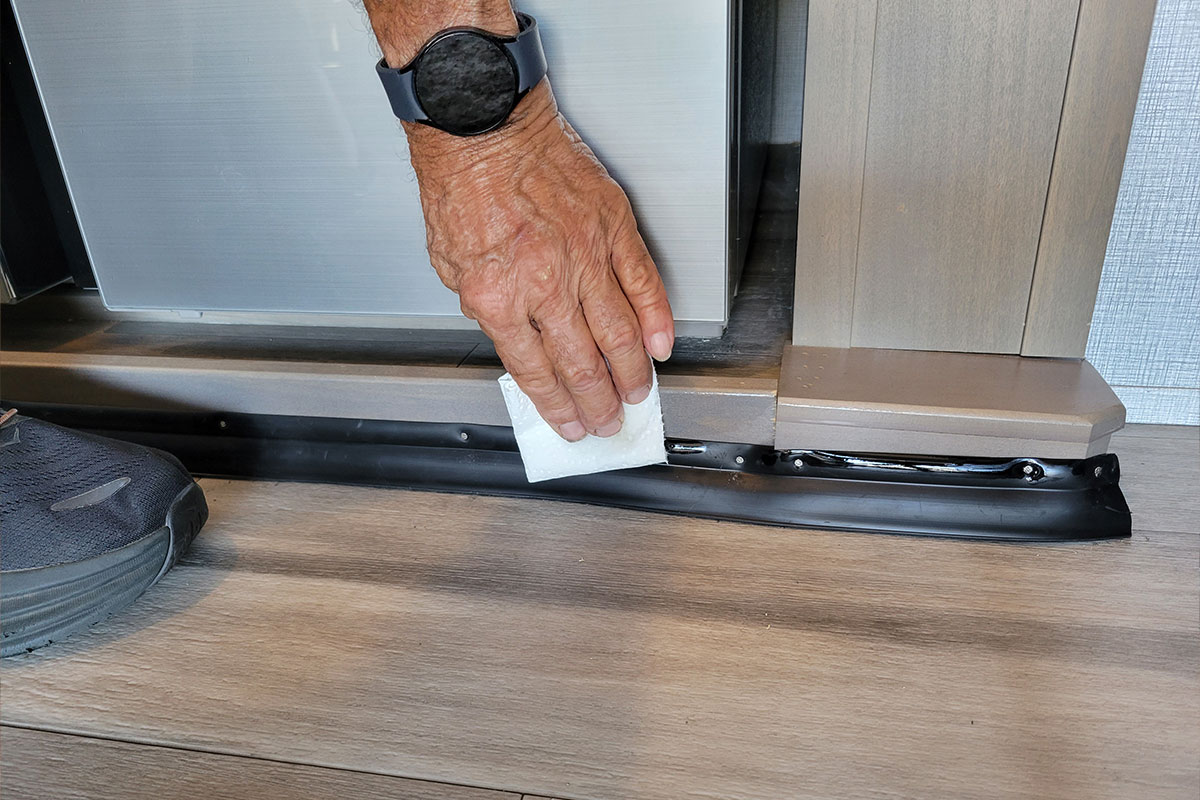
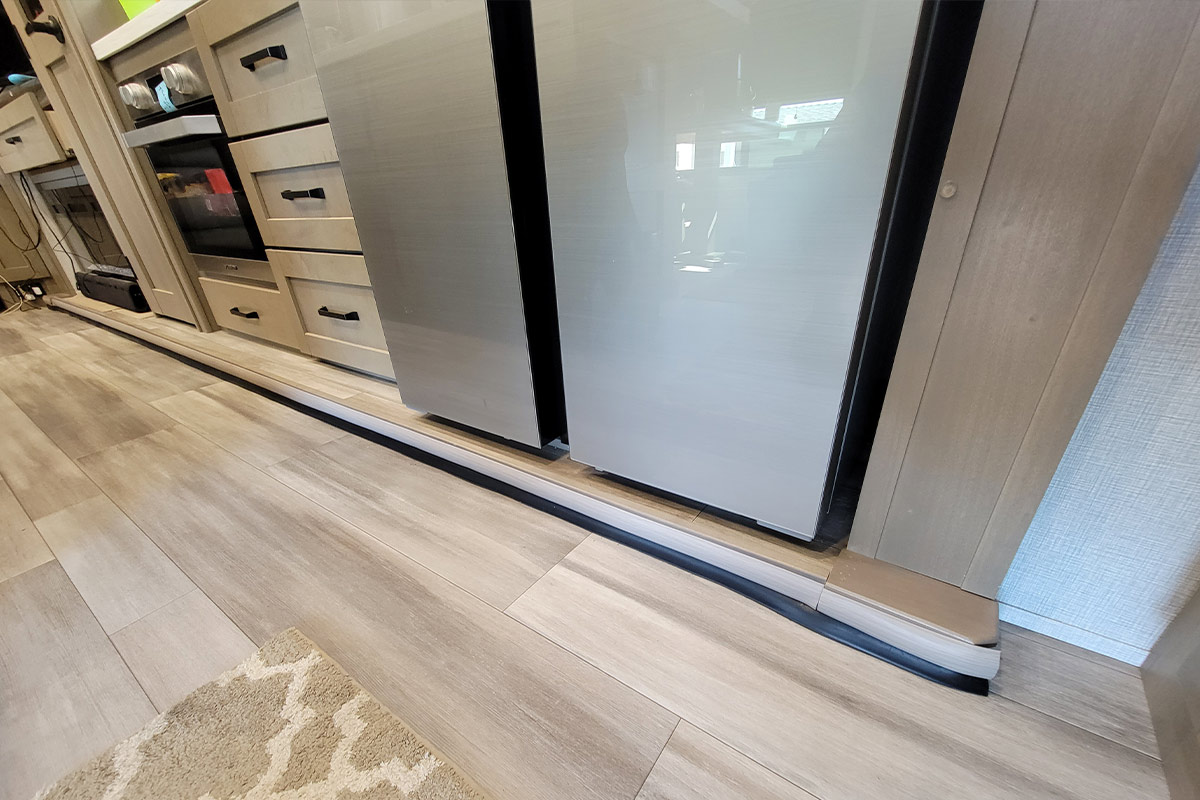
Granted, I was a little worried about how the black seal would look hanging down from the slideout floor, but it actually looks like it was factory-installed — and even matches the black fireplace and oven. When the slideout moves in and out, the new seal follows the slideout pathway nicely and remains straight when the room is extended fully — and finally closes the gap to dropped items.

full view of the lower section of the RV slide now complete with a matching transition strip and black seal to keep items from slipping beneath
Gaps no more. The seal glides smoothly over the main floor as the slideout moves in and out. I was tickled that the molding matched the gray-color interior scheme, and the contrasting black seal works aesthetically with the black fireplace and stove.
Get Updates
Subscribe today and never miss an issue!
Get all the latest tips and news to keep you moving on that open road!
RV Enthusiast April 2024 Issue
Current Issue
April 2024
No fooling, it's here–our latest issue of RV Enthusiast! The April issue covers 2024's Newest Parts & Accessories, RV OEMs Debut New Entry-Level Towables, an in-depth slideout floor replacement, PLUS so much more!

Already a Subscriber? Click here for Access to the Full Issues.

Share This