Cooktop Conniptions
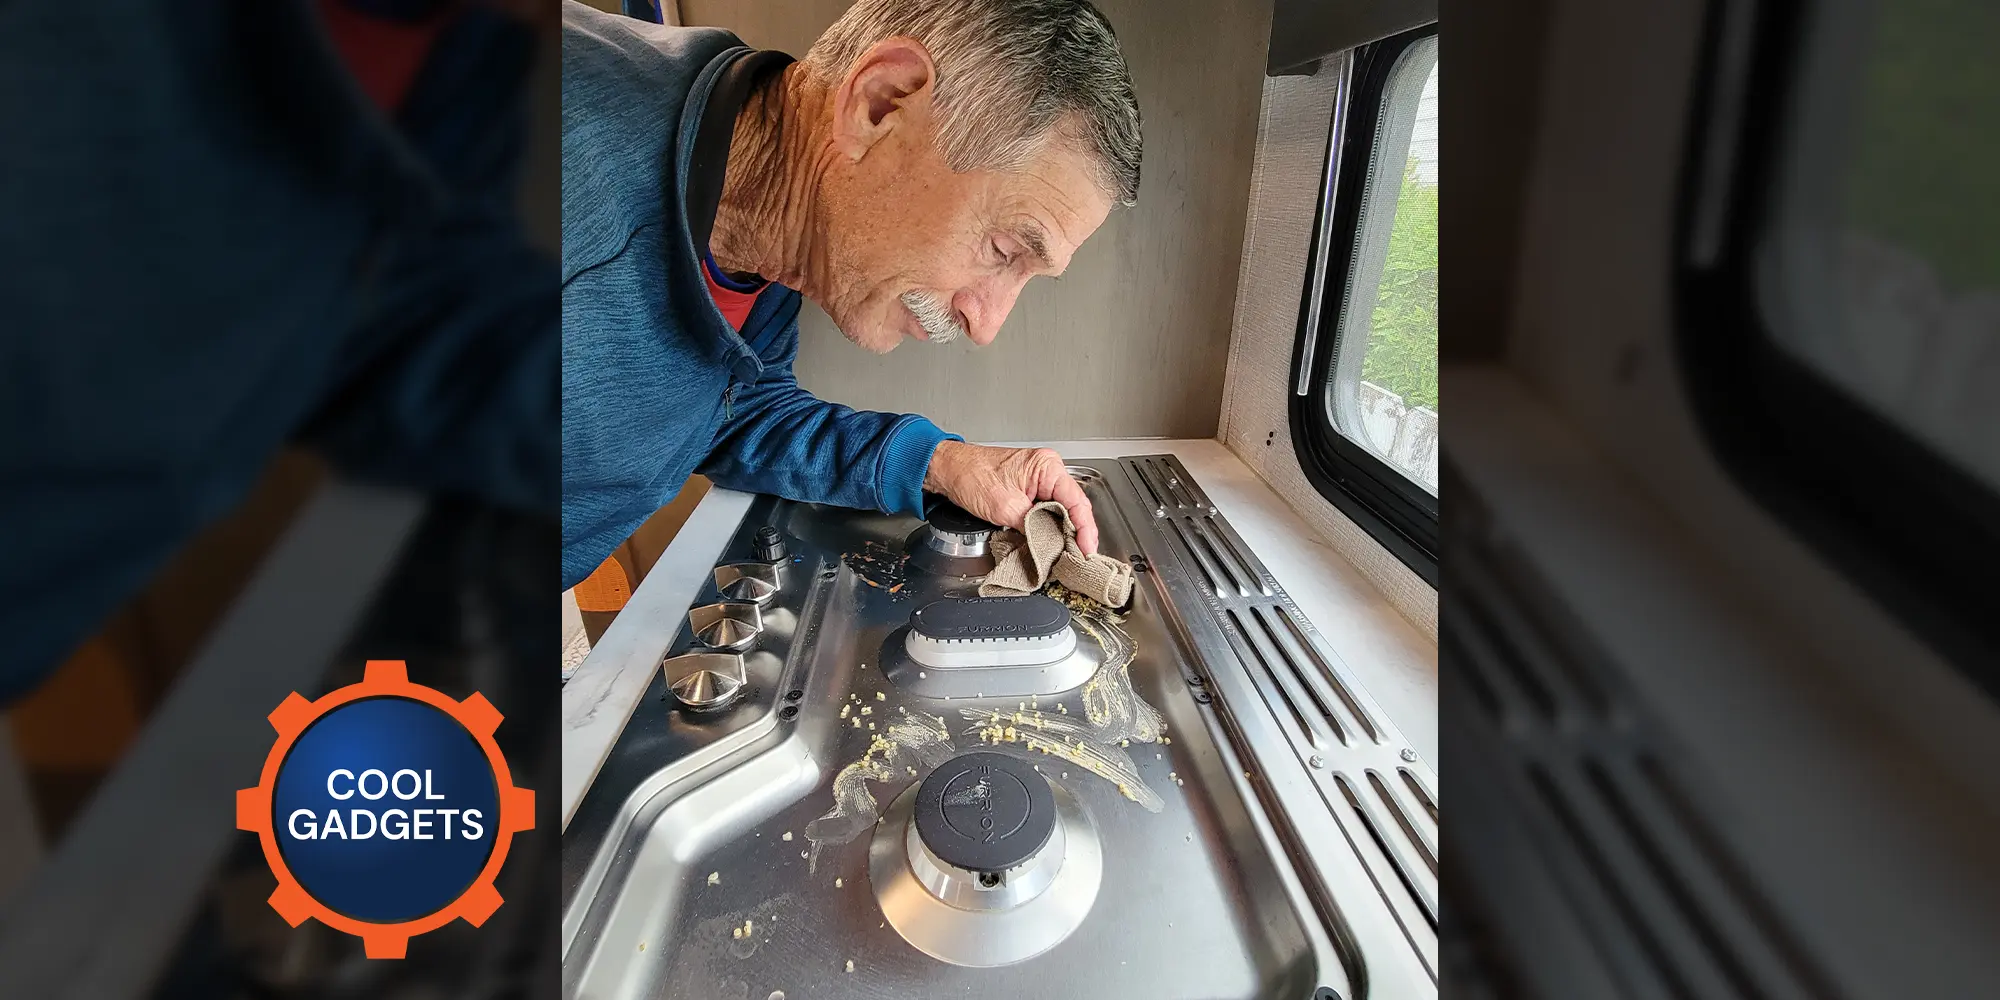
I’m not crazy about housework, but keeping everything clean and tidy is part of the deal when living full time in an RV. Cleaning the cooktop may not rank right up there with dumping the holding tank, but it’s a job that’s no fun — especially if food has “cooked” on the surfaces around and under the burner grates. You can find foil protectors at grocery and home improvement stores, but they don’t fit right on my Furrion cooktop with the oblong high-output burner between the other two burners, and lining the area with aluminum foil was not an option for me.
While cooking meat on one of those silicone mats on the barbecue grill, I got the idea to modify one of the mats and place it around the stovetop burners. These mats work great on barbecues and smokers, preventing cooked food from sticking while keeping the flames under control. They are cheap and can be found on the Internet; I got mine when it was one of those “As Seen On TV” products.
Fortunately, I had an extra silicone mat, so my smirky brain “told” me that all I had to do was cut some holes and lay the mat down. Boy, was I wrong! I couldn’t believe the detail in trying to cut two round and one oblong hole and get them centered — plus having to deal with a swale at the knobs and the many angles, turns and other curves.
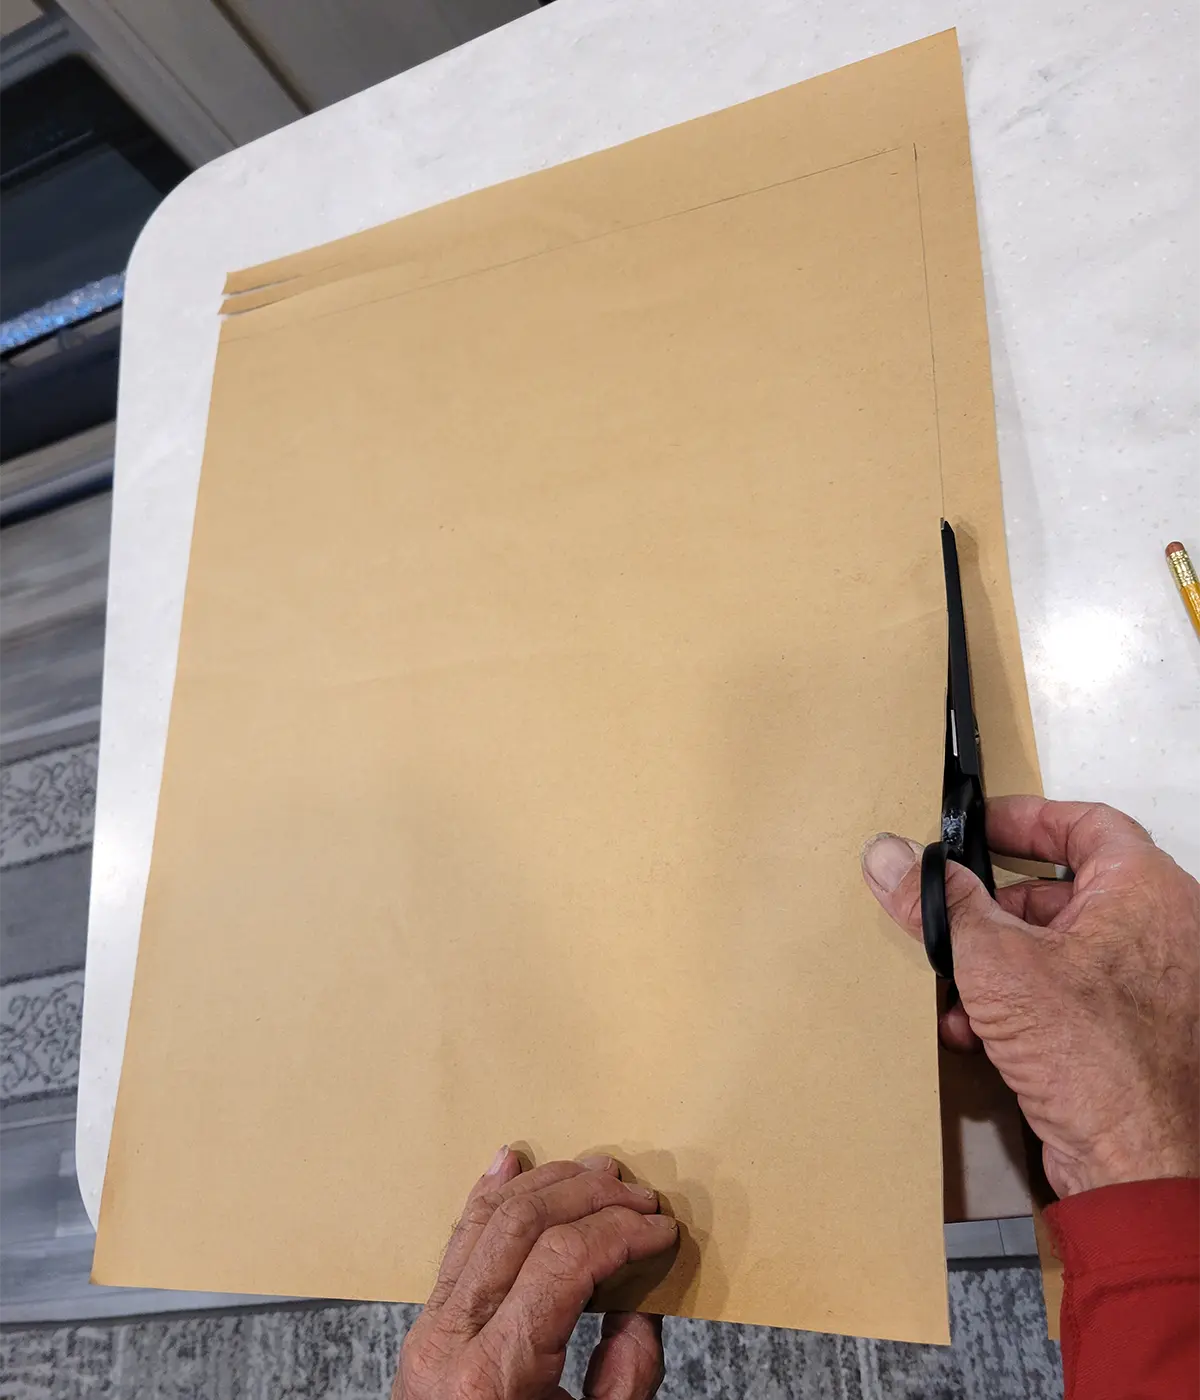
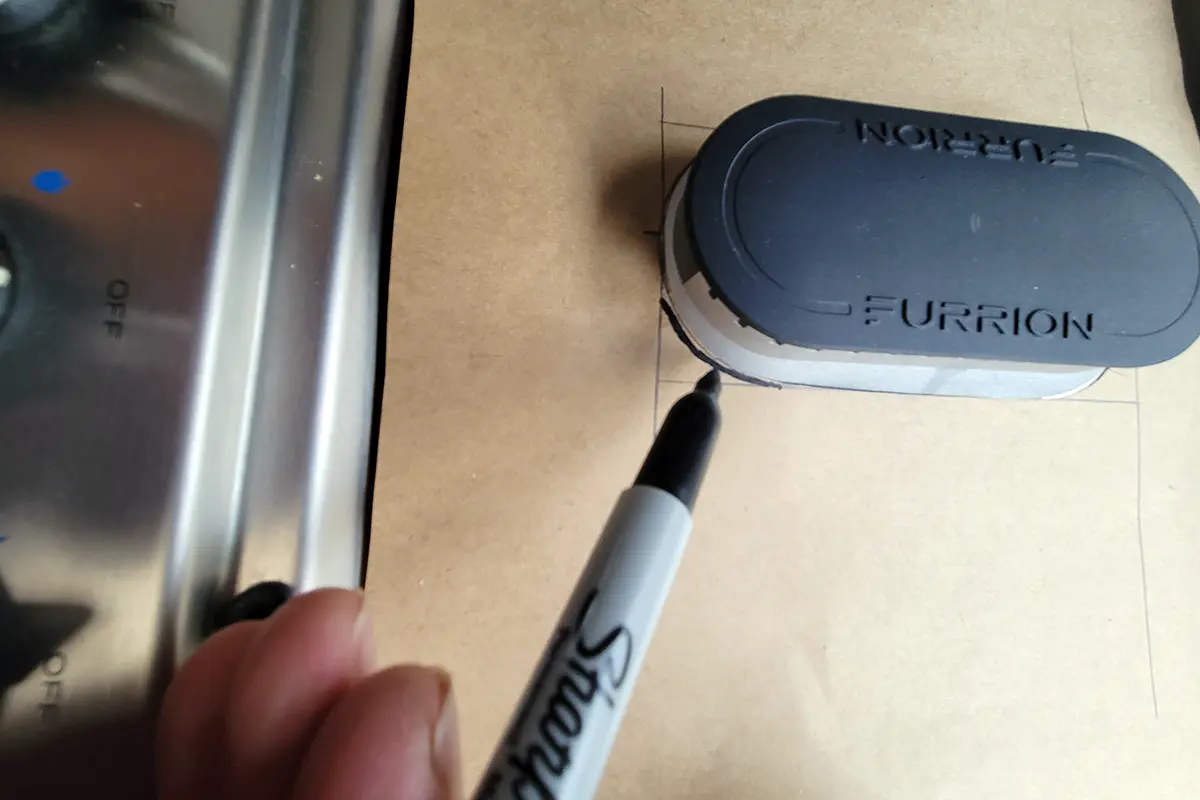
I figured I would need a template.
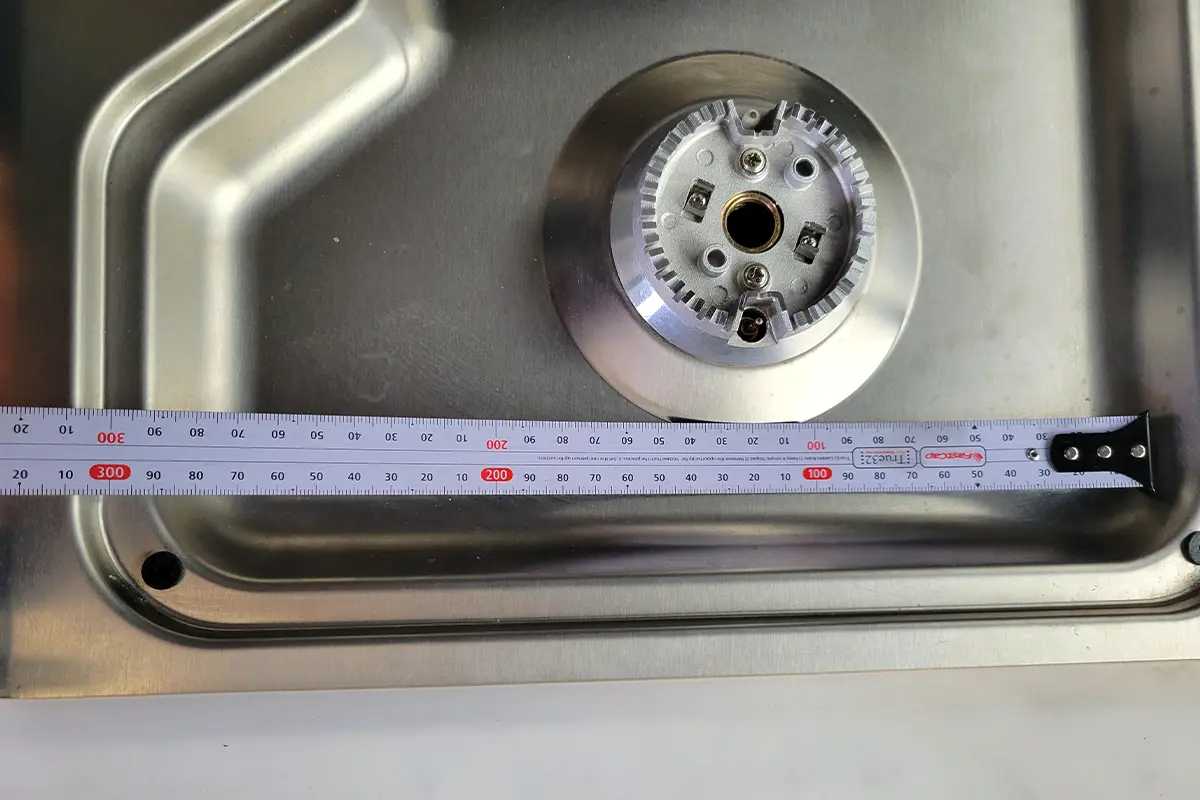
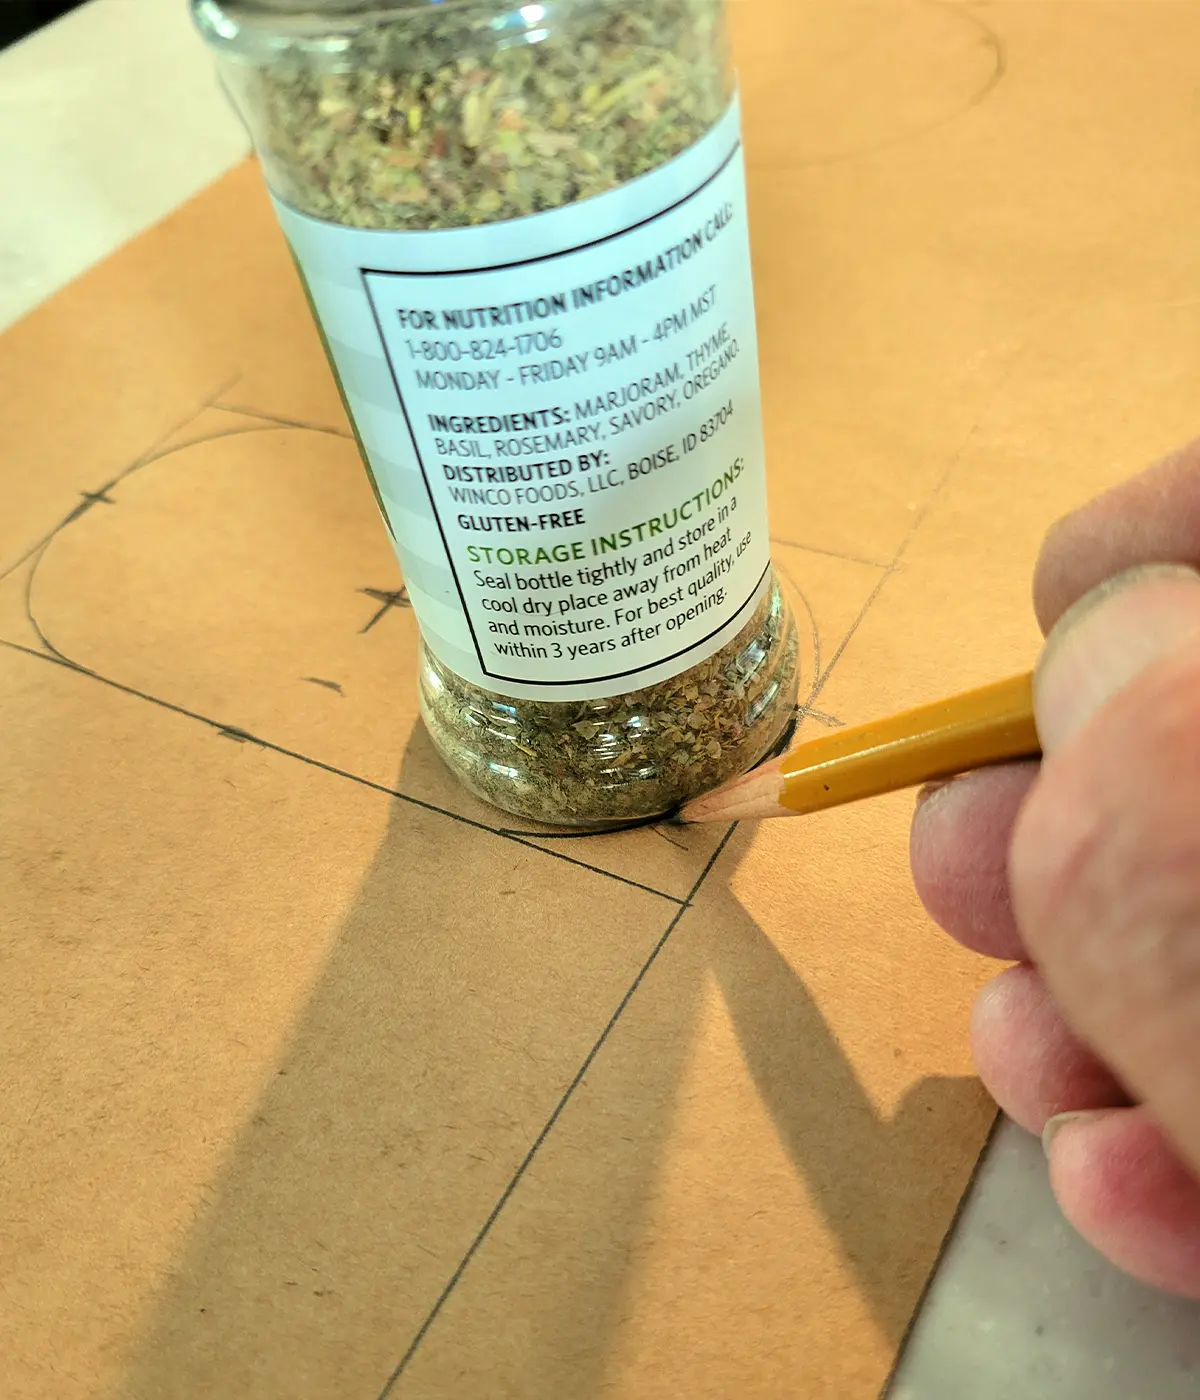
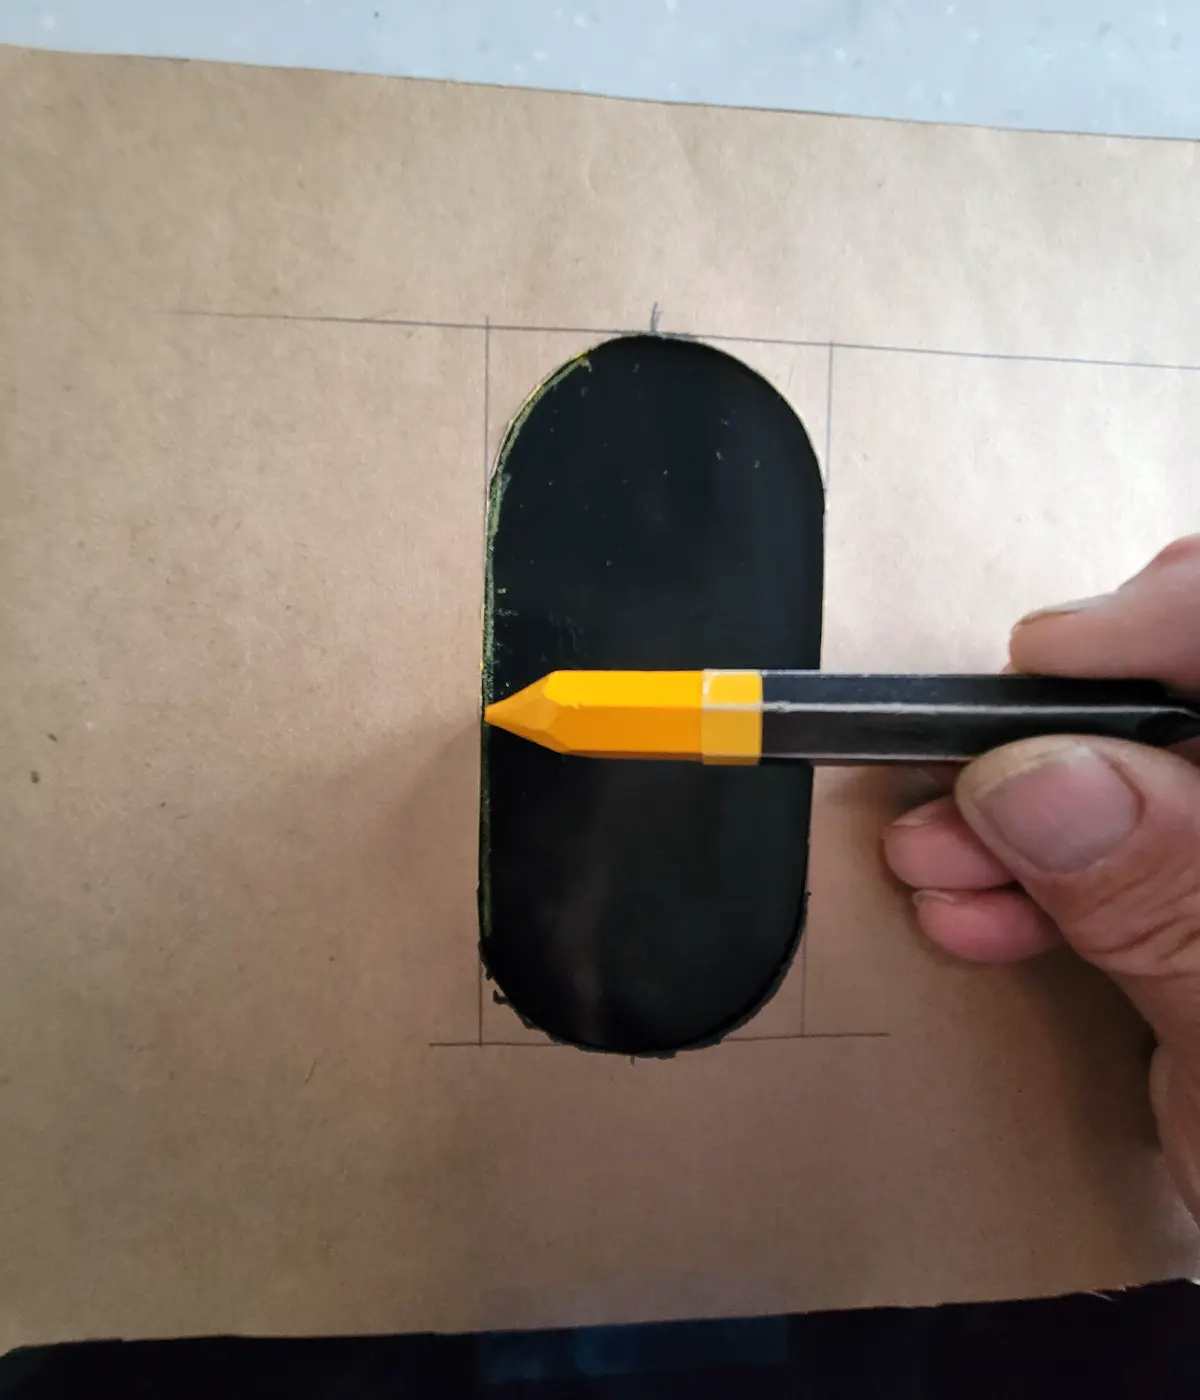
I started by drawing a rough diagram of the shape of the cooktop and jumped through a bunch of centering measurements. Rather than do the math, I grabbed a metric measuring tape, which is simple to decipher when trying to find center points. The measurements were then transferred to craft paper along with lines drawn with a plastic cup that mimicked the circumference at the bottom of the burners; spice jars were used to make rough circles for the rounded corners. I think maybe I measured 70 times throughout the whole process.
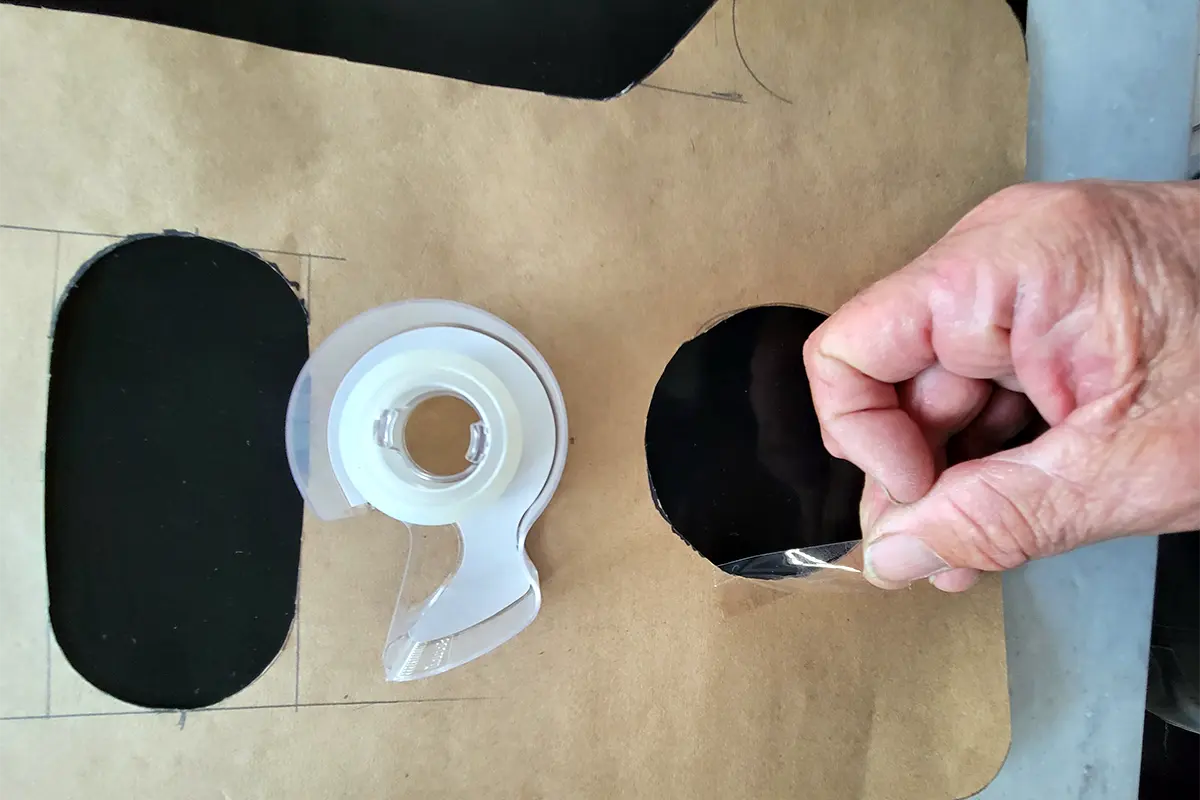
Only a few adjustment cuts were needed after the paper template was removed from the silicone mat. The final fit was as flat as possible, and even though it wasn’t perfectly flat against the burner pan, it really doesn’t move very much. If you have a square or a rectangular cooktop with all round burners, the job is going to be much easier.

The barbecue mat is rated for up to 500 degrees F. I checked the temperature at the mat with a heat gun and recorded 436 degrees F. while boiling water in a 12-inch cast iron pan for 10 minutes on the high-output burner. After removing ¼-inch of material from around the burner, the temperature was reduced to 321 degrees F. after testing the same way.
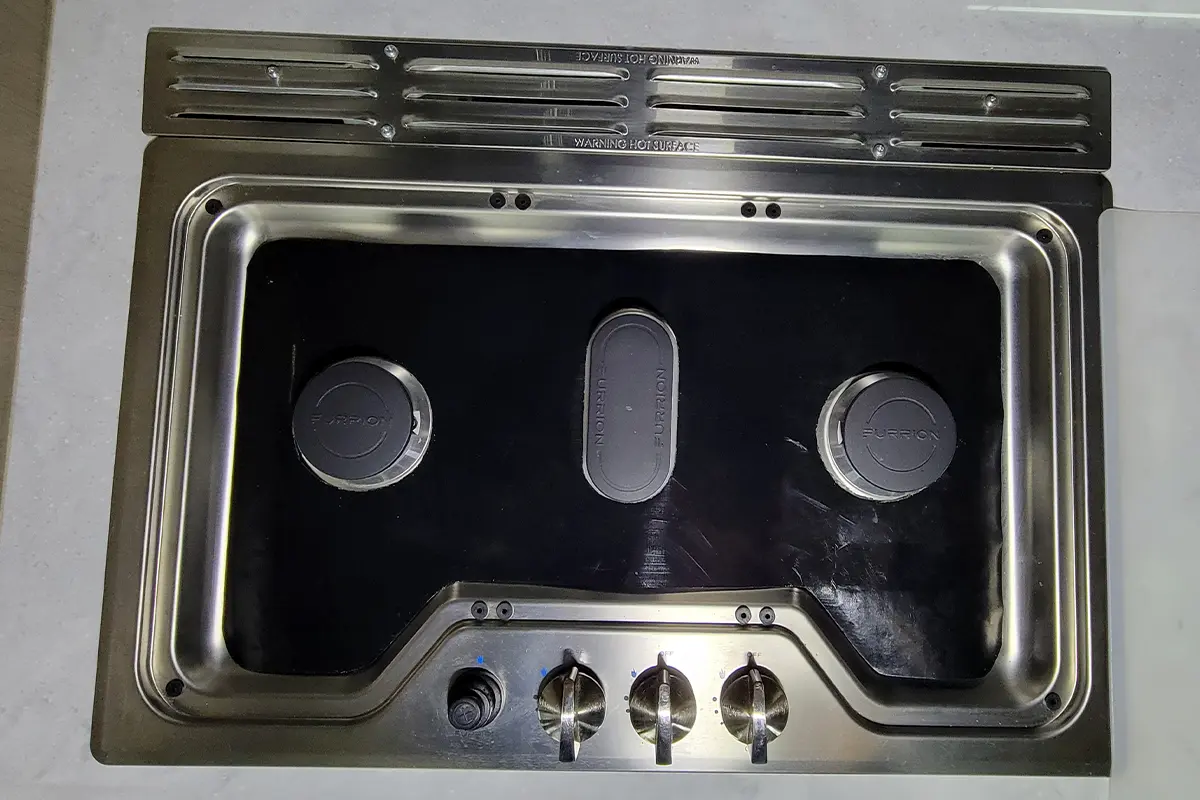
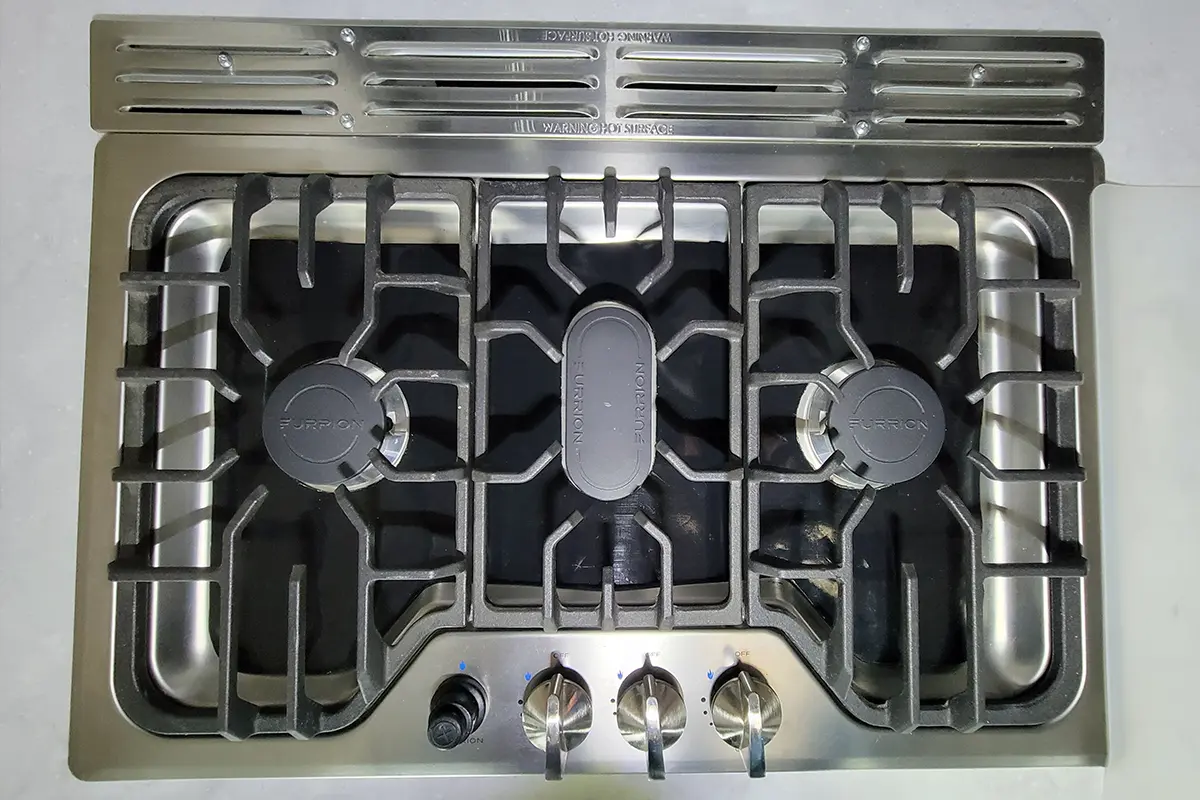
The barbecue mat fits almost flat against the cooktop and the burners centered nicely. The flame is almost an inch above the mat, which is rated for up to 500 degrees F. After cutting the mat back ¼-inch from the high-output burner, the temperature reached only 321 degrees F. while boiling water in a 12-inch cast iron pan for 10 minutes (not shown). The mat looks good through the grates and can be easily cleaned when spills occur.
Although it took much more time to complete this job than expected, the result made it all worthwhile. Nothing sticks to the silicone mat; everything wipes off with no effort. If necessary, the mat can be removed for additional cleaning. Now I can cook away with little punishment for being sloppy.
With the summer season in full swing we're proud to present our latest issue of RV Enthusiast! The May/June issue covers the Best Towable Suspension Upgrades, Absorption Refrigerator Tips & Tricks, Enhancing RV Shower Time, PLUS so much more!
Already a Subscriber? Click here for Access to the Full Issues.