Fishing for Space
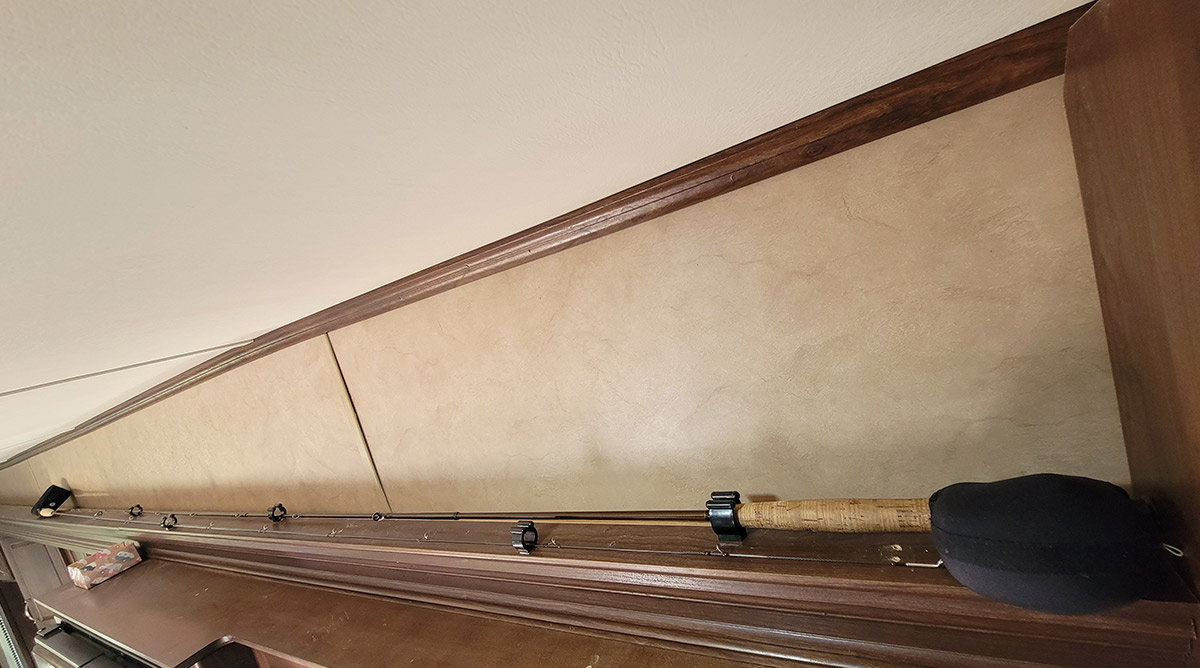
Finding a place to store fly fishing rods and reels can be challenging. Mounting storage clips to the typically unused area on the top of a slideout surround is a simple solution that provides instant access without clutter.
Fly fishing is a favorite activity while RVing, especially in places with epic Blue-Ribbon rivers and fantastic guides. There’s just something about the beauty of a meandering river surrounded by mountains and blue skies — but dealing with fly rods between adventures can be a pain and end up in a jumbled mess. Of course, you can break down the rods between use, but the ability to store these rods already set up has its benefits. The challenge is where to put these rods to make them grab-ready when the opportunity presents itself.
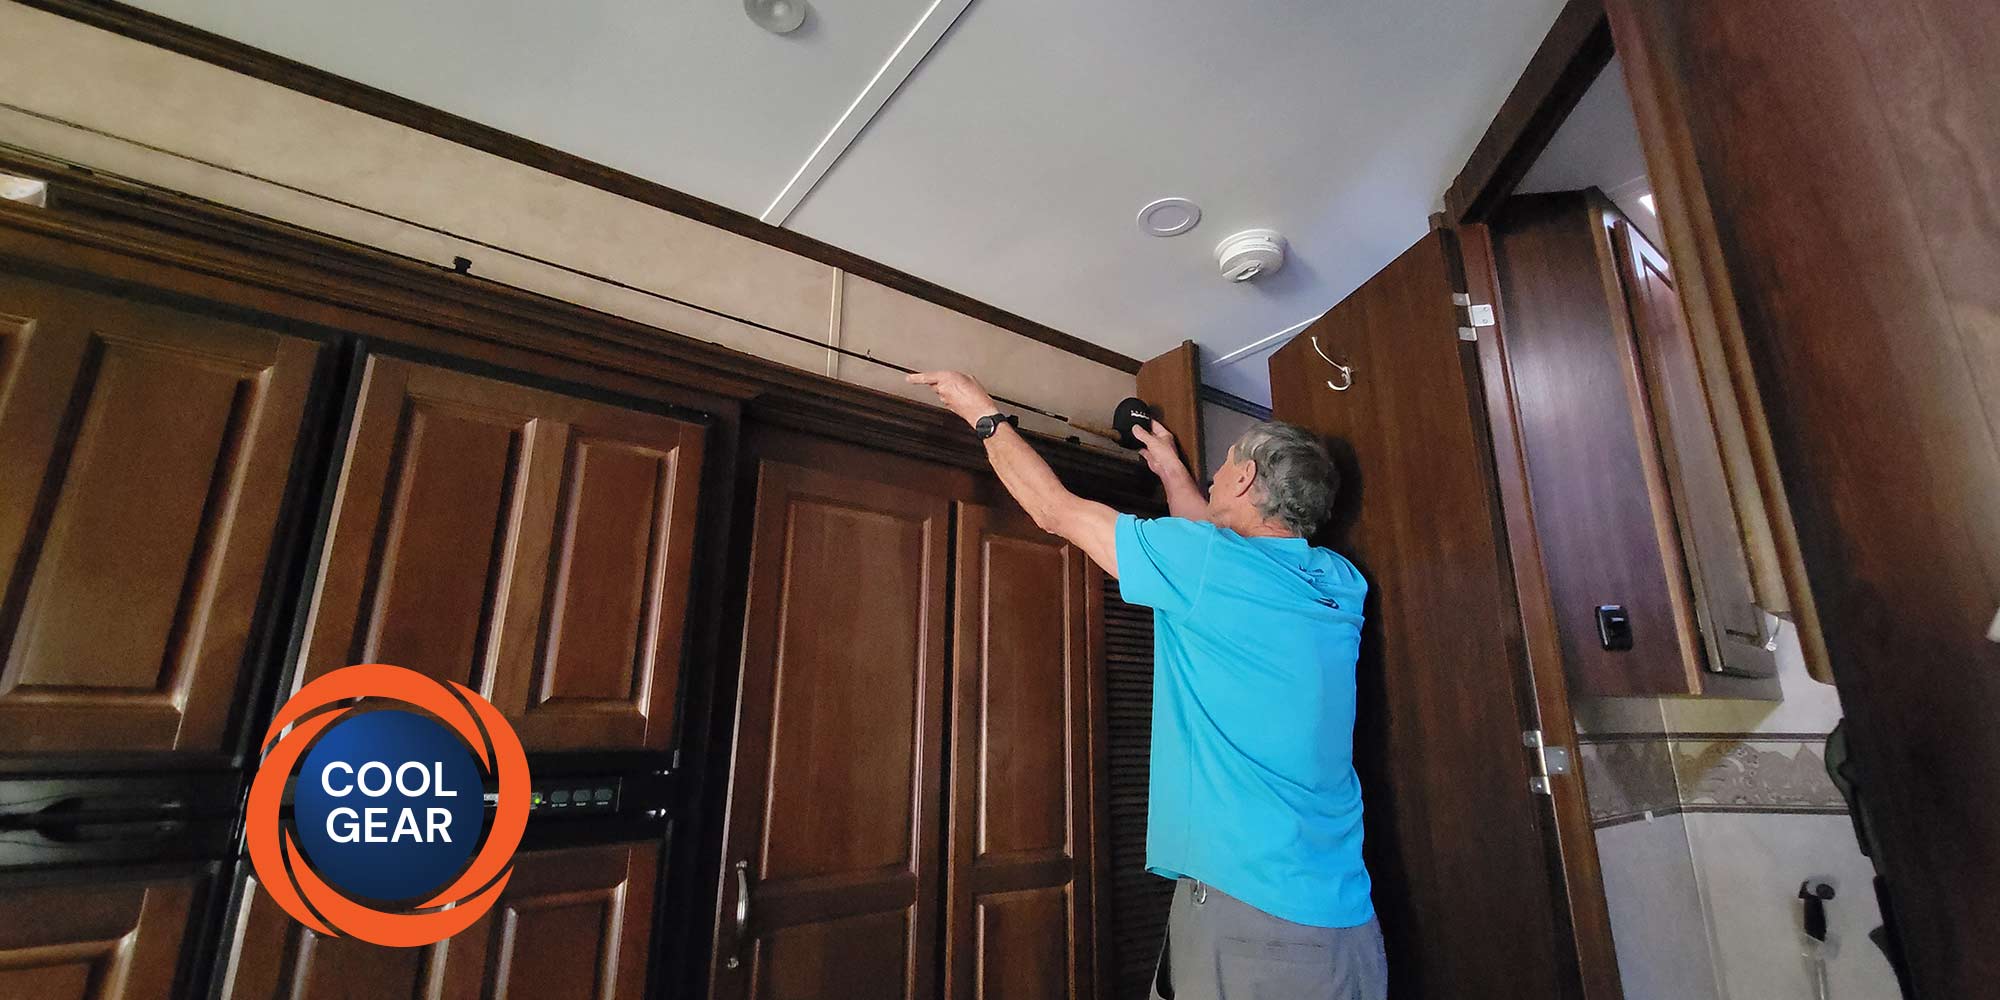
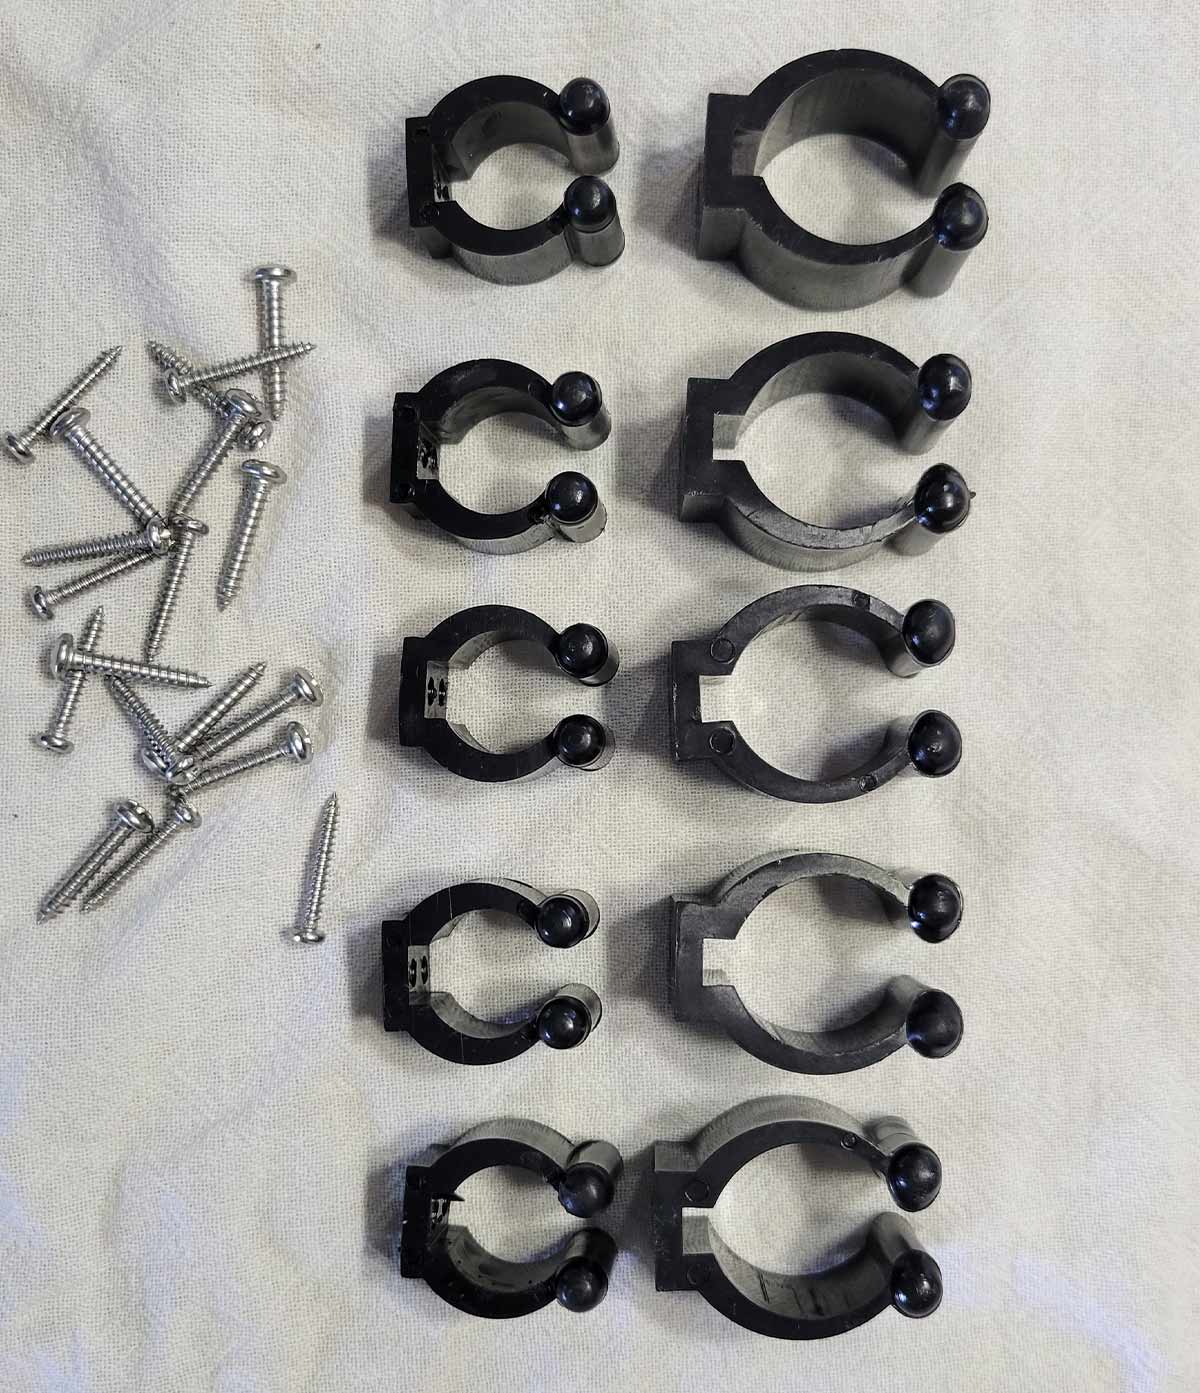
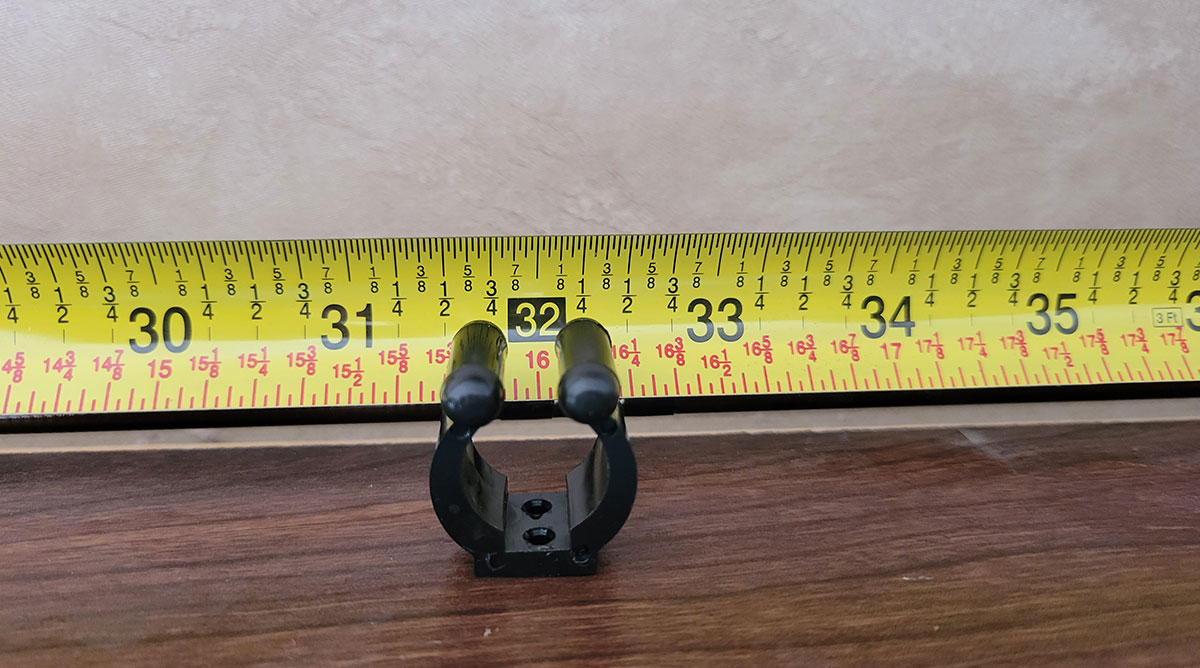
Thinking outside the box, I looked around my RV for any place possible to store the fly rods intact — especially the 8- to 10-foot rods. After looking at possible locations inside the fifth wheel, a logical location was the top of the slideout room surround. An inspection revealed that there was plenty of room to install brackets designed to hold fishing rods. Surfing the Internet will reveal a number of sources for rod holders; the ones we settled on are simple and inexpensive. If you enter “5 Sets Fishing Rod Storage Clip” in Google or Amazon, you find the brackets (clips) we used to hold our rods. These nylon clips sell for $9.99 (on Amazon) and each set comes with a big clip to accept the rod handle. And the screw is protected so as not to scratch the rod finish.
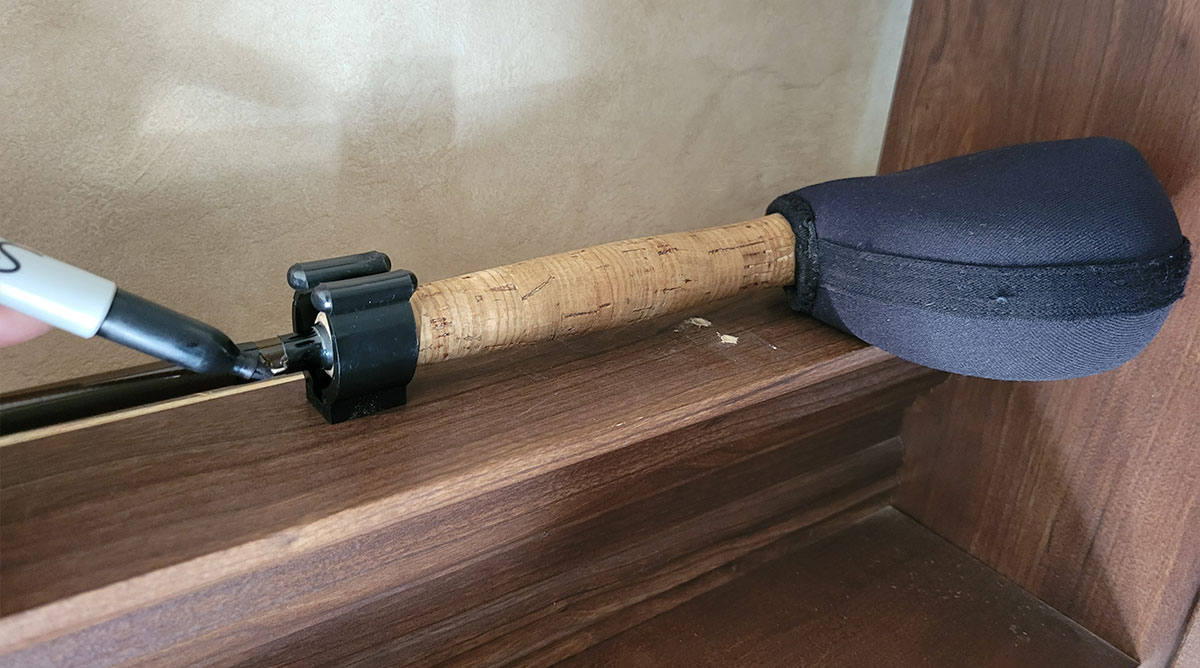
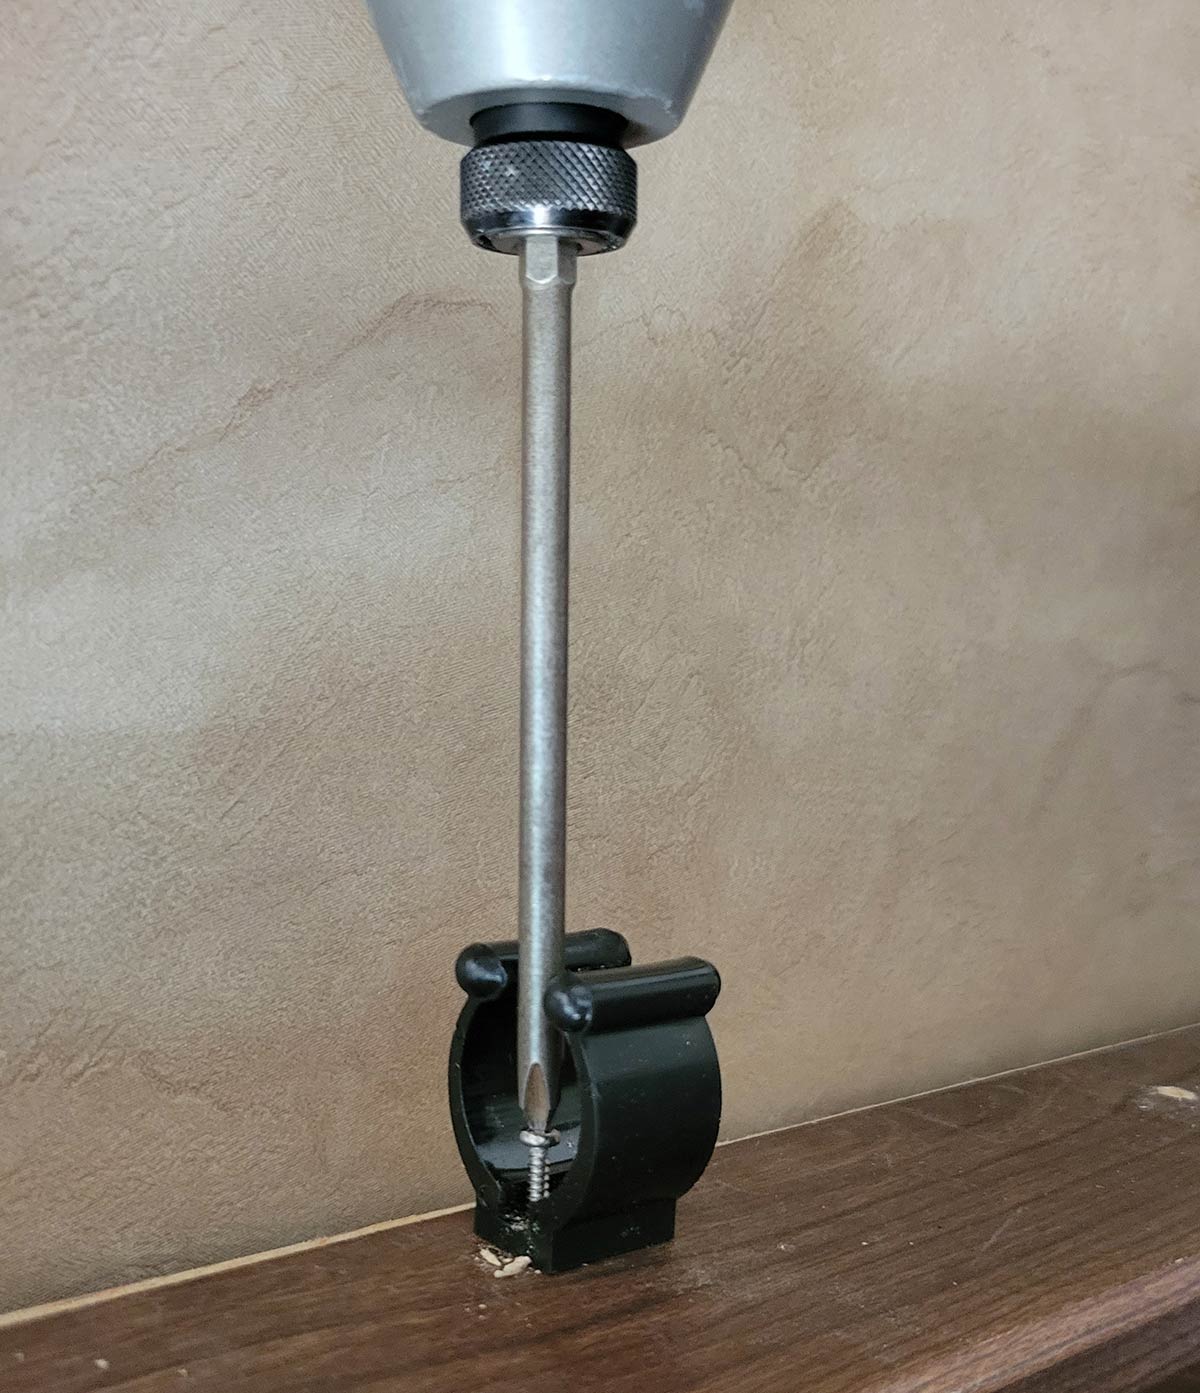
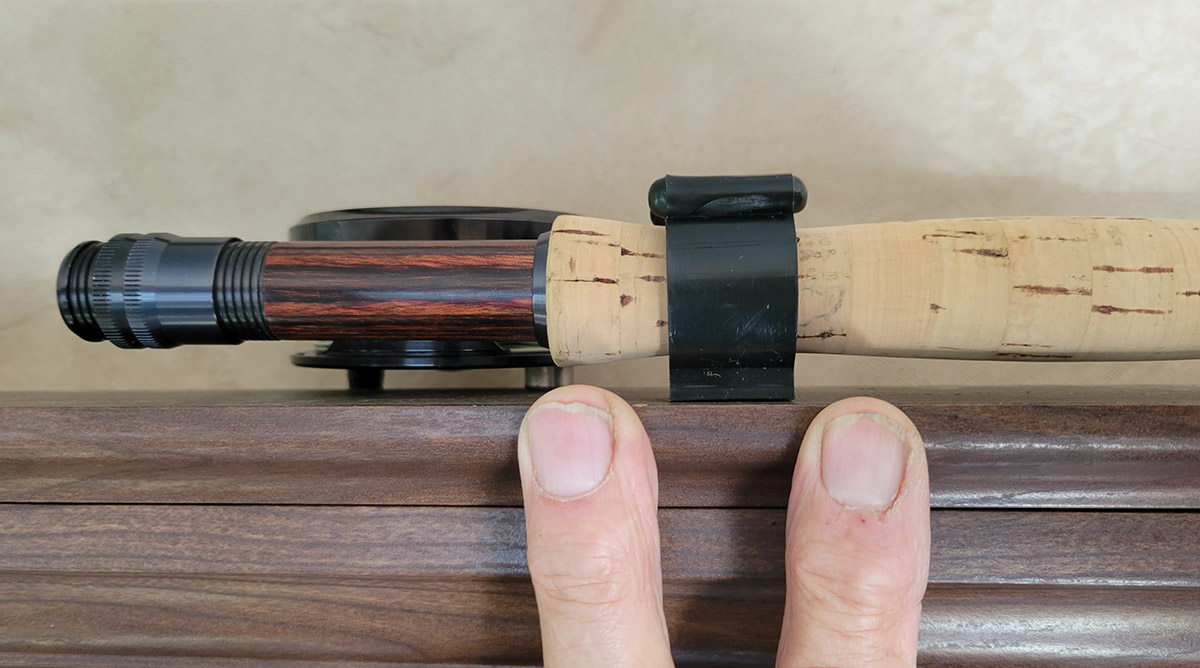
To figure out the best positioning of the brackets, lay the longest fly rod on top of the slideout and adjust the location so the butt of the fly rod is lined up at the end of the slideout where, in this case, there was an upright wood structure used for additional support. With the fly rod against the wood, the big clip was positioned at the handle and mounted with one of the stainless-steel screws provided with the kit. The smaller clip was positioned to best handle the rod, which is variable depending on the rod length. Once the clips are in place, the rod can be easily stored and pulled out. The best part: they are completely out of the way when not in use, and there’s no need to break them down.
The woodwork at the top of the slideout was wide enough to add more brackets and place another rod in the opposite direction. Of course, this is dependent on the slideout configuration in your RV, but chances are good there’s enough room to duplicate this scenario.
Interestingly, I discovered that light rope can be hung around the clips and create a makeshift clothesline for hang-ups when the weather is not cooperating. And bonus number two: I can stare at the rods and dream about the next day’s fishing adventure.

Already a Subscriber? Click here for Access to the Full Issues.