Fixing a Flat
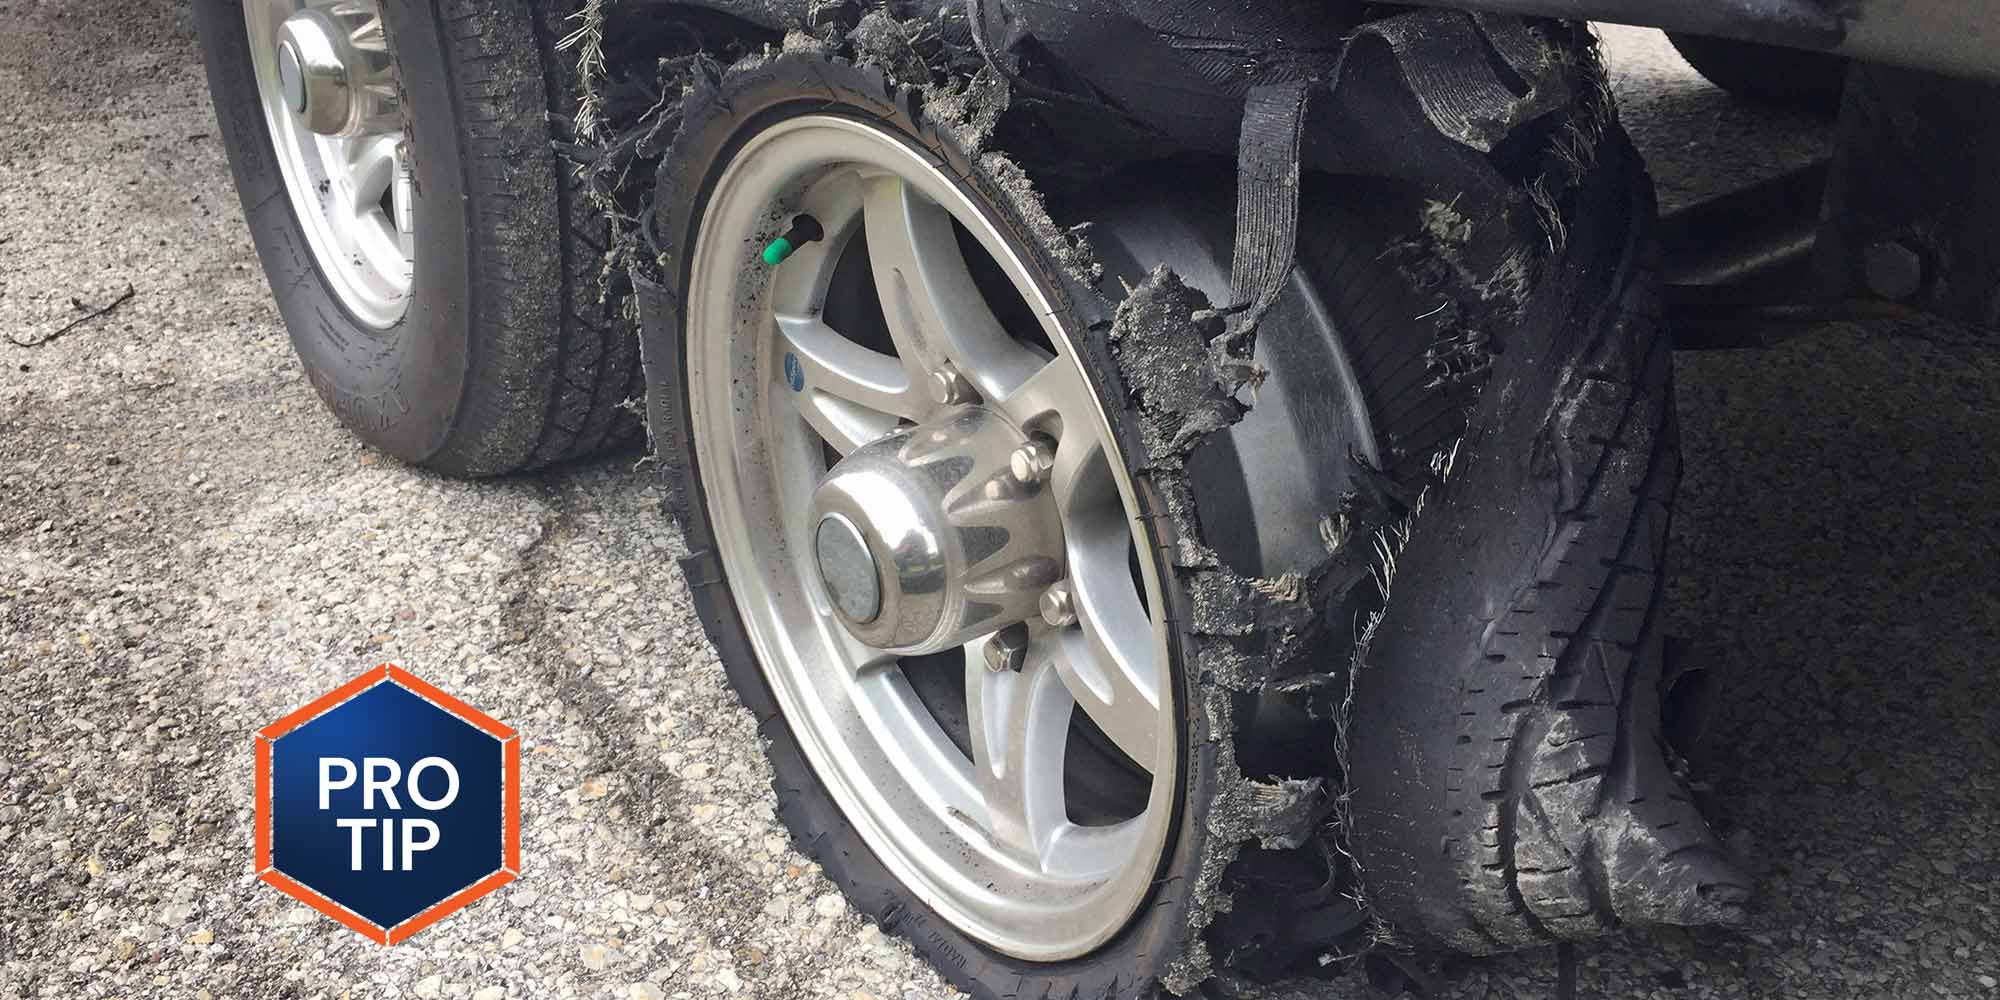
If you drive, the chances are good that at some time in your travels, you’ll experience a flat tire. Unfortunately, roadside assistance isn’t always available for an RV — and changing a trailer tire isn’t as simple as whipping out a jack, lifting the trailer and putting on a spare.
Honestly, it’s surprising that the practice of properly changing a tire isn’t better known — the procedure isn’t in the owner’s manual, and we’d be willing to bet that the dealership you purchased the RV from didn’t tell you how to do it. But changing a tire on a trailer safely and without causing any damage isn’t difficult — you just have to know the correct procedure and have the right tools at your disposal.
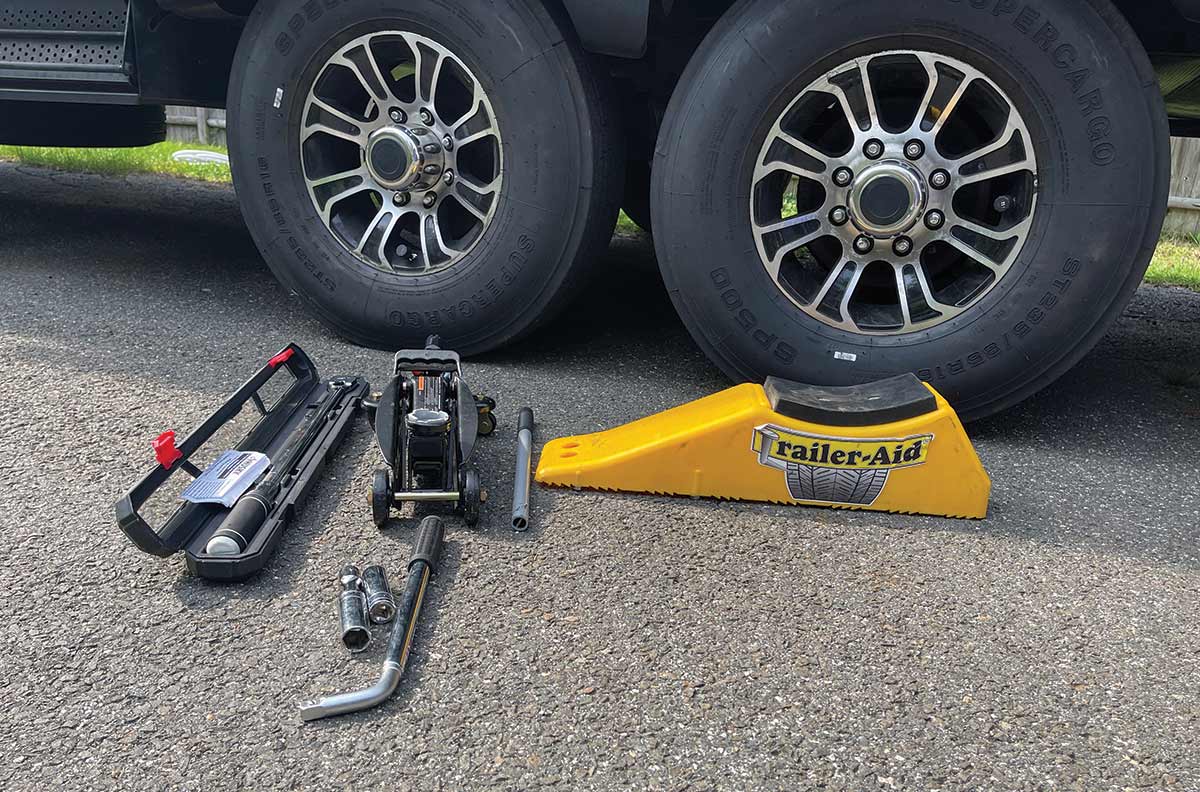
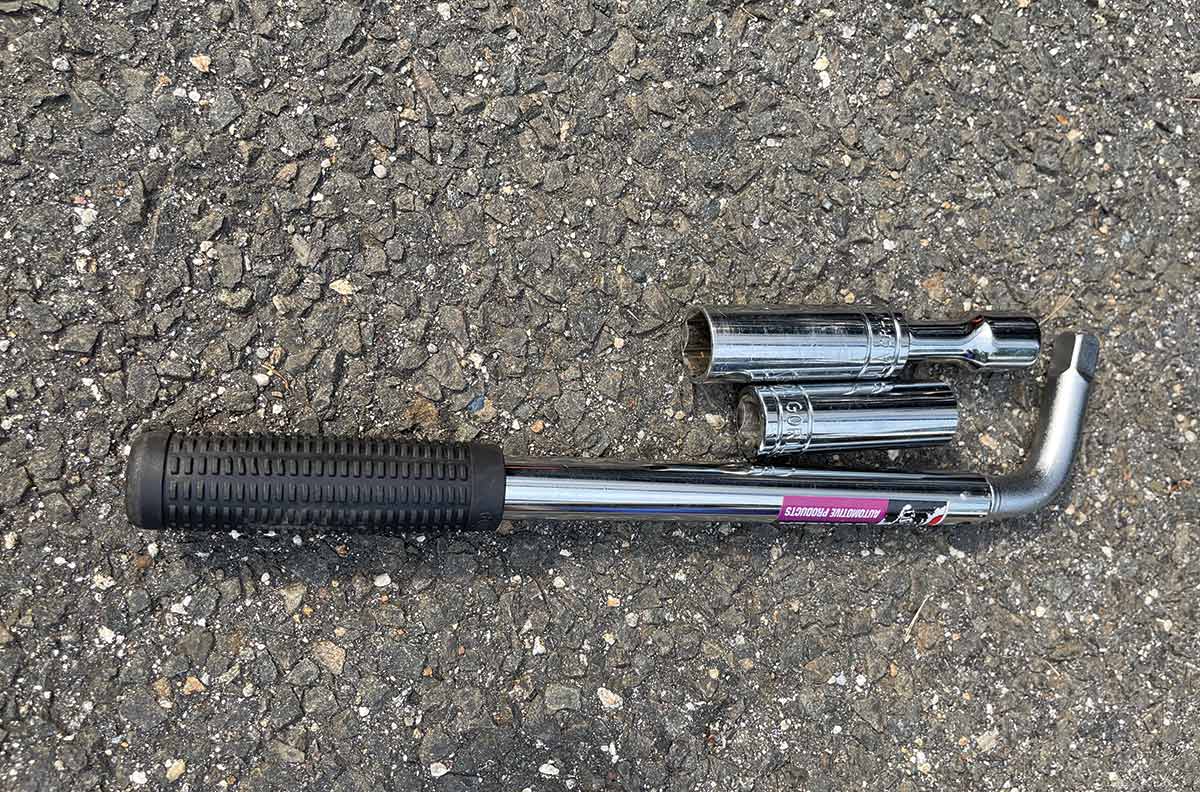
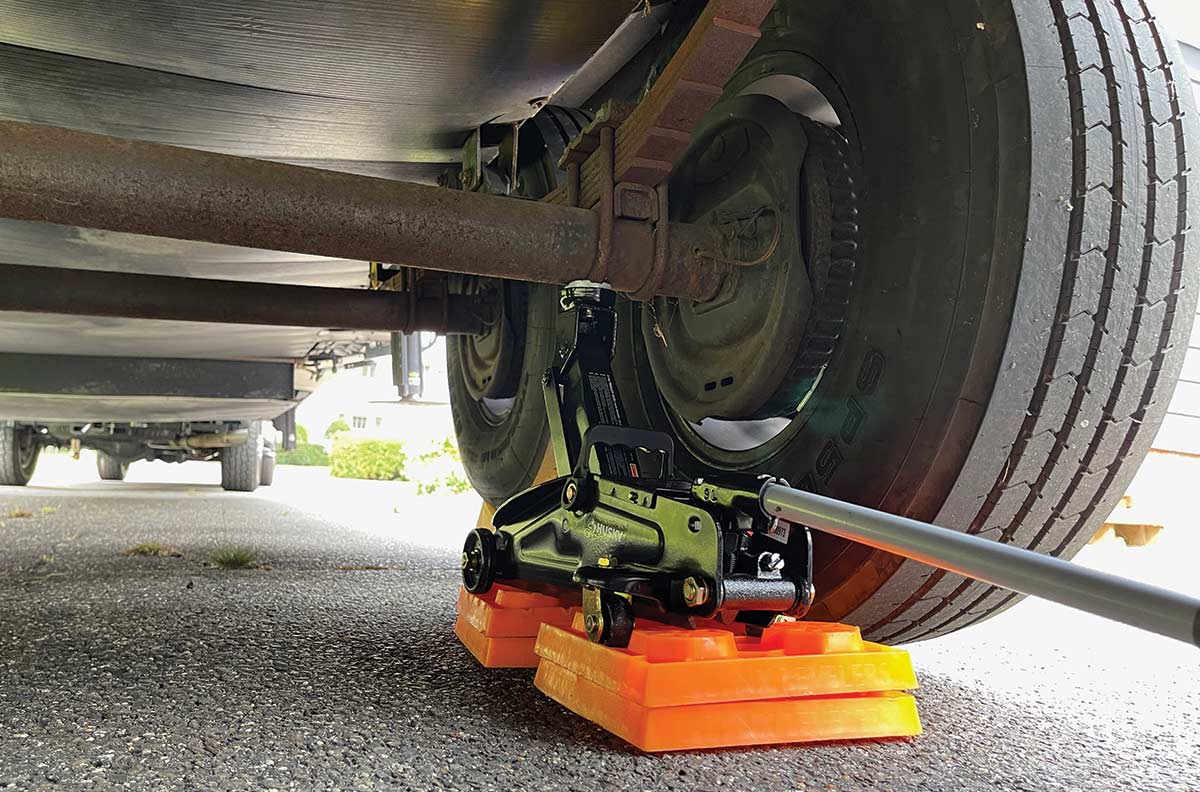
The first thing that you should consider a “must-have” is a Camco Trailer Aid PLUS (https://amzn.to/3mnFMBg), a lightweight, super strong polymer ramp designed specifically for changing a tire on a tandem-axle trailer. On a triple-axle trailer, a single Trailer Aid PLUS ramp can still be used, then a trolly jack can be employed to lift the axle with the flat just enough to remove the wheel. Single-axle trailers are commonly small and light, so you can use a screw or bottle jack and some wood blocks on the frame (as close to the center as possible) to lift the wheel off the ground. In any case, you’ll also need a lug-nut wrench, correctly sized thin-wall socket (a regular or impact socket won’t fit inside the recesses of aluminum trailer wheels) and a torque wrench.
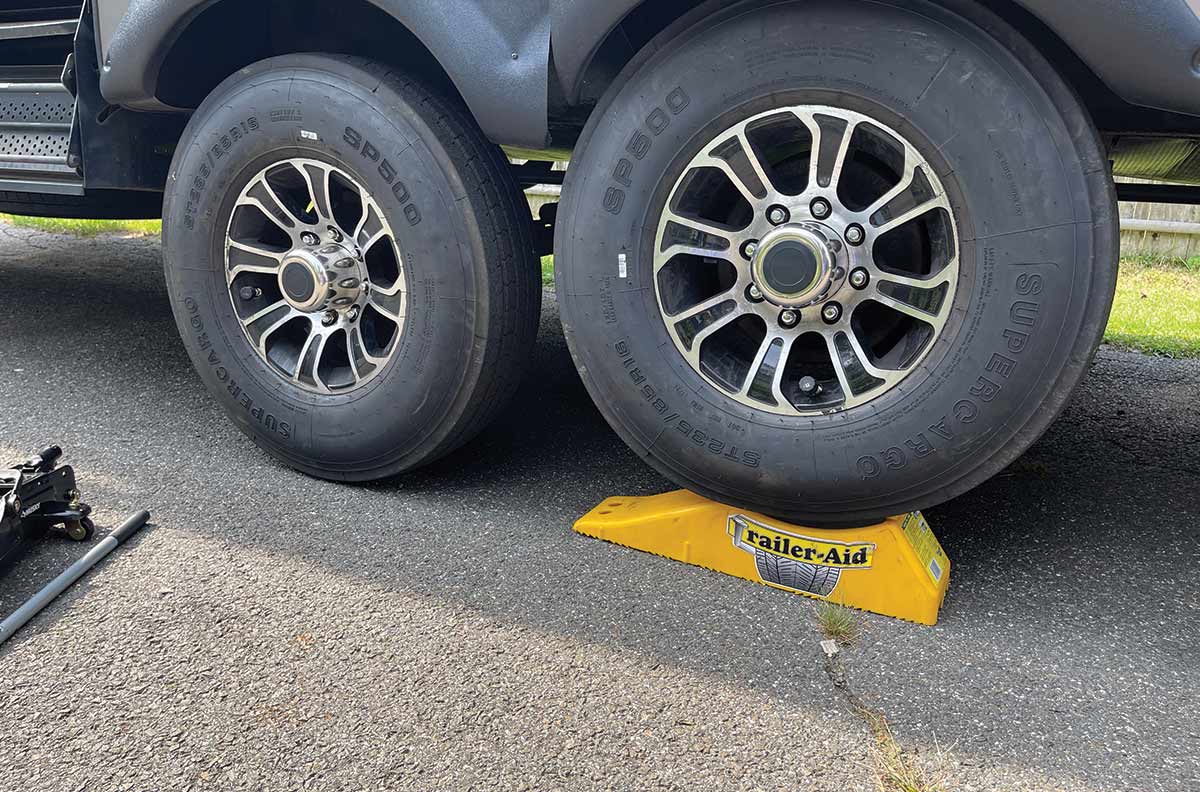
As with changing a tire on a car or truck, the first step is to use the wrench to loosen the lug nuts on the wheel with the flat tire — you won’t be able to do this once the wheel is in the air, because it will turn. Just loosen them so that they turn easily with the wrench but not so much that the wheel is loose, because you still need it to safely support the weight of the trailer. Place the Trailer Aid PLUS ramp in front of (or behind) the good tire and pull forward/back up onto it; the ramp raises the flat tire just enough to get it off the ground. From there, use the wrench to remove the lug nuts, then pull the wheel off the hub.

Travel trailers and fifth wheels come with a spare tire, which you should regularly inspect for correct air pressure and to make sure it’s in good condition and hasn’t “timed out.” A small, inexpensive 12-volt DC air compressor is also a good thing to have just in case the tire is low and needs to be inflated to the proper level. Tighten the lug nuts on the replacement wheel/tire as much as you can with the wheel off the ground, then drive the trailer off the ramp.
Be sure to check your trailer owner’s manual to determine the recommended lug-nut torque. If you don’t have the manual, consult with the axle manufacturer (usually Dexter or Lippert) to determine the correct torque value. Begin tightening the lug nuts in sequence using your torque wrench. It’s good practice to start with the torque wrench at one third the specified torque, then tighten the wheel in the correct sequence. Repeat the process at about half the specified torque, then again at the final torque setting. A word of caution here: Don’t use a battery-powered impact driver to tighten the lug nuts. It’s too easy to over-tighten the lug nuts and damage the studs, wheel, or both.
Once the wheels are properly torqued, you’re ready to hit the road again — but be sure to re-check the torque after 10 miles, then again at 25 miles and at 50 miles to make sure the lug nuts are tight and you’re safe to travel to your next destination. And don’t forget to replace/repair that spare as soon as you can.

Already a Subscriber? Click here for Access to the Full Issues.