Gas Pains - RV Enthusiast Magazine

Gas Pains

by | Mar 8, 2024 | Pro Tip, RVEXPERT

Photos by the author
If you smell LP-gas in or near the compartment housing the second cylinder in a fifth wheel, the single-stage regulator has likely failed. The fix is easy, but you’ll want to upgrade to a better-quality regulator by Marshall Excelsior.

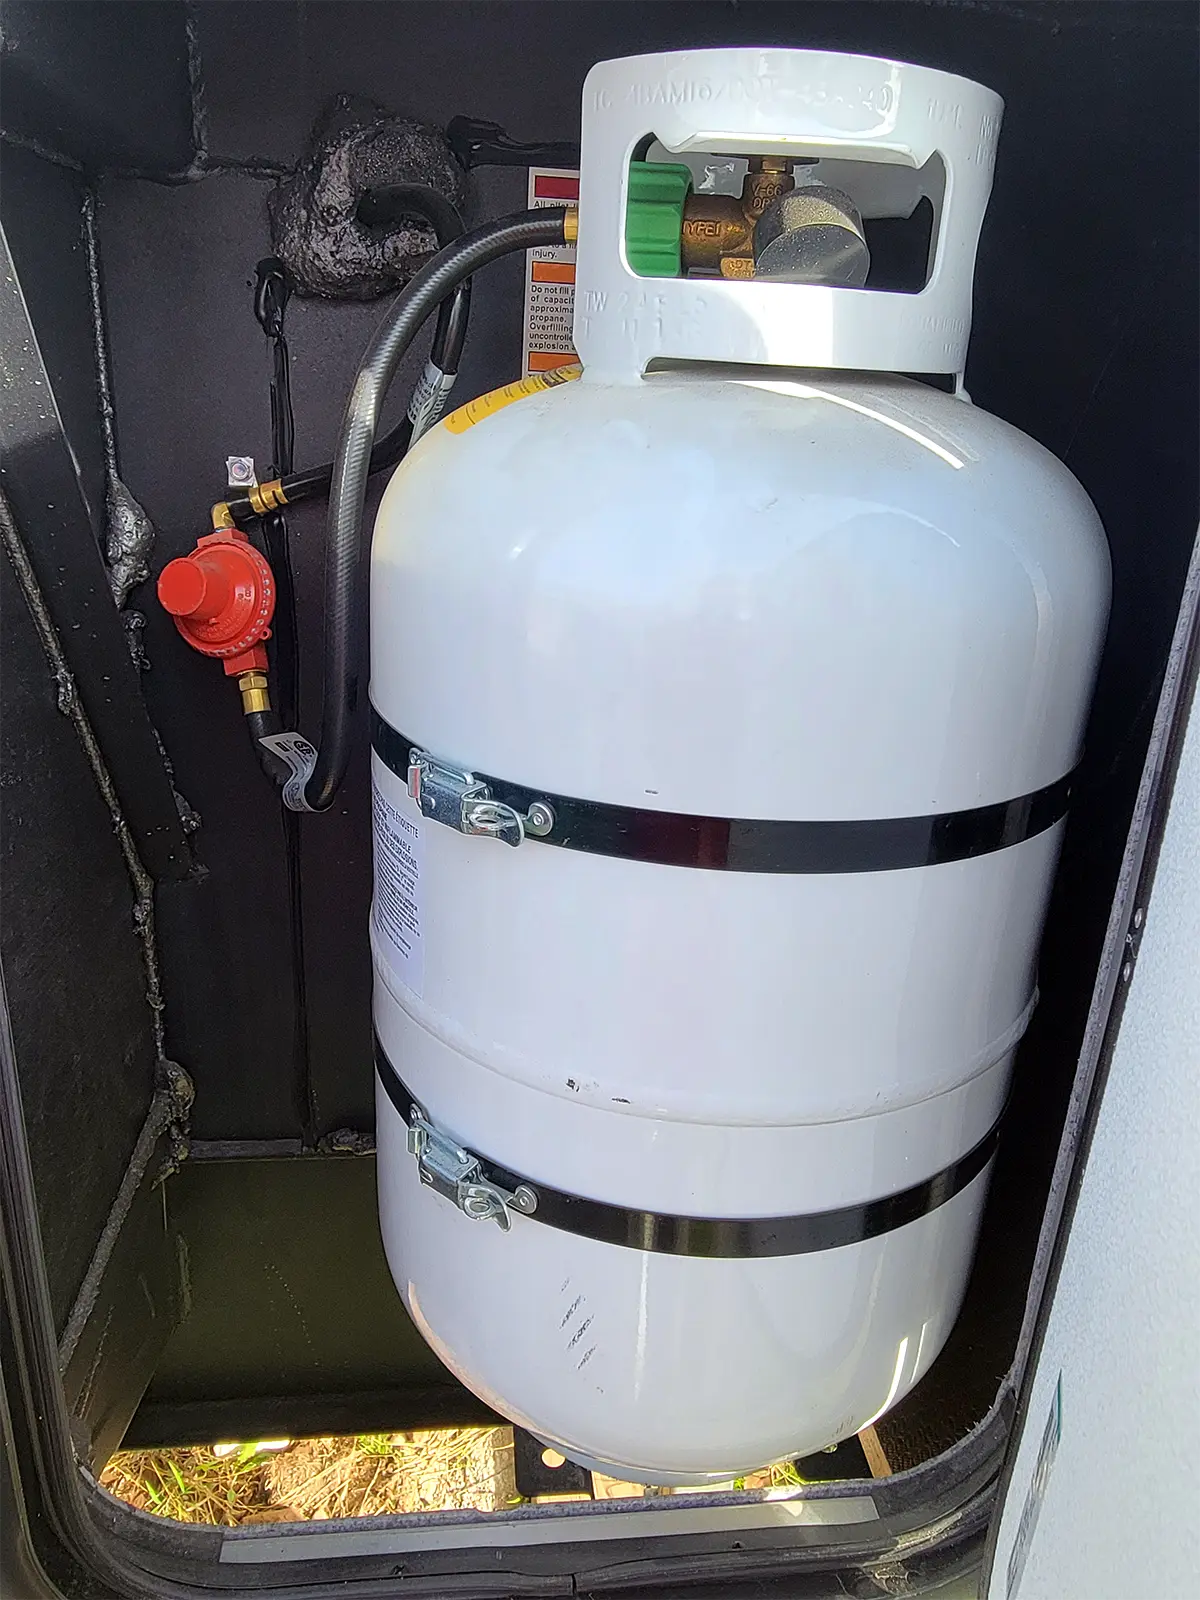
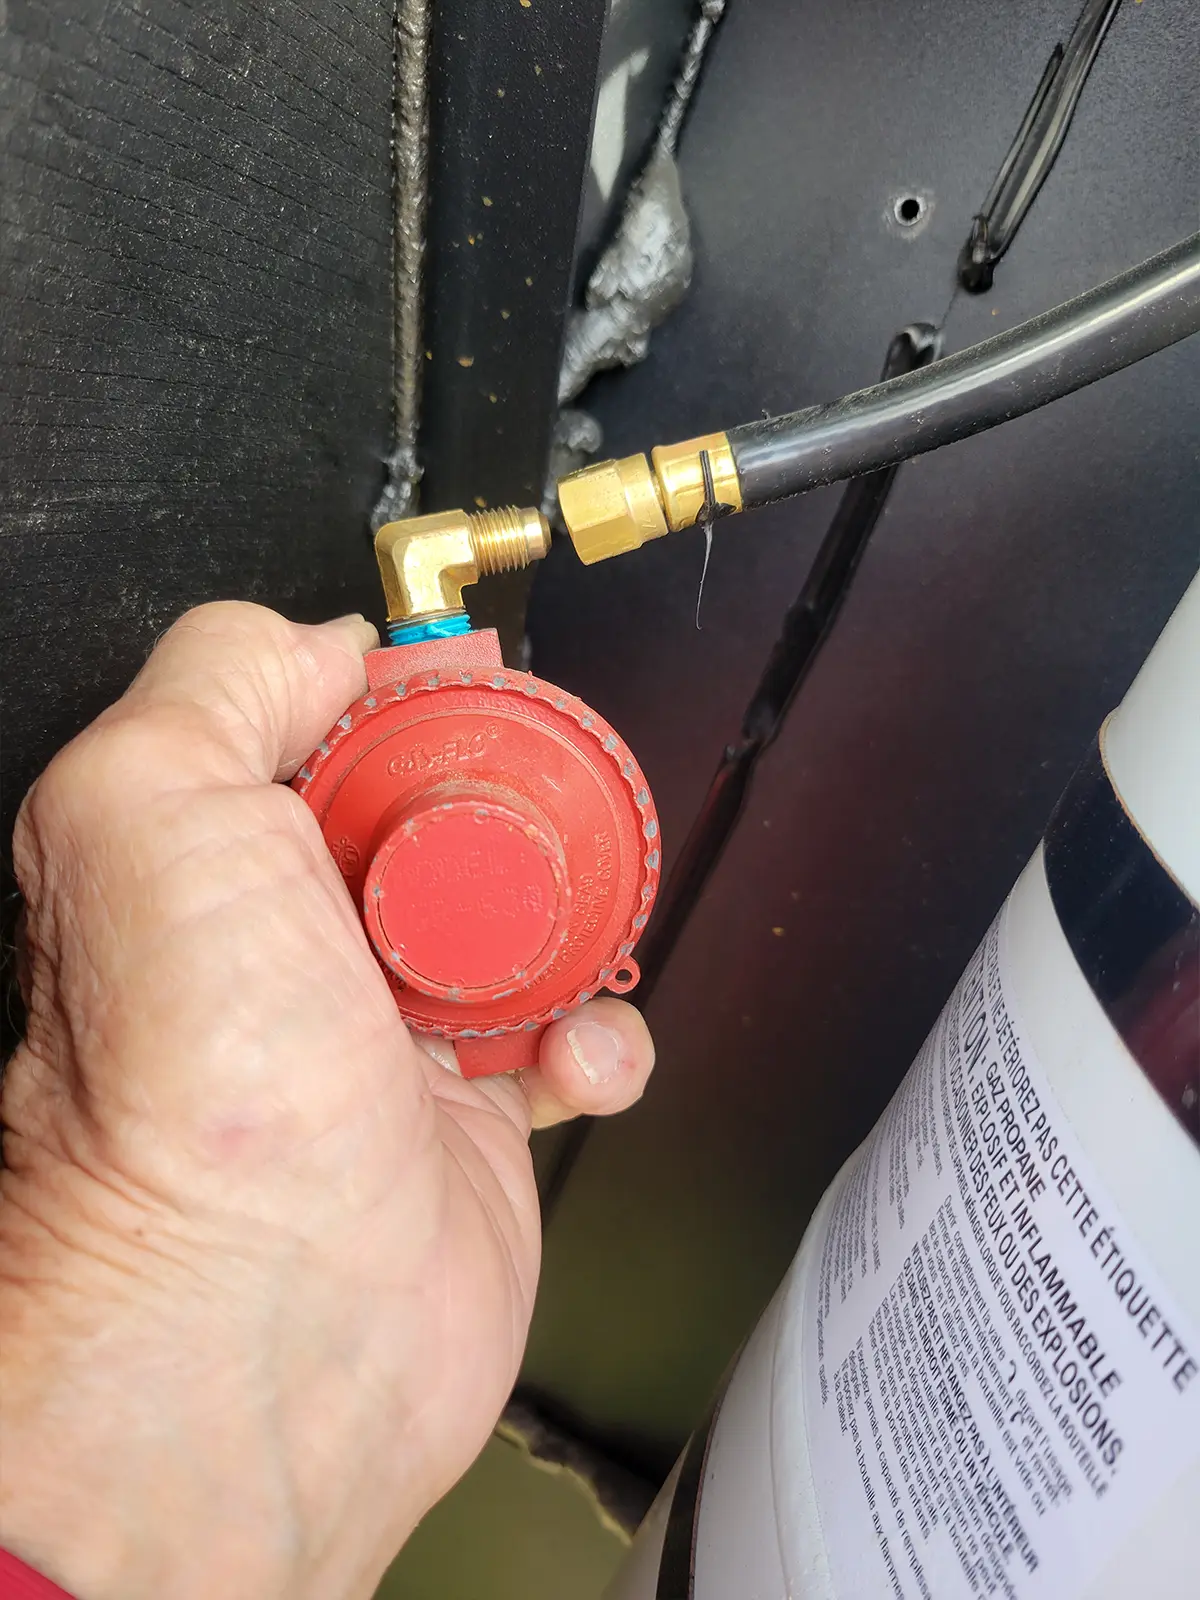
Placing LP-gas cylinders in compartments on opposite sides in a fifth wheel is common practice. While it makes sense, manufacturers had to devise a system to lower the gas pressure that travels across the front of the fifth wheel. For many years, black pipe connected the two cylinders because the pressure was too high for a rubber hose, but it was eventually replaced years ago with a stout, flexible hose protected by a smaller LP-gas regulator, which reduced pressure to 30 psi. The flexible hose alleviated manufacturing problems (routing) created by running the rigid pipe from one side to the other.

On the other hand, mounting LP-gas cylinders on each side of a fifth wheel is convenient, but the reducing regulator — which is mounted on the opposite side of the cylinder connected to the automatic changeover regulator — has a propensity to fail sooner than later.

Unfortunately, many of these secondary regulators supplied by the factory are not very durable and when they fail, the system leaks propane — affecting LP-gas pressure and appliance performance.

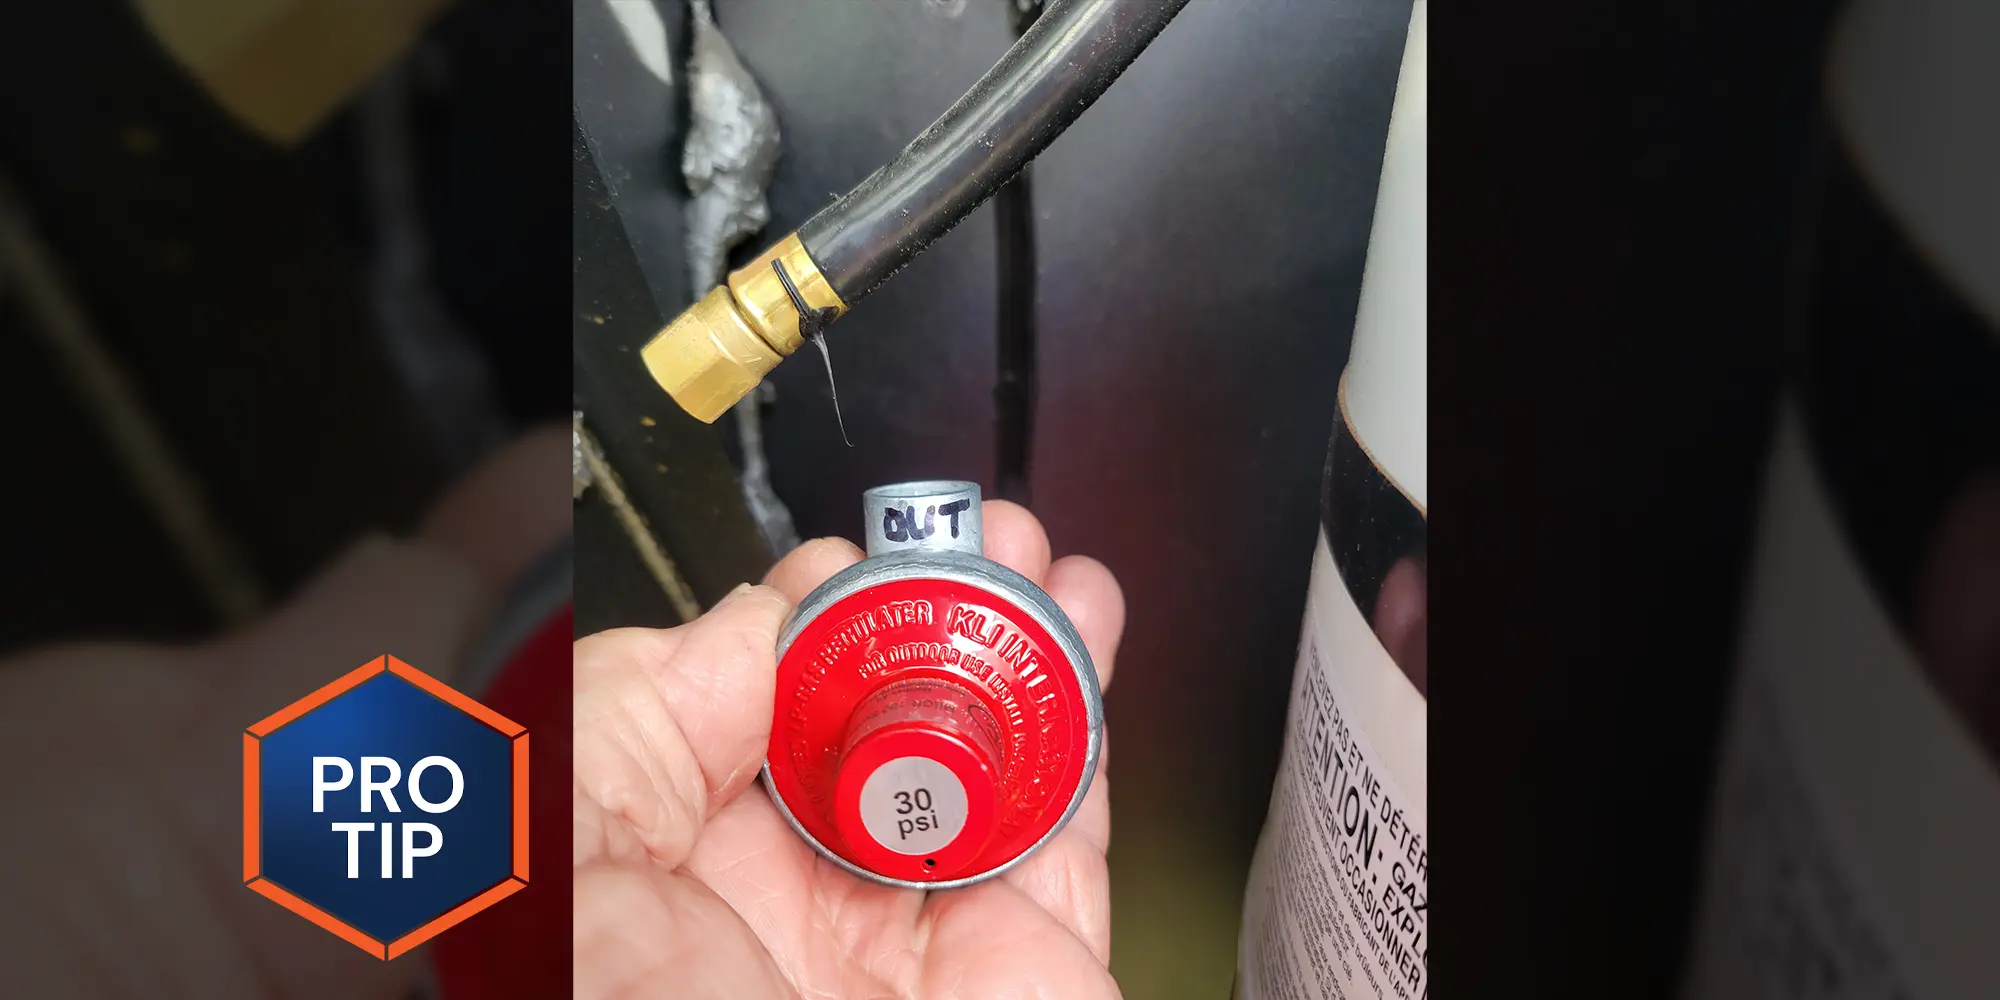
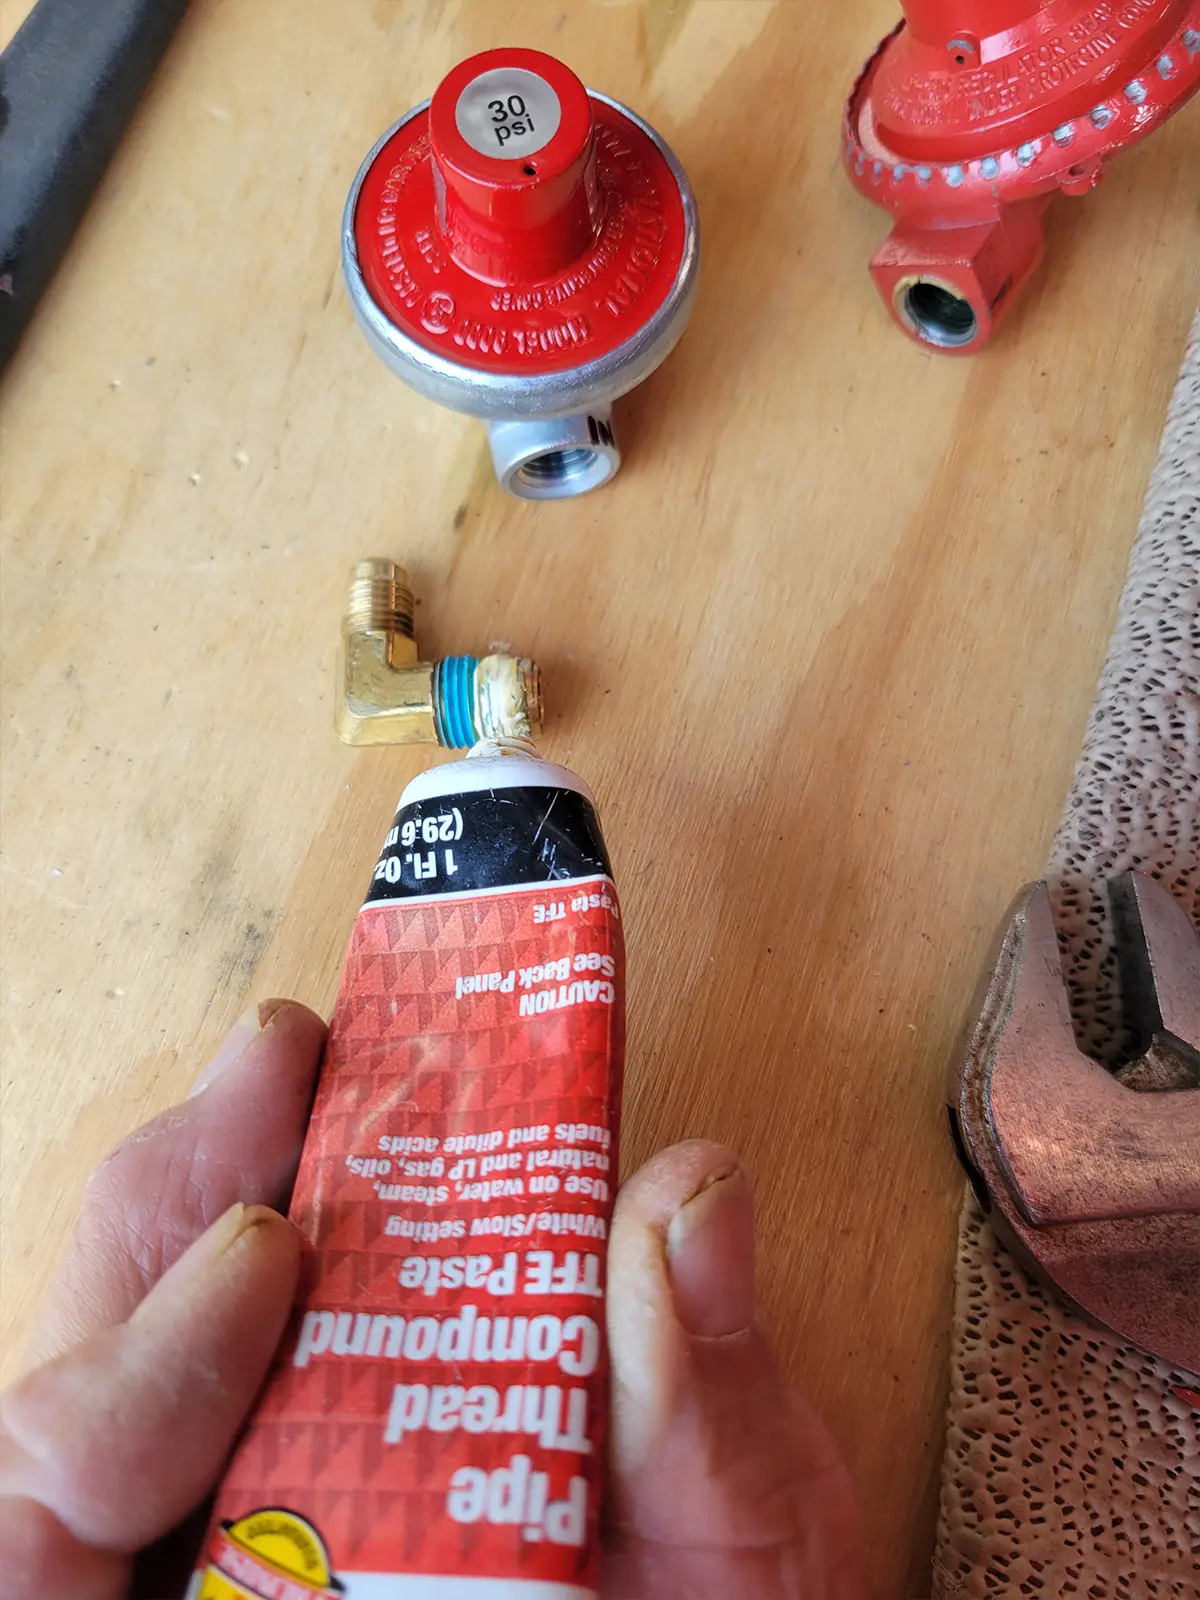
While the stock regulators may be somewhat questionable, the fix is relatively simple — as long as you buy the right parts. So, for this fix, where the regulator failed before it was one year old, I opted for the best in the business: A Marshall Excelsior Company brand MEGR 130-30 regulator. It can be purchased at most RV supply stores and on Amazon, which sells it for $25.29.

full view of an RV LP-gas compartment with a secondary regulator placed between the cylinder on the opposite side of the auto changeover regulator
A secondary regulator is placed between the cylinder in the opposite compartment with the auto to reduce LP-gas pressure to 30 psi. In this configuration, manufacturers are able to route flexible rubber tubing across the fifth wheel.
a hand holds a Marshall Excelsior MEGR 130-30 regulator beside the old factory offering a quick visual comparison
Unfortunately, the factory regulator can fail prematurely and leak LP-gas. It best to replace this regulator before it gets a chance to fail. A better replacement is the Marshall Excelsior MEGR 130-30 regulator, which is light years better than the original.

The Marshall Excelsior regulator is a single-stage, fixed pressure regulator that has a die cast zinc body and is UL listed; it has ¼-inch Female National Pipe Threads (FNPT) on both sides to accept the inlet and outlet fittings already connected to the hoses in the fifth wheel. The Marshal Excelsior regulator is much heavier than the original in the fifth wheel and has a higher-quality build than the stock regulator.

As a side note, it’s prudent to replace the secondary regulator after five years, even if it still works — and while you’re at it do the same for the auto changeover regulator on the other side. It’s cheap insurance to keep you on the road, and of course, adds big element of safety to using the LP-gas system.

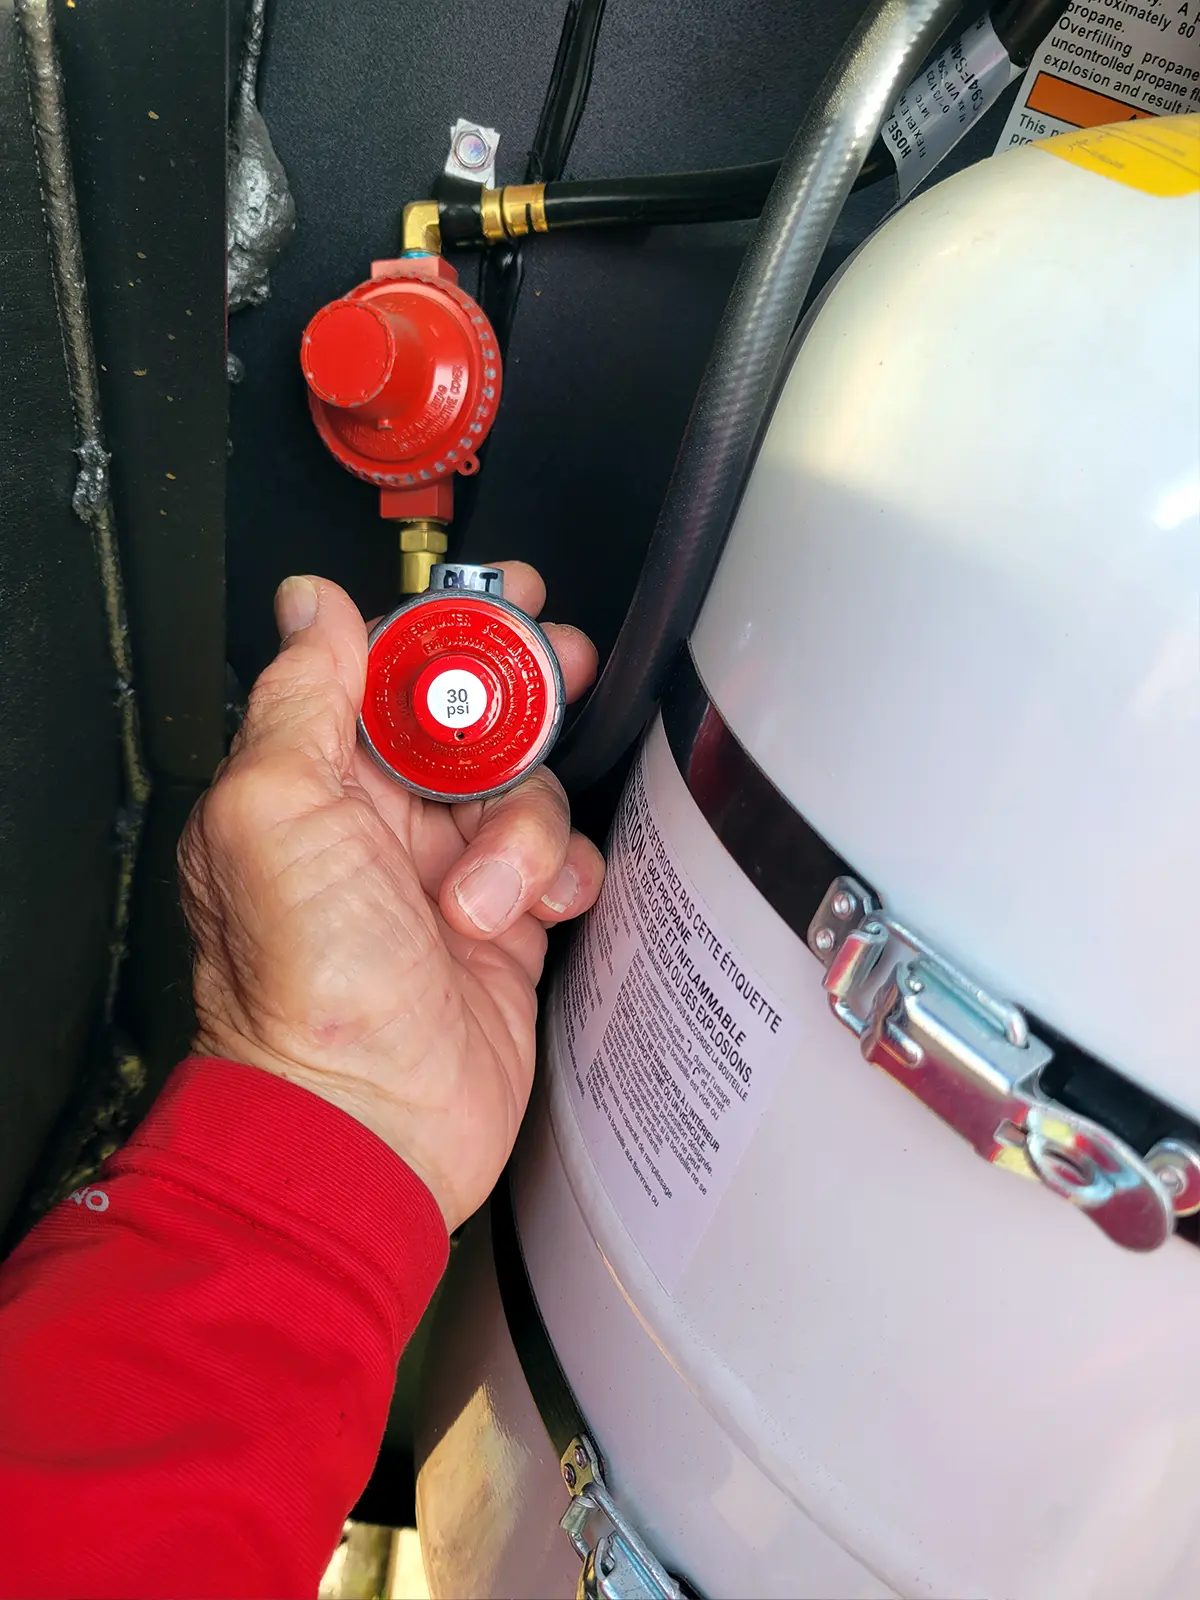
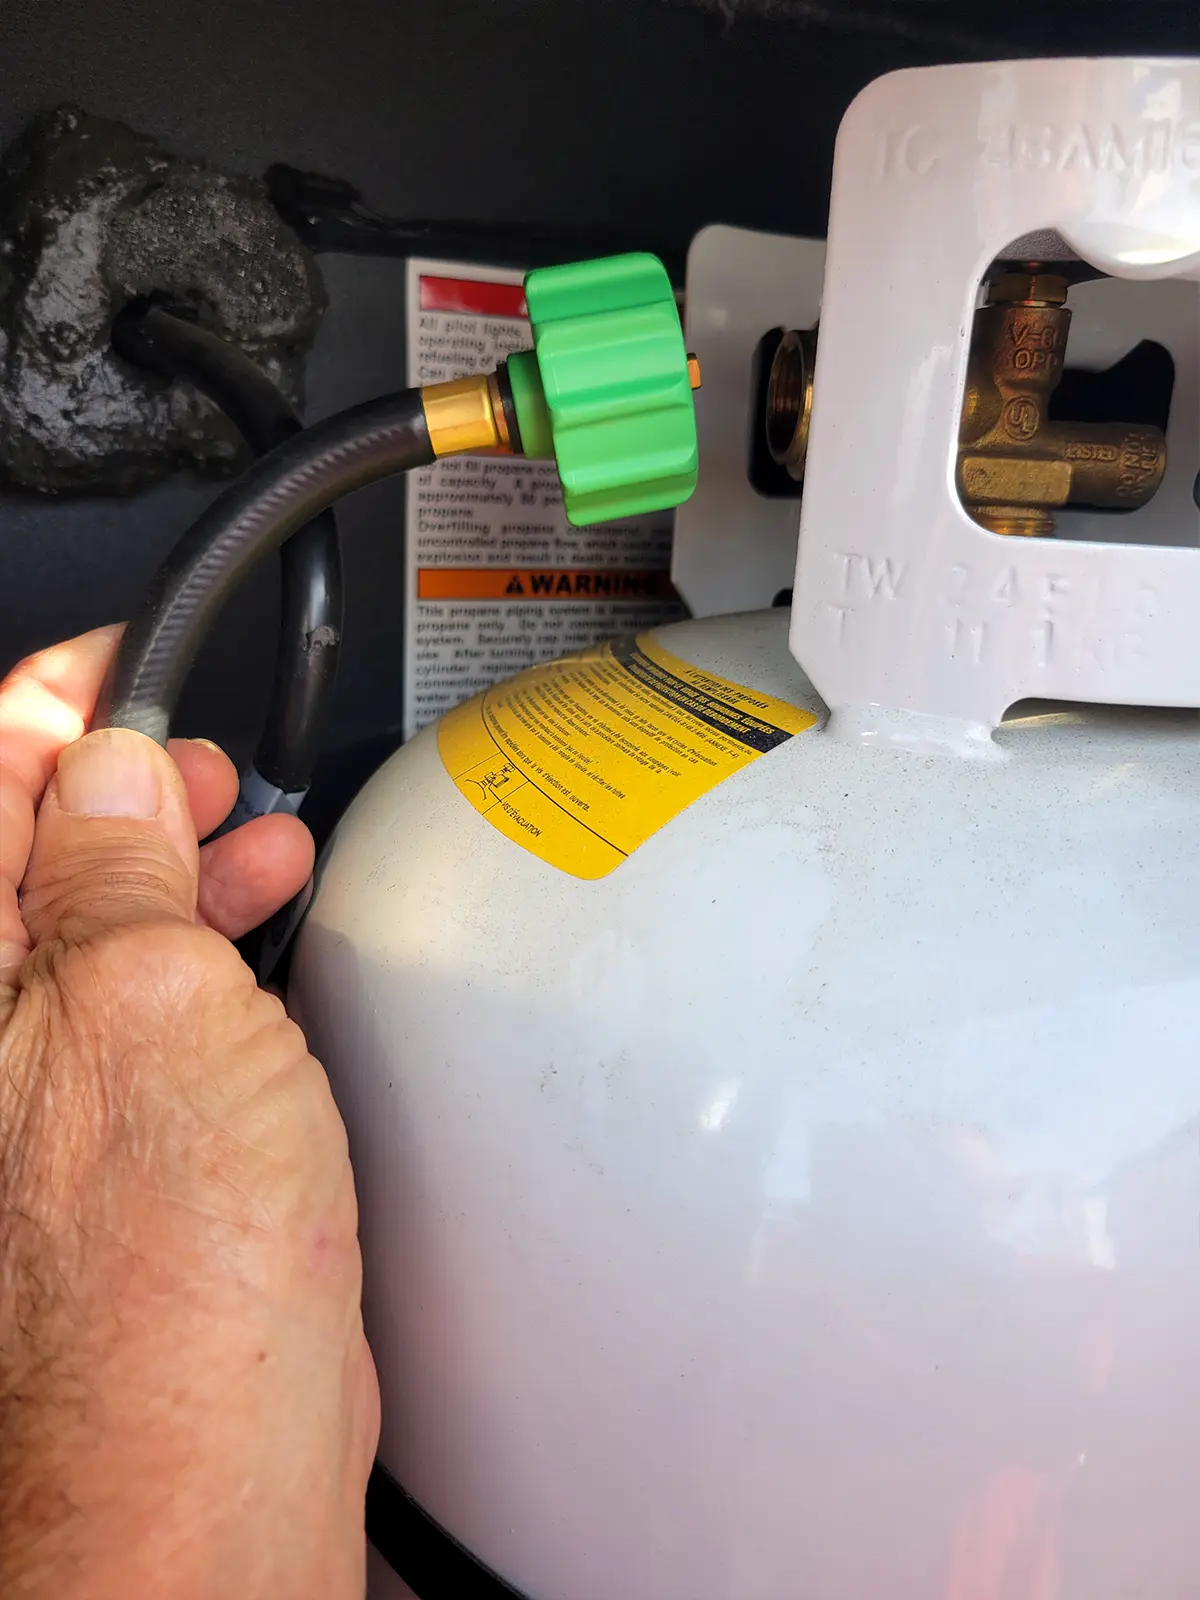
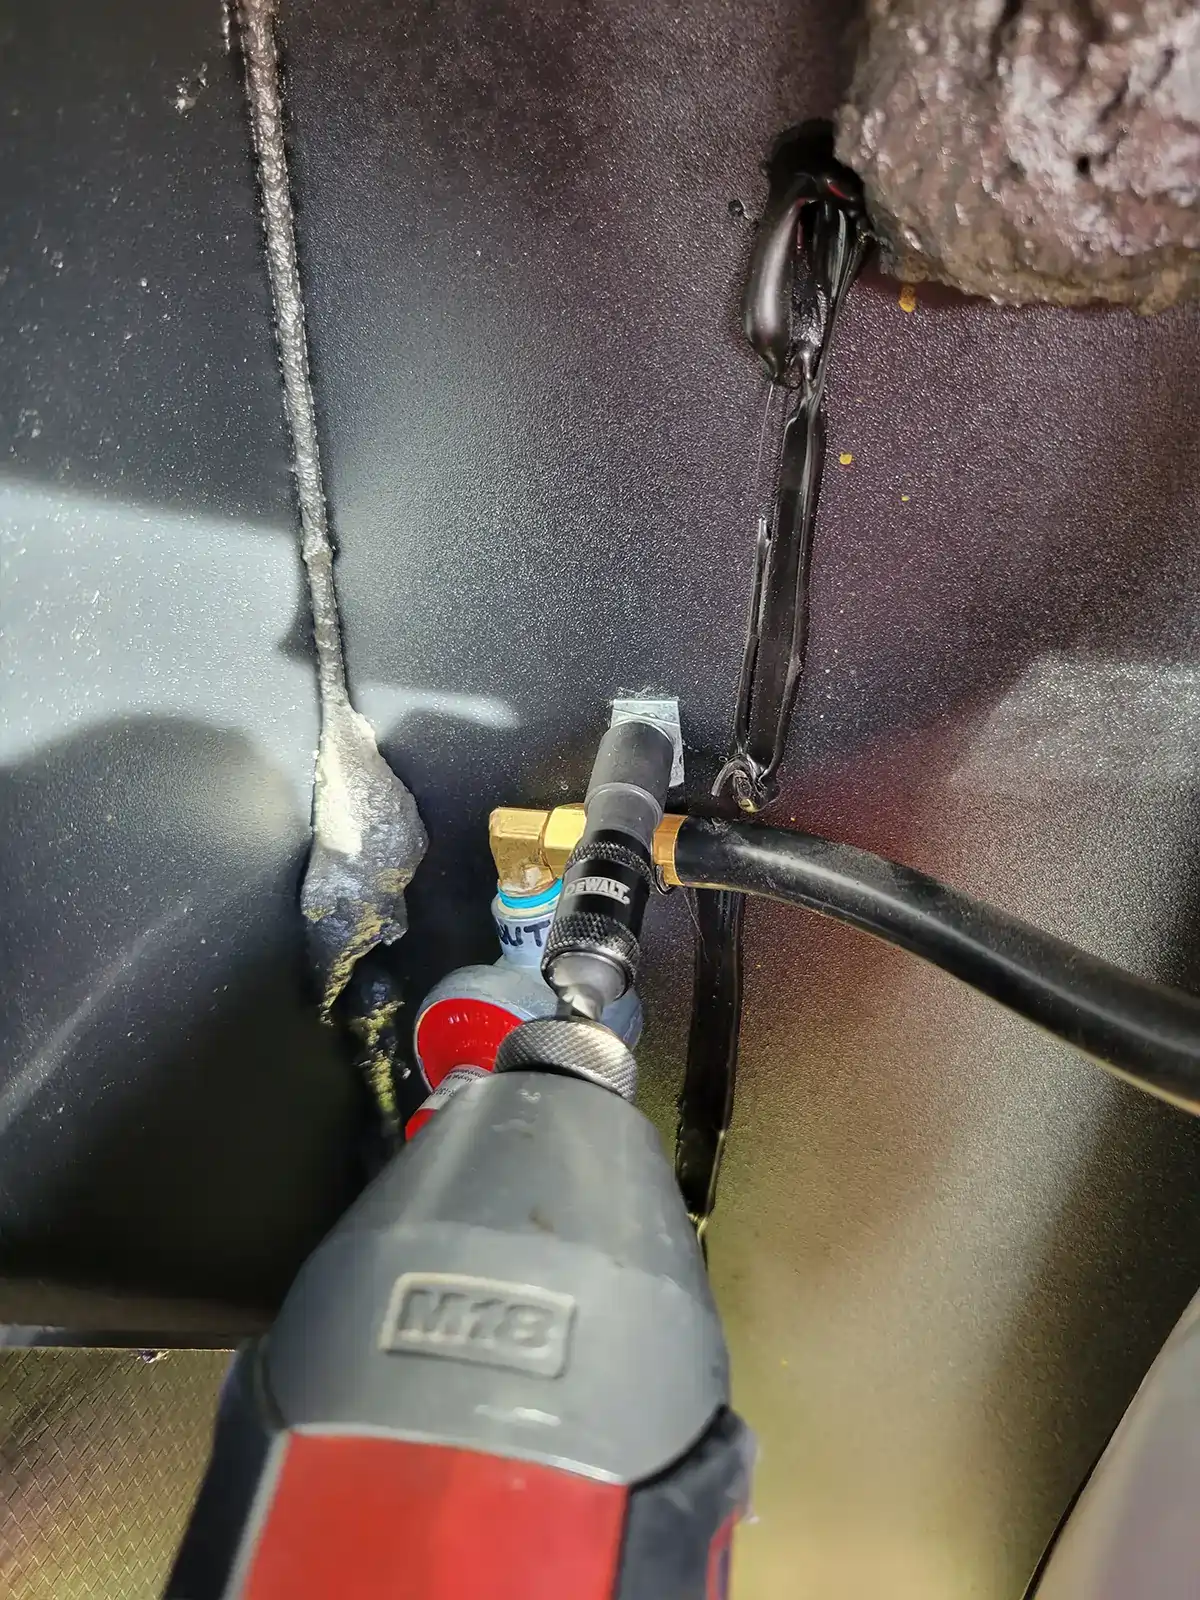
Start by making sure that both cylinders are turned off and light a stove burner to bleed the gas pressure. Remove the pigtail from the regulator to the propane cylinder and inspect it for excessive brittleness and cracks; if it has seen better days, replace it at the same time. If you need a little bit more room to maneuver inside the compartment, remove the propane cylinder. Remove the clamp that holds the regulator to the wall inside the compartment.

a detached valve is held near a cylinder
a hand holds the old factory regulator close to the valve it was released from
close view of the inlet thread on the old, removed regulator
The first step is to close the valve on each cylinder and bleed off the LP-gas by lighting the stove. Remove the pigtail from the cylinder and then the clamp that holds the regulator on the wall.
Disconnect the cylinder pigtail and the hose that runs across the front of the fifth wheel. The regulator has ¼-inch pipe threads on the inlet and outlet. When the fittings were released from my regulator, a big dose of mercaptan drained out. Affectionately called “skunk oil,” this stuff allows you to detect leaking LP-gas, which is naturally odorless.
a detached valve is held near a cylinder
The first step is to close the valve on each cylinder and bleed off the LP-gas by lighting the stove. Remove the pigtail from the cylinder and then the clamp that holds the regulator on the wall.
a hand holds the old factory regulator close to the valve it was released from
close view of the inlet thread on the old, removed regulator
Disconnect the cylinder pigtail and the hose that runs across the front of the fifth wheel. The regulator has ¼-inch pipe threads on the inlet and outlet. When the fittings were released from my regulator, a big dose of mercaptan drained out. Affectionately called “skunk oil,” this stuff allows you to detect leaking LP-gas, which is naturally odorless.
Battle Born Batteries Advertisement

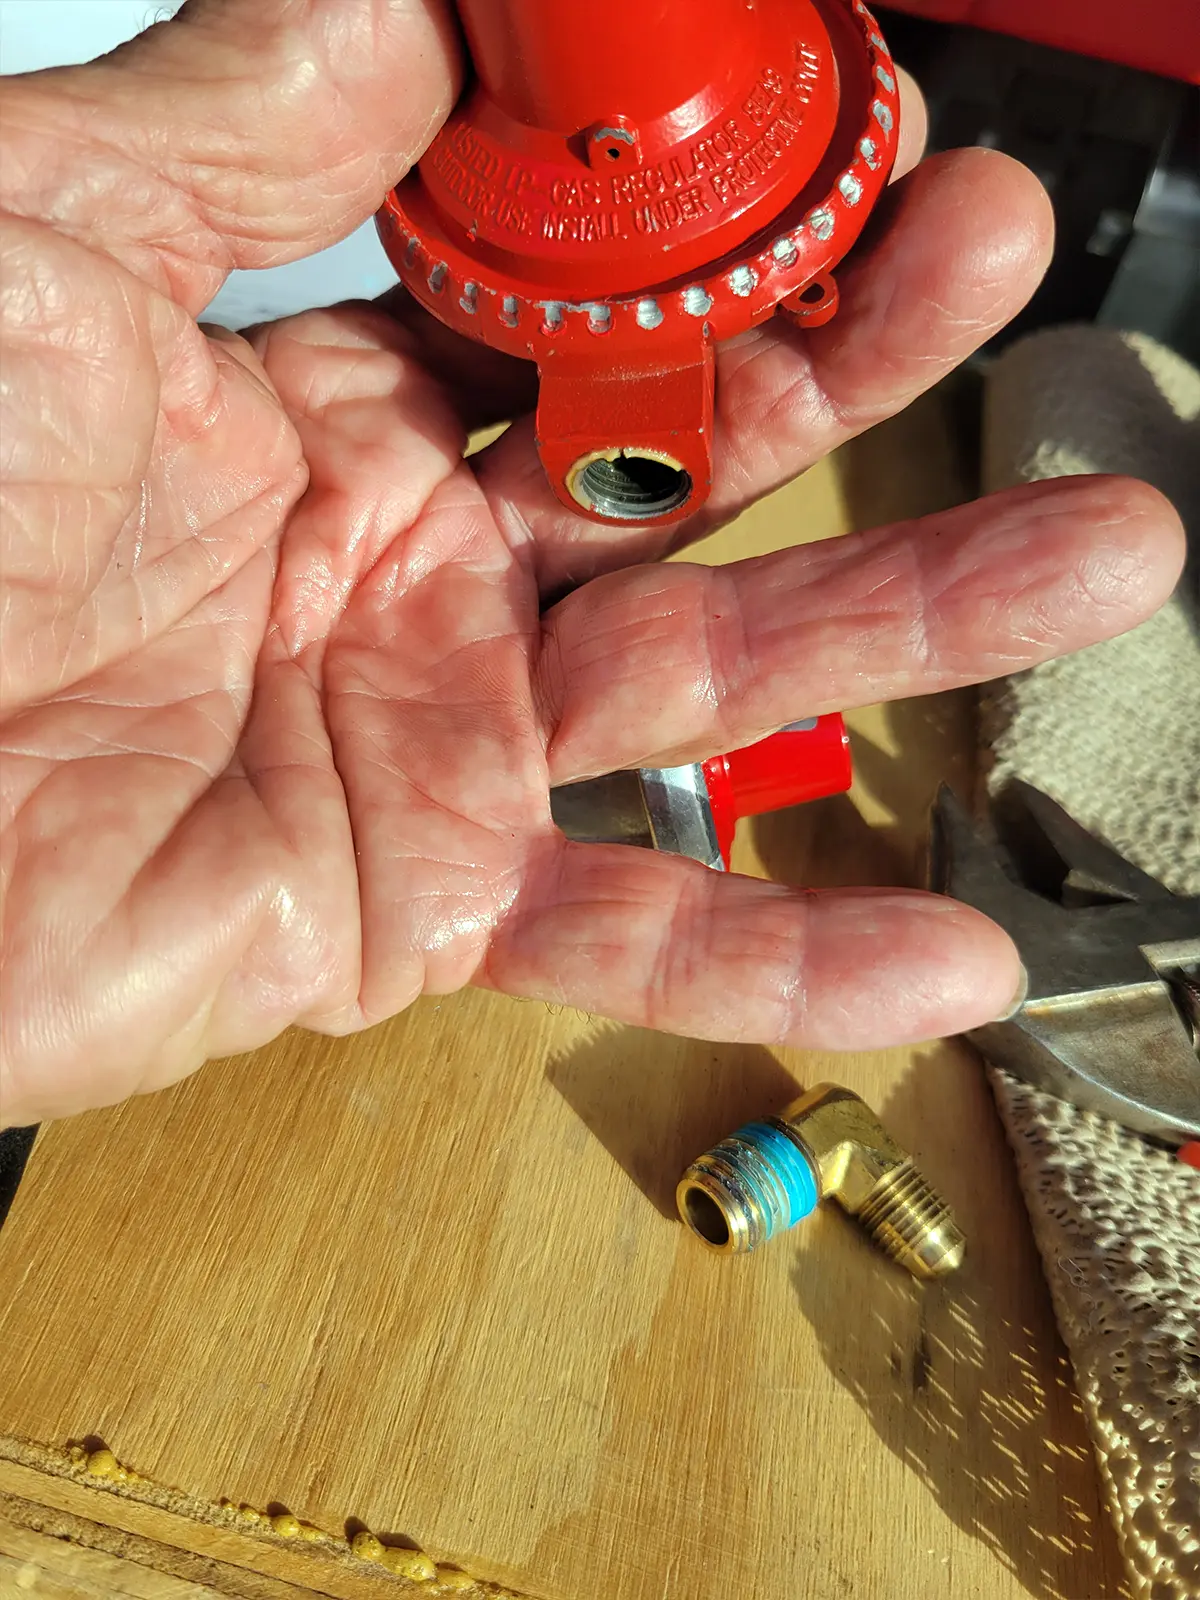
At this point you should have enough flexibility to remove the inlet and outlet fittings and pigtail. Install the fittings into the new regulator, sealing the fitting threads with gas-pipe thread compound or yellow Teflon tape, which is designed for gas. Make sure you install the fittings in the right locations, which are marked (but not very clearly). To make sure, use a felt pen to mark the gas-flow direction.

close view of a sharpie drawn arrow indicating the proper direction of flow on the new regulator body
The inlet and outlet identifications are not clearly marked on the regulator body and thus could be easily mixed up if you’re not paying attention. To eliminate problems, simply draw an arrow with a felt pen indicating the proper direction of flow.
close view of pipe thread compound being applied to an elbow fitting that will attach to the new regulator
Make sure you use pipe thread compound or yellow Teflon tape. Many mechanics prefer to use pipe thread compound.
close view of an elbow with ¼-inch pipe threads to ¼-inch flare fitting being used to connect the hose to the regulator
An elbow with ¼-inch pipe threads to ¼-inch flare fitting is used to connect the hose to the regulator. The pigtail from the cylinder uses only ¼-inch pipe threads.

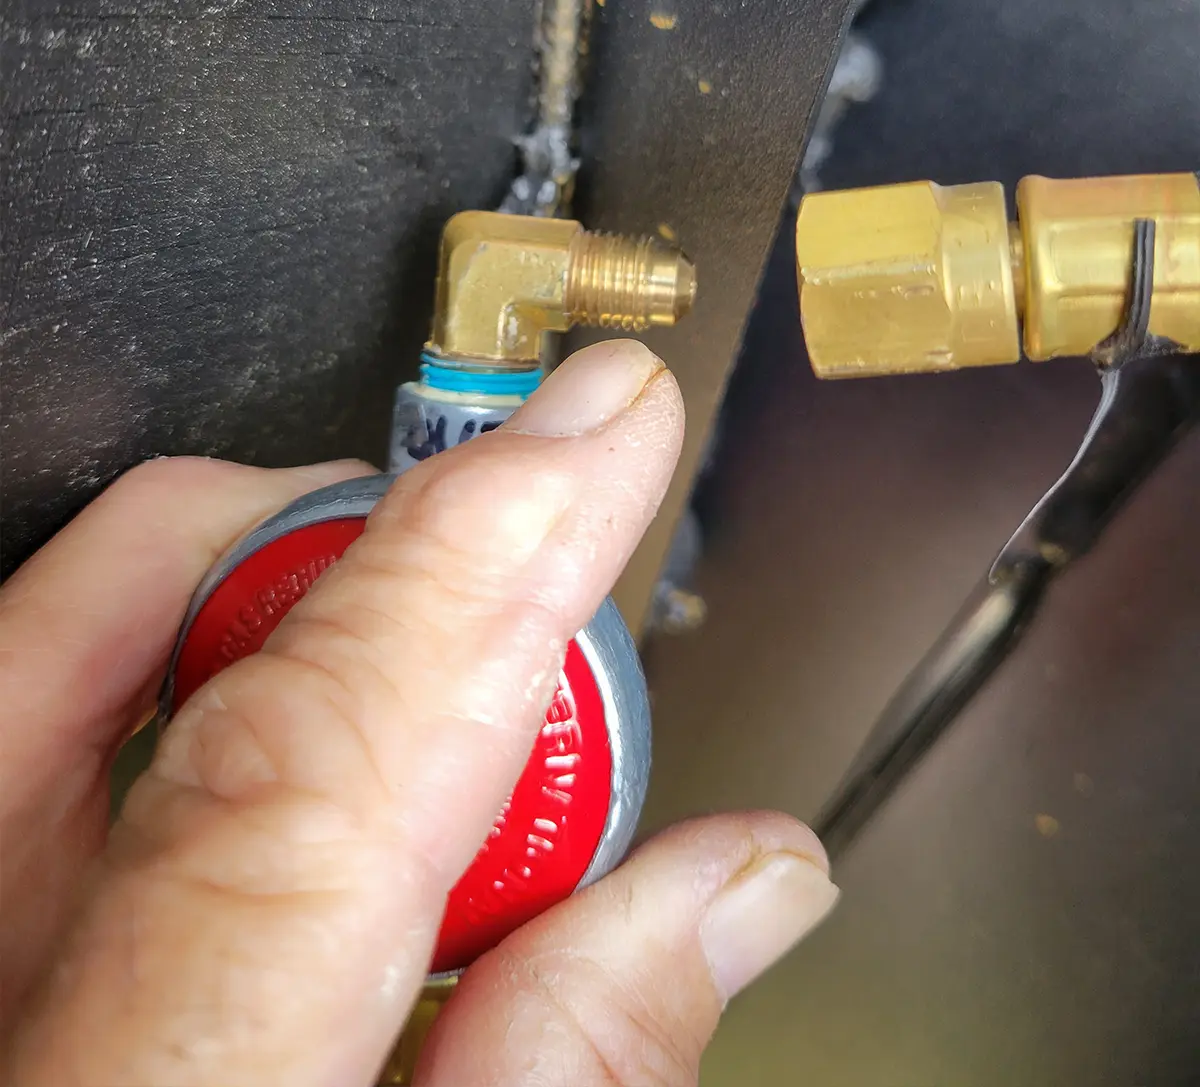
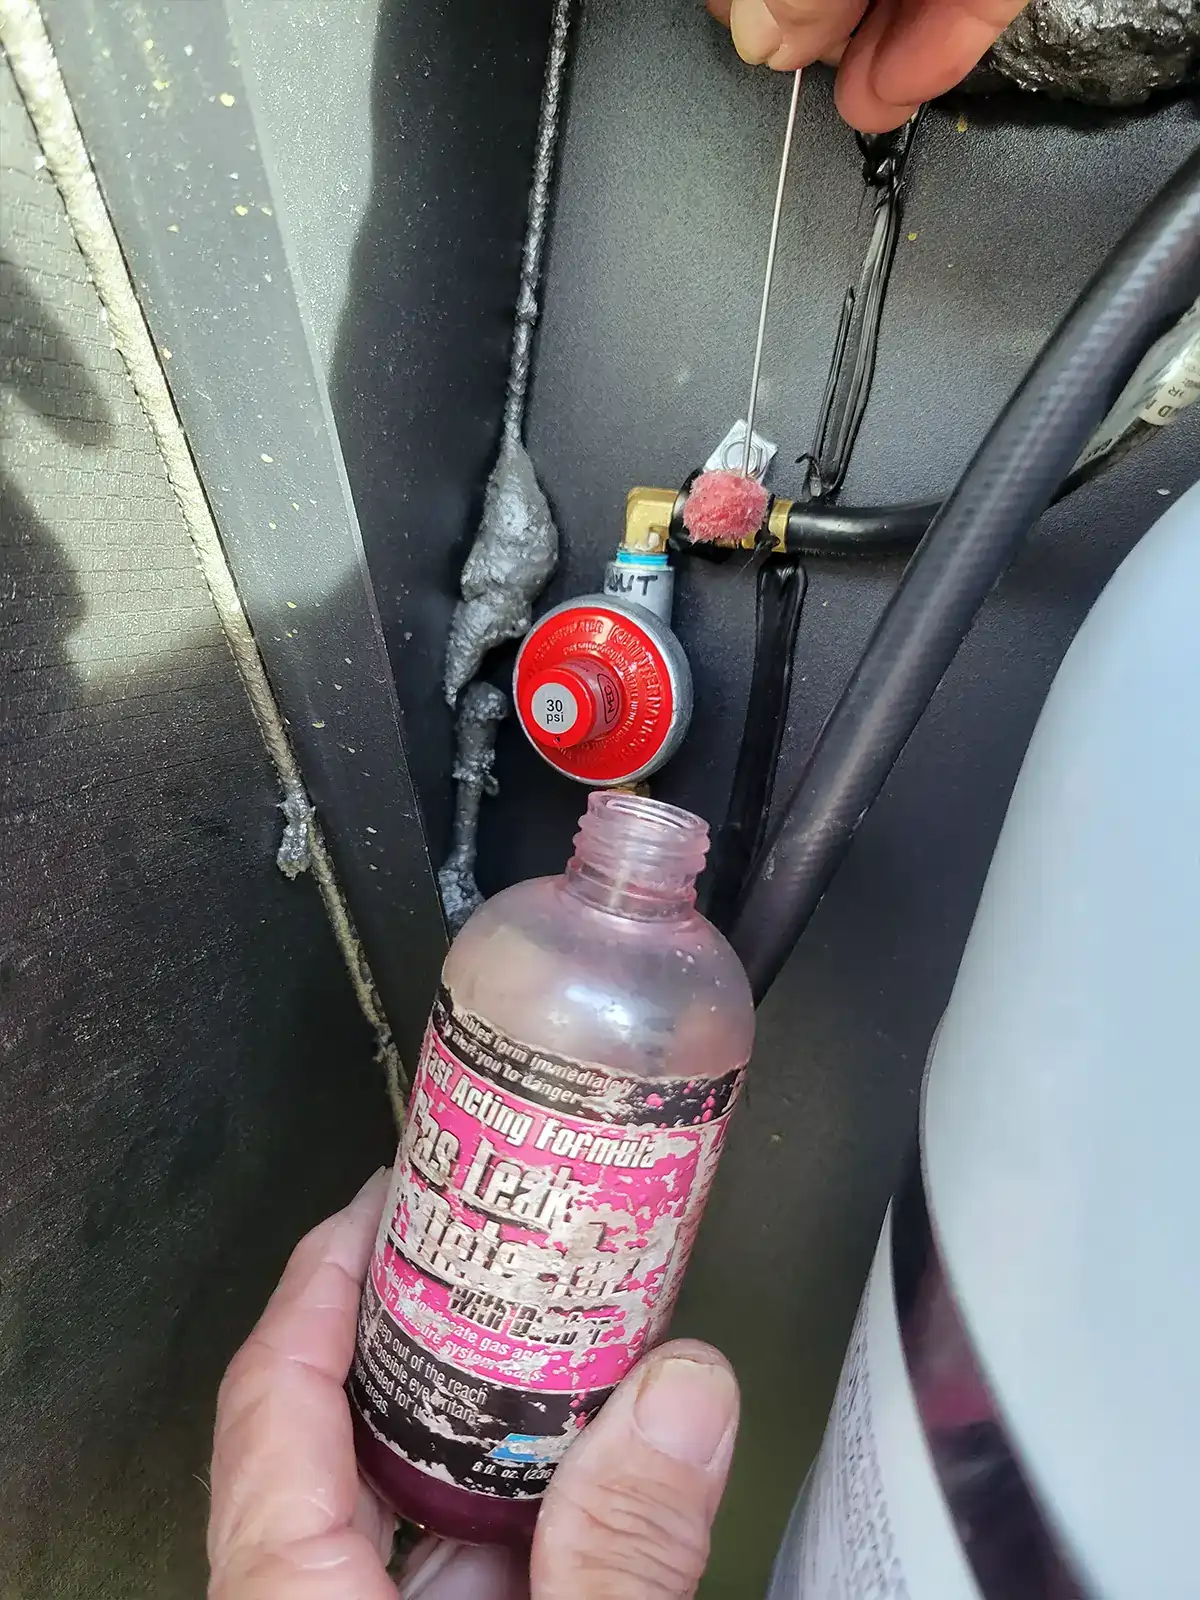
Re-mount the regulator and hook up the pigtail after the cylinder is returned to the compartment. Switch the auto changeover regulator to the cylinder with the secondary regulator and operate the stove until the air is bled out. Be sure to check for leaks using a commercial detection solution. It’s best to have your dealer perform a pressure drop test, which should be done once a year or any time the LP-gas system has been opened.

a drill is used to reattach the clamp to secure the new regulator to the LP-gas compartment wall
Reattach the clamp to secure the new regulator to the wall. Make sure the clamp is only around the fitting and not the hose. A misplaced clamp could eventually abrade the hose.
with the new regulator installed, leaks are checked for using a commercial leak-detector solution
Finally, check for leaks. It’s best to use a commercial leak-detector solution, but many people also use Dawn dishwashing soap and water; rinse off with plain water to prevent corrosion.
Get Updates
Subscribe today and never miss an issue!
Get all the latest tips and news to keep you moving on that open road!
RV Enthusiast January/March 2024 Issue
Current Issue
January/March 2024
Spring is back in bloom and with it we are proud to present our latest issue of RV Enthusiast! The January/March issue covers furnace failures and how to fix them, the best batteries for boondocking, quick and easy weekend projects, PLUS so much more!

Already a Subscriber? Click here for Access to the Full Issues.

Share This