Have a Seat
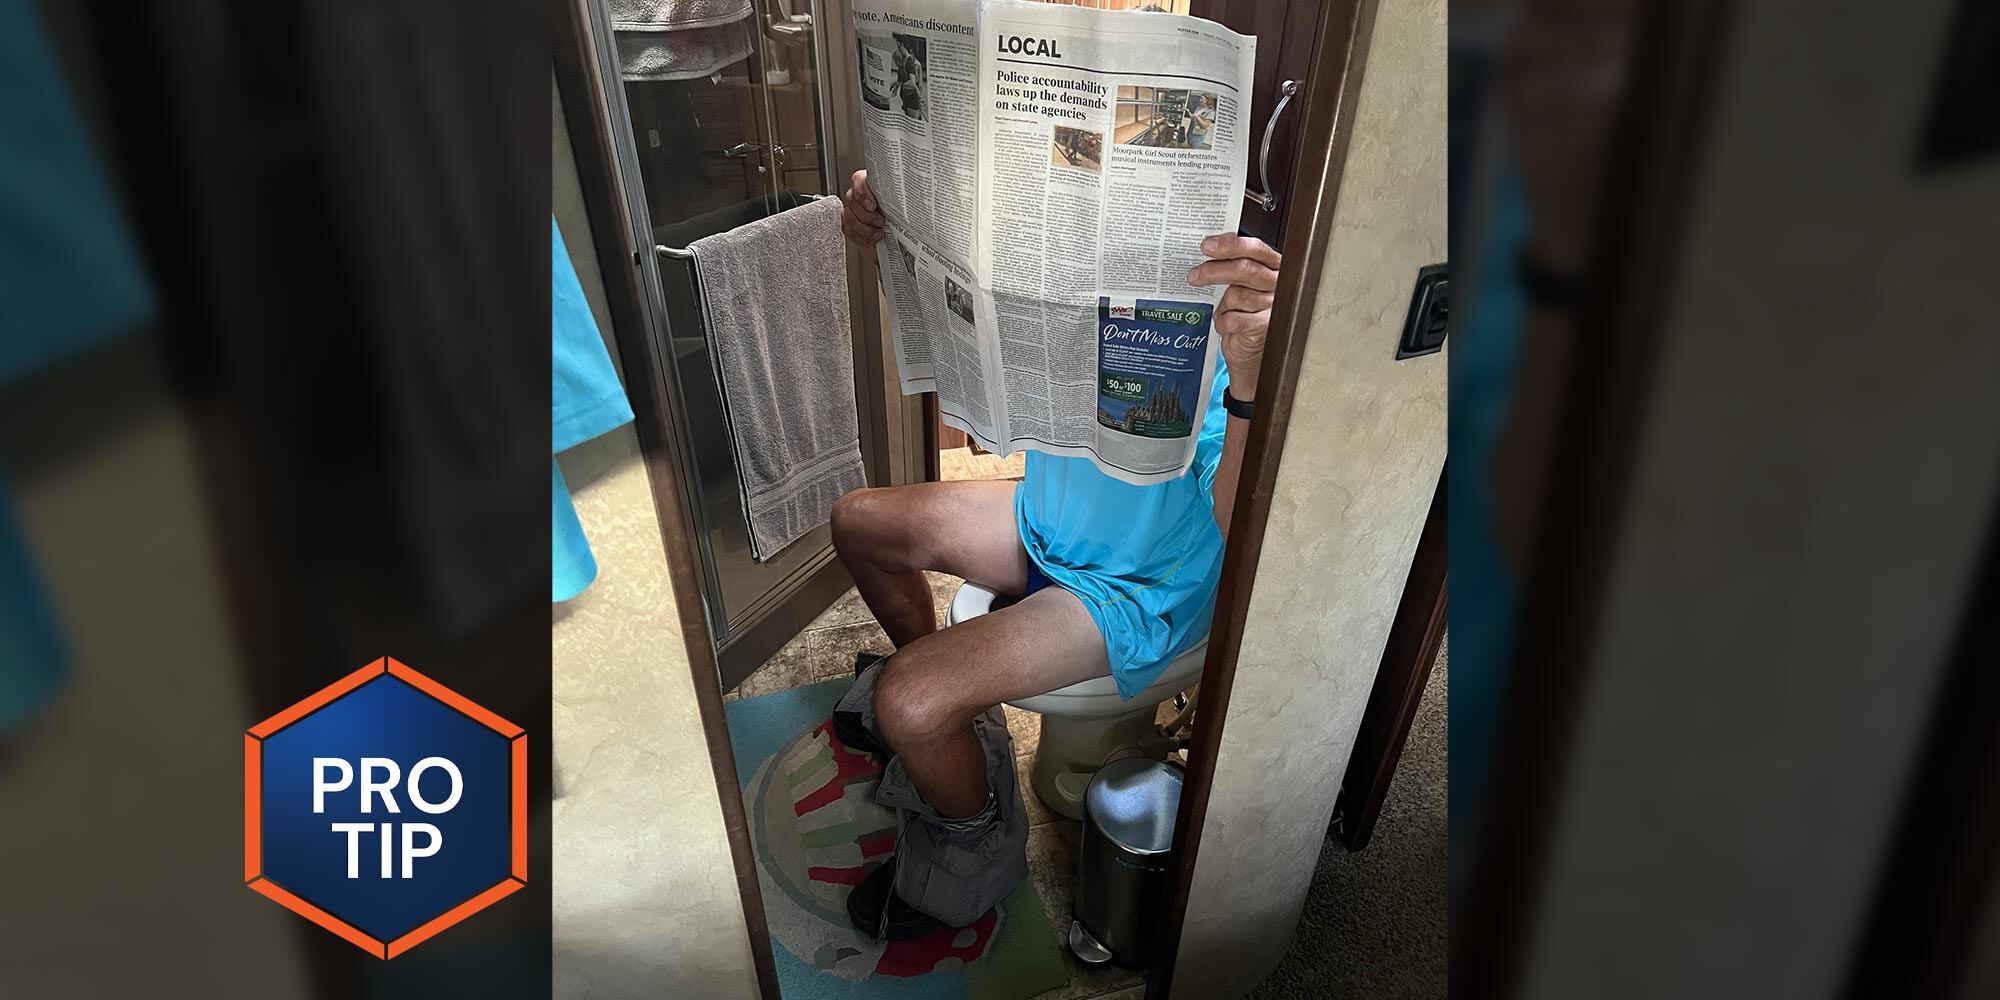
My Dometic toilet seat had seen better days after 10 years of full-time service. Heck, I’m truly amazed that it even lasted that long. While there were no splinters or broken hinges to worry about, it did start to look terrible as some of the paint had worn off and other portions of the seat became discolored. Yup — it looked like crap.
I was somewhat shocked, however, when I learned that the price of a new Dometic toilet seat was about $70 — and as I discovered, local home-improvement stores weren’t a lot cheaper. The bigger problem, though, was finding an exact fit between those residential-sized seats and my Dometic. I did finally find a couple of models that would fit, but I was not thrilled about the cheap plastic finish, nor could I match the color.
What does a do-it-yourselfer do? Refinish the old one, of course.
Okay, stop laughing, because it worked!
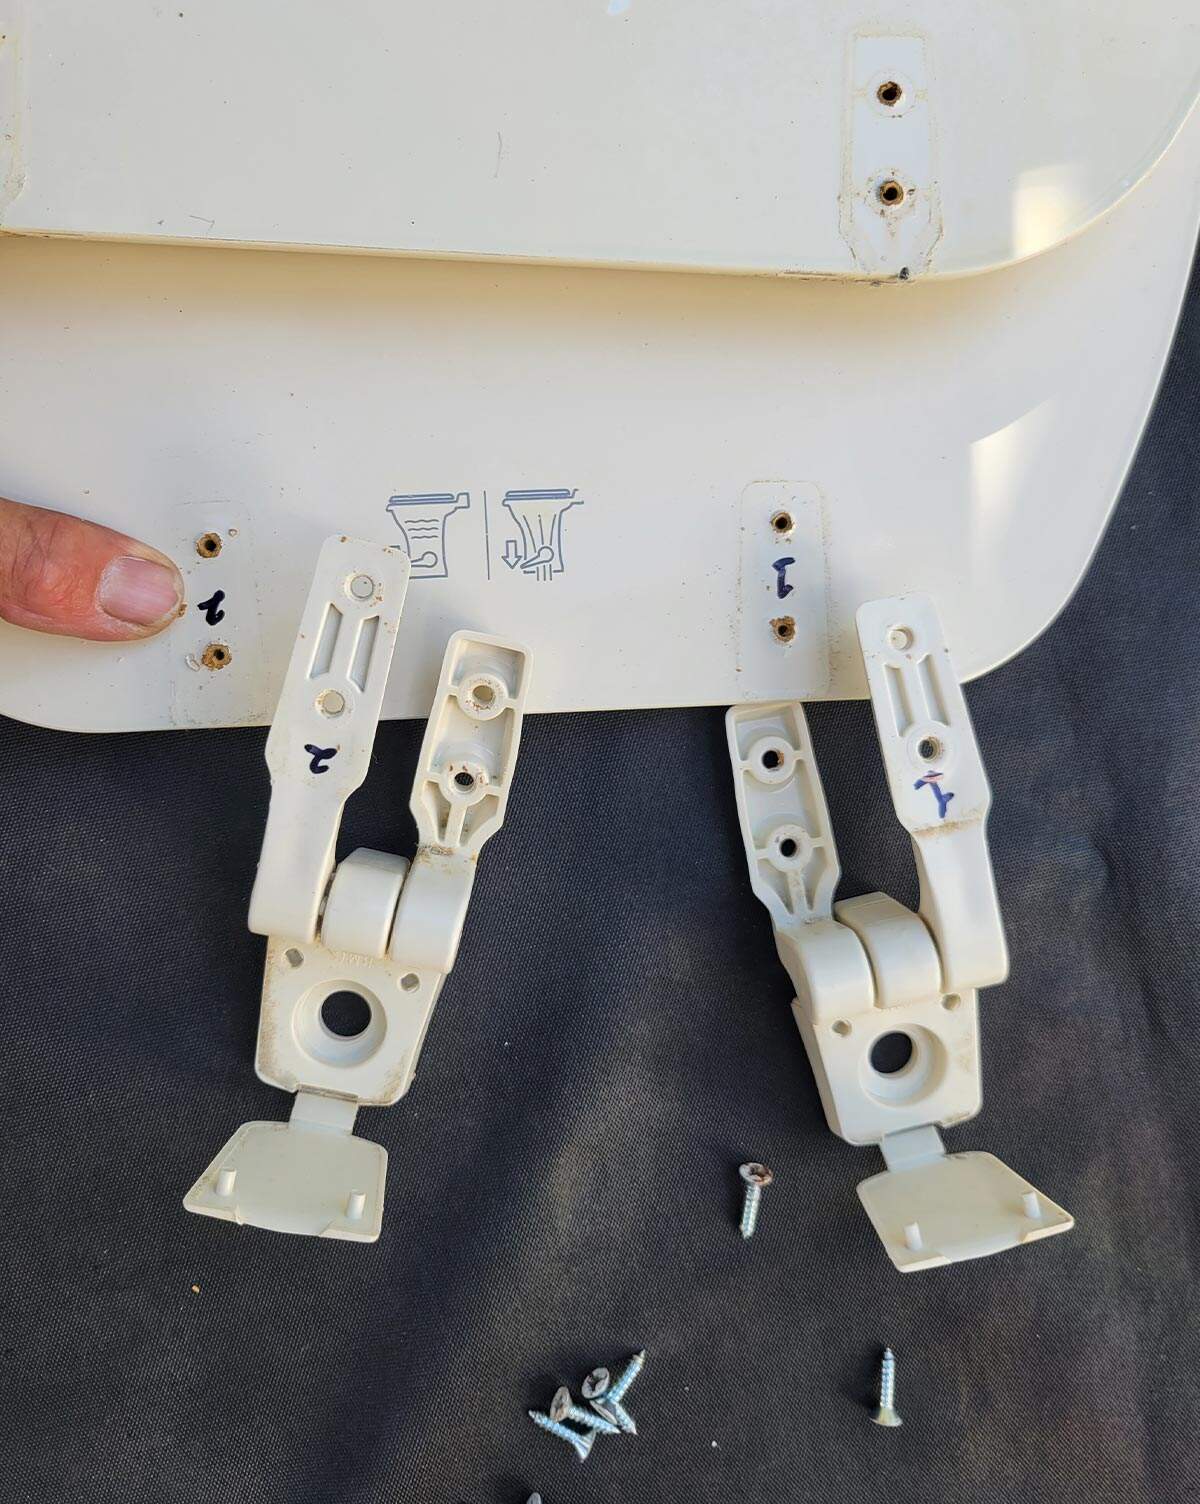
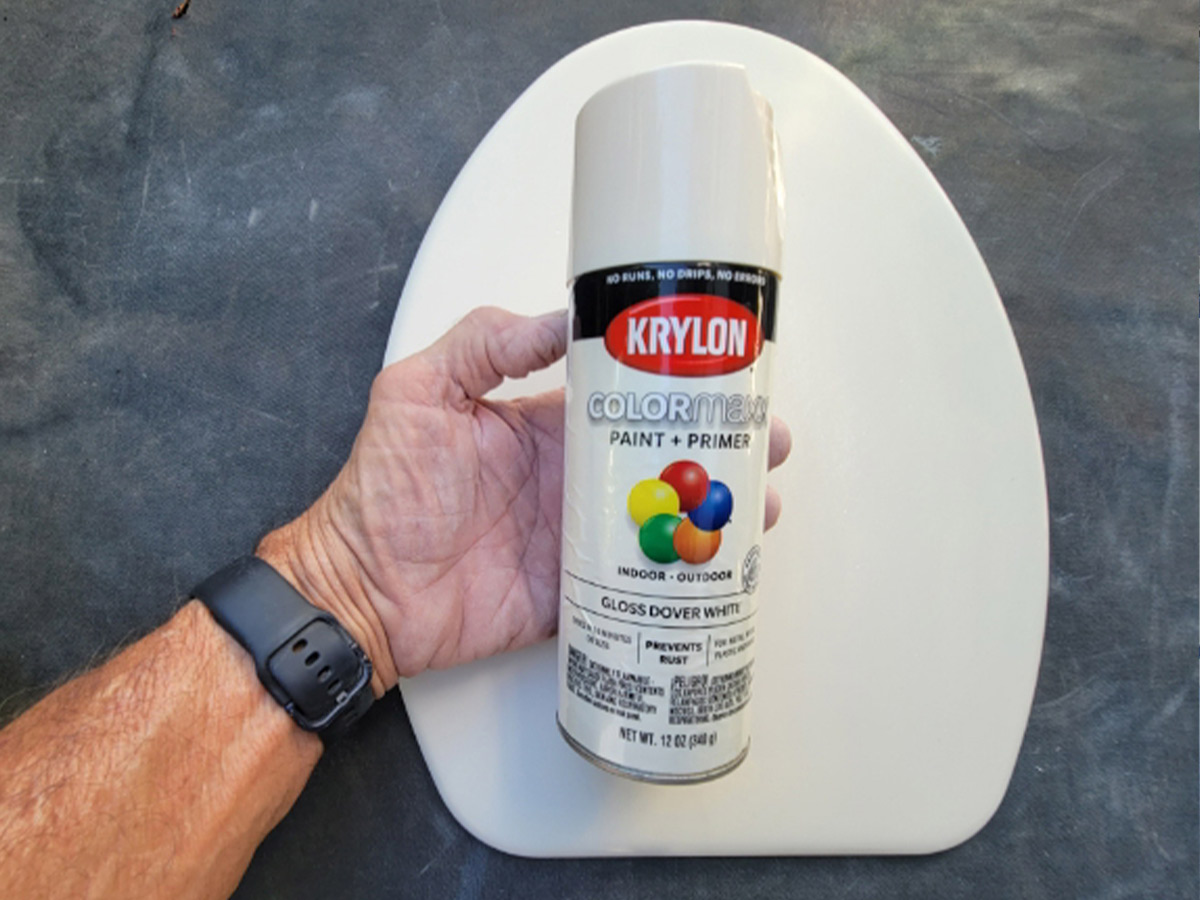
I removed the toilet seat and brought one part of it for color-matching at the hardware store, where I found Krylon spray paint in Dover White was an almost perfect color match. The process is fairly simple, but does take some preparation before painting. Removing the old toilet seat was a little tricky, since my big hands did not want to squeeze in the space allocated to hold on to the little plastic “nuts.” I marked the hinges to make sure I would return them to the same position, but that idea was short-lived. Knowing that I would later be sanding the numbers off the toilet seat, I took a picture so I could tell by the shape of each hinge how they went on.
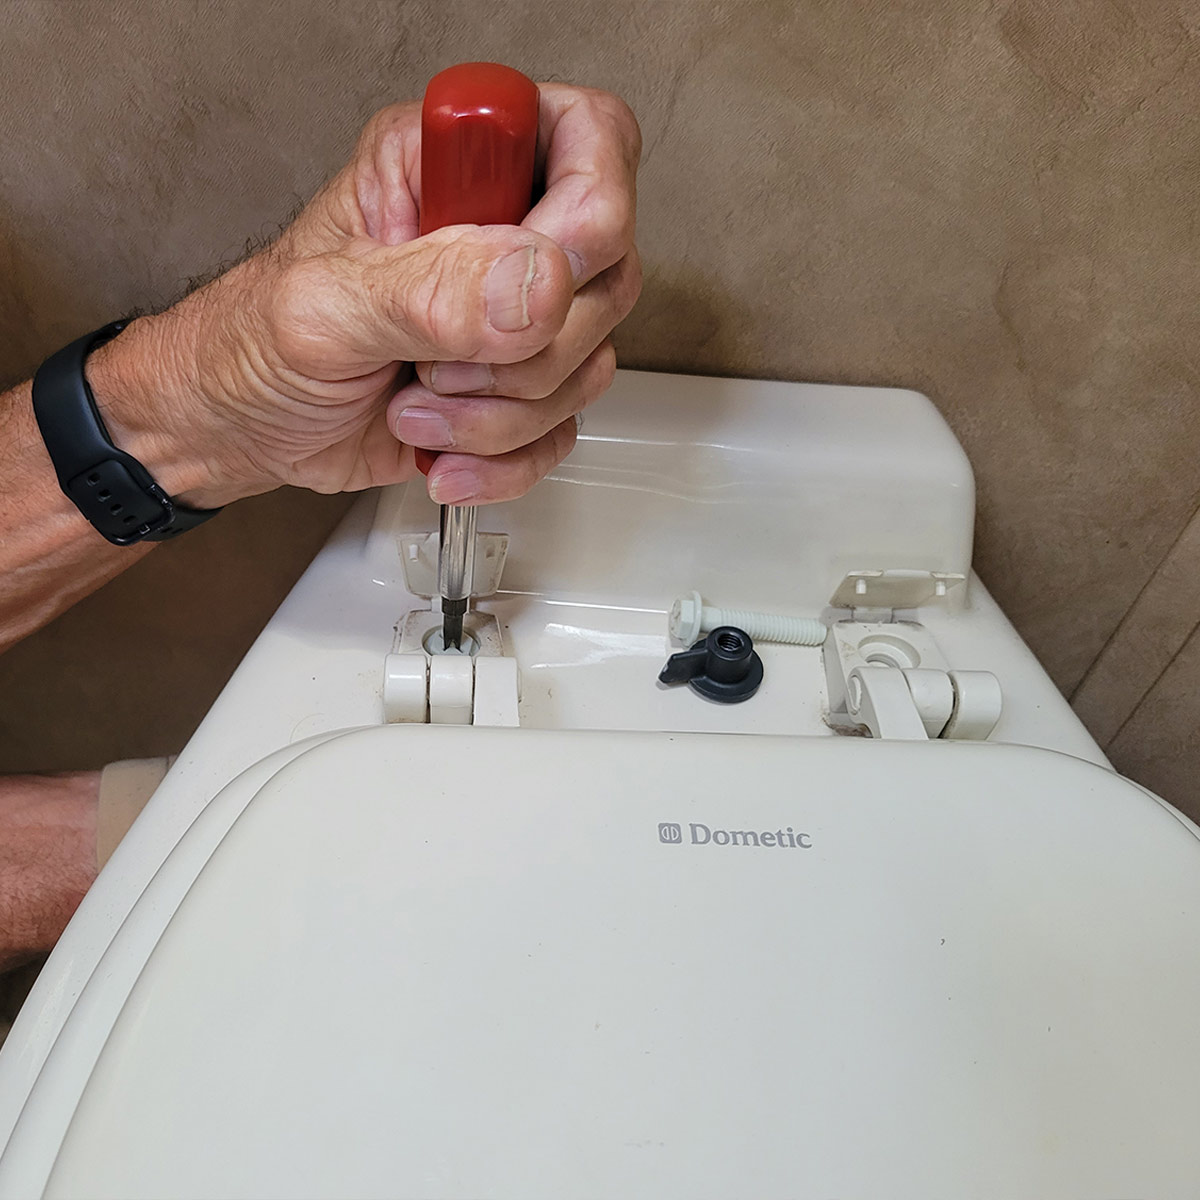
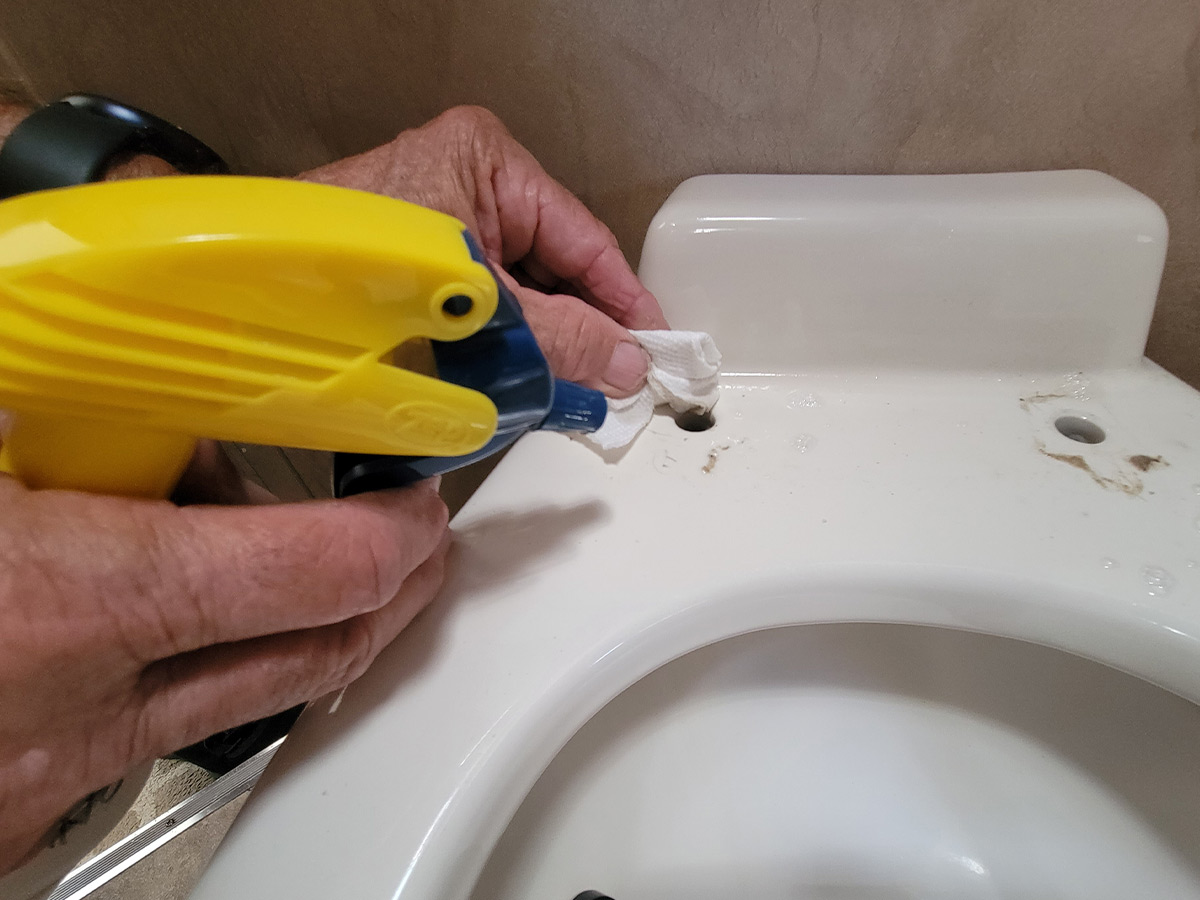
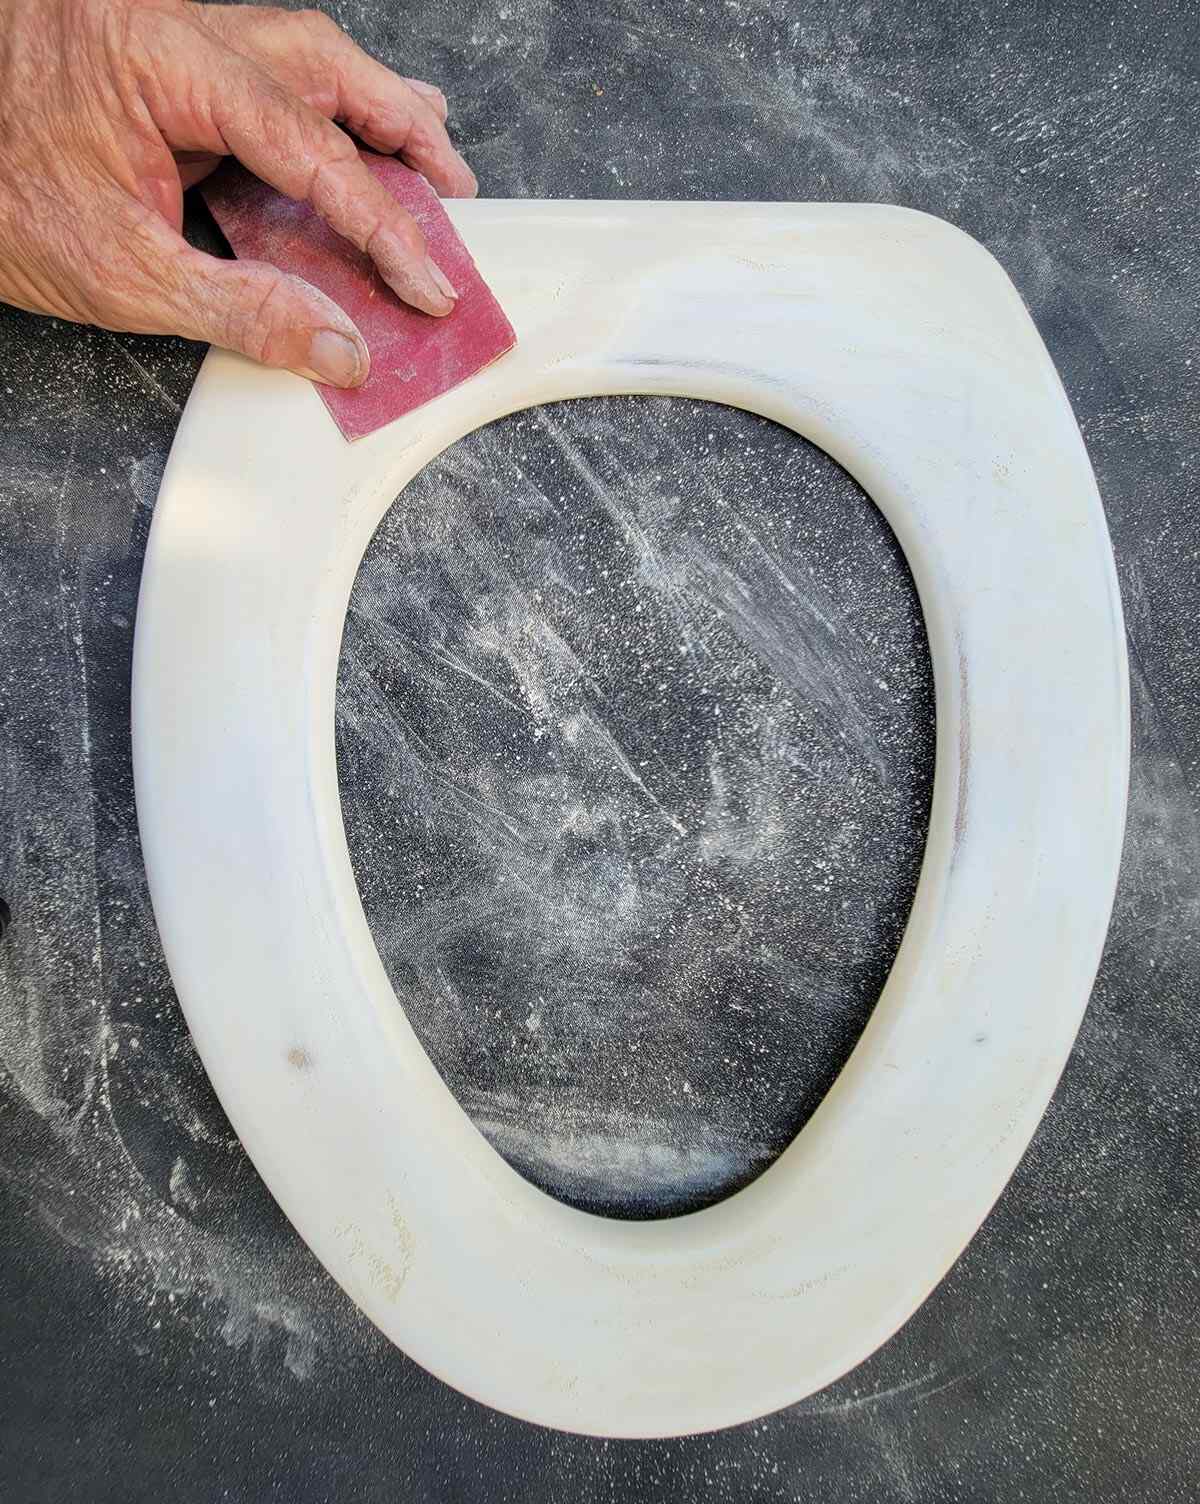
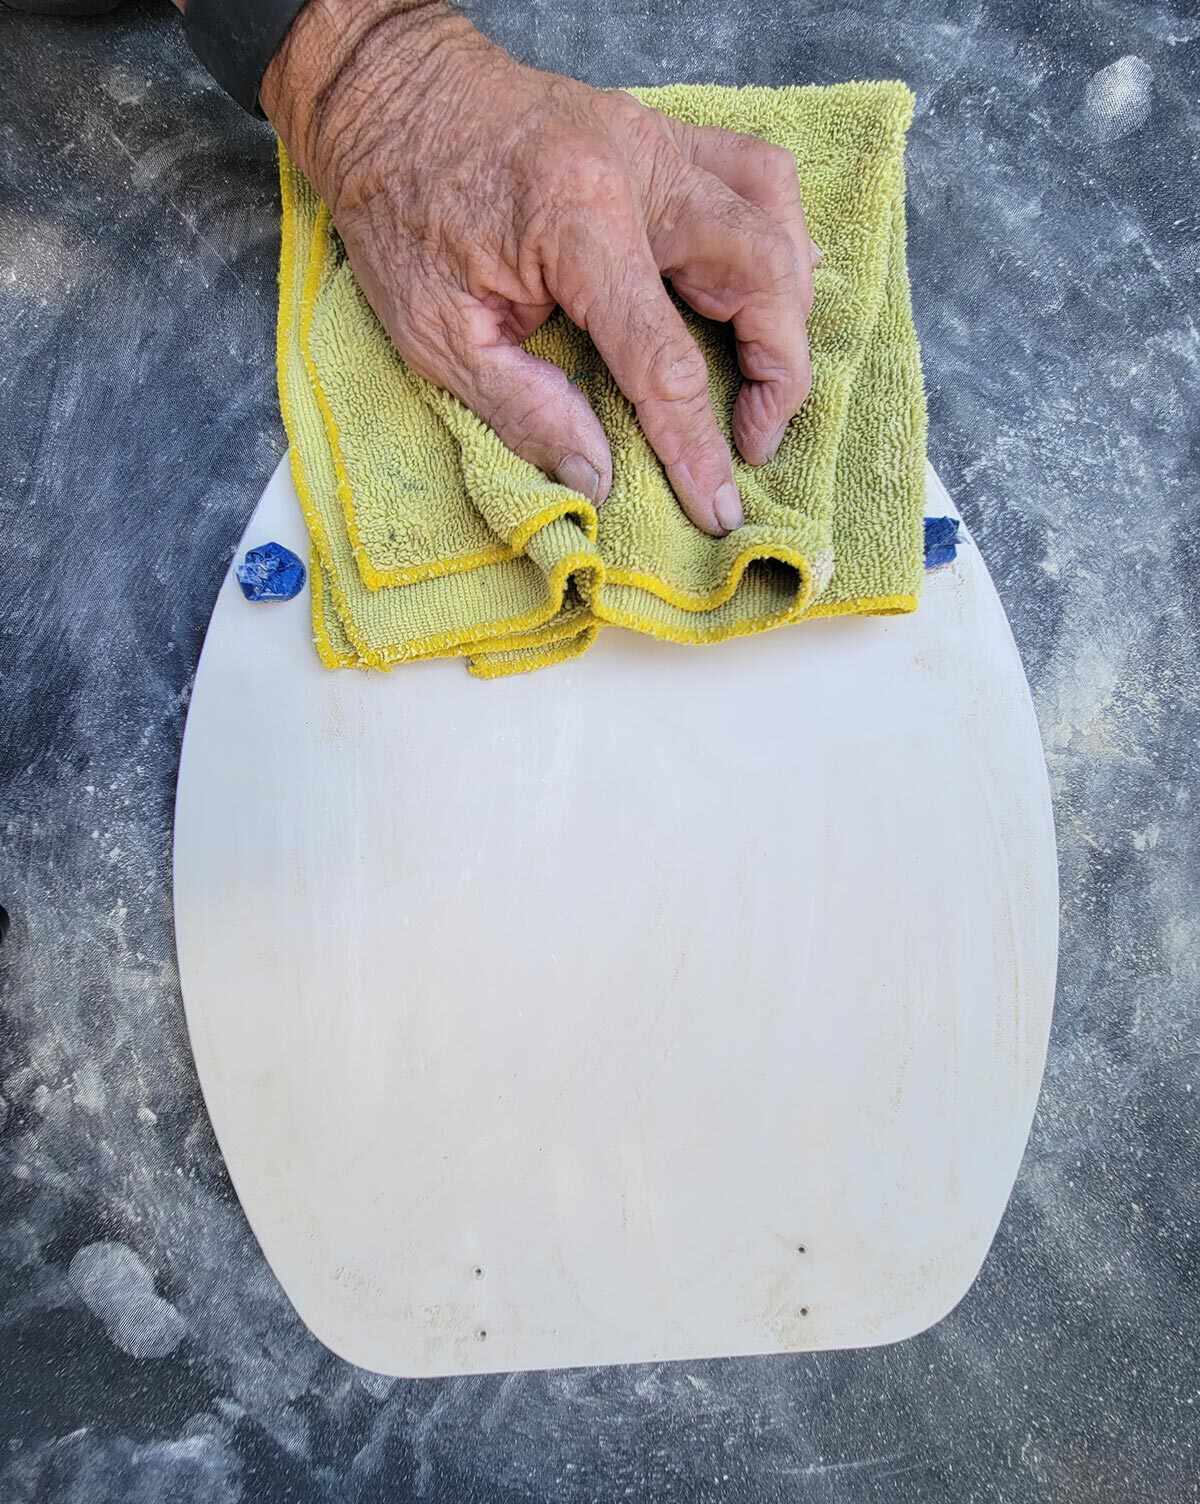
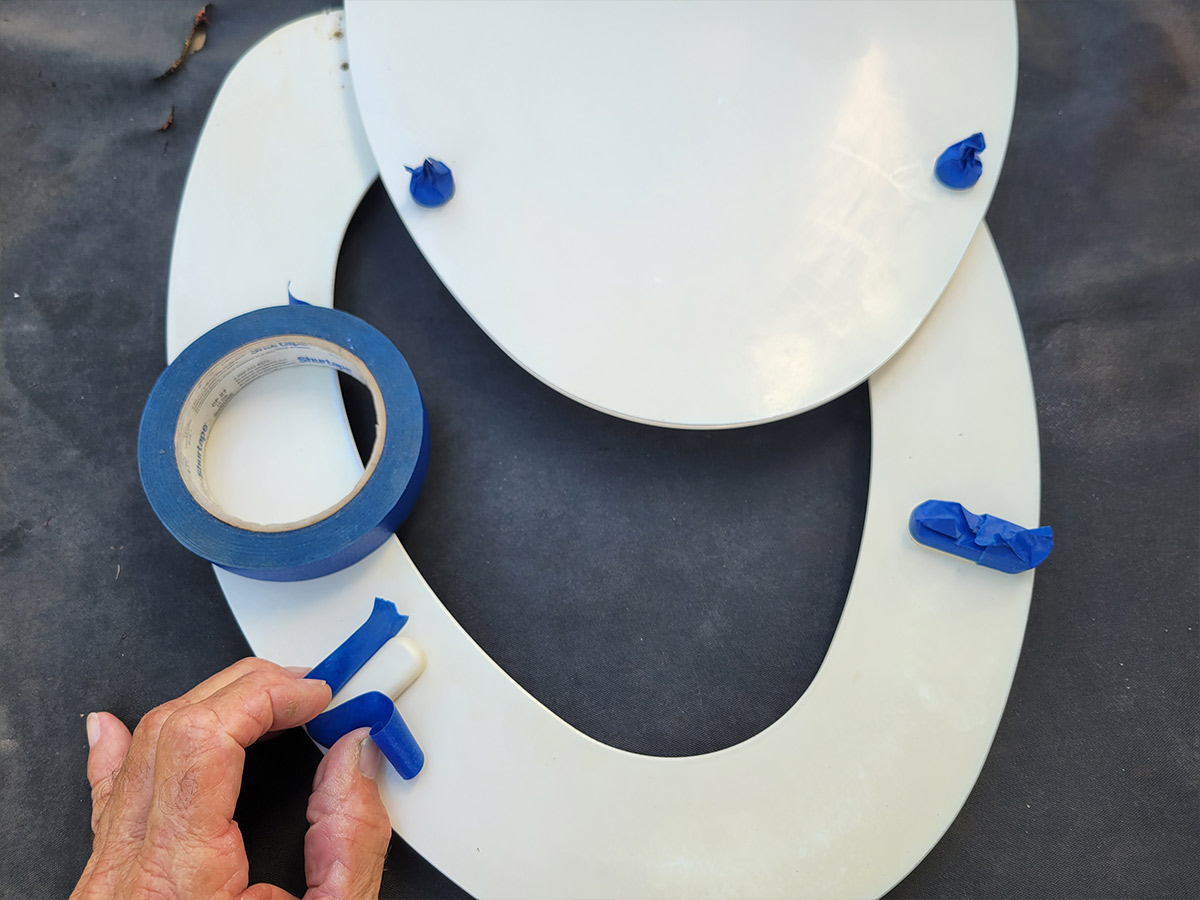
I chose a well-ventilated area and prepped the surface using 200 grit sandpaper; if you press down too hard, ugly sanding patterns will be left on the seat and lid. Next, I wiped off the dust and sanding material with a rag and followed up with a clean rag and alcohol. I was surprised at how much wiping was necessary to get it clean. Satisfied that the surface was ready for painting, the bumpers that were glued to the seat and lid were masked with tape.
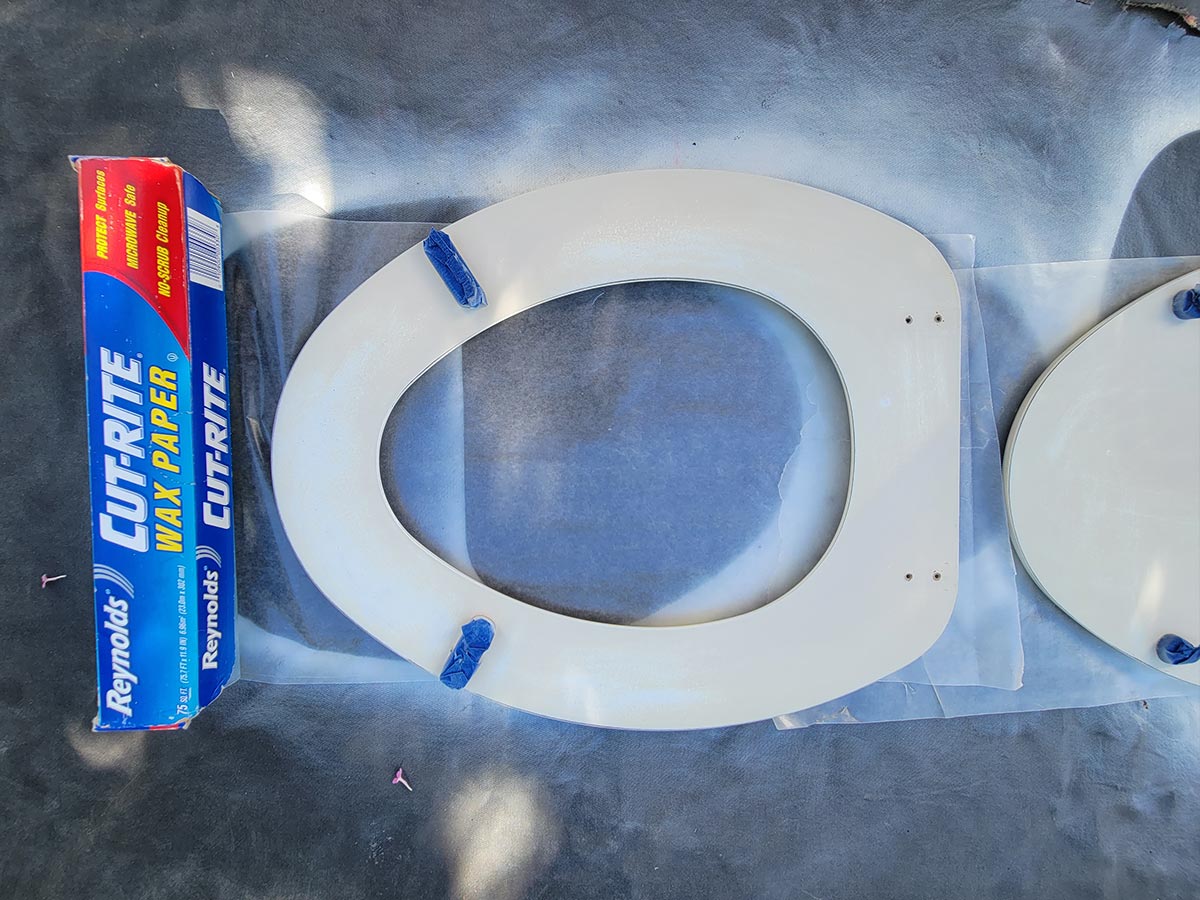
I laid the lid and the seat on an old tarp and sprayed a light coat of paint, holding the can about 8 to 12 inches away to prevent runs. I wound up applying four coats on both sides of the seat and the lid, which consumed almost the entire can of paint. If you get a run, don’t panic: Simply use 400 grit sandpaper to smooth out the paint after it’s completely dry, clean with alcohol and spray again. I found that laying the seat on wax paper when the paint was a little tacky kept the seat from sticking to the drop cloth. The Krylon paint was supposed to dry in 10 minutes, but that didn’t happen, even though the ambient temperature was 90 degrees F. The paint finally dried the next day. Don’t ask how I got along without a toilet seat.
I was quite pleased with the outcome, even though it took some time to complete the project. My friends laughed at me, but I had the time and it cost less than $10 to get the job done. Besides, now my bottom can continue to sit on a high-quality wood toilet seat. Happy days are here again.
Already a Subscriber? Click here for Access to the Full Issues.

