Hole Filler
More recently, a couple of places on my fifth wheel’s front cap became damaged because of flying rocks. It’s important to seal any holes immediately to prevent moisture intrusion — and J-B WaterWeld made short work of plugging those holes.
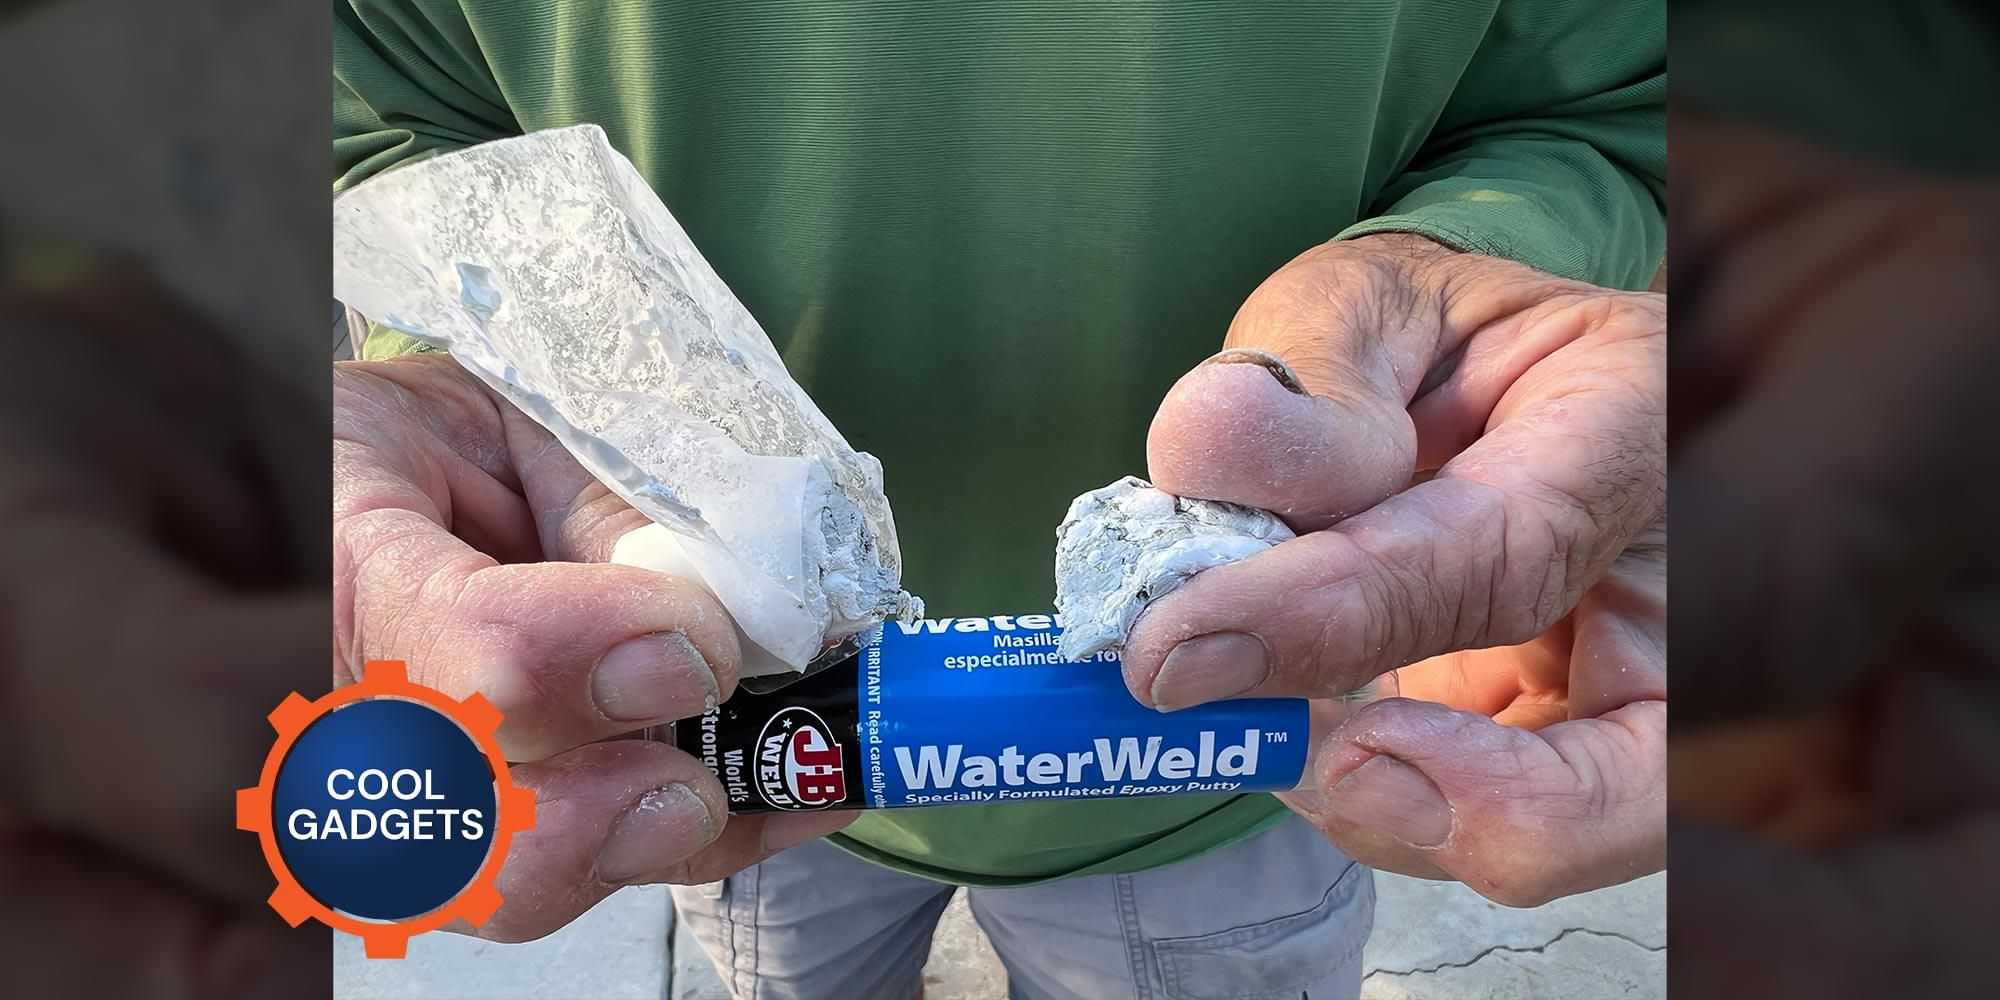
Although J-B Weld is known commonly for its two-part epoxy, the company’s Epoxy Putty is better suited to repair holes or cracks on a vertical surface. Gravity will likely cause the thick liquid-type epoxy to run and create a mess, while the putty will stay in place and set up without dripping. The WaterWeld Epoxy Putty comes in a stick form and, after cutting off a suitable amount to do the job, it’s kneaded with your fingers until the outer and inner compounds are completely mixed together. It’s best to wear gloves, but if you want better control, any residue on fingers can be removed with alcohol — just don’t wait too long. Still, use caution because your skin may become irritated due to possible allergic reaction. The WaterWeld putty becomes waterproof after a one-hour curing time; it can even be applied under water without compromising the curing process.
The WaterWeld putty has many uses and since it’s off-white in color, it blends somewhat with the front cap gelcoat. Once cured, the putty can be sanded and painted to match any exterior color. It takes about 15-25 minutes to set up, depending on ambient temperature, and after curing is said to withstand pressure to 4,370 psi and temperatures of up to 240 degrees F.
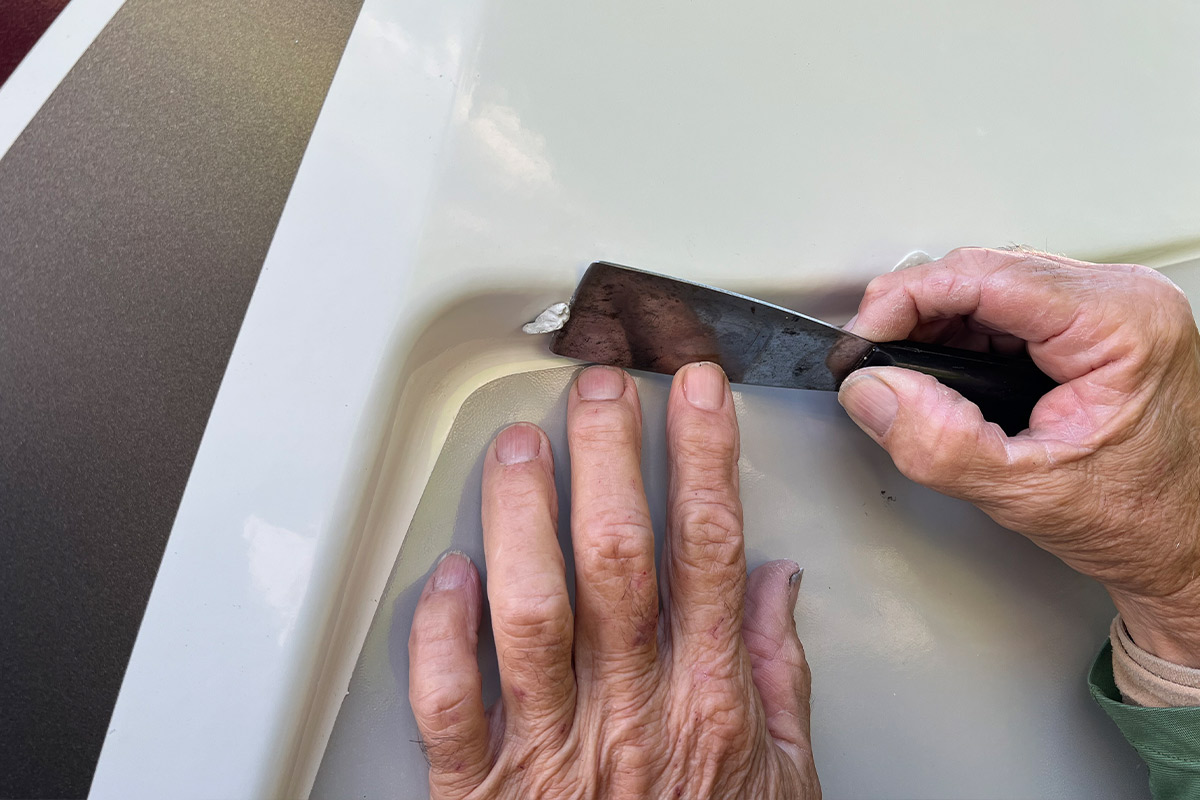
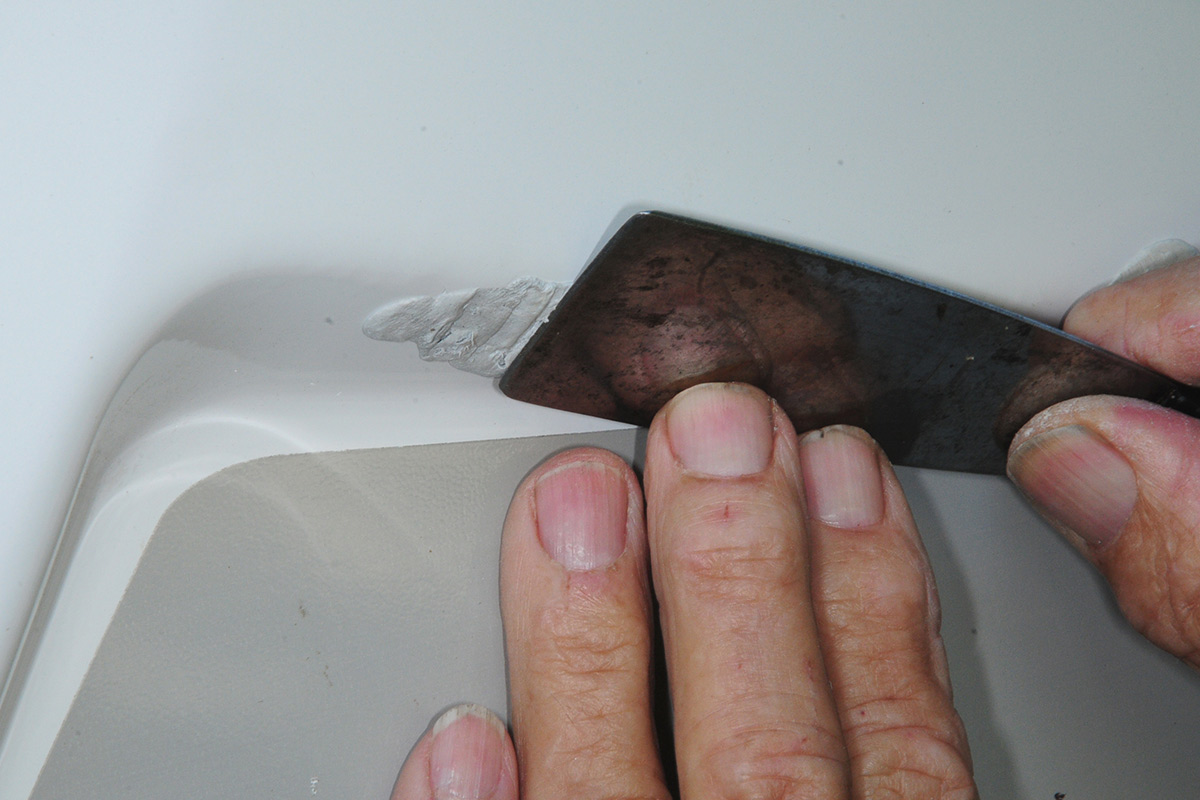
For this repair, the hole was first cleaned out using a pointed knife to remove any loose/hanging fiberglass; if the surrounding surface is dirty, clean it with alcohol. Next, the kneaded putty was pushed into the offending hole and sculpted with a putty knife. The whole process took less than 15 minutes — and after an hour, the putty was rock-solid.
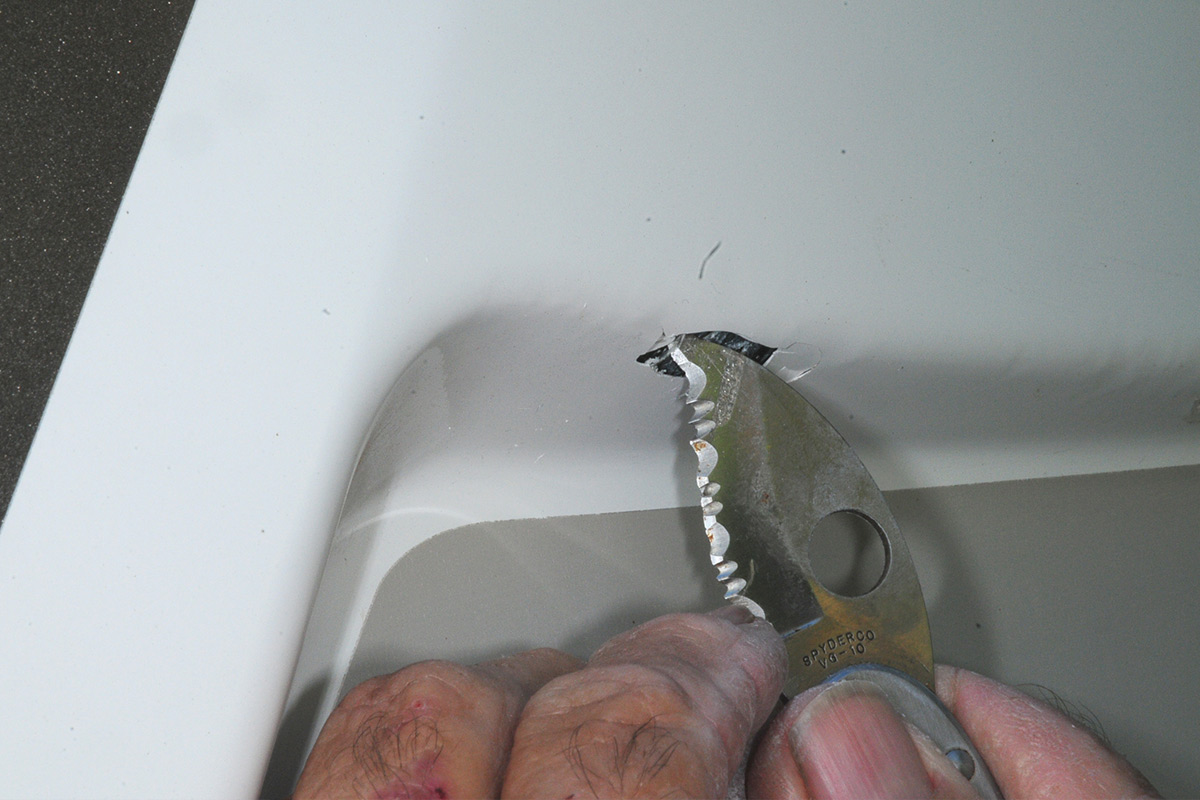
A sharp pointed knife was used to clean out the loose pieces of fiberglass in the hole created by a flying rock while traveling on the highway.
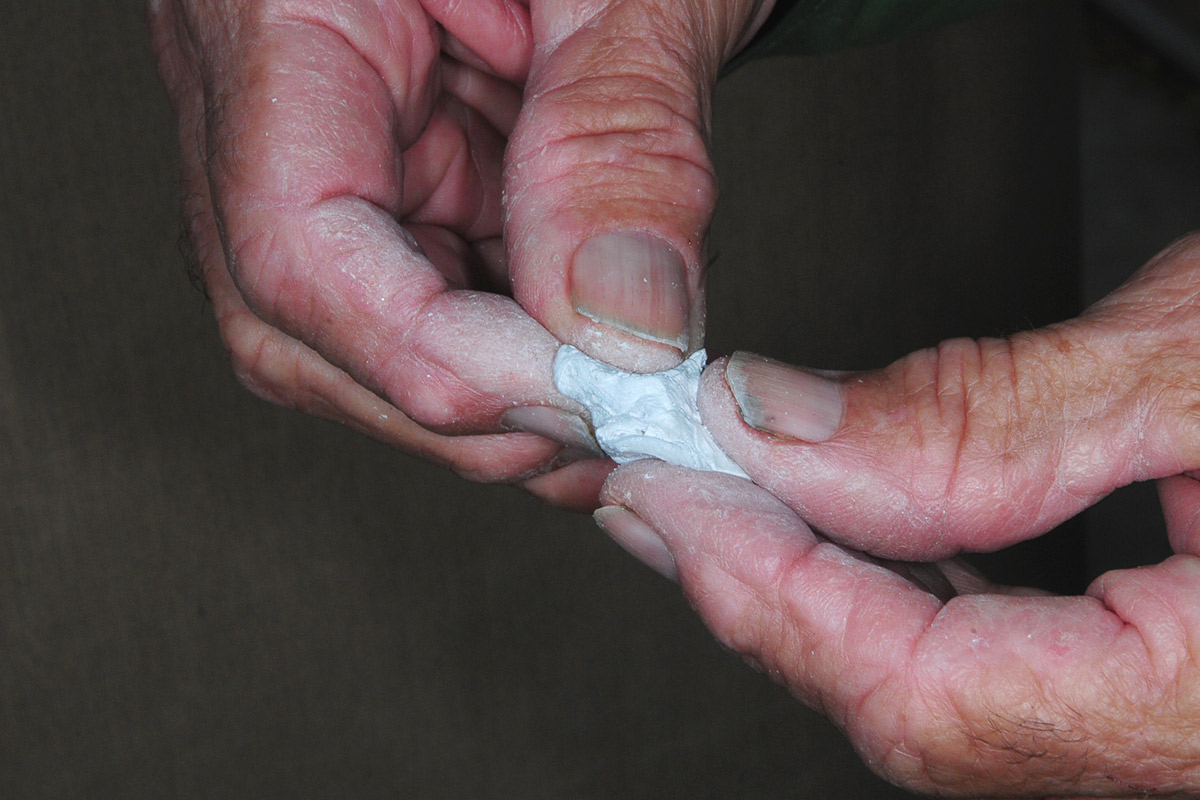
After cutting off a hunk of WaterWeld Epoxy Putty, we used our fingers to knead the catalyst into the putty. It’s best to wear gloves to prevent any irritations caused by a bad reaction to the chemicals in the putty. If you prefer to get a better feel when working with the putty, alcohol will remove any residue from your skin, but don’t wait too long.
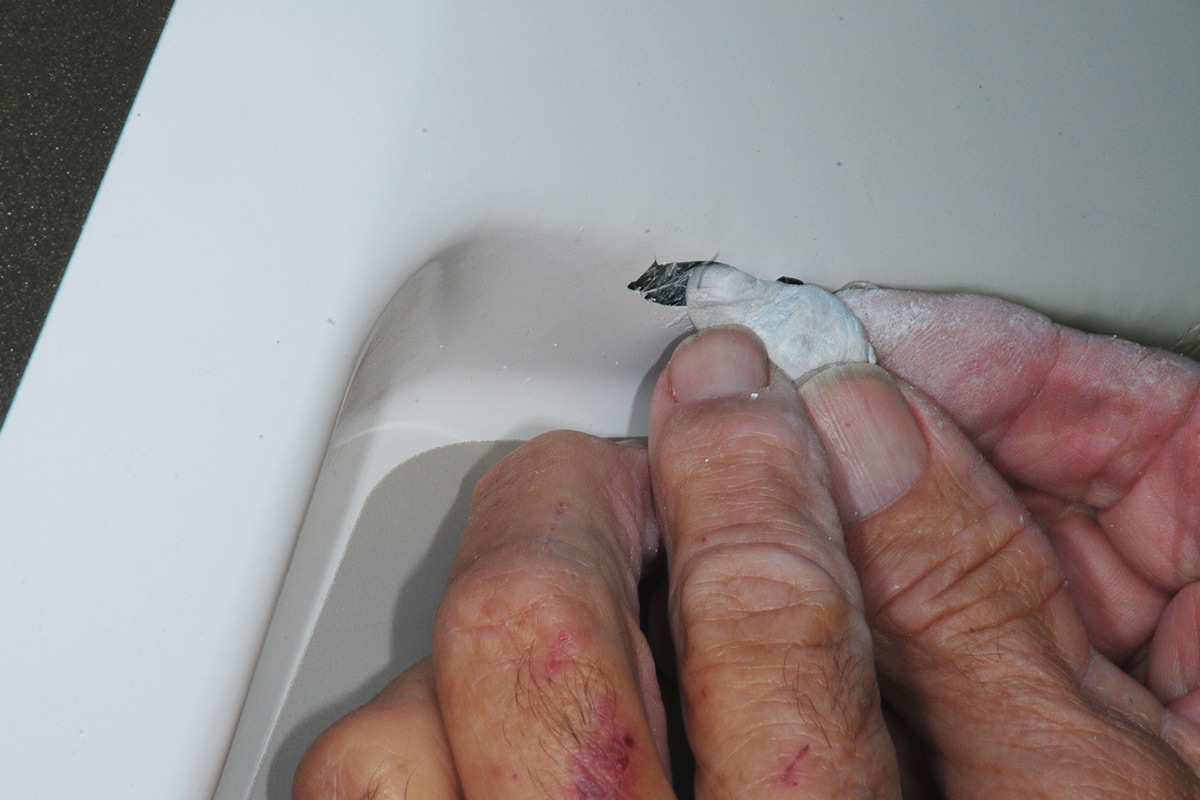
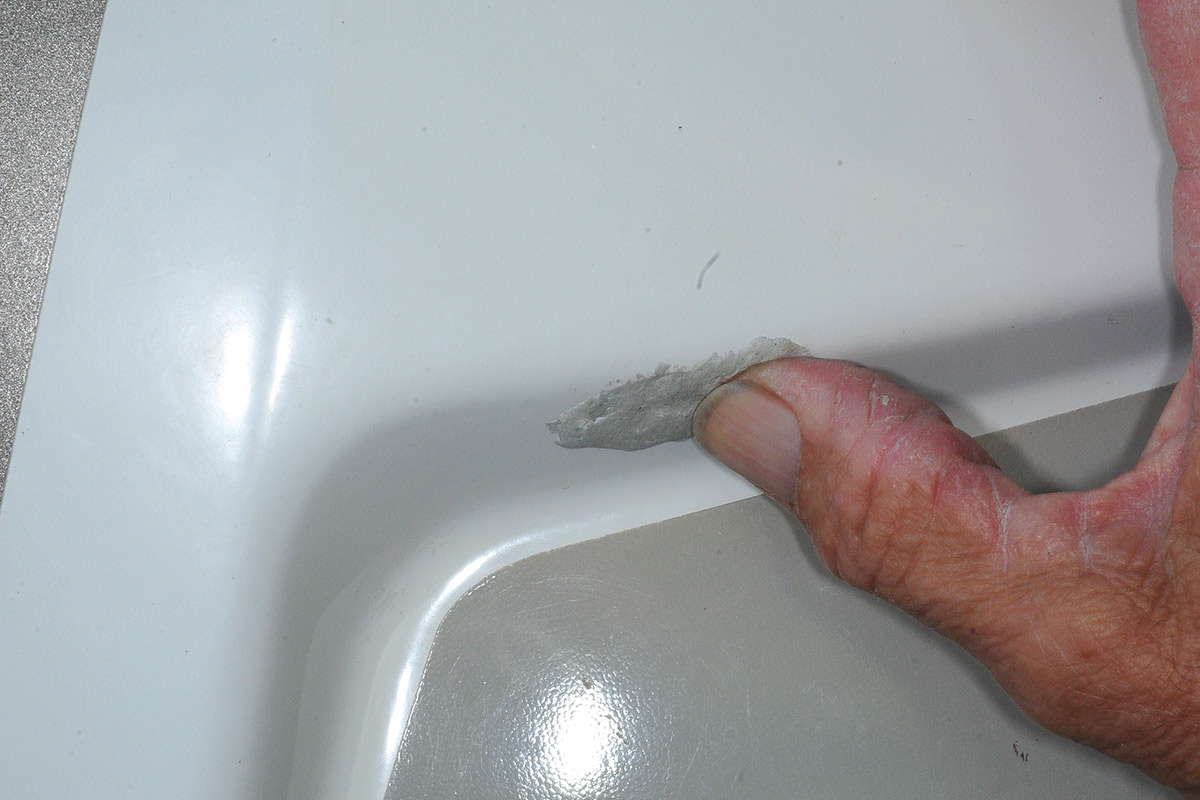
Finally, the putty was manipulated with a thumb to blend the epoxy into the surrounding fiberglass. The putty will cure in one-hour to a rock-solid surface that’s waterproof. Once the putty cures it can be sanded smooth and painted to match the gelcoat color (which was done later).
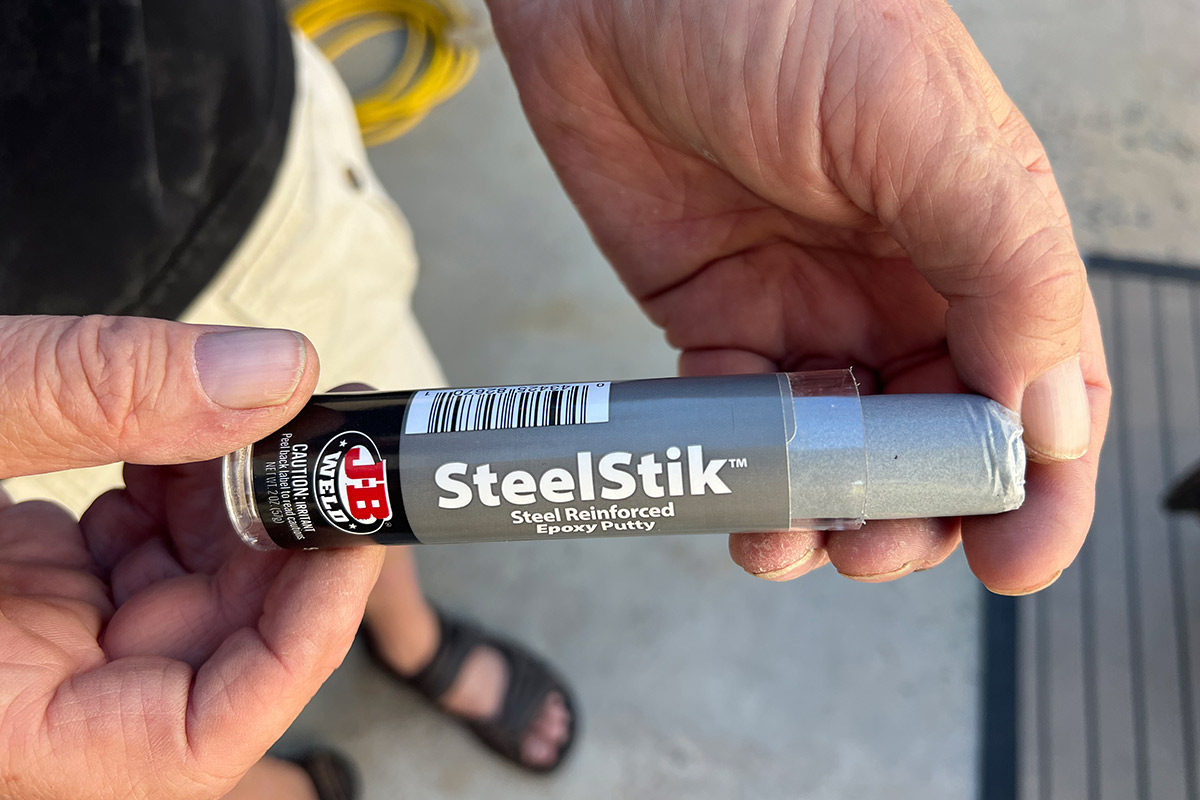
Since I’m a strong believer in Murphy’s Law, I also carry a J-B Weld SteelStik in my bucket of glues, silicone and other items necessary to make repairs. The SteelStik is great for making repairs around the RV but is gray in color. It sets up faster (five minutes) and cures in the same one-hour time frame as the WaterWeld. Both versions are available at most auto parts and home improvement stores, and online; figure on paying about $8 per stick.
Over the years, I’ve used J-B Weld to make all sorts of repairs resulting from failures and/or self-induced mistakes. I don’t travel without these putty sticks.

Already a Subscriber? Click here for Access to the Full Issues.