In Stitches
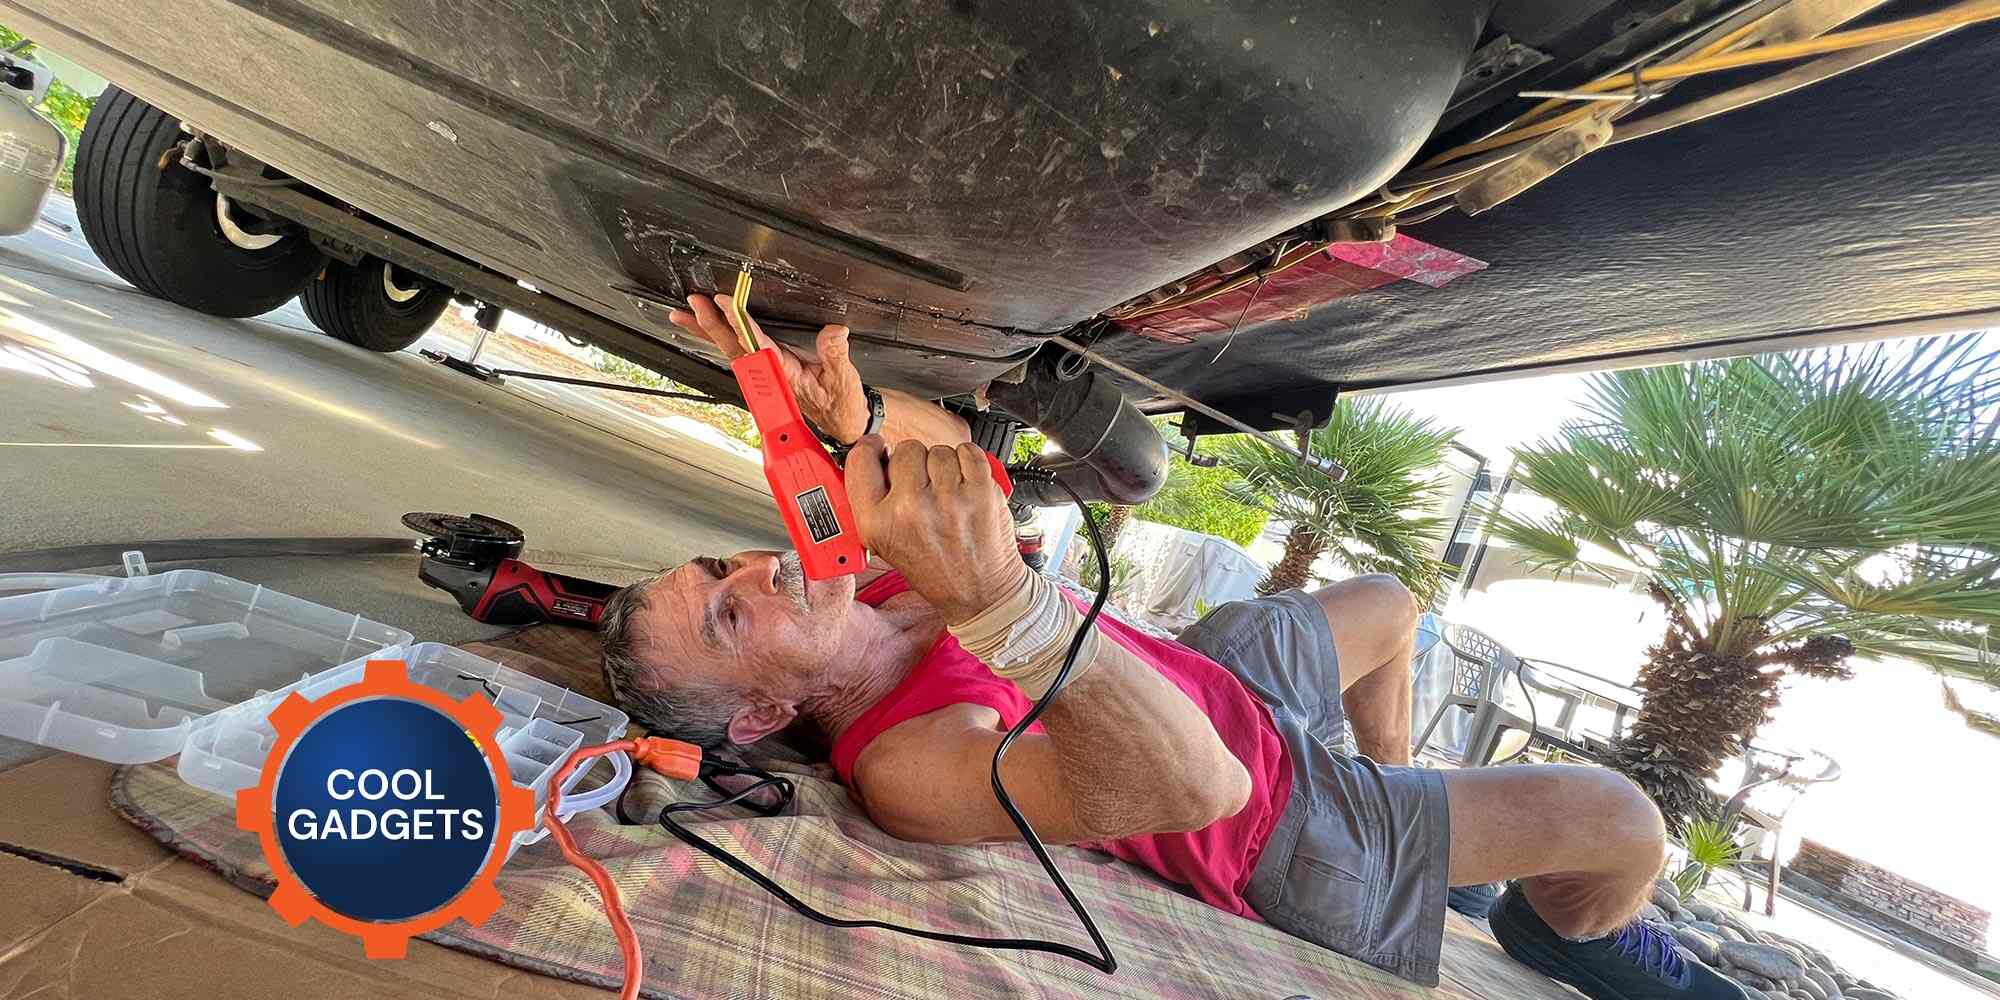
Enclosed belly pans are nice to have — protecting the wires, plumbing and holding tanks from road debris and water — but when you have to access something behind the pan, you need to either remove the whole thing or cut holes. If you decide to remove all the belly pan up to where access is needed, be prepared for a shower of construction shrapnel when lowering the material. Cutting access holes makes more sense, but you’ll have to figure out a way to re-install the belly pan material. Most people use tape, but it may not hold, especially if using the wrong adhesive.
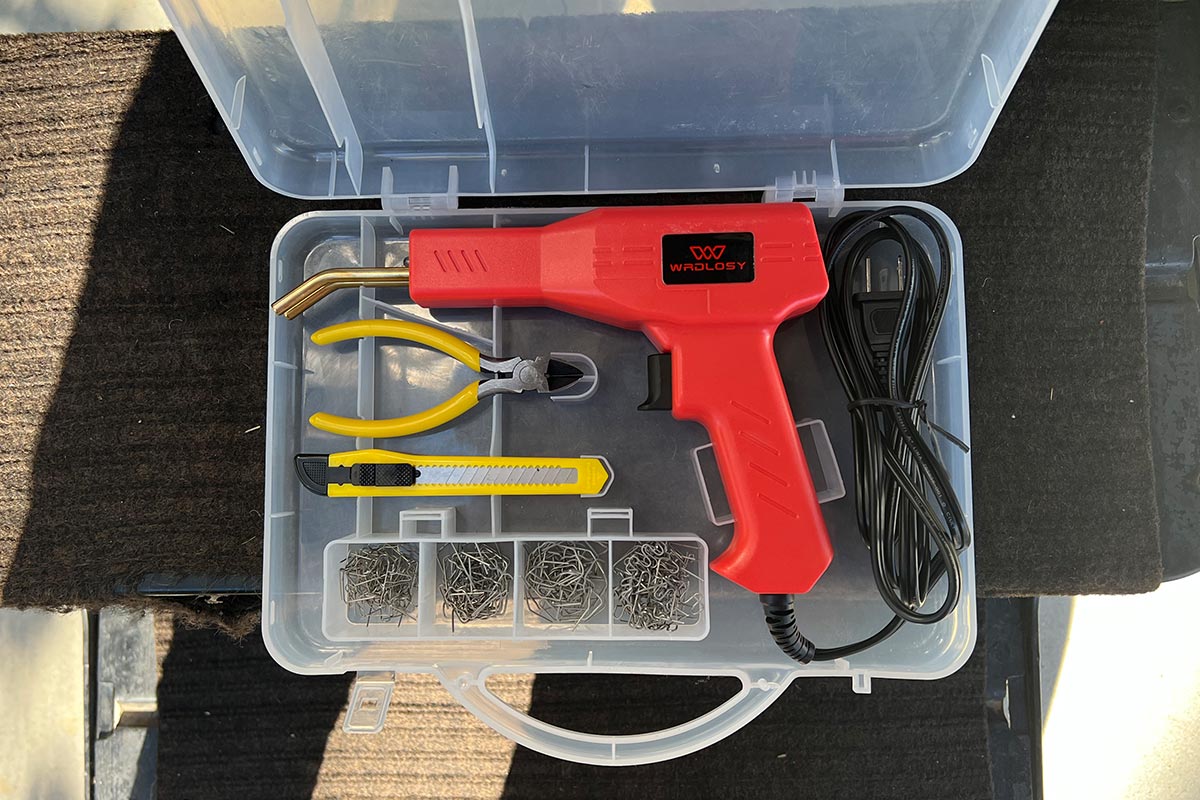
Fortunately, I found a wire welder for plastic that stitches the seams, much like how a surgeon closes a patient’s skin with staples. Thanks to an Amazon pop-up, I discovered the Wrdlosy Plastic Welder for only $24.99, which by cost alone is not much for any tool. But it works better than expected.
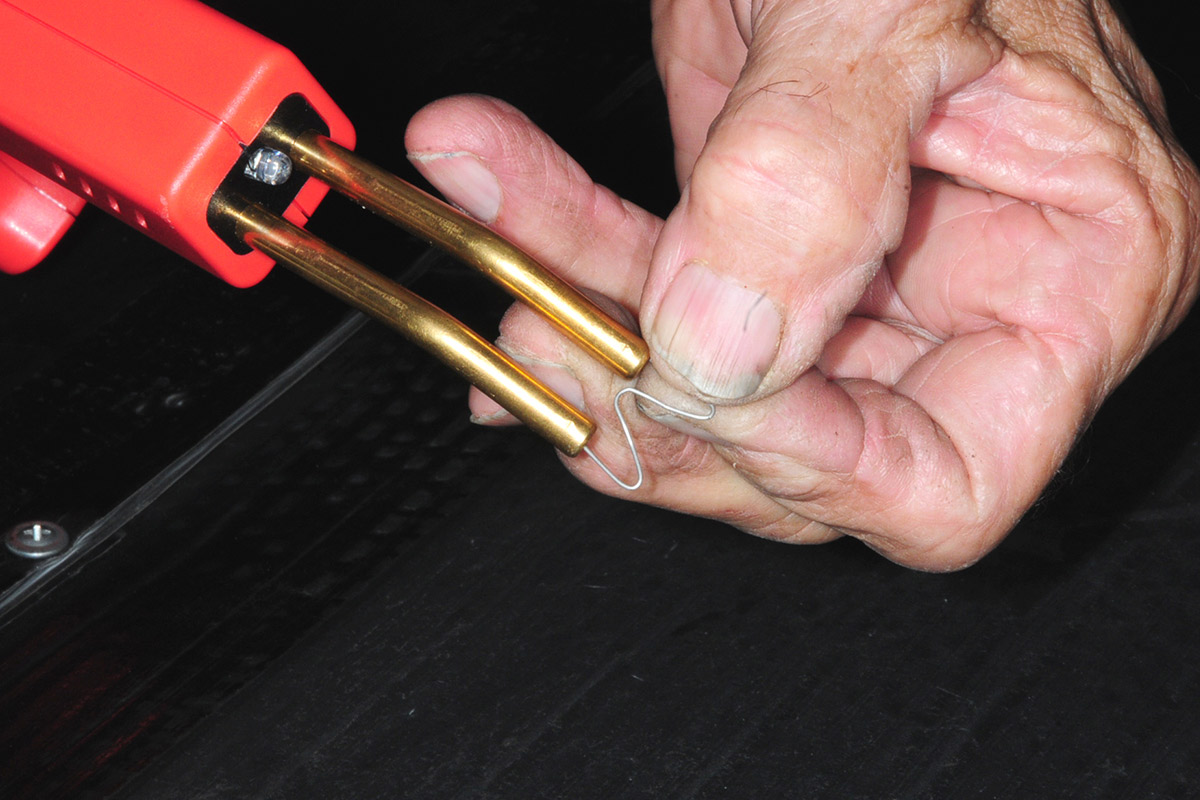
One thing that came to mind while looking at this tool was the big crack in my holding tank pan, which contained the insulation and protected the holding tanks from weather and road debris. When the welder arrived, I separated all the “staples,” which are pieces of bent wire that load into the tips of the soldering-gun-looking device. The staple gun has two tubes, which transfer extreme heat to the wire staples. Apparently, the wire is a certain type of material designed to get red hot and melt into the plastic, then cool down very quickly. Yes, there was a learning curve; the first time that I tried it I held the trigger too long and it melted all the way through the plastic material in a heartbeat.
As usual, most such tools come with terrible instructions; it’s up to the user to play around with it and figure out how and what works the best. The limited instructions did call for pressing the trigger for five seconds before applying the staple to the material. This worked okay — but if you count wrong (maybe 6 to 10 seconds), the staple gets too hot. I found it more useful to hold the cold staple up against the plastic, then pull the trigger until it starts to melt into the plastic and remove the pressure while it cools and sets up in the material. It didn’t take me long to figure out how fast the staple goes through the plastic. I also found out that if you pull too hard on the gun and the plastic is a little bit soft, part of the staple may come out of position.
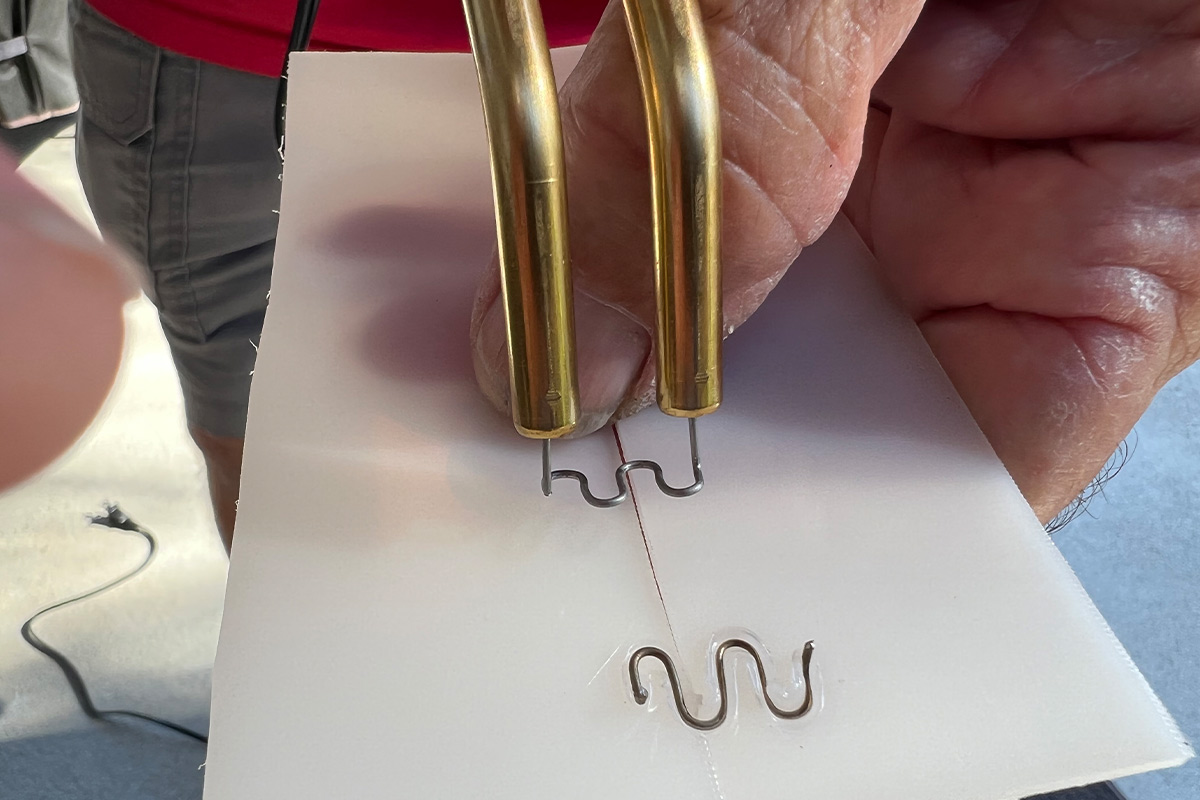
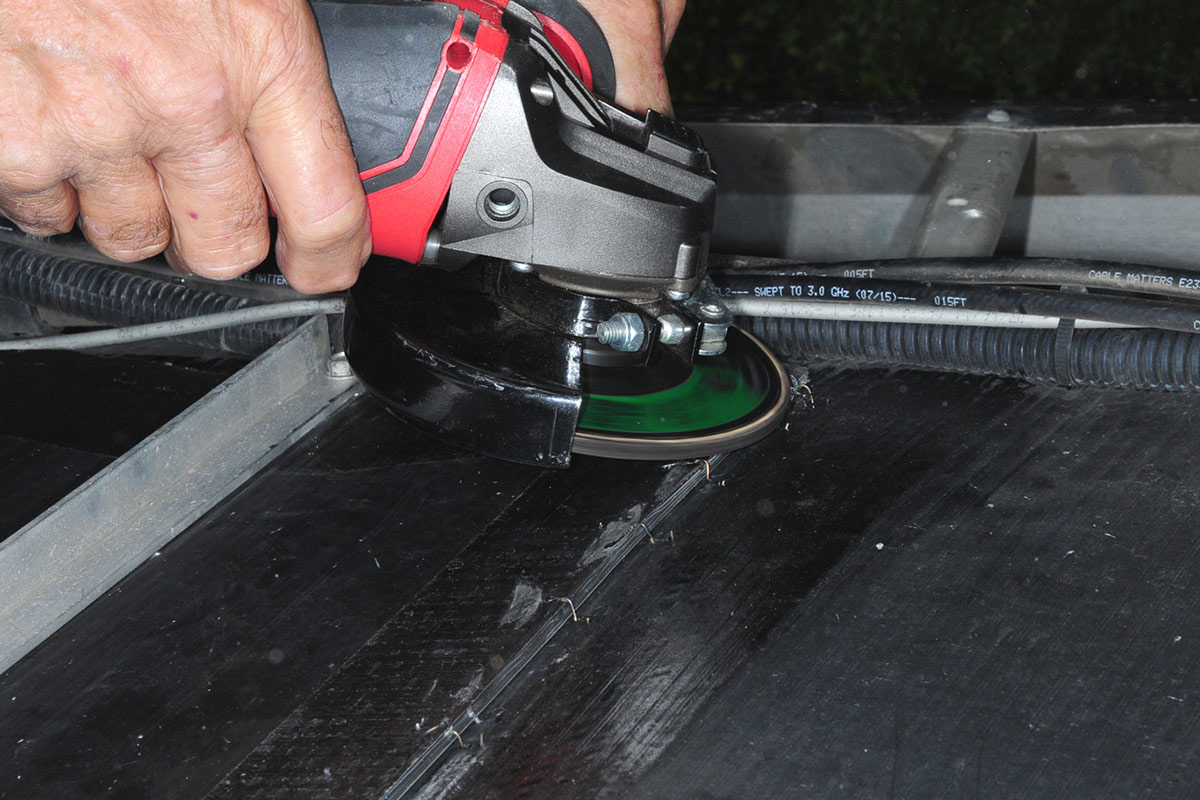
One other thing I found that helped was to wiggle the gun back-and-forth as you gently pull it away from the belly pan, releasing the staple. It’s possible, according to the instructions, to sever the ends of the staple off with the provided cutter, but the tool didn’t work very well. Instead, I used a precision wire cutter. Even so, sometimes a portion of the staple protruded from the material, exposing sharp edges, so I cut them with a power grinder. Repairs can be made horizontally or vertically.
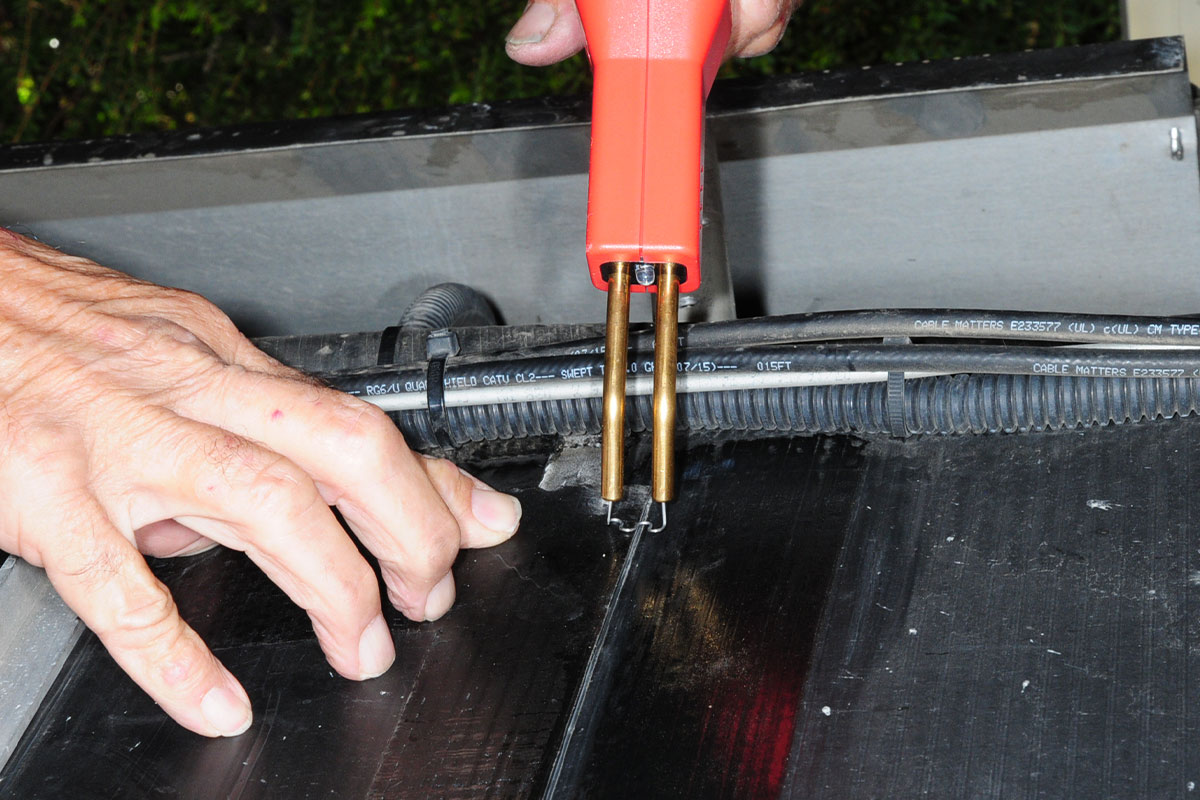
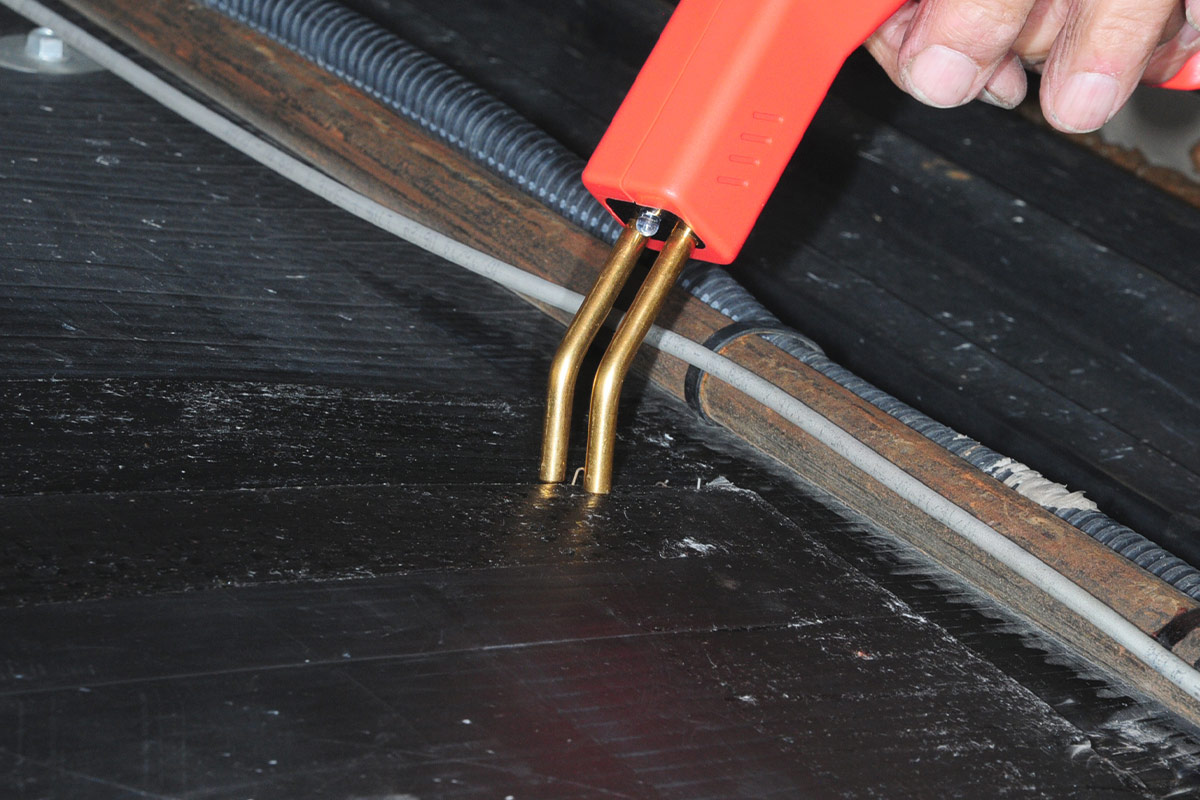
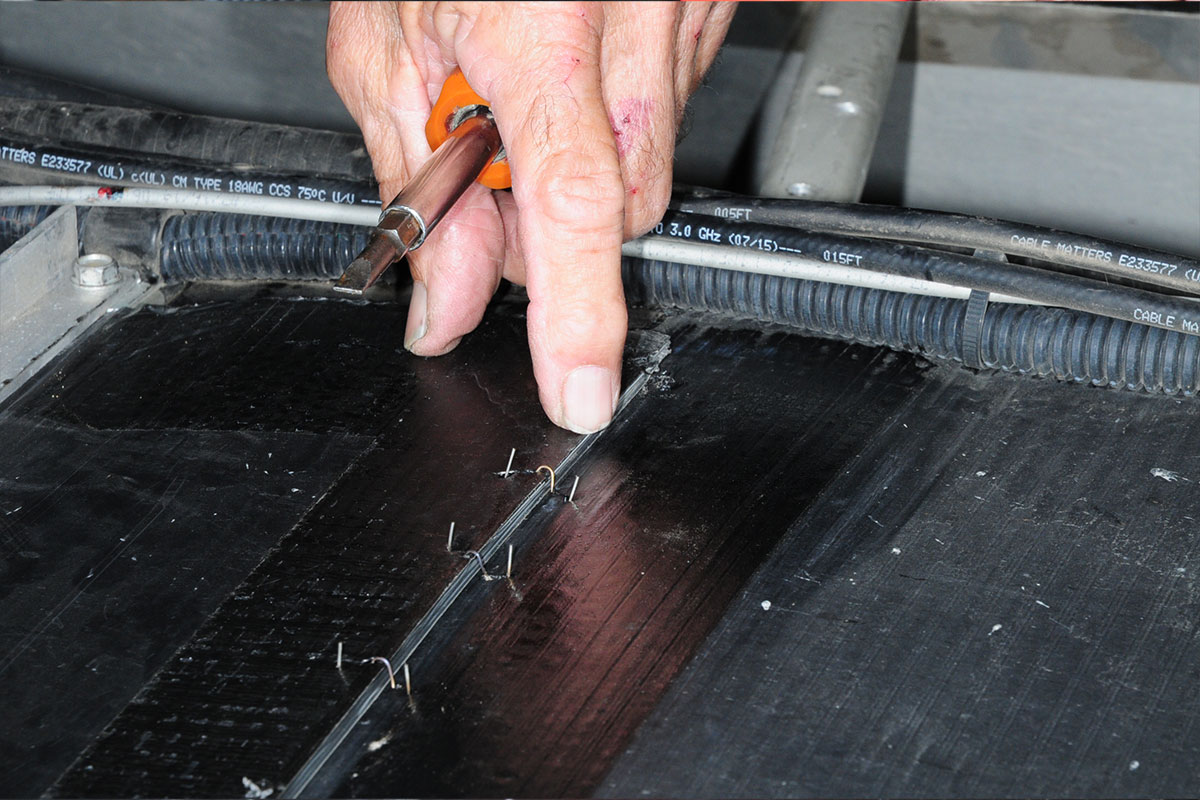
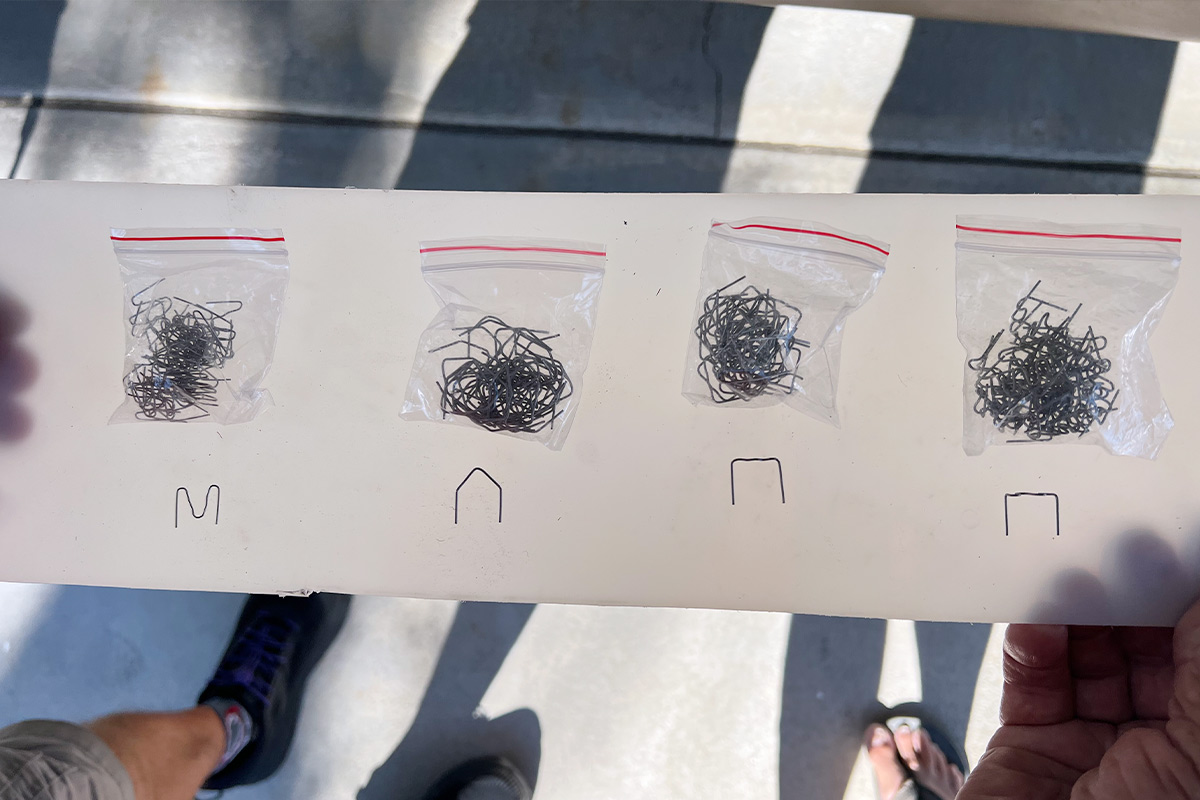
There are four types of welding staples in different shapes for use on corners, cracks and odd-shaped cuts. I also found these staples useful for repairing plastic bumpers, air dams and cracked or broken off plastic pieces of fender extensions. Basically, I’ve found that this tool can be used for anything made of plastic or polyethylene.
While it’s not the most exotic tool you’ll have in your box, it does come in handy for a number of projects.
Safety Precautions
- To prevent burning your fingers, use a pair of pliers to hold the material being mended.
- Use eye protection — you don’t want the tiny ends flying into your eyes when they are being cut or when grinded.
- Unplug the electric cord when loading the wires — accidental pressing of the trigger could burn your fingers. Wire staples can also be loaded into the gun with pliers.
- Smooth out the ends of the staples with a grinder.
- Refrain from inhaling the fumes from the melting plastic.
Already a Subscriber? Click here for Access to the Full Issues.

