Keeping Windows Leak-Free

The roof, front and rear caps and the exterior walls — not to mention windows and vents — are all individual components on most units, carefully fitted and joined with rubber, caulking and sealants. Unfortunately, all are also possible water incursion points. If all goes well, the RV in question should remain leak-free for many years. However, leaks can occur — and the worst part about that is, they may be too small to notice until it’s too late. A big part of RV ownership is being vigilant in checking for, and dealing with, potential troublespots — like the windows.


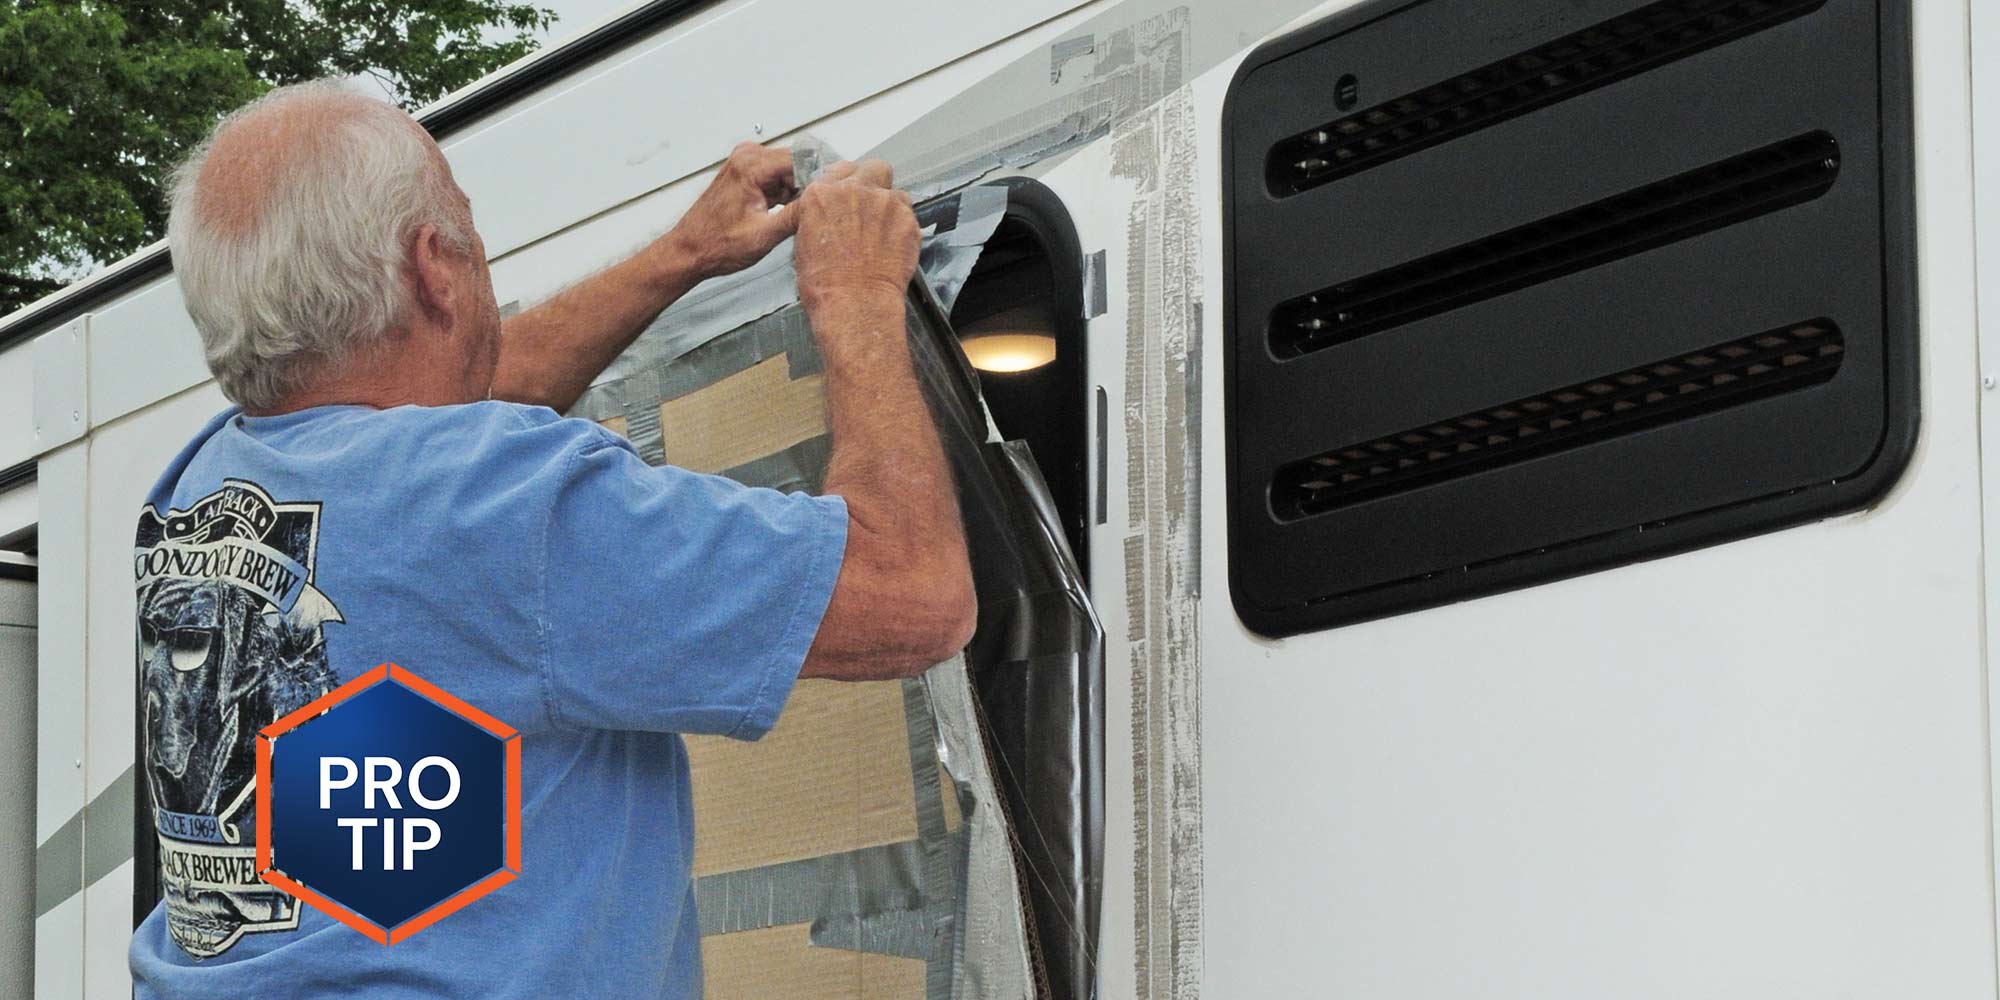
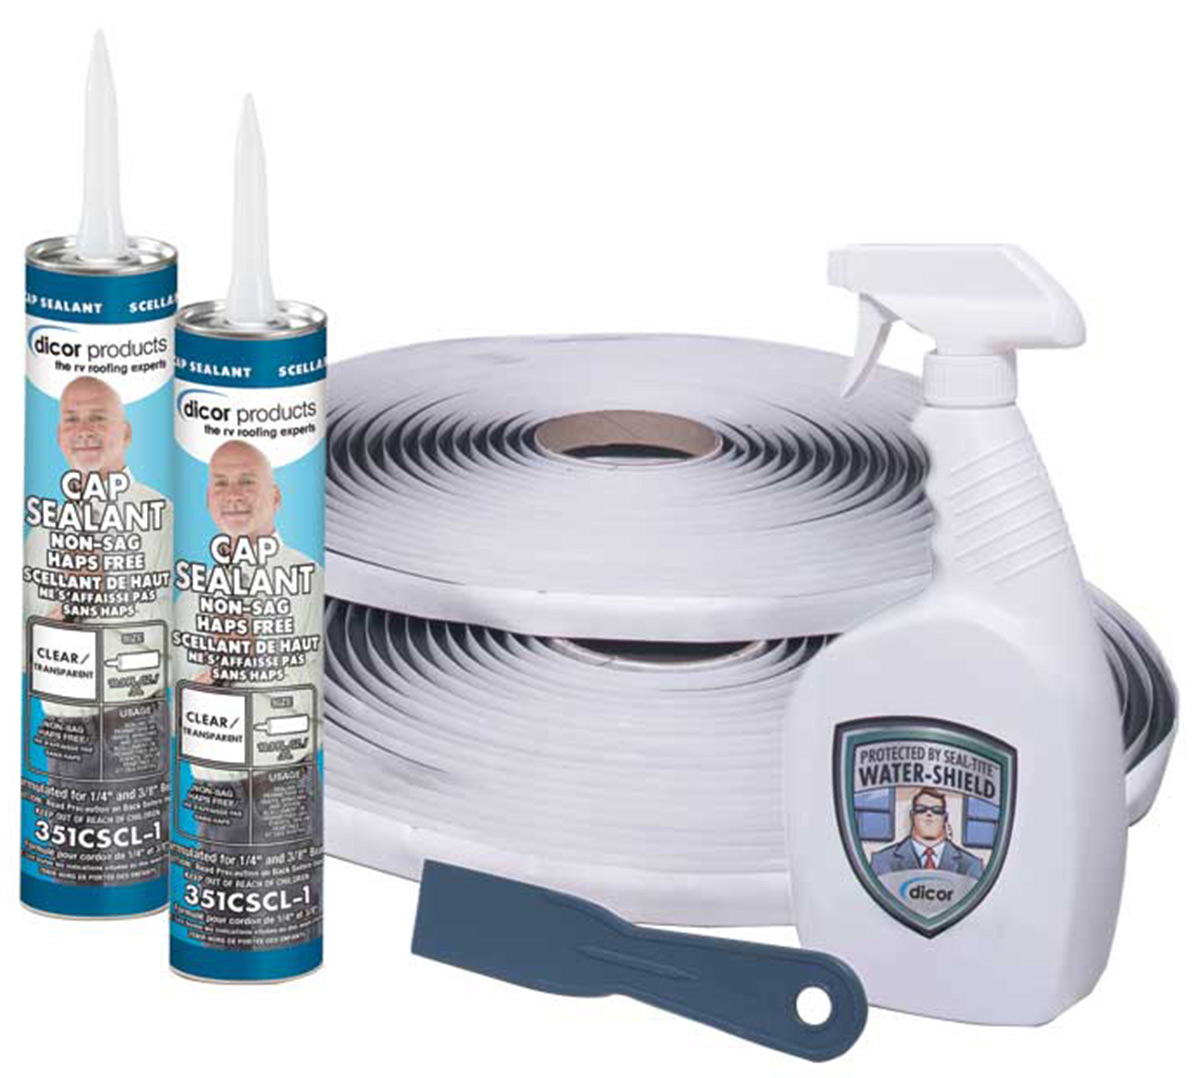
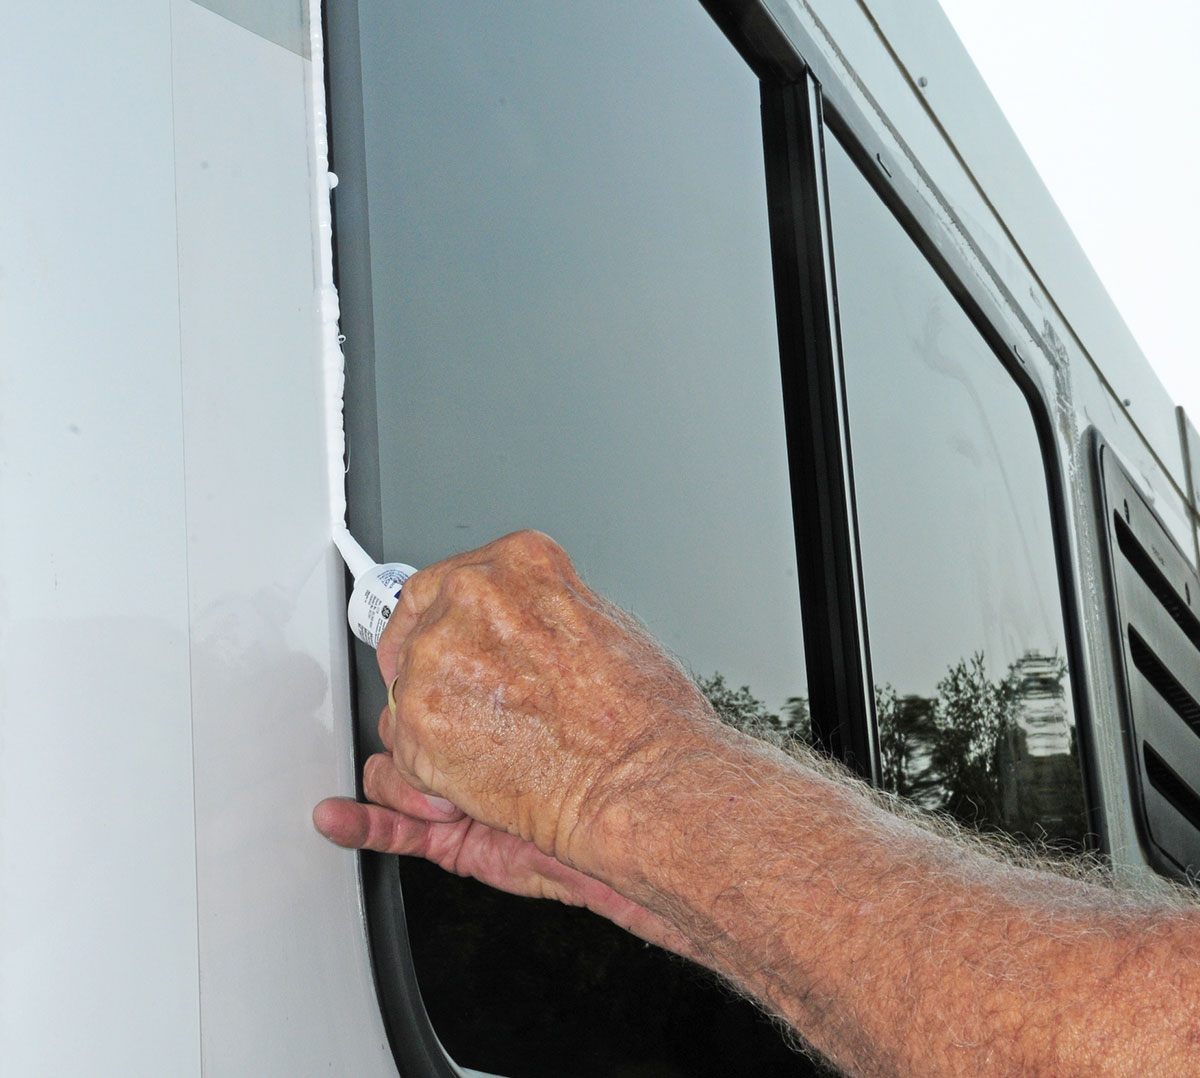
Older RVs utilize an aluminum flange around the windows, while many later models feature sleek-looking frameless counterparts. While fixing leaks in the latter is a story unto itself, fixing or preventing small leaks in earlier window frames is a pretty simple task. Using a good quality silicone sealant (available from LaVanture Products and others), draw a small bead around the top of the window frame and around the top window radiuses. Finish the silicone bead by misting water onto the surface with a spray bottle, then running your finger along it for a smooth finish. If complete re-sealing is necessary, you’ll find that framed RV windows are very easy to remove: simply locate and remove the screws on the interior window frame (known as the clamp ring). Pull the clamp ring from the window, then gently begin pushing the window outward. Have someone standing on the outside to catch the window as it comes out. To re-seal the window, Dicor offers its Seal-Tite Window Foamcore Kit, which includes 88 feet of sealing tape, two tubes of Dicor Clear Cap sealant, a putty knife, spray bottle and instructions.
Already a Subscriber? Click here for Access to the Full Issues.

