Light ’Em Up
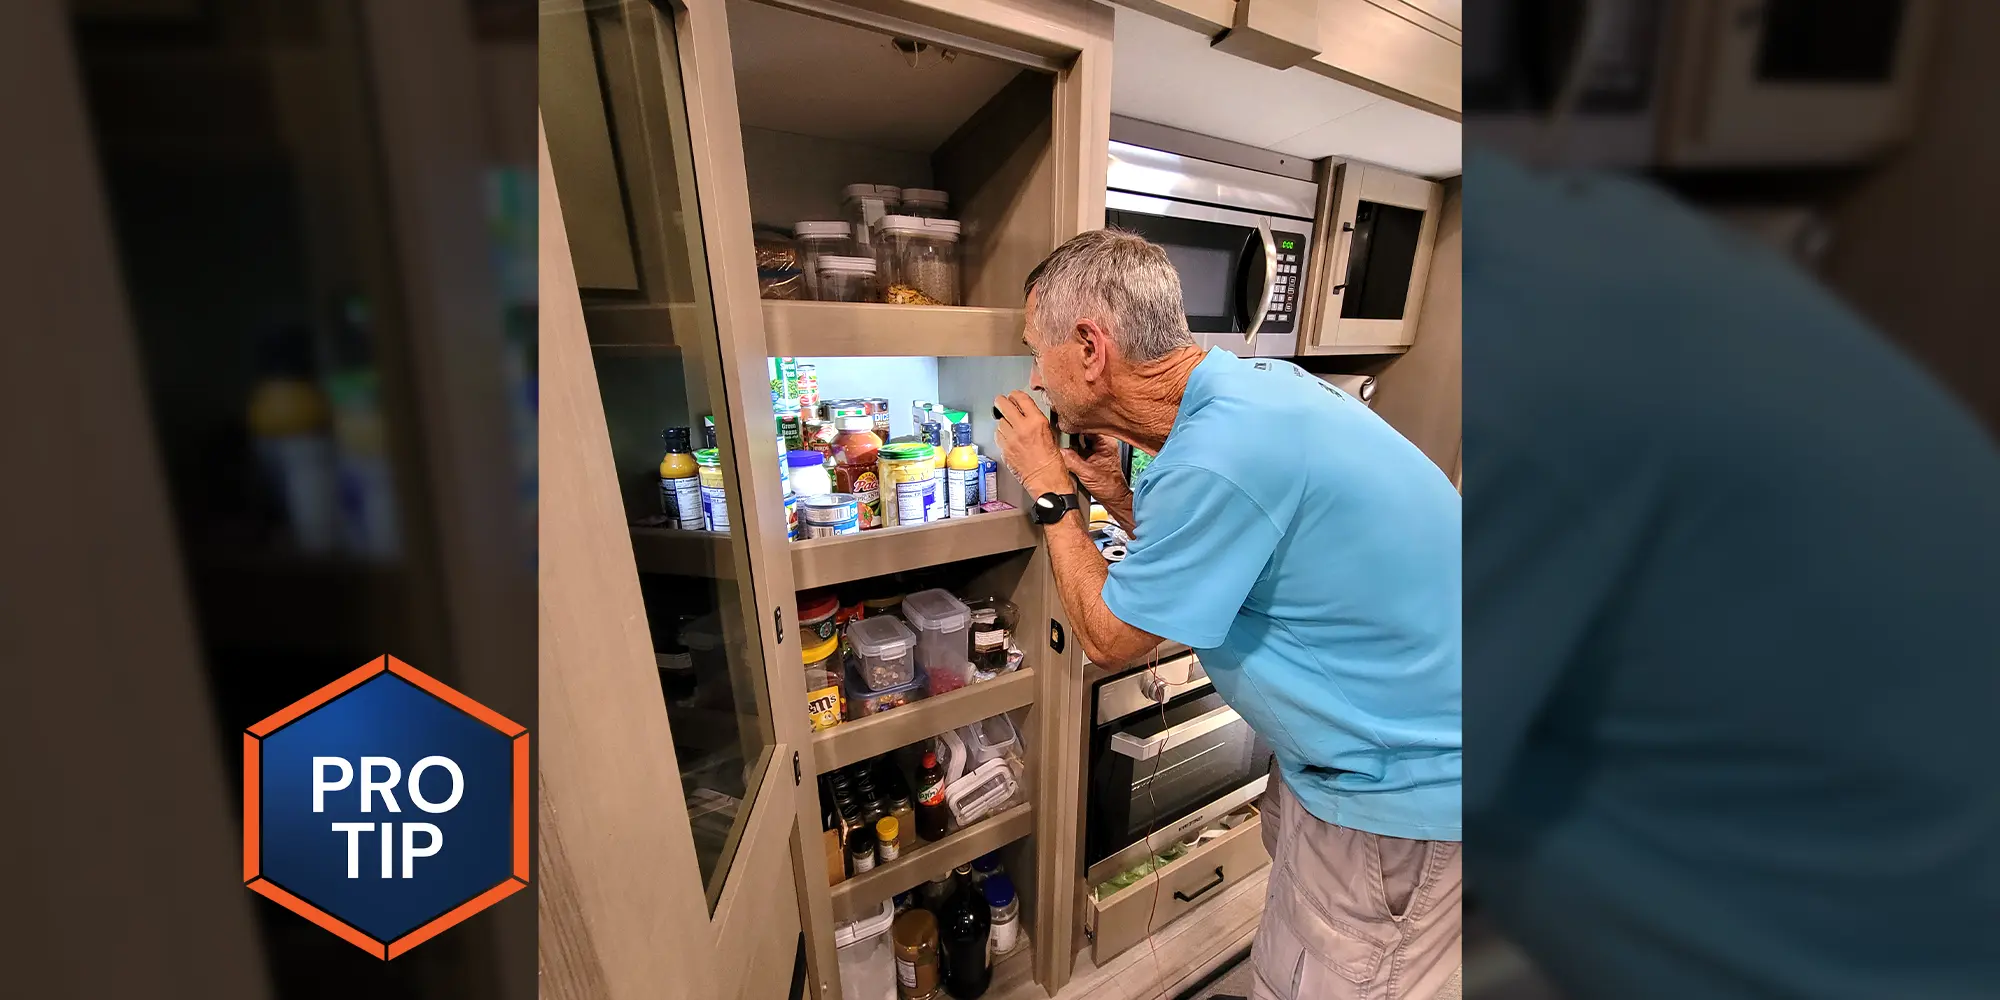
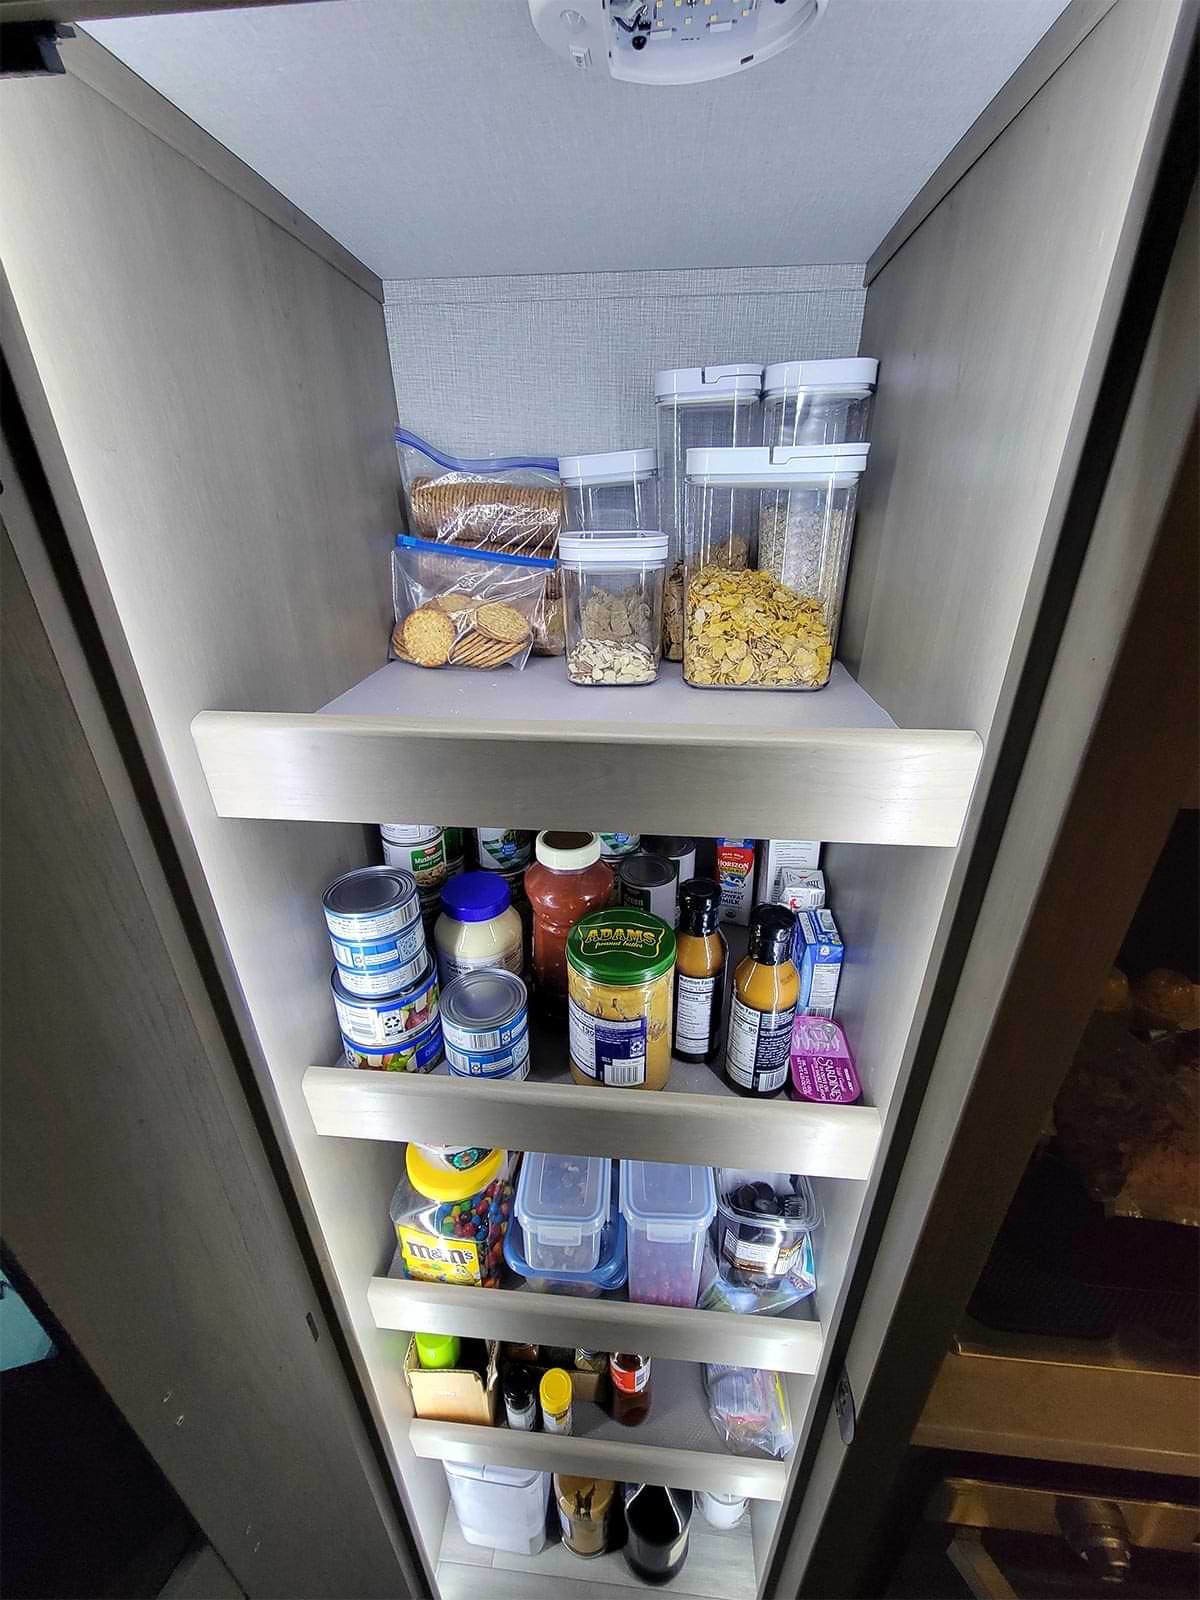
RV owners love a pantry, especially one that has multiple shelves and cavernous dimensions. And most people fill them up. But stacking numerous odd-size packages, plastic boxes and loose items presents a big problem: How to see what’s in there. For months I’ve lived with one lousy LED light above the top shelf, which really does nothing for the other shelves. Rather than hold a flashlight with one hand or in my mouth, I installed a couple of magnetic motion-sensor lights on the door so when opened, I could get some light. It was a good idea in theory, but when the door was wide open the light didn’t penetrate into the back of the pantry very well.
While the motion-sensor lights were better than the single, factory-installed fixture, it was still difficult to find foodstuffs that hid behind taller items — plus, these lights required USB charging periodically. Thinking how well LED strip lights worked under the patio awning, I figured they would be perfect, confirmed after seeing how a boat owner positioned a string of light strips in an onboard cabinet.
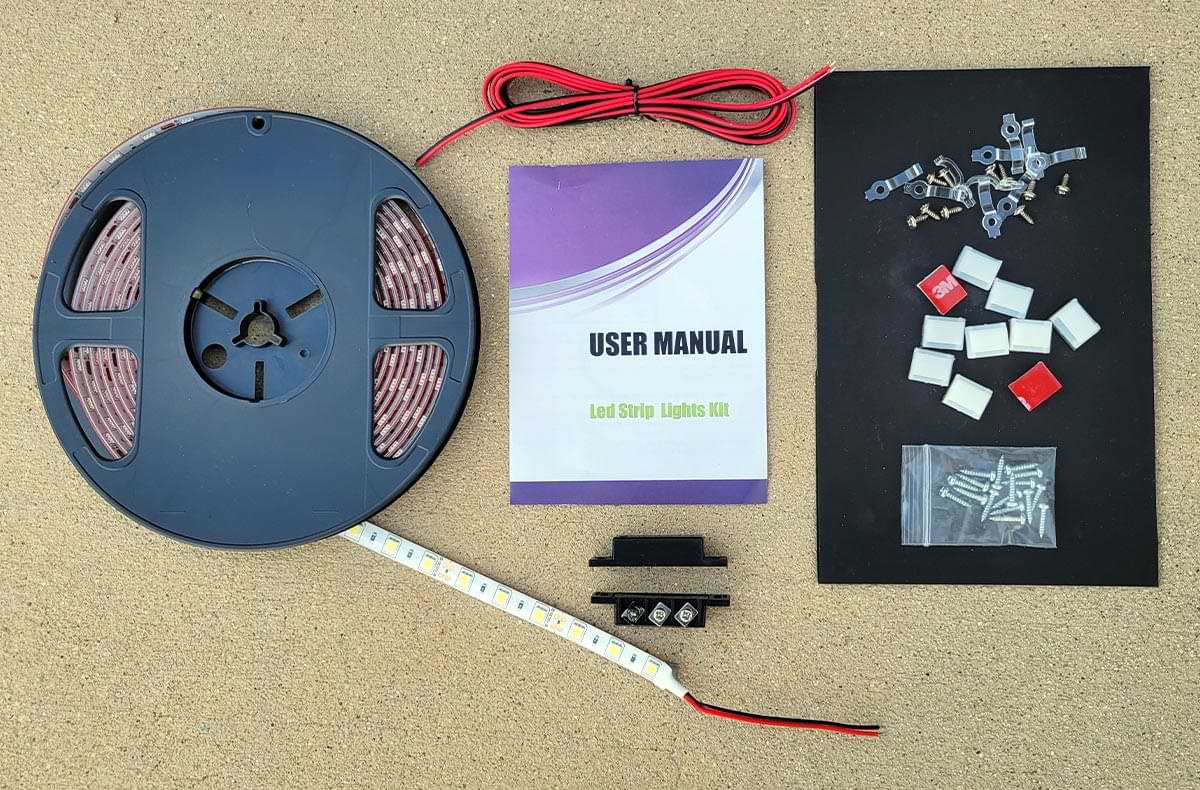
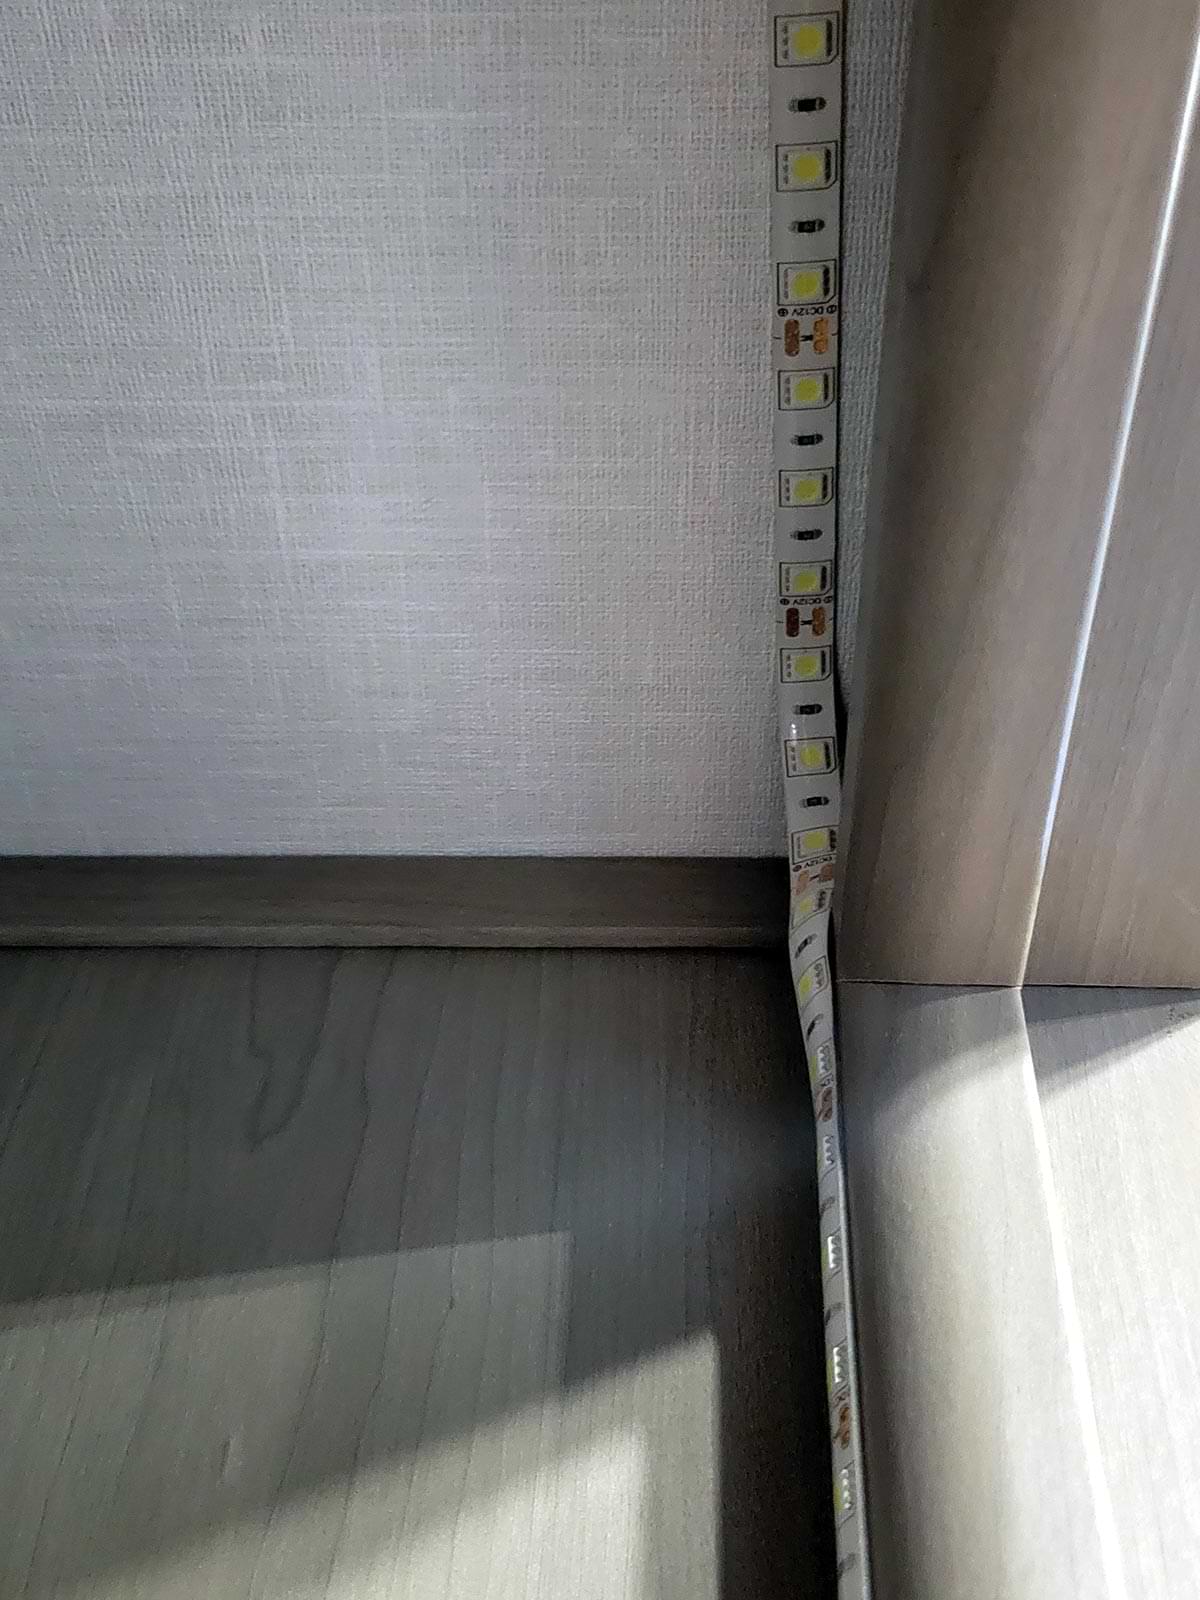
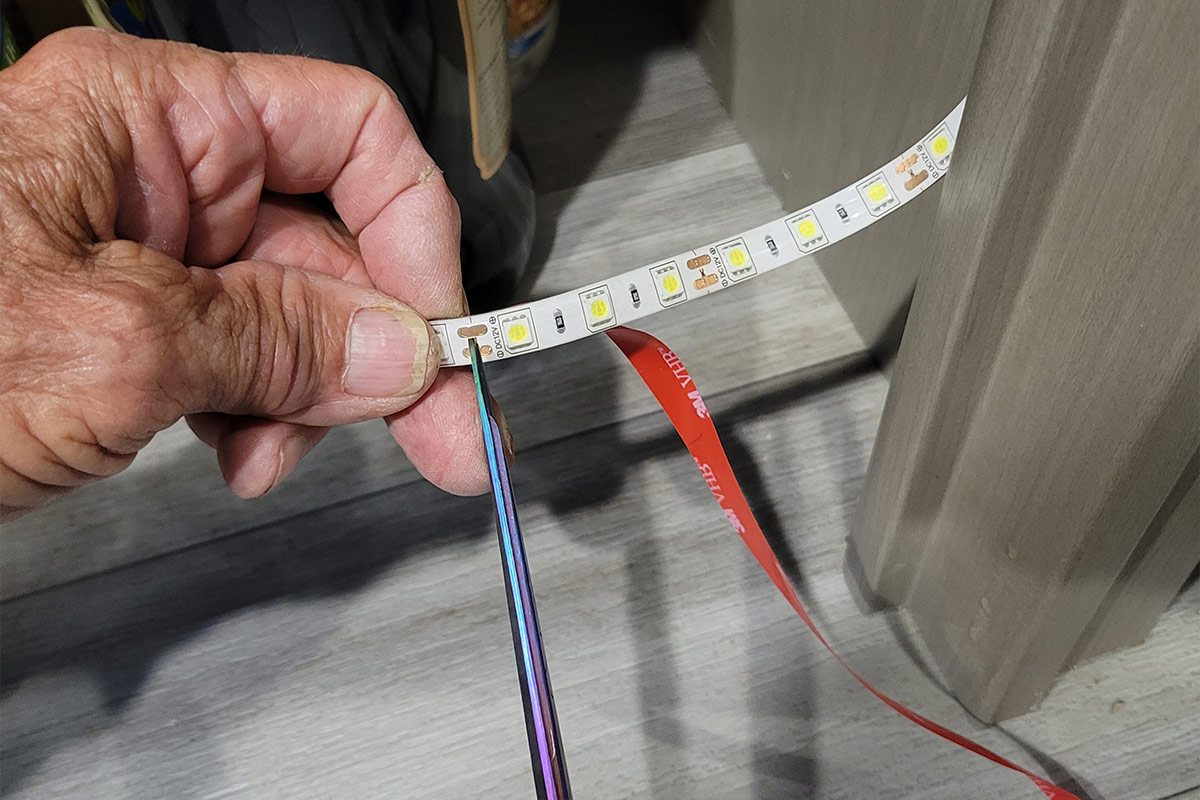
Perusing Amazon, I found a 16-foot LED light strip that looked like it would be perfect for my pantry. Search “RV Awning Light, 12V 16.4Ft White RV” and you’ll find a Lrimauix-branded strip for $19.99. It’s backed with 3M adhesive tape that sticks well, and the strip can be cut along marked points (which is every three LEDs). The polycarbonate composition allows for limited bending and the LEDs bathe the area with a highly visible white light.
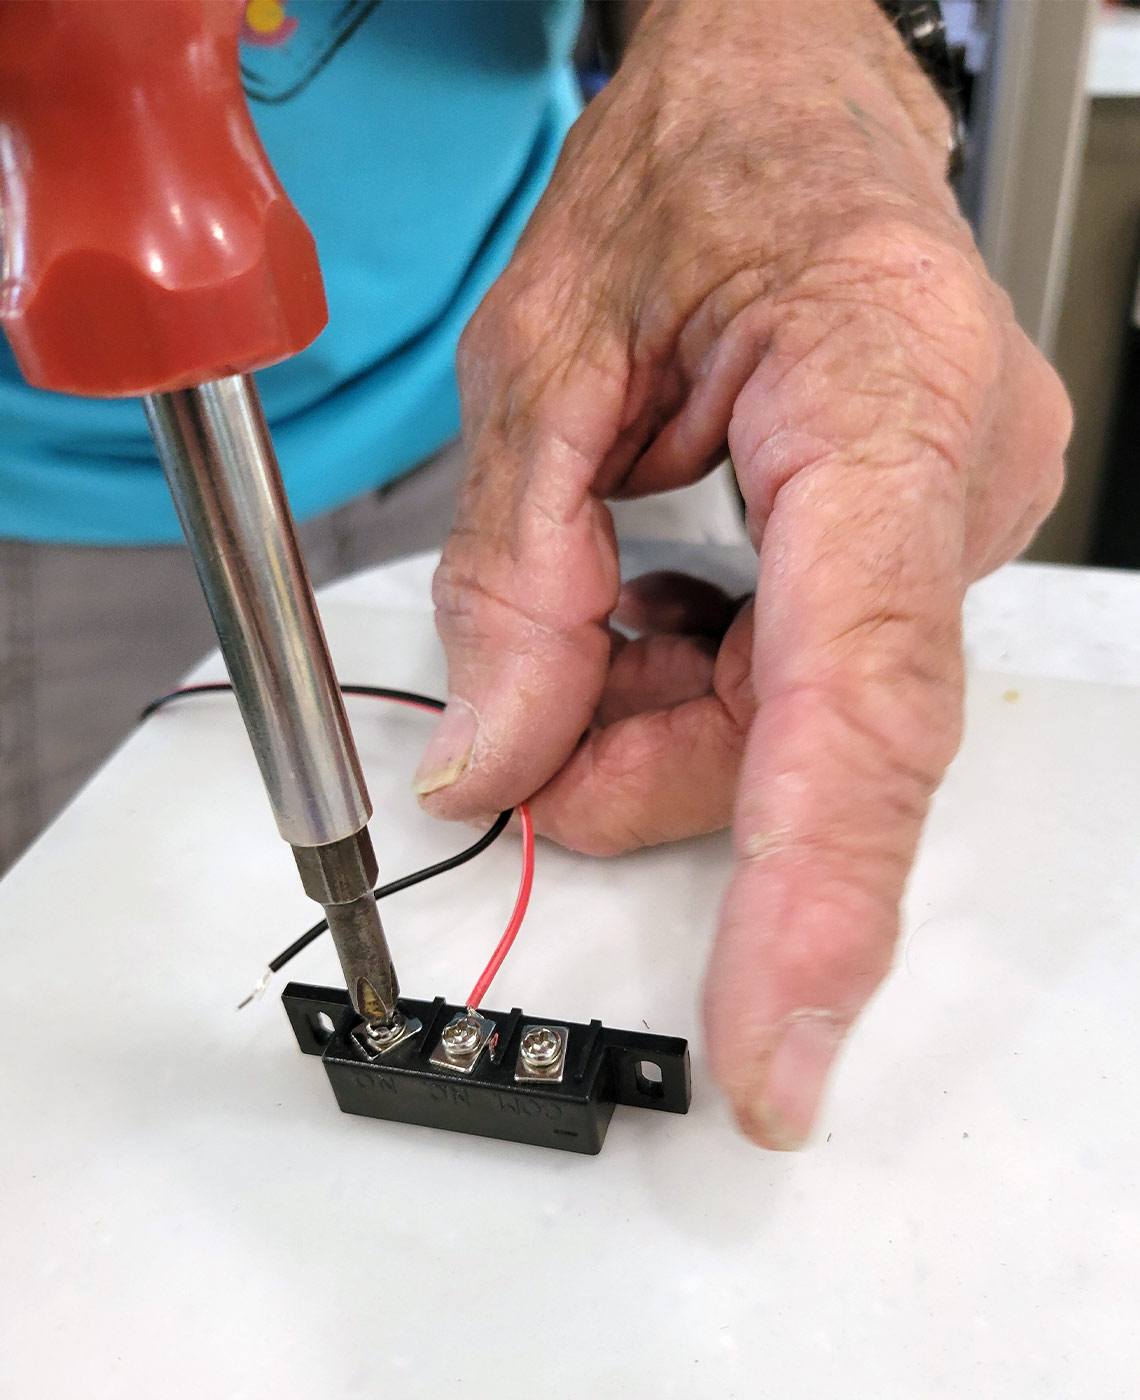
The next step was figuring out a way to power the light strip without having to flip a switch manually. That’s when I turned to a reed switch that completes the circuit when the door is opened — in the same manner as switches function when installed in alarm systems. There are multiple types of reed switches that are normally closed or normally open and I found one that can be configured by simply changing the wire under the set screw. Just make sure the switch is rated for the amperage, which for LED lights is not that much; the strip light described above is rated at 40 watts. Of course, I found one on Amazon, “Eplzon Magnetic Reed Switch,” for $9.99 (package of two) in black.
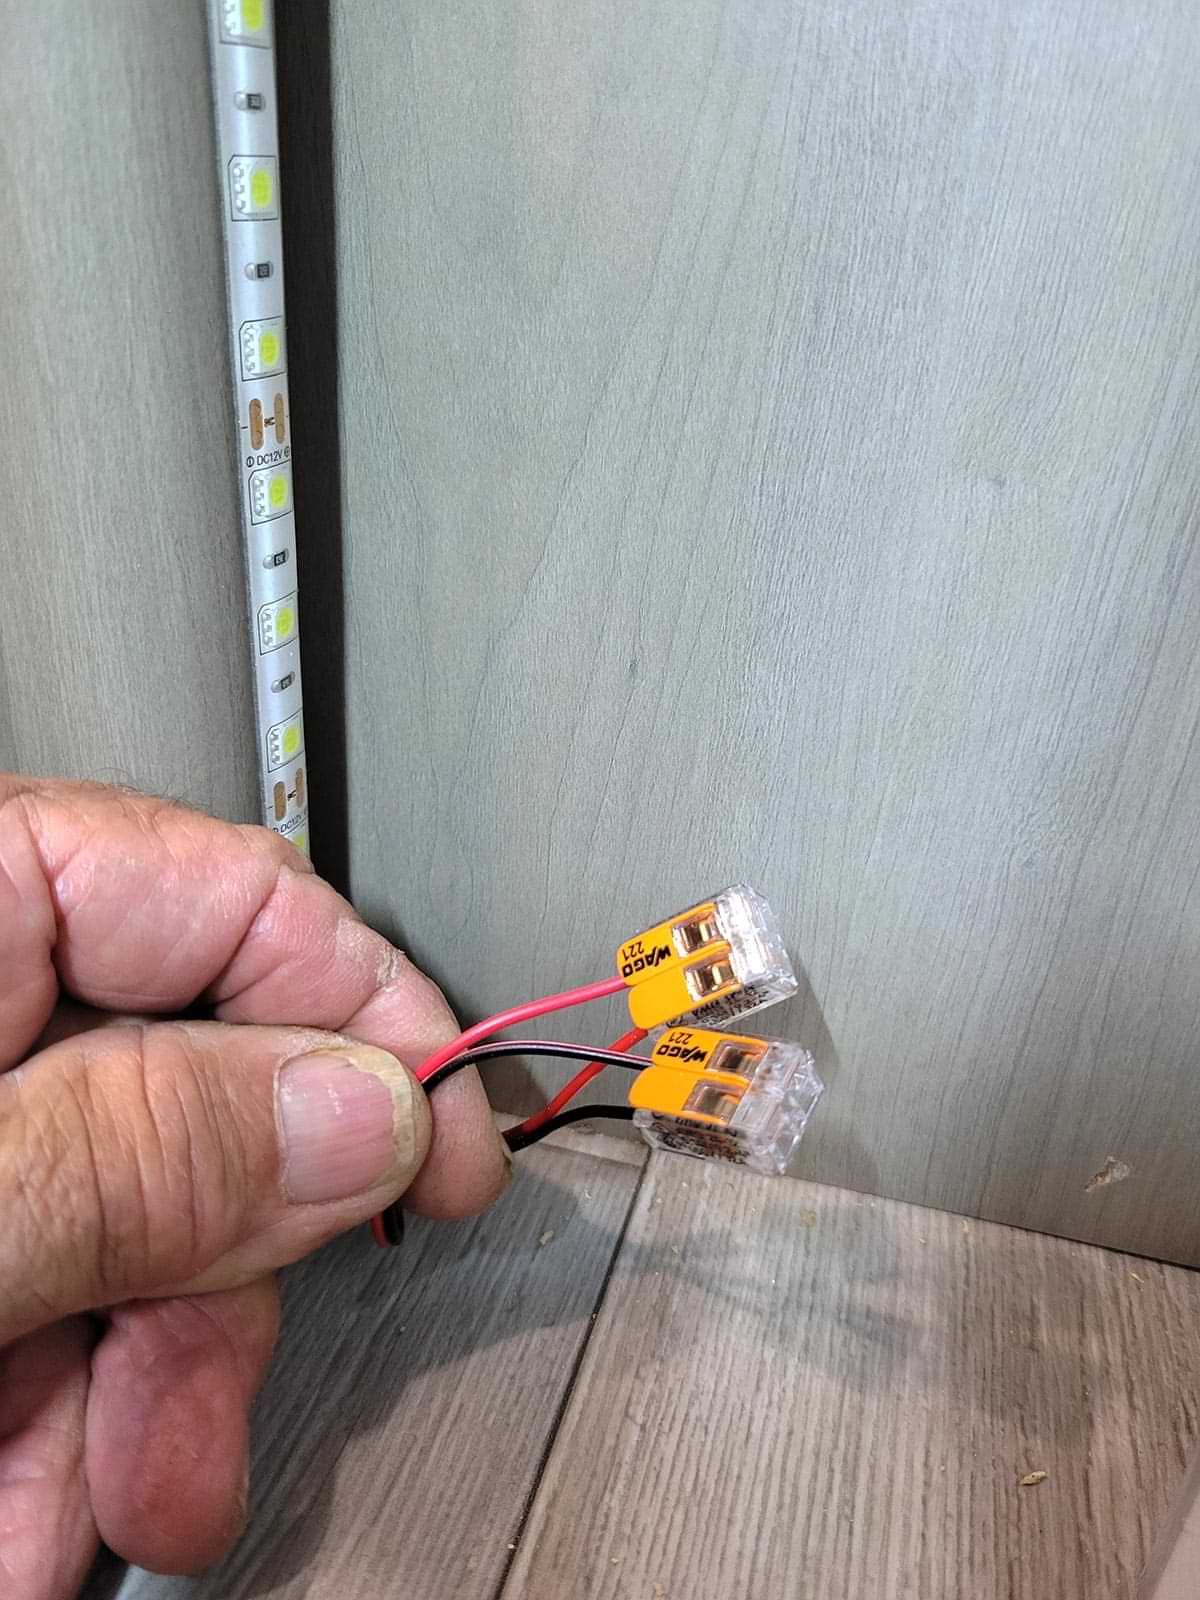
Wiring was straightforward since I was able to tap into the existing light fixture above the top shelf in the pantry. The first thing I did was remove the light and prep for tapping into the positive and negative wires. I was surprised that the factory used 3-way Wago connectors for splicing wires, so all I had to do was flip the lever up to tap into the power — without disconnecting the existing light fixture. The light-gauge wire made it difficult to use butt connectors; solder and shrink tubing can also be used if the Wago connectors are not at your fingertips.
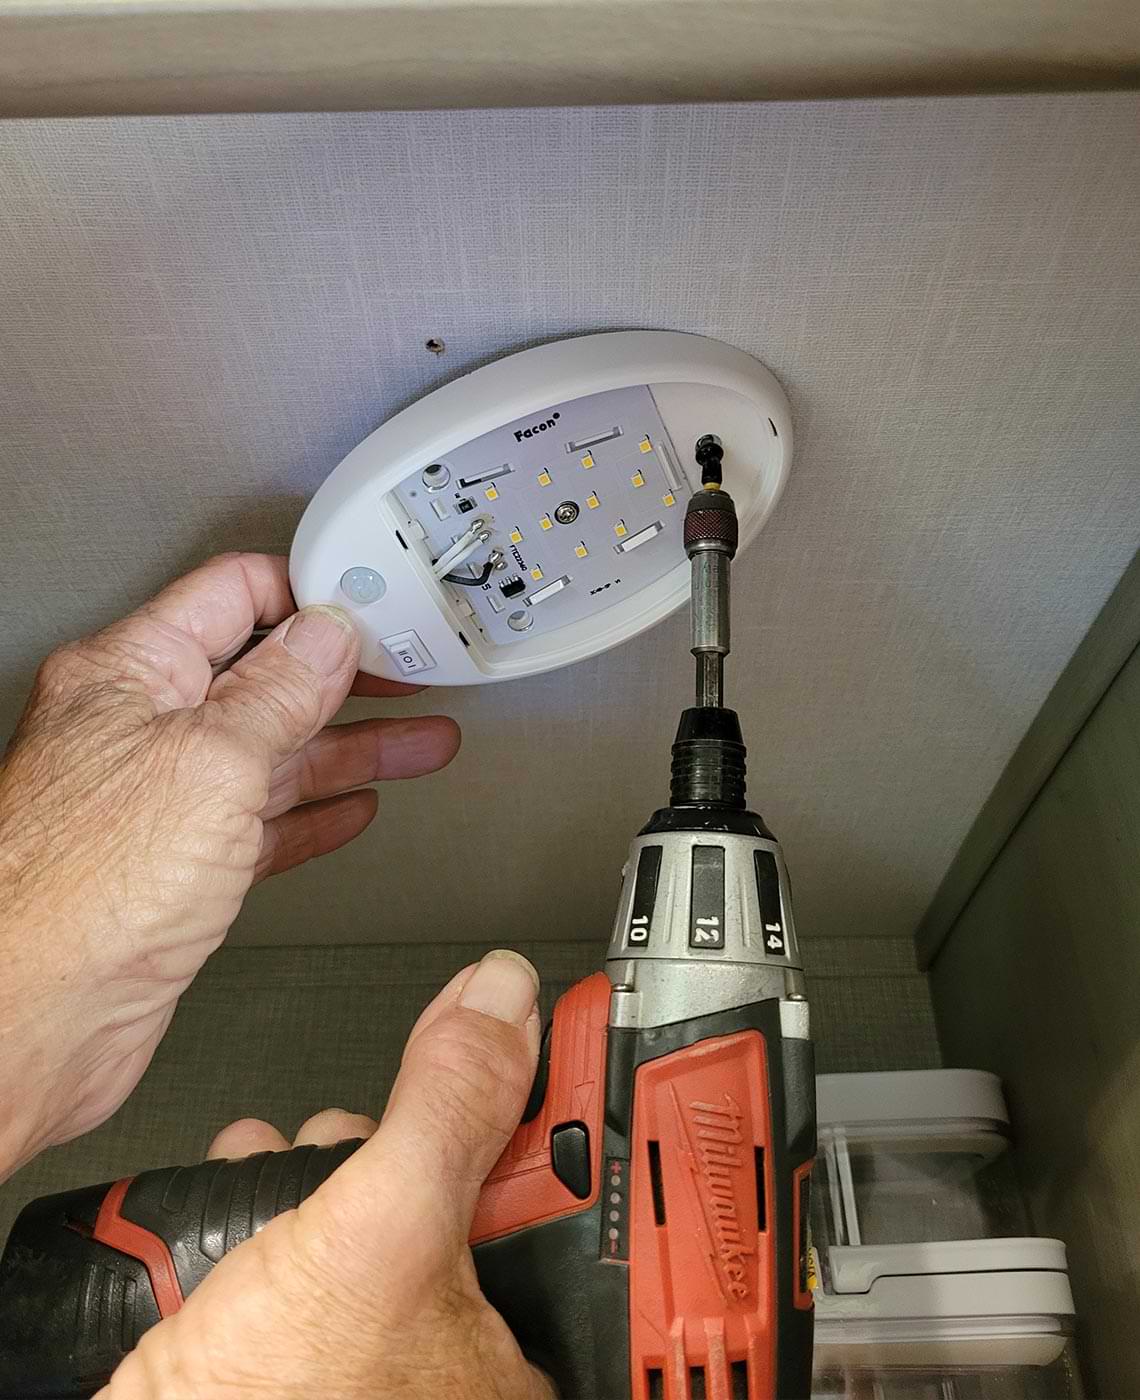
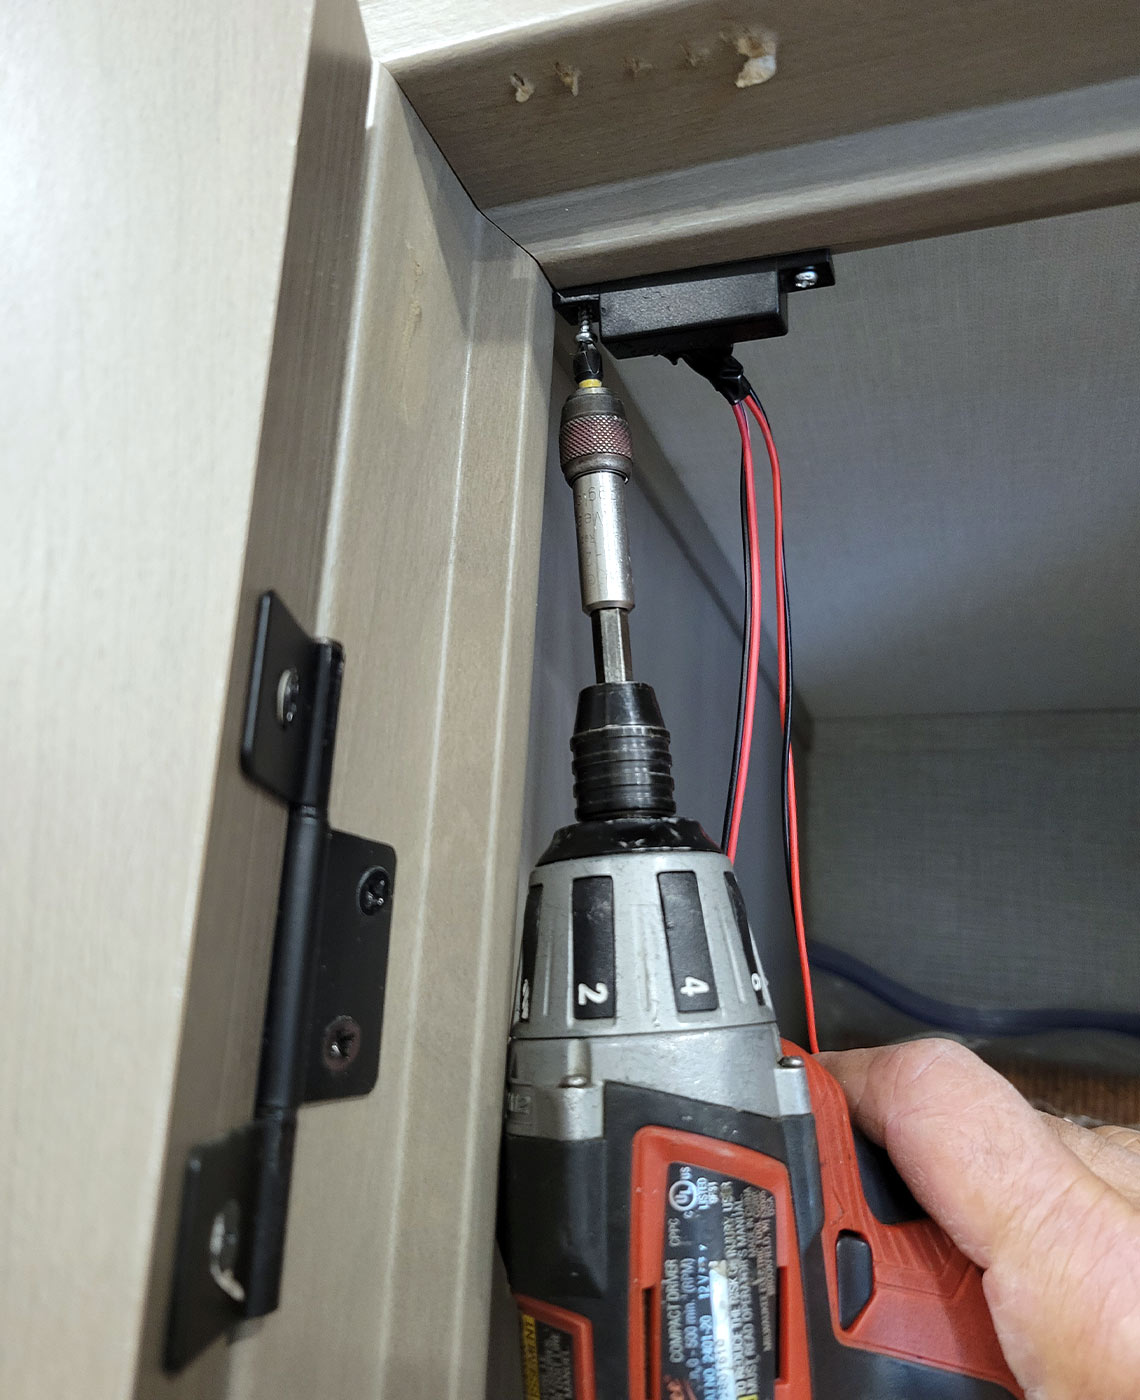
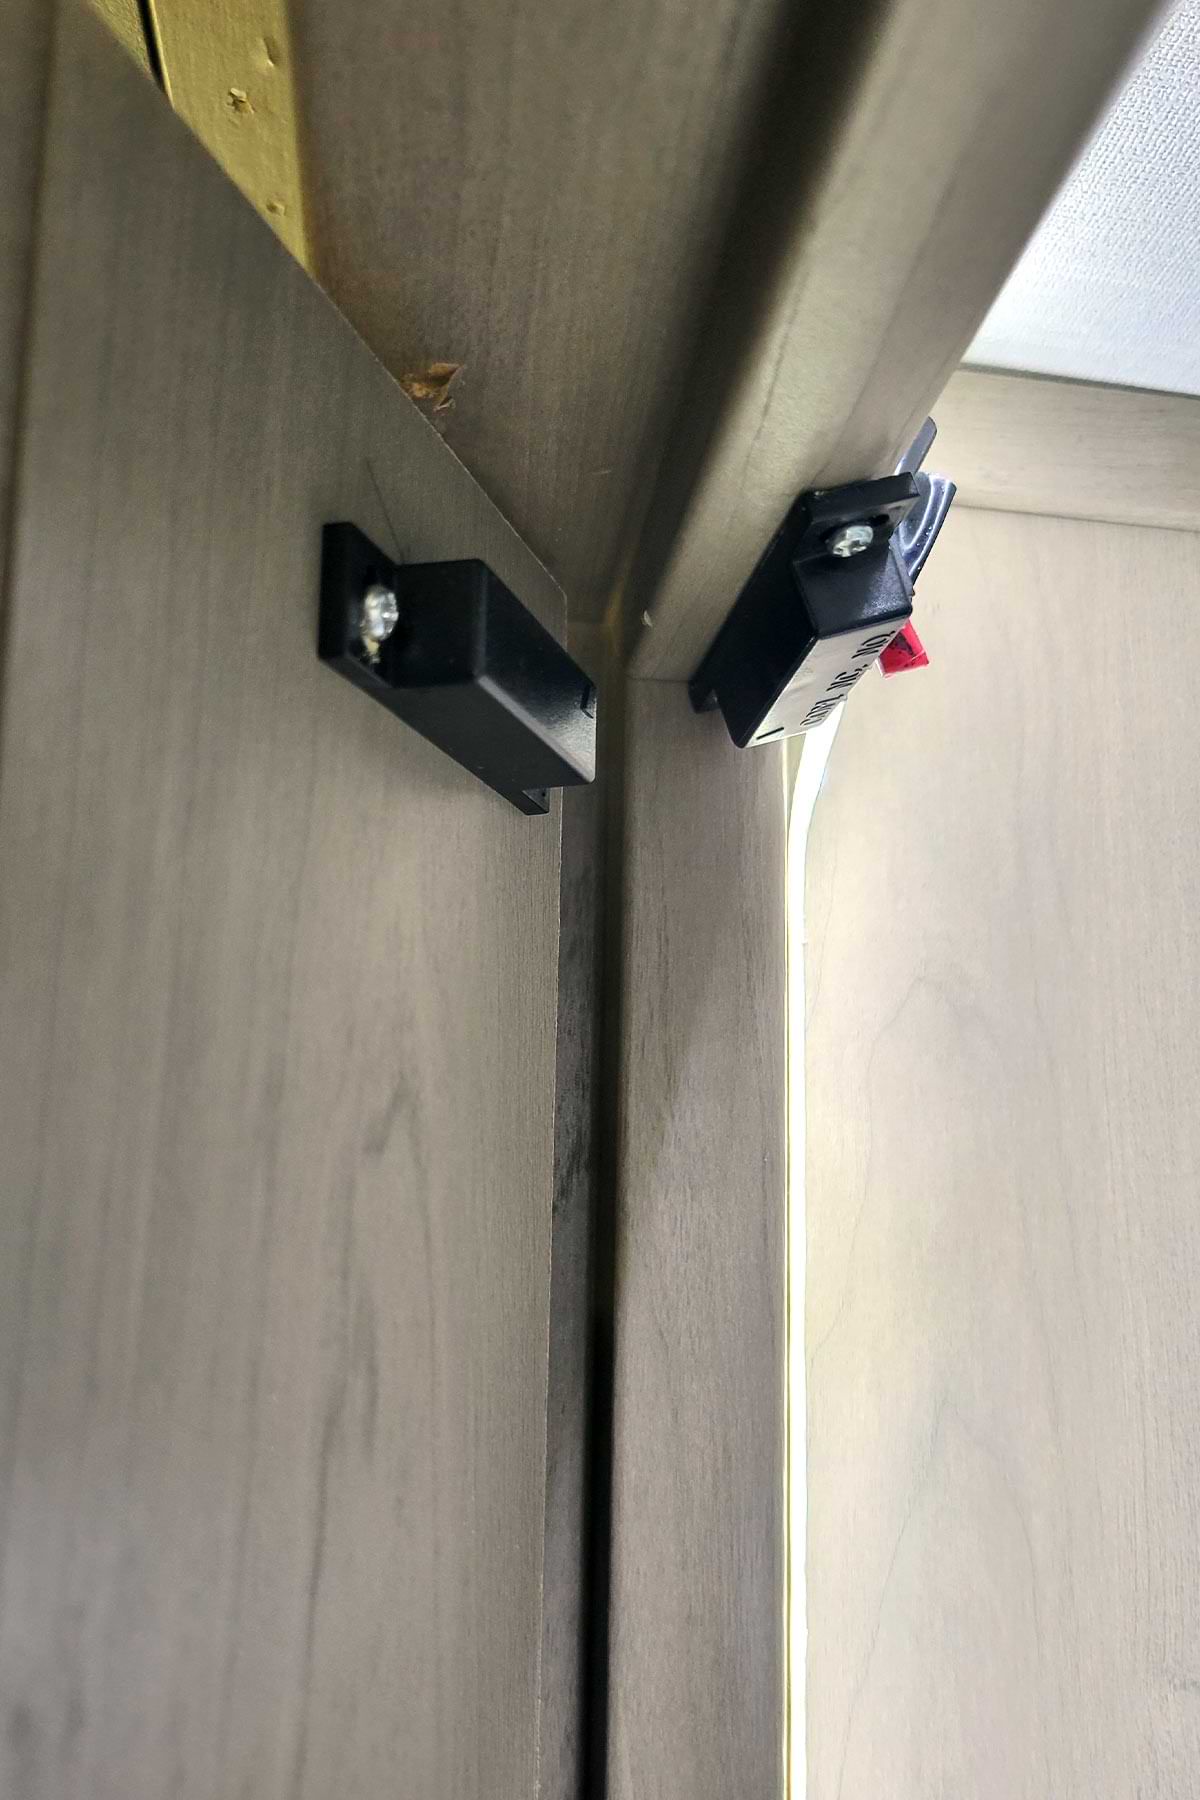
Polarity was checked and, after all the connections were made, the magnet half of the reed switch was installed in the vicinity of the other half — it does not have to be lined up precisely to function properly. I was pleasantly surprised that this type of LEDs is not super bright but still provided plenty of light to actually see what’s stored in the pantry.
Now I can lose the flashlight — for this purpose, anyway — and refrain from buying food I already had in the pantry.

With the summer season in full swing we're proud to present our latest issue of RV Enthusiast! The May/June issue covers the Best Towable Suspension Upgrades, Absorption Refrigerator Tips & Tricks, Enhancing RV Shower Time, PLUS so much more!
Already a Subscriber? Click here for Access to the Full Issues.