Looking Ahead - RV Enthusiast Magazine

Looking Ahead

by | Mar 22, 2023 | Cool Gadgets, RVEXPERT

Photos by the author
A Garmin Dash Cam 66W is like having a second set of eyes — with the ability to automatically capture incidents and establish liability when other drivers practice unsafe driving maneuvers.
RVs seem to be moving targets when traveling on highways, and especially when traversing two-lane country roads. Impatient drivers will oftentimes take chances when caught behind slower vehicles and, in some cases, create dangerous situations and accidents. How many times have you had someone cut you off in a near-miss situation and wish that you were fast enough to record the incident?

Recently, a friend was sideswiped by a truck who continued along his merry way, uninterested in the severity of the damage. If you have no proof or eyewitnesses, you’re out of luck. When he told me of his misadventure, I decided to add a dash cam—which can make all the difference in the world when there’s a need to establish liability—to my Ram pickup.

There’s a plethora of dash cams on the market, but after extensive research — and enlisting another friend who was in law enforcement and tested several popular models under real-world conditions — I settled on the Garmin Dash Cam 66W. It’s petite, loaded with features and can be had for $260 on Amazon. Beyond my buddy’s recommendation and my own research, I like Garmin products — and the 66W was able to be powered via a USB cable connected to the mounting bracket for the Garmin RV 1090 GPS device that was already installed in my tow vehicle. It can also be connected to a dual USB-to-12-volt DC adapter or directly into the vehicle’s built-in USB outlet; cabling is provided.

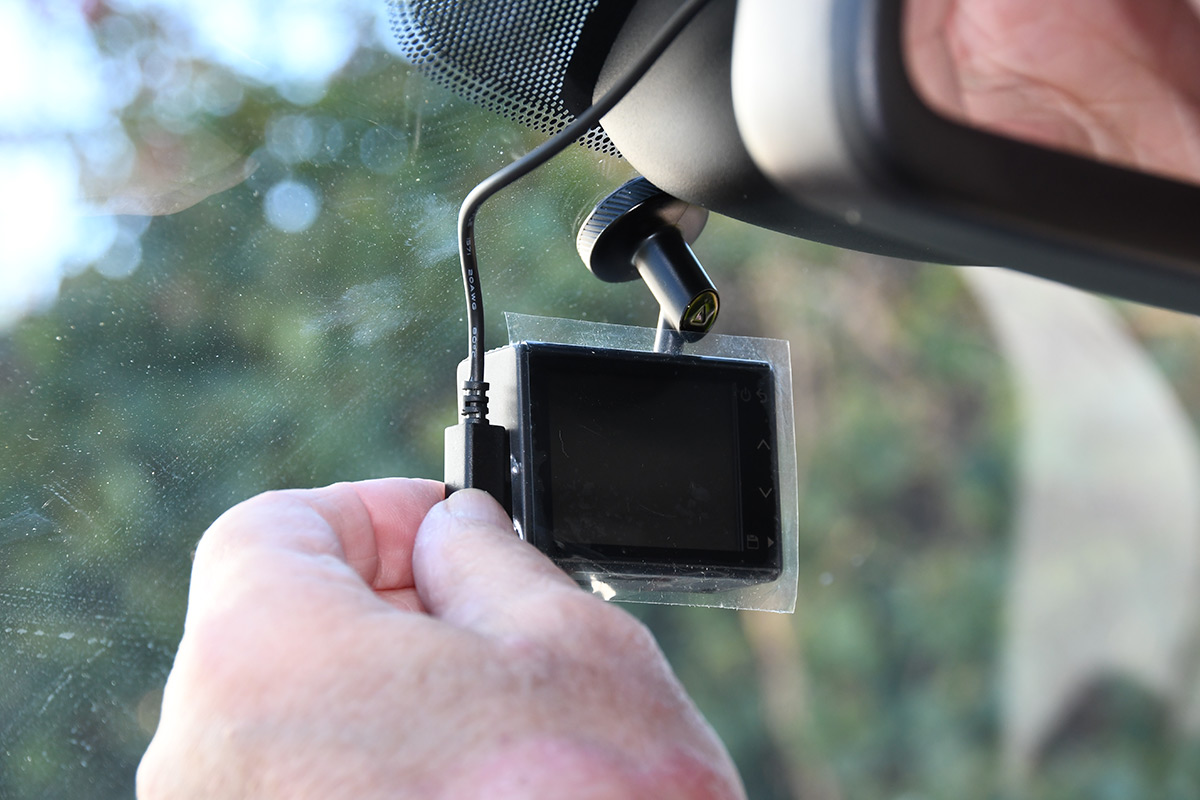
The Garmin 66W has a wide 180-degree field of vision and offers voice control, which is handy. It will also remind you when you’ve strayed from your lane, when you’re too close to the vehicle in front of you (or a vehicle cuts you off and gets too close) and when vehicles are moving again after being stopped at a signal or in bumper-to-bumper traffic. These are nice features, but the lane-departure alert can drive you crazy — especially if the camera is not adjusted perfectly. You can turn off these safety alerts, but I just let the device annoy me. You’ll appreciate the alerts if you wander and the forward collision alert is especially useful (but hopefully never needed). Should something go awry, the GPS-enabled automatic incident detection will record to the microSD card and on to the Garmin Drive app loaded on your phone or tablet. The image is 1080p, high-definition video and you can check on recent drives using the phone/tablet when the dash cam is powered On.

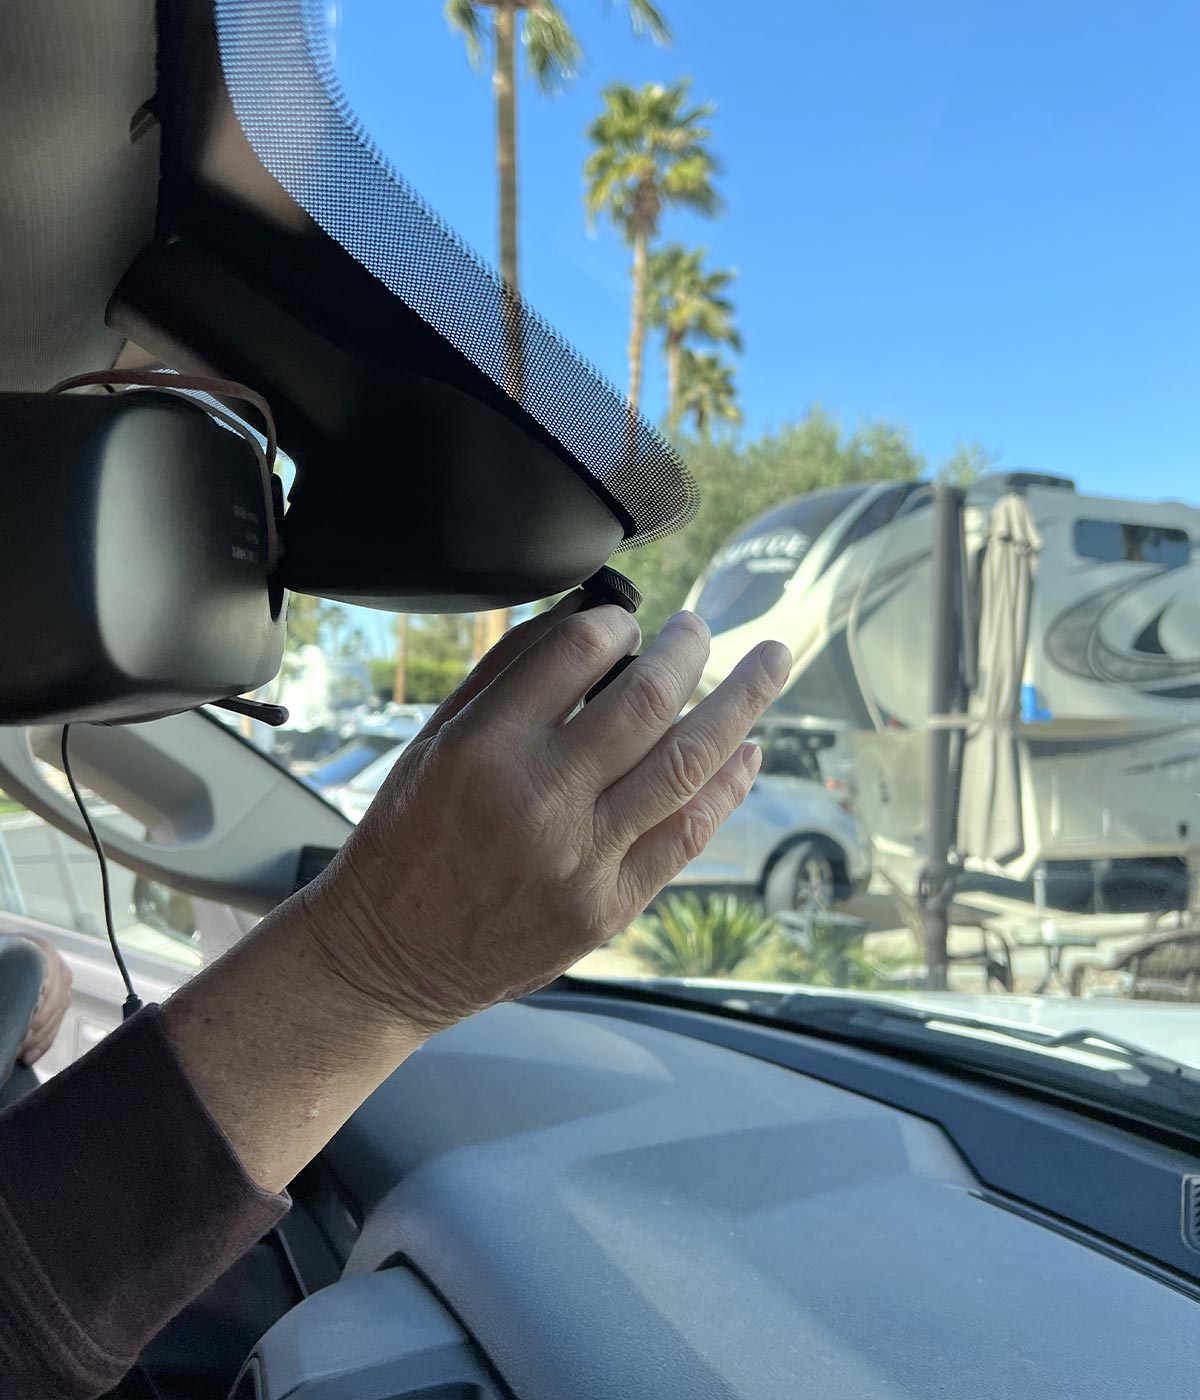
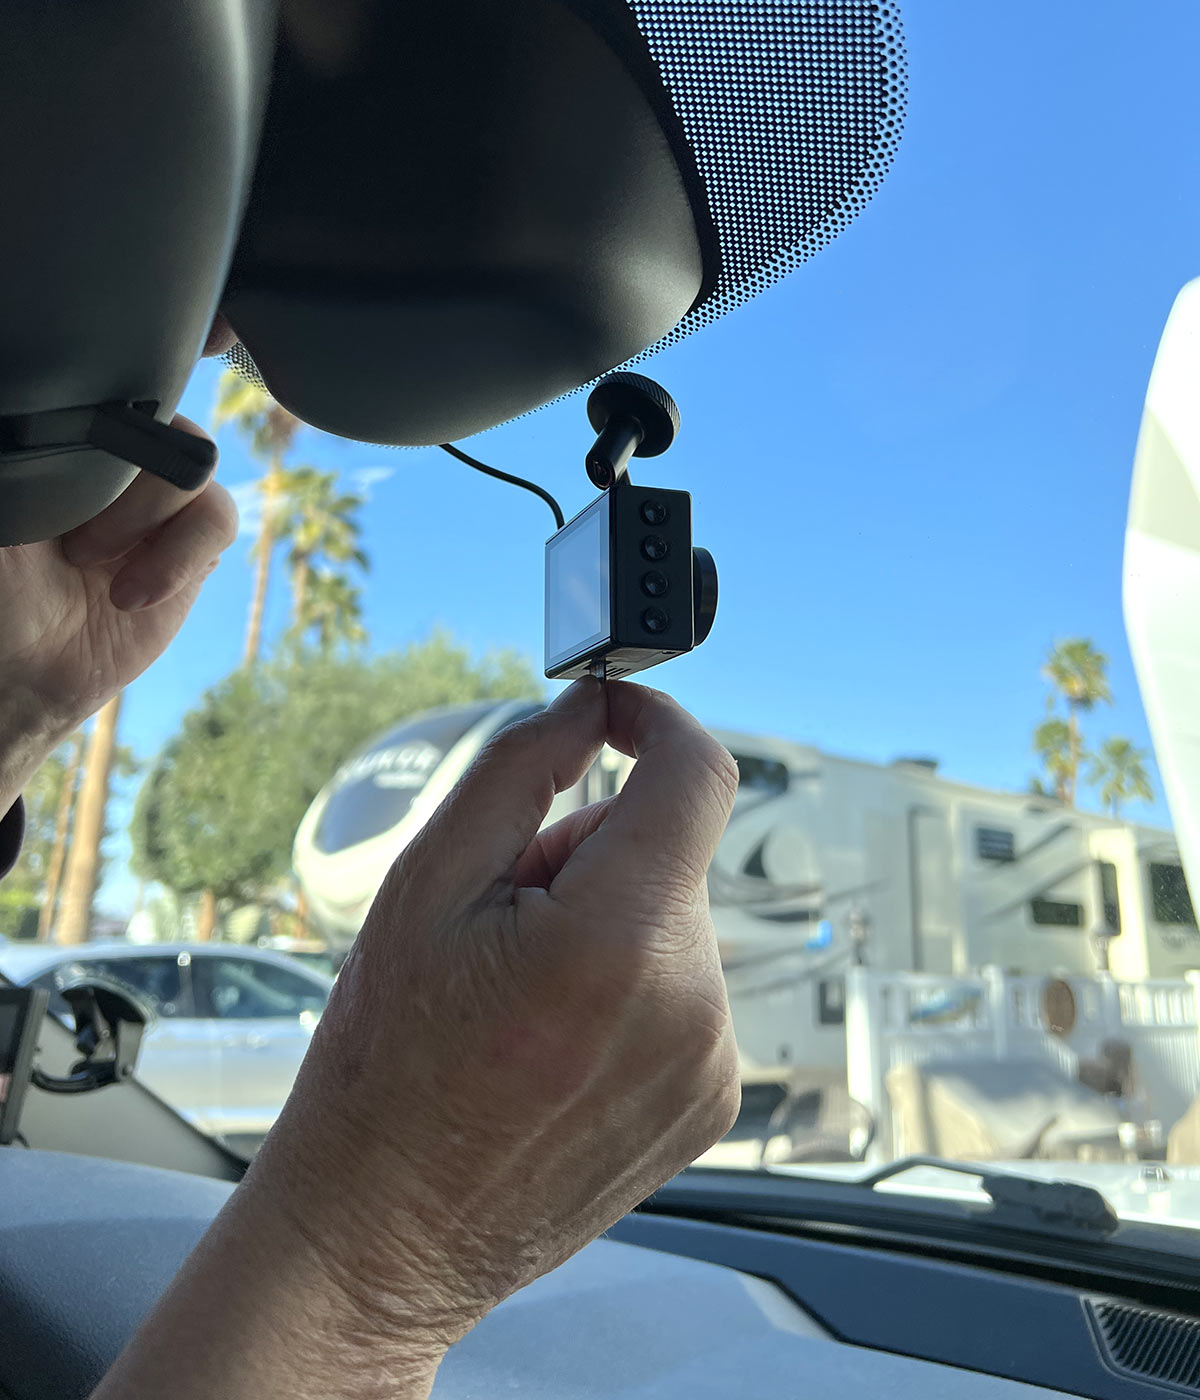
Installation is quite simple, with the logical spot for mounting the device is just below the rear-view mirror. Once the backing is peeled off, the bracket is stuck to the windshield. You only get one shot because the adhesive tape sets quickly, so take your time in centering the device. Be sure to clean the windshield with alcohol first.

a hand uses a paper towel and 70% rubbing alcohol to clean the desired window area for the device mount

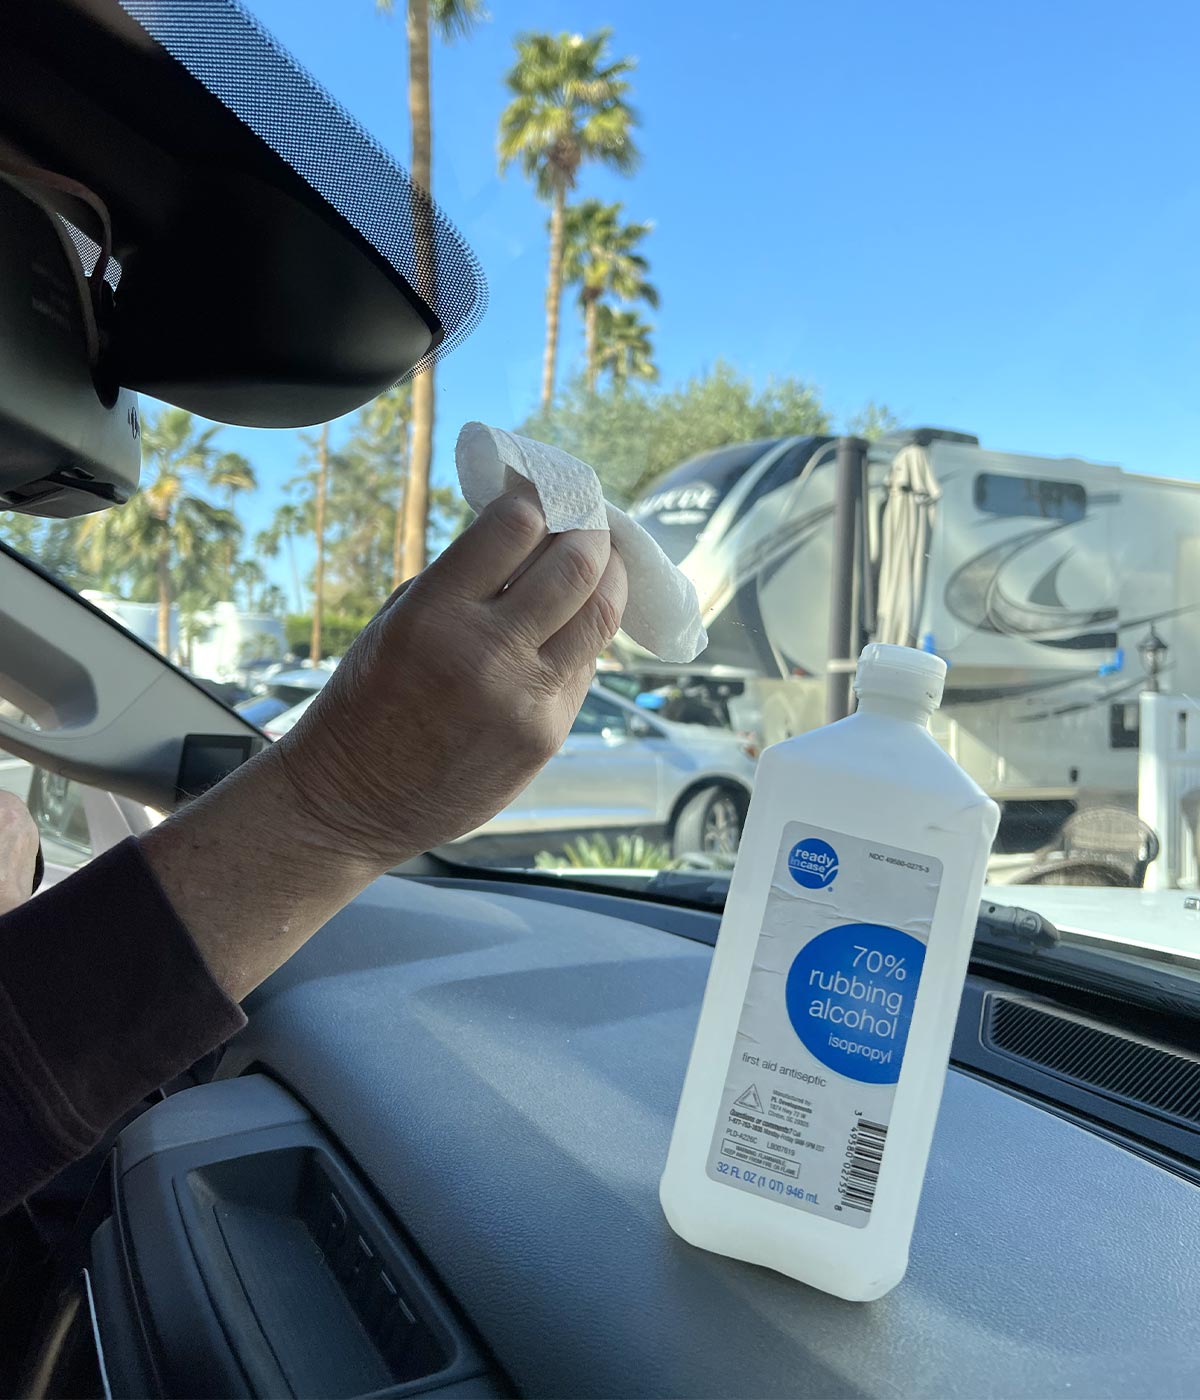
The most logical place to mount a dash cam is under the rear-view-mirror housing, which is centered on the windshield. Once the location is established, a good cleaning of the mounting surface with alcohol will assure proper adhesion of the dash cam mounting bracket.

a hand places a piece of circular adhesive tape on the Garmin Dash Cam 66W mounting disk
The diminutive Garmin Dash Cam 66W is mounted to the dash using tape adhesive already attached to a disk on the bracket; a second disk is provided with the kit.
the mounting piece is adhered to the windshield, right below the rear view mirror
After removing the backing from the two-face tape, the bracket and dash cam are mounted to the windshield. Take your time to make sure it’s where you want it to stay; the adhesive is very strong and sets up quickly. You pretty much can’t go wrong if the dash cam is centered near the top of the windshield. The rear color screen is used to confirm proper aiming.

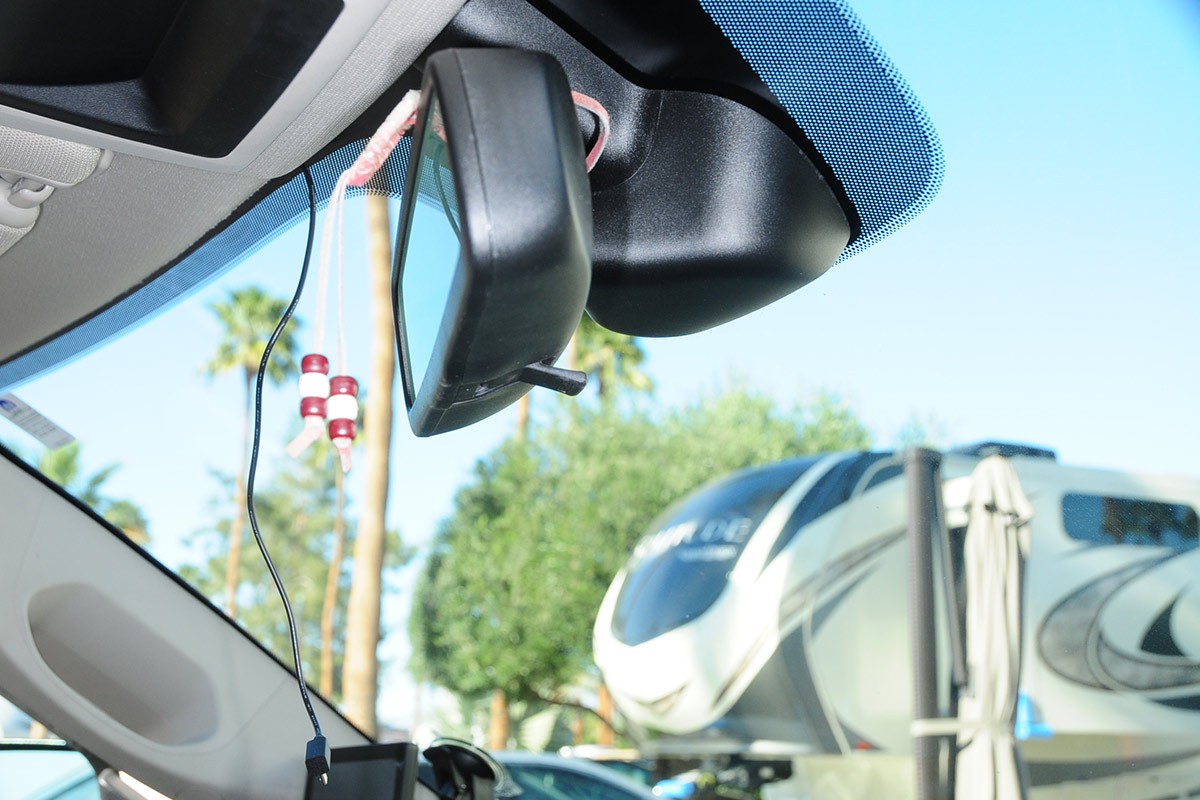
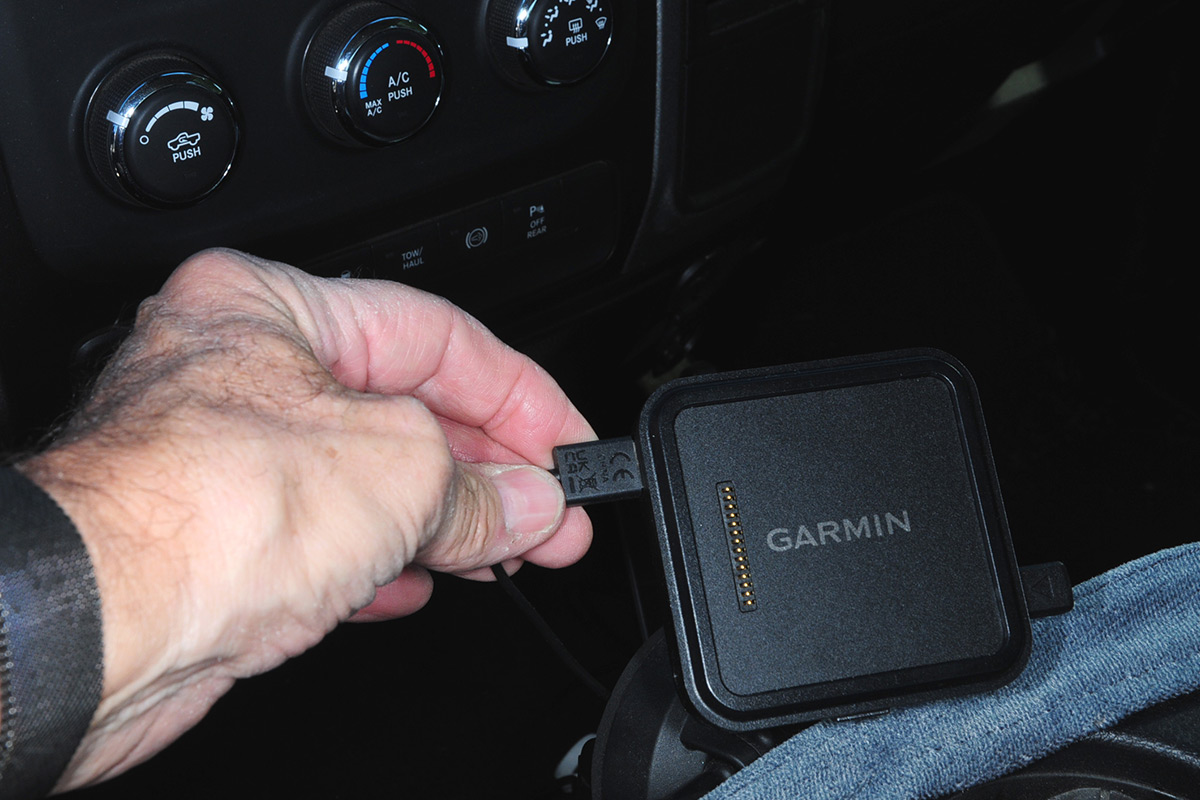
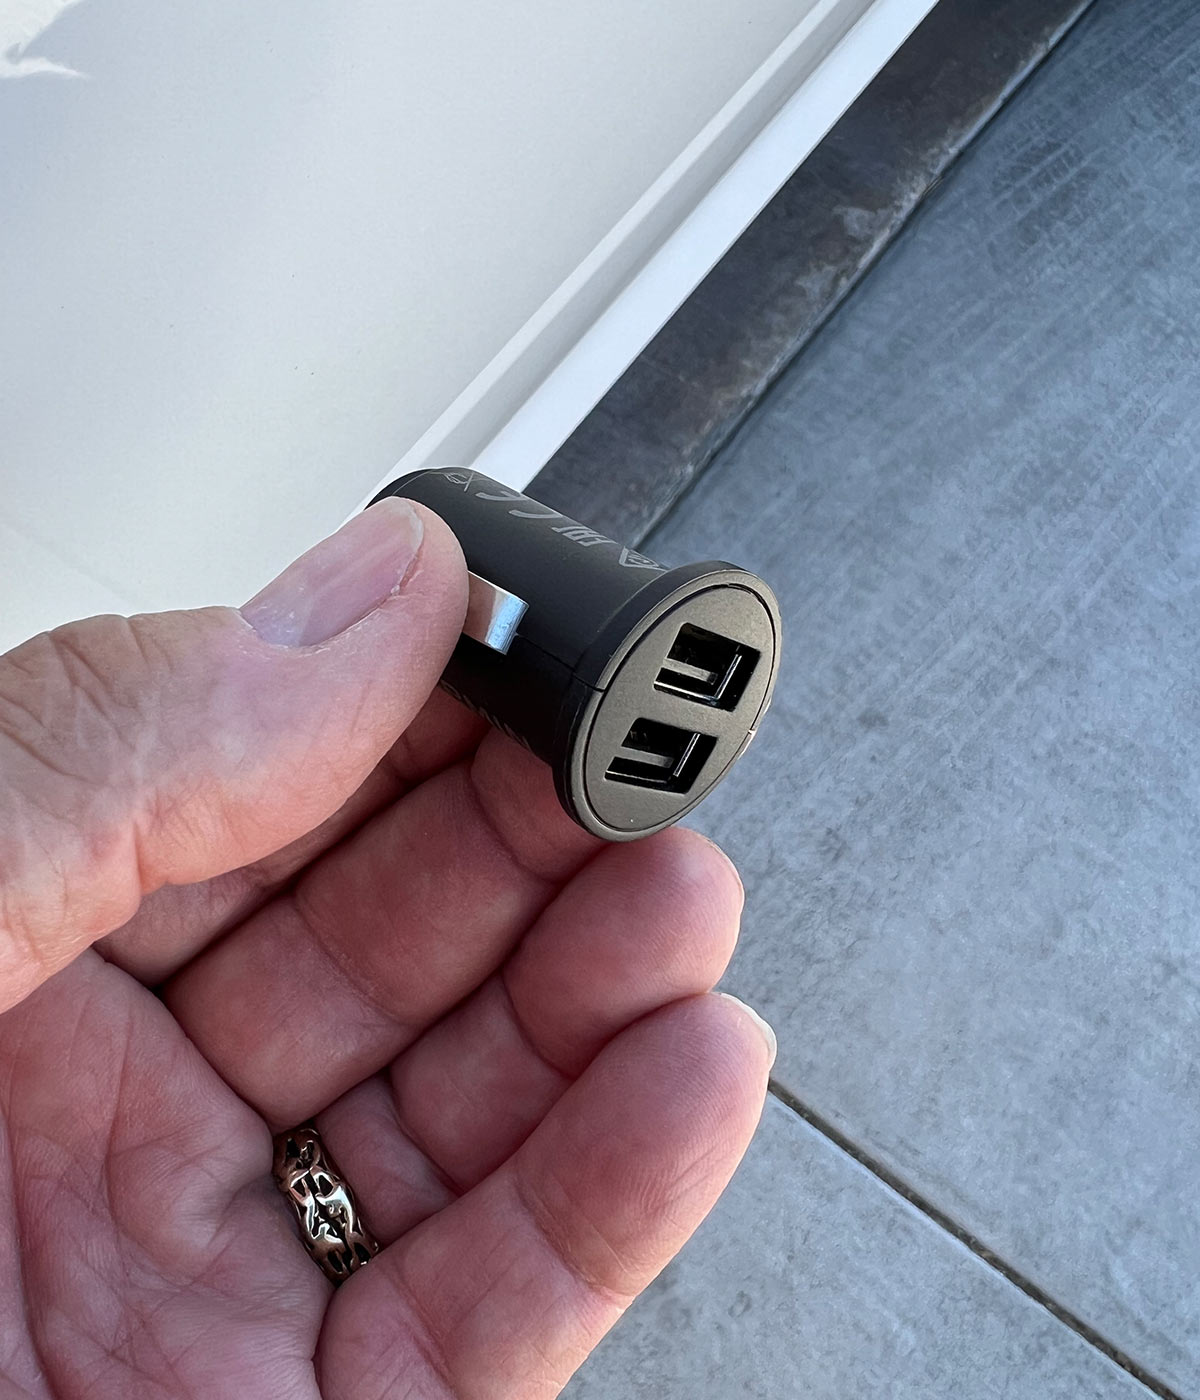
Routing the power cable takes more time to make sure it’s well concealed. For this installation, the cable was pushed into the gap between the headliner and windshield and routed down the pillar and under the dash before exiting at the mounting bracket for the Garmin RV 1090 GPS unit, where it plugged into the USB port. Most later-model vehicles and motorhomes have USB ports built into the dash but, if necessary, the dual USB adapter can be plugged into an open 12-volt DC port in the dash.

a power cable hangs from the car ceiling in front of the rear view mirror
Routing the power cable takes a little time but can easily be concealed in the gap between the headliner and windshield, then tucked into the pillar molding on its way underneath the dash.
the power cable is connected to the small palm sized device mounted on the windshield
The one end of the cable is plugged into the device, leaving some slack, which will be needed when adjusting the camera. The mounting bracket allows for plenty of movement of the camera to find the best aiming. This will take some experimentation to get it right — and get the best results from the lane-departure feature.
a microSD card is pushed into the slot in the lower edge of the dash cam
A microSD card is pushed into the slot in the lower edge of the dash cam. The card is not provided; we elected to use a 128 GB card, which will serve our needs. The device requires a minimum capacity of 8 GB and can handle storage cards up to 512 GB.
the dash cam power cable is connected to a Garmin RV 1090 that was previously installed in the vehicle
close view of a hand holding a USB 12-volt DC adapter
Powering the dash cam requires connection of a USB port. The 66W can be plugged into the port built into the mounting hardware for the Garmin RV 1090 that was already installed in the tow vehicle (if so equipped). It can also be plugged into a USB port in the dash of later-model tow vehicles and motorhomes or into the dual USB 12-volt DC adapter that comes with the kit.
a smartphone screen shot of the Garmin Drive app user interface

Garmin’s Drive app can be installed in a phone or tablet and is used to set parameters for the device and capture trip segments. It’s a powerful app that can also be used for a Garmin GPS. It also lets you know when to make software updates.

Set-up is quick and easy, using the Garmin Drive app on your phone or tablet and the color screen on the back of the device. Once this is accomplished, drive segments can be viewed at will. There are also a number of other functions that can make using the dash cam more versatile. You’ll need to provide your own microSD memory card, which will erase itself when full but automatically memorialize any incident.

A dash cam is one of the most useful accessories that can be mounted in a tow vehicle or motorhome. If you put one in the rear, you’ll have double protection, but admittedly the rear dash cam is not very useful when towing a trailer or fifth wheel. It can also be set up to monitor parking lot mishaps when you’re shopping.

Get Updates
Subscribe today and never miss an issue!
Get all the latest tips and news to keep you moving on that open road!
RV Enthusiast January/March 2024 Issue
Current Issue
January/March 2024
Spring is back in bloom and with it we are proud to present our latest issue of RV Enthusiast! The January/March issue covers furnace failures and how to fix them, the best batteries for boondocking, quick and easy weekend projects, PLUS so much more!

Already a Subscriber? Click here for Access to the Full Issues.

Share This