Not So Trivial Trivets - RV Enthusiast Magazine

Not So Trivial Trivets

by | Jul 12, 2024 | Cool Gadgets, RVEXPERT

Photos by author
Hot pots and pans don’t belong on countertops or tables. Most cooks rely on some type of trivet, whether silicone, heat-resistant material or even potholders. Making your own out of a common floor/wall tile adds a touch of class to any galley.
RVers who cook in their rigs have to deal with a variety of pots and pans — and when they are hot, some type of trivet is needed to prevent countertop damage. Home improvement stores and the Internet are loaded with trivets made of a variety of materials, but if you want to get a little creative while adding a touch of décor to your RV, it’s easy to make your own versatile trivet for just a few dollars.

A simple way to do this is to pick up a single floor/wall tile and add rubber legs to keep it off the counter. There are dozens of patterns out there, which makes matching — or if you desire, contrasting — your countertops fun and practical.

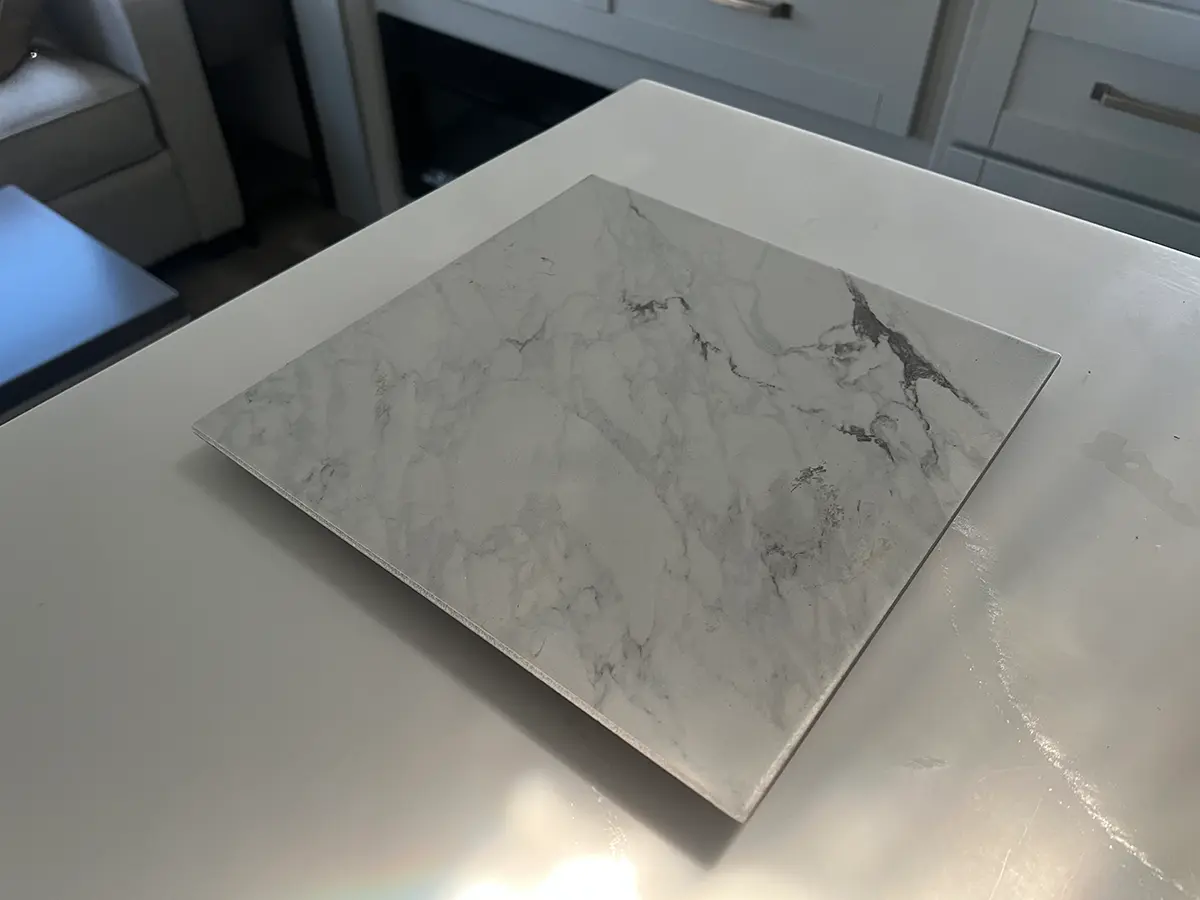
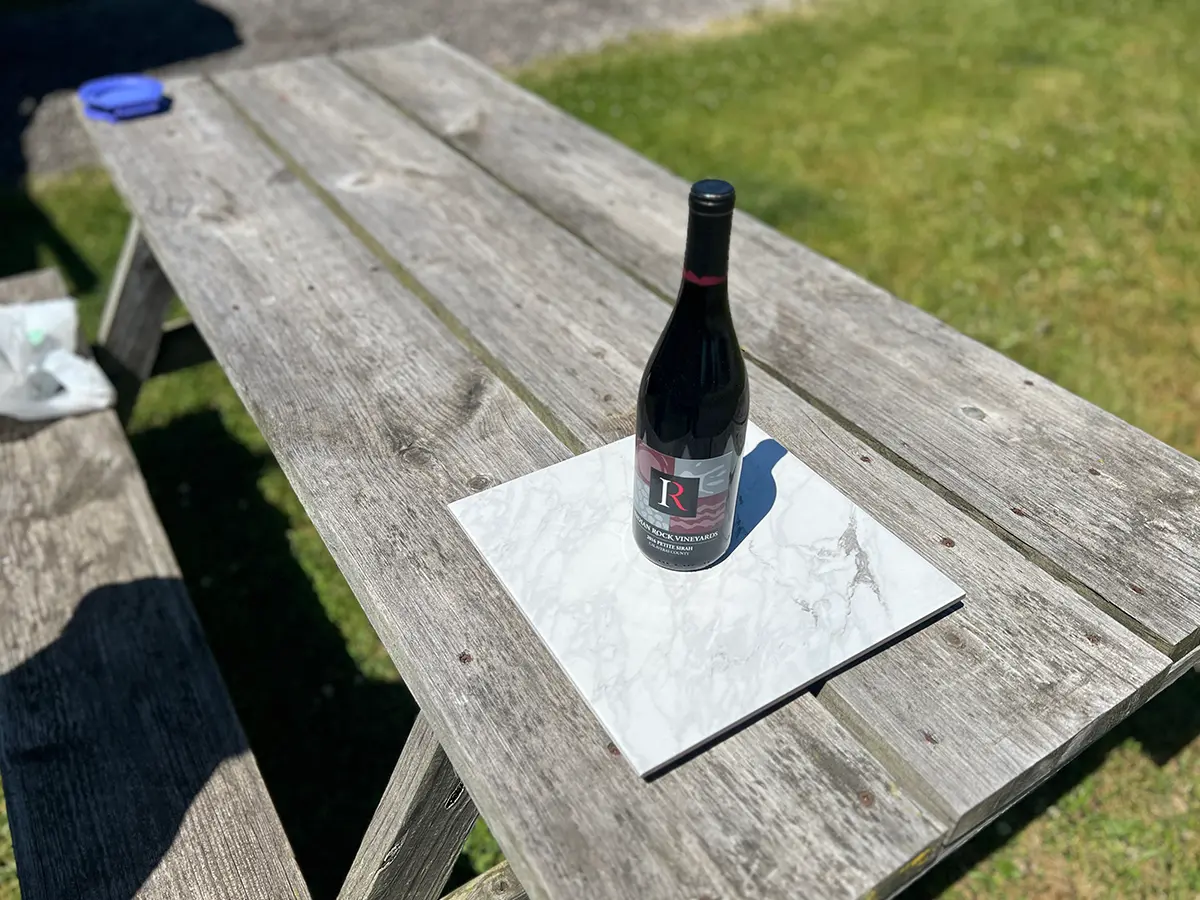
A trip to a local home improvement store landed us a 12- x 12-inch Titus Calacatta porcelain floor-and-wall tile for less than $2. This tile is actually 11 13/16 inches square, but the slightly smaller dimensions have no bearing on this project. The light color and marble-like pattern was perfect for the white-gray countertops used extensively in a friend’s new fifth wheel; the owners have used homemade trivets for years.

top view of the materials needed; a single floor/wall tile, rubber stoppers and a container of Gorilla Glue
Assembling a homemade trivet from a single floor/wall tile is a simple, quick project that needs only four rubber stoppers and a bit of glue.
a Titus Calacatta, white marble, single floor tile on an RV countertop
When it comes to matching — or contrasting — the countertops, there are dozens of tile patterns to choose from. This Titus Calacatta tile matched the gray/white countertops nicely in this fifth wheel and was bought for less than $2.

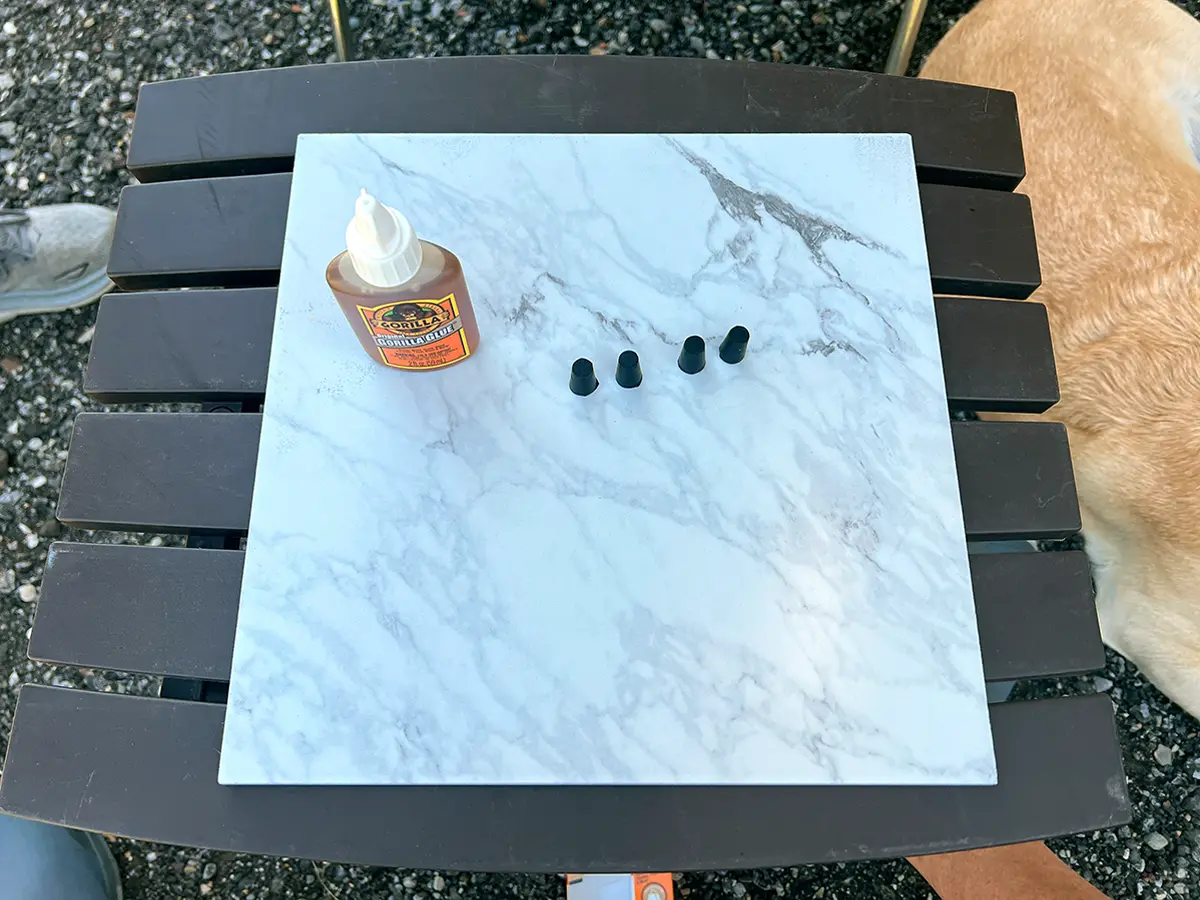
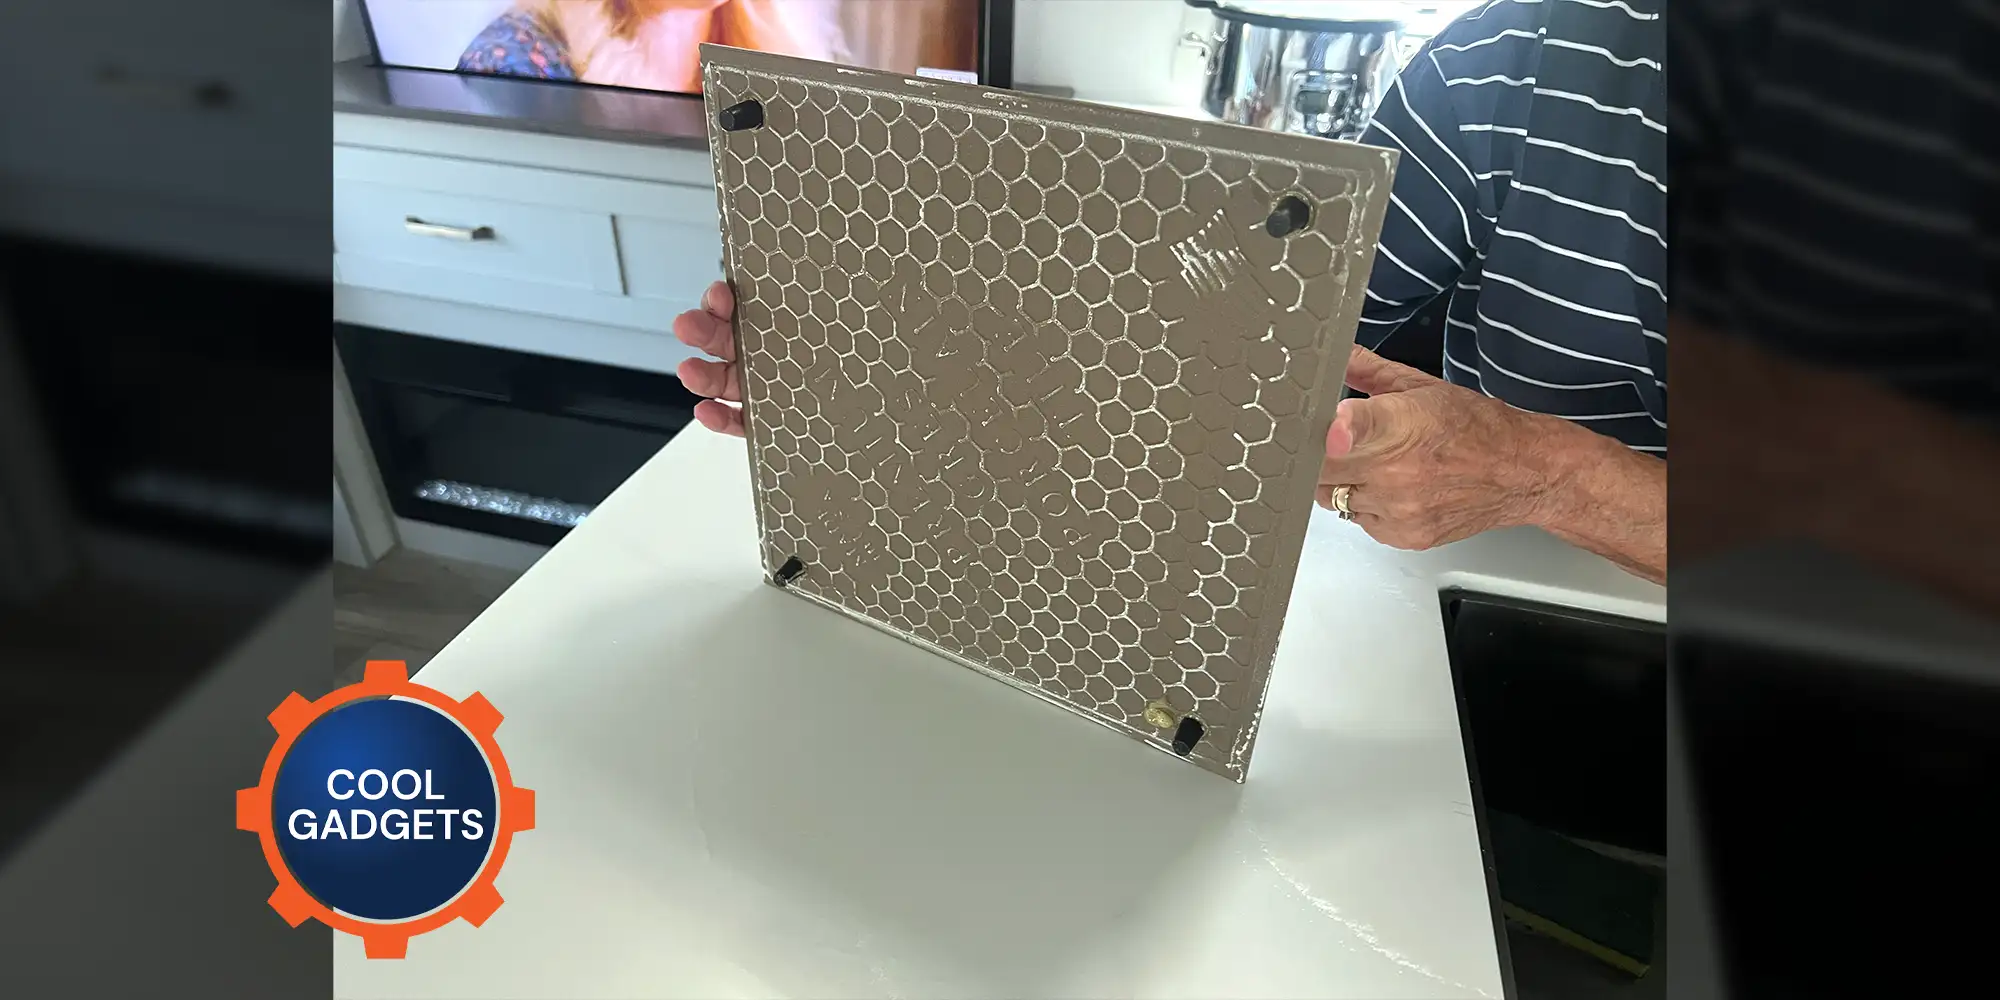
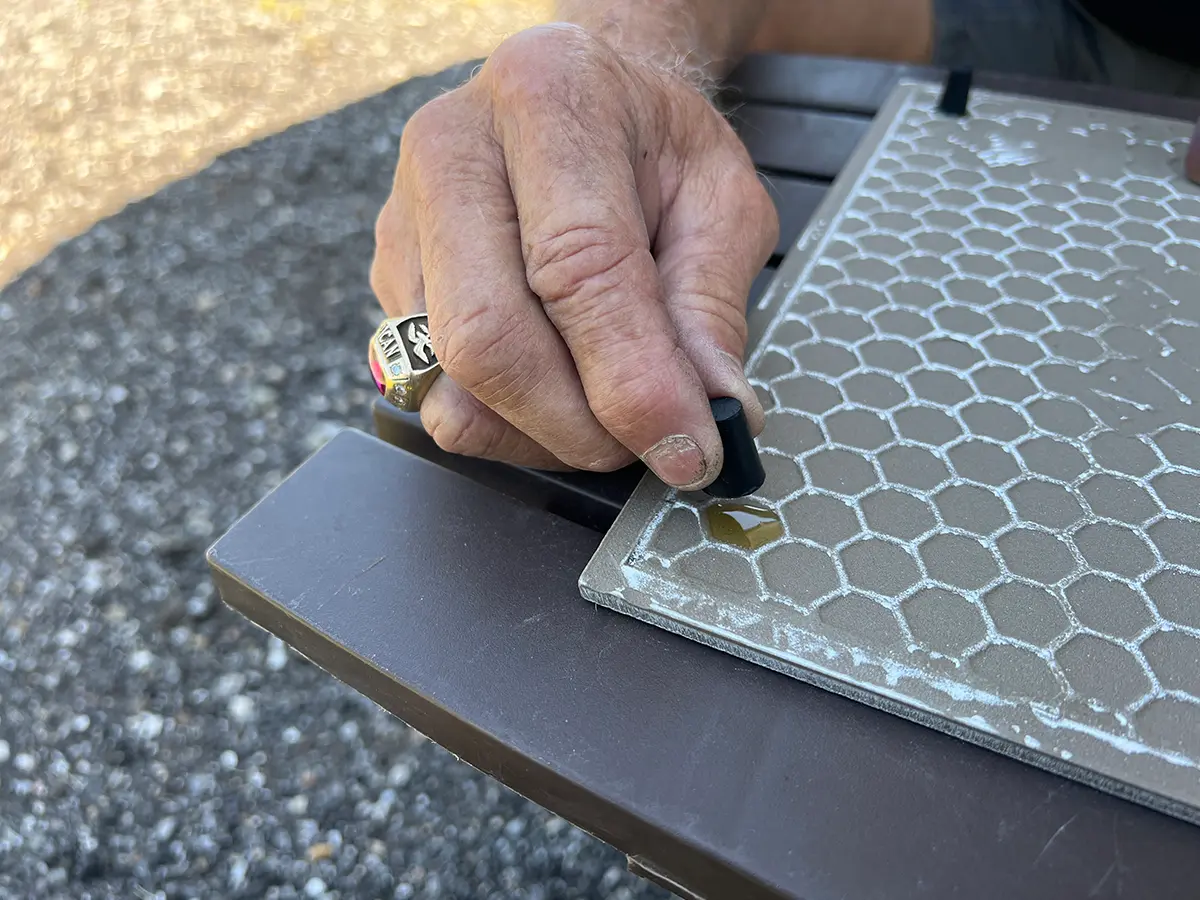
Rubber stoppers were used for the legs. These stoppers look like mini corks and fit nicely in the gridwork on the reverse side of the tile. Plus, they are cheap; the #000 rubber stoppers for this project cost only 94 cents for a package of two. They are just the right height and readily available in most home improvement stores on the small parts racks in the hardware aisle.

The rubber stoppers were glued on with Original Gorilla Glue, which dries super strong and is a highly versatile adhesive — except for the fact that it has a tendency to dry out in the container over a much shorter time period than expected. Just be careful not to use too much, because this glue swells up as it dries and can make a terrible mess if you adhere to the “more is better doctrine.”

close view of a hand holding a black rubber stopper
close view of a hand holding a stopper in place on the bottom of an floor tile
Legs were made of #000 rubber stoppers, which are available in most home improvement stores. These were just the right size to fit within the grid on the back of the tile — and only cost 94 cents for a package of two.
a small amount of Original Gorilla Glue is applied inside the grid on the back of the tile
a hand holding a rubber stopper moves to place the stopper on the Gorilla Glue
A small amount of Original Gorilla Glue was applied inside the grid before placing the rubber stopper. This glue expands wildly, so using too much will only make a mess.
Once the glue was applied and the rubber stoppers were placed in the four corners, we turned the tile over, placed it on a flat surface and added some weight to help with adhesion. Interestingly, we’ve been using this glue for years and never read the directions on the squeeze bottle where it cautioned against leaving the glue in the sun while drying. We naturally figured the heat would speed up the curing process, but quite the opposite was experienced with this glue. For some reason the glue never dried completely until we took the tile out of the sun, where upon it hardened nicely, firmly securing the rubber stoppers. The stoppers keep the trivet ½-inch off the countertop.
a wine bottle sits the tile to keep pressure while the glue was curing
Lesson learned: always read the label, even if it’s on a bottle for glue you’ve used for a long time. Here, the instructions remind the user not to place the glue project in direct sun while curing. Doing so prolongs the curing process. Go figure. A wine bottle was placed on the tile to keep pressure on the tile while the glue was curing.

These tiles are 5/16-inch thick and very durable; after all, they are designed to be walked on. They are made of glazed porcelain and the style we chose has a low sheen finish. The tiles also are abrasion resistant and impervious to water, which are necessary specs for kitchen duty.

a skillet of ground beef sits on a trivet on an RV countertop
The trivet does a good job of holding the hot pan off the countertop (or patio table). Making your own trivet will definitely engage in a conversation with fellow RVers.

Why go through the trouble to do this when trivets are readily accessible? Well, not only do these trivets add character to any kitchen, but they also store nicely on the countertop (can be stacked), and the space underneath the tile can be used to place other flat items. Just about all pots and pans used in an RV will fit on the tile’s surface, which prevents the heat from reaching the countertop. These trivets can also be used outside on a table — and are great conversation starters.

Get Updates
Subscribe today and never miss an issue!
Get all the latest tips and news to keep you moving on that open road!
RV Enthusiast July/August 2024 cover mockup
Current Issue
July/August 2024
As the summer days linger on, escape the heat with the newest edition of RV Enthusiast! The July/August issue covers Improving RV A/C Efficiency, Rear- and Side-View Cameras, Truck shock Repair, PLUS so much more!

Already a Subscriber? Click here for Access to the Full Issues.

Share This