Off the Shelf
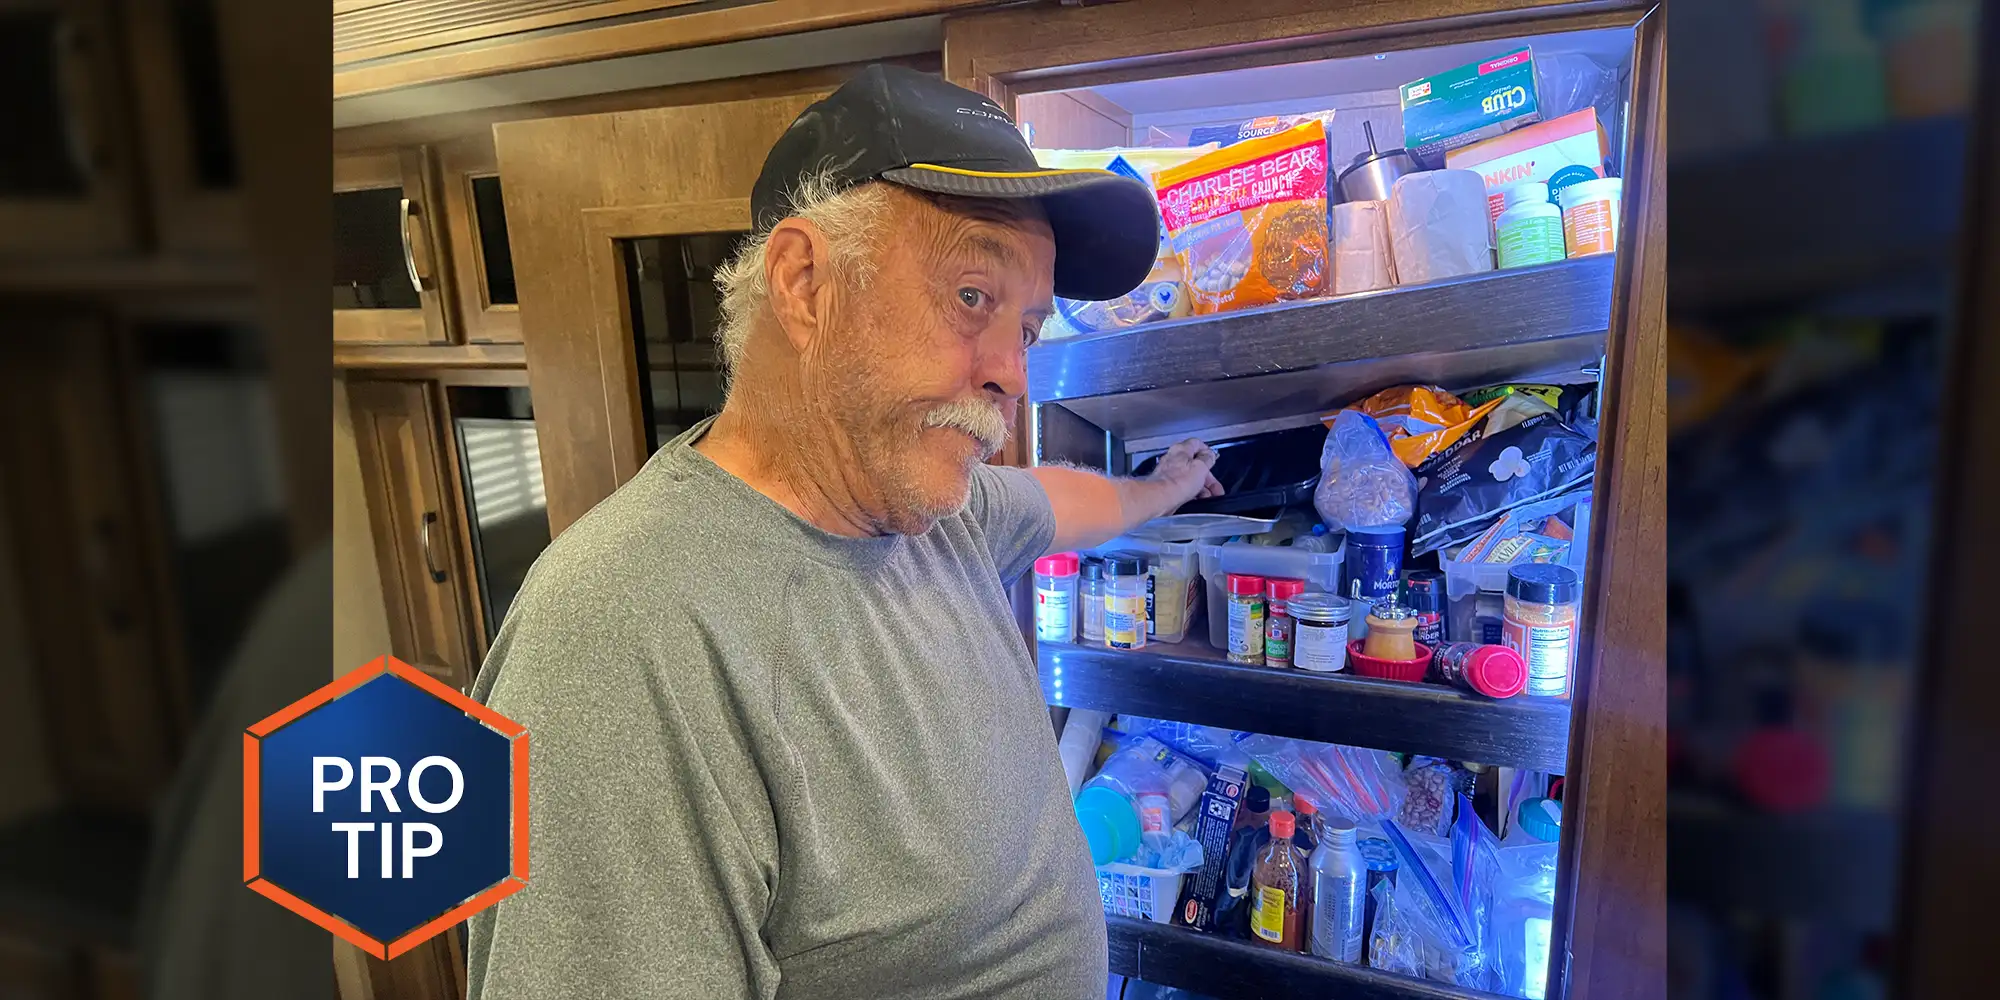
When pantry shelf supports take flight on rough roads, a permanent fit using 1 x 2-inch clear pine boards will keep foodstuffs from becoming disheveled.
And by that, we mean America’s highway system which, let’s face it, could use a little help.
Most shelves are supported by metal standards and supports (clips), which have been around for ages. In a stationary home they usually hold up well, but used in an RV environment where the interior is subjected to earthquake-like punishment on a daily basis (when on the road), these systems can fall apart and send the shelves — and your food — tumbling.
Rather than holding our breath upon opening the pantry each time we stopped for the day, hoping the shelf supports didn’t fall out and send the stored items into complete chaos, we decided to fix the problem permanently. Fixing shelves and reorganizing the stored items was no fun — not to mention my crushed potato chips.
The solution was rather simple, and although there are a few ways to achieve this goal, I elected to brace the ends of each shelf with a 1 x 2-inch clear pine board, screwed into the cabinet wall.
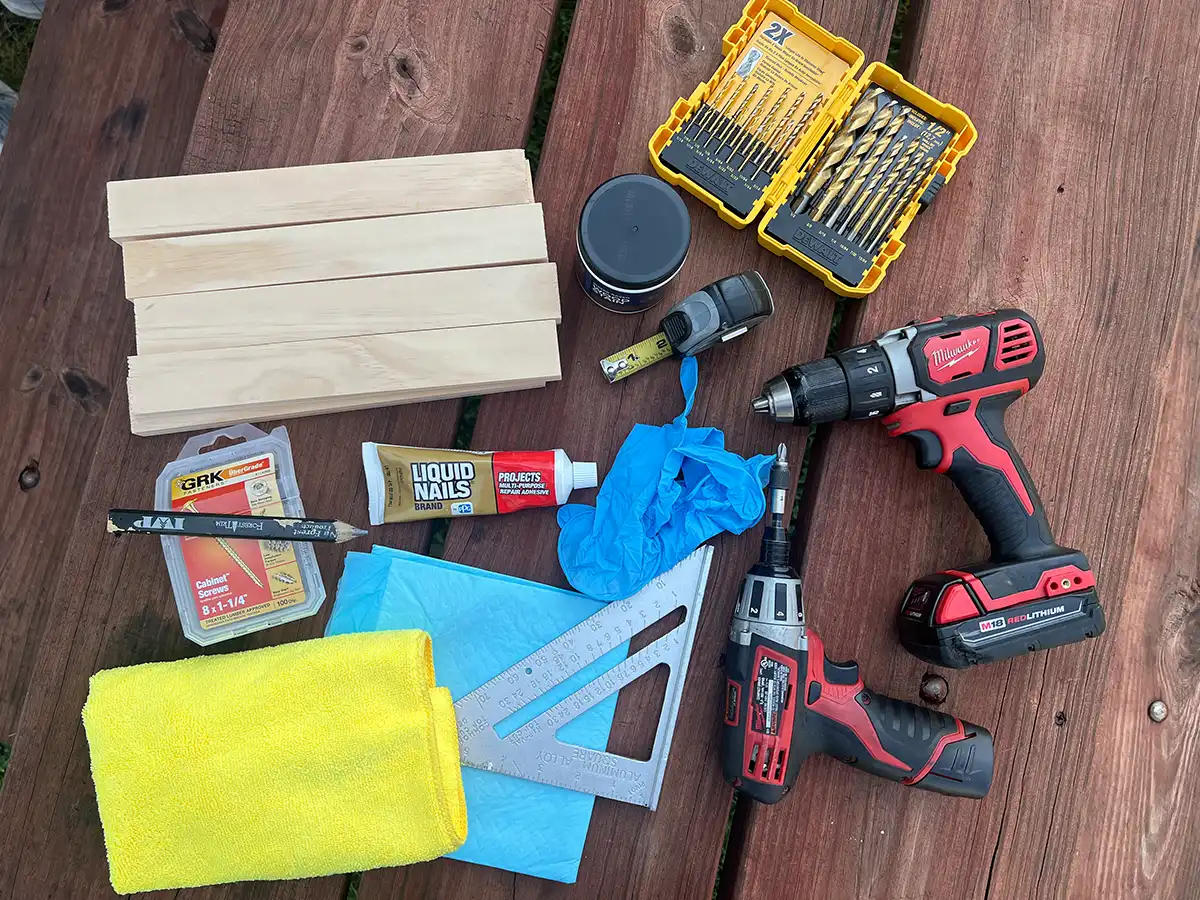
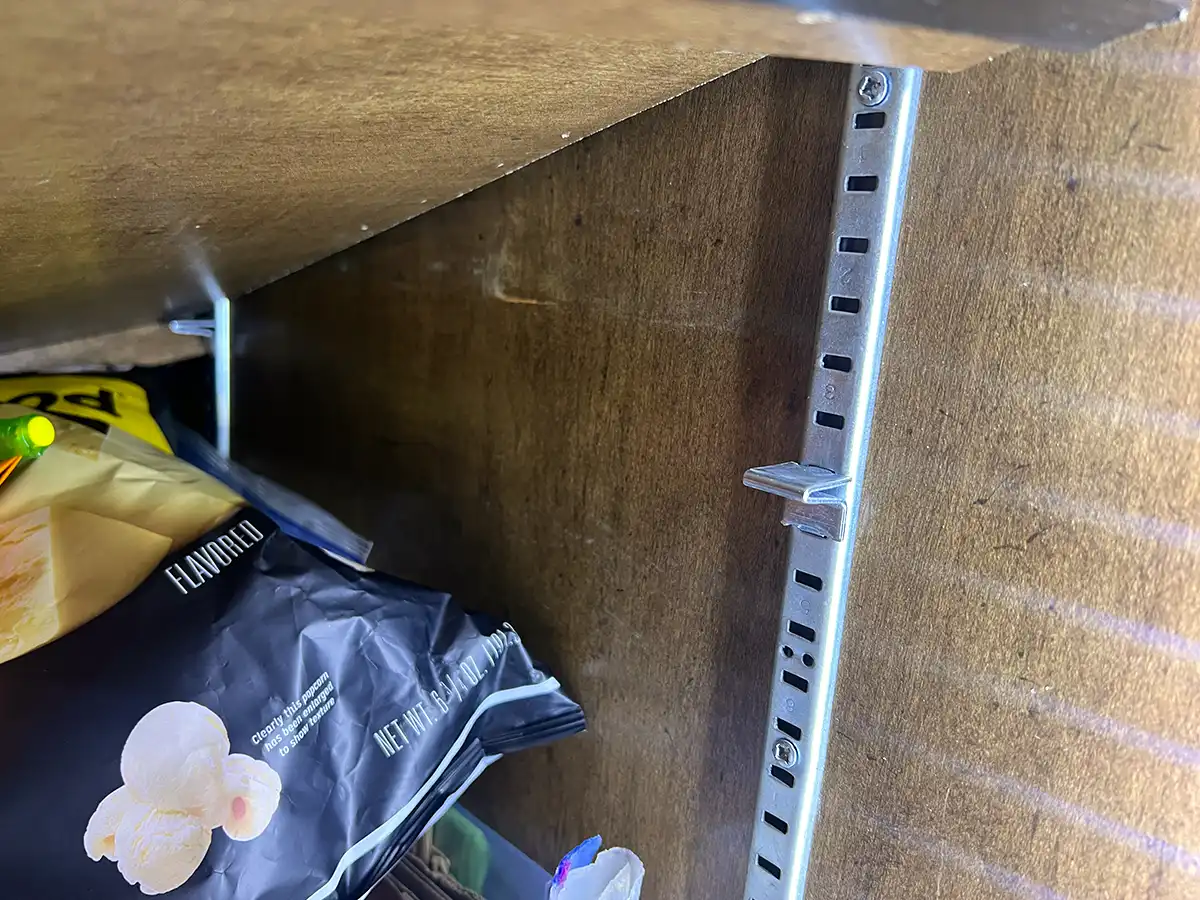
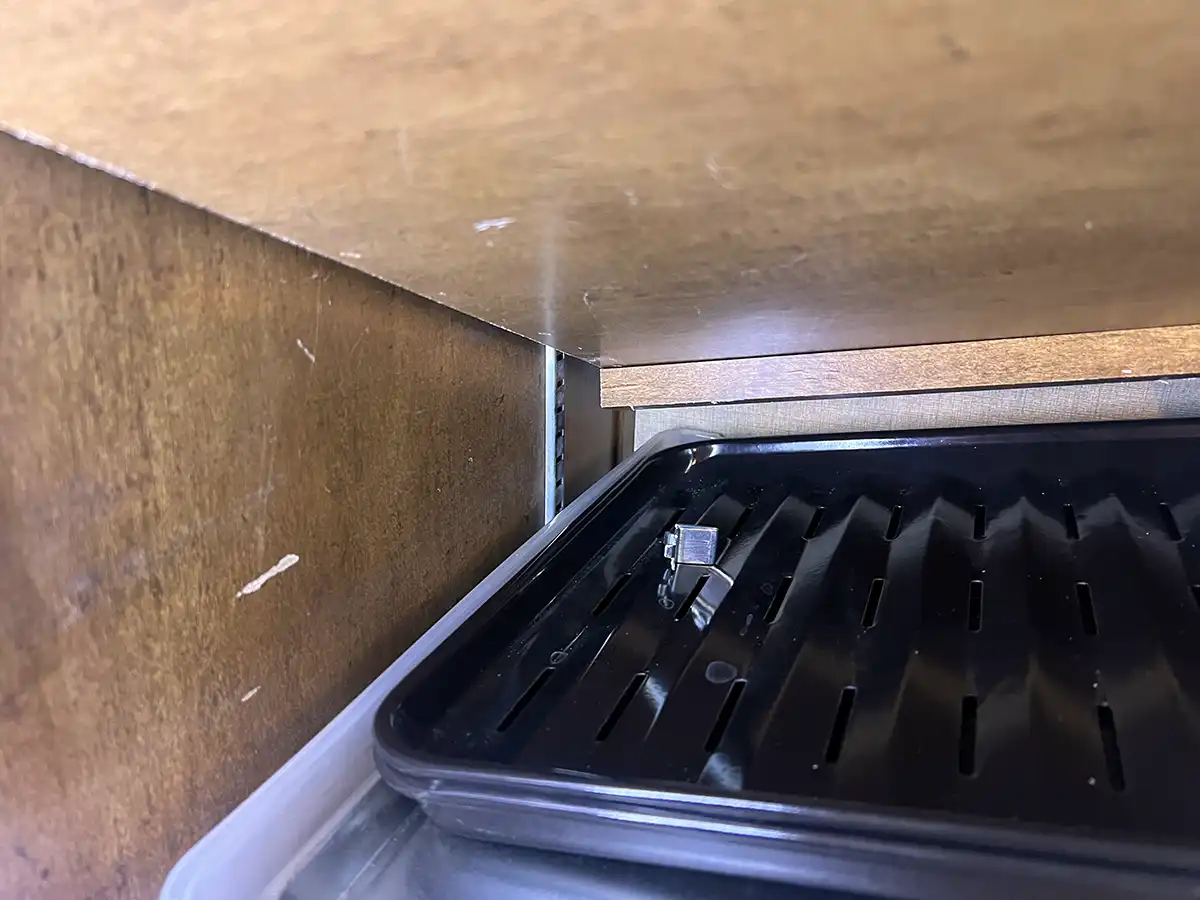
In my fifth wheel, there are four shelves that are suspended on the network of common metal standards and supports. The pine boards were cut to 11 inches in length to fit between the standards; since I needed only eight boards, one 8-foot piece of pine was purchased at Home Depot for $7.68 and cut to size. The wood can be cut with a common hand or power saw.

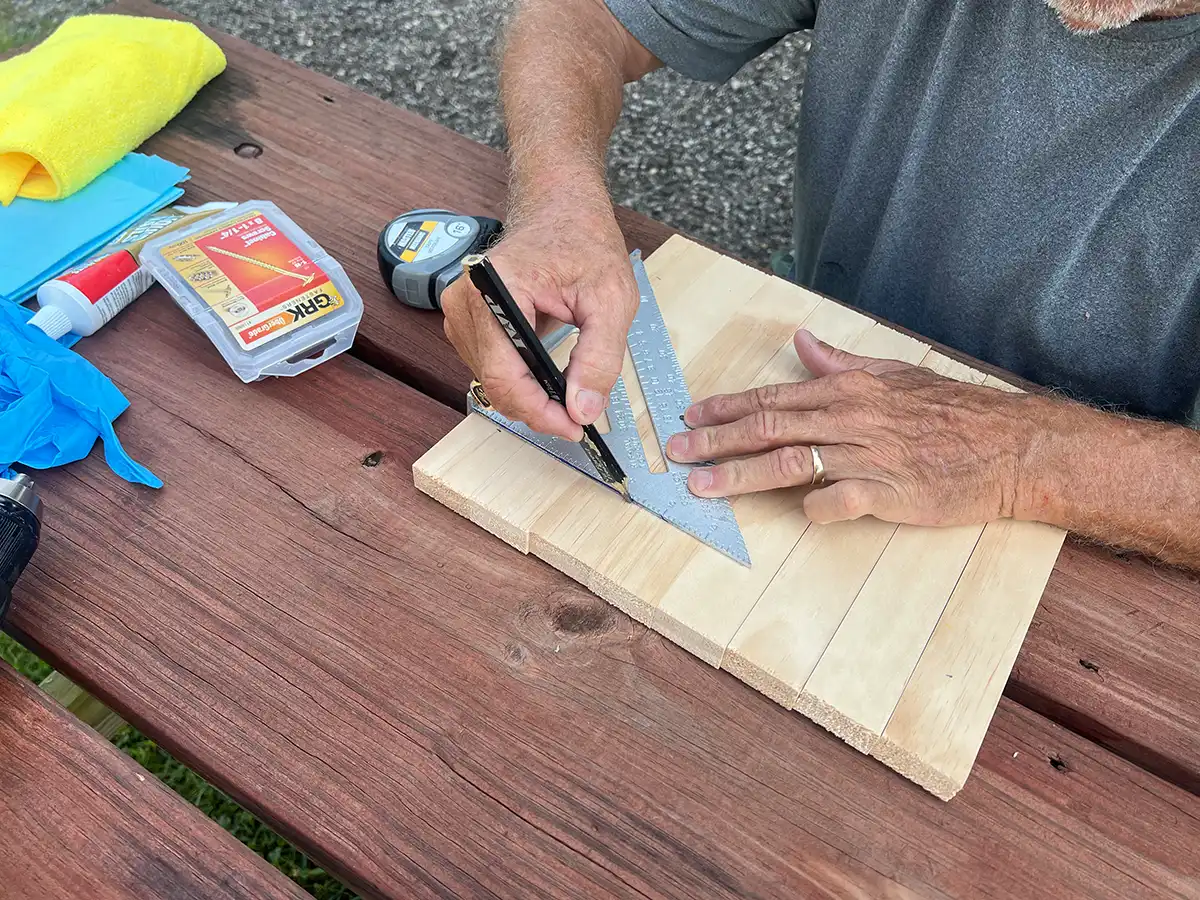
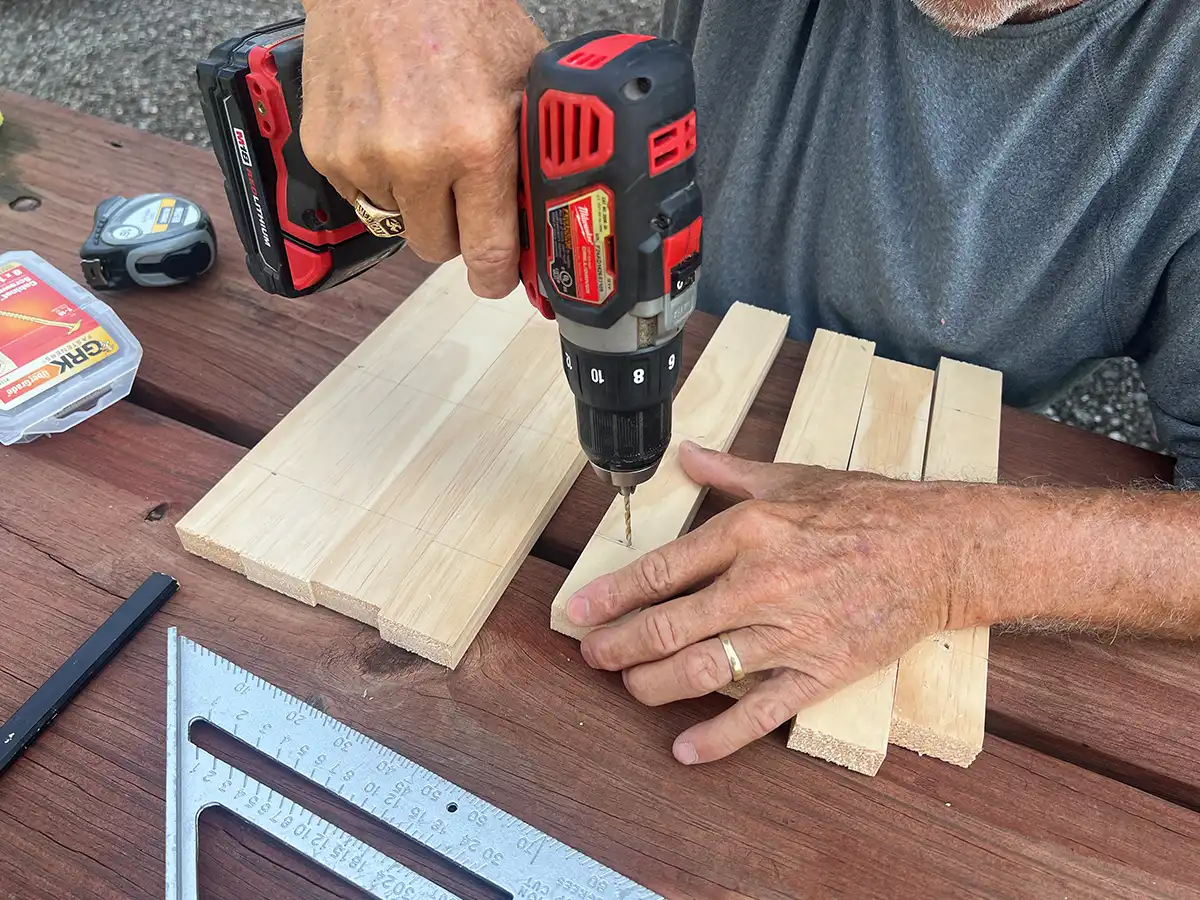
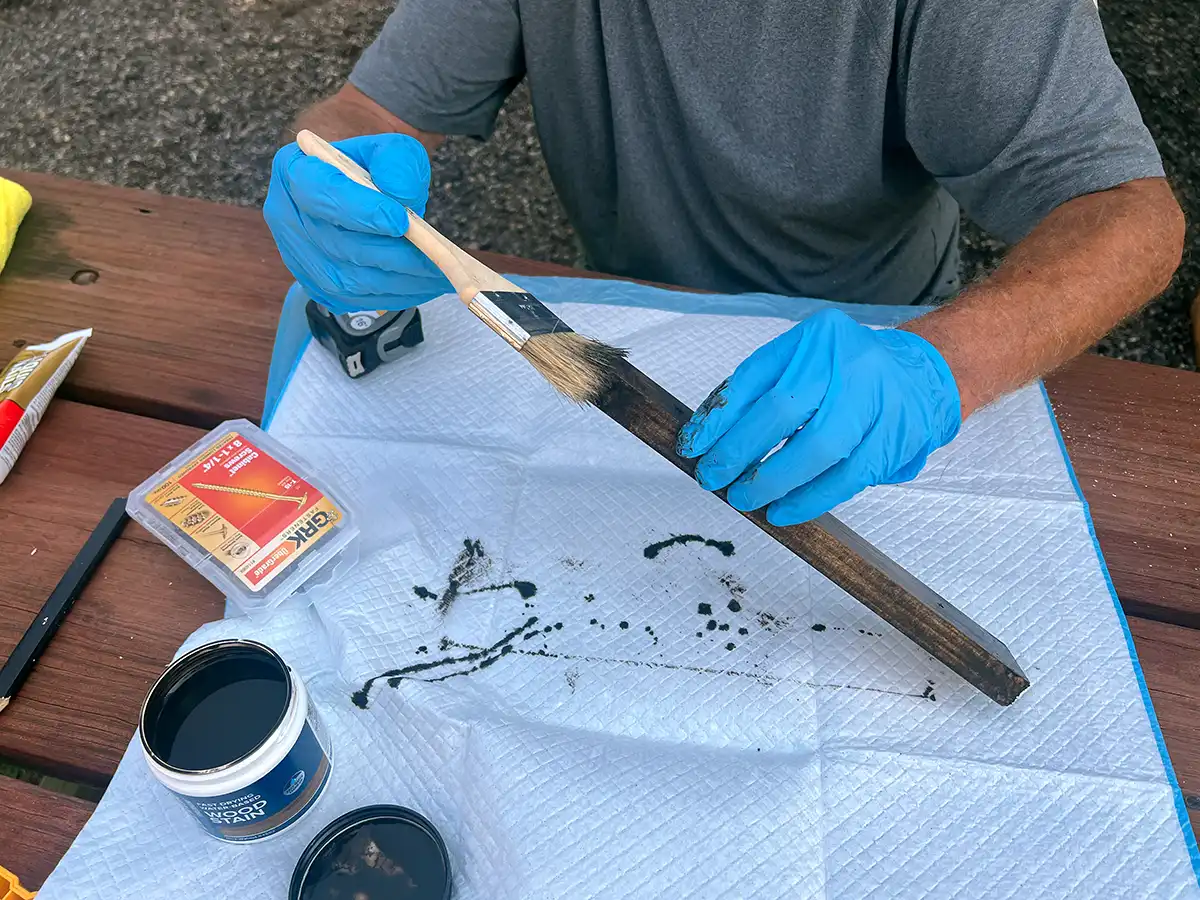
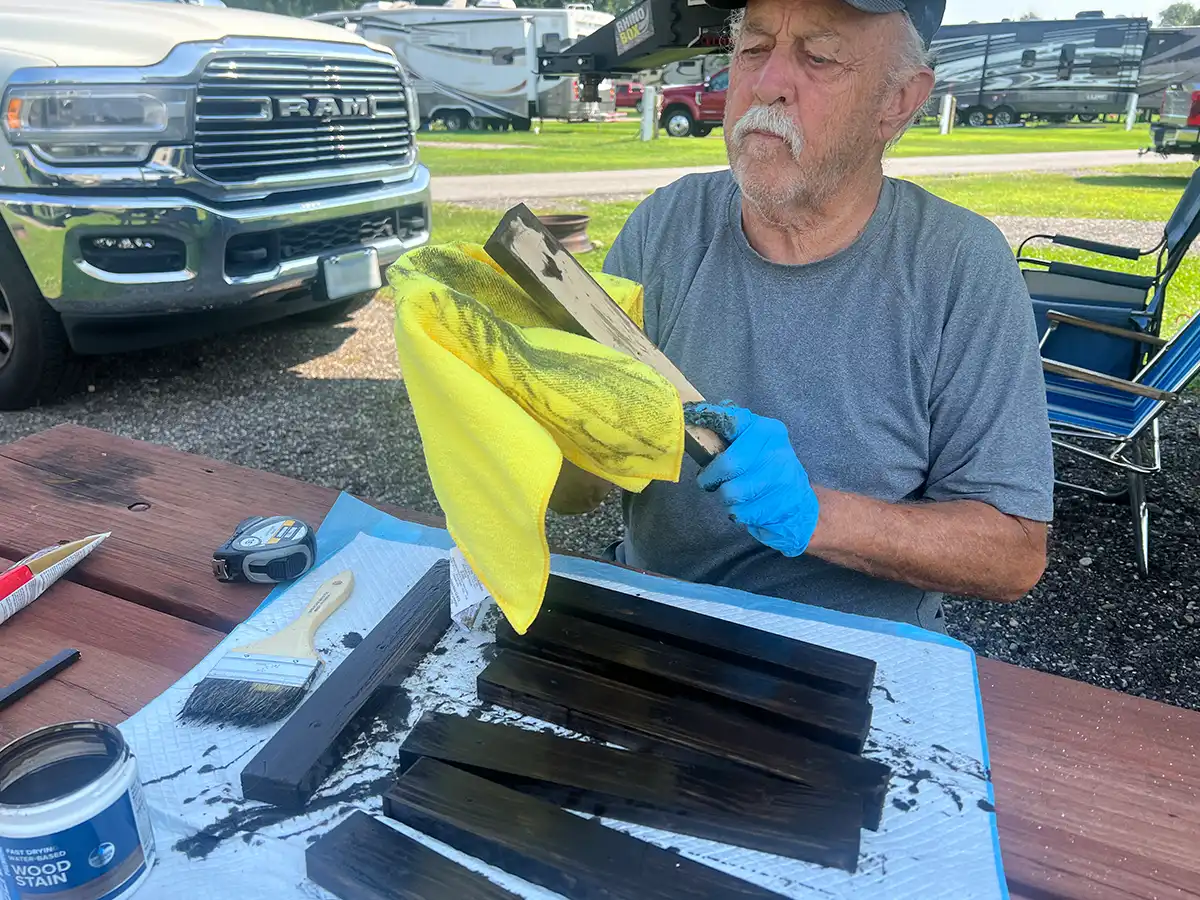
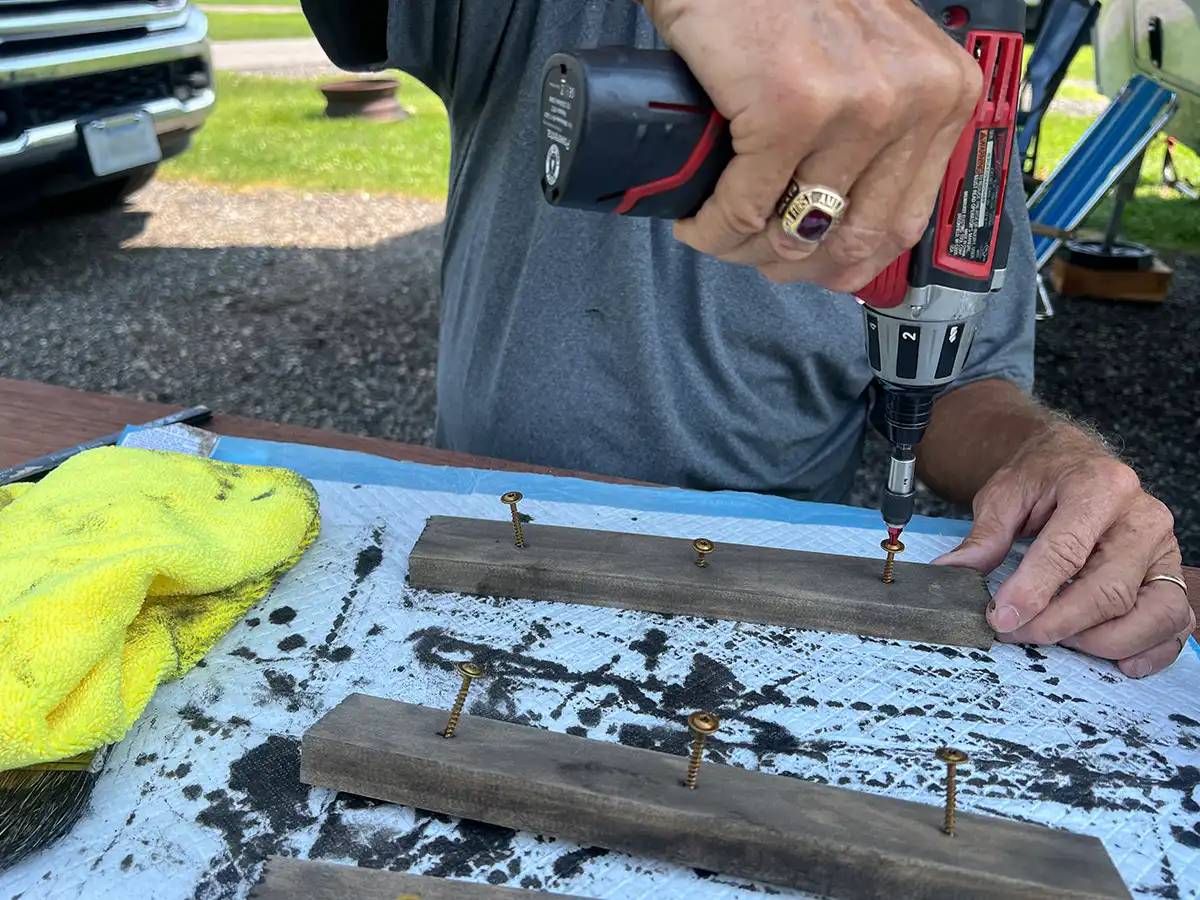
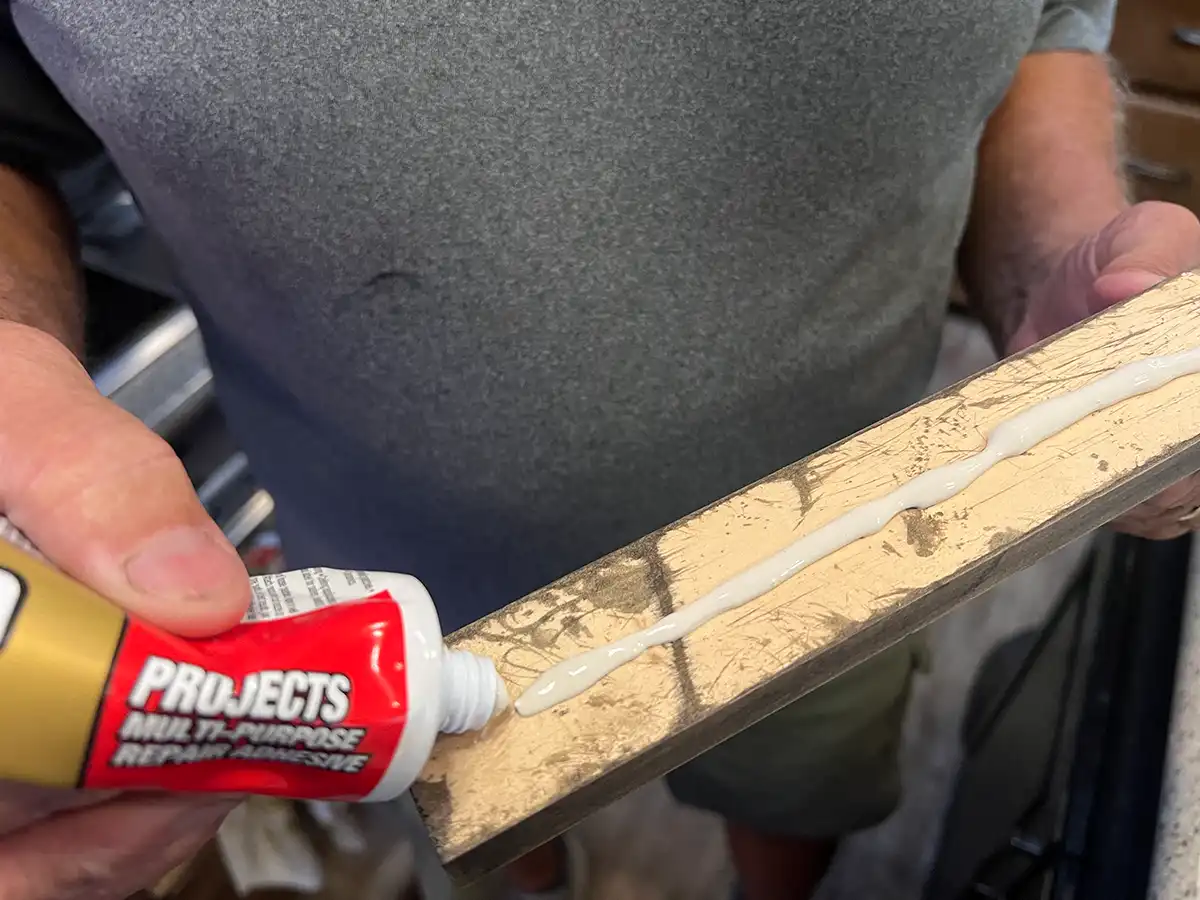
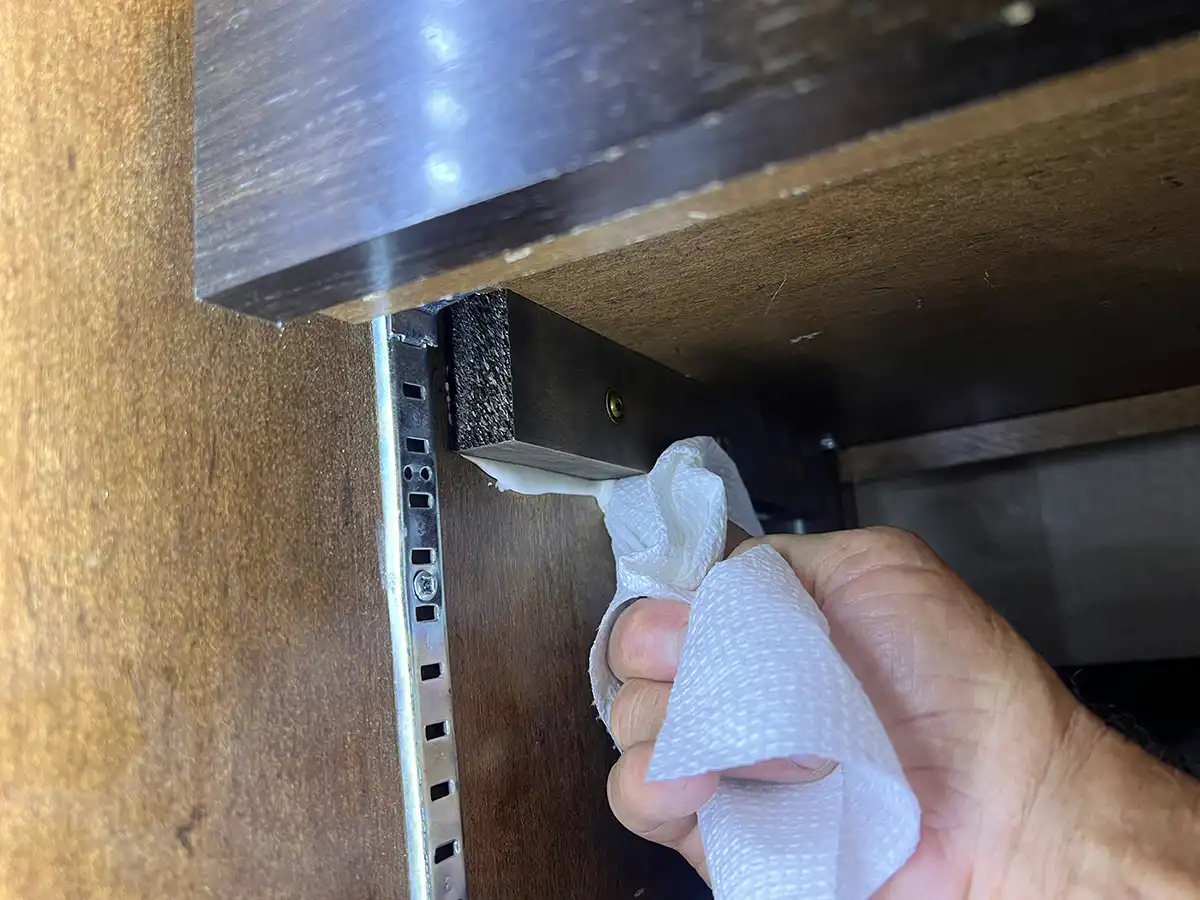
The rest is basic woodworking. Each strip of wood was stained to match the inside cabinet (as close as possible) after 7/64-inch pilot holes were drilled for the 8 x 1 ¼-inch cabinet screws. Once that was done, the stored stuff on each shelf was cleared (to make room for the screw gun) in order to attach the braces snugly against the underside of the existing wood shelfs. Before attaching each brace, a line of Liquid Nails ($4.95) was applied to the backside to assure they will stay put. I used 1 ¼-inch long screws to make sure they would not protrude through the other side of the cabinet structure. Any oozing Liquid Nails was wiped with a paper towel.
Keep in mind that adding the Liquid Nails pretty much makes this fix permanent. If you think you’ll need to adjust shelf height down the road, leave the adhesive out. My wife, Lynne, and I discussed whether shelf adjustment was in our future, and we both figured it wasn’t, so that’s why we elected for the best bond possible.

Total cost for this project was under $35, once you figure in the $9.98 for the screws, $9.28 for the stain and the cost of the Liquid Nails. This project was accomplished on the road; if you are at home and have the above supplies on hand, the cost can be insignificant. In either case, the project — which only took about an hour, not counting the time needed for the stain to dry — is worth the elimination of surprises.
Already a Subscriber? Click here for Access to the Full Issues.

