On the Skids
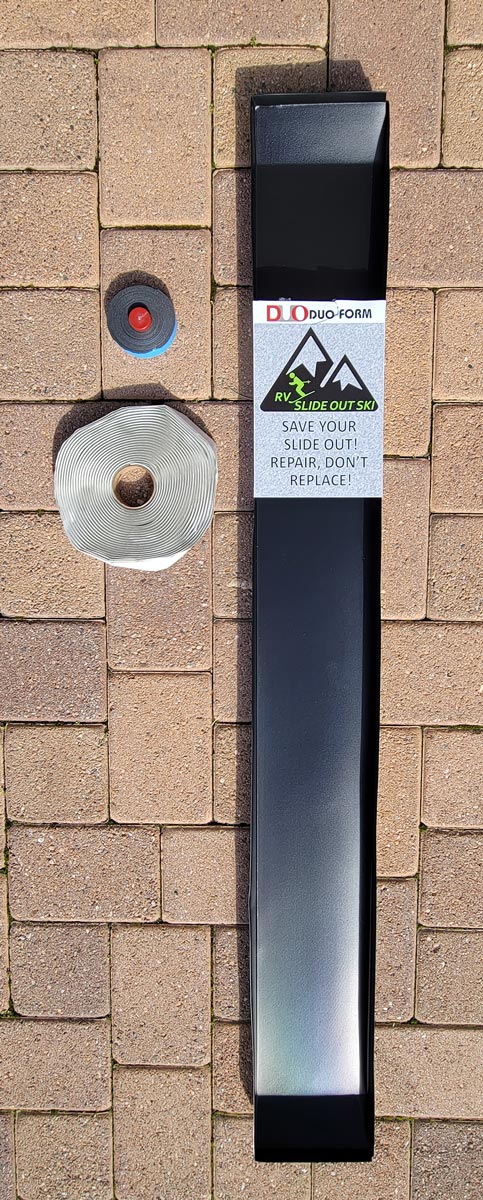
Living with slideouts that stick and grind when moving in and out is no fun. Installing Duo Form RV Slide Out Skis smooths out the operation — and curtails any damage.
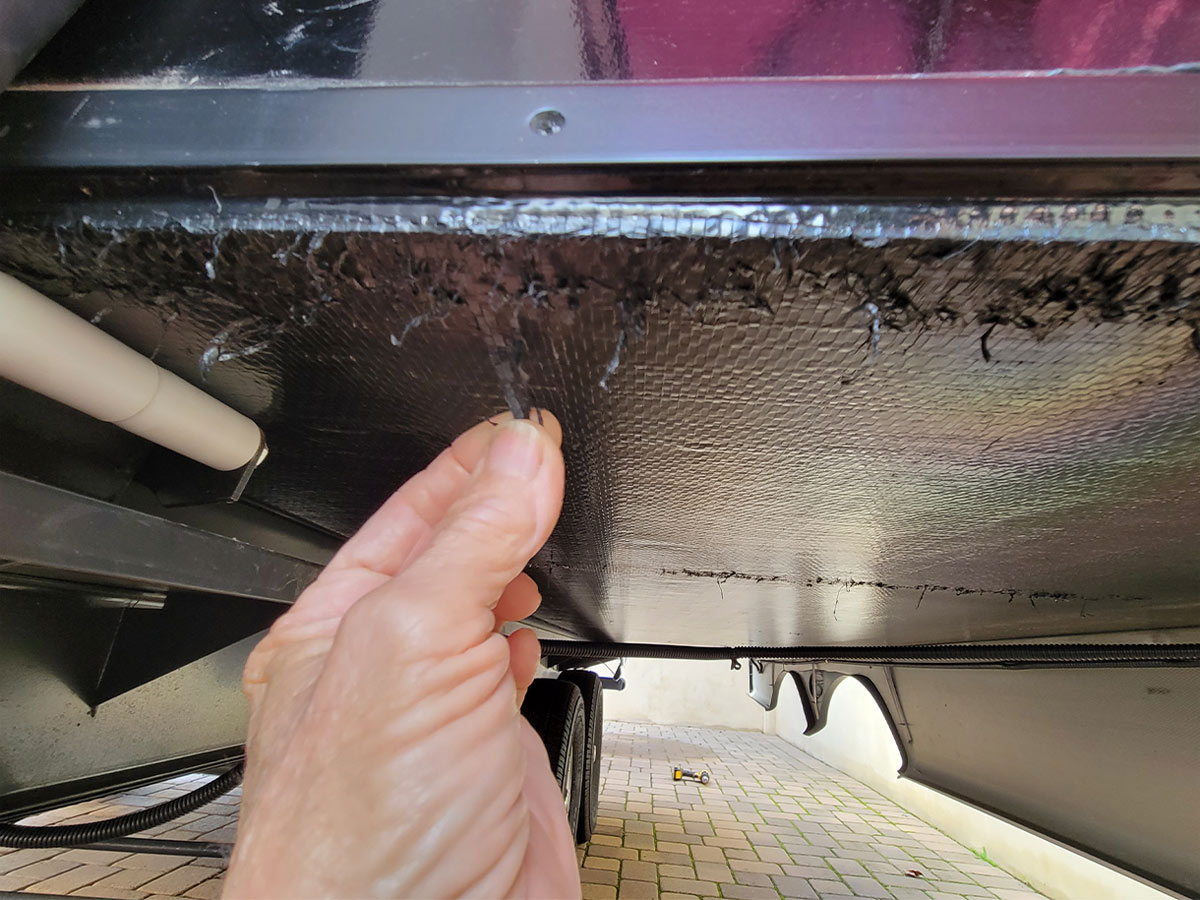
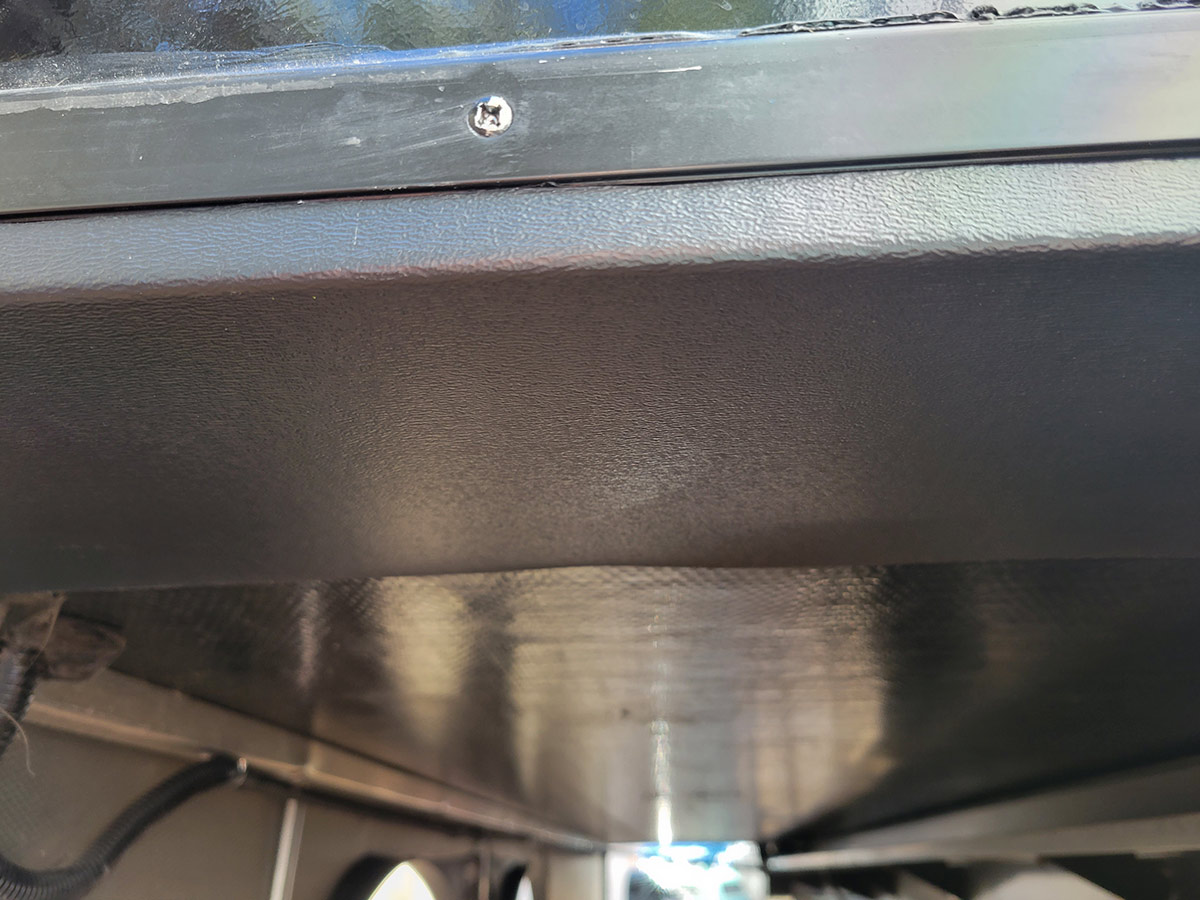
Slideout rooms have evolved tremendously since their inception years ago, and while they aren’t completely fault-free, for the most part minor maintenance will keep them functioning as intended. One issue they are susceptible to, though, is when the bottom of the slideout catches on something while moving in and out. Warping of the wood or even an errant screw or small rock can cause problems — and in most cases, the result is damage to the waterproof covering underneath the slideout room. Sometimes, the main floor can also be scratched or even gouged.
Removing the entire slideout to replace the material is a big job — and making spot repairs with tape (sorry, duct tape fans) rarely works. Adding skids to the bottom of the slideout, on the other hand, is great preventative medicine. After a friend found slideout “skis” online and I installed them, I was a believer.
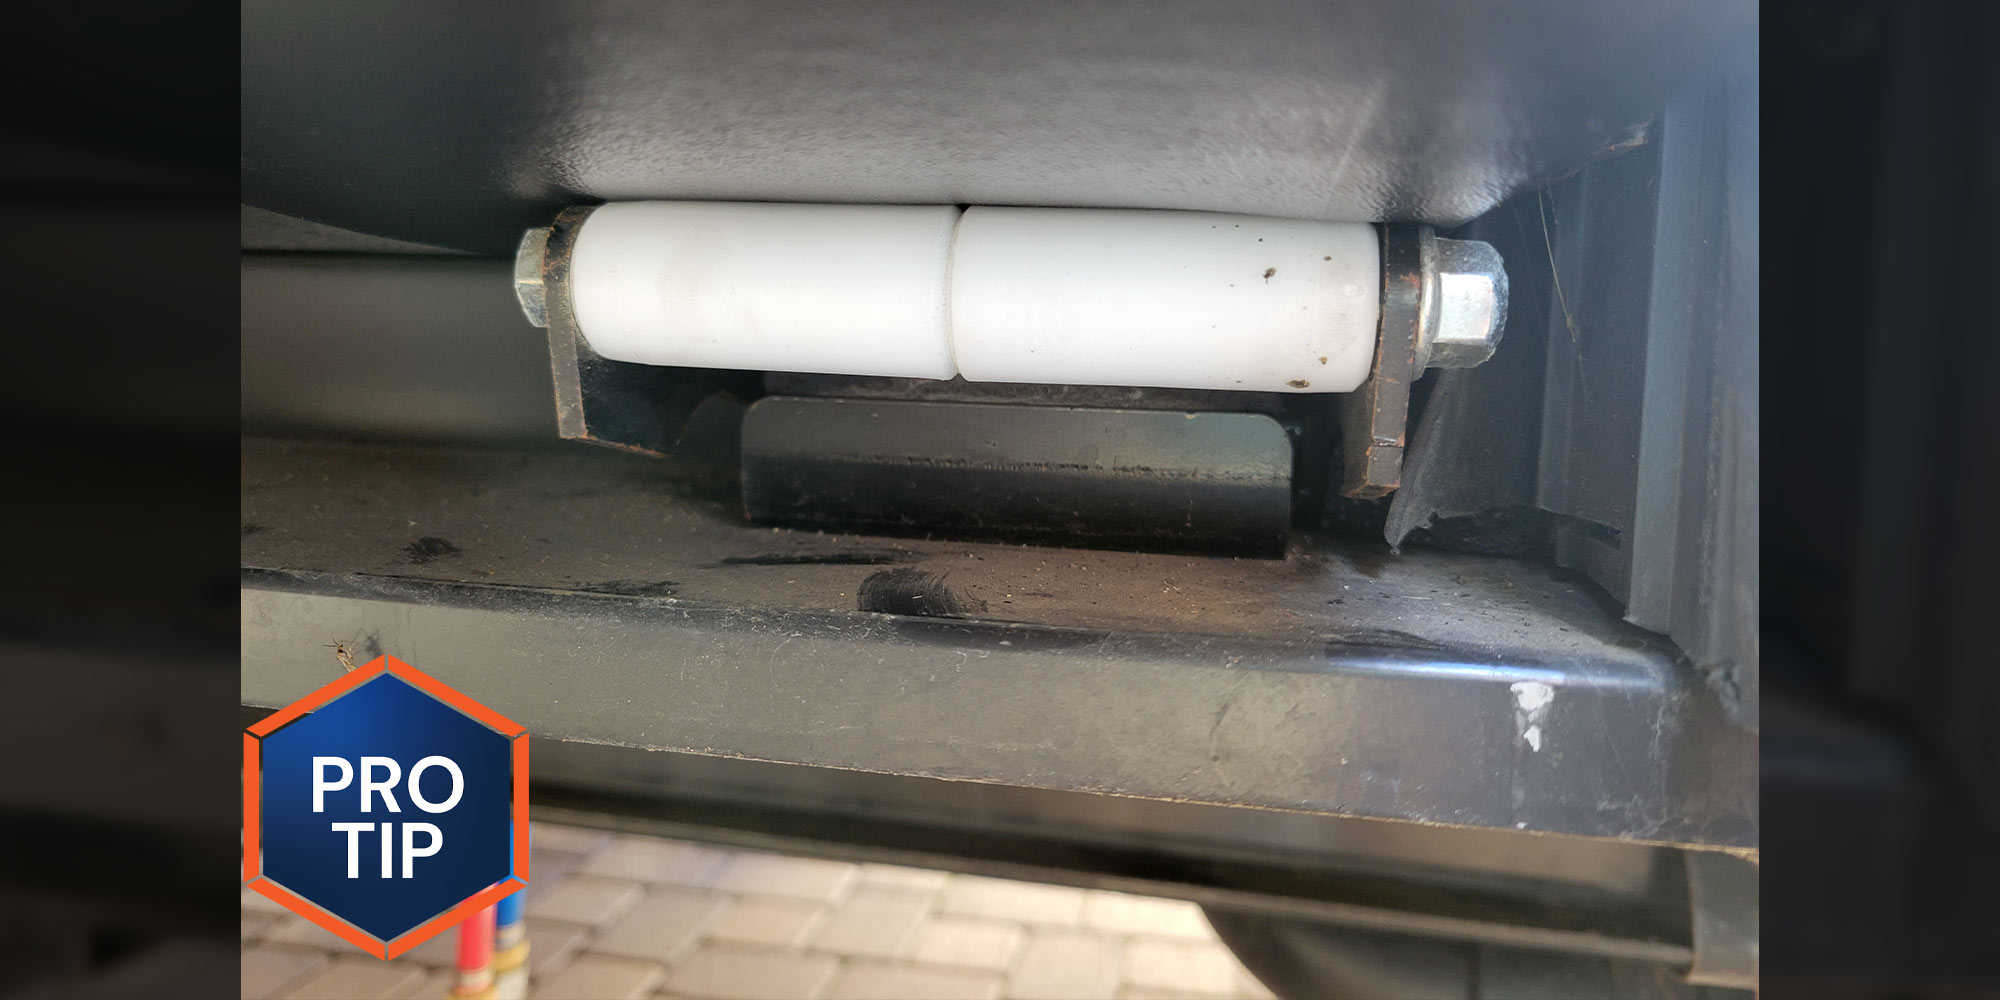
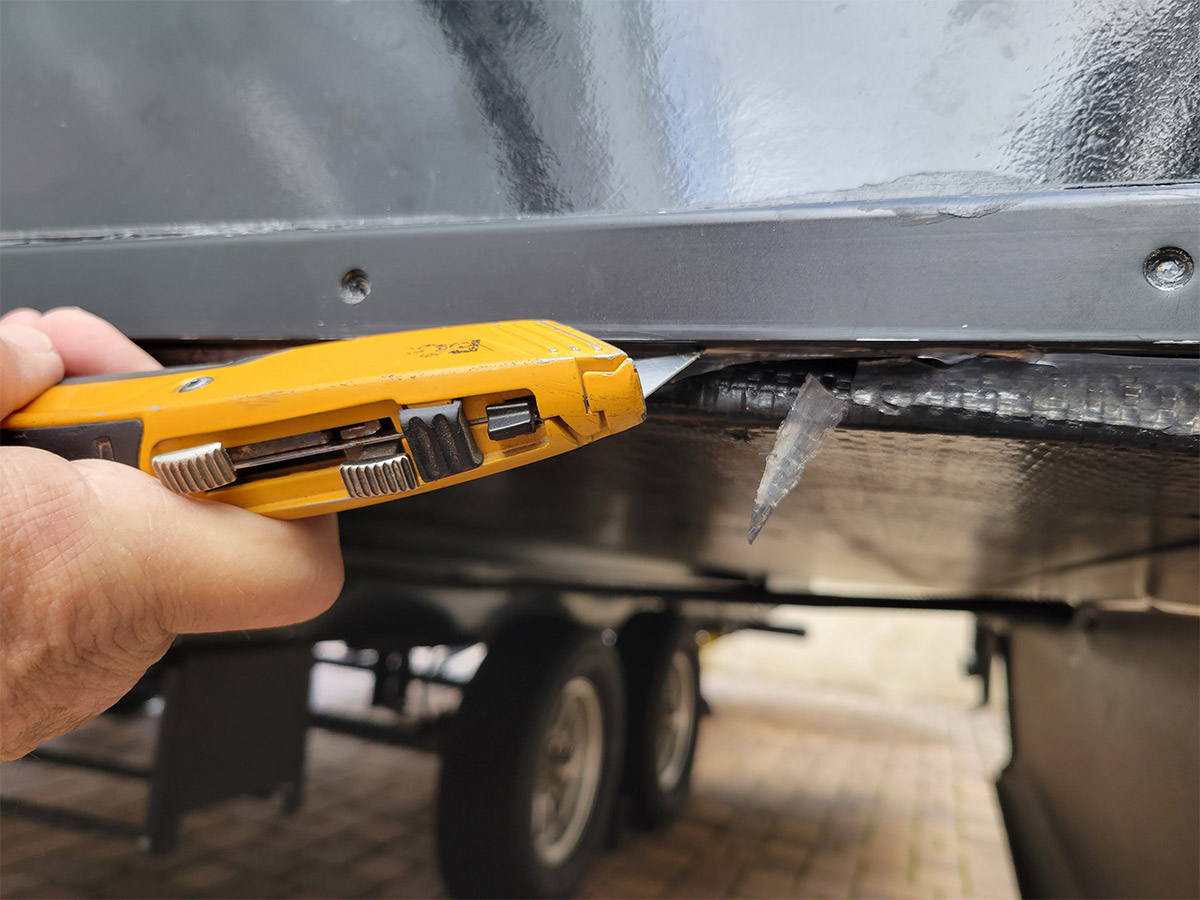
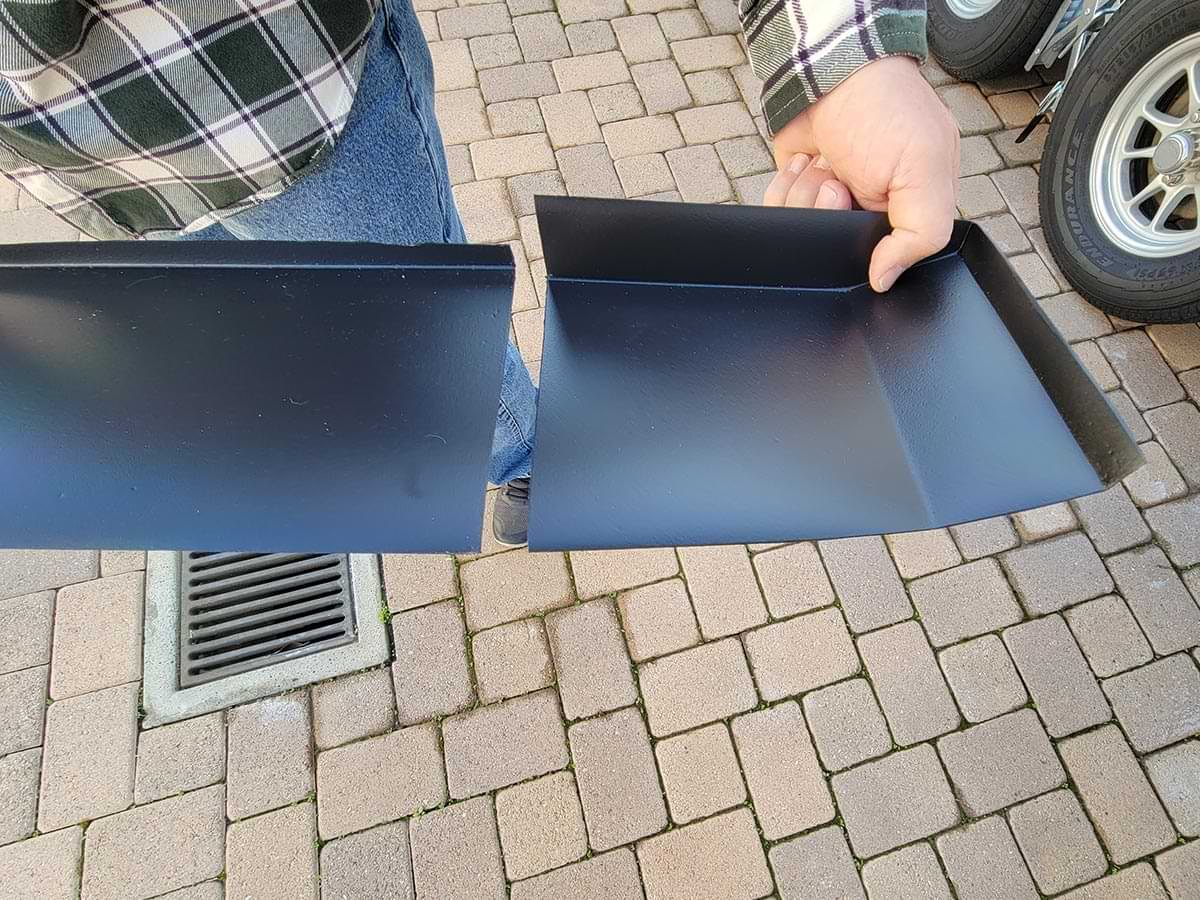
We determined that the problem with the slideout we were working on was due to incorrectly installed rollers. The result was serious gouging of the material that covered the bottom of the slideout floor. The first step was to remove the molding on the outside of the front and rear slideout walls. Once the old caulking was removed, time was spent determining where to cut the skis. These skis are typically installed on the edges of the slidout and can be positioned up against or under the molding — and if you cut off the lip, they can be installed in the middle or anywhere underneath the slideout room. There is a link in the instructions for an online video of the installation process, which we watched for this project.
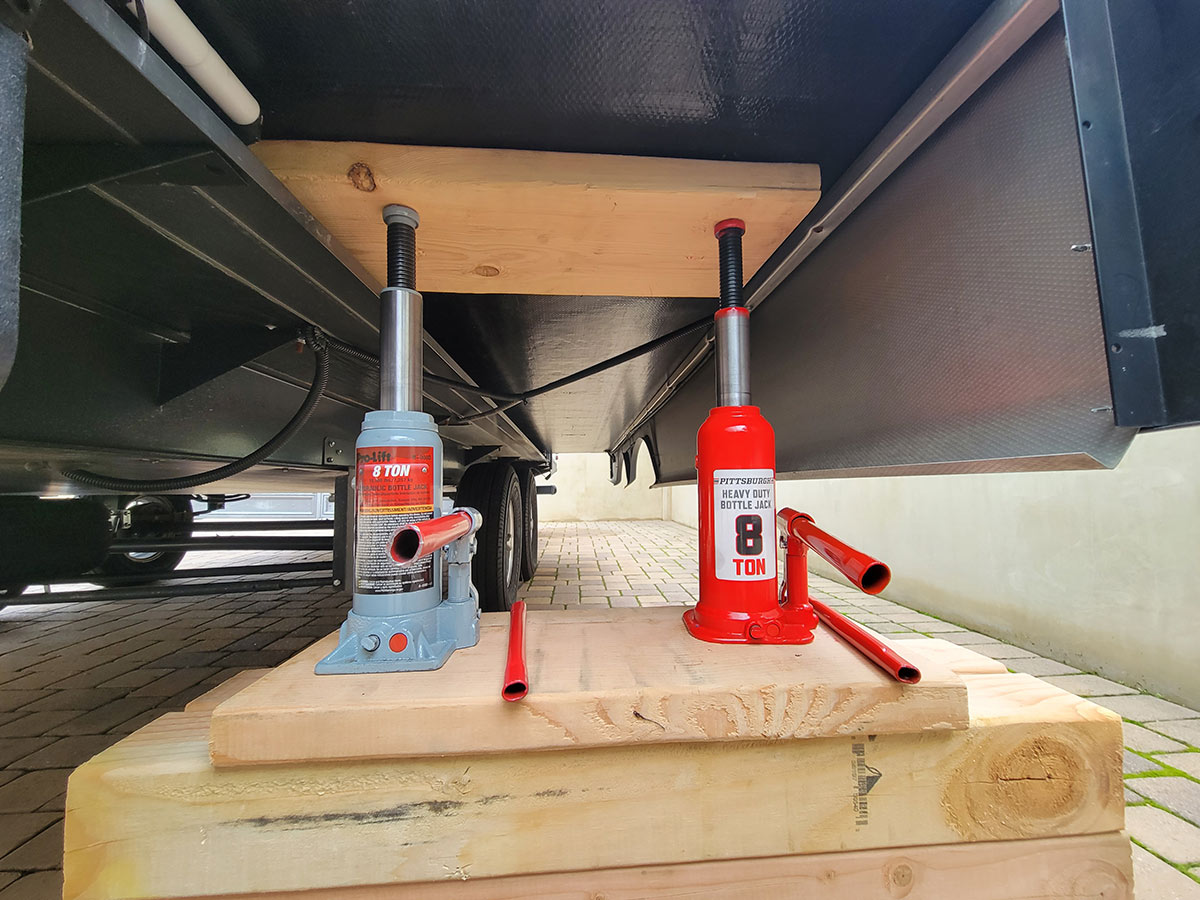
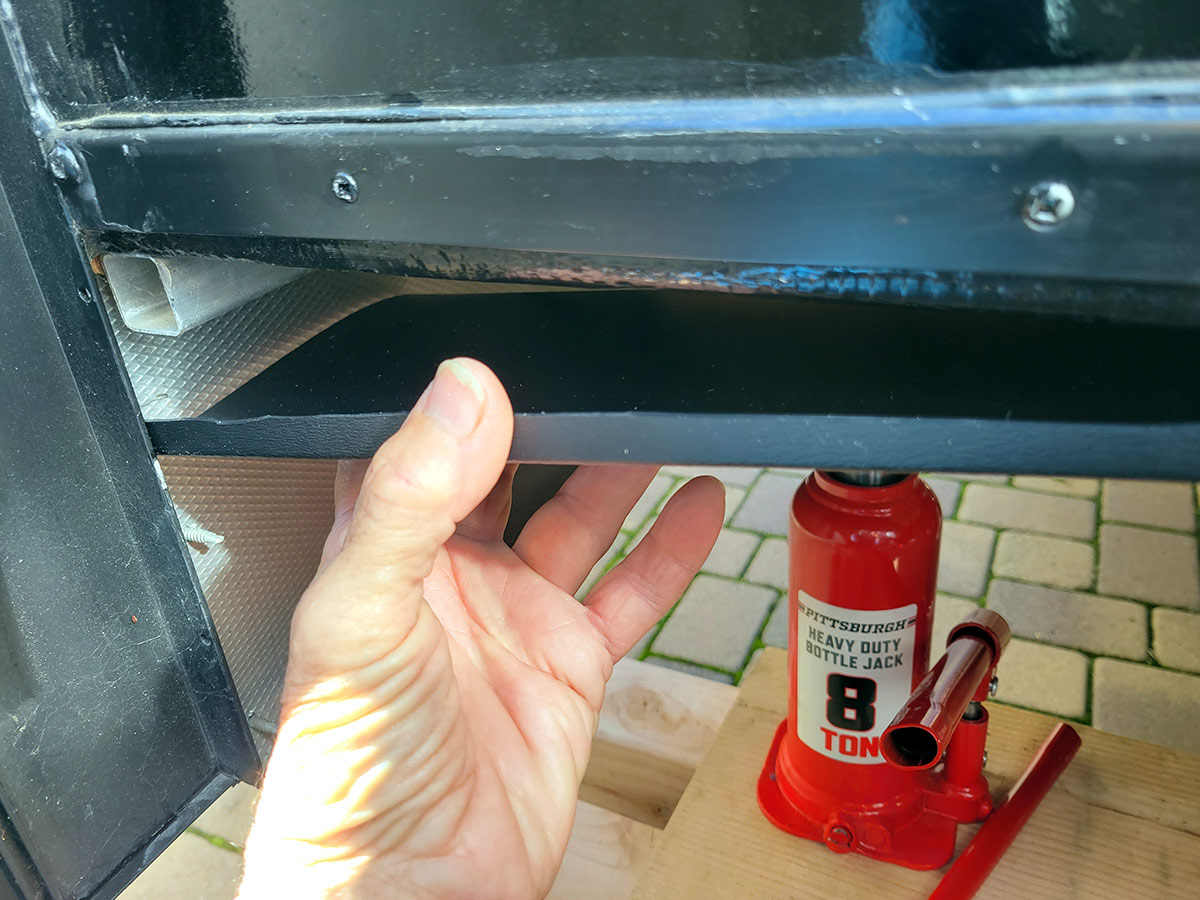
Duo Form recommends that the installation be performed by an experienced technician because if not done properly, jacking up the bottom of the slideout to provide clearance for the skis can be dangerous. In our case, the installation was a little tougher because the rollers were so close to each sidewall that we had difficulty installing the skis — but we persisted with some cutting and were able to get them placed properly. With a little patience, experienced do-it-yourselfers should be able to complete the installation.

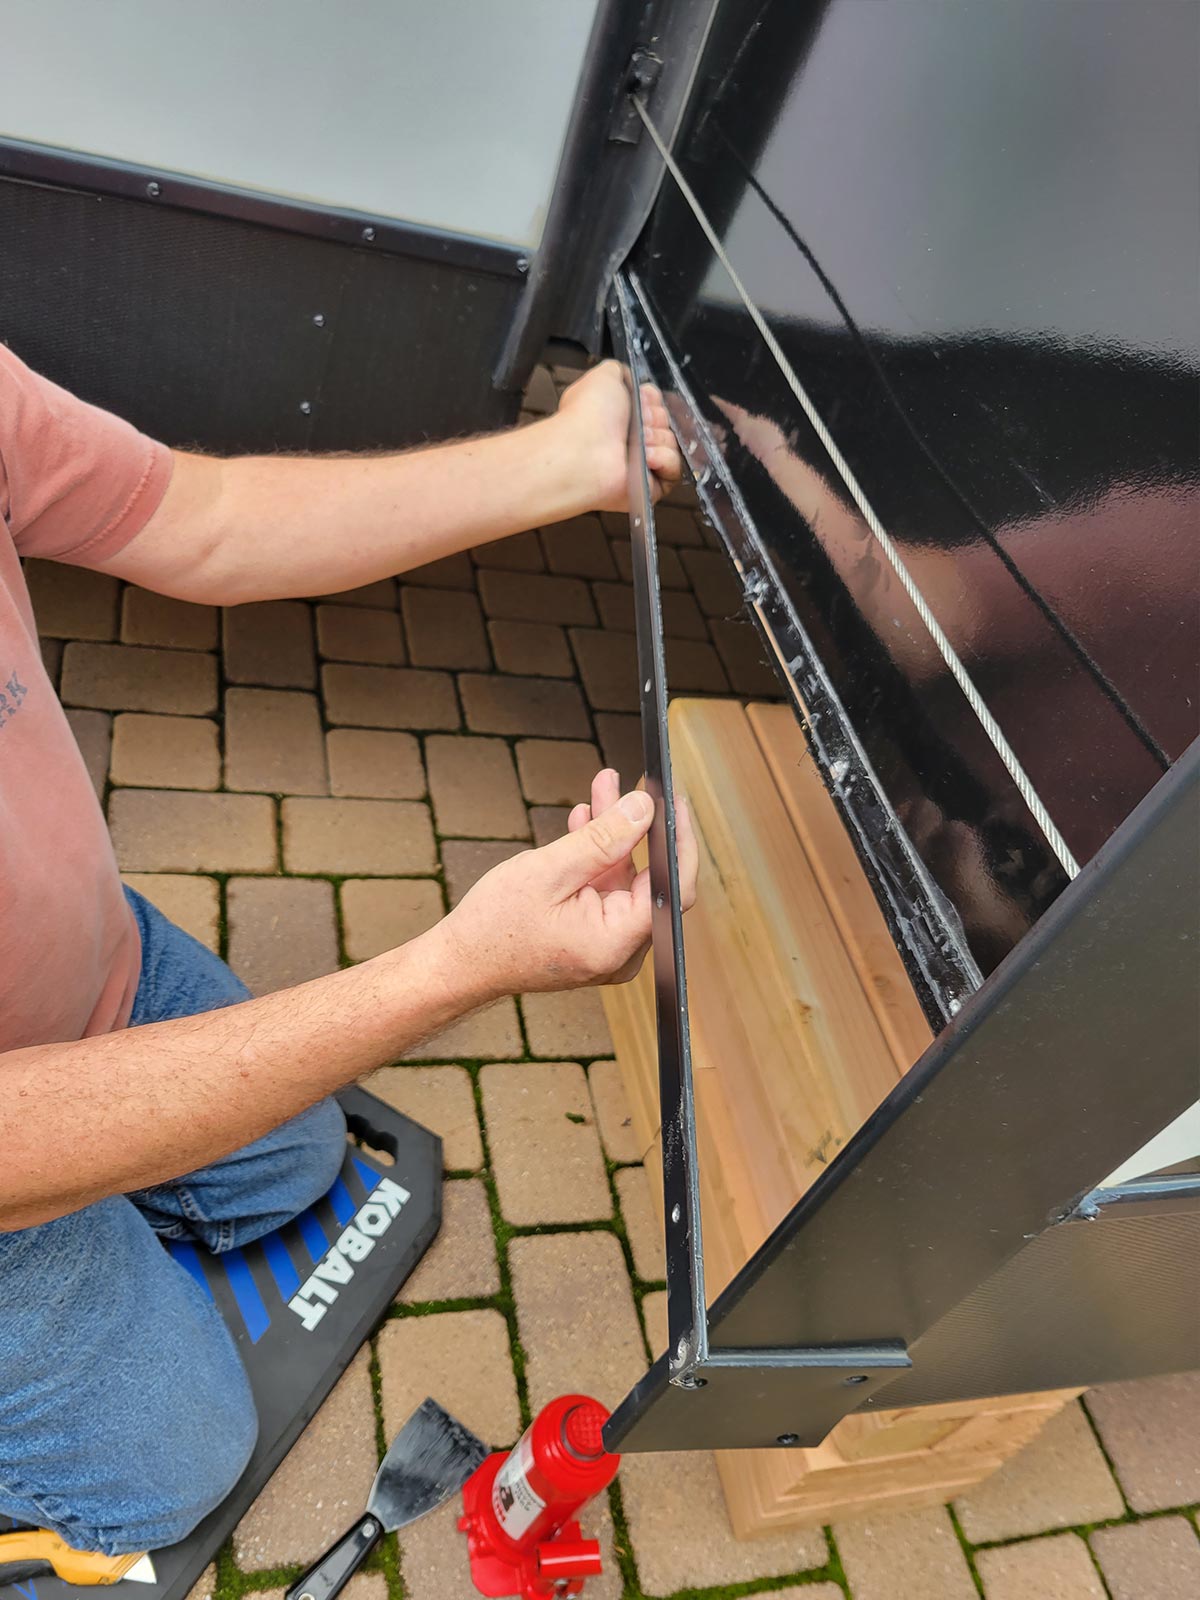

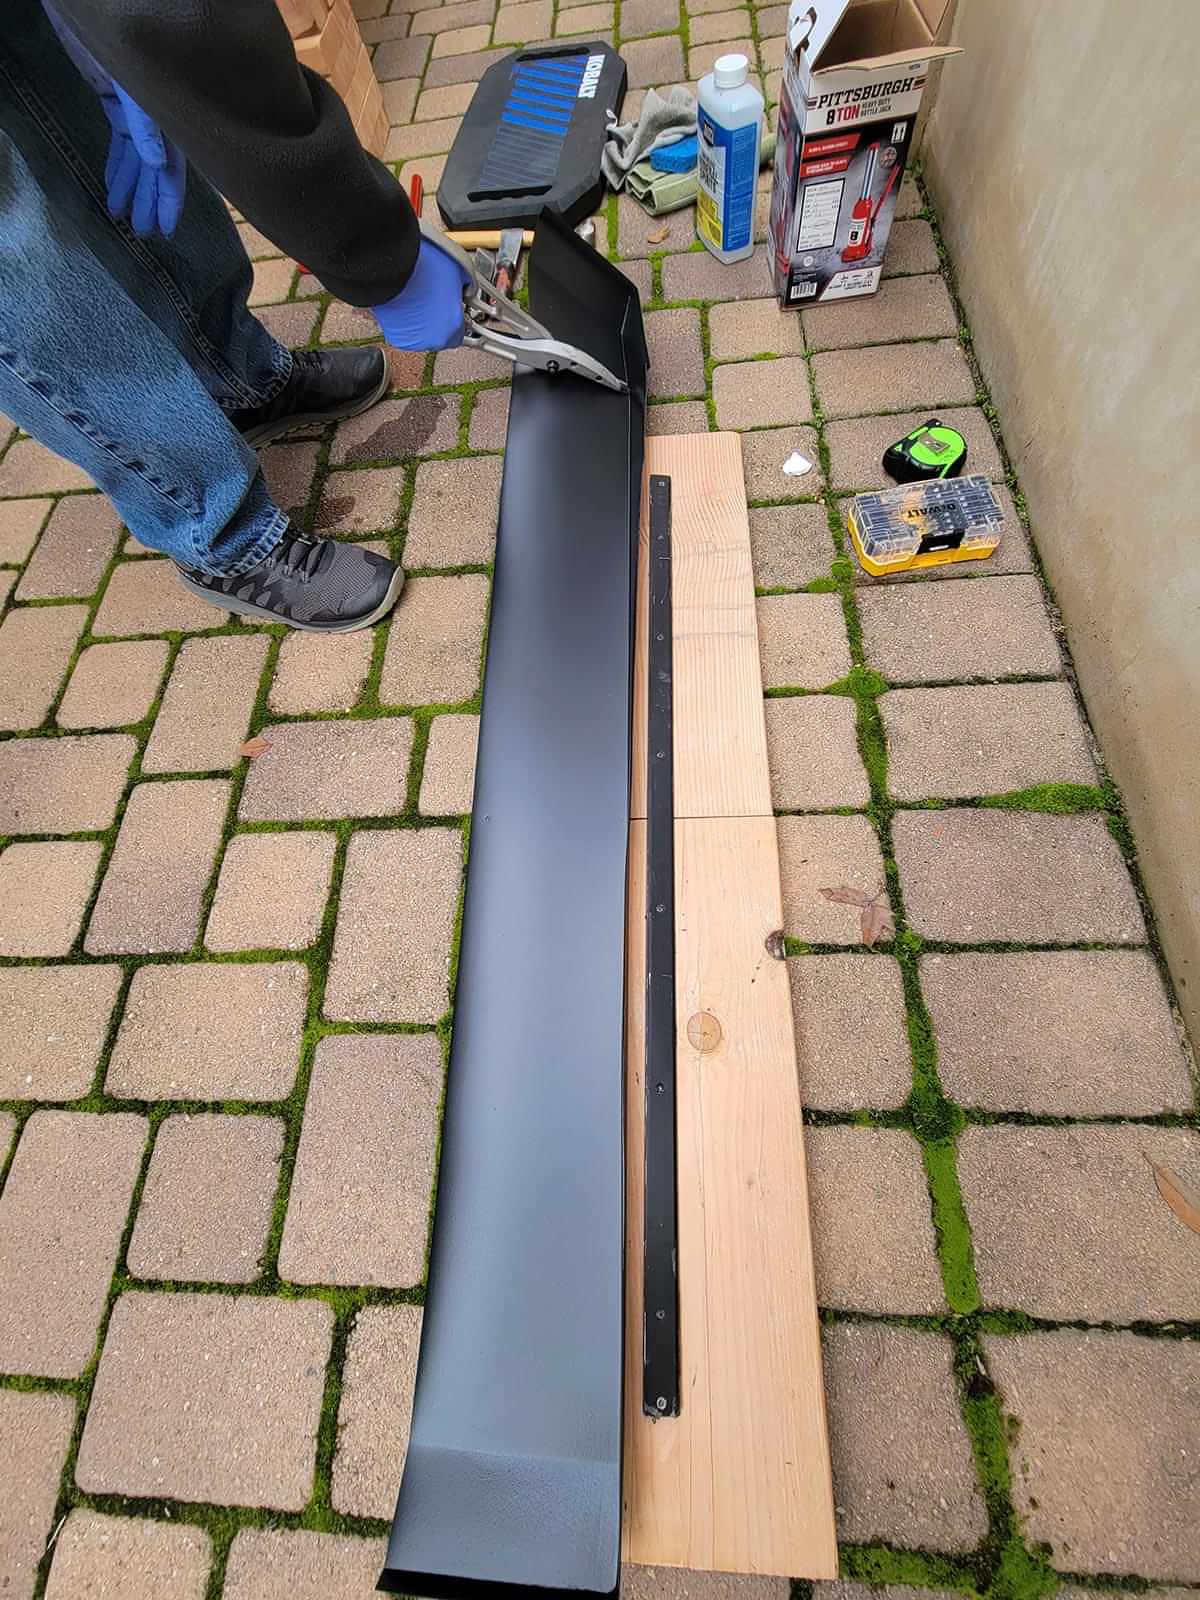
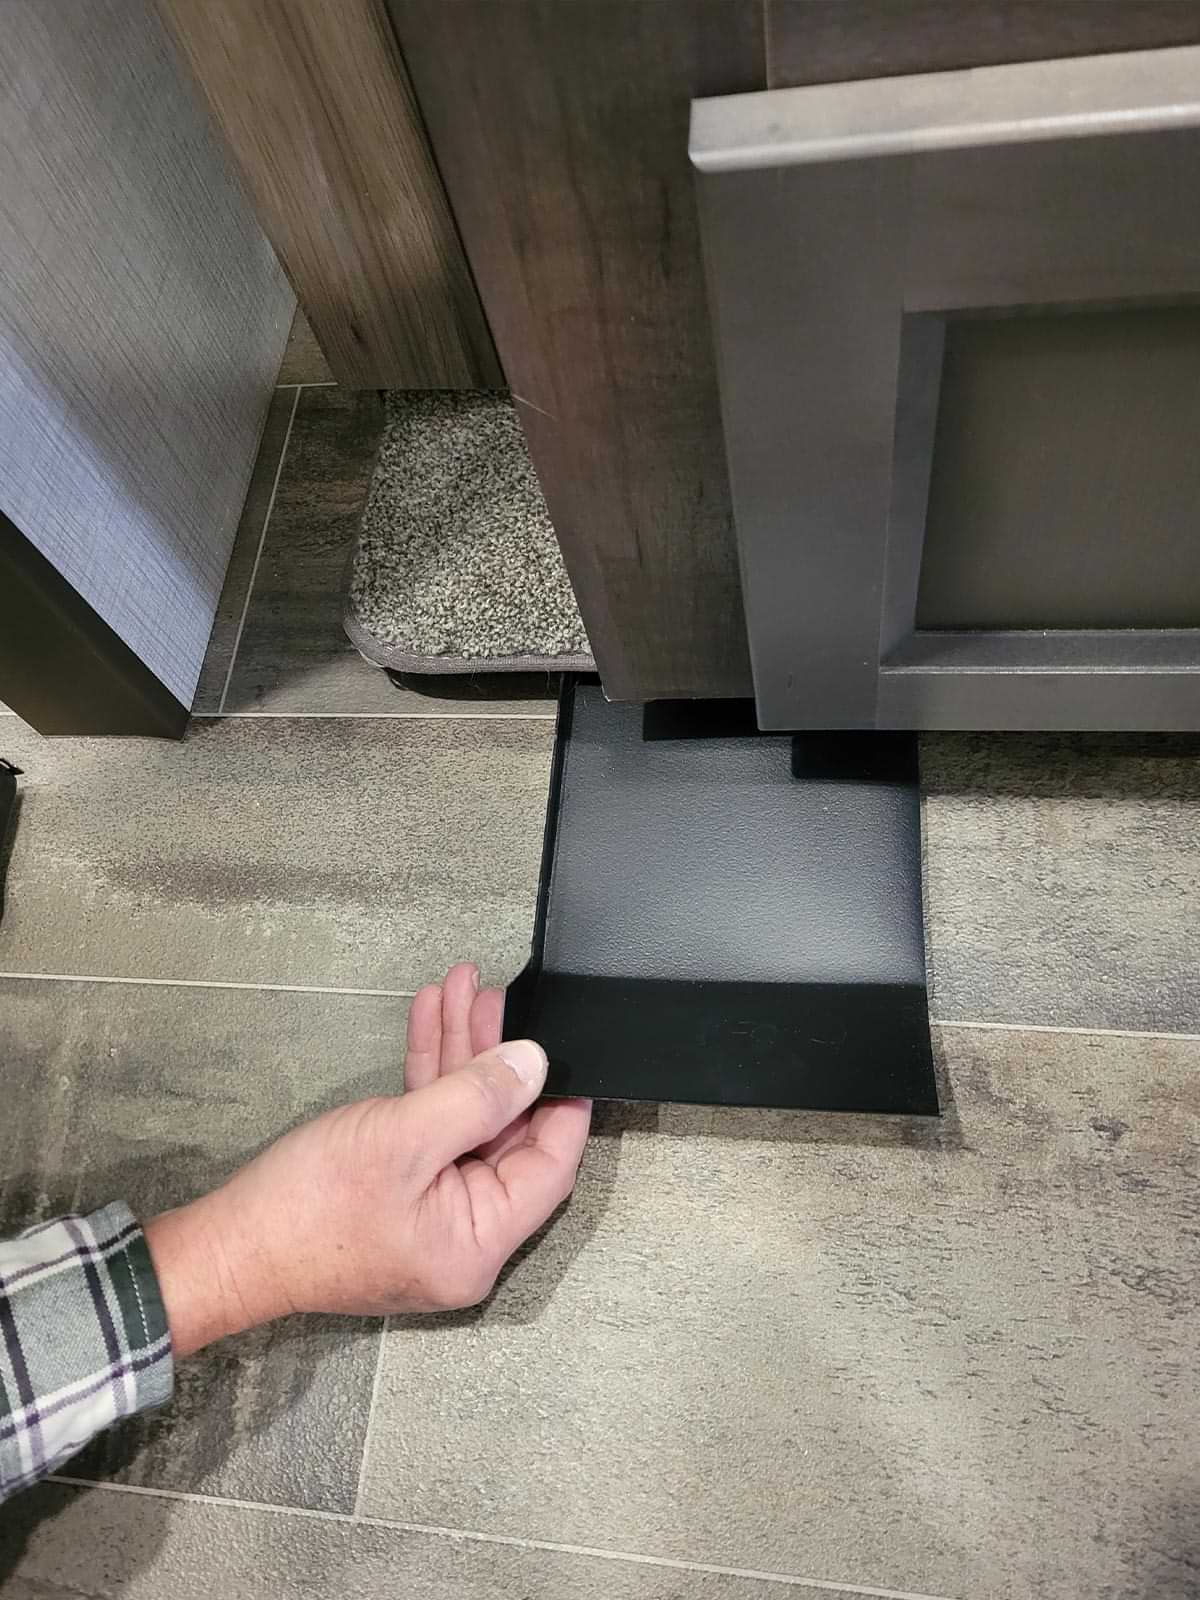
We cut the skis to length and held them into place to make sure the fit was right. Before we jacked the room up to install the skis, we moved the slideout room in about 12 to 16 inches to gain access from the inside, where the skis were installed.
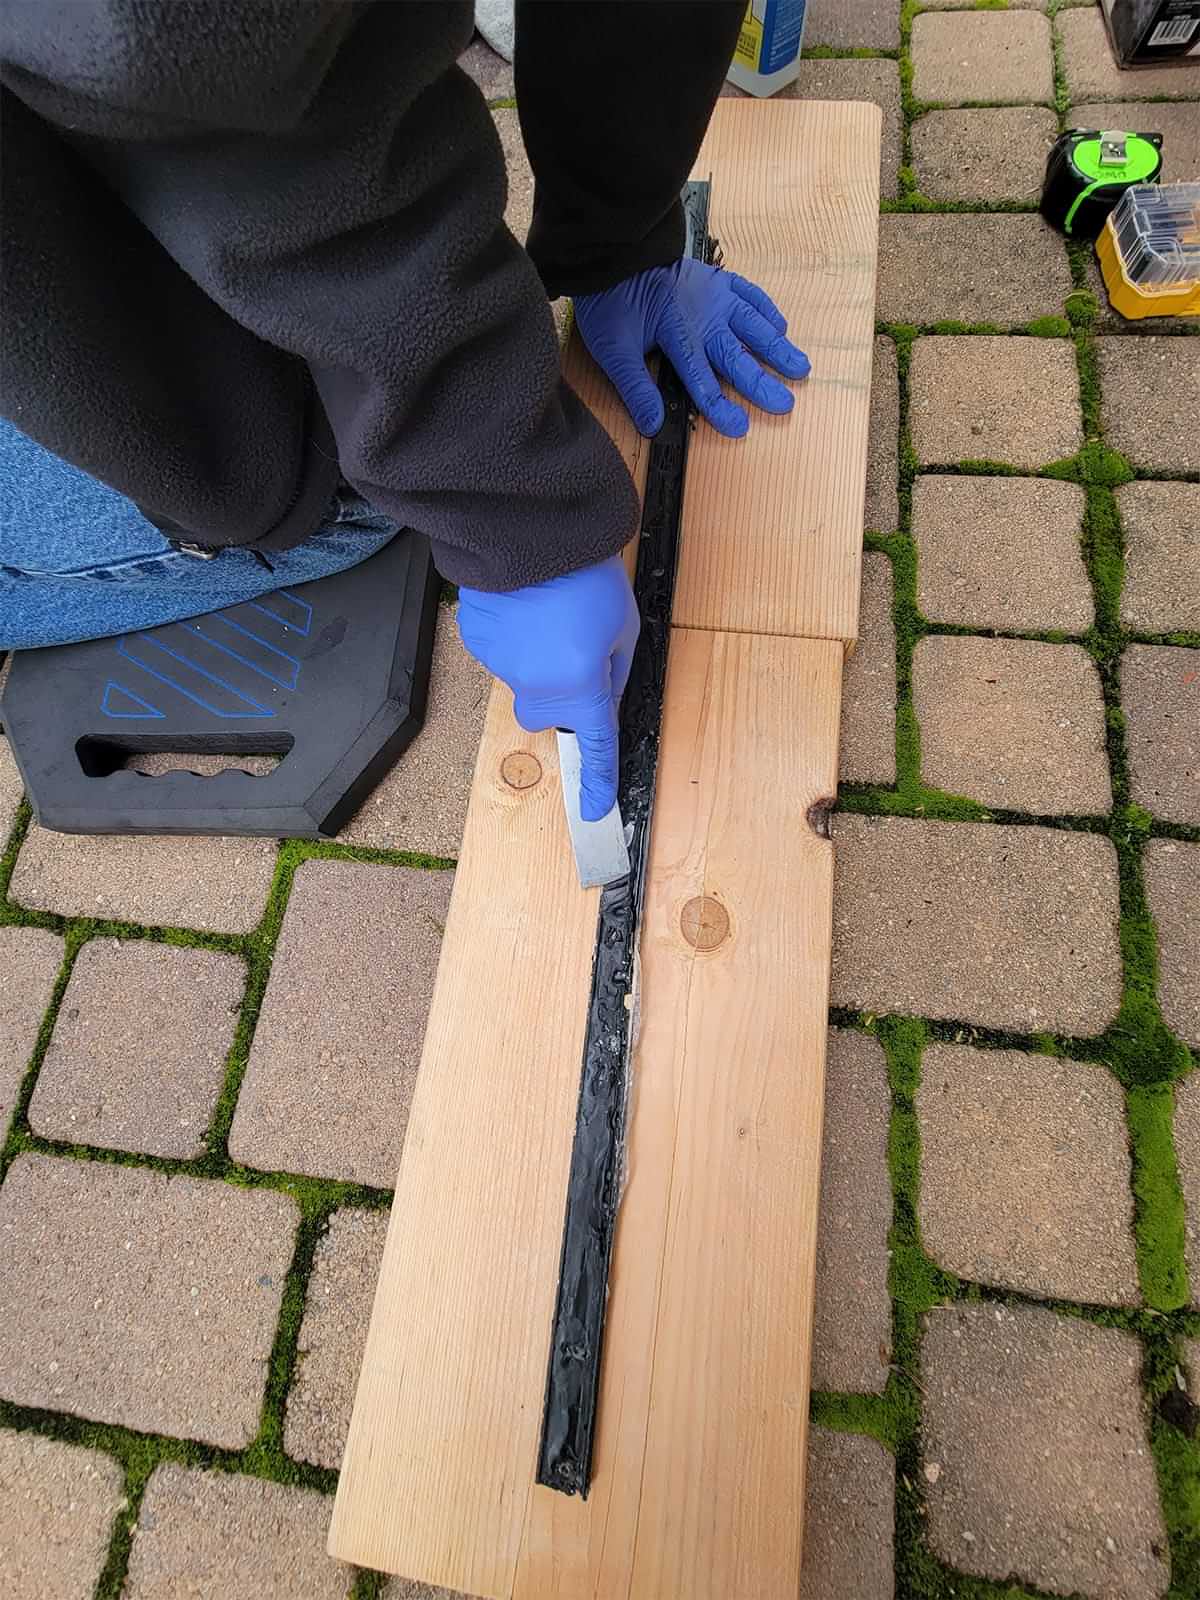
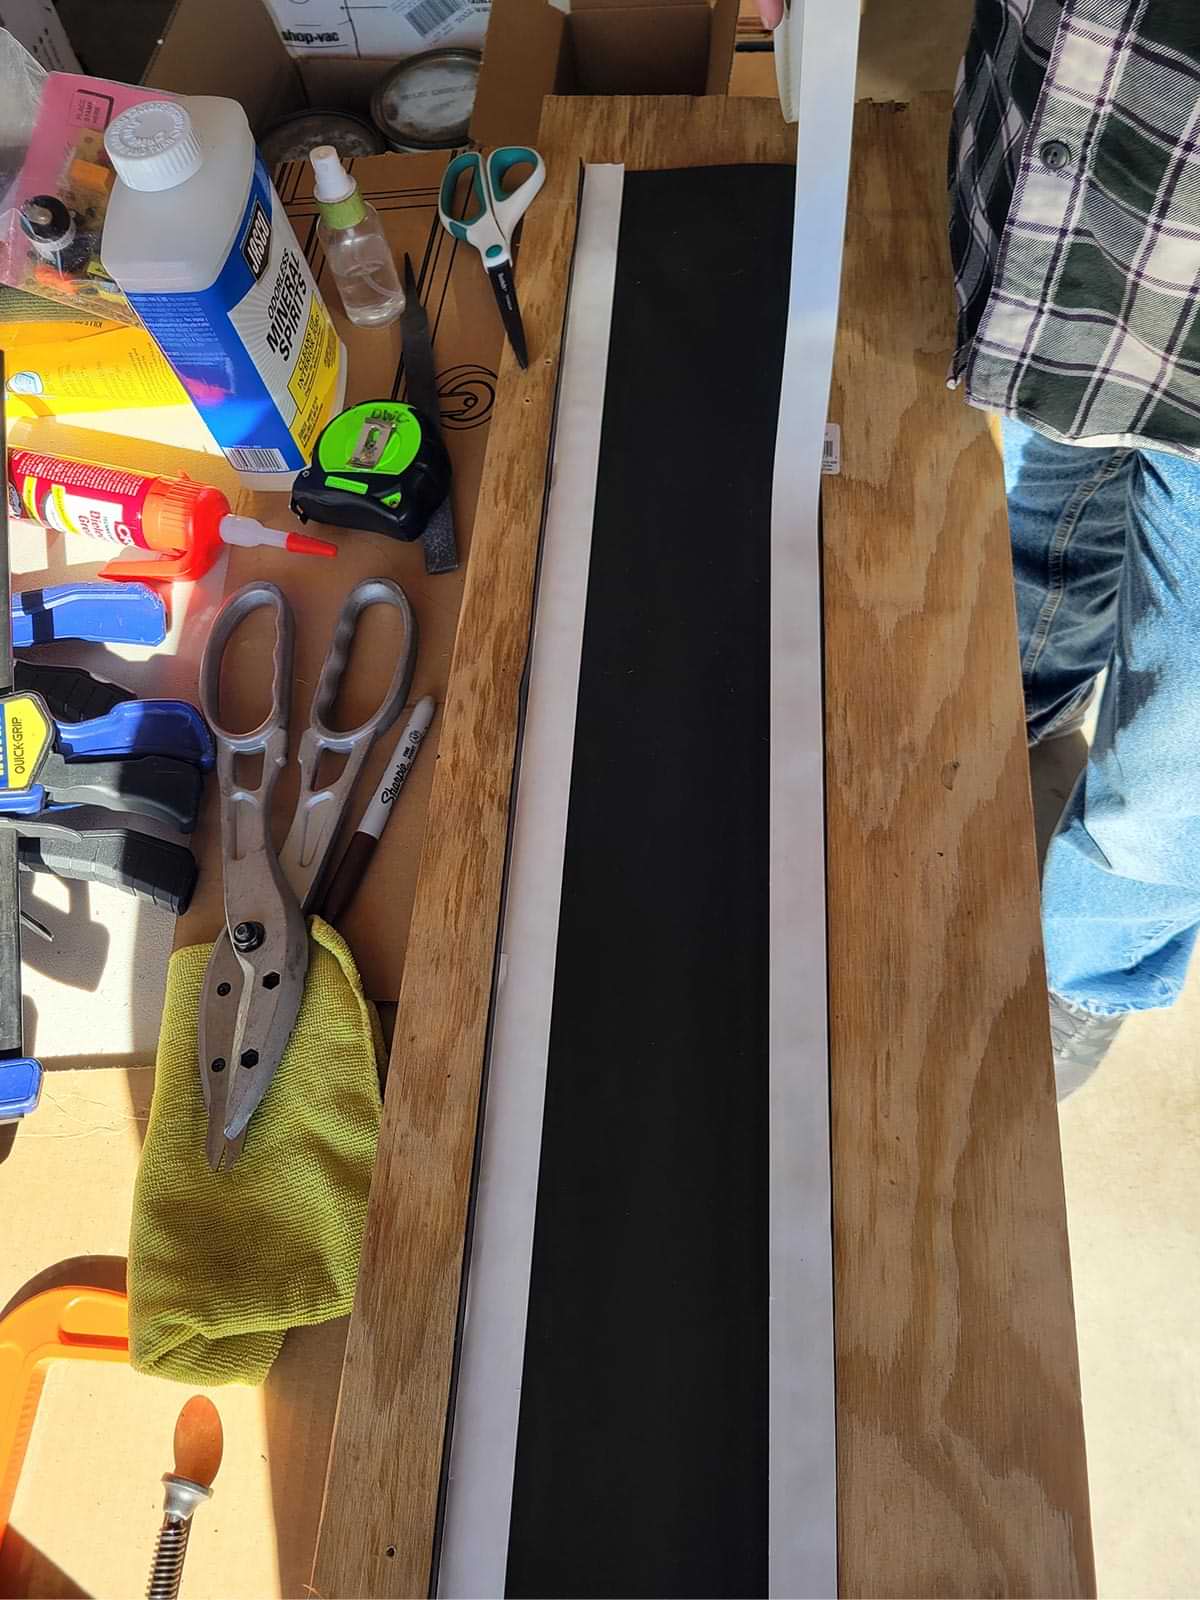
We soon learned, however, that there were obstructions in the way, so we had to make cuts to accommodate the fit — especially to clear the roller brackets. For this malady, a file was used to take down the sharp edges, which we determined caused the tearing of the material on the bottom of the slideout. Satisfied that we could put the skis in place without any obstructions, the double-sided tape supplied with the kit was installed. It took some doing to get our fingers in the tight space to remove the backing from the double-sided tape. Once we had the technique down, though, installing the second ski was much easier and faster.

Finally, butyl tape was applied to the moldings that were reinstalled on both sides of the slideout. After a few in-and-out tests, everything stayed in place and worked smoothly, gaining our confidence that damaging the slideout — and the potential for floor gouging, sticking and grinding — was now a thing of the past.
Tools Needed
You’ll only need common hand tools for this job, along with two bottle jacks (floor jacks will also work). To cut the skis, plan on using good-quality tin snips and a sharp utility knife. Enlist a drill motor or a screw gun; it may be necessary to use an angle adapter for getting into tight spots when removing and installing the molding if clearances are tight. Caulking and butyl tape will also be needed, as well as a measuring tape and marking pen. Figure on a large pile of lumber to make the bottle-jack base or enough wood to piece together the aforementioned T-assembly.

Already a Subscriber? Click here for Access to the Full Issues.