Plug It In, Outside
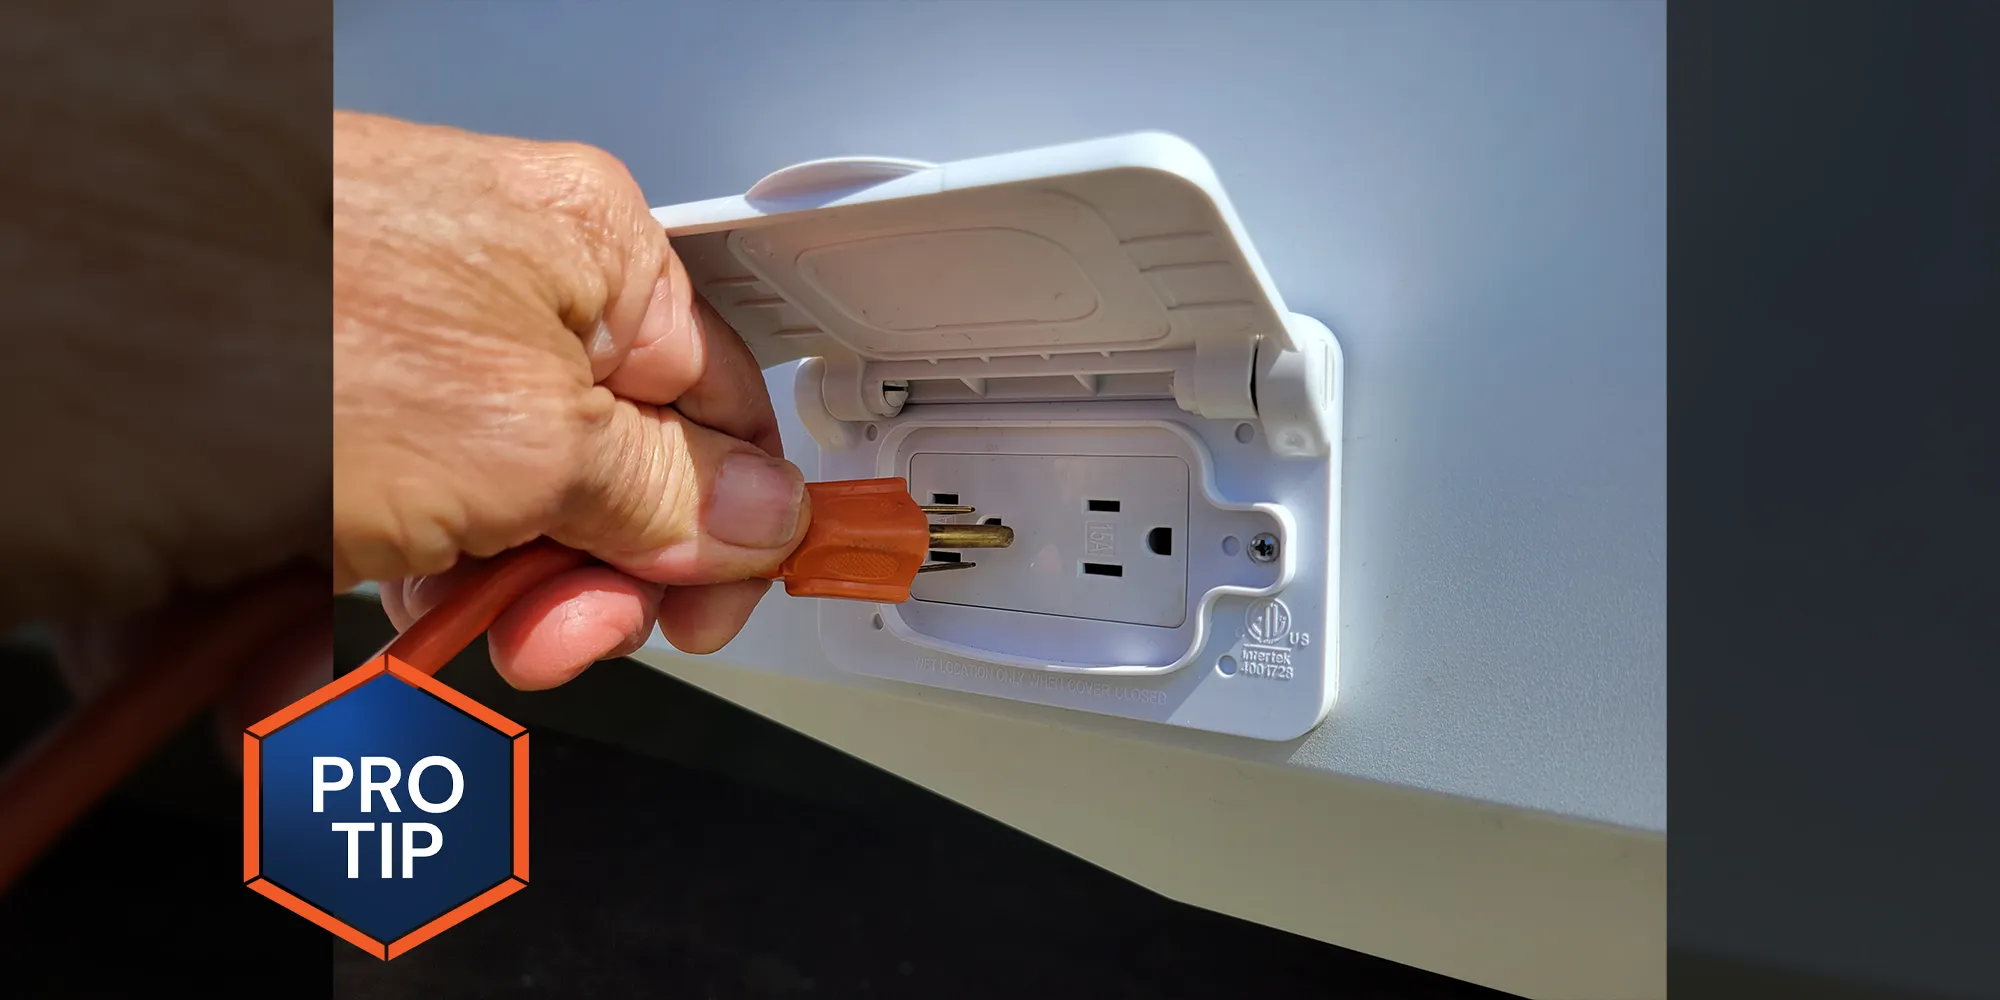
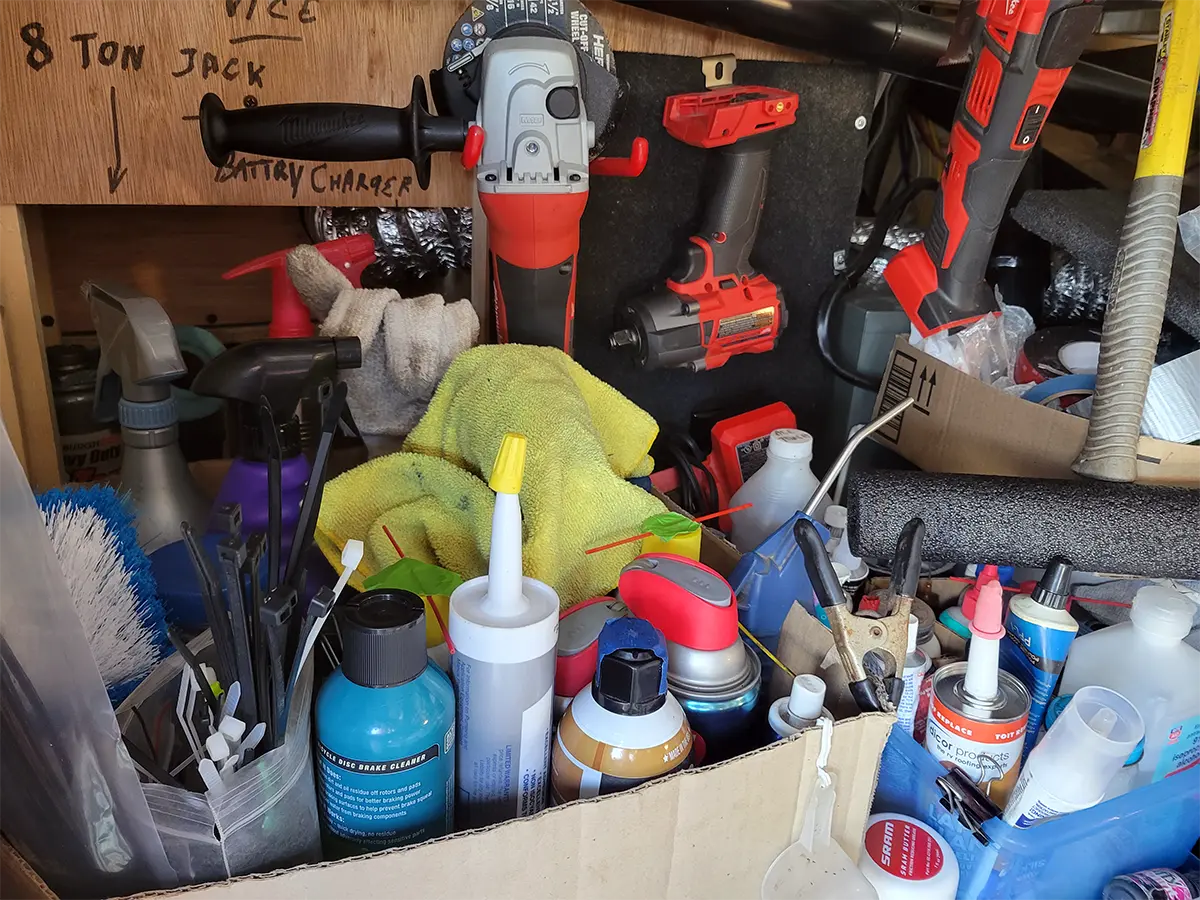
I decided to use an exterior extension cord that could be cut and routed from the new outlet and plugged into the receptacle inside the compartment. I found a suitable outlet on Amazon that could be mounted in the lower exterior wall skirt for only $15.42. Just search for “US Standard Power Socket 15A 125VAC Weatherproof Outlet with Cover Outdoor RV.” While I was at it, I purchased 20, 3/8-inch cable clamps with a rubber cushion that were perfect for securing the extension cord, which I already had; the clamps were $9.99 on Amazon.
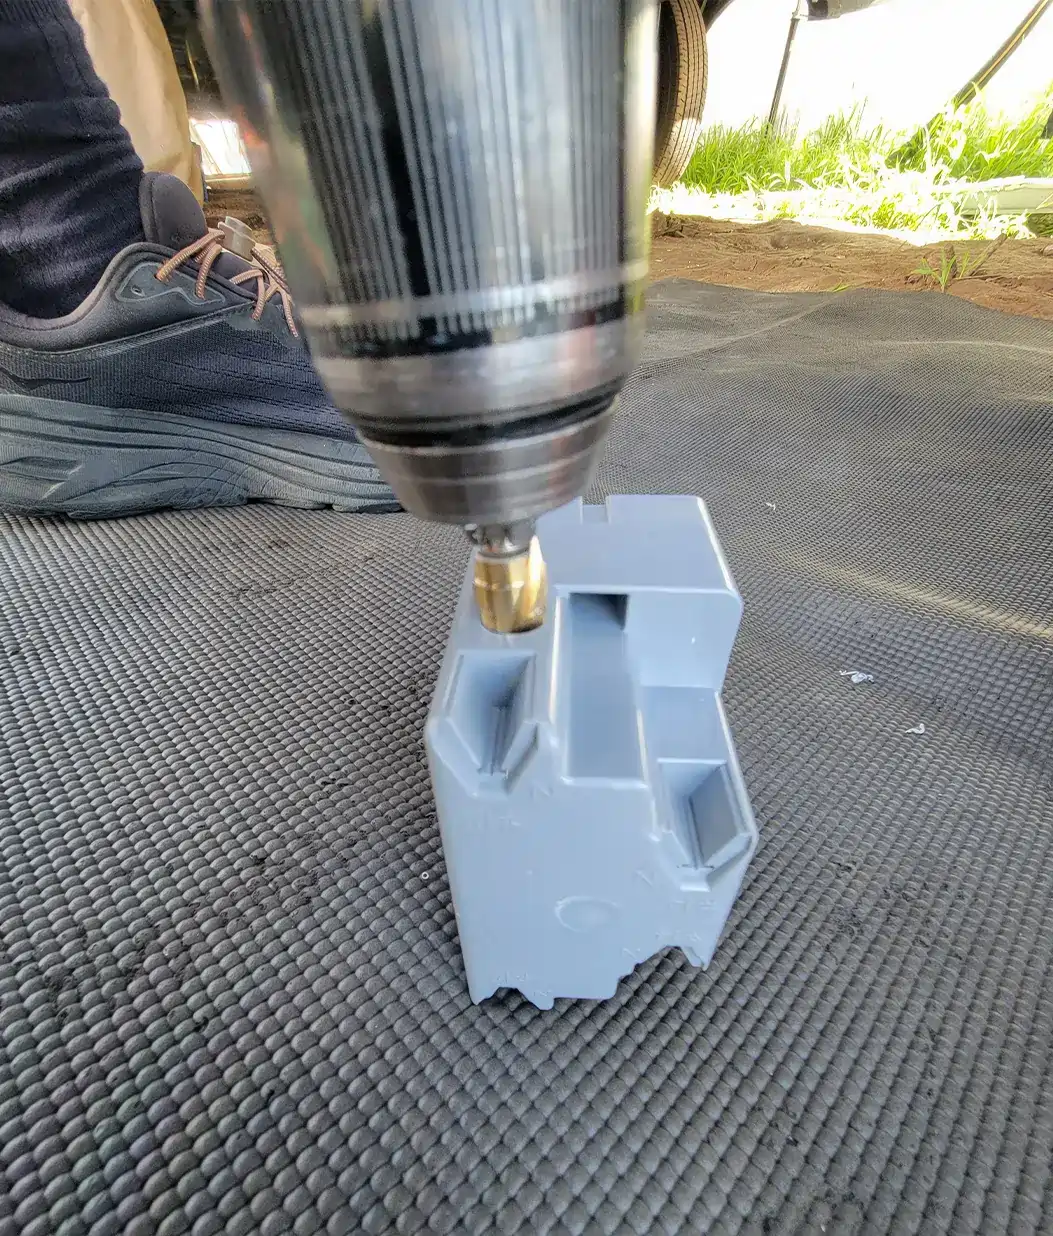
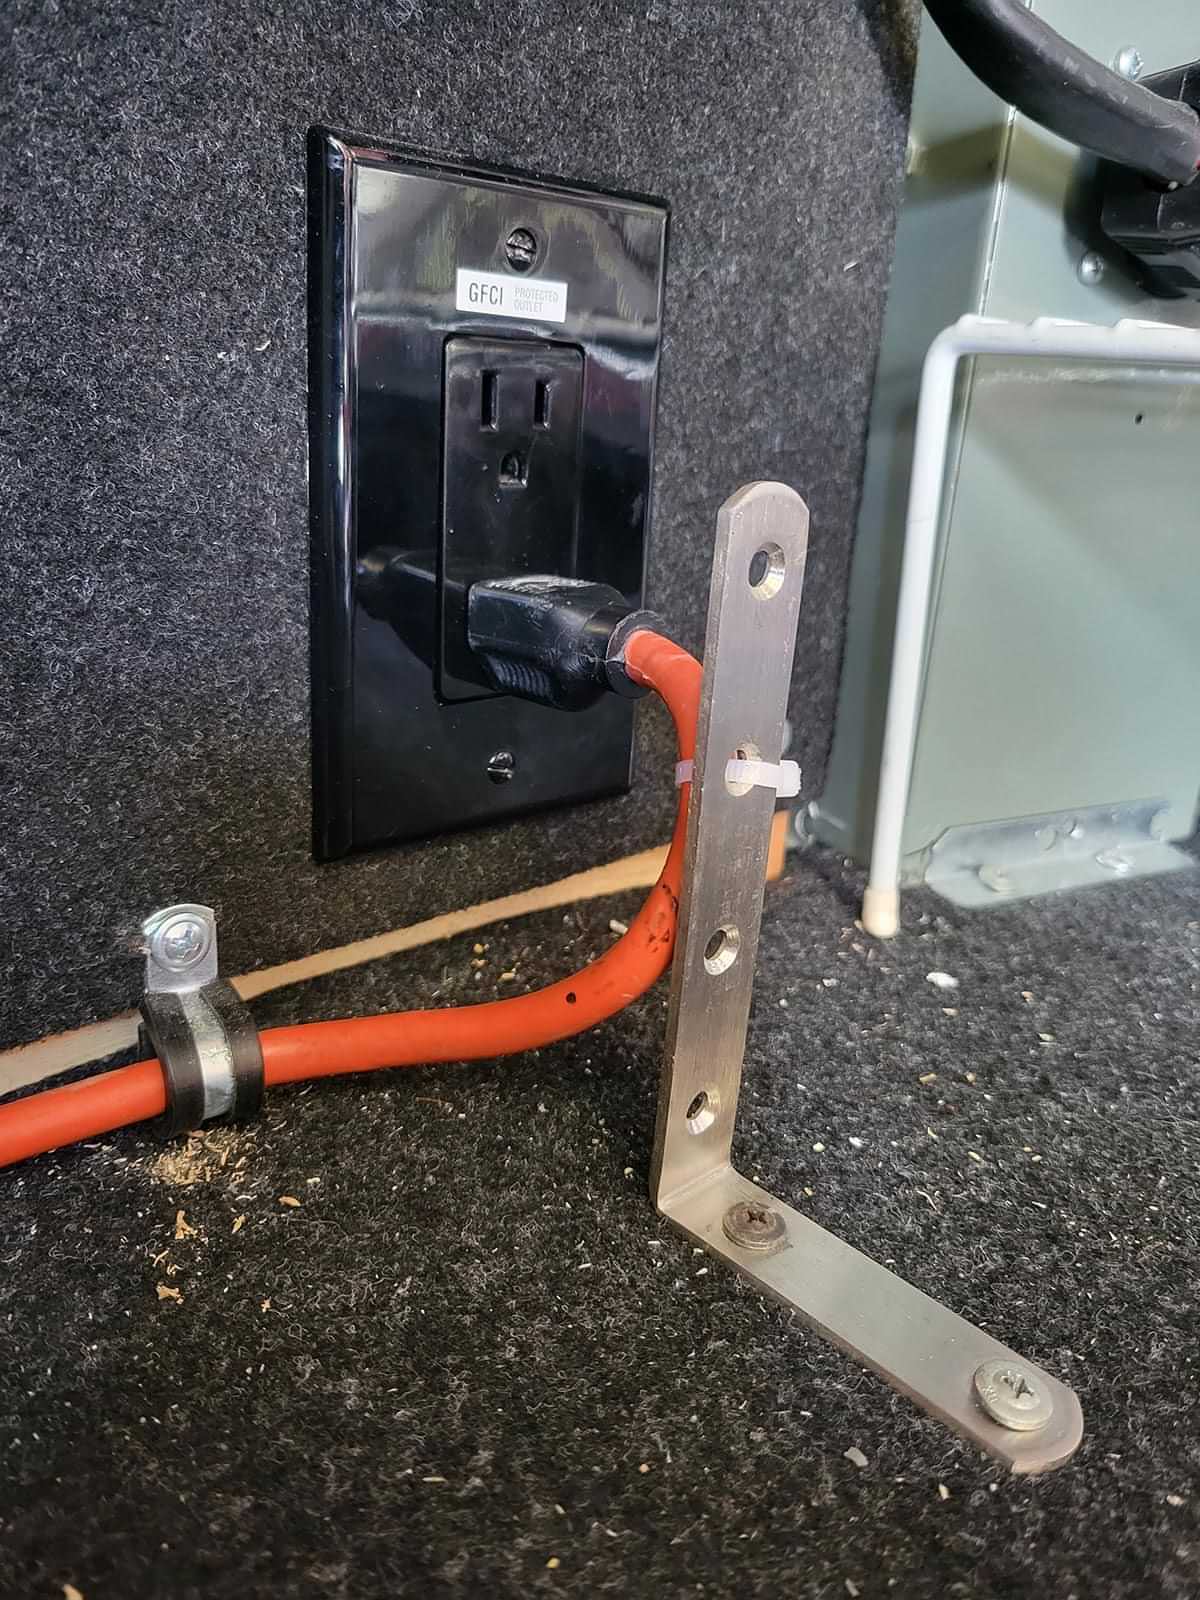
I also picked up a junction box at the local building supply. Since there was enough room behind the exterior wall, the deep junction box fit easily and gave me plenty of room to install the wires to the back of the outlet without having to fight it. The extension cord was routed through the hatch in the compartment floor to the factory receptacle in the wall and secured in logical locations with the cable clamps. A 14-gauge extension cord was needed to match the 15-amp requirement of the new outlet with ground fault circuit interrupter (GFCI) protection.
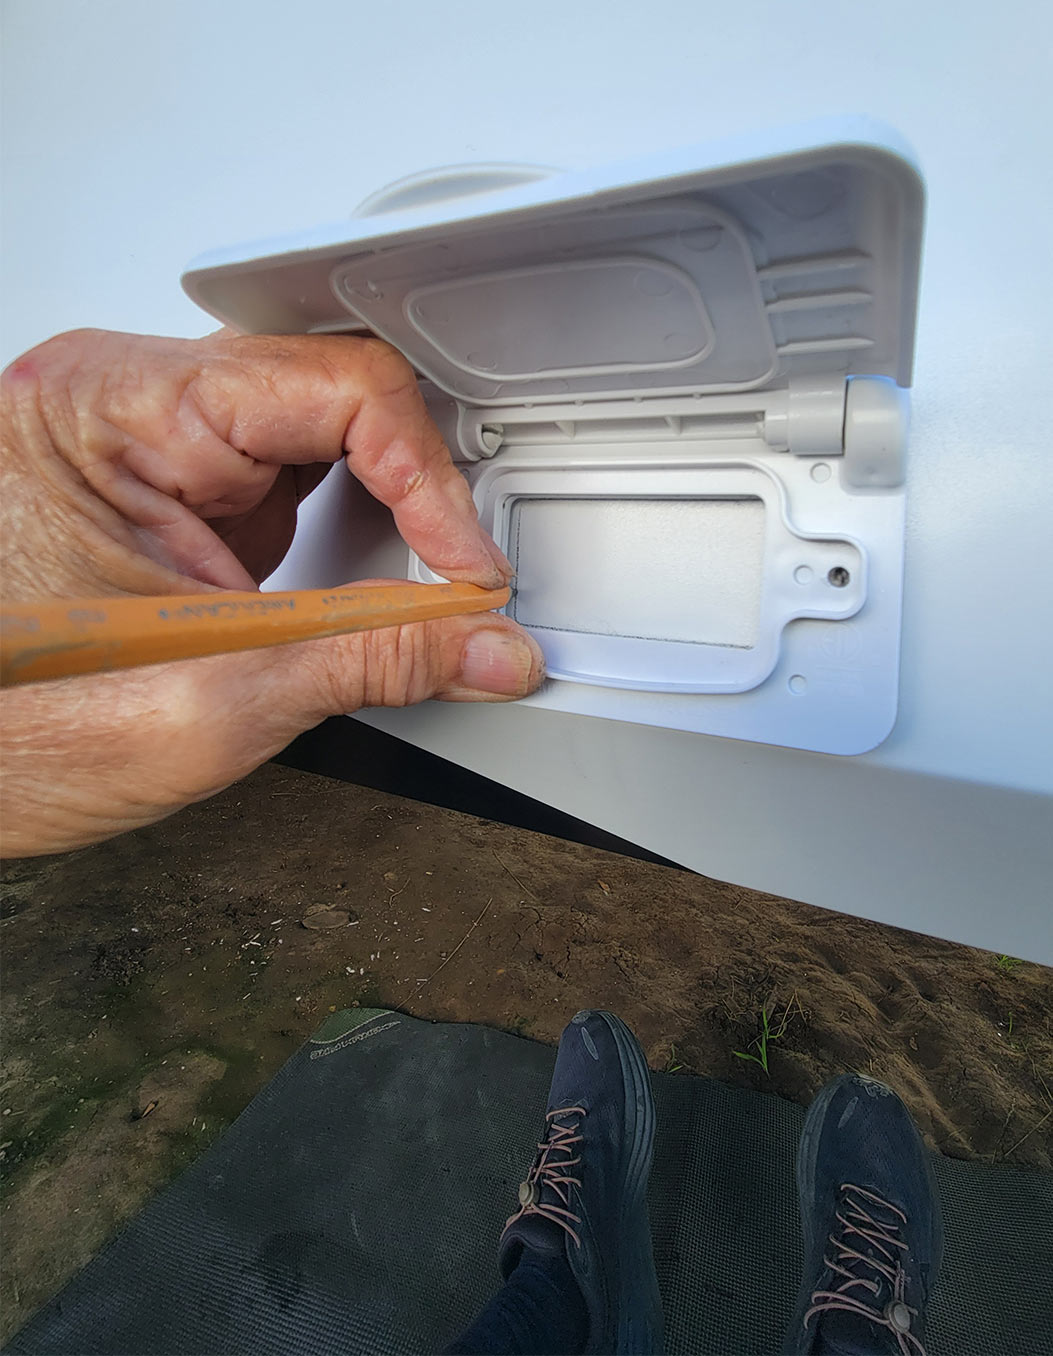
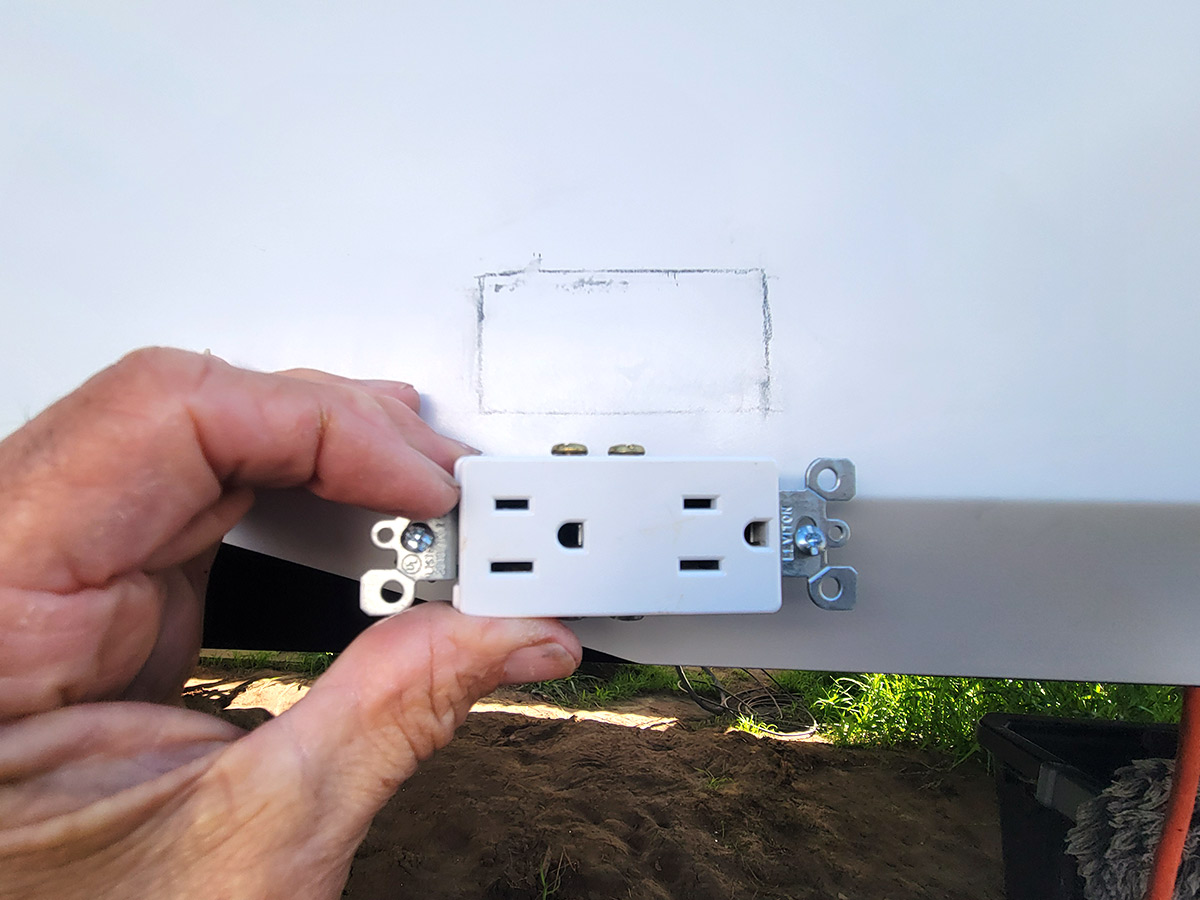
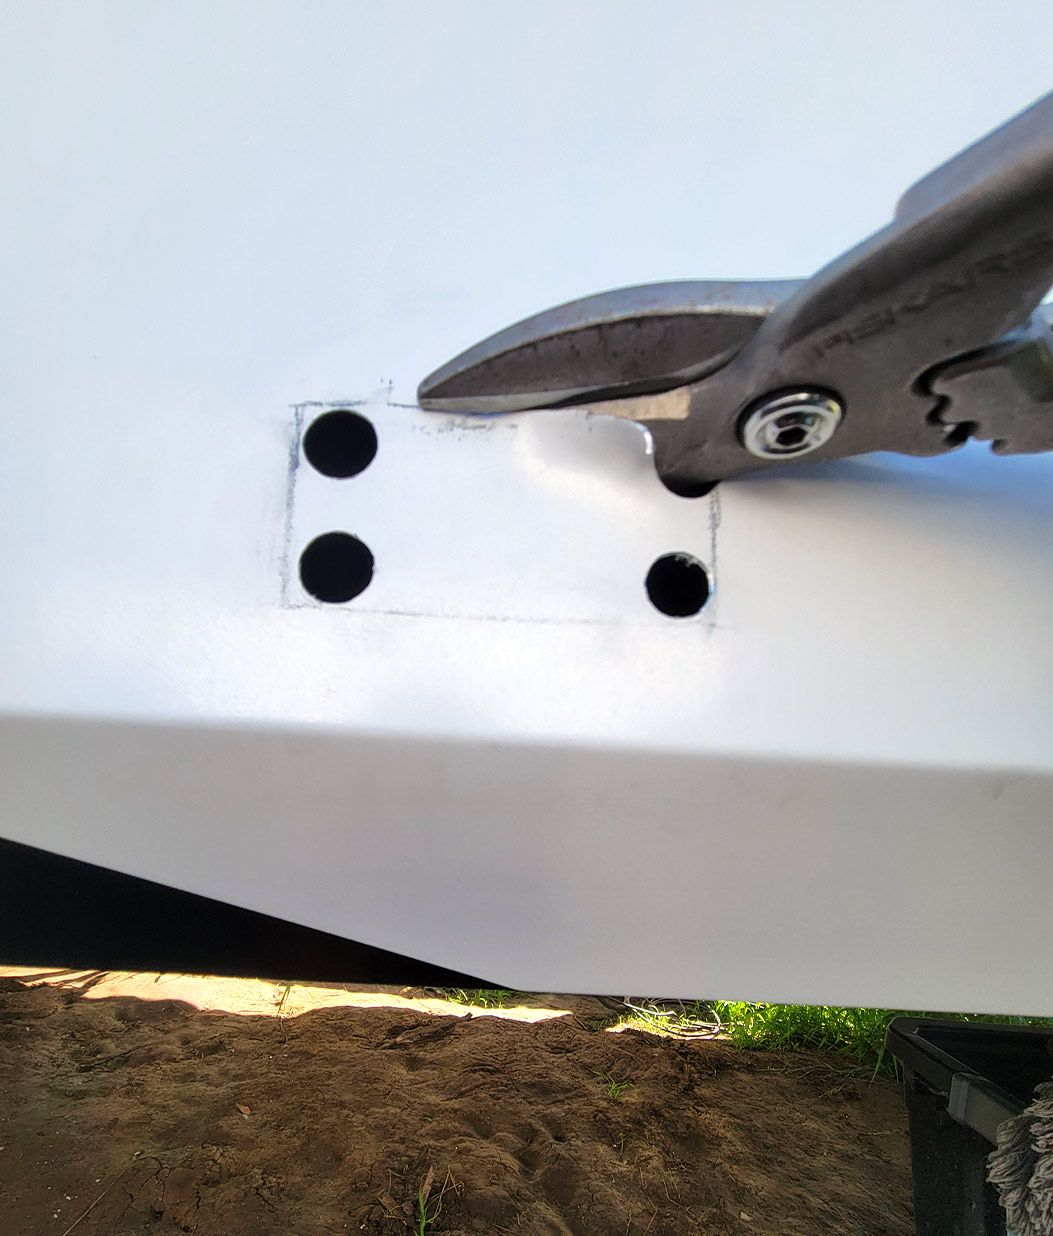
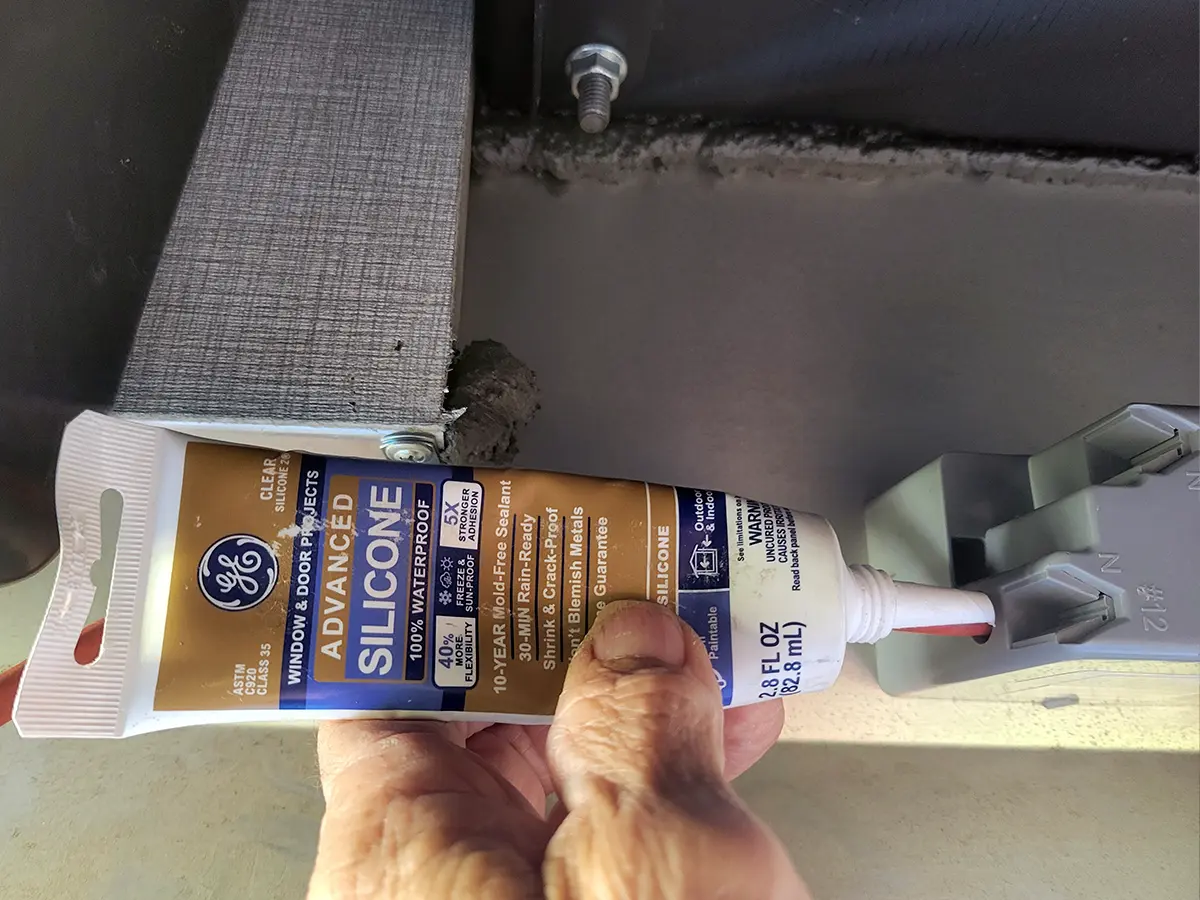
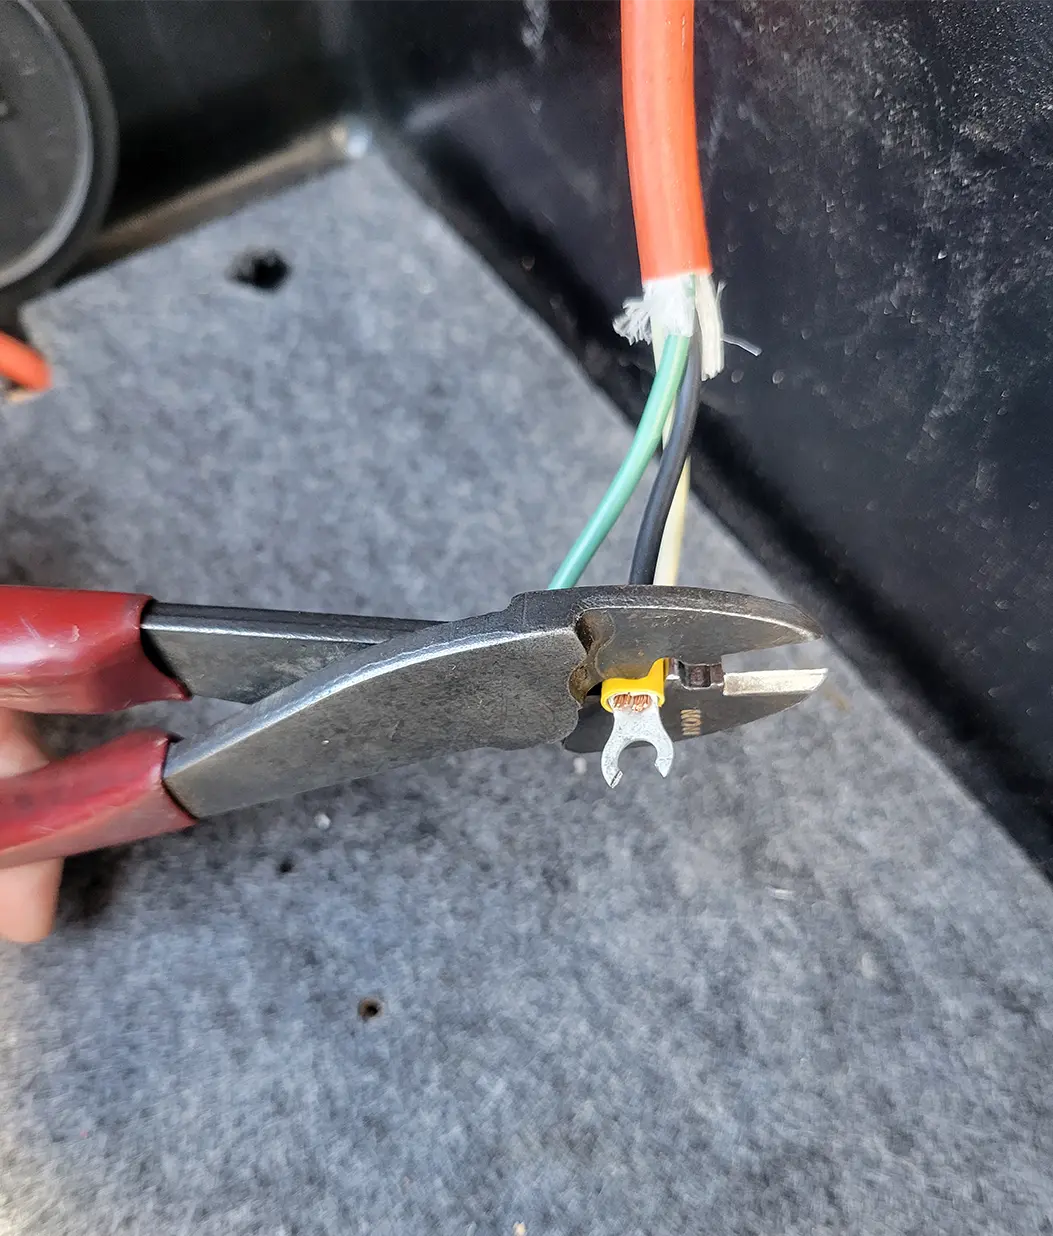
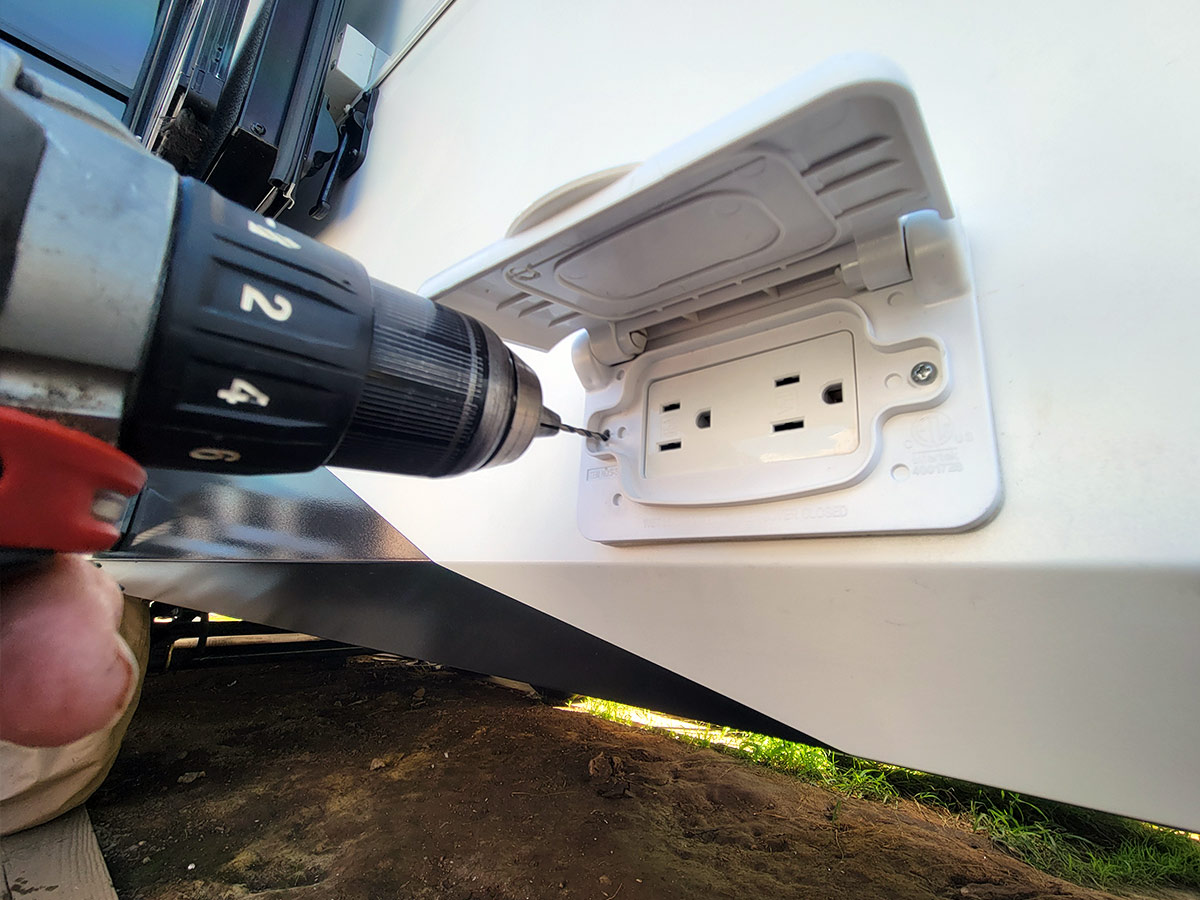
Once the permanent location for the new outlet was established, the opening for the spring-loaded door was used as a template for marking the mounting location. Holes were drilled in the corners and the opening in the metal skirt was cut with a good pair of tin snips. After a little trimming, the outlet was test-fitted and the cable routed toward the frame, leaving enough slack to make it easy to pass through the junction box and connect the wires to the outlet. It was necessary to drill a hole in the junction box as it was designed for Romex wire, which is more difficult to deal with than the extension cord cable. After adding ring terminals to the three wires in the extension cord cable and tightening the screws in the outlet, the back was wrapped with black electrical tape to protect against possible shorts due to typical jostling of the fifth wheel on the road. The outlet cover was fitted with a nice gasket so there was no need to seal around it with silicone rubber, but I did seal the hole around the extension cord into the J box and a couple of little holes that were there for other purposes.
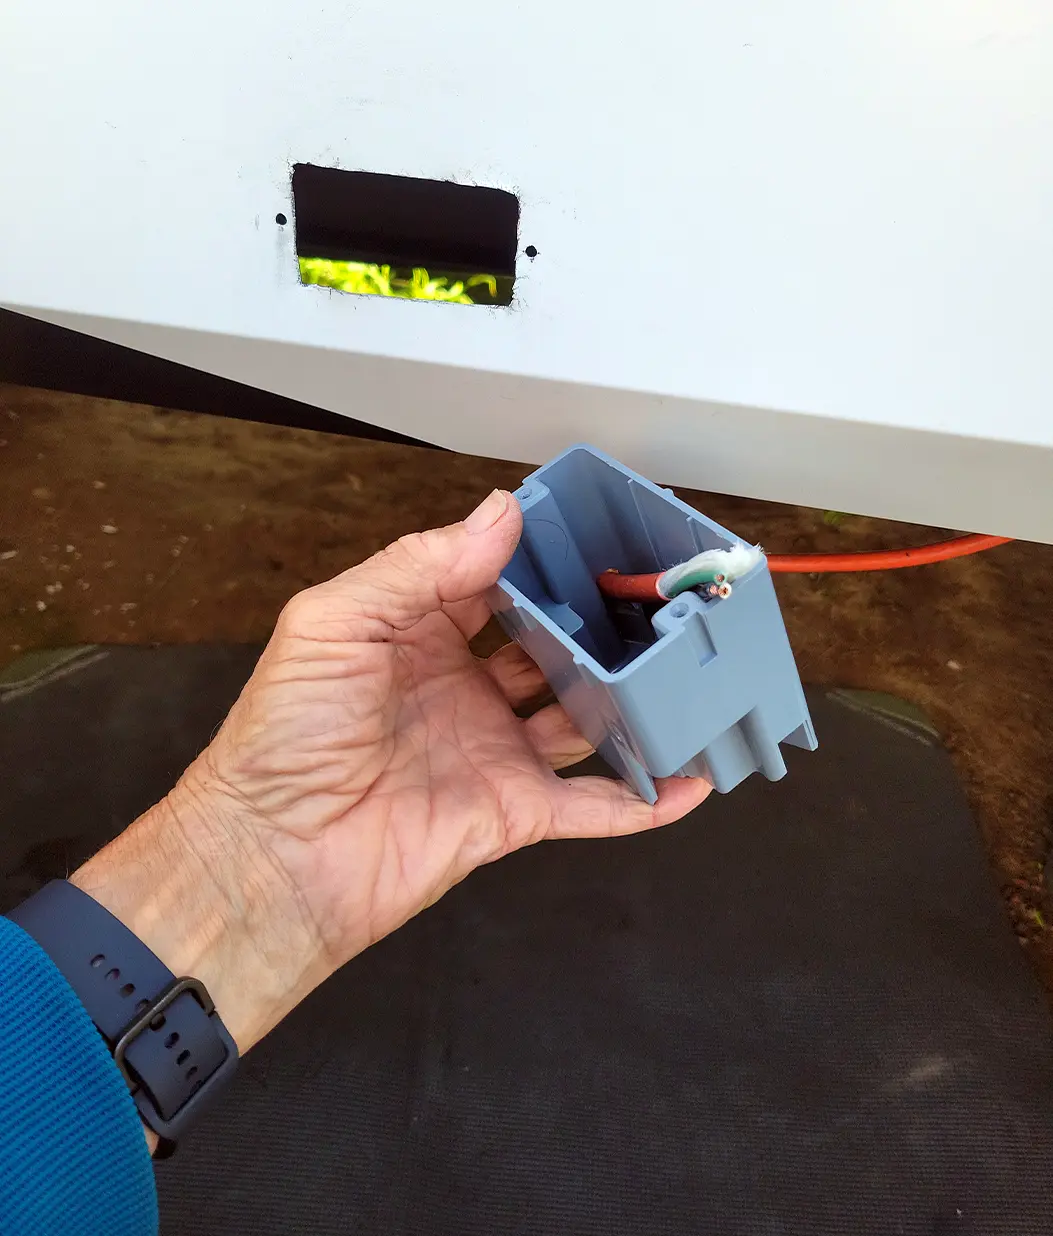
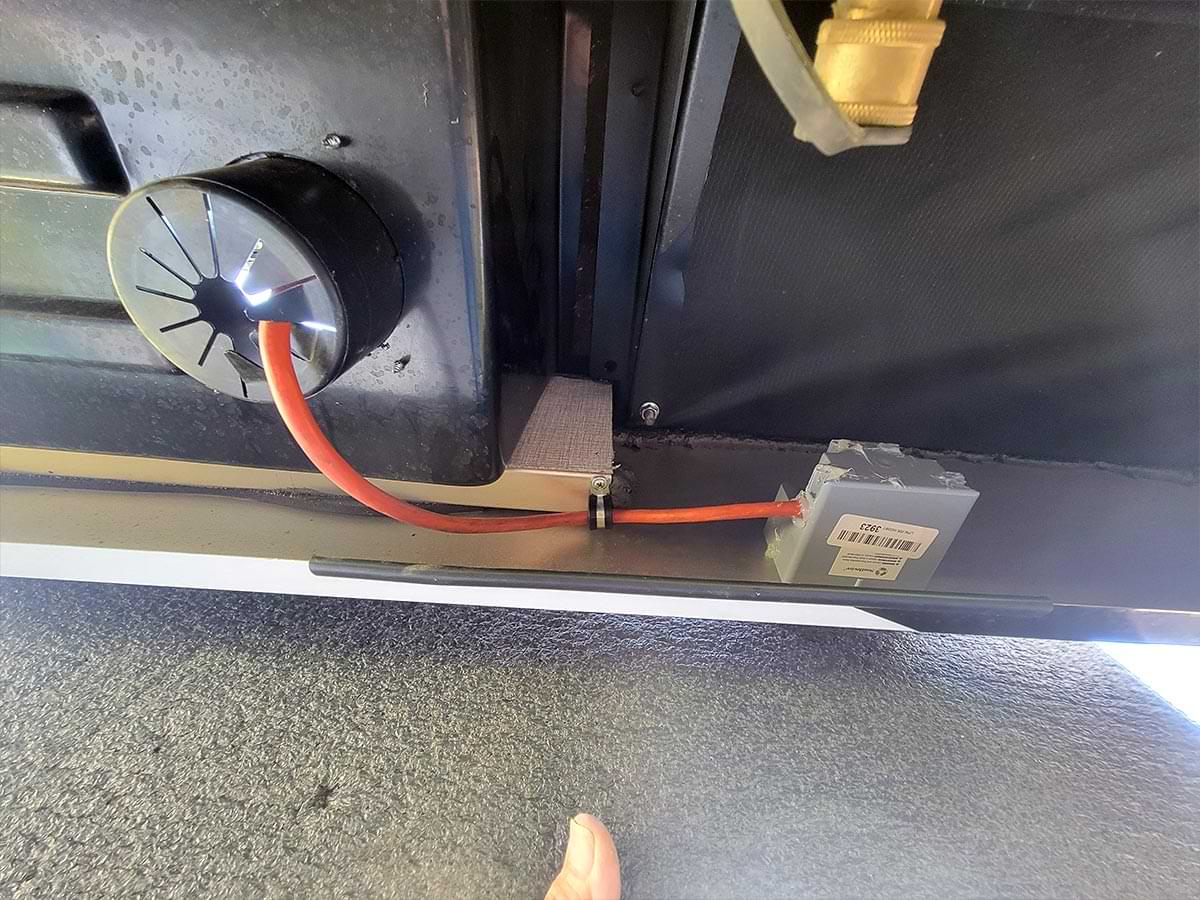
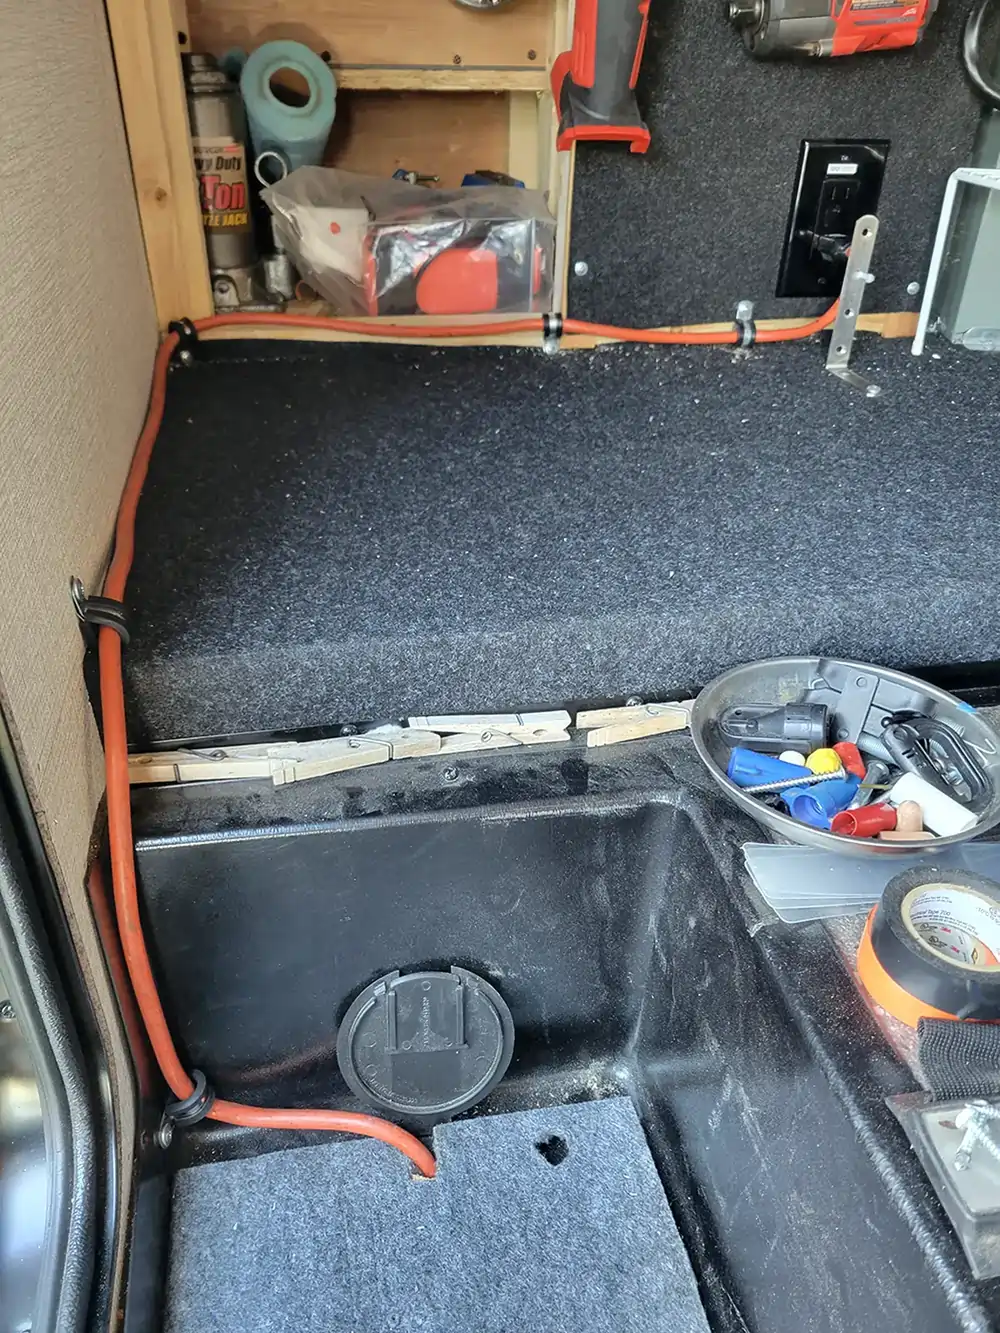
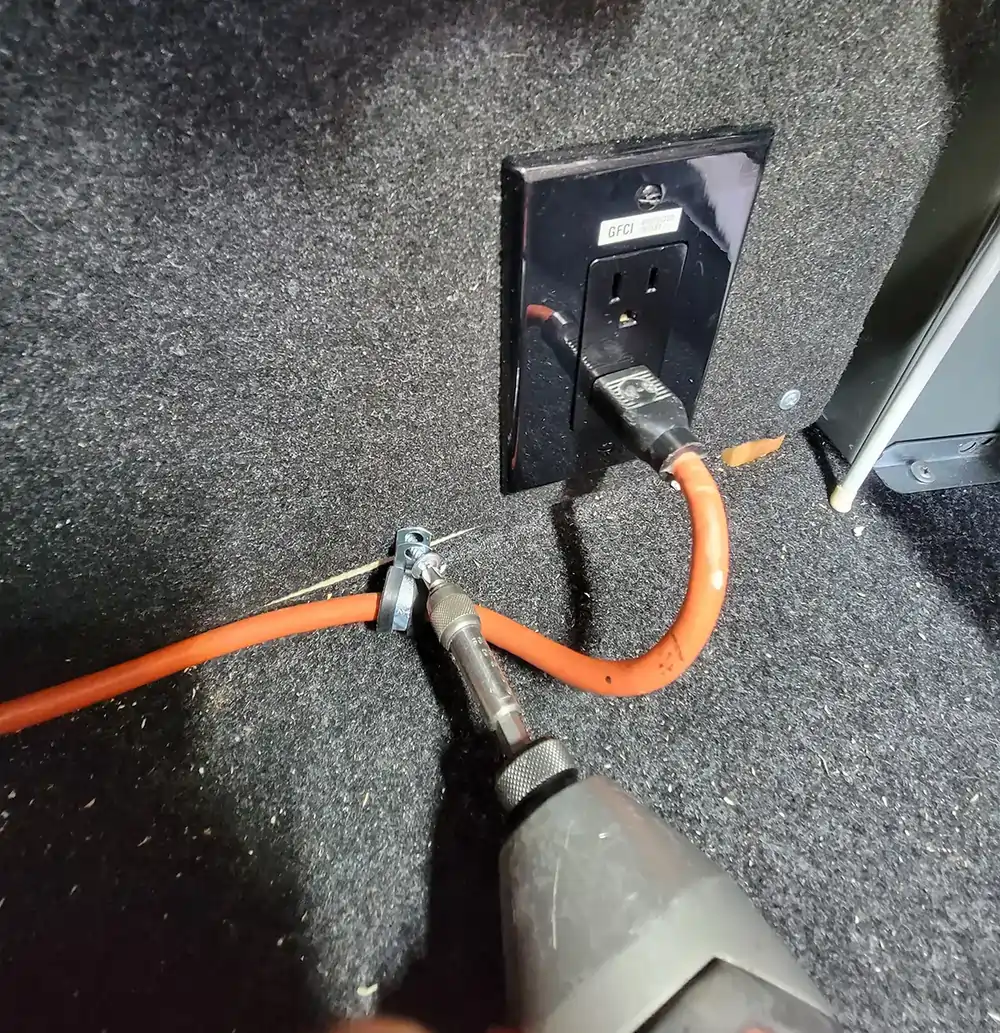
The cable was routed through the hatch, along the walls and to the receptacle provided by the manufacturer. Clamps (3/8-inch) were used to secure the extension cord cable to make sure it doesn’t get snagged by the “stuff” in the storage compartment.
Once completed, the outlet was tested for power and continuity, and it was ready to handle electrical appliances and accessories up to the rated output.

Already a Subscriber? Click here for Access to the Full Issues.