Re-Color Your World
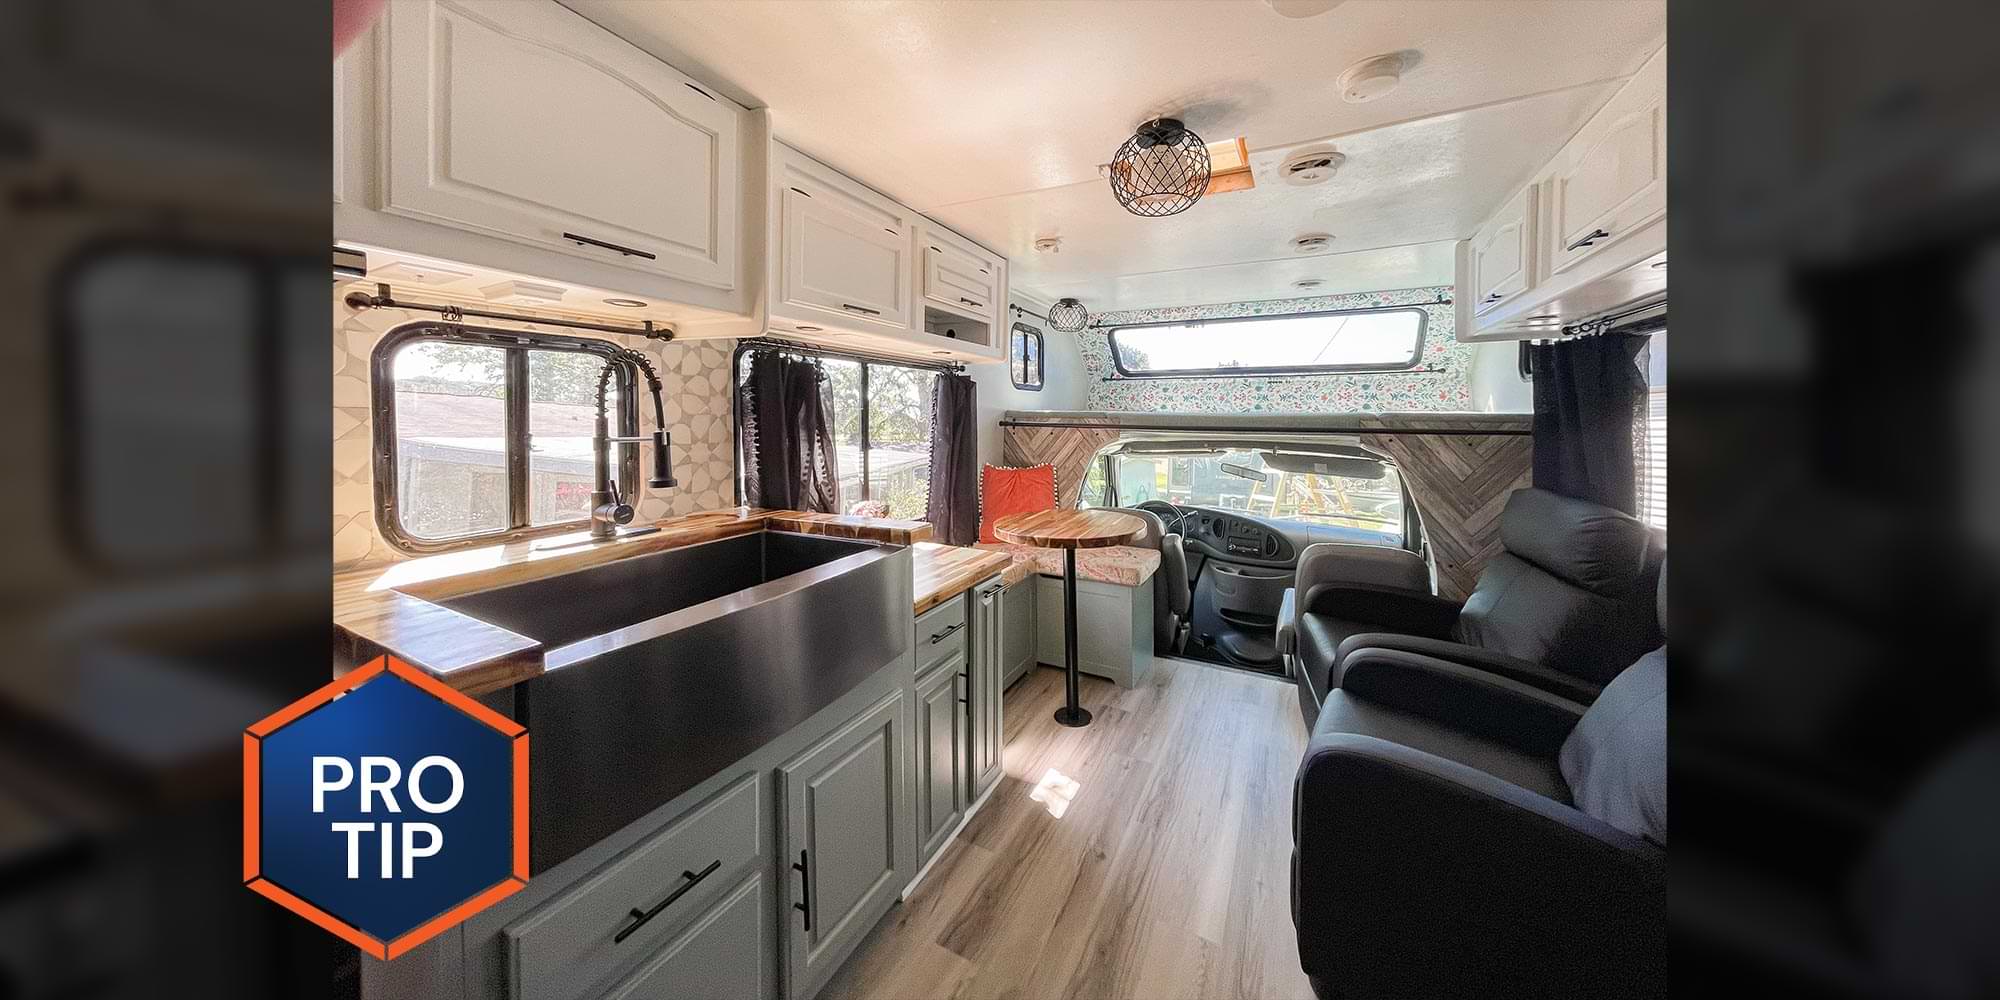
Given the rising cost of new RVs, it’s not surprising that a growing number of RV owners are opting for used models and renovating them, especially the interiors, to fit their lifestyle.
When everything works as planned, the results can be stunning — especially because while most RV manufacturers today have an interior designer or two on staff, new models are still designed to appeal to the widest possible cross-section of buyers. Do-it-yourself renovations — or hiring it out — truly result in amazing one-off creations.
Renovations can come in all shapes and colors, from a complete upgrading of the RV to simple changes to wallboards or cabinet doors that will literally transform the aesthetics for a relatively few dollars and some elbow grease. But it all hinges on proper surface preparation. For anyone contemplating personalizing their RV interior, here are some recommendations from Alice on preparation, paint and tools of the trade.
- Remove all cabinet doors and drawers if refinishing your cabinets.
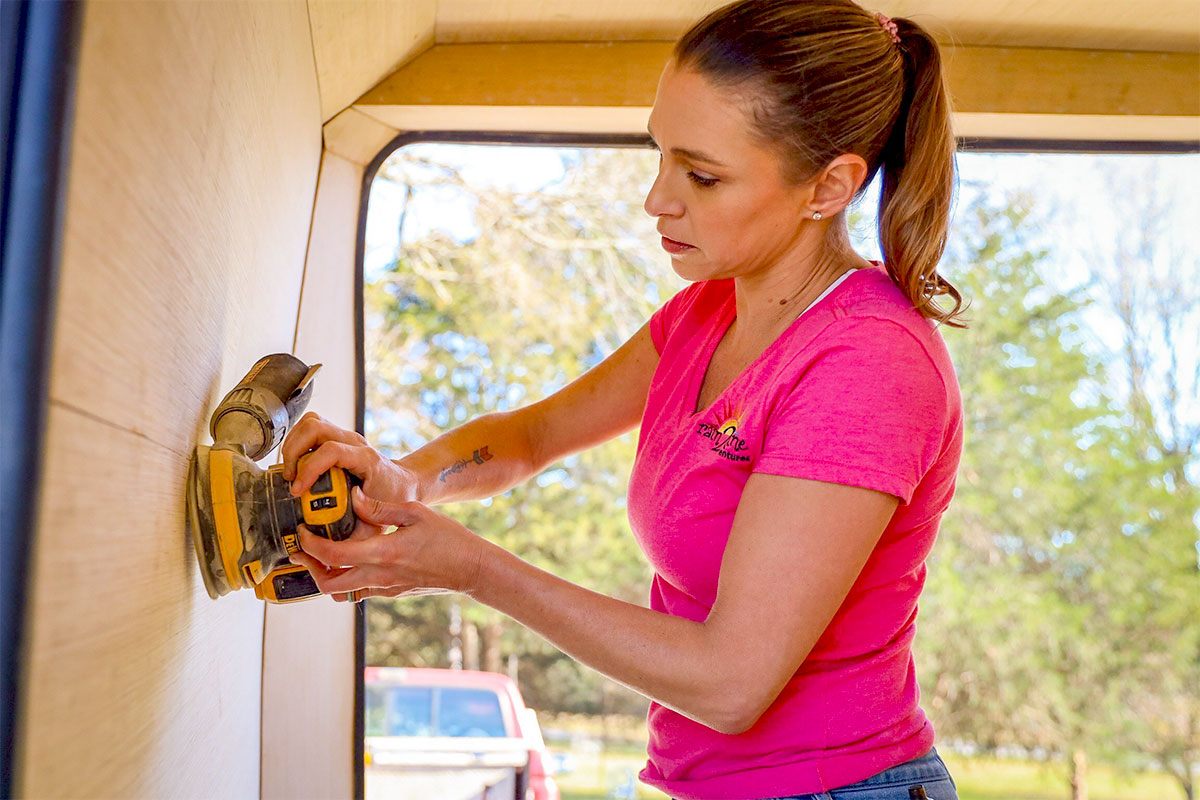
- Use a DA orbital sander with 220-grit to sand every inch of surface you intend to paint.
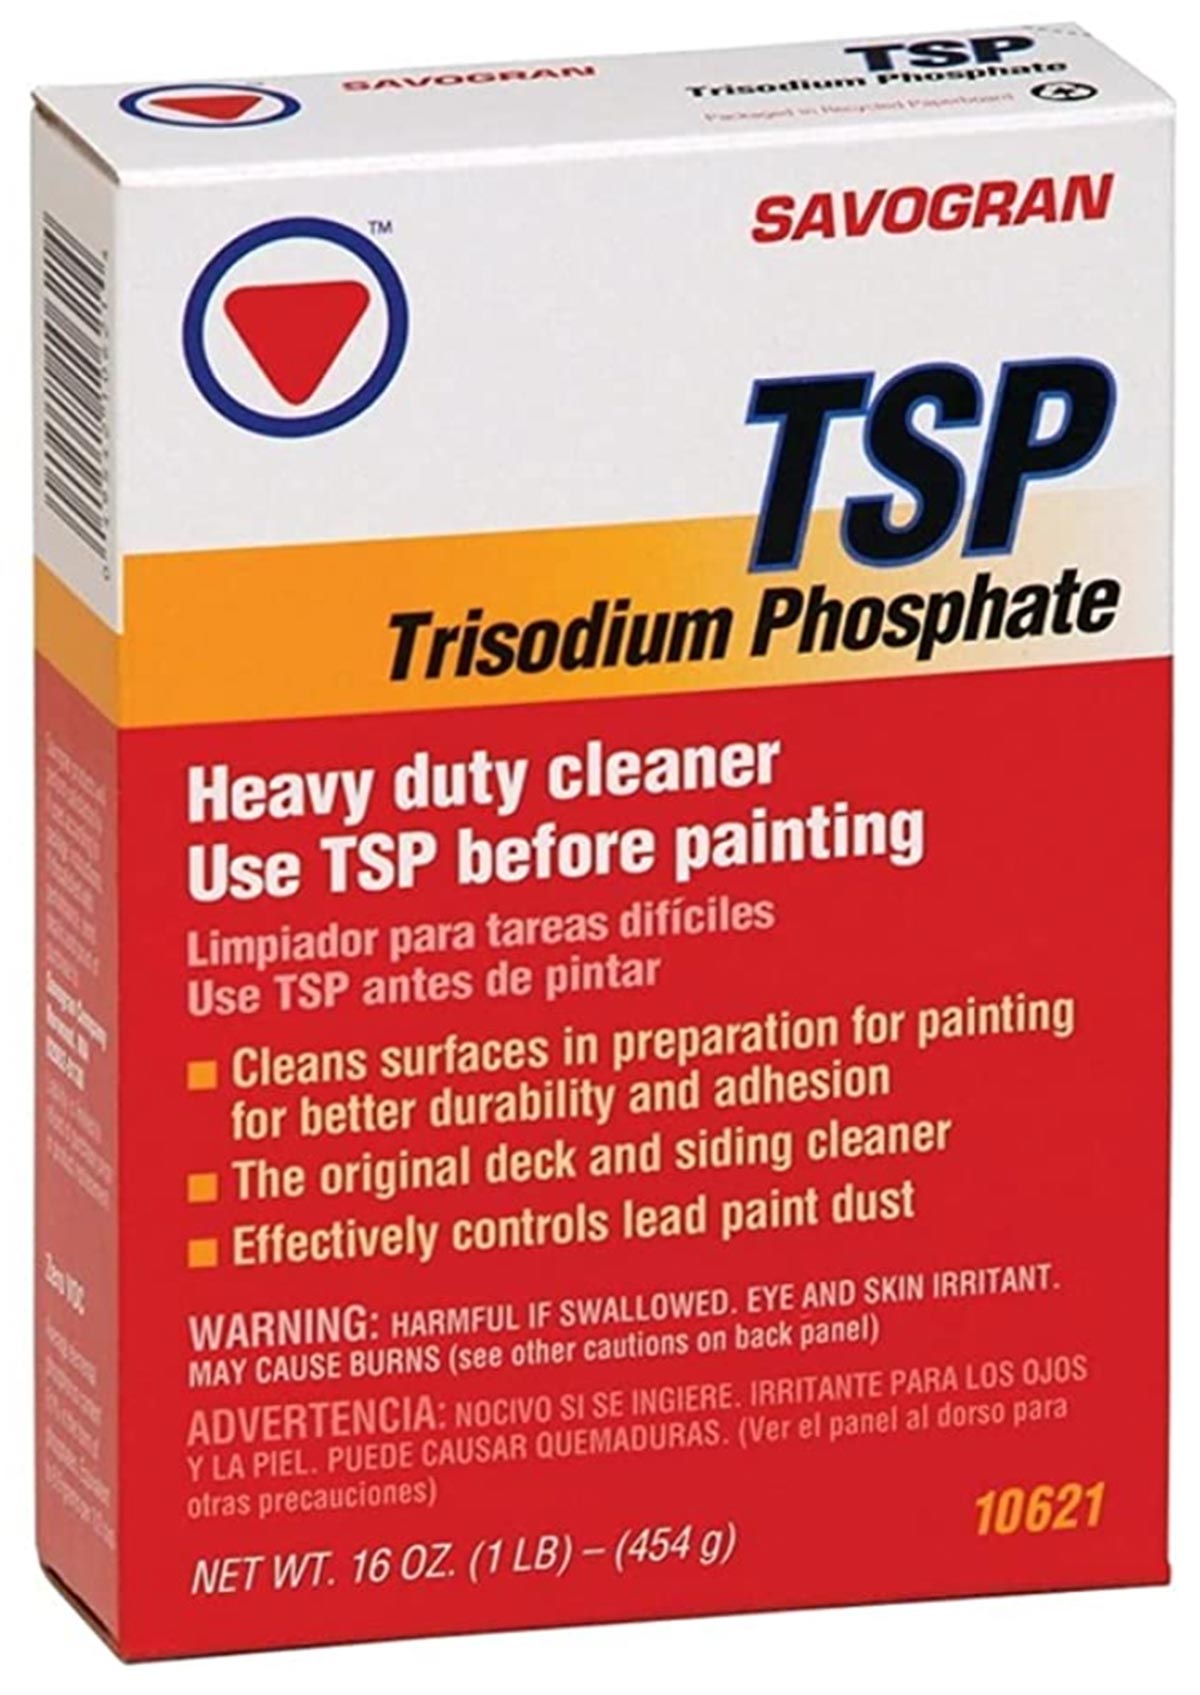
- Use TSP (Trisodium Phosphate) all-purpose heavy-duty cleaner mixed with warm water (per the instructions on the box) to wipe down with a wet sponge everything you sanded (and wear gloves).
- Go back over the same areas and wipe it down a second time with plain warm water and a sponge.
- When painting, Alice recommends an industrial spray gun. She uses a Graco Magnum 262805 X7 Cart Airless Paint Sprayer to prime and paint, which offers adjustable spray speeds and pressure — but unless you’re going to use it more than once a year, it’s costly (about $479 at home-improvement stores). Less-expensive options are available — and also consider renting the spray gun. And yes, you can also use a brush and roller — carefully, to prevent brush strokes from remaining on the surface.
- If using a sprayer, cover all windows with Kraft paper (18 inches x 100 feet, $14.97 at Amazon) or plastic, and FrogTape (multi-surface painter’s tape, $9.98 for a 1.88-inch by 60-yard roll at Amazon). If using a roller, tape the window frames completely. “If you’re not the best at taping, use a razor blade or X-Acto knife to trim the tape to the exact edge of the window frame,” Alice advised. Kraft paper, by the way, is a strong unbleached brown paper available at Amazon and home-improvement stores in a variety of widths and lengths.
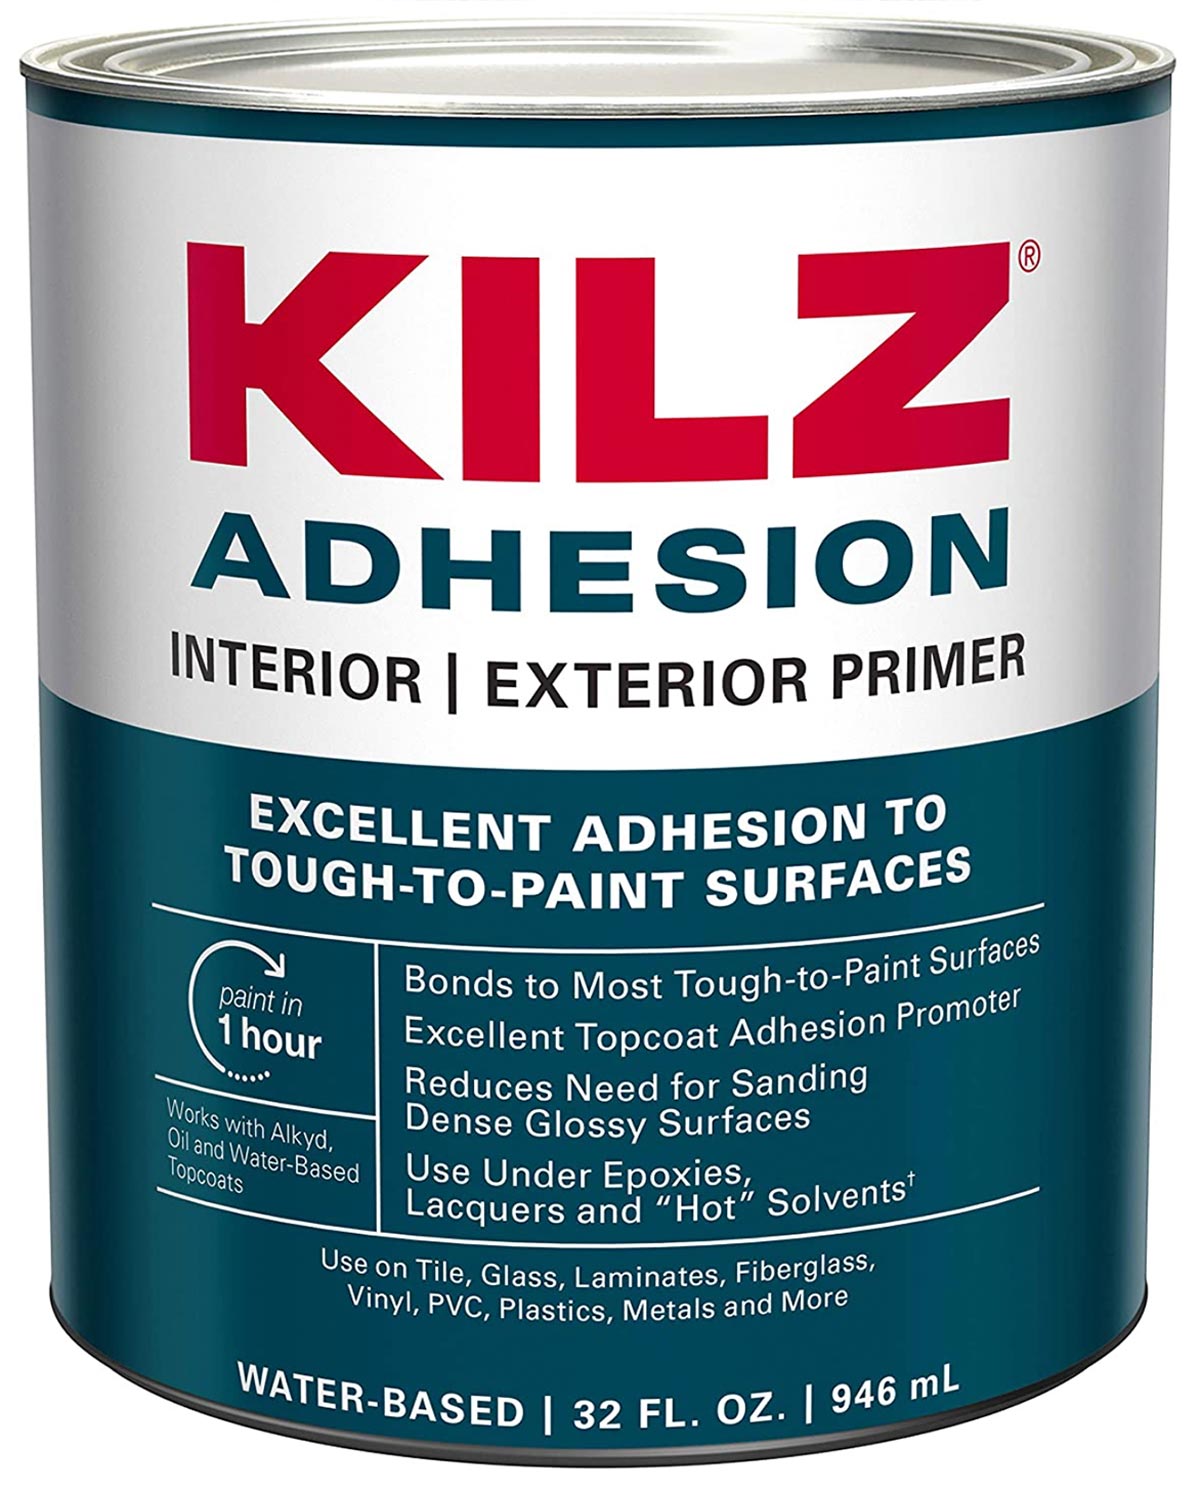
- Apply primer (Alice recommends Kilz Adhesion water-based primer, which works with a variety of top coats).
- Wait 24 hours, then tape off the section you want to paint. “I typically do the walls first,” she said, “so I tape off the ceiling and cabinets. If you’re using a sprayer, you’ll need to cover the ceiling 18 inches in from the wall(s) with Kraft paper or plastic, and FrogTape — and if you aren’t replacing the floor, be sure to cover it entirely and tape along the edges by the wall.”
“If you’re using a roller,” Alice continued, “you will only need to tape off the ceiling — but I recommend taping 18 inches of Kraft paper along the edges of the floor to catch any paint drips or splatter from the roller.” A paint sprayer, she noted, will usually lay down the color in one coat; multiple coats are usually needed when using a roller.
- Remove the FrogTape immediately after finishing painting and let the area dry for a few days before taping off the next location. Note: Paint typically takes up to 14 days to fully cure, so be careful to not scratch or bump it for two weeks.
- Repeat the process elsewhere as the job requires until it’s completed.
Oh yeah—those cabinet doors and drawers you removed? “I typically prime and paint them outside or in my shop, depending upon the weather,” Alice said. “It’s a good idea to use some sort of “riser” to keep them off the ground while painting — red solo cups work great!
“I also wait to reinstall the cabinet doors and drawers until the renovation is essentially finished,” she added. “That prevents them from inadvertently getting banged up during the remodel. Just store them securely away someplace.”

Already a Subscriber? Click here for Access to the Full Issues.