Sealing Up the Cracks - RV Enthusiast Magazine

Sealing Up the Cracks

by | Jul 20, 2022 | Pro Tip, RVEXPERT

Inspect the roof at least once a year. For some reason, the sealant around the skylight has a propensity to crack prematurely.

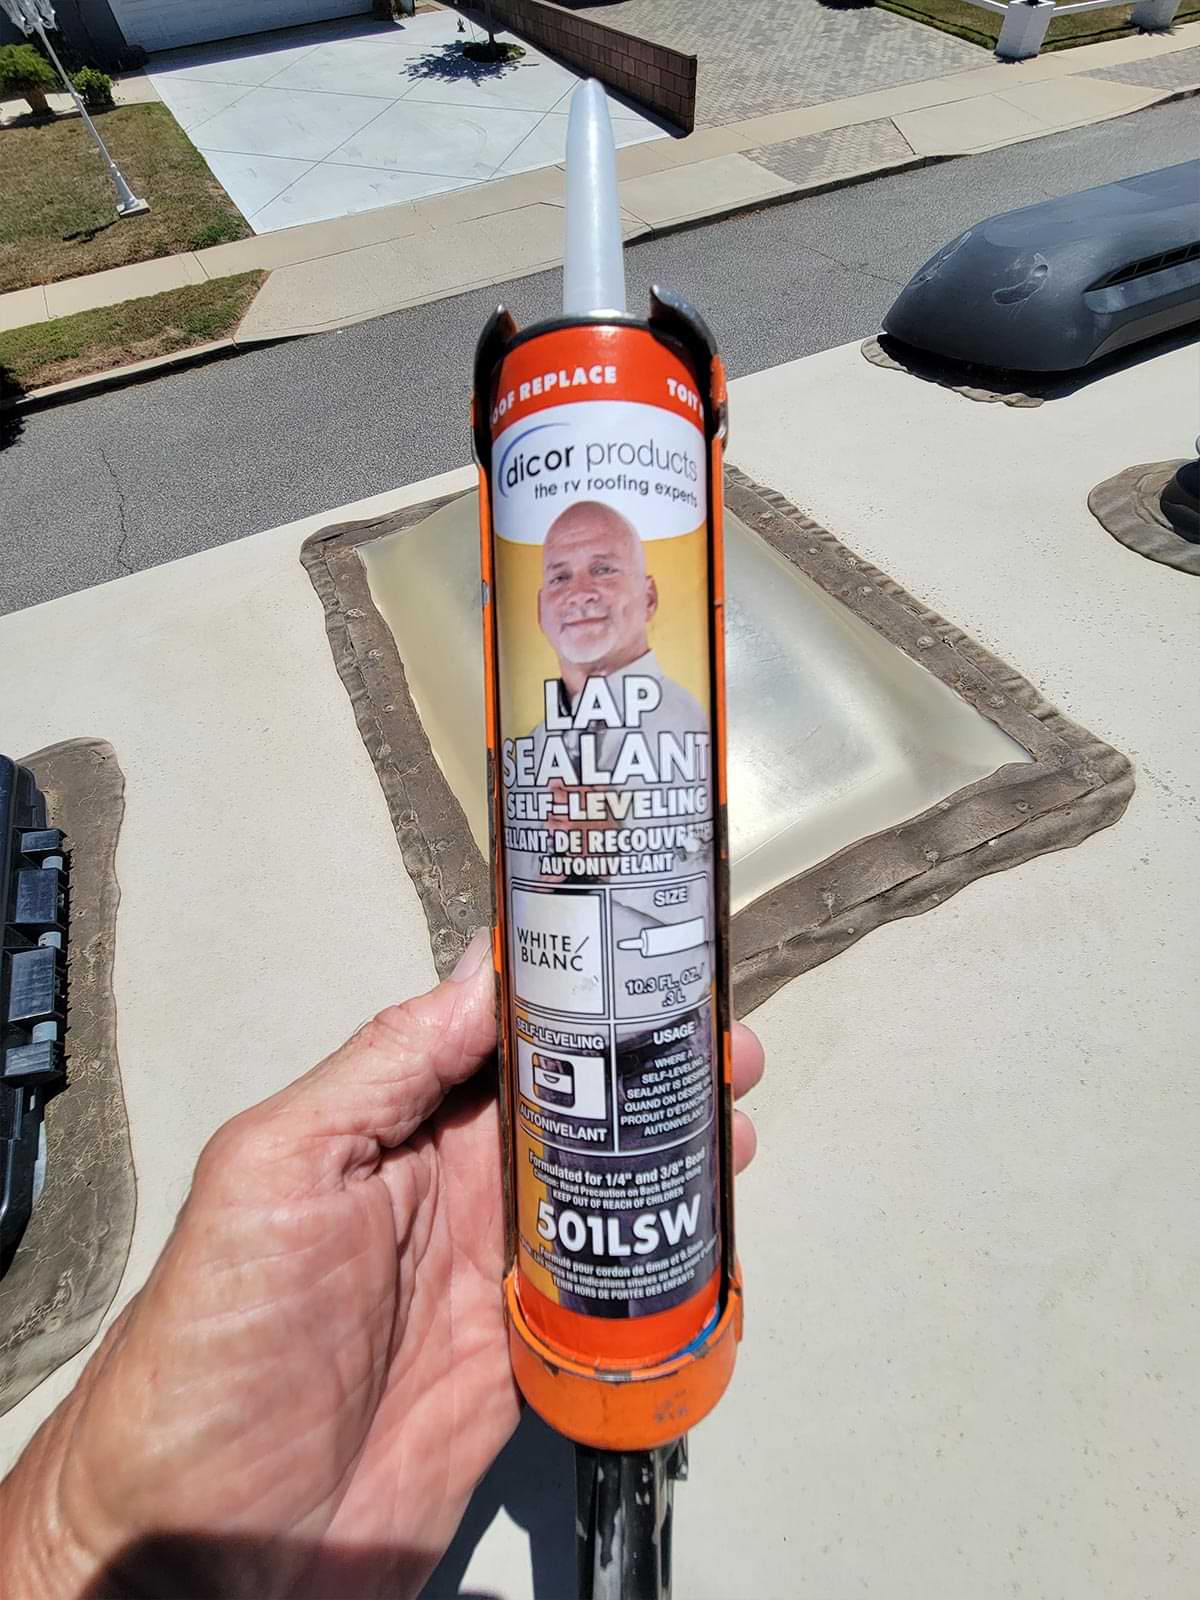
An annual inspection of the roof will undoubtedly reveal a few areas where the old sealant has become damaged or cracked from exposure to intense sunshine. Keeping a tube of Dicor Self-Leveling Lap Sealant and a good quality caulking gun in your tool kit makes it possible to repair problem areas before or during a trip.

Without the proper maintenance of sealant, any breach in the roof membrane could lead to a leak — damaging the interior, sending your RV to a service center for expensive repairs or, worse yet, to the junk yard. Every manufacturer relies on different types of caulking (matching the roofing material) to ensure the roof is sealed against water intrusion. These sealants are durable and reliable, but the propensity for cracks to show up under intense sunshine and other environmental maladies drives the mandate to inspect the roof at least once a year and re-apply sealant, if necessary.

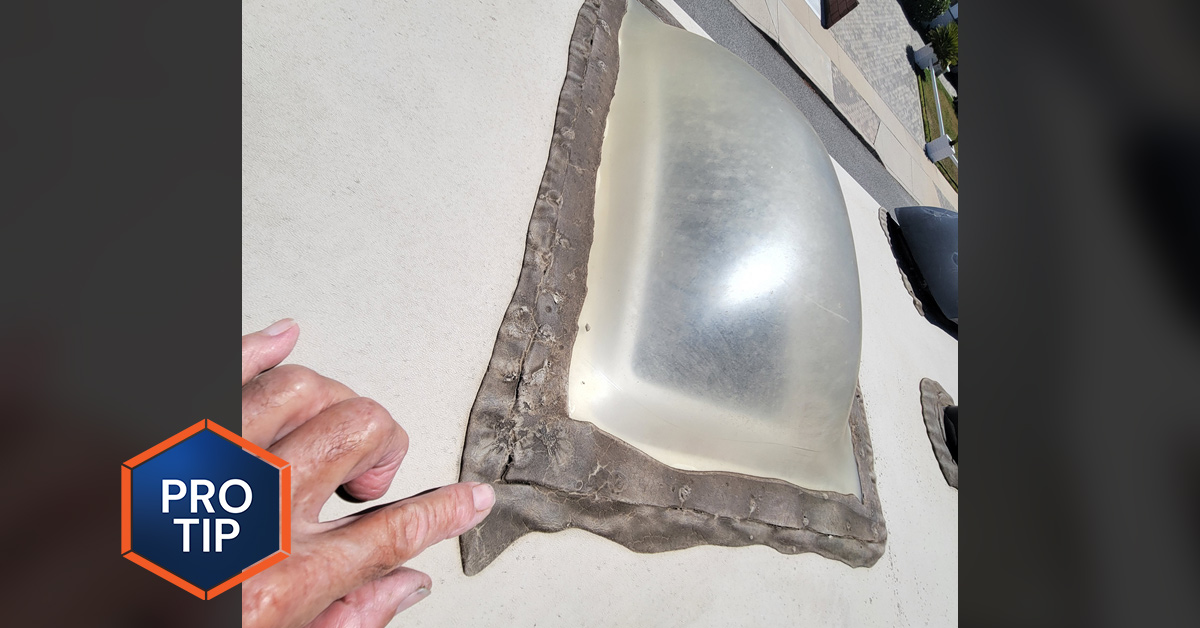
For some reason, skylights in trailers and motorhomes always seem take the brunt of damage from premature cracking. Perhaps it’s the intense heat that develops between the inner and outer domes that lead to nasty cracking; perhaps it’s owner neglect. In either case, any breaches must be sealed before it’s too late. Fortunately, it may not be necessary to do an entire scrape and seal — which is labor-intensive and takes a lot of time.

As a result of an annual roof inspection, cracks were discovered on this subject trailer and, since the owners were heading to Canada, there was only enough time to inspect the areas and reseal as necessary. The need for a full scraping and re-seal will be determined at a later date, but in this case, it was imperative to make sure the roof was able to withstand potential rainstorms during the trip. Having the right tools, cleaner and sealant on hand made snap repairs possible.

mechanic cleans down old sealant with a wet rag
After pinpointing areas that need attention, the old sealant must be cleaned thoroughly. Oil Eater Cleaner and Degreaser (not shown) is relatively inexpensive (two 32-ounce spray bottles for $14.79 on Amazon) and does a good job lifting dirt, grease and oil. After cleaning, remove the residue Oil Eater (or other suitable product) using a wet rag.

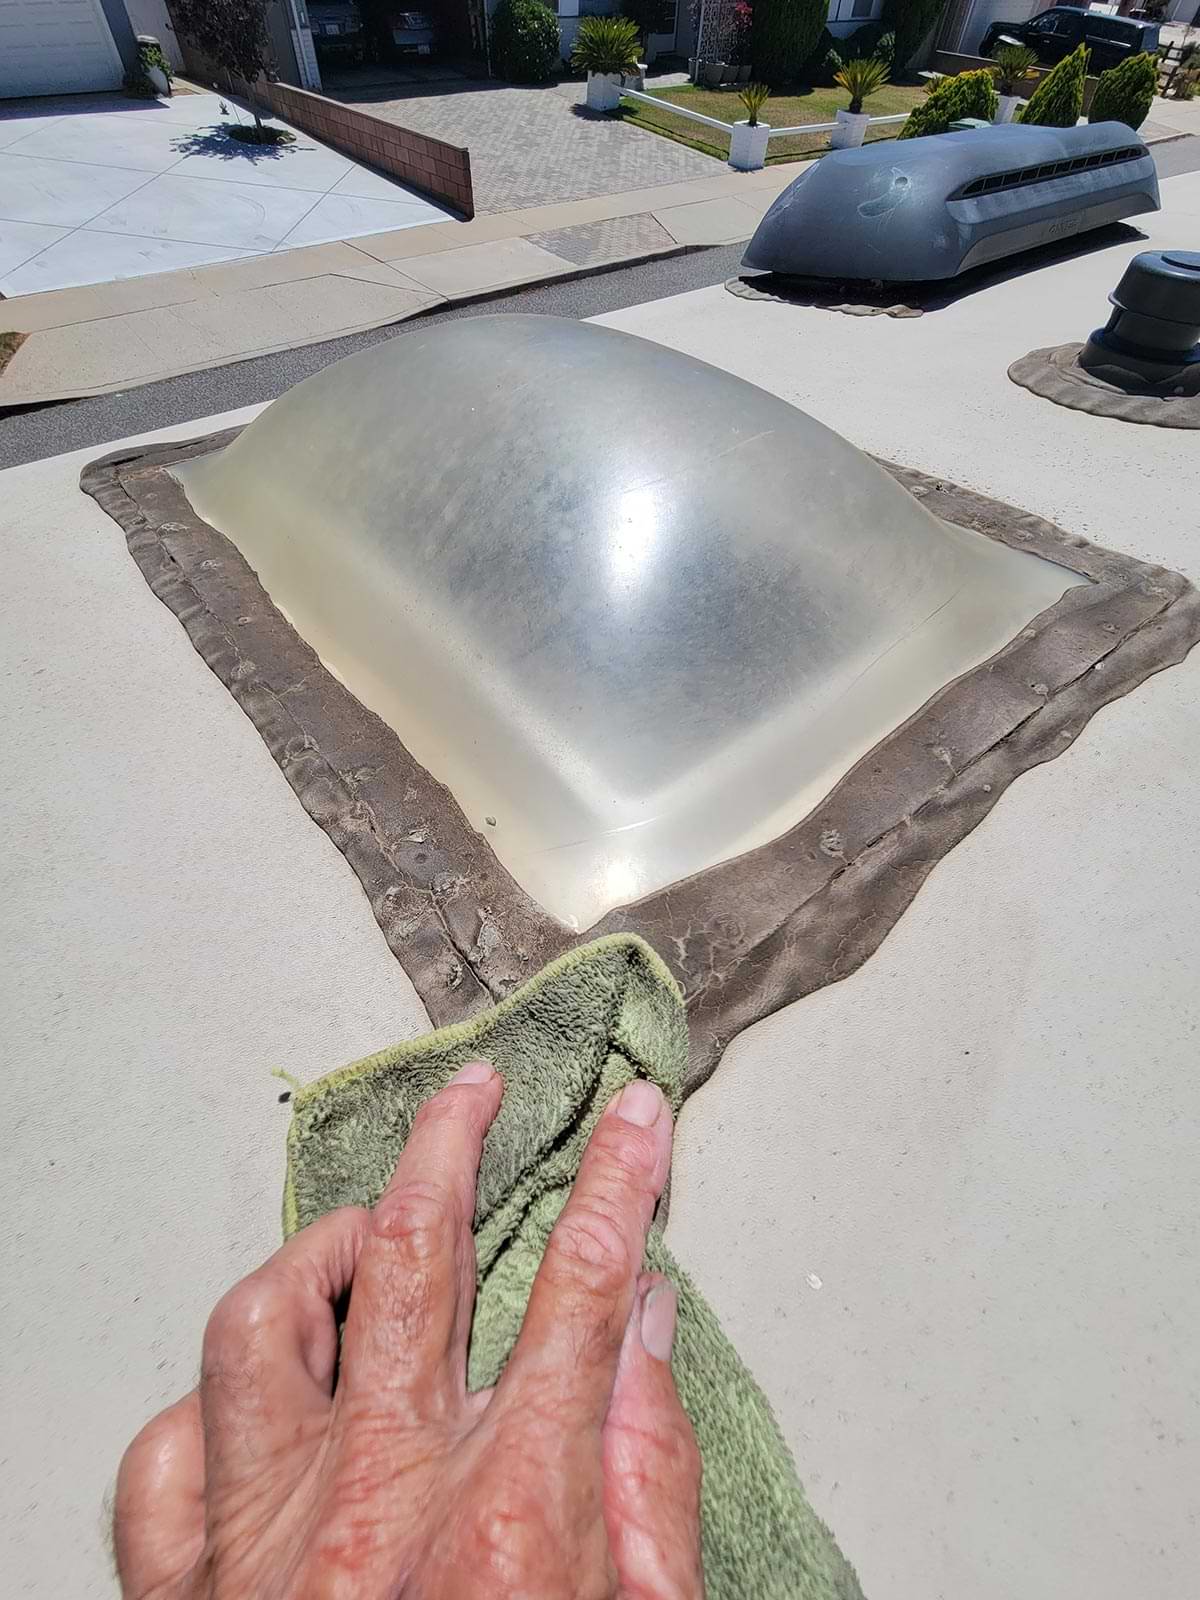
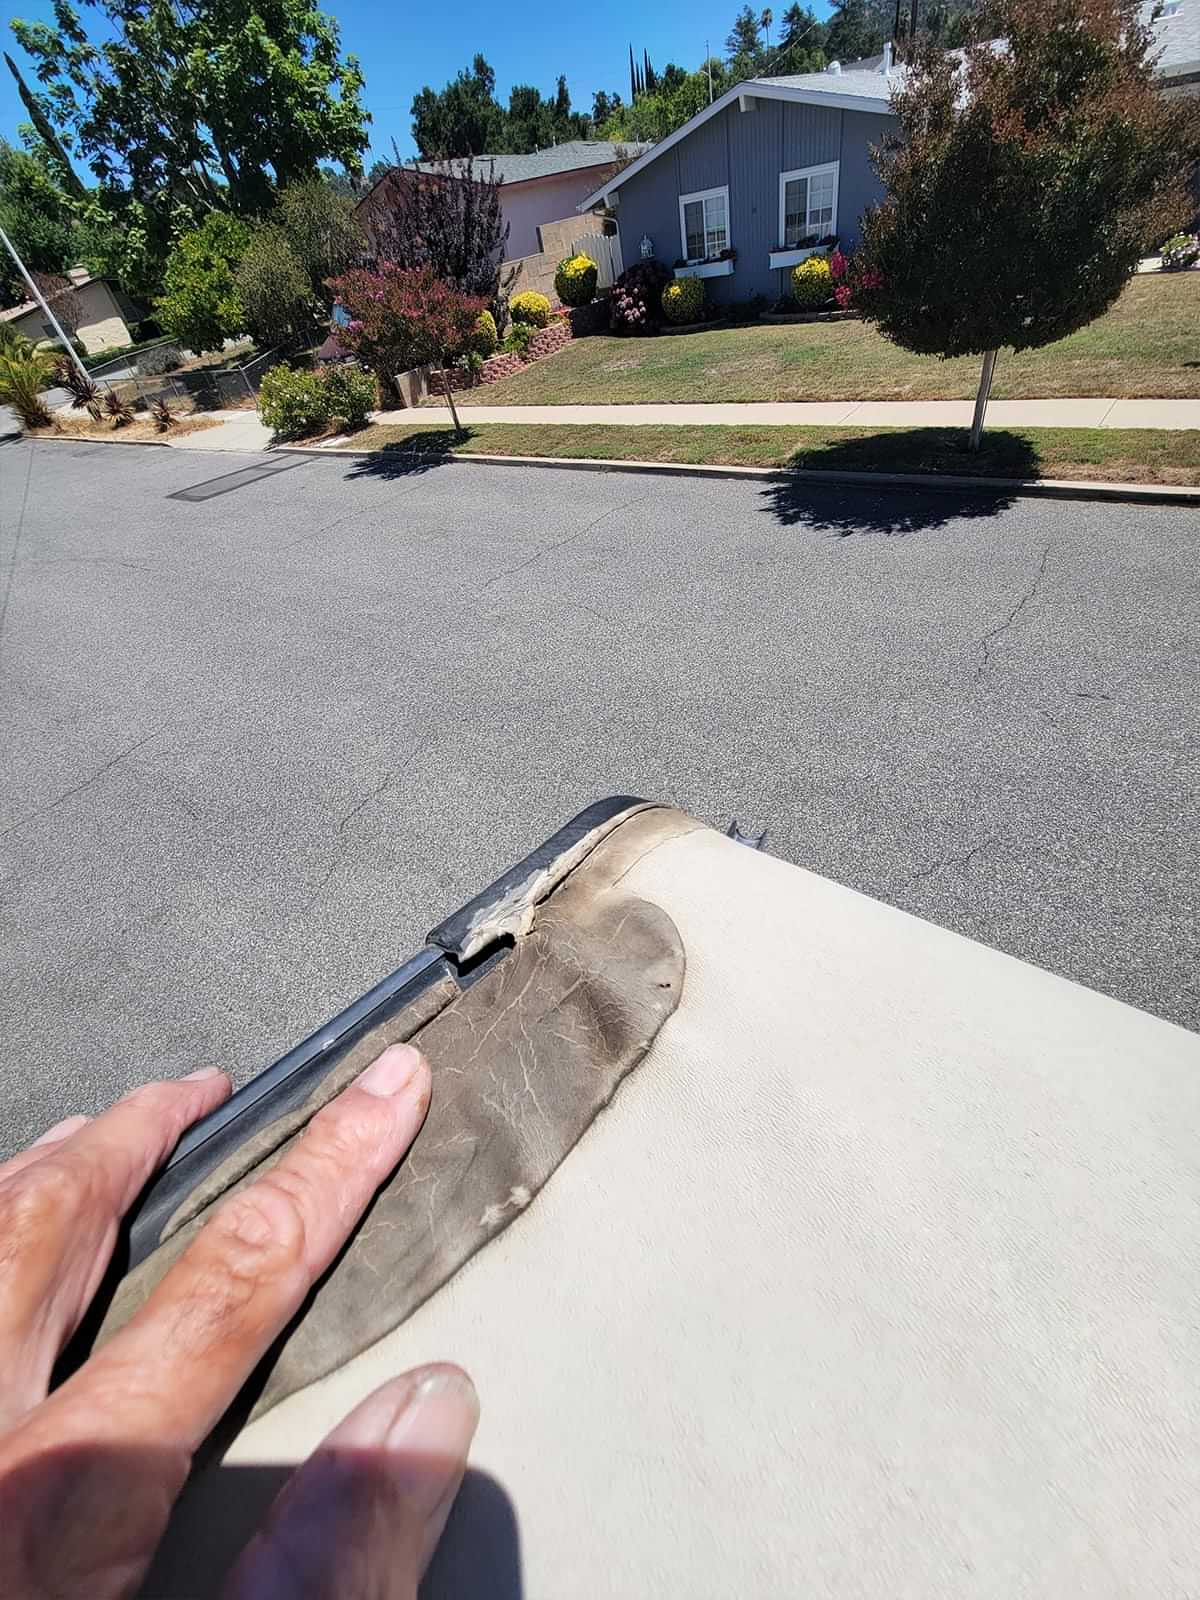
After the inspection — especially around the skylights and common roof vents — I found a few areas that needed attention. Left untreated, these smaller cracks are destined to expand and lead to water leakage. Before re-sealing, you will need some type of industrial product like Oil Eater, a powerful cleaner and degreaser that does an amazing job of lifting dirt, oil and grease from washable surfaces. A two-pack of 32-ounce spray bottles of Oil Eater Cleaner and Degreaser is available from Amazon for only $14.79. Keep this stuff in your storage compartment; it has numerous uses for cleaning up greasy messes, including those on concrete.

Spray a rag with the cleaner and carefully scrub the areas that need to be sealed. Follow-up by wiping any cleaner residue off the old sealant with another wet rag. Most modern trailer roofs are covered with an EPDM membrane and this trailer was no different. The sealant of choice for this project was Dicor Self-Leveling Lap Sealant, which is available in just about any RV parts store (Amazon carries the 10.3-ounce tubes for less than $12). You’ll also need a caulking gun for dispensing. Dicor’s self-leveling sealant will find its way into the cracks and flow for several centimeters in either direction, providing excellent coverage without needing to spread the material with a tool or your fingers.
mechanic holds a container of Dicor Self-Leveling Lap Sealant in hand
Dicor Self-Leveling Lap Sealant is one of the best products for resealing around skylights, common roof vents and other accessories cut into the membrane. A good quality caulking gun is needed for dispensing sealant from the 10.3-ounce tubes. Don’t cheap out here; higher quality caulking guns provide better control.
mechanic applies Dicor Self-Leveling Lap Sealant over the old sealant
Dicor Self-Leveling Lap Sealant is applied to the identified breaches in the old sealant. This sealant will seek cracked areas within the old sealant and does a great job of coverage to surrounding surfaces. In areas with bigger breaches, the old sealant may have to be scraped off before applying new material.
mechanic observes a molding in need of sealing
a molding in need of sealing is covered with Dicor Self-Leveling Lap Sealant
Self-leveling lap sealant is also good for making quick repairs around molding at the roof membrane transition seams. Keep a tube of sealant and a caulking gun in your travel tool kit for repairing damage from inopportune moments.

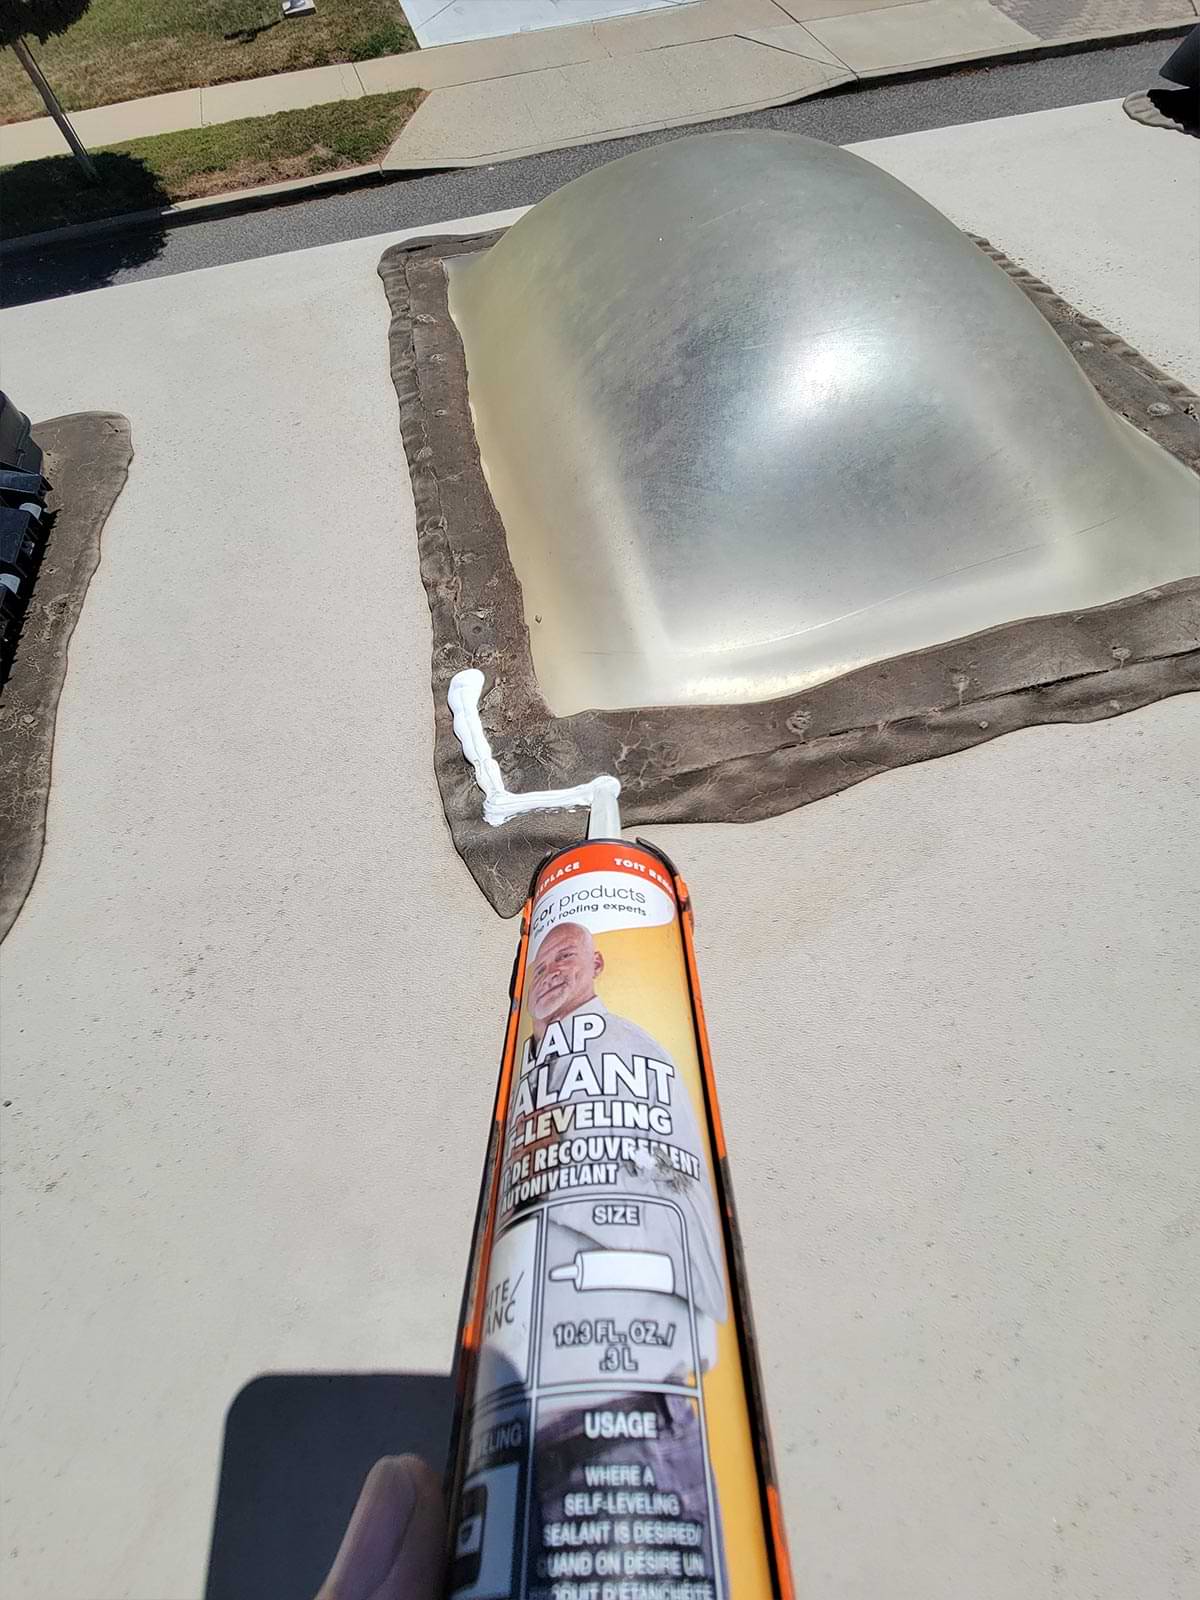
After the targeted areas were completely dry, the sealant was applied along the cracks and crevices that have opened. If you’re not experienced with a caulking gun, test your control of the flow on a piece of cardboard. This sealant also works well on the roof molding transition seams; do not use this sealant on a vertical surface, as it will run downward and make a mess. If you’re working in a sensitive area where you need to apply a straight line of sealant, put some masking tape down on either side and leave it there until the sealant dries enough to hold its form. Dicor’s self-leveling sealant will dry to touch in 30 to 60 minutes, depending on the weather. Be careful that you don’t accidentally step on the freshly-applied sealant — it will ooze out onto the dry membrane areas and, again, make a mess.

Keep the caulking gun and the Dicor sealant handy. There’s no question that more cracks may appear around the vents and skylights over time — and you never know when you’ll need some of this stuff to make repairs from an “oops” moment.

Get Updates
Subscribe today and never miss an issue!
Get all the latest tips and news to keep you moving on that open road!
RV Enthusiast January/March 2024 Issue
Current Issue
January/March 2024
Spring is back in bloom and with it we are proud to present our latest issue of RV Enthusiast! The January/March issue covers furnace failures and how to fix them, the best batteries for boondocking, quick and easy weekend projects, PLUS so much more!

Already a Subscriber? Click here for Access to the Full Issues.

Share This