Slip-Sliding Away - RV Enthusiast Magazine

Slip-Sliding Away

by | Aug 23, 2024 | Pro Tip, RVEXPERT

Photos by the author

Thin brackets designed to restrain RV closet and/or bathroom doors often break, which leads to sliding resistance and potential damage when allowed to flop around on the road. Installing barn door roller brackets will stop the carnage.

Sliding doors in RVs make a lot of sense because they save space and are usually easy to open and close. These doors, whether closing off a closet or bathroom, roll on upper-mounted hardware, which allows for a smooth operation — but a weakness for many of these sliding doors is the thin plastic bracket that keeps the bottom of the door from flopping around when opened and closed.

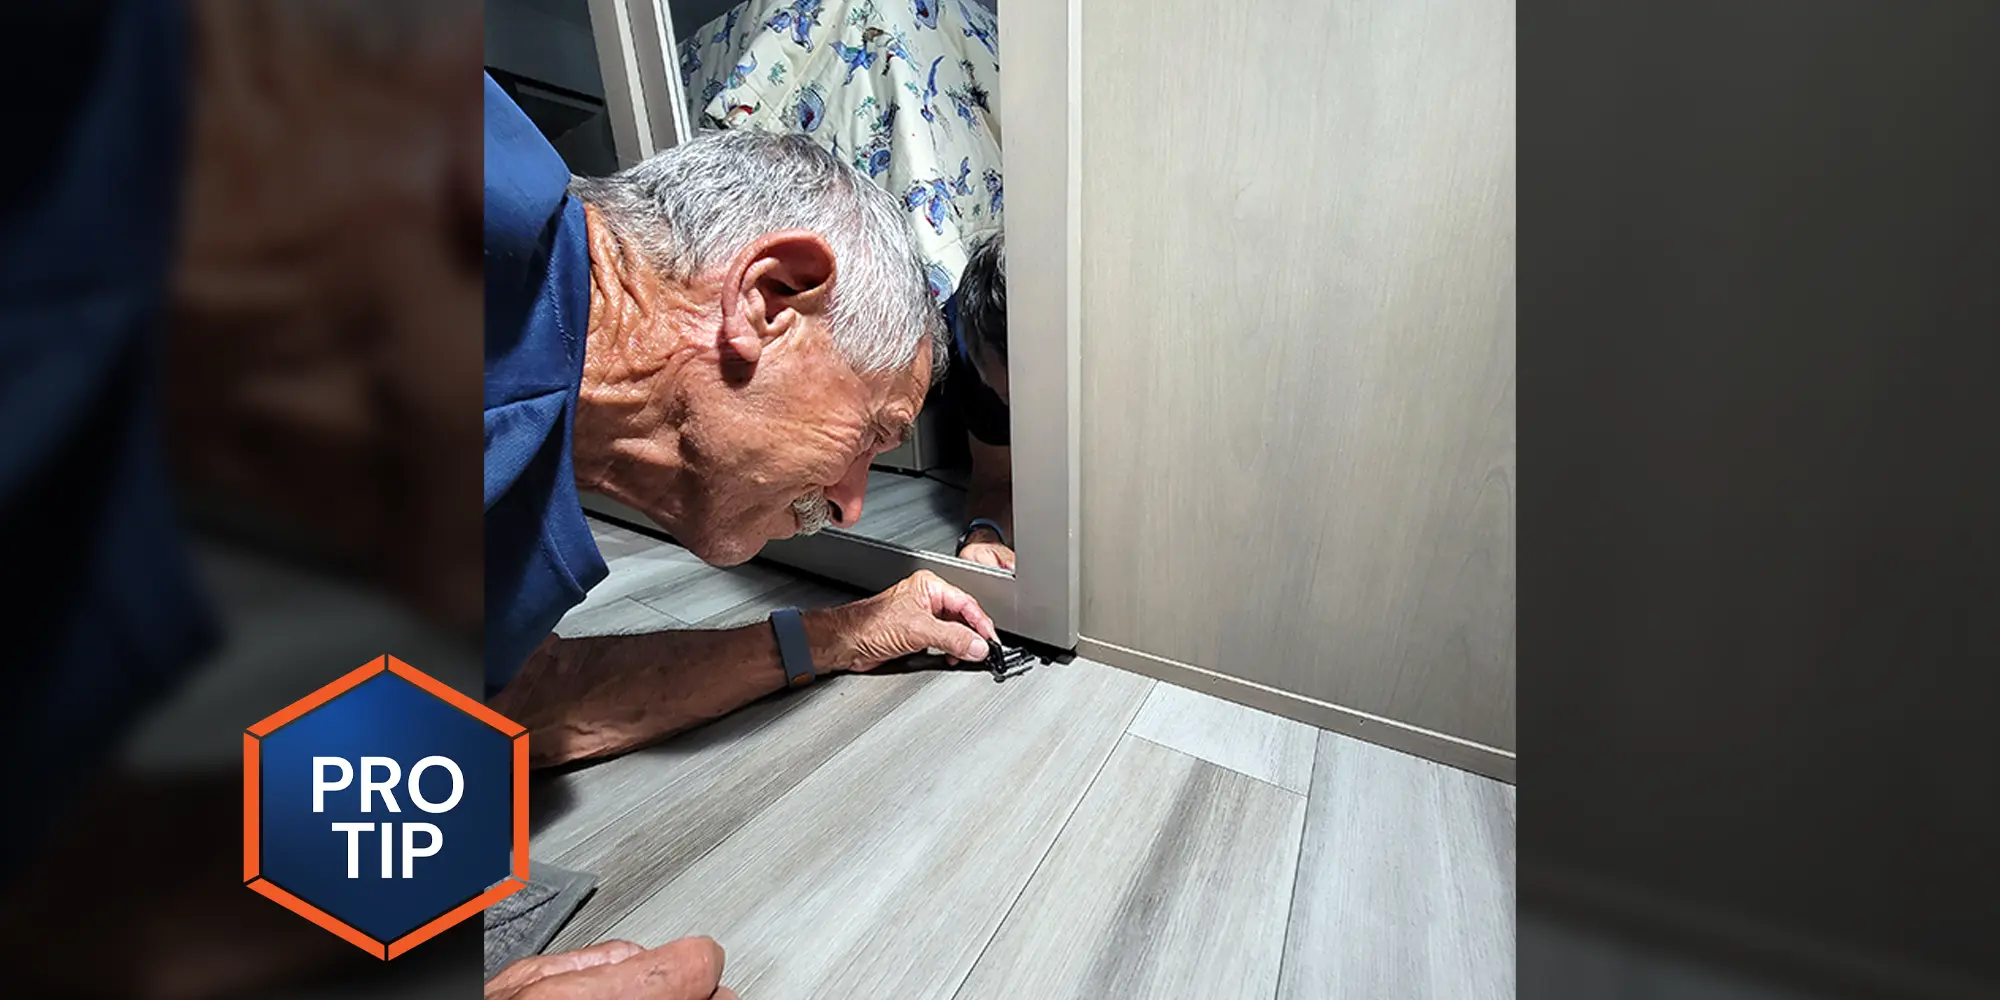
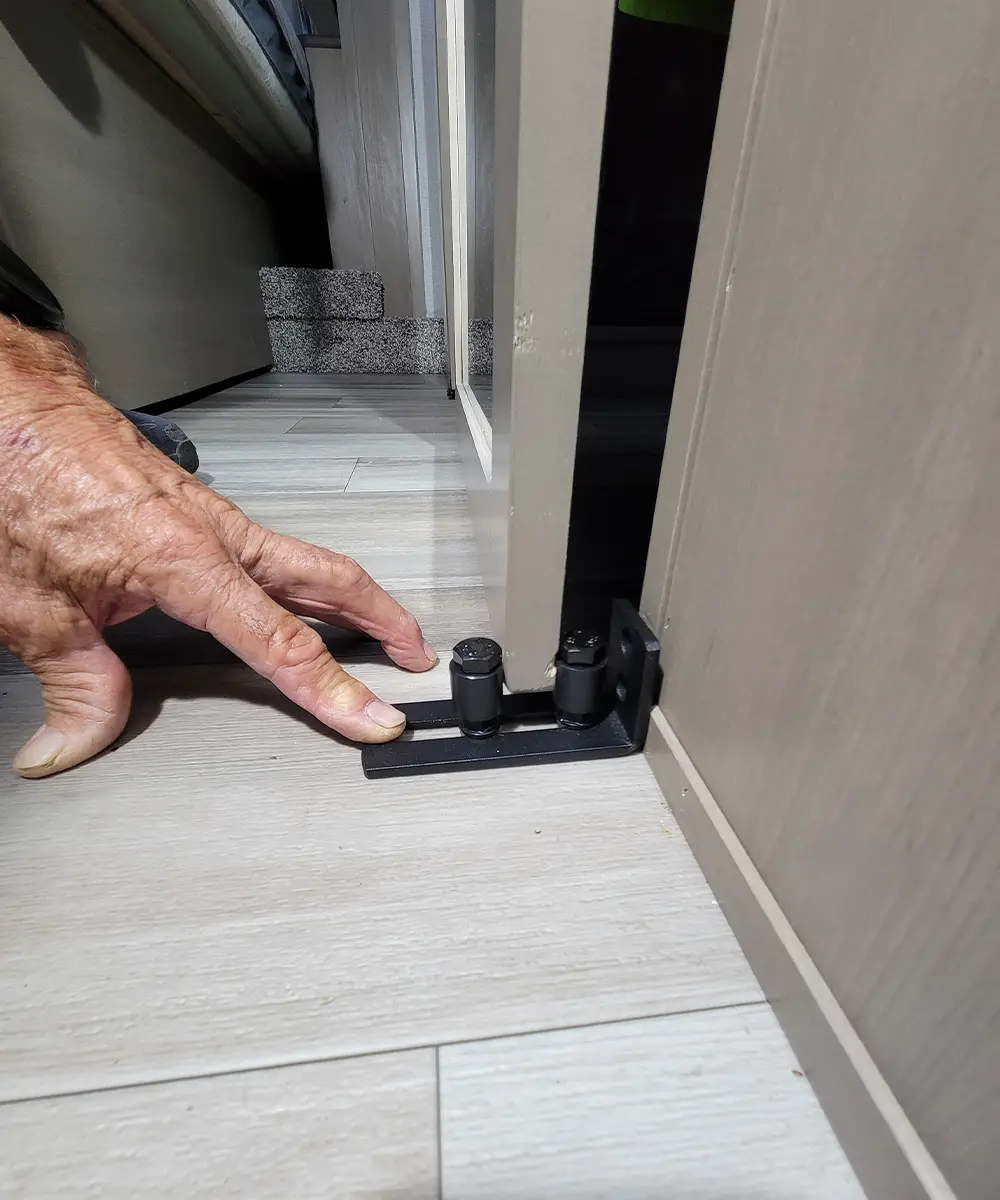
This was the case in my front bedroom, where the double sliding-closet doors were damaged while on the road because the bottom brackets failed. Not wanting to replace the cheesy bottom brackets just to see them break again, I found barn door rollers that fixed the problem — and they were much stronger.

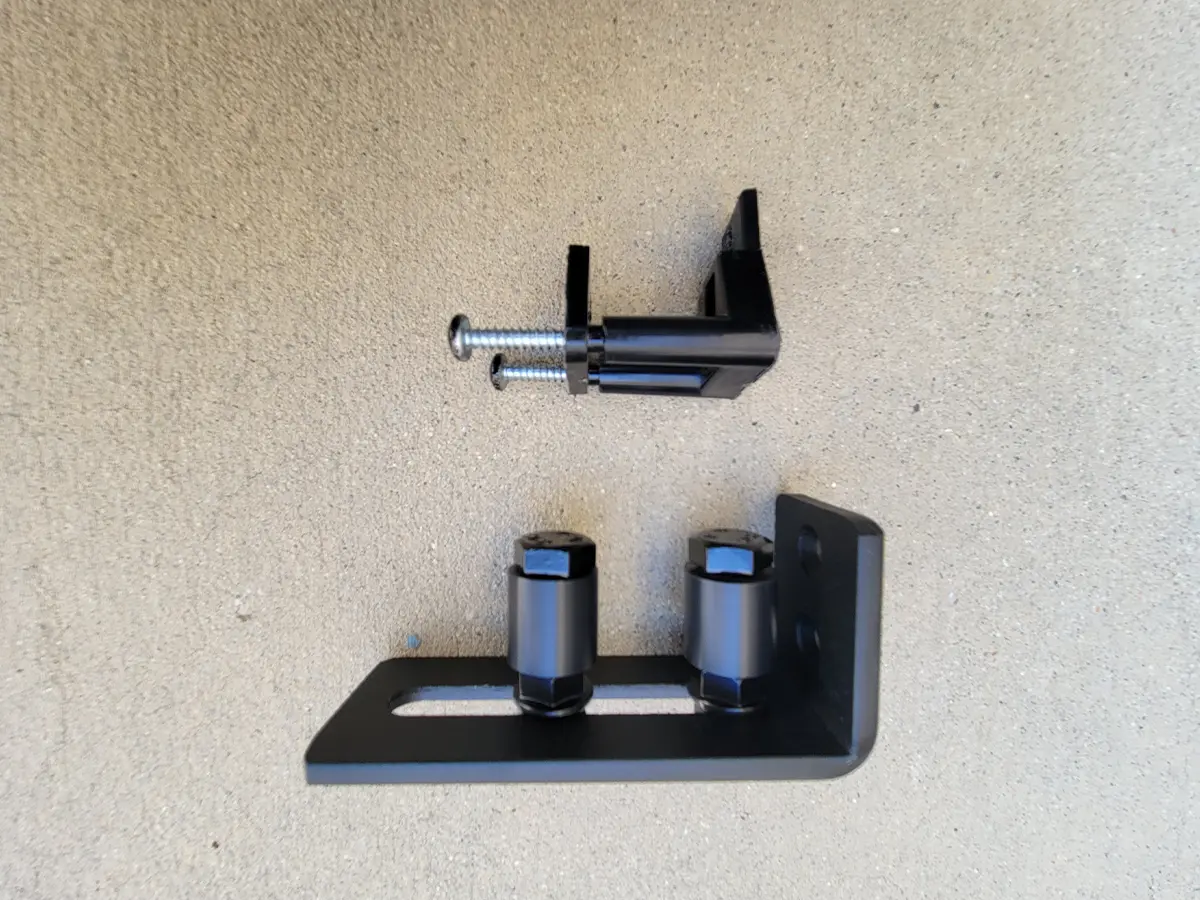
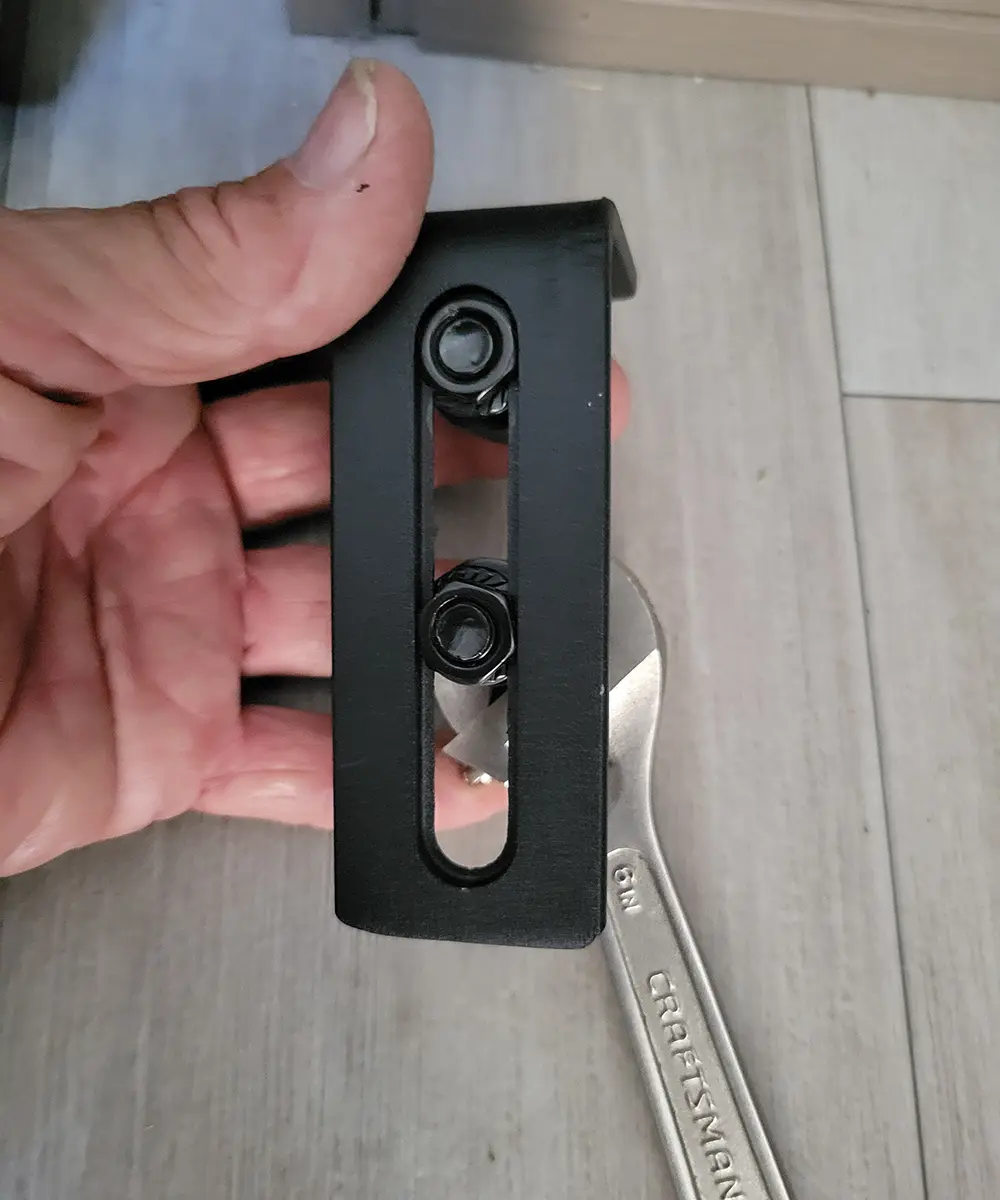
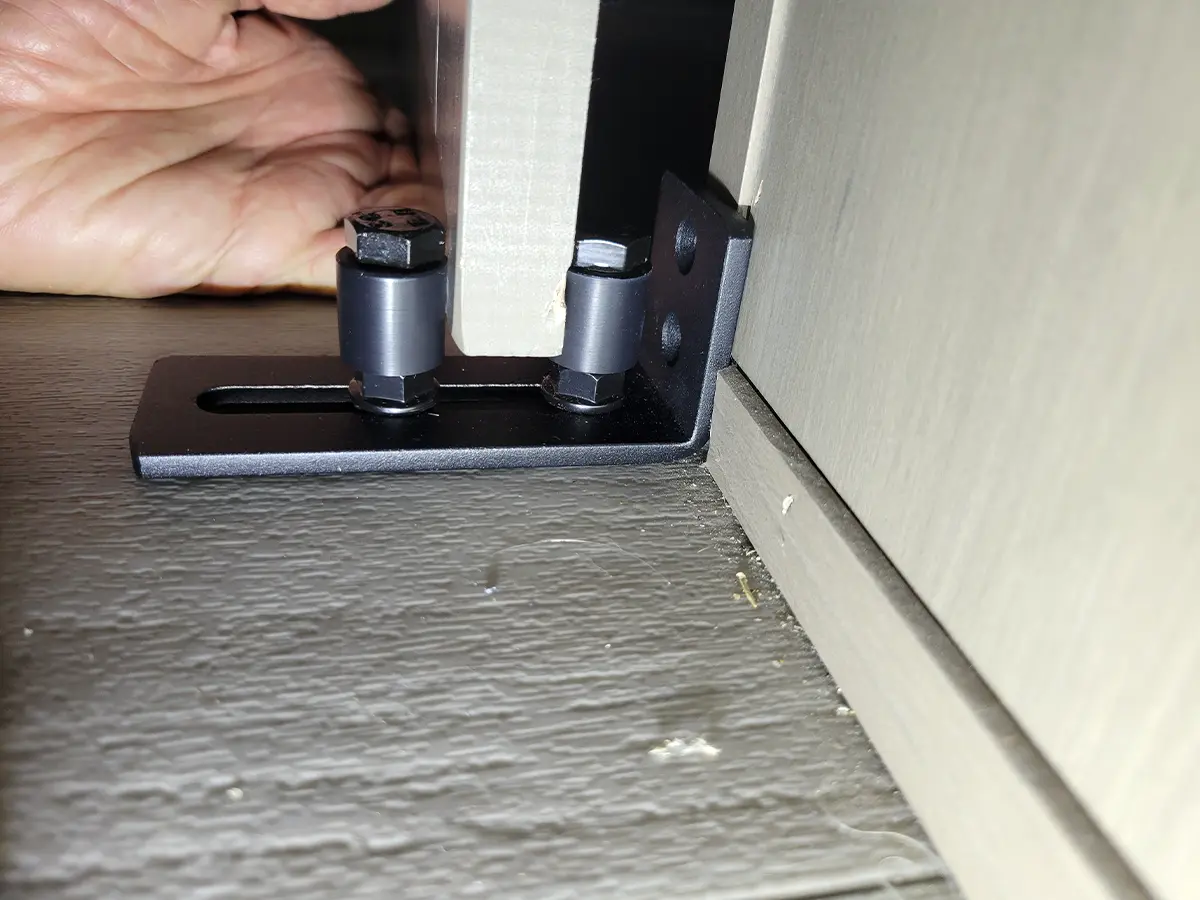
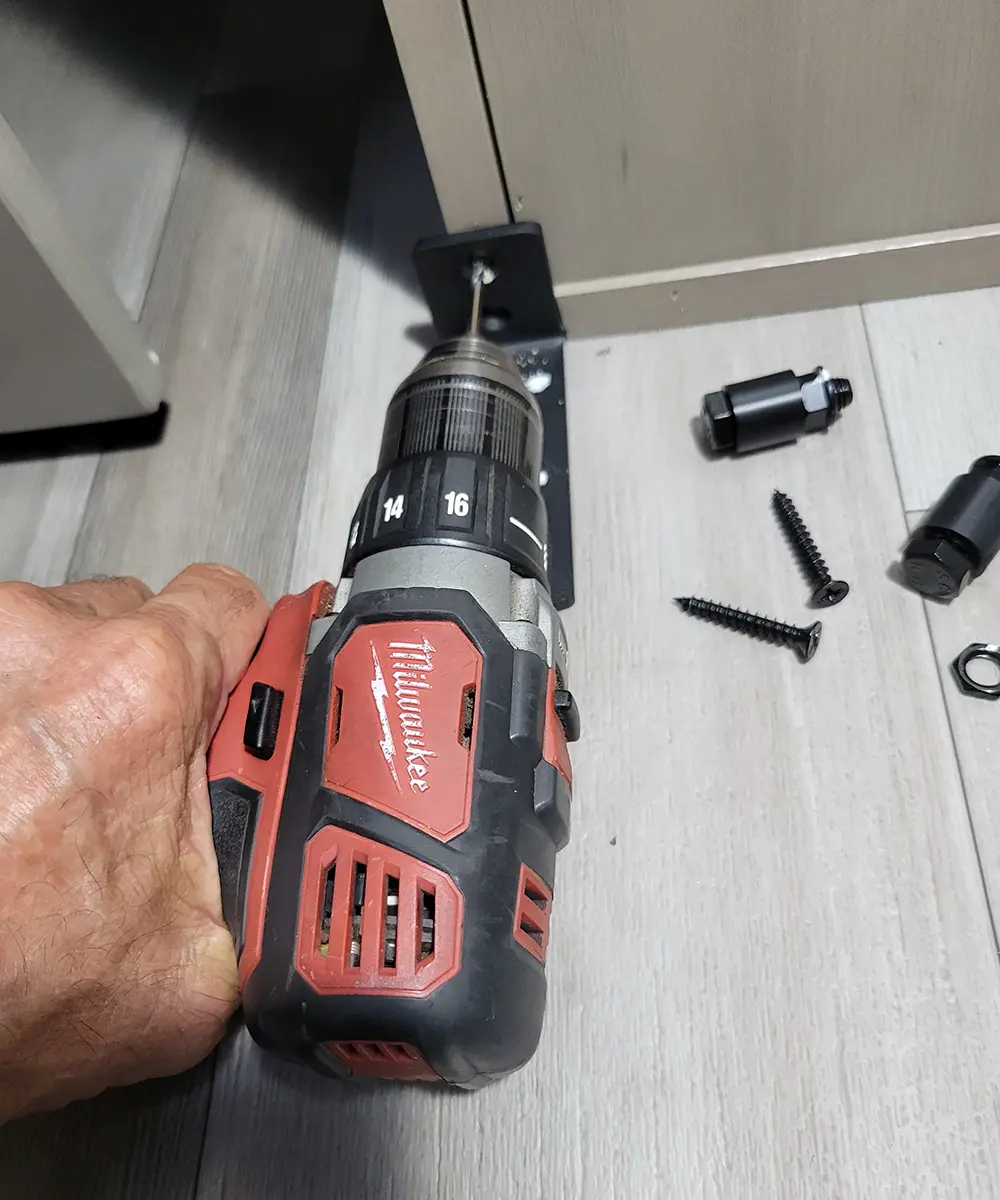
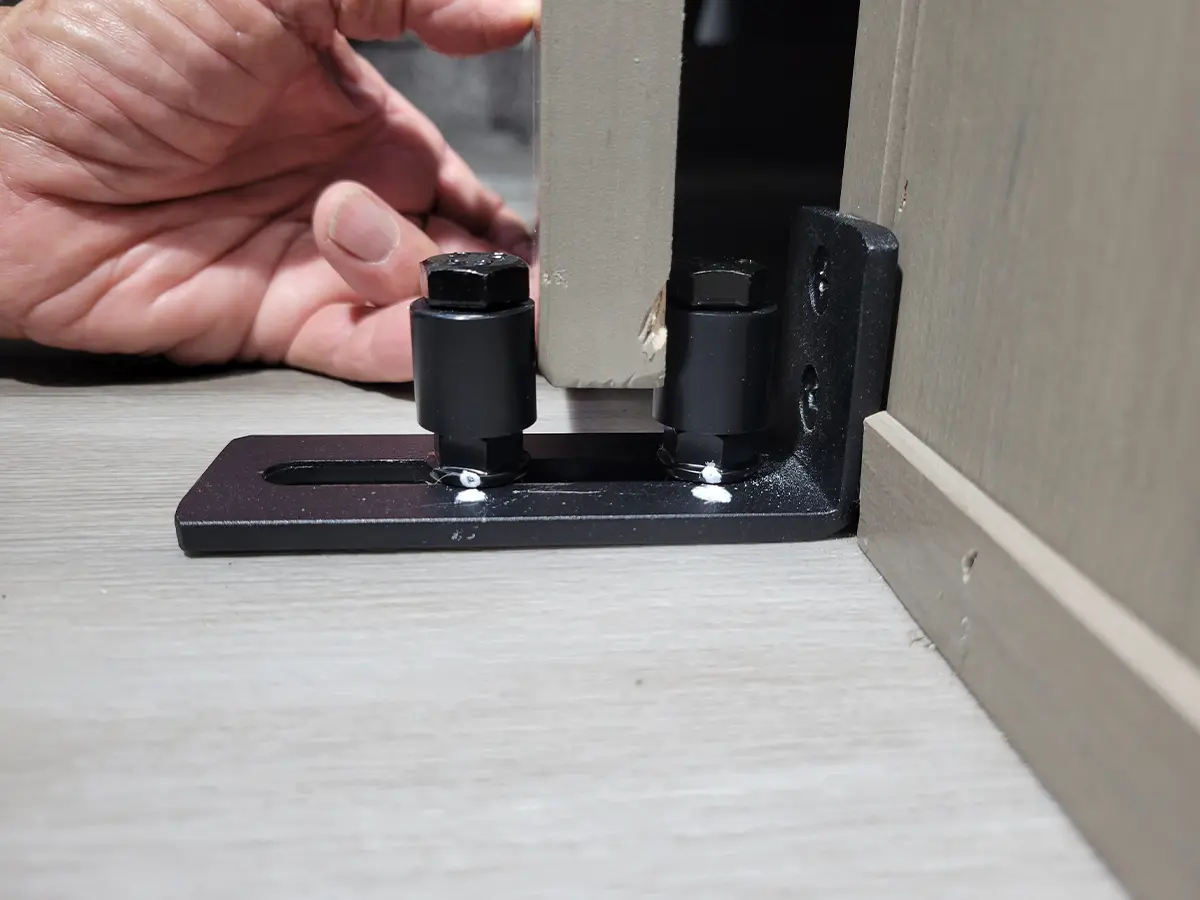
There are dozens of barn door rollers online, but the one I chose is made of metal, has rollers and adjustable bolts (“SMARTSTANDARD Sliding Barn Door Bottom Adjustable Floor Guide Roller;” Amazon, $17.99). When choosing the right product for this job, it was important that the bracket was as short as possible so it didn’t stick out beyond the door too far; I didn’t want a trip hazard. They came in a set and are capable of handling doors up to 1 15/16 inches wide, which was perfect for the two sliding mirrored doors that open in opposite directions and come together in the middle.

the original thin plastic sliding-door guide (top) and the barn door roller bracket (bottom)
There’s a big difference between the original thin plastic sliding-door guide (top) and the barn door roller bracket (bottom). The plastic guide continued to fail (break) allowing the sliding wardrobe doors in the bedroom to flop around, which led to damage.

Installation is dependent on how the doors are mounted and the amount of space you have to bolt these to the vertical support board running across the floor — about 4 inches wide in my case, which was not an issue.

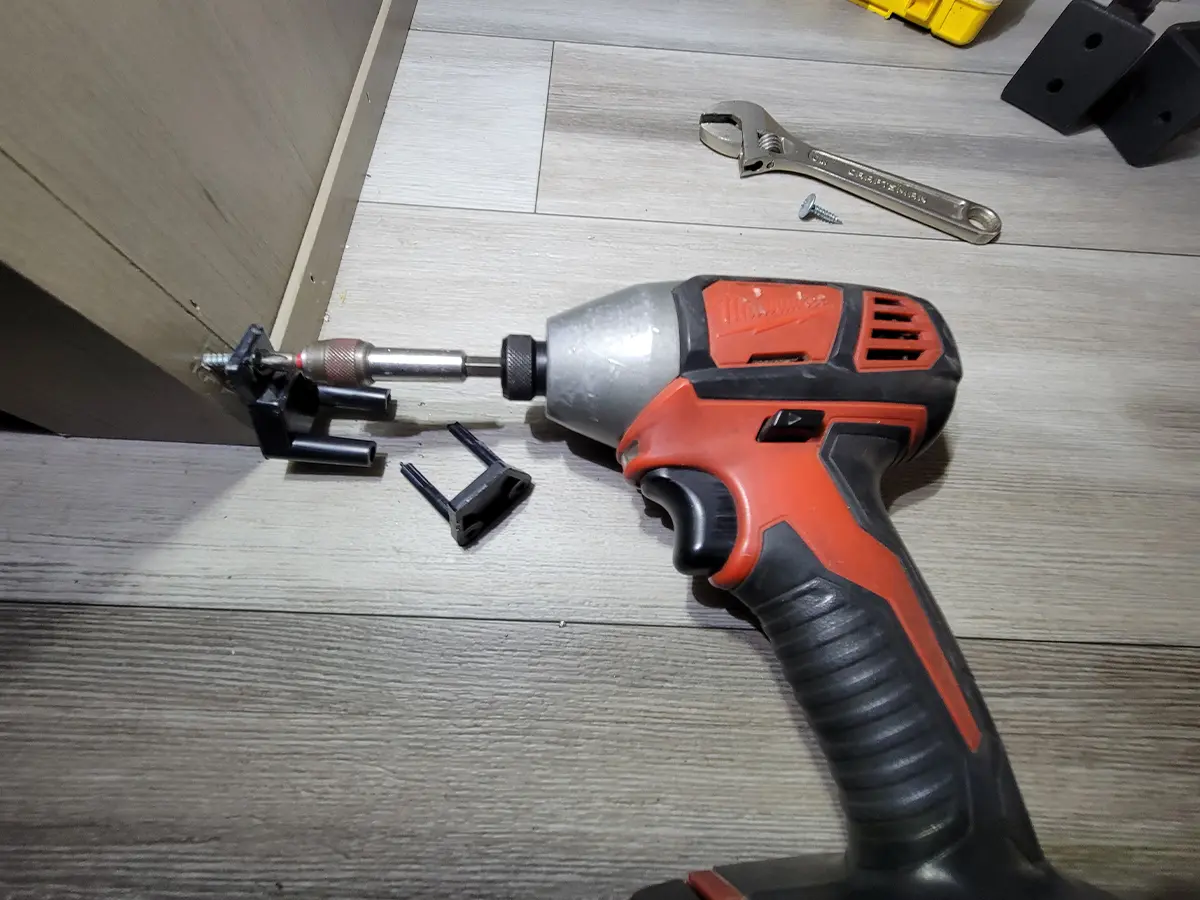
The first step was to remove the header board and pull out the screws that stop the doors from going too far in either direction; they stop in the middle. Once the two screws were removed, each door could be slid to clear and remove the existing guide and install the new barn door rollers.

a drill gun is used to remove the screws holding the wardrobe closet header board in place
The wardrobe closet header board was removed to gain access to the door track with the rollers that the doors hang on.
two stop screws are removed to allow the sliding doors to open further and make it possible to remove and replace the door guides and barn door rollers
Two stop screws were removed to allow the sliding doors to open further and make it possible to remove and replace the door guides and barn door rollers, respectively.
two stop screws are removed to allow the sliding doors to open further and make it possible to remove and replace the door guides and barn door rollers
a drill gun is used to remove the old bracket
As you can see, the old guide is flimsy at best. Once the sliding door was moved off the guide, it could be removed from the wall. If you’re working on a bathroom door, for example, it must be removed from the top channel to expose access to the original bracket (not shown).
The rollers can be adjusted by loosening the bolts that go through the rollers and attach to the nuts in the slot underneath the L-shaped bracket. The rollers should be snug, but not to a point where it becomes hard to move the doors. Liquid Paper (which can be removed easily) was used to initially mark the location of the rollers (it probably was not necessary to mark both rollers). Note that the nuts are not attached and will fall out when the bracket is turned upside down; transparent tape applied to the bottom of the bracket fixed that problem. Another reason for the tape: the rollers must be removed to install the screws, which held the bracket firmly to the wood. It’s best to drill pilot holes.
the barn door roller is tested for operation before being permanently mounted
A rough adjustment was made to the barn door rollers before mounting permanently to verify that the sliding door would operate smoothly.
a small crescent wrench is used to loosen the roller so the opening could be adjusted
A small crescent wrench was used to loosen the roller so the opening could be adjusted.
view of the thin nuts at the bottom of the barn door roller bracket
The thin nuts in the bottom of the bracket are held in place by the rollers. These nuts are secured in shallow grooves so they won’t turn during adjustment.
the bracket was held in place by hand and the door tested for proper alignment and a smooth operation
Once again, the bracket was held in place by hand and the door tested for proper alignment and a smooth operation.
liquid Paper is used to mark the rough adjustment of the rollers in relation to the slots in the bracket
Liquid Paper was used to mark the rough adjustment of the rollers in relation to the slots in the bracket. This made it easier to reinstall the rollers after being removed to make way for the bracket mounting screws. Liquid Paper is easy to remove.
clear tape is applied to the bottom of the bracket to hold the roller nut in place
Clear tape was applied to the bottom of the bracket to hold the roller nuts in place when flipping the bracket over for mounting to the wall.
pilot holes are drilled with a 9/64-inch bit
Pilot holes were drilled with a 9/64-inch bit to make way for the mounting screws that were large enough to provide a very strong hold against the wall.
After the brackets were mounted, the bolts were placed through the rollers and tightened after making final adjustments. The nuts are held in place via grooves in bracket that are not very deep, so don’t overtighten or they will strip out. One of the rollers was a little bit too tight but I was able to loosen the bolt and tap it slightly for a perfect fit — a function that is easy once the rollers are in place.

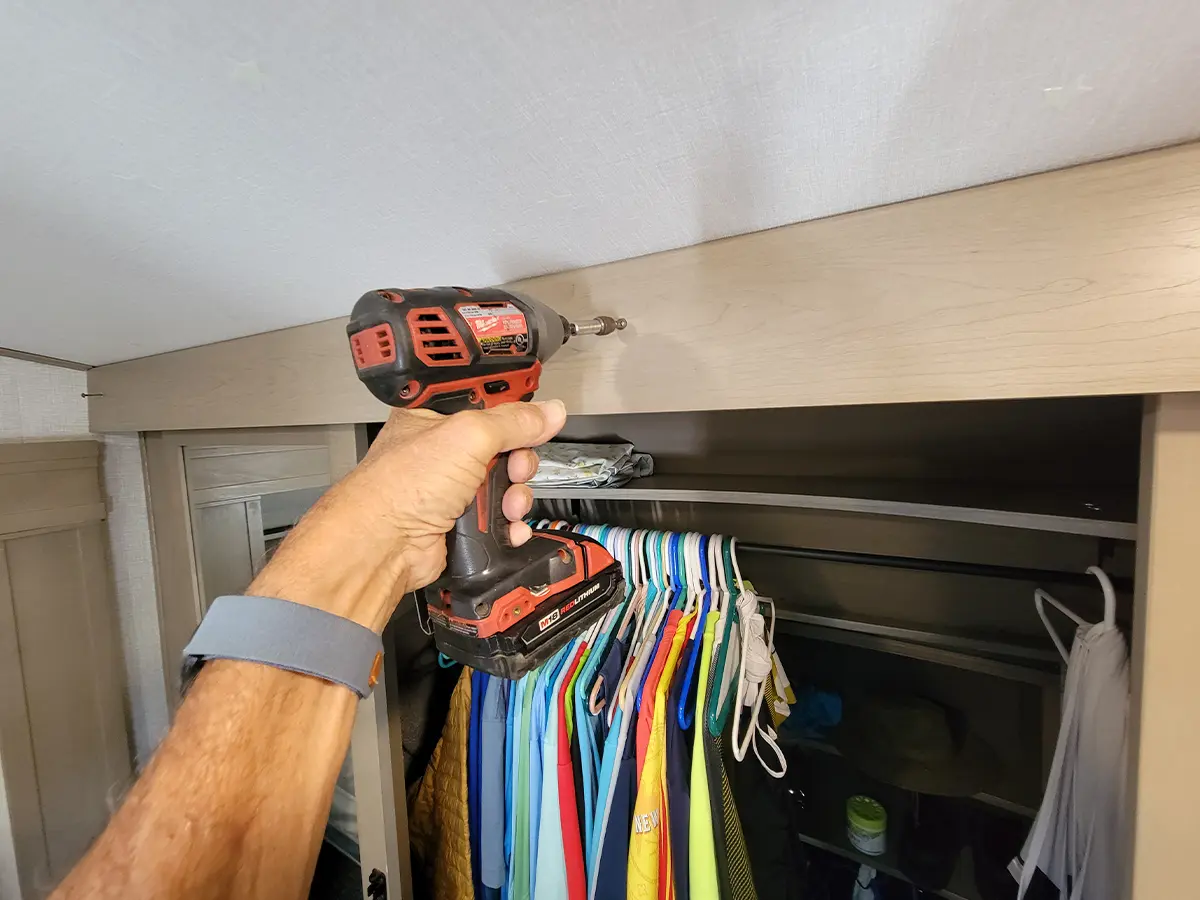
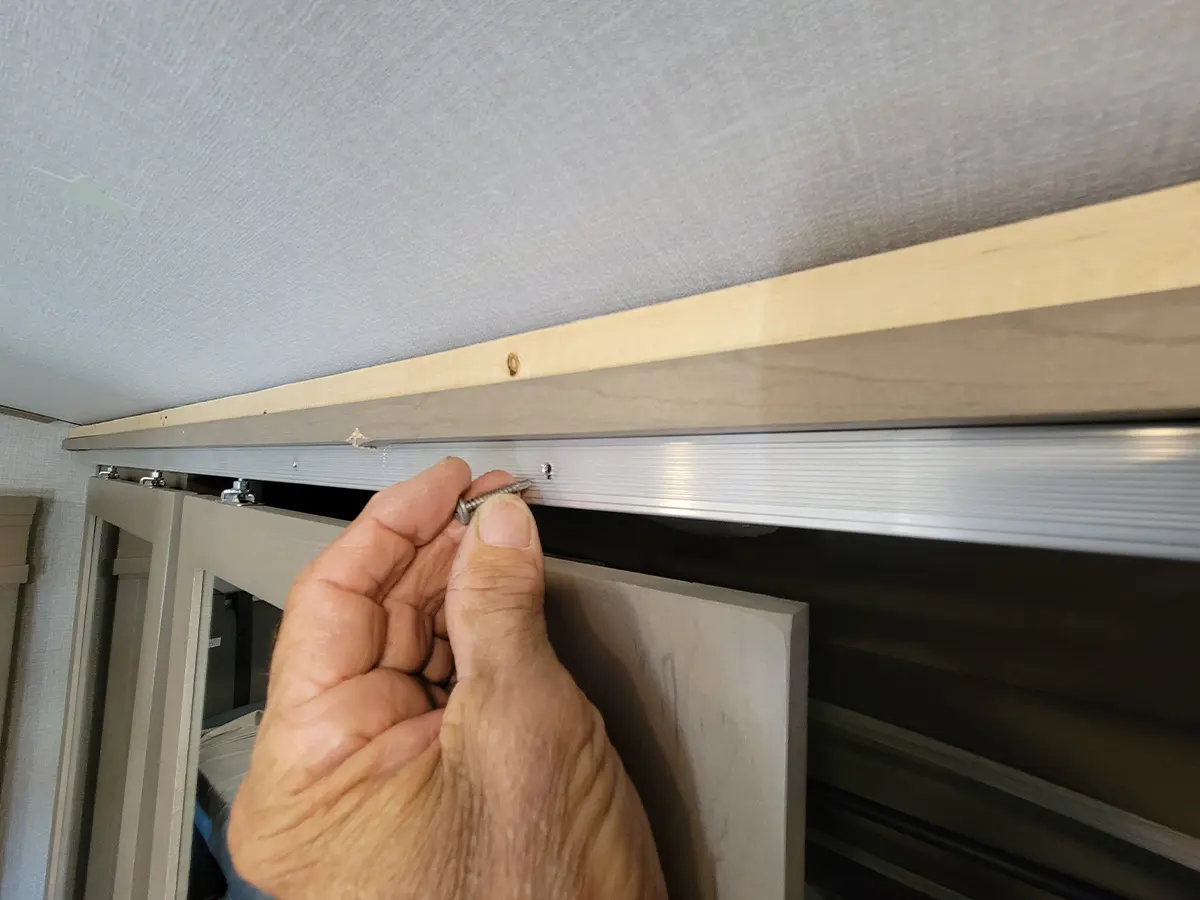
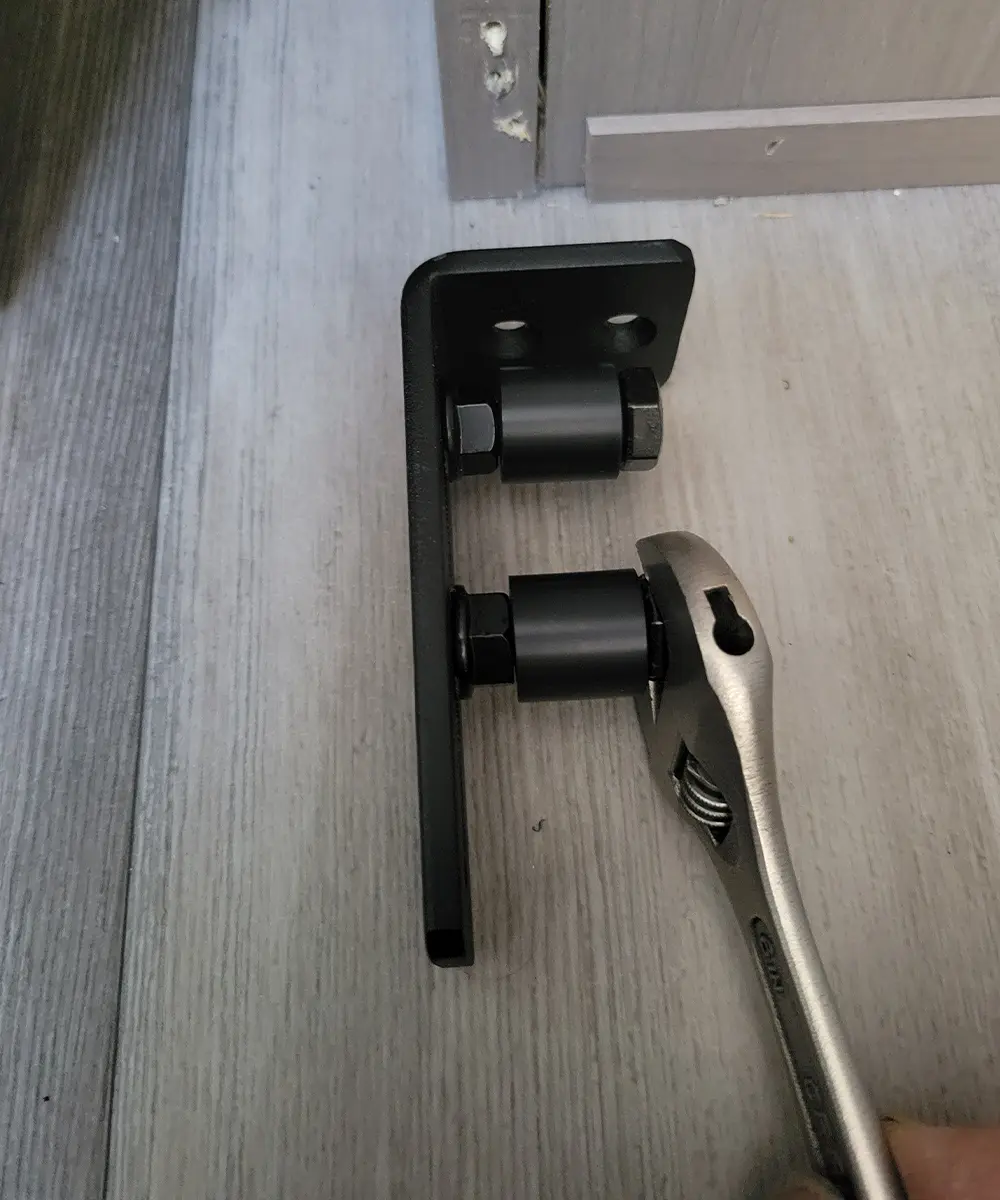
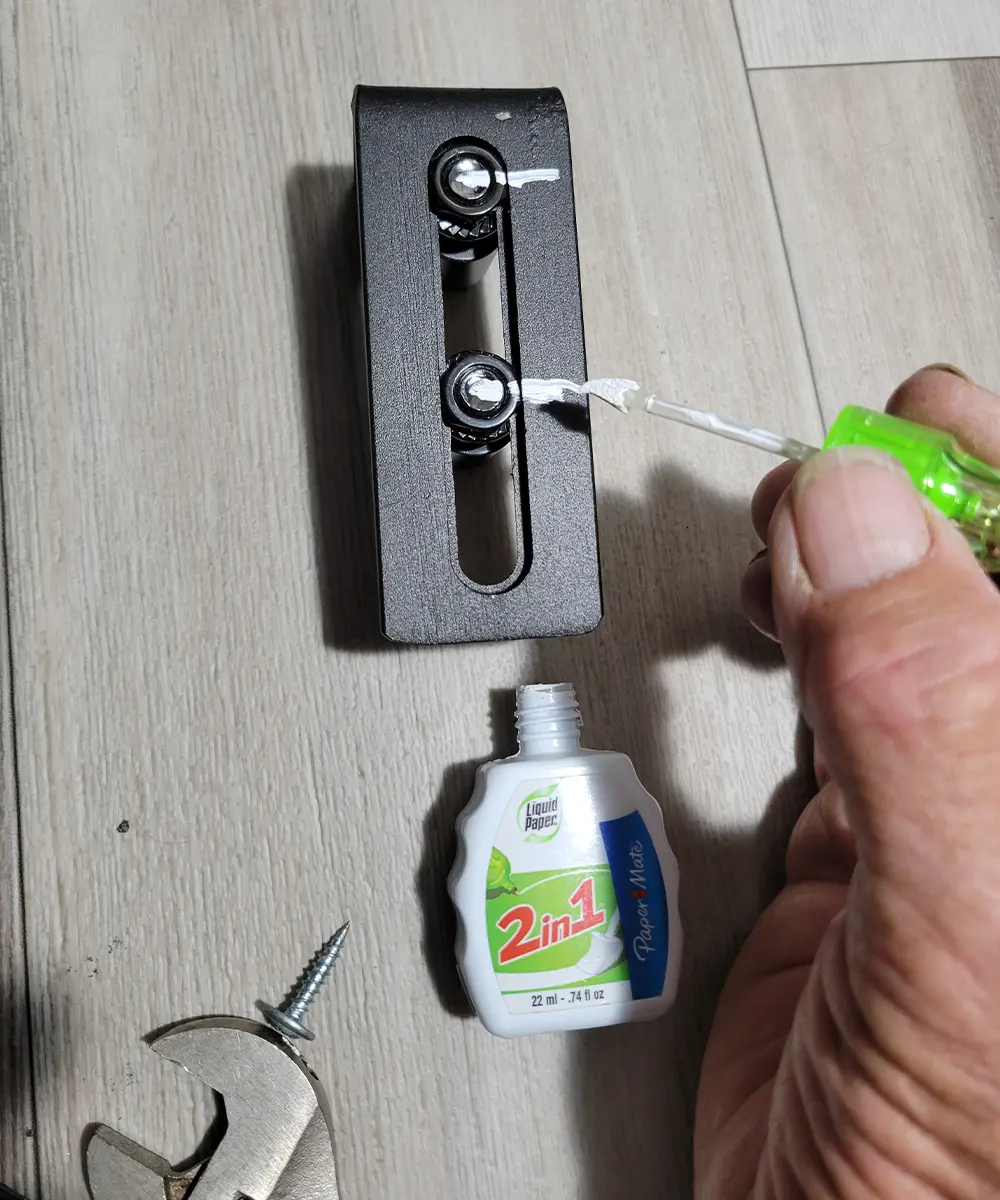
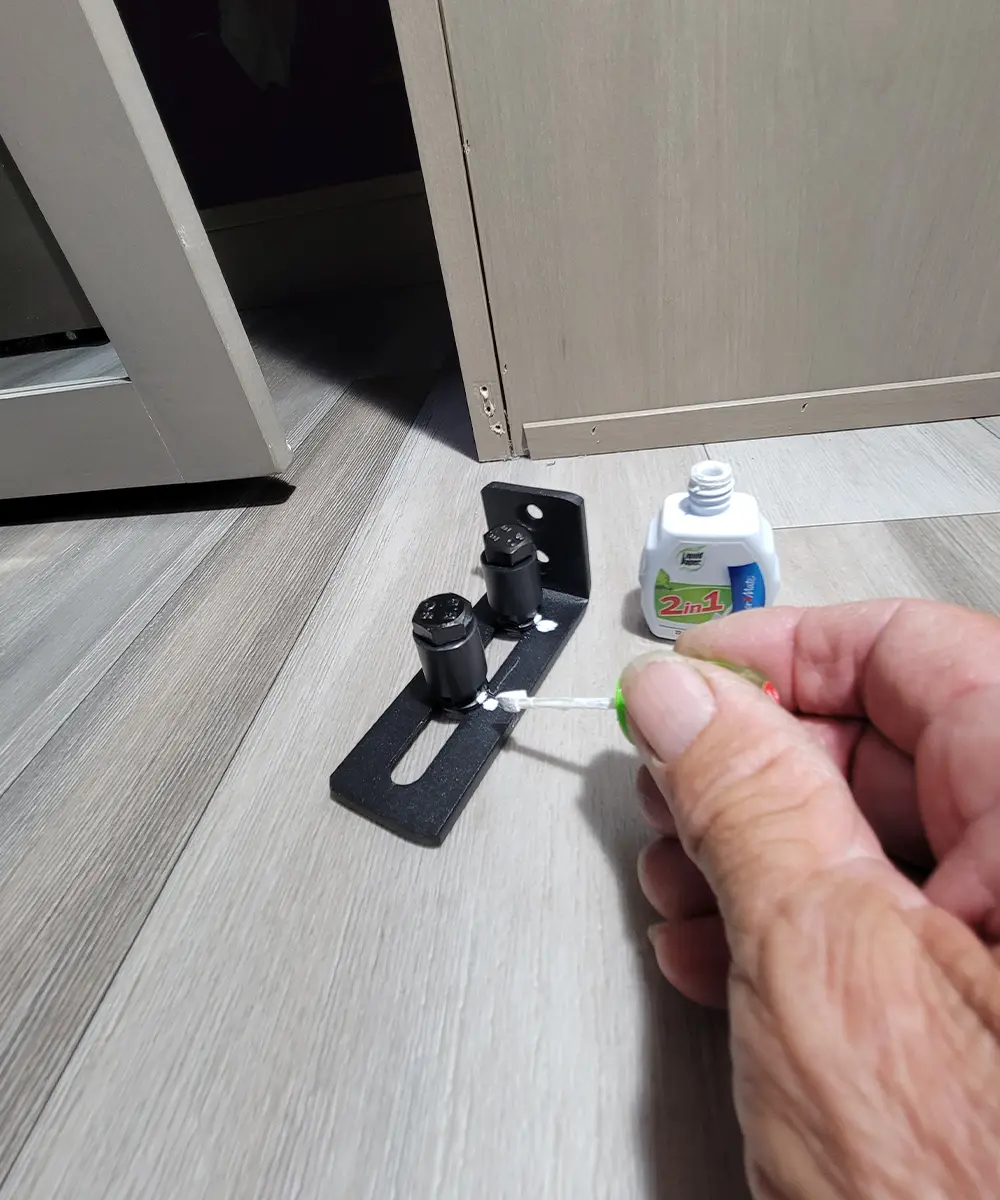
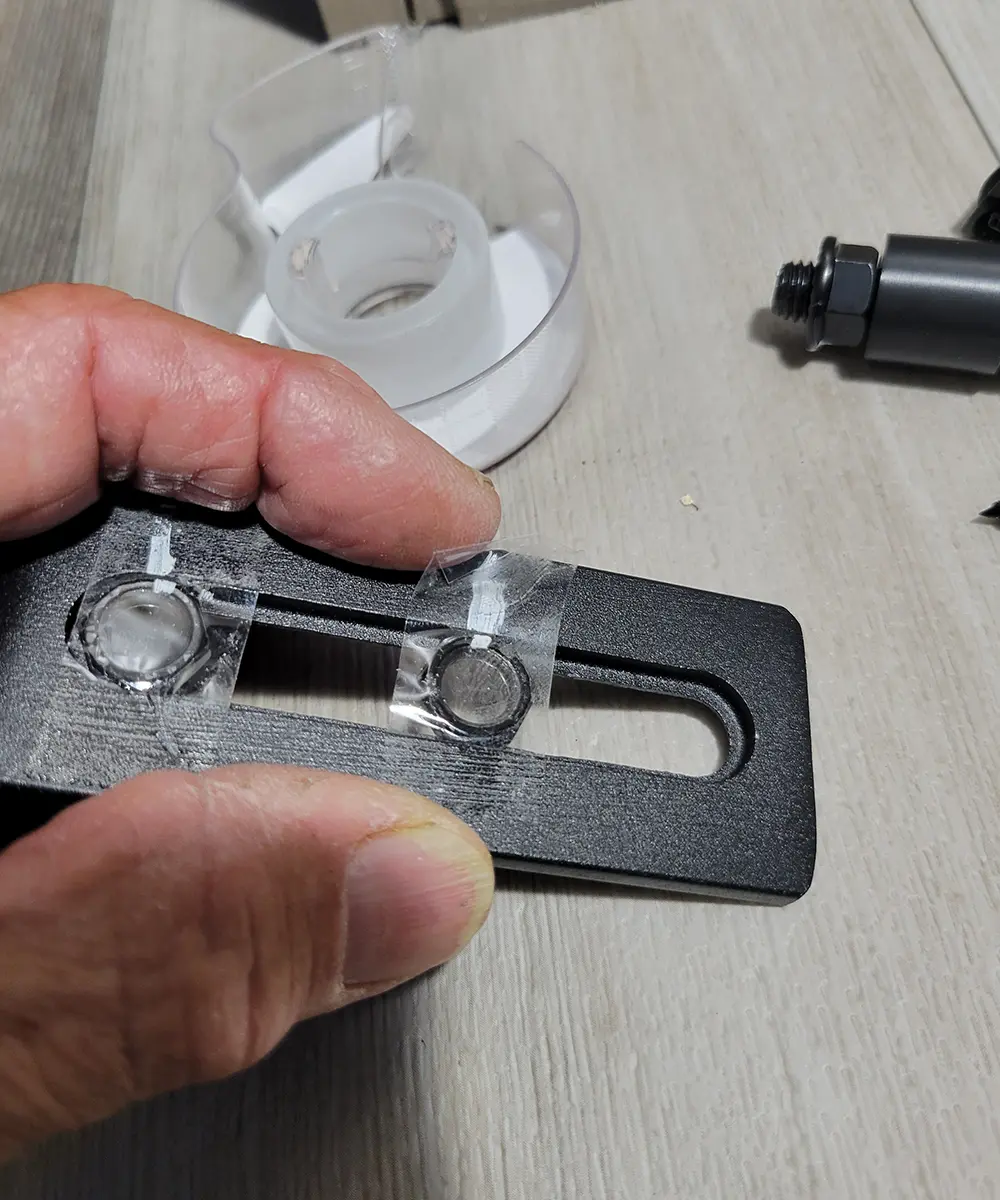
A couple of minor adjustments were made after moving the doors back-and-forth a few times, an operation that is much smoother with the barn door brackets. And they no longer swing out — and become damaged — when on the road. Figure on roughly an hour and a half to install both brackets, after some experimentation to get a perfect fit.

close view of the rolling closet door between the roller on the new barn bracket
The door now slides effortlessly between the rollers and will not flop around any longer. Although the barn door roller bracket is larger, it doesn’t protrude high enough above the floor to create a trip hazard.
Get Updates
Subscribe today and never miss an issue!
Get all the latest tips and news to keep you moving on that open road!
RV Enthusiast July/August 2024 cover mockup
Current Issue
July/August 2024
As the summer days linger on, escape the heat with the newest edition of RV Enthusiast! The July/August issue covers Improving RV A/C Efficiency, Rear- and Side-View Cameras, Truck shock Repair, PLUS so much more!

Already a Subscriber? Click here for Access to the Full Issues.

Share This