Solid Footing
The act of getting in and out of a trailer or fifth wheel is not very graceful. Until recently, with the advent of entry step systems like Lippert’s Solid Step and MORryde’s StepAbove that fold down from the doorway and contact the ground to create a stable platform, egress and ingress was relegated to two or three rungs (on occasion, sometimes four) that extend from a well under the doorway — and these retractable versions can create angst when they flex and wiggle while just hanging in space. The rungs are supported only by a retractable framework and all that flexing can create uneasiness for occupants and even weaken the structure to the point of failure.
Lippert’s SolidStance Step Stabilizer changes that paradigm. The SolidStance bolts to the existing bottom step permanently — and its clever design makes it possible to simply fold the legs when it comes time to travel. The entire installation process takes less than an hour and is do-it-yourself friendly.
Before you invest the $45.95 for the SolidStance, spend some time on Lippert’s website (lci1.com) to make sure your steps are compatible. It’s not compatible with quad steps, but it can be installed on LCI’s OEM two- and three-rung models. It may be possible to install the SolidStance on some non-LCI three-step units, but frankly, the steps on your trailer or fifth wheel are likely supplied by LCI. For this project the SolidStance was installed on a Alumi-Tread triple step, which is made by LCI.
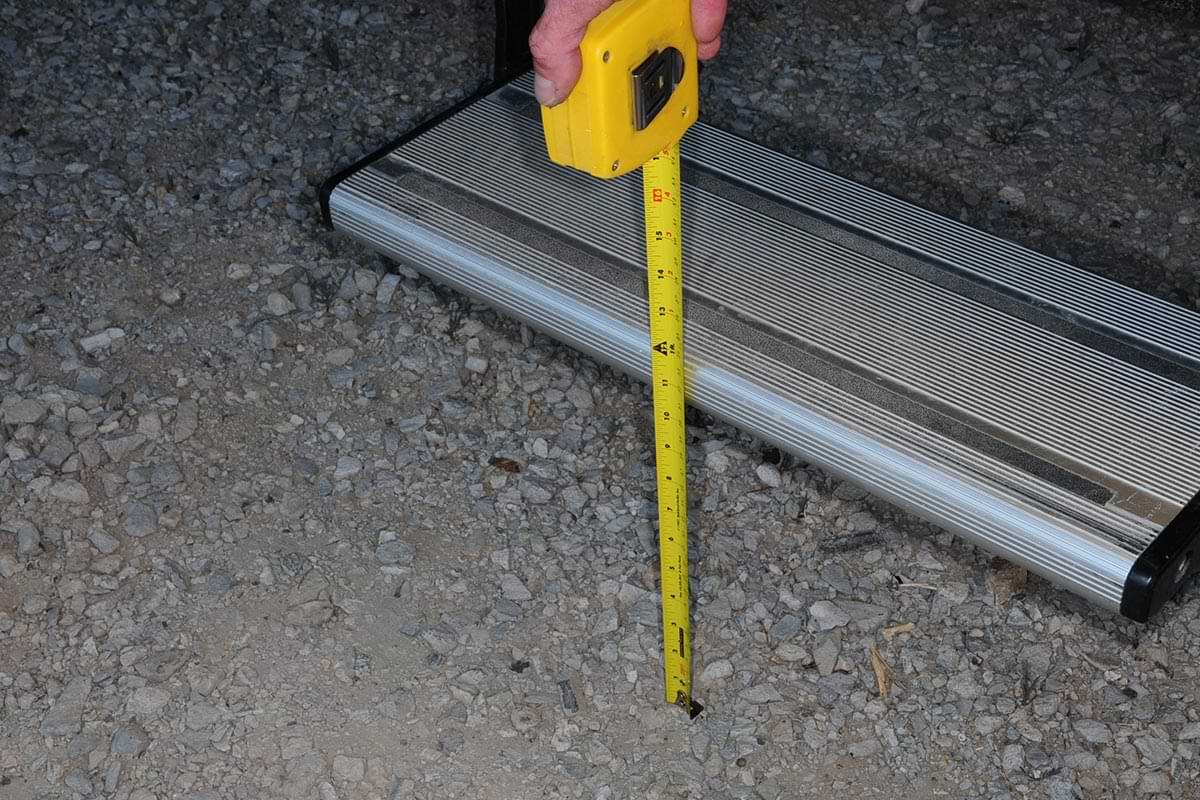
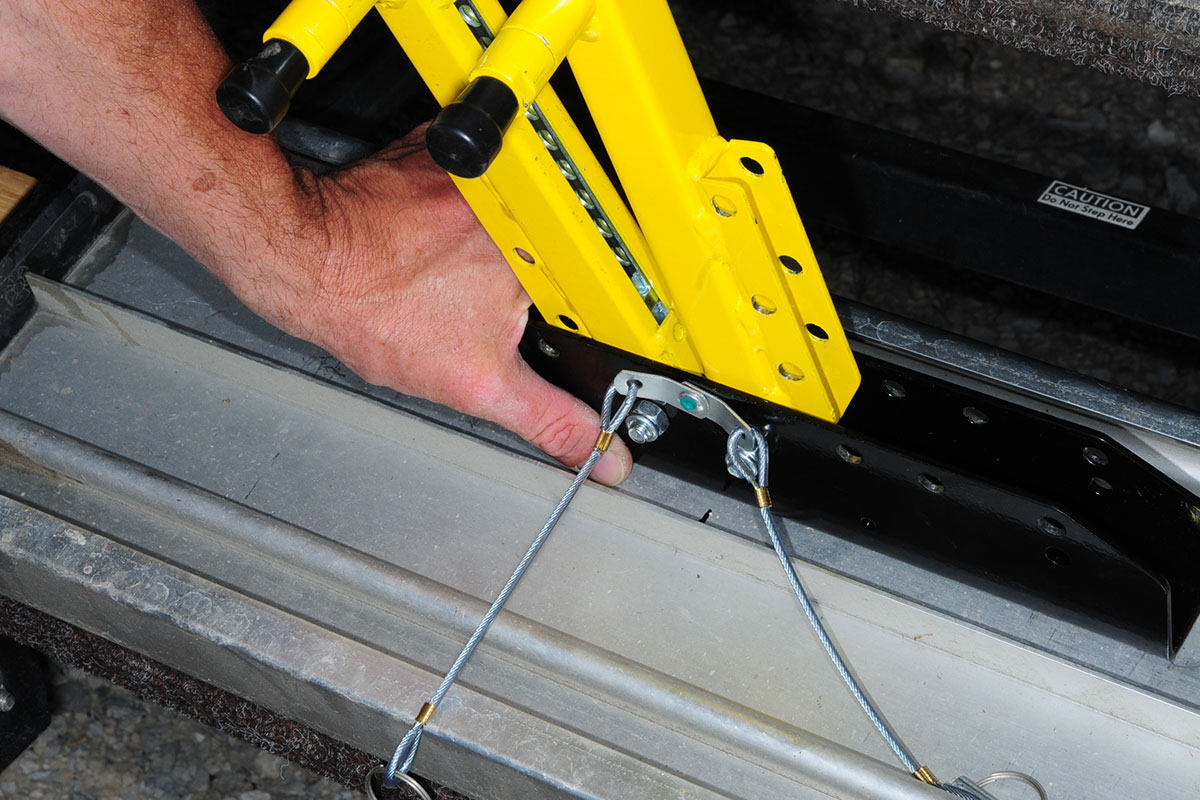
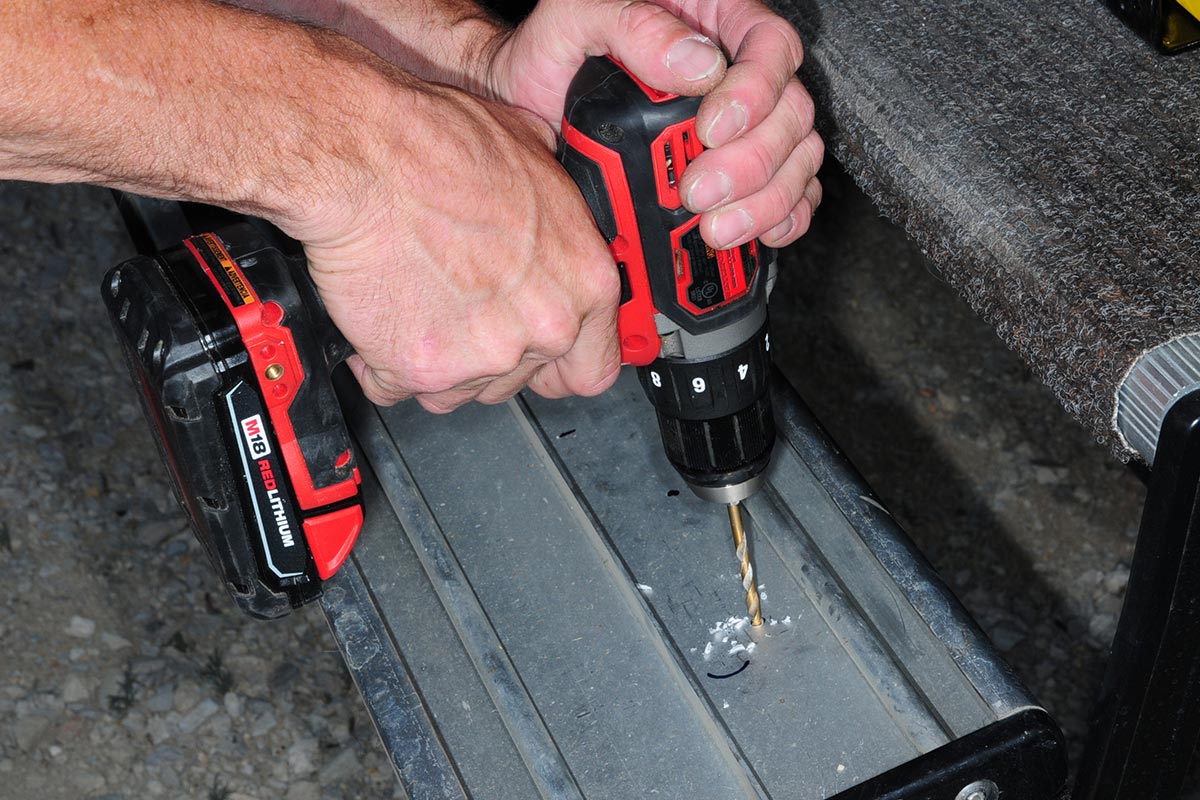
Prior to starting the installation, familiarize yourself with the instructions because ultimately you’ll be drilling four holes in the steps and doing it over will result in unsightly extra holes. The instructions may seem overwhelming for such a simple installation, but don’t get hung up on too many details — just be sure to understand orientation. It’s best to hold the hardware in its final location while a helper retracts the steps just to make sure it will close without interference. If it works, you’re ready to measure for the center point on the bottom step and the SolidStance bracket.
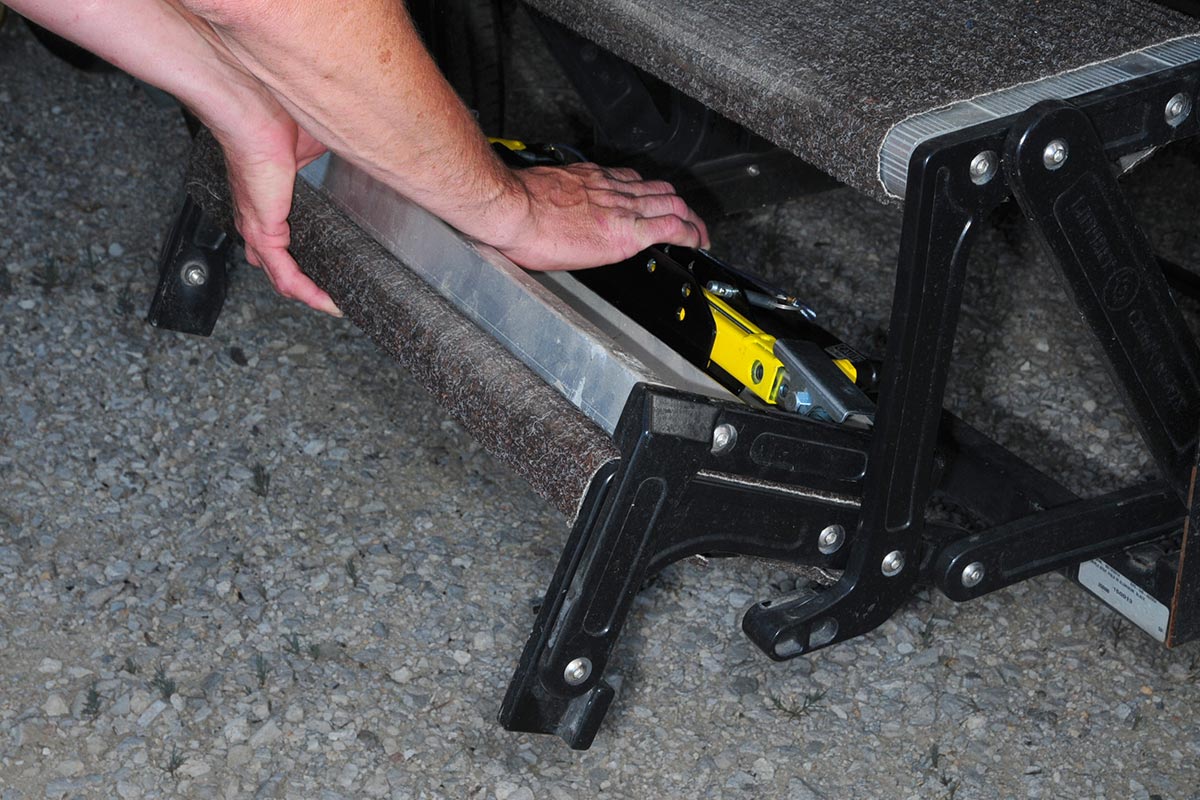
Keep in mind that you’ll be working under the lowest step, so when looking at it folded over, the SolidStance must be placed against the front lip (which is backwards when viewing from the bottom). Depending on the step rung configuration, you may have to deviate the positioning slightly to provide clearance for the drop legs. Just make sure the spring-loaded pins are facing the rear when the step is deployed.
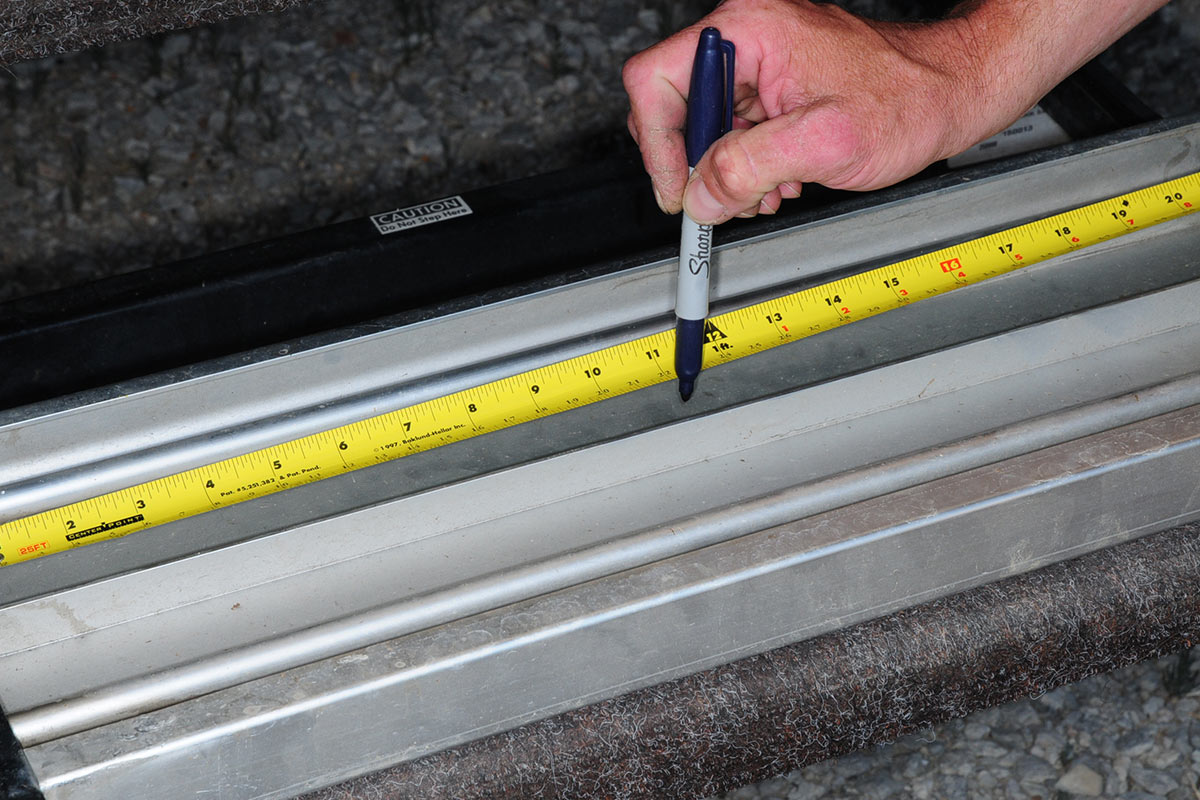
Clamp the SolidStance in place or have a helper hold it steady when marking the locations for drilling the holes to accommodate the provided nuts and bolts. There are two holes in each side of the the SolidStance frame that are predrilled.
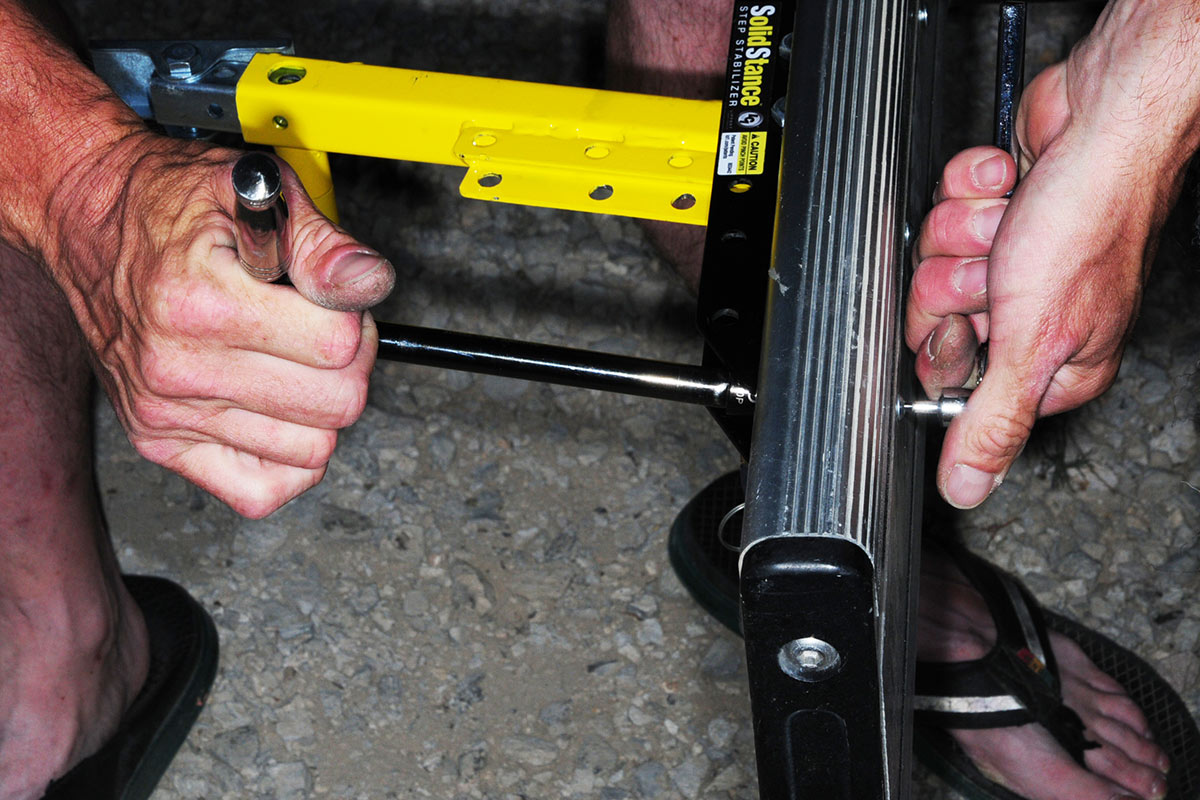
Once the holes are drilled, it’s simply a matter of bolting the SolidStance to the step using the fasteners, which include locking nuts. Additional larger washers are included if spacing is needed to accommodate any extrusions that might impede proper seating of the stabilizer frame. This is not a particularly difficult job as long as you have a helper to hold things in place when tightening the bolts. Figure on less than one hour to complete the project using common hand tools.
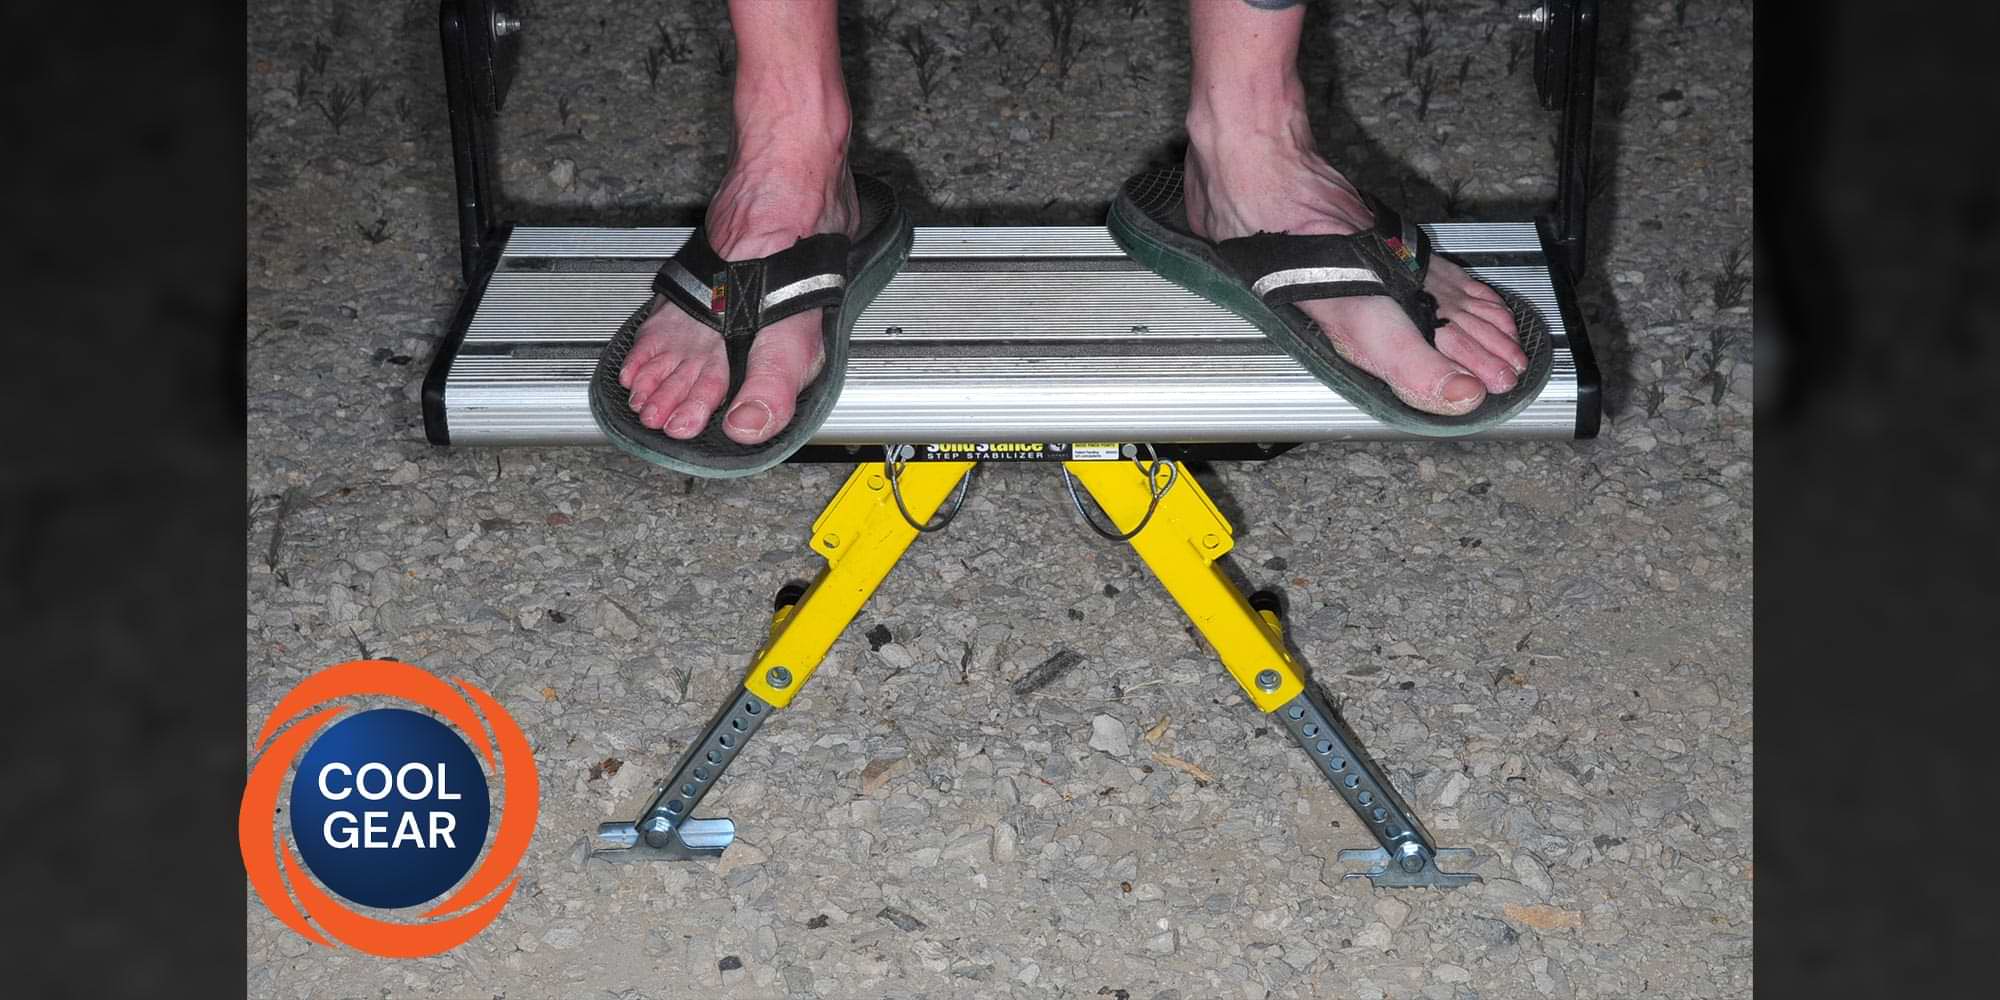
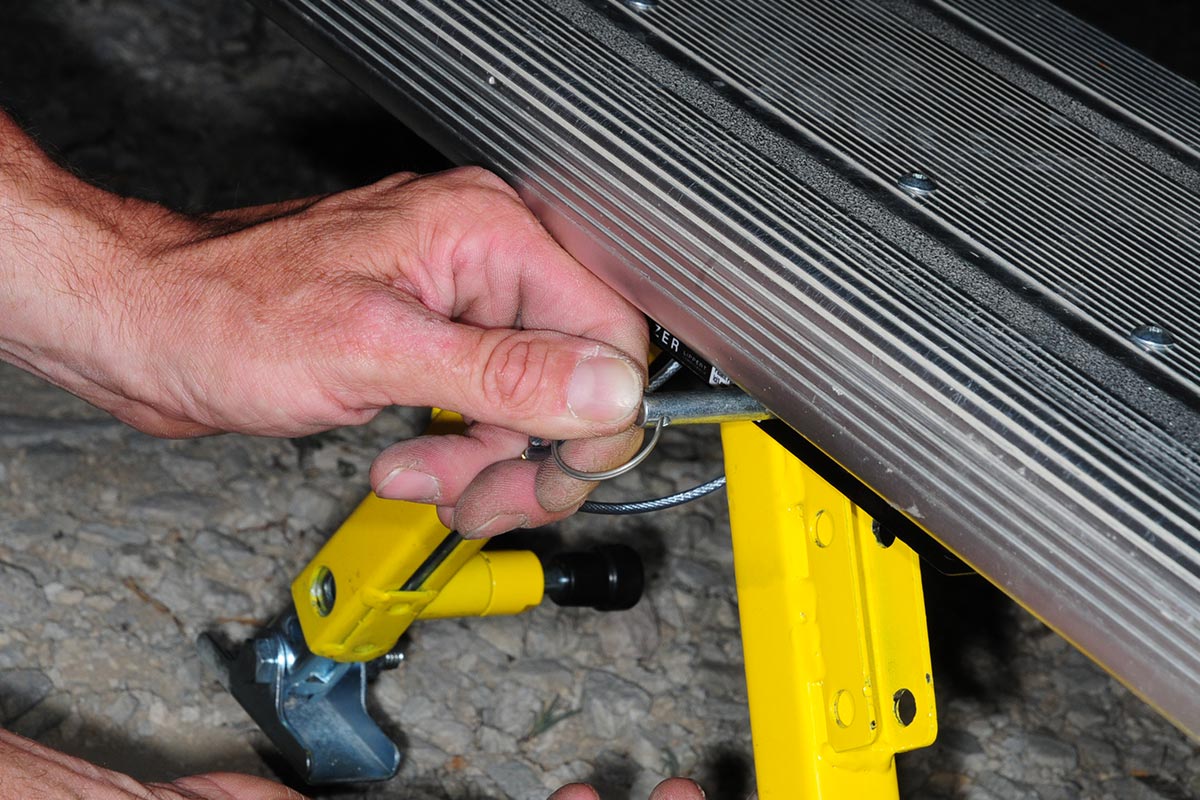
Setting up the SolidStance is simple. You just pull the quick-release pins from one of the drop legs to establish initial footing. If it hits the ground, you can deploy the other leg; if the drop legs don’t reach the ground, the spring-loaded pin is pulled to release the inner leg until the foot pad hits the ground. Lifting up on the bottom step slightly can provide a little wiggle room for setting the legs — just make sure the spring-loaded pins are seated fully in their respective holes and the fastener pins are pushed in from the back to eliminate catching the wire lanyard with your foot. There are four drop-leg angles and the inner legs can be extended up to 5 3/8 inches.
Before retracting the steps, make sure the SolidStance legs are in their stored positions and all the pins are secure. Except for the additional weight, the installation of the stabilizer hardware has little bearing on the opening and storing process.
The additional support afforded by the SolidStance is dramatic. There’s no flexing of the steps, even while negotiated by heavier-footed people. Plus, you won’t miss that stomach-sinking feeling that something’s going to give when using the steps.

Already a Subscriber? Click here for Access to the Full Issues.