Spring Cleaning
There’s nothing quite like that first long, relaxing weekend of the year in your RV to restore all the reasons you bought it in the first place — but getting there usually requires spending some time preparing the rig after having mothballed it through the winter months.
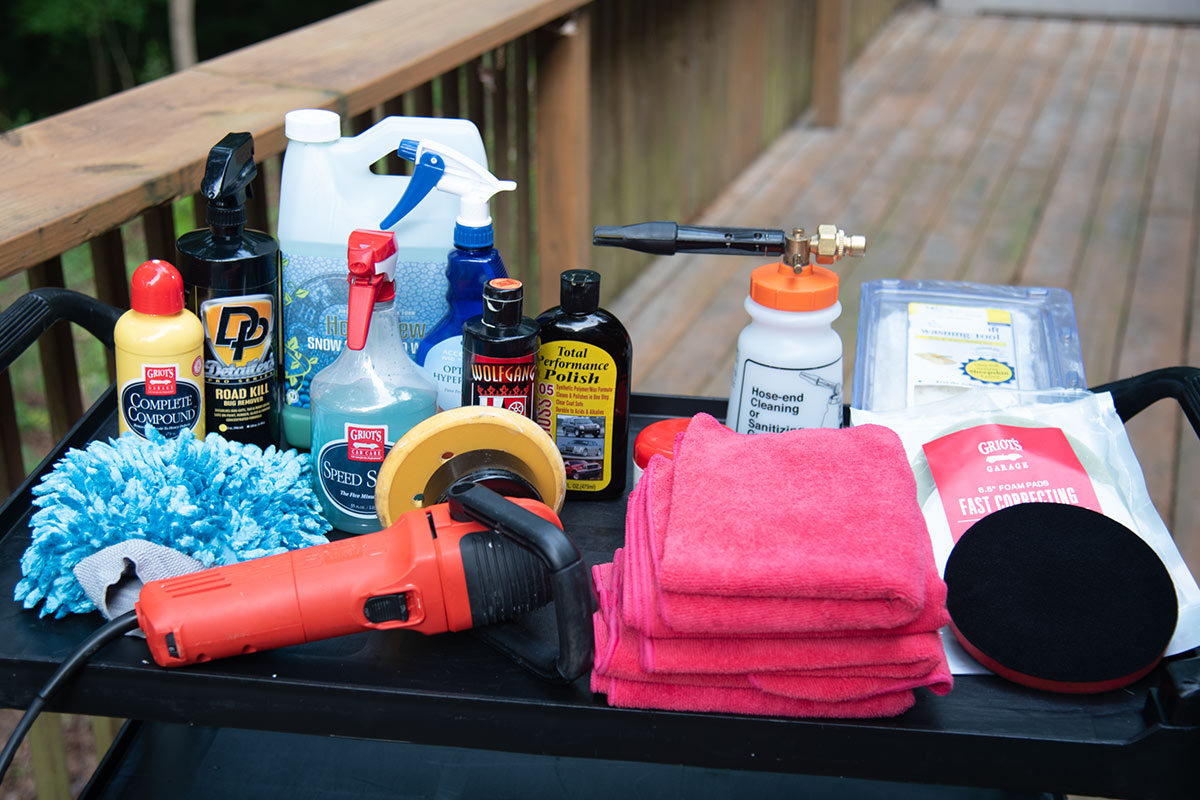
While there are several maintenance items you’ll need to check, chief among the tasks at hand is to simply clean the rig. Obviously, you have a lot of product choices when it comes to detailing your ride — but while the local RV or auto store carries a wealth of capable products, your best bet may be those you’re unfamiliar with. Unlike the cleaners and waxes found on the shelves of the big-box retail store, these are very specific products mostly used by serious detailing enthusiasts and professional detailers. Most of these are available online at specialty detailing product dealers (and, in most cases, Amazon); very few of them will be found at normal retailers. But we’ve found the best results are achieved by products used by the pros.
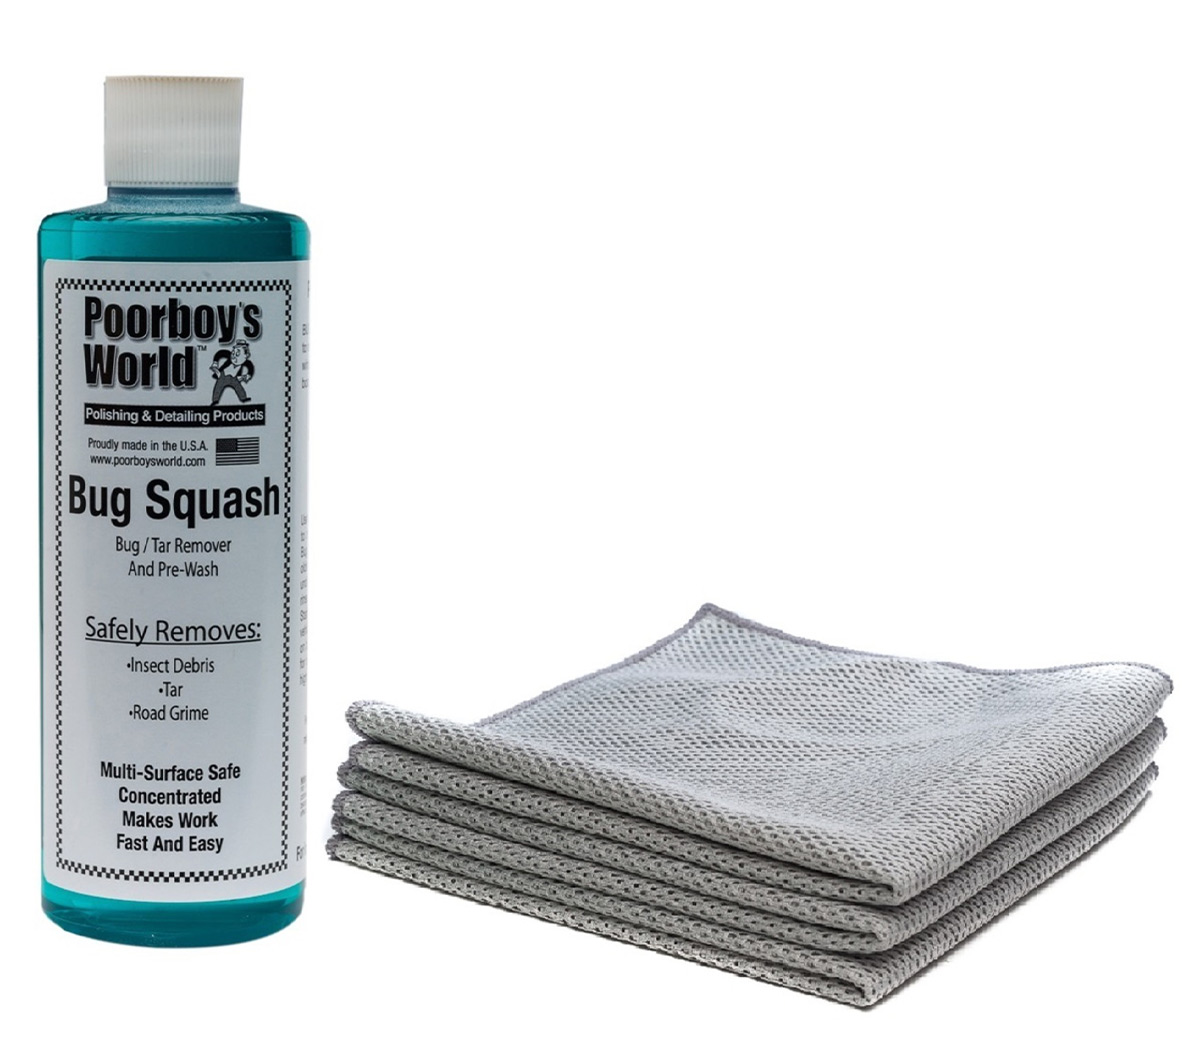
Before starting on the rest of the RV, we prefer to clean the front end to remove any bugs as this takes a bit more time than working the sides and back. There are many good bug and tar removers on the market, but currently our favorites are Griot’s Garage Bug and Smudge Remover (griotsgarage.com), Poorboy’s World Bug Squash (poorboysworld.com) and Duragloss Bug Remover 471 (duragloss.com).
Start by completely wetting the front end of the RV/tow vehicle and allowing the water to soften the bugs and to rinse off as much dirt as possible. Each brand of bug remover has its own directions, so refer to each before using. Spray the bug remover on and allow it to remain for 30-60 seconds, then use a specialty bug-removing cleaning pad, like the Bugs Off Love Bug Eraser (bugsoffpads.com) to scrub away the bugs before rinsing everything off. Sometimes two or more applications may be necessary for caked-on bugs. (Keep in mind that if your motorhome has a clear bra on the front, it may have special cleaning instructions.)
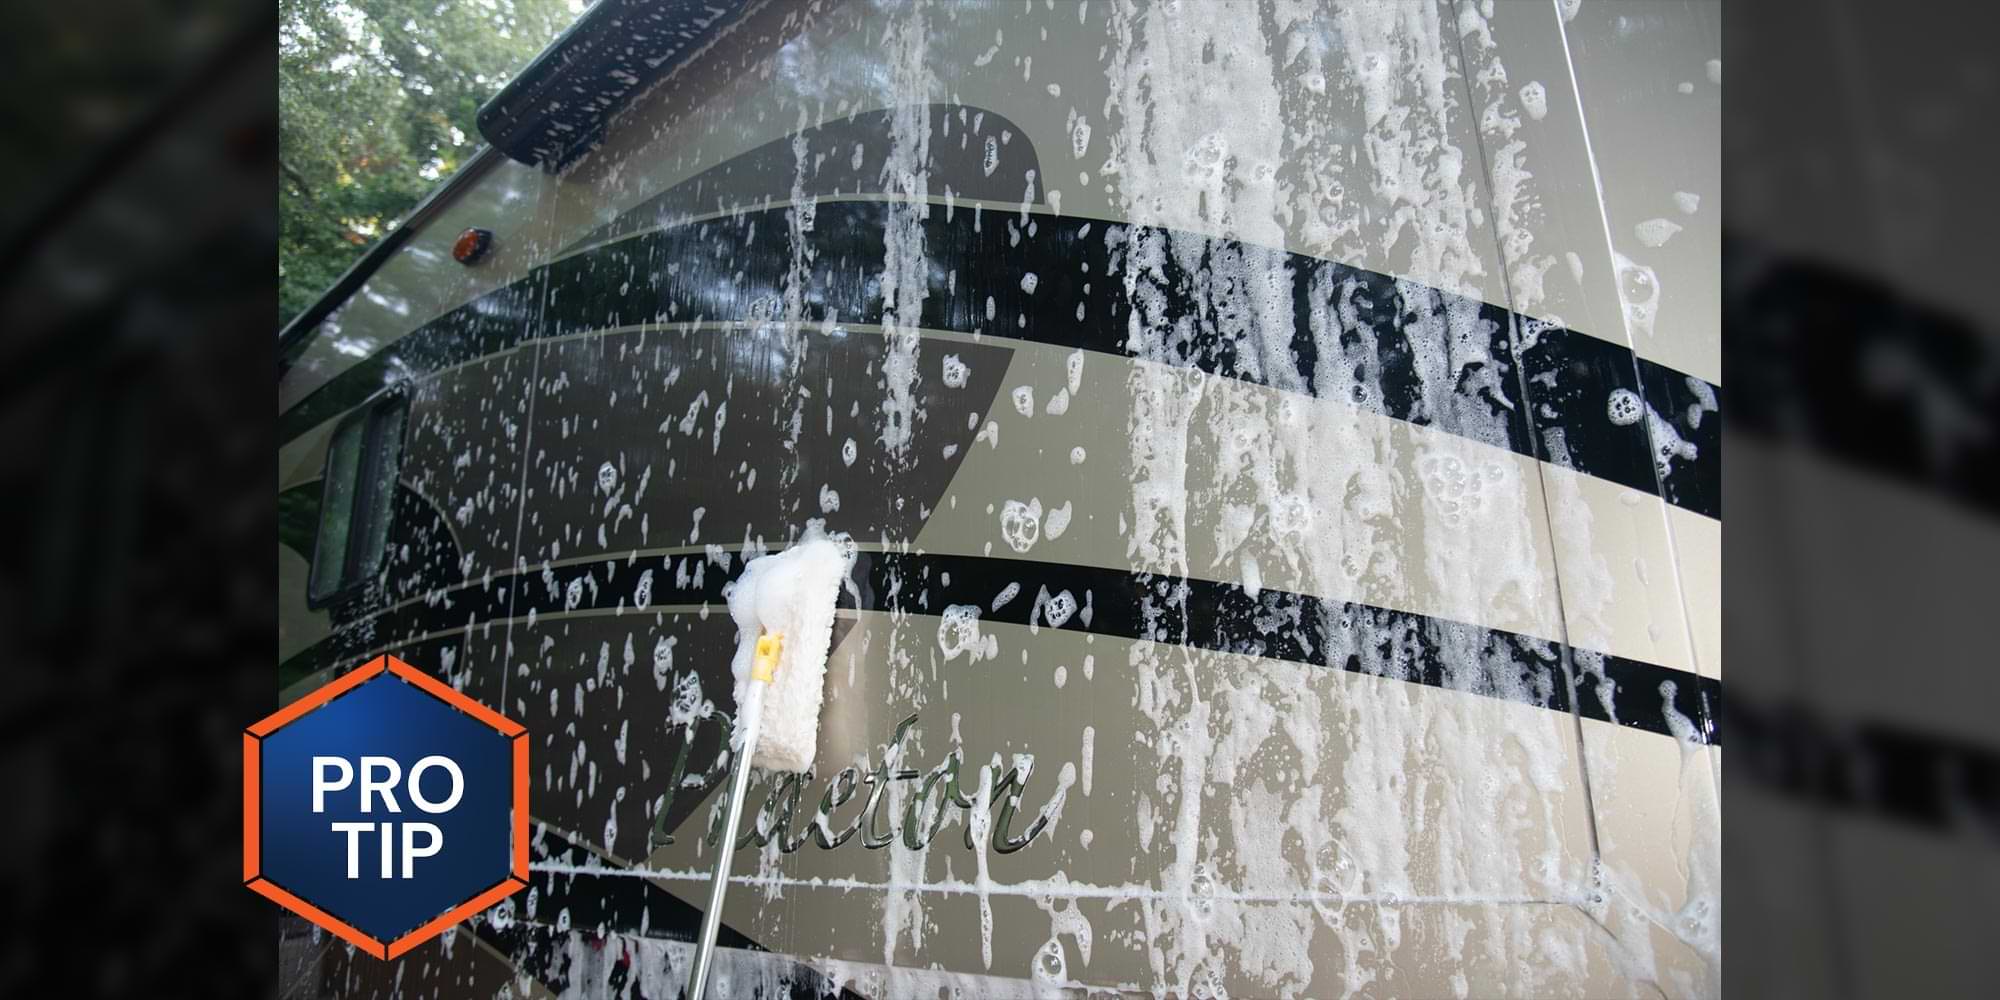
After the bugs are gone, the next step is a good wash for the paint. A water hose with a nozzle-mounted foam gun filled with “snow foam” like Chemical Guys Honeydew Snow Foam (chemicalguys.com) will produce a blanket of foam that will greatly speed up the process and help prevent scratches in the paint. Most paint swirls that you see on quality paint jobs are caused by improper washing or drying, so it’s important to use a good soap and a soft pad. On the bottom of the RV, we prefer using a hand mitt made for washing cars along with a Swobbit Sheepskin (swobbit.com) washing tool on an extension pole for the higher areas. In our experience, the Swobbit tool has shown to be the softest and least likely to scratch the paint of any we have ever used.
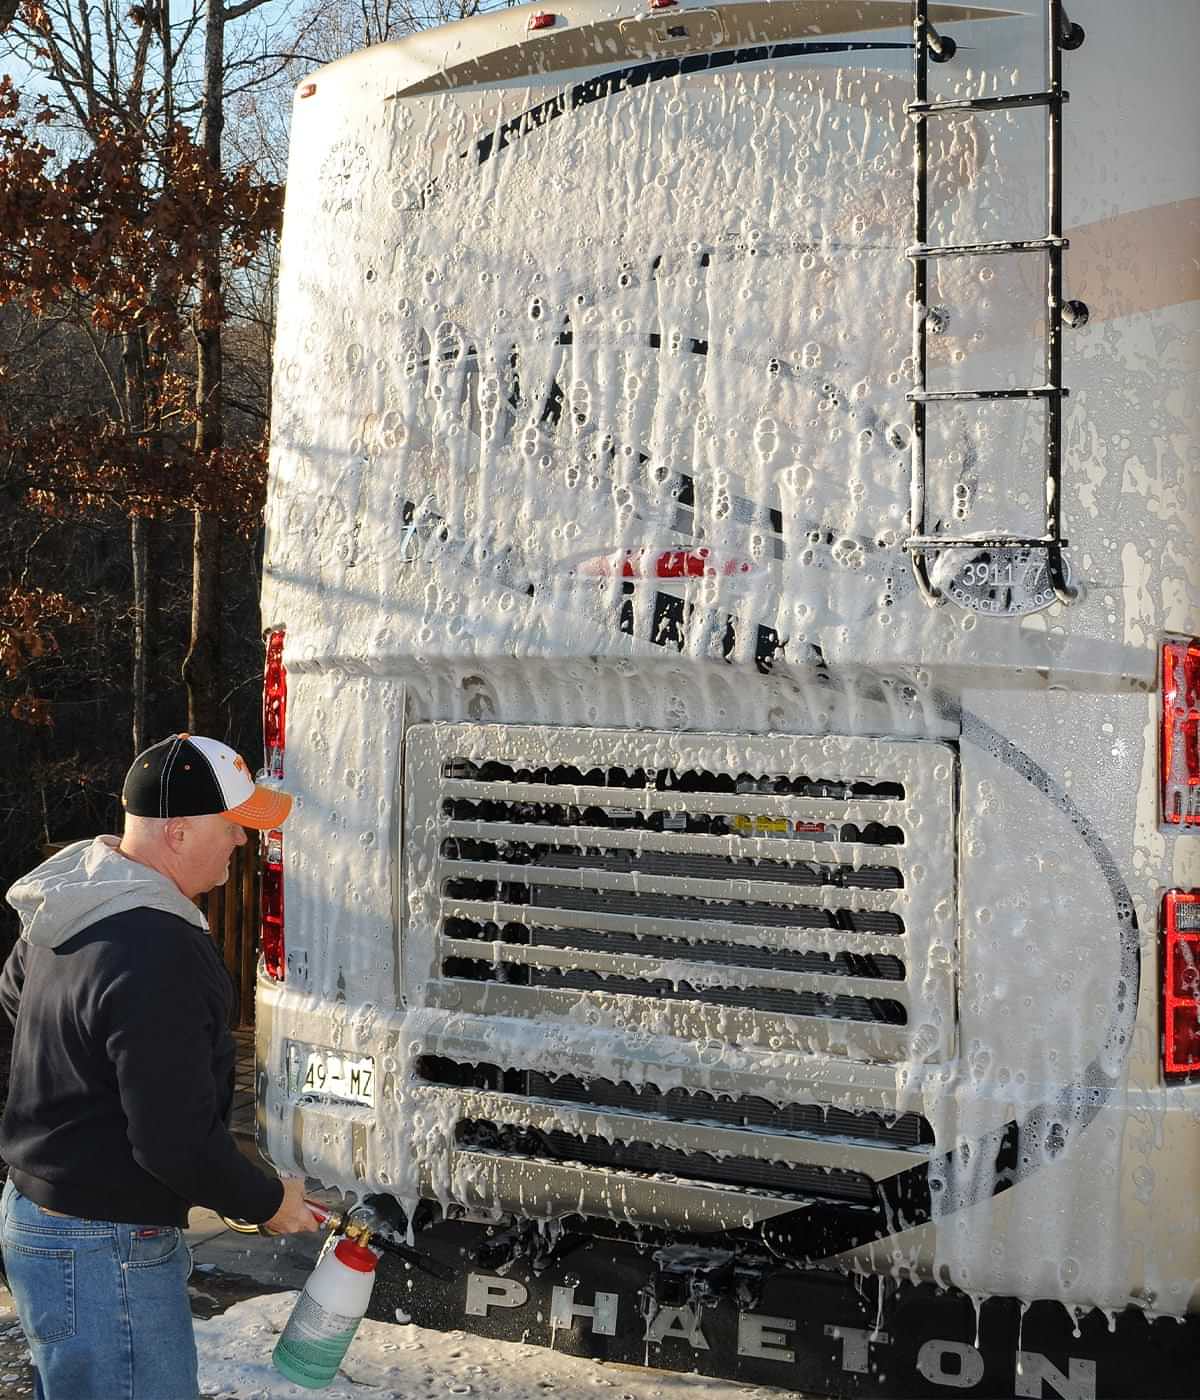
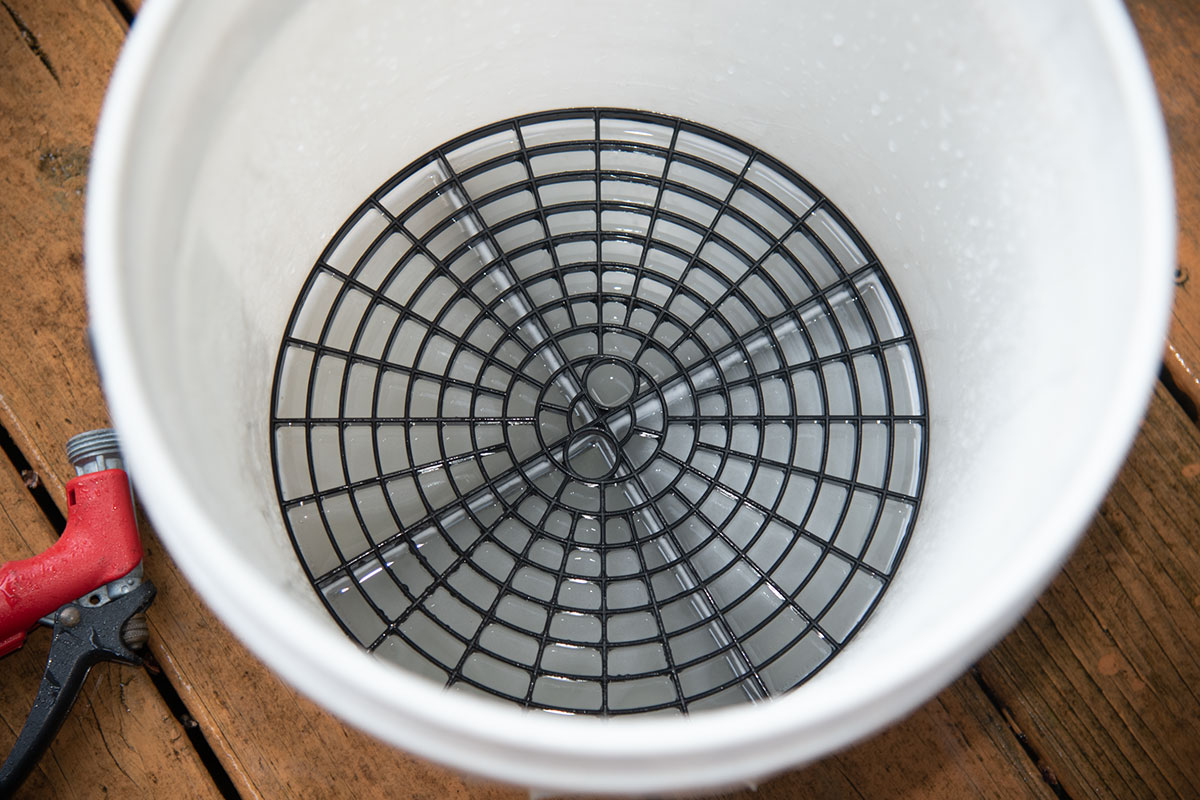
Generally, we wet the entire side of the RV we are working on, and then spray soap on a smaller section at a time; it helps to split each side of a larger unit into several equal sections and work on each area in succession to prevent the soap from drying before rinsing it. If possible, work when the sun is not directly shining on the paint to help prevent water spots; using deionized water for the final rinse will also help. After spraying the soap, give it a minute or so to loosen the dirt, then use the Swobbit to remove the dirt — and make sure you have a clean bucket of soapy water with a “grit guard” in the bottom to rinse the Swobbit after each section. Continue until the exterior is completely washed and rinsed.
When using a foam gun and a high-quality foam, a blanket of foam is produced on the RV’s surface that helps clean and prevent scratching the paint/decals during the washing process.
PRO TIP: If you have a leaf blower, you can speed up the drying process and reduce water spots by using it. A soft silicone “squeegee” such as Shurhold’s Flexible Water Blade (shurhold.com) also makes quick work of water removal (see last week’s RVExpert tip “Watery World” for more information).
If you have awnings or slide covers and want to clean those, it may require opening them up and getting on the roof or a ladder. You can usually use the same soap on them, but there are special soap and cleaners for awnings and vinyl should you have a particularly dirty one. Camco’s 41024 Pro-Strength Awning Cleaner (camco.net/home) is a good choice.
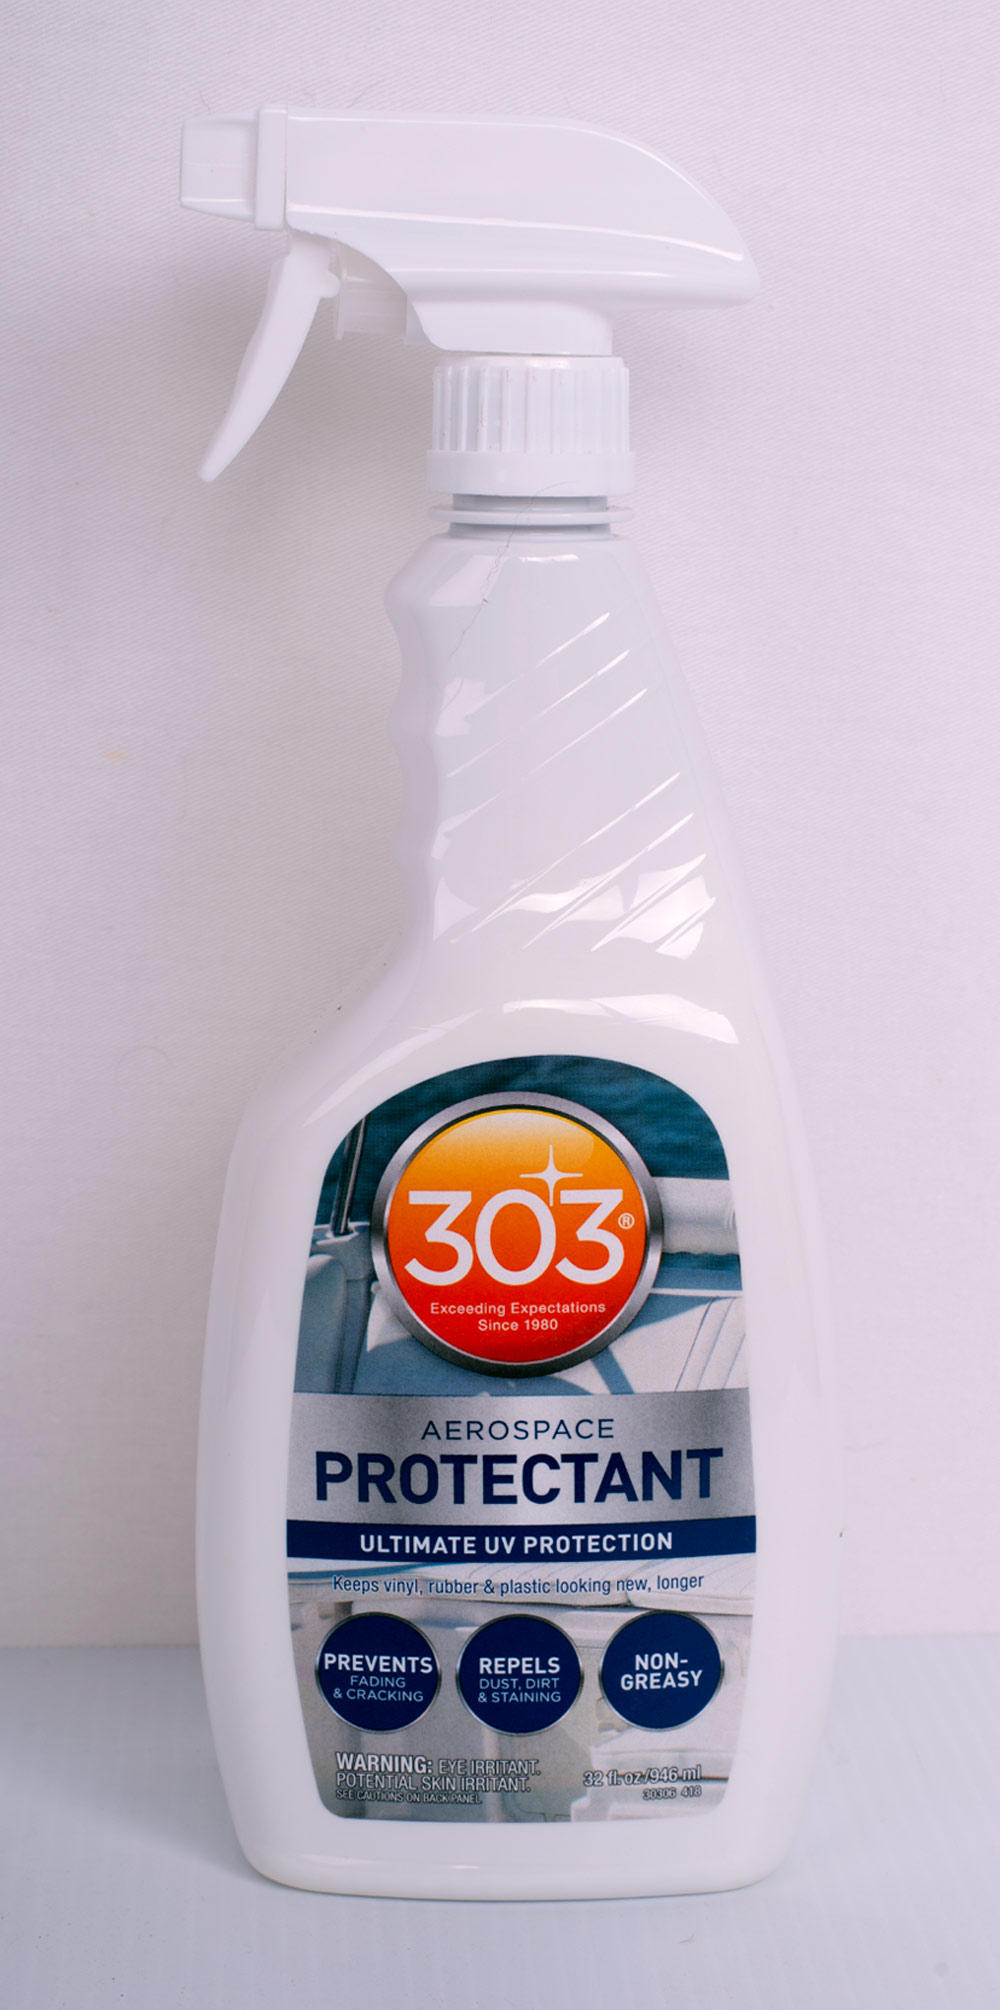
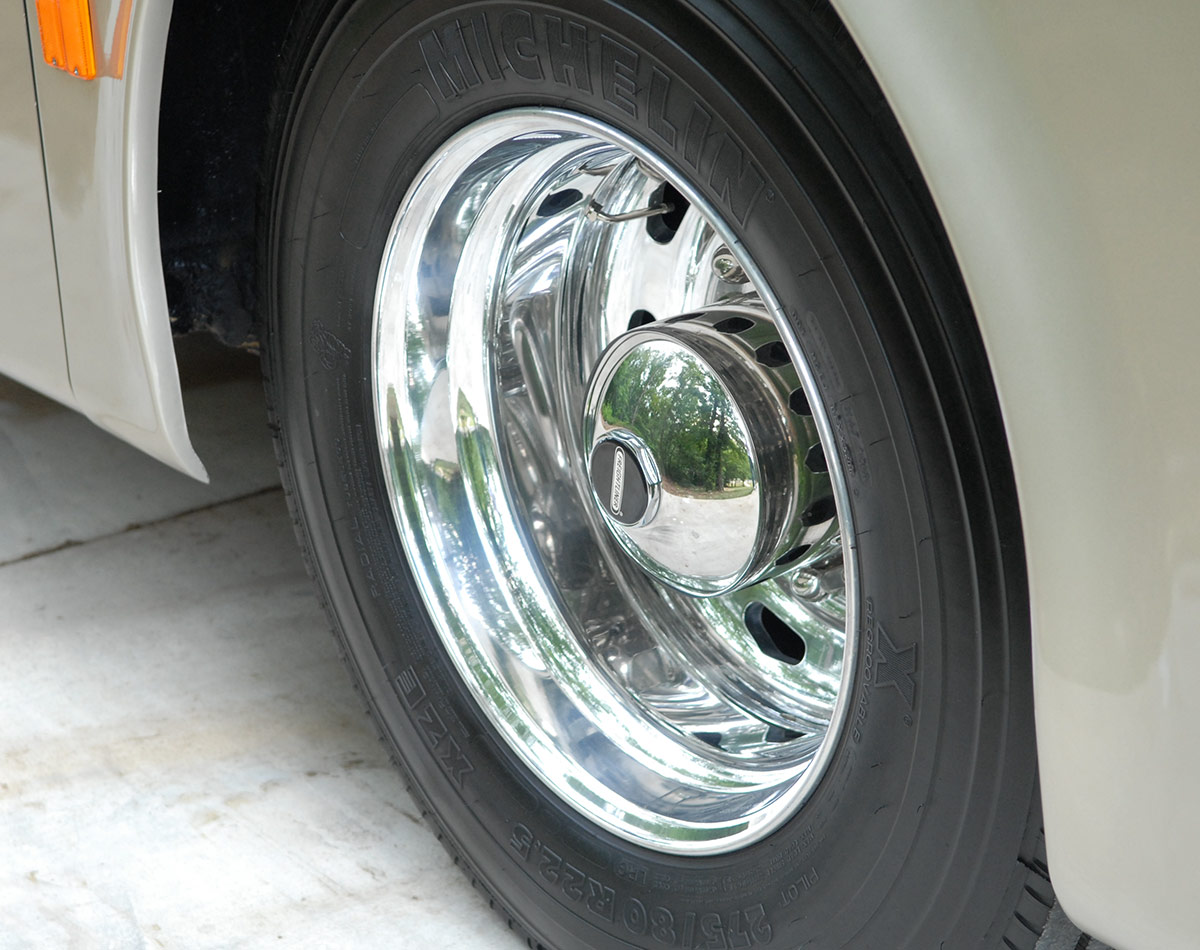
Next on the basic detail list are the wheels and tires. There are two major types of wheels used on many motorhomes: coated and uncoated aluminum. Most have plain uncoated wheels, so we will cover that process here. First, use a good all-purpose wheel cleaner like Sonax Wheel Cleaner Plus (sonaxusa.com) and a wash mitt to completely clean the wheels. Simply spray it on, then agitate it completely — making sure you clean around all the lug nuts and center cap — then rinse fully. Follow that up by using a soft brush and a dedicated rubber cleaner to scrub the sidewalls of the tires. We really like Griot’s Garage Rubber Cleaner — it’s made just for rubber and will not accelerate or dry out the rubber on your expensive tires. After cleaning the tires, dry and treat them with 303 Aerospace Protectant; this is one of the best protectants on the market today and with regular use will help extend the life of rubber and vinyl.
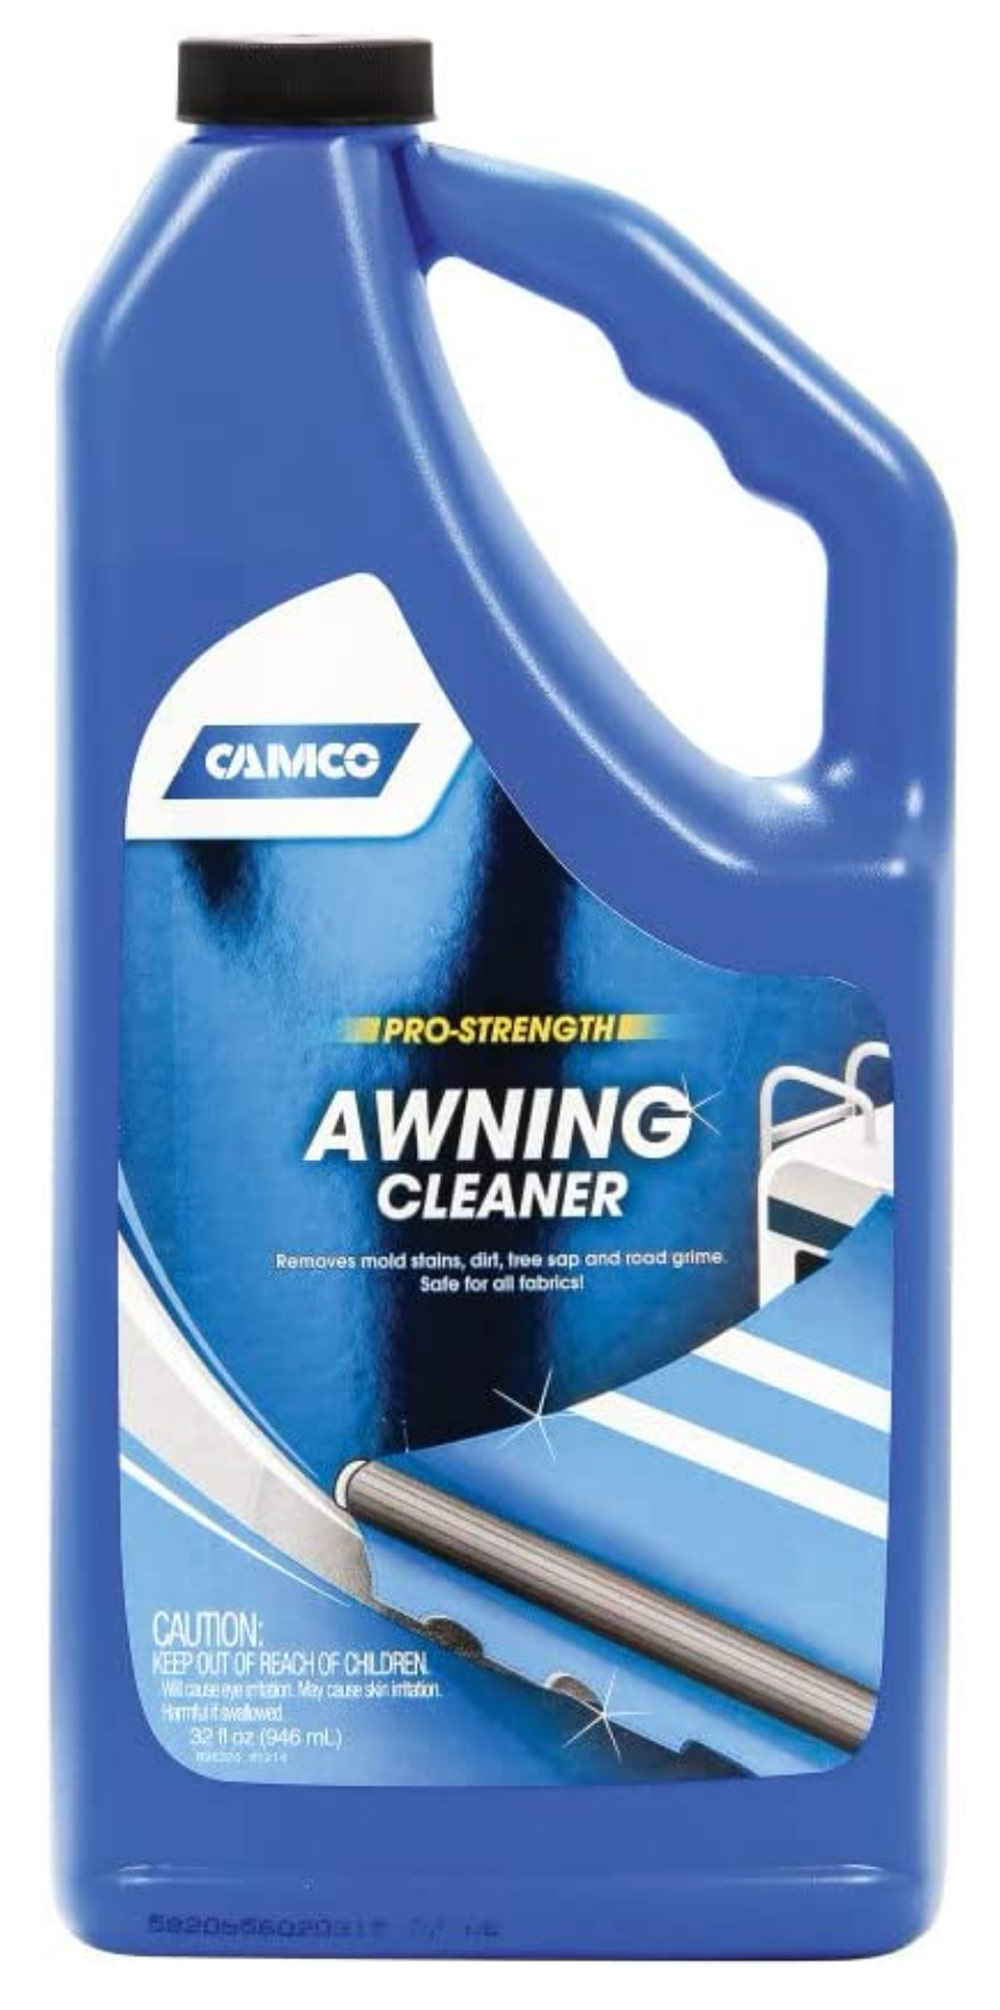
If your awnings are dirty, Camco’s Pro-Strength Awning cleaner removes everything from dirt to mold.
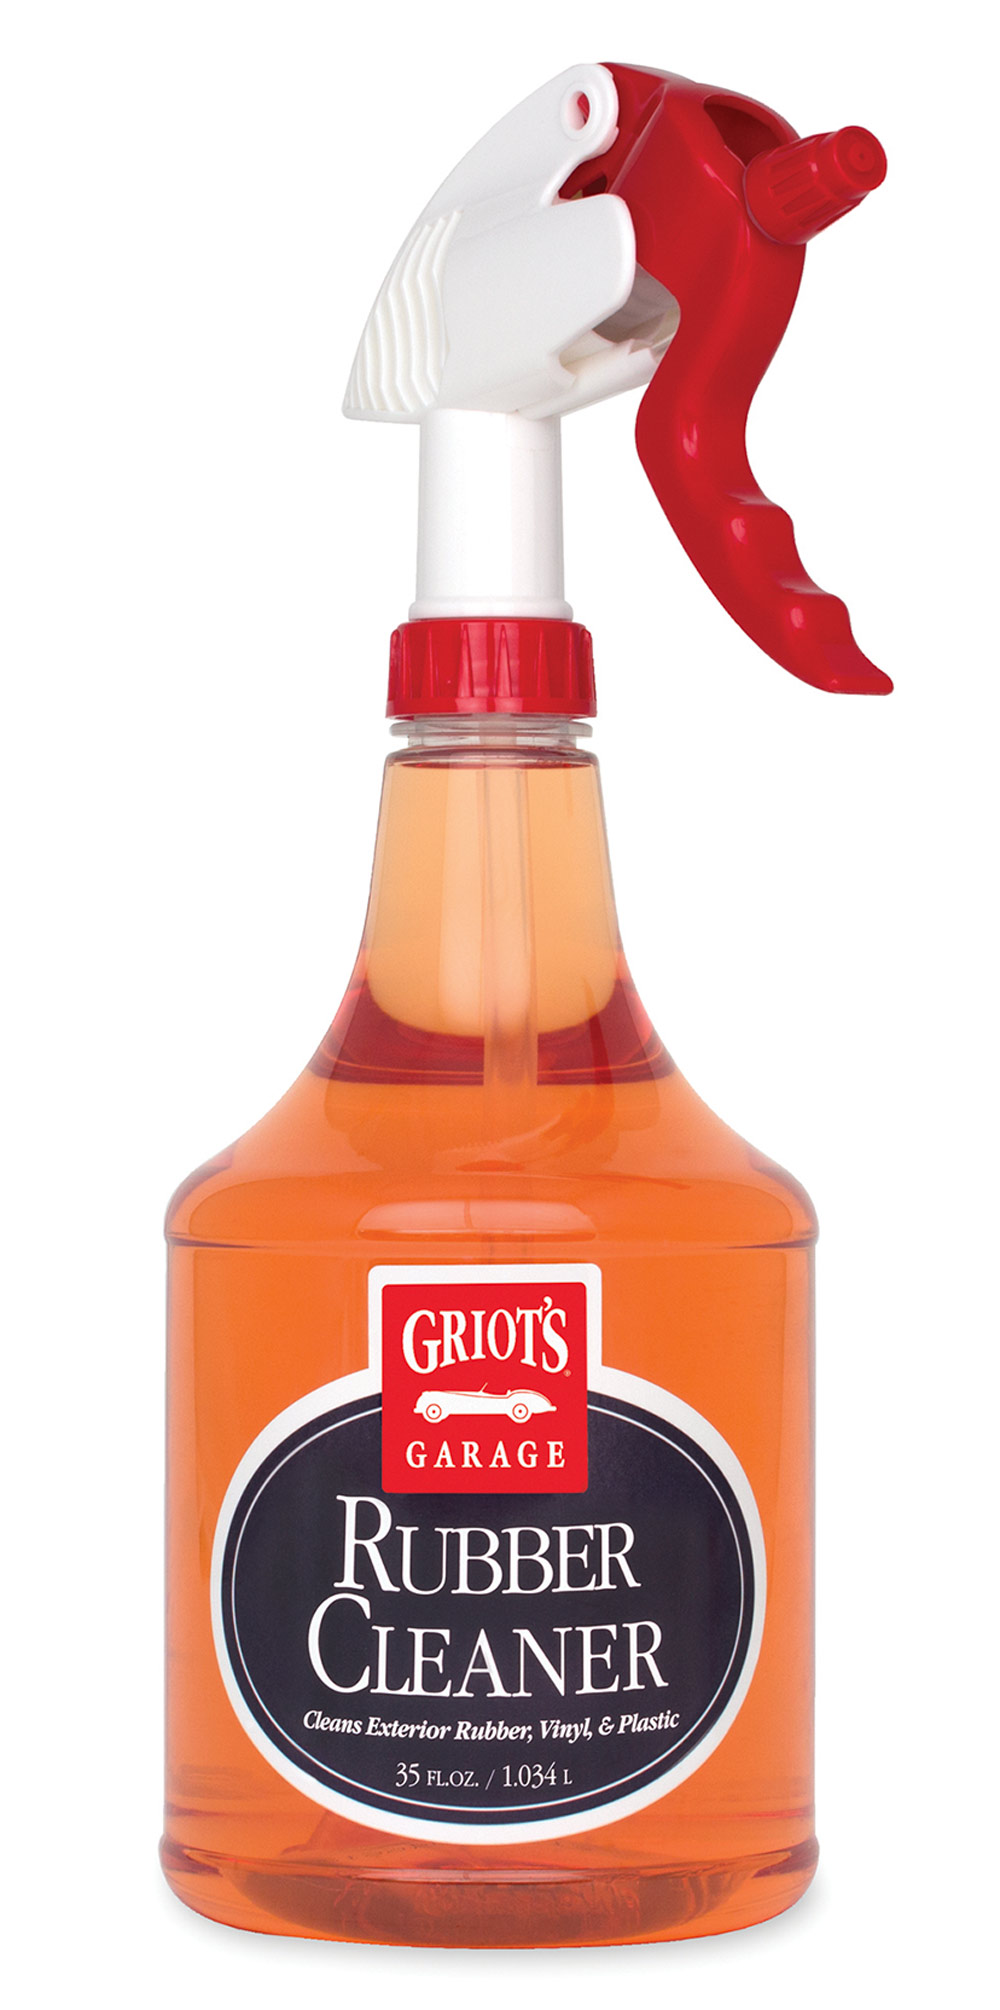
Griot’s Garage Rubber cleaner is a great product for cleaning tires as well as other exterior vinyl and plastic parts.
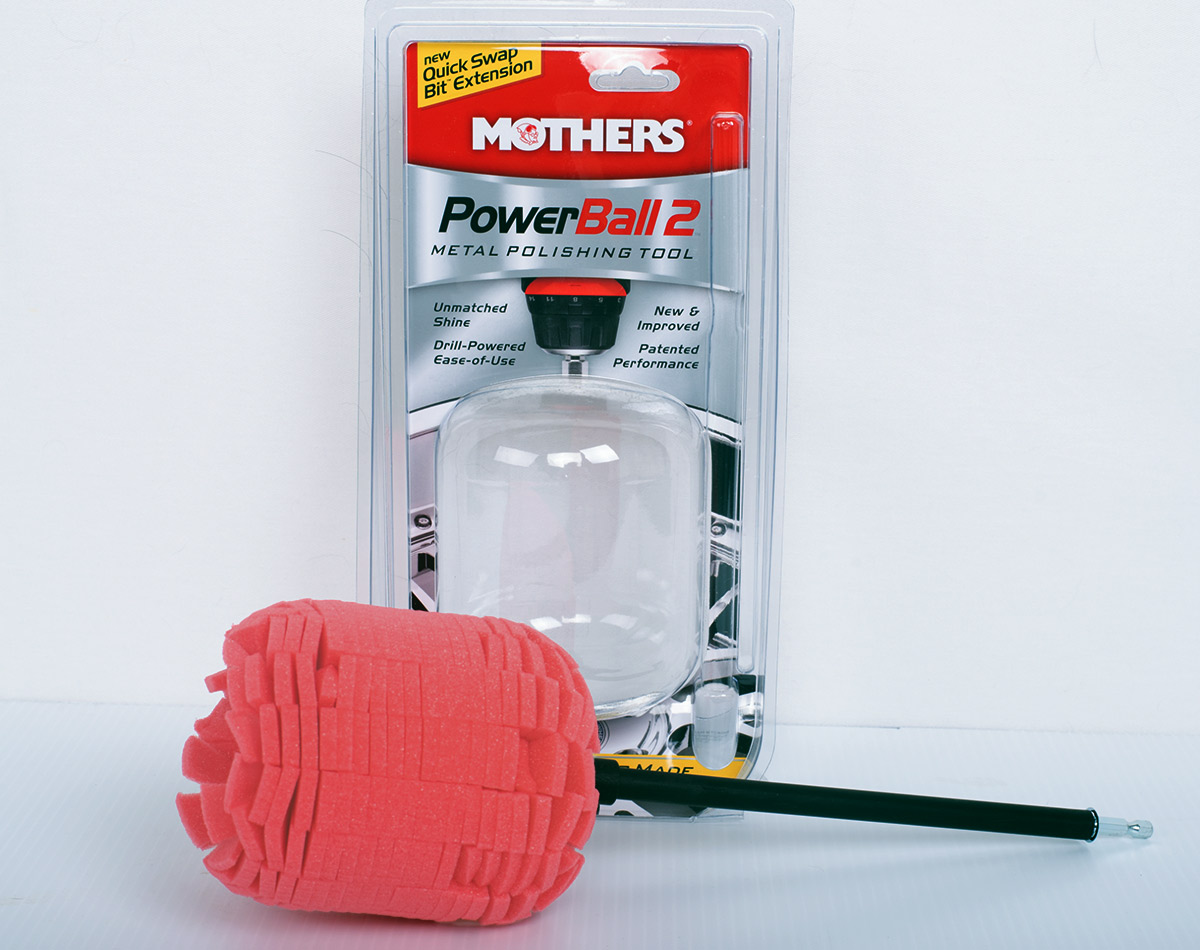
Start by applying polish to the PowerBall and then use the drill to spin it, moving it over the entire wheel. The black slurry that is formed is a sign that it’s working. Some areas of the wheel, such as around the lug nuts and center cap, may not be accessible with the power tool; you will have to do those by hand. After you think it is polished, use the Viva towels and wipe away the residue — the shine should be revealed along with any missed spots. If you did miss some places or don’t think its shiny enough, make another pass. Each wheel can take from 15 to 45 minutes or more, depending on how neglected it is.
Now that your motorhome or trailer is clean, it’s time to do the real work — treating and protecting the finish. But we’ll save that for next week.

Already a Subscriber? Click here for Access to the Full Issues.