Stop Skirting the Issue

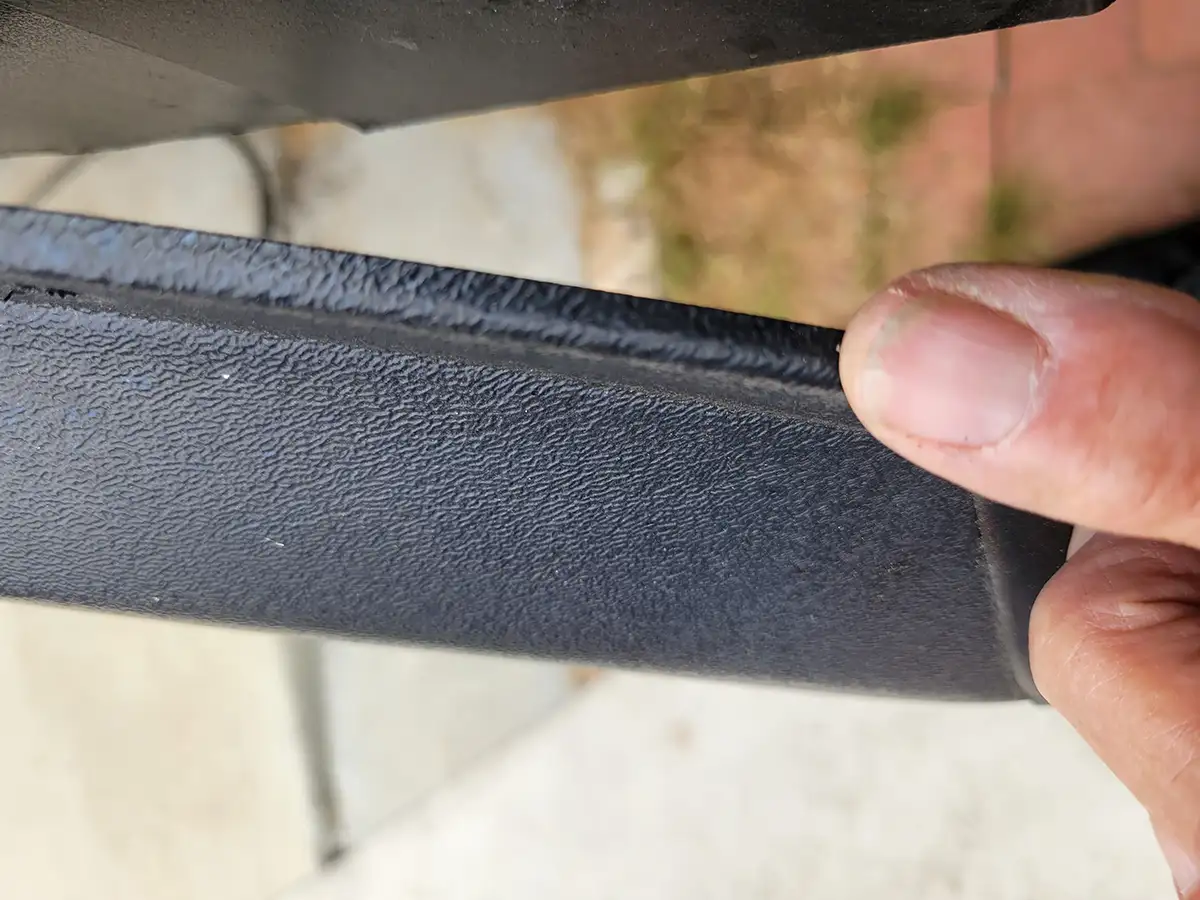
Fender skirts that trim out the wheelwells on fifth wheels and travel trailers improve the appearance and actually serve a purpose in keeping road spray under control. However, they are usually made of thin plastic and are screwed in place — leaving a bunch of threads and points exposed on the other side of the lower metal siding. Not only do these screw ends exude an unfinished look, they can rip your skin when working in that area or even trying to wash away road grime.
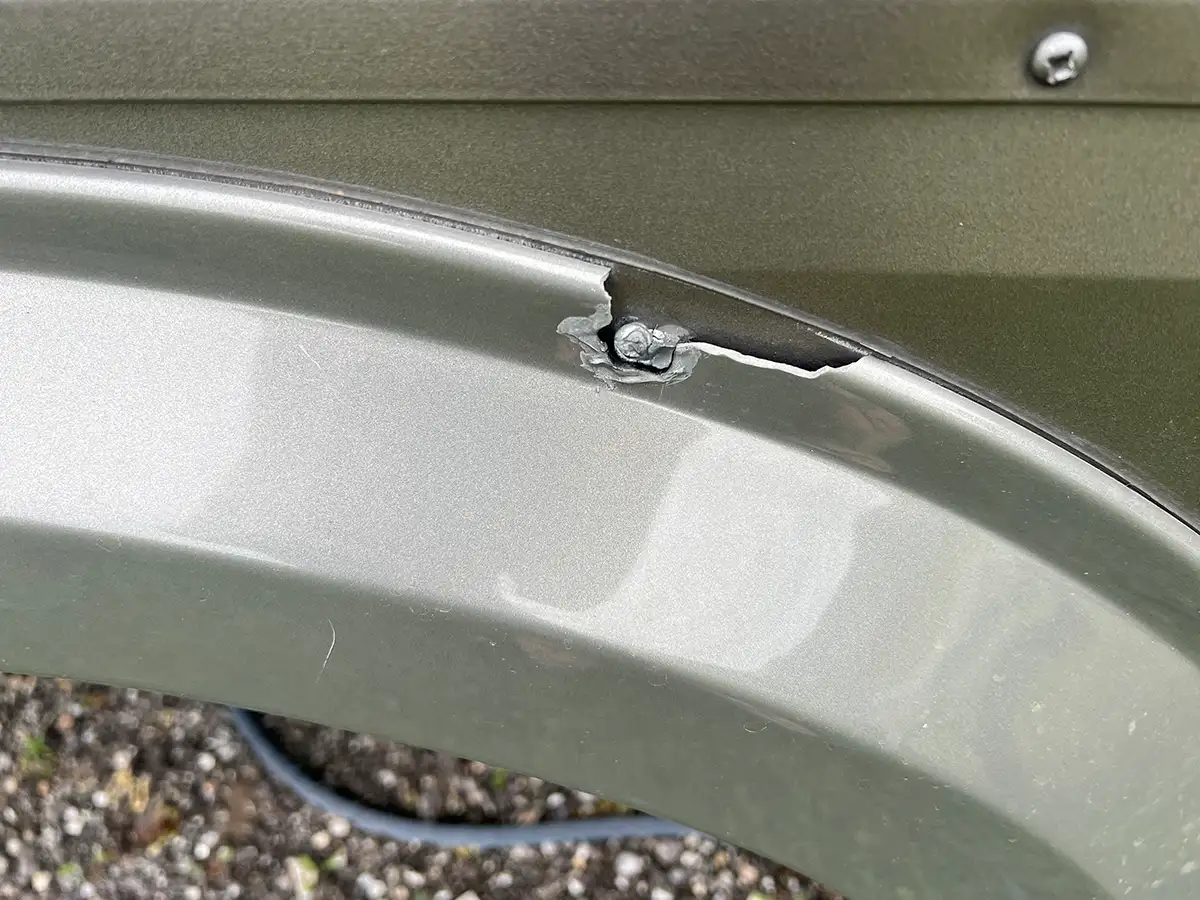
Likely, these screws are driven by power tools on the assembly line which, considering the thin material, makes it difficult to get a good feel when they are sufficiently tightened — often resulting in over-tightening. Many times, self-drilling screws are driven so tightly they distort the plastic and pull the skirt in toward the siding. I’ve seen hundreds of skirts where the screws were even pulled through the plastic. When this happens, it’s only a matter of time before these fender skirts litter the side of the road.

I found an unusual fix for improving longevity of these fender skirts: the use of automotive fender bolts and stainless-steel lock nuts. Fender bolts are easy to find at auto parts stores, but I bought the “Rexka 20pcs M6-1.0 Hex Head SEMS Body Bolts Bumper Fender Splash Shield Under Cover Hood” bolts on Amazon for $10.99. These bolts are painted black, have a 10mm hex head and a 20mm washer. The nuts can be found at most hardware stores, but if you search “binifiMux 35pcs M6-1.0 Nylon Inserted Hex Lock Nuts 304 Stainless Steel Silver” (where do they get these crazy descriptions?) on Amazon you’ll get them for $5.68.
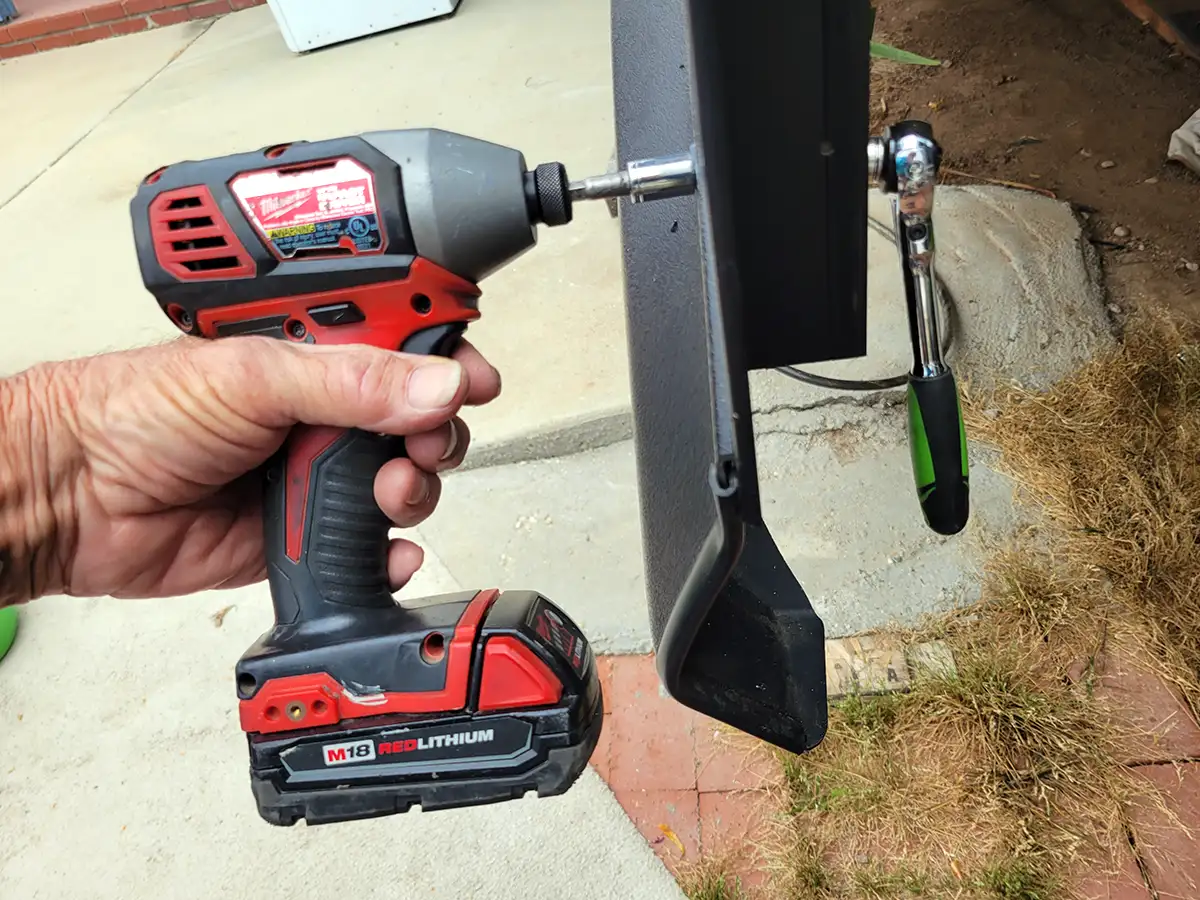
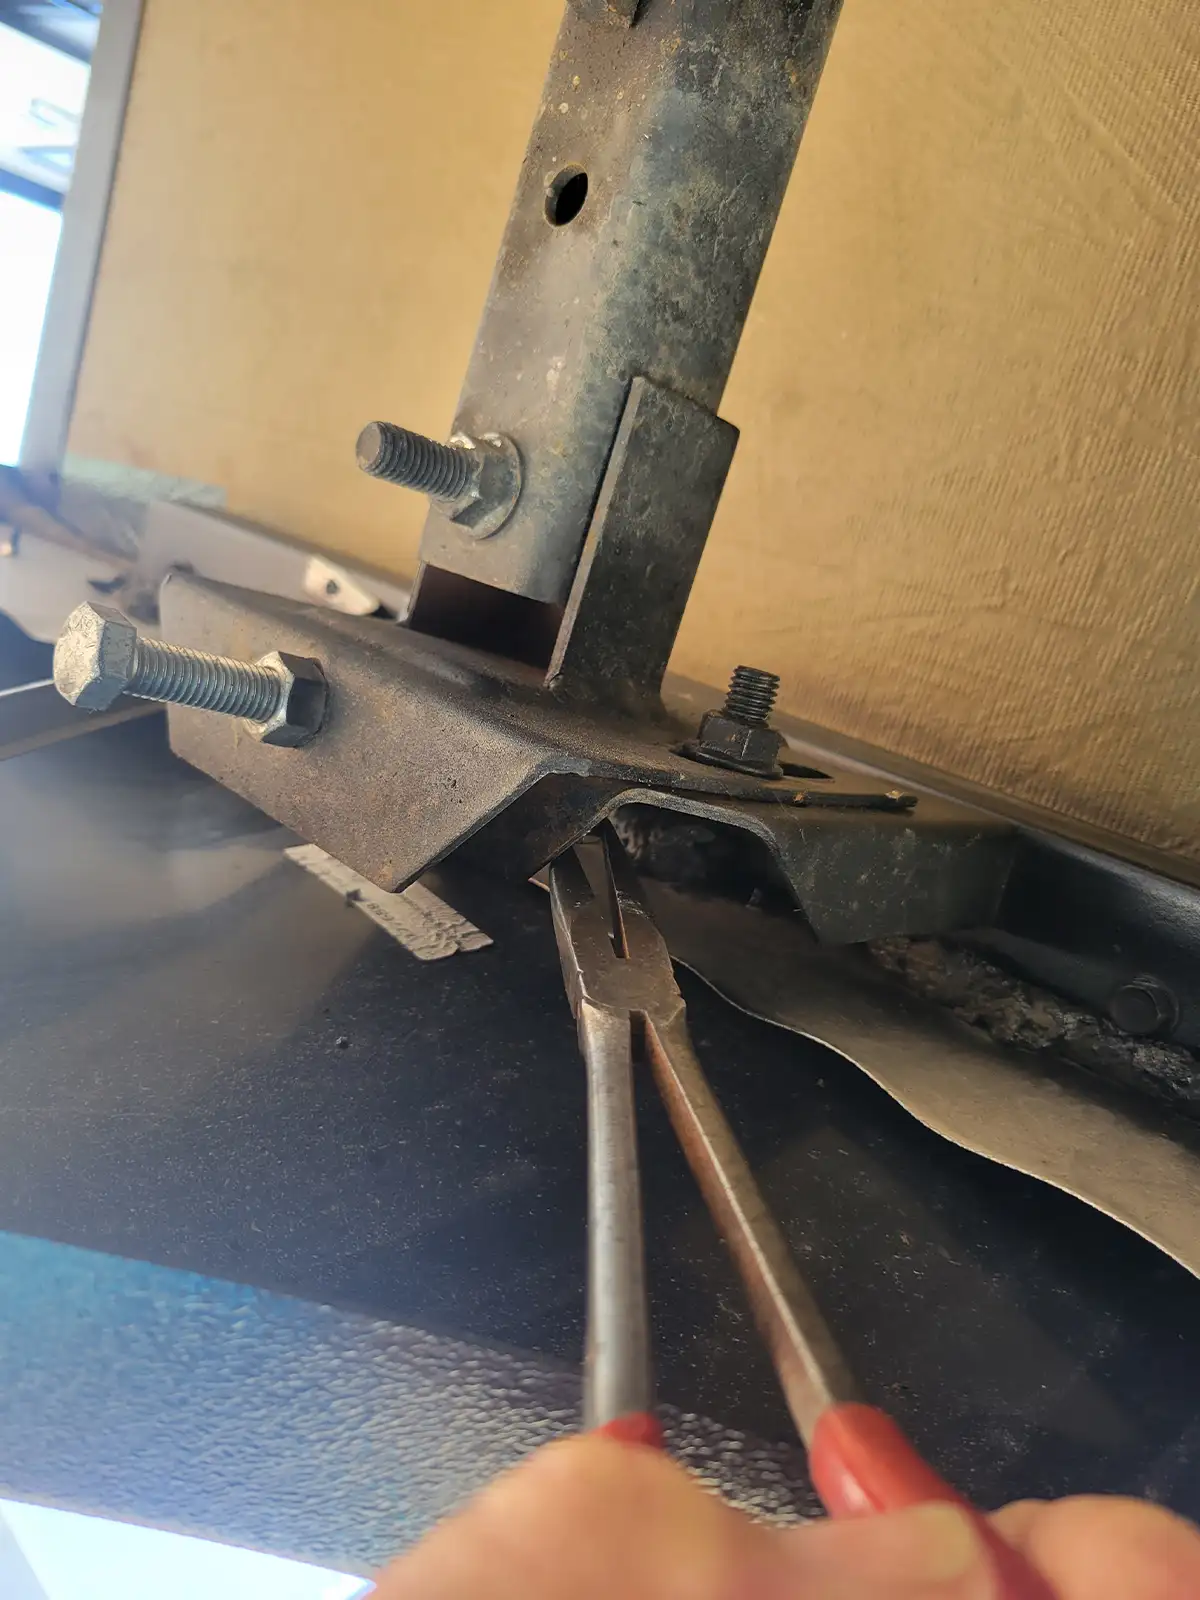
Before ordering the fasteners, I checked access underneath the slideout and other than one screw hidden behind a bracket on each side, the coast was clear. I figured a pair of long-nose pliers would have to be used to hang onto the nut when tightening that bolt. The washers spread the load out and locking nuts allowed me to snug the bolt against the plastic without exerting undue pressure — just enough so that the fender skirt can’t move without deforming the plastic.
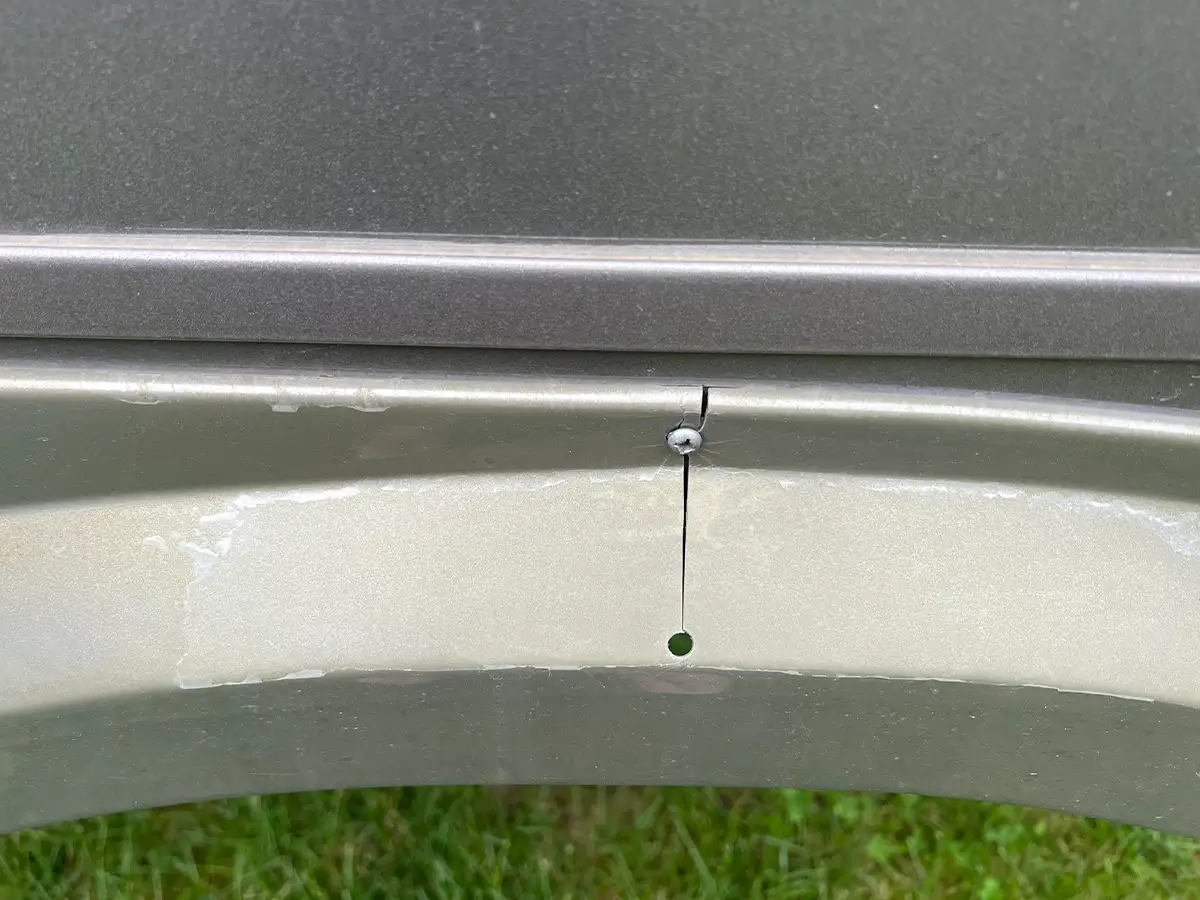
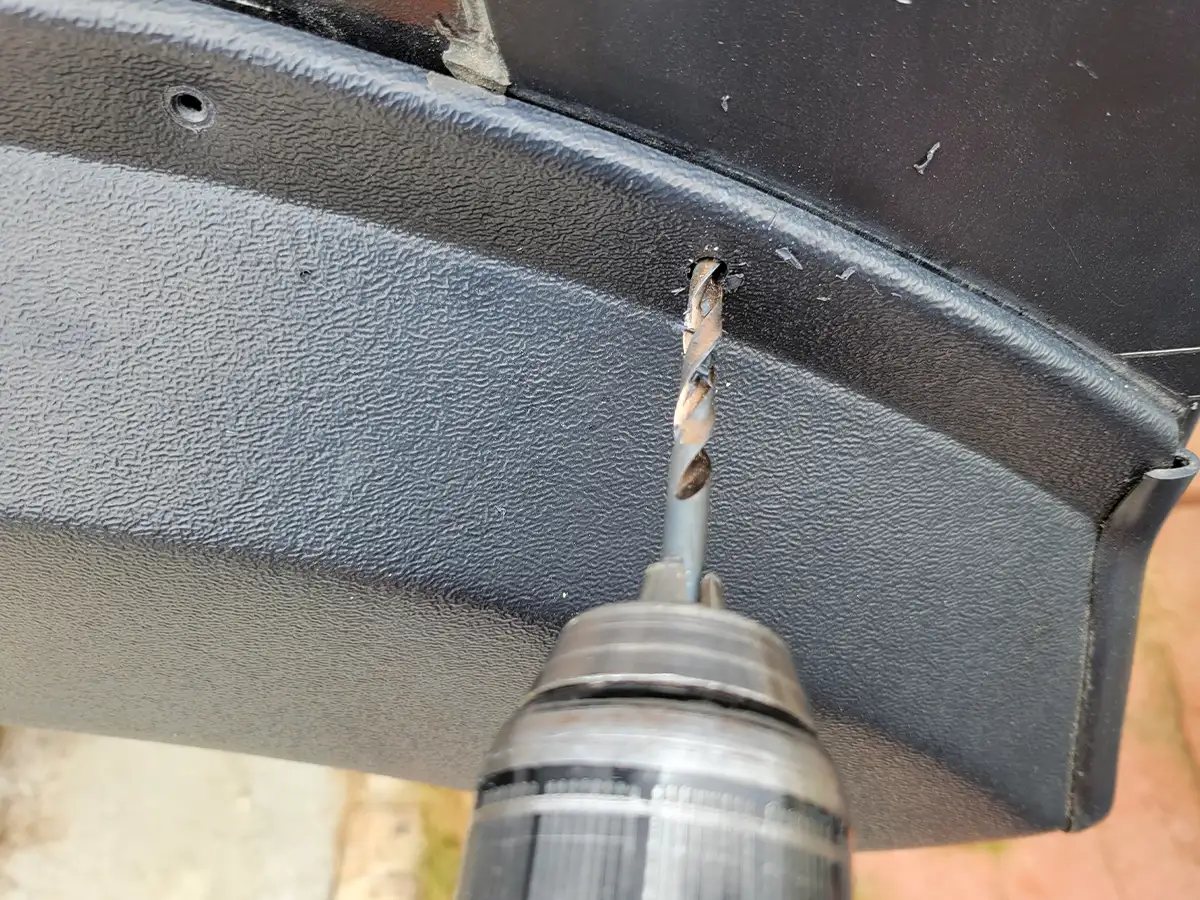
It was necessary to drill 15/64-inch holes to allow the bolts to pass through the fender and metal skirts. Rather than take the fender skirt off completely, I pulled enough screws to keep the fender skirt positioned from the factory and installed the new bolts in those locations before proceeding with the others. This saved time and prevented any chance of mounting the skirt off-center. When drilling through the plastic, care was taken not to force the drill bit and crack the plastic. There were already pilot holes from the old screws, so the process went smoothly.


I did use an impact driver (offsetting the tedium of setting 22 bolts and nuts) to snug the locking nuts, but the driver was set at low torque and care was taken to prevent over-tightening. Still, I had to adjust the nuts by hand to make sure they were set properly. (By the way, I had to order more bolts since there were only 20 in the original package.)


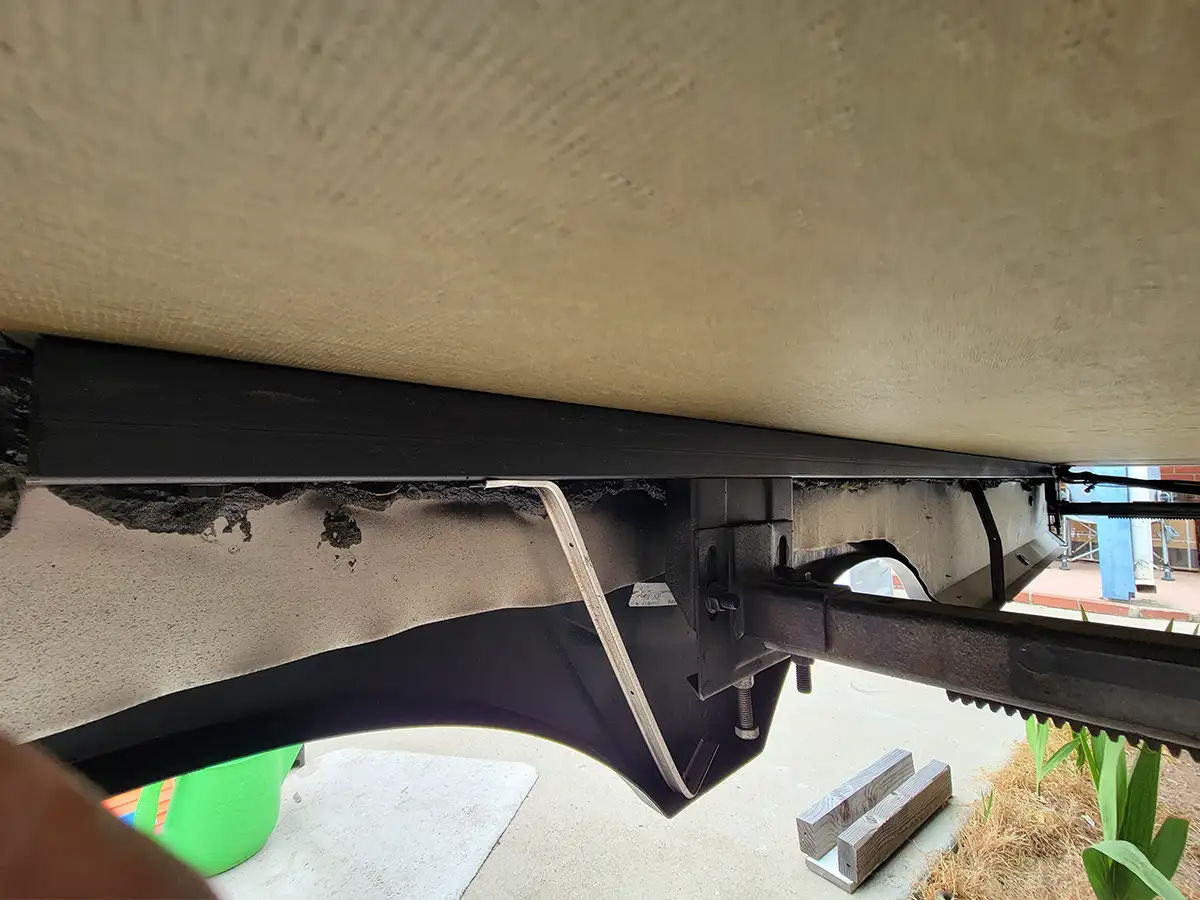
I don’t think the bolts and the washers are quite as attractive as the small screw heads, but it beats the expense of replacing the fender skirts. While I was at it, I bolstered the fender skirts with additional brackets; the originals were just too flimsy.
Next on the agenda: paint the skirts. The ones from the factory were made from black-color plastic and it seems like a coat of paint will be a good hedge against premature fading and cracking.

Already a Subscriber? Click here for Access to the Full Issues.