The Art of Hooking Up: Sewer Connections

A cheap hose can fail in mid-dump, so obviously, this isn’t a product where you want to cut corners. Sure, you can buy a sewer hose for $15 and in an emergency, for one or two uses, it’ll probably work. Don’t tempt fate. Instead, buy a good, heavy-duty kit. It’ll work for just about every RV you’ll own.


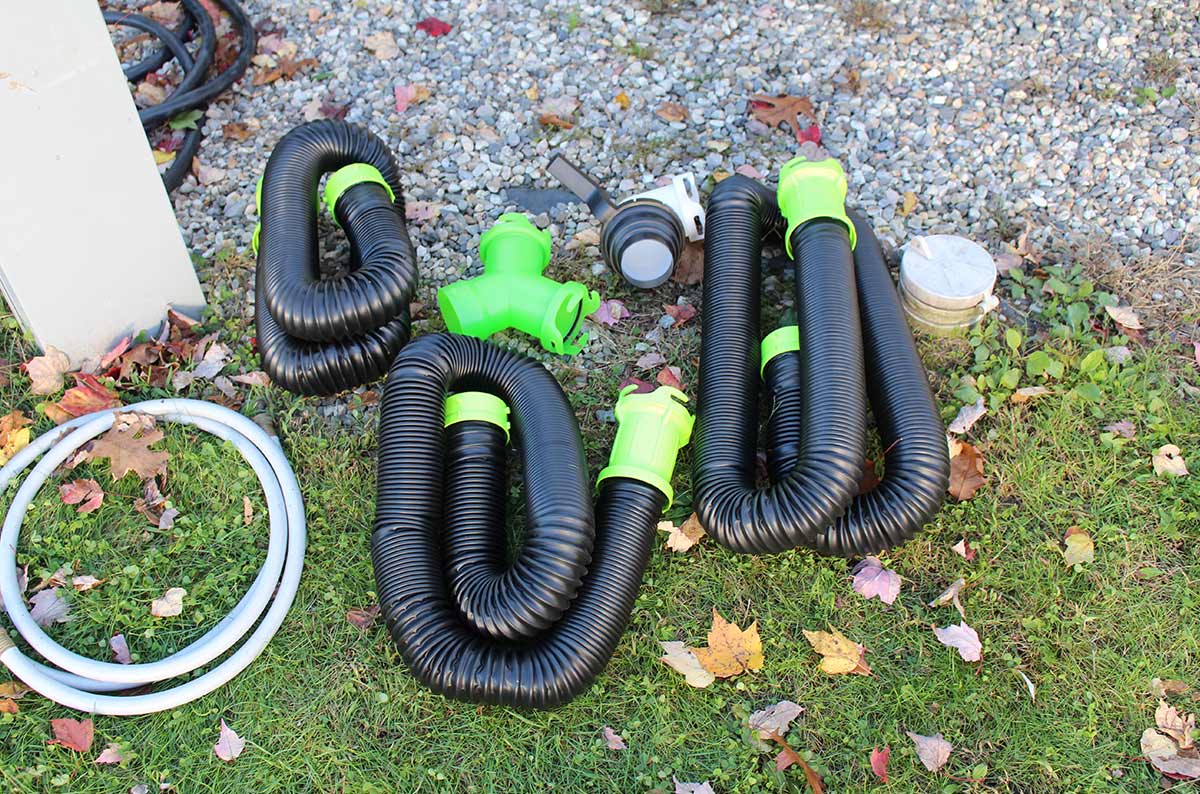
Heavy duty hose kits are made from higher-grade materials that won’t leak, rust through from cheap springs or crush. The fittings lock together firmly and lock to the RV using a 4-pin bayonet connection instead of two. The fittings also have leak-resistant gaskets that can be serviced, and the kits have a fitting for inserting into any dump station receptacle. Most of these hoses have a smoother interior surface, which makes them easier to rinse and some are collapsible, reducing storage space.
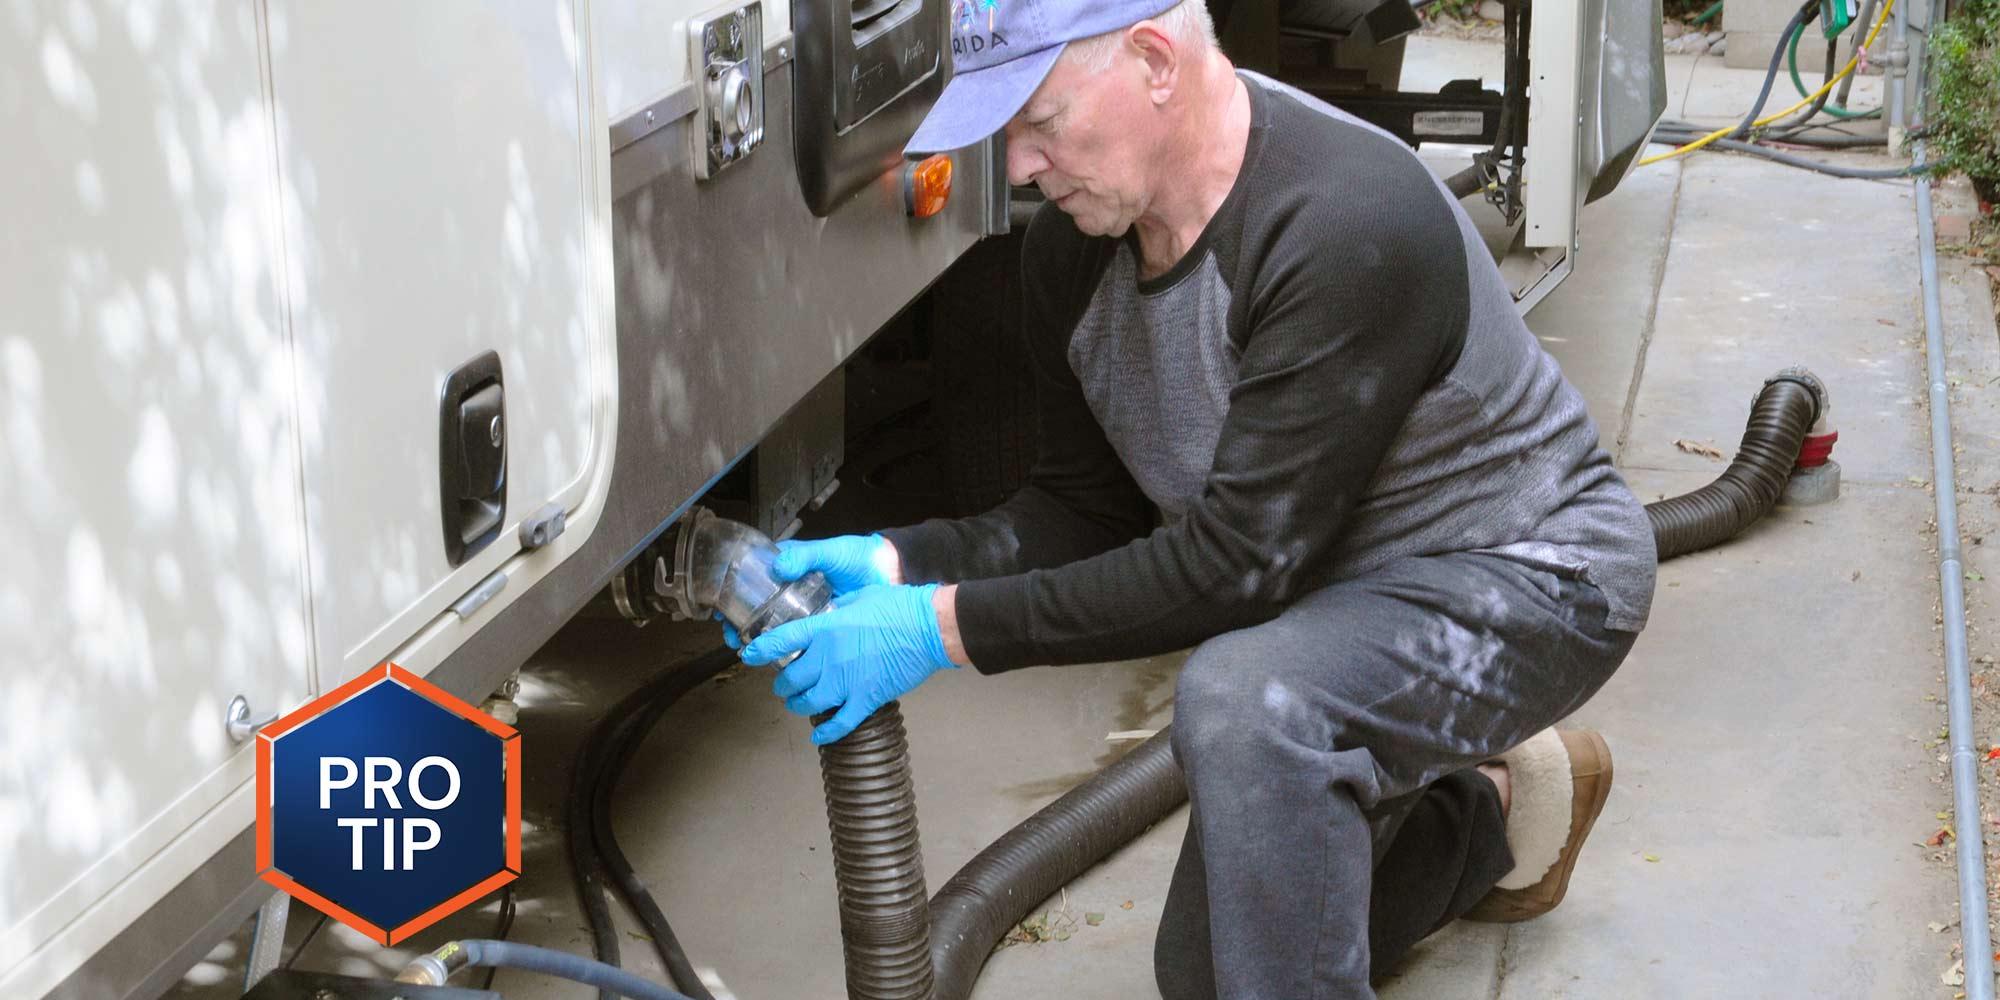
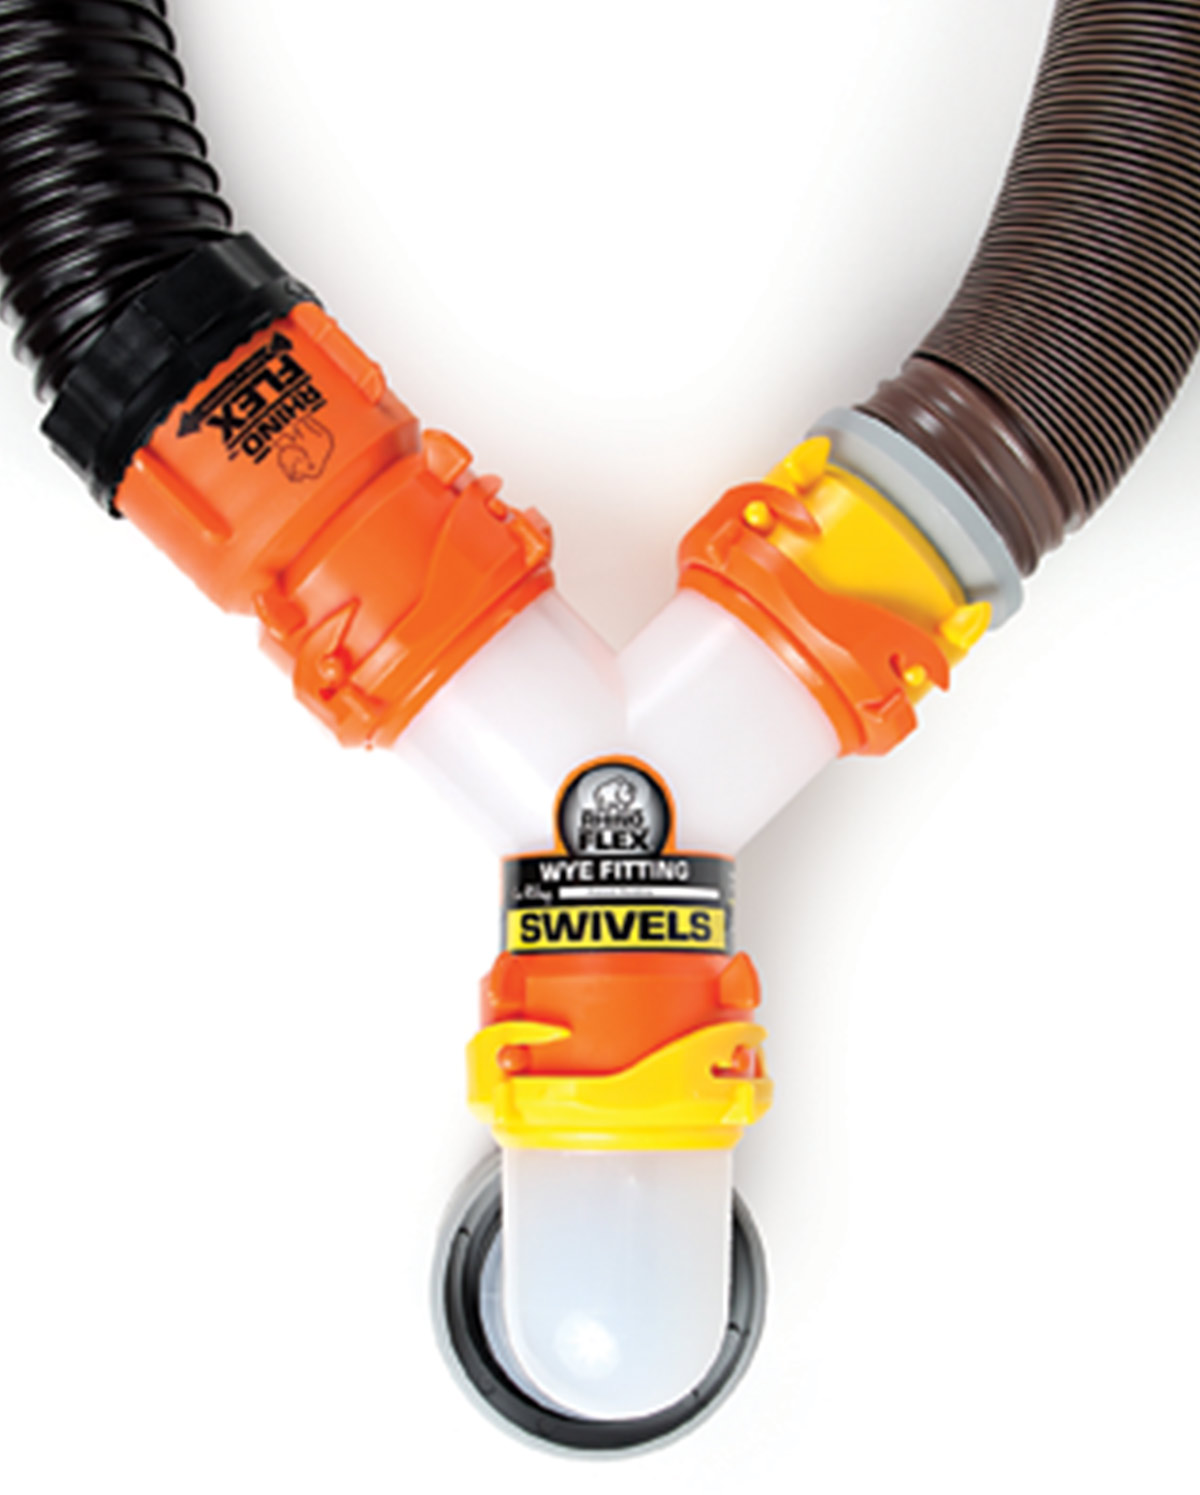
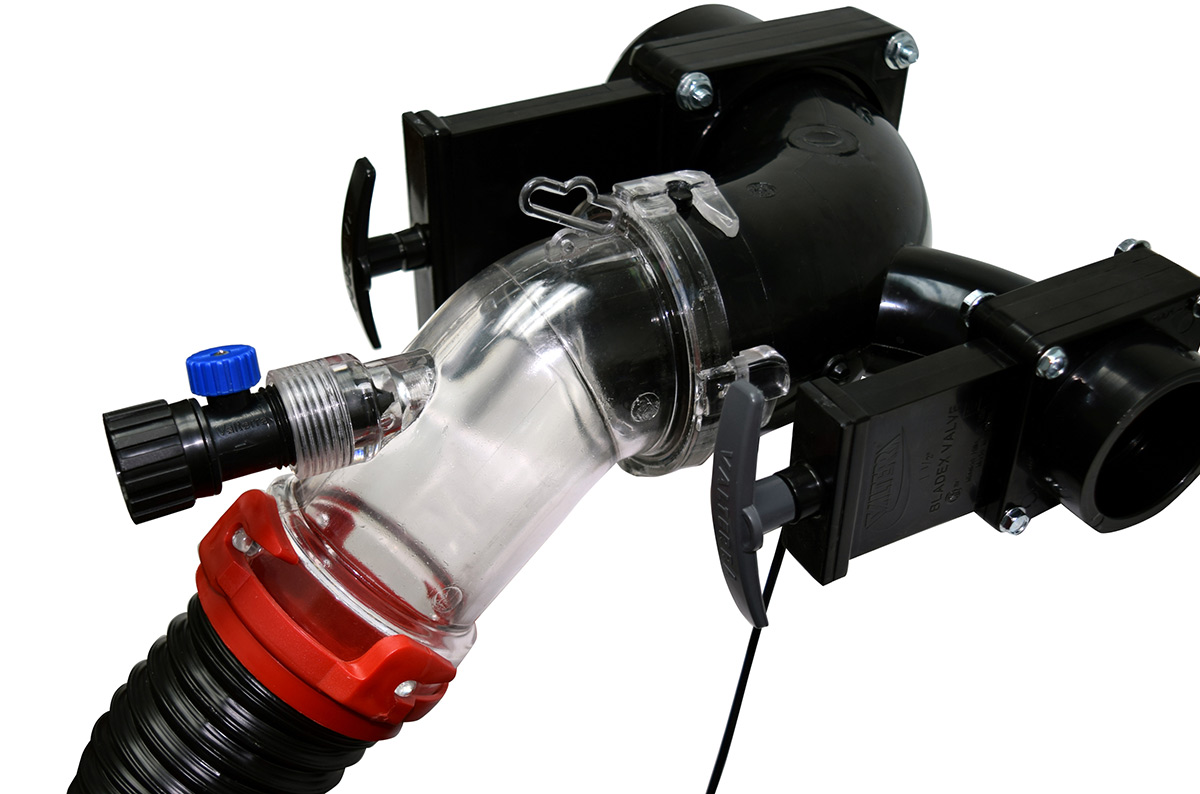
Because many campsites have the sewer connection far away from the RV’s other connections (and because many RVs have more than one discharge, requiring a Wye fitting and additional lengths of hose), it’s recommended having at least 25-30 feet of matching hose for your kit, in 5- to 15-foot sections. A clear sewage hose elbow or straight union also is a good thing to have. Attached either at the discharge port on the RV or the sewer outlet, it allows you to see what’s happening in case of a blockage as well as when flushing the tank is complete. You should also carry a water hose dedicated to sewage cleanup and supplying your black tank flush. A 25-foot gray water hose should do the trick; make sure to use a different color hose for this purpose.

Already a Subscriber? Click here for Access to the Full Issues.

