The Big Picture
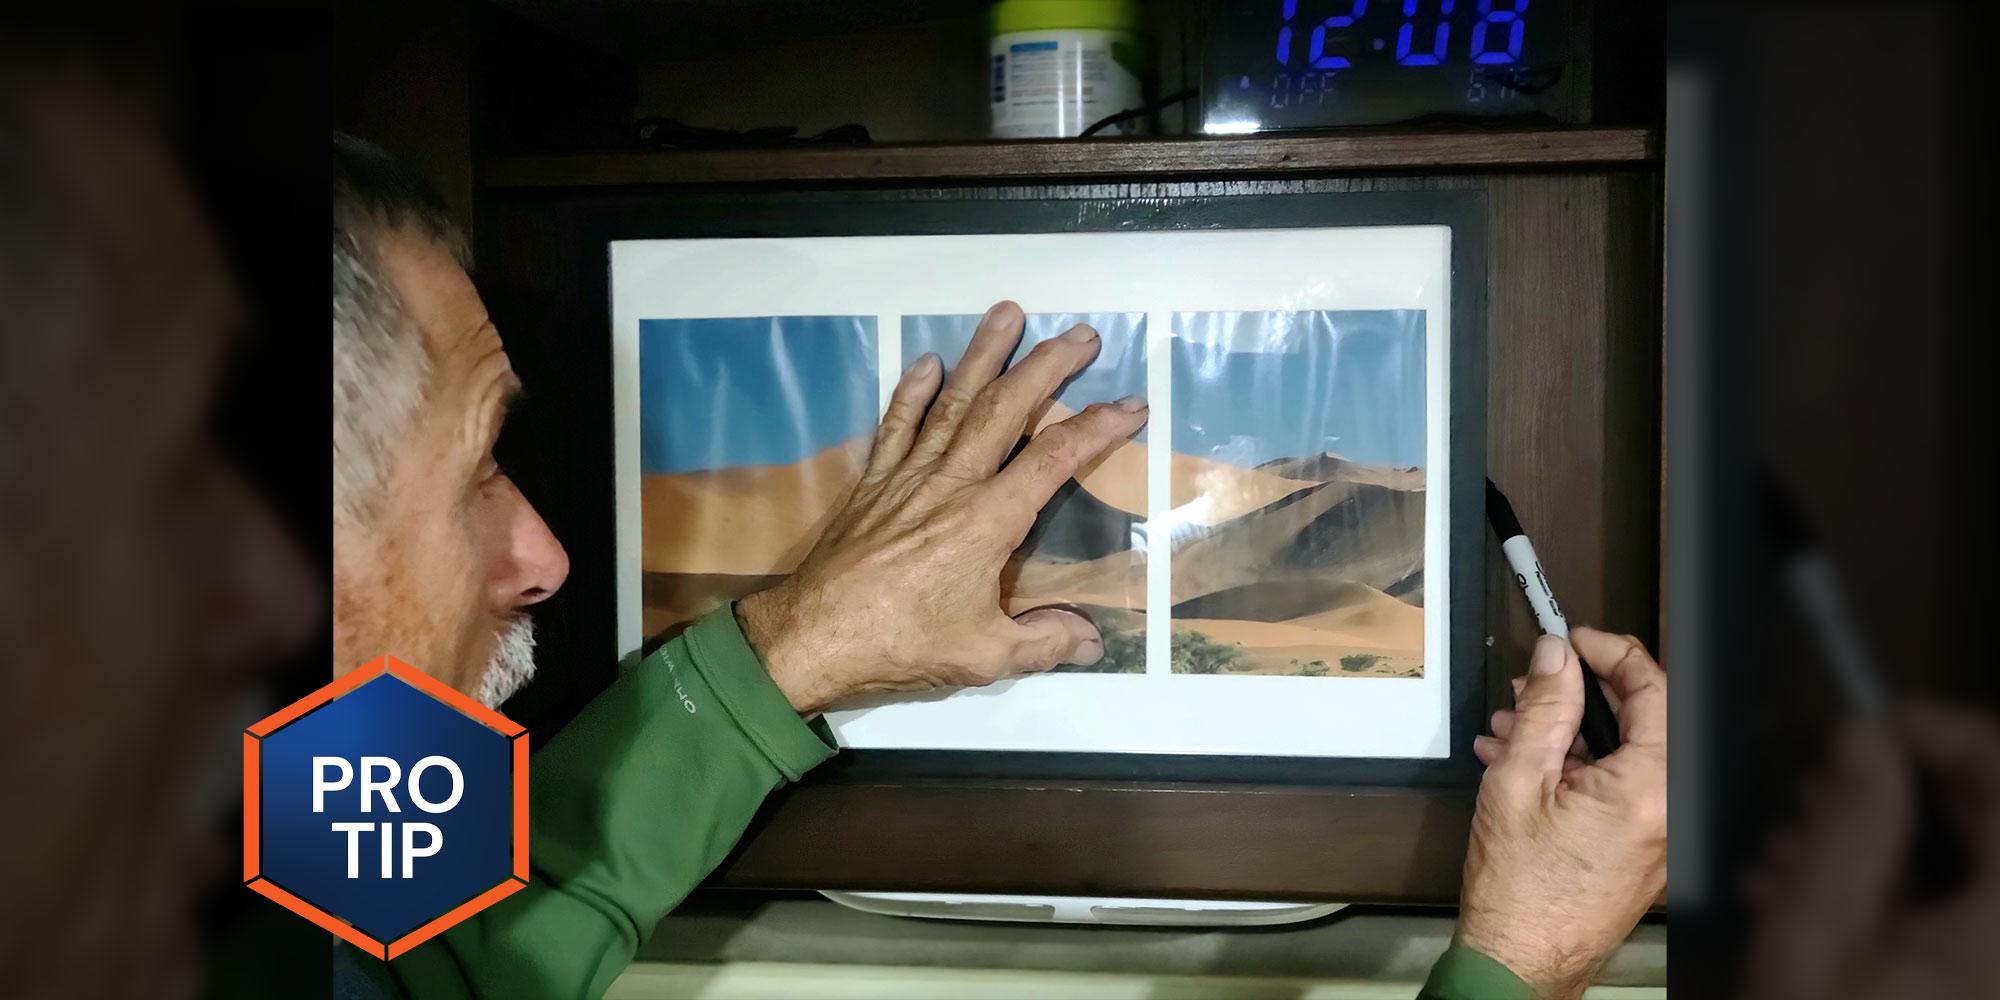
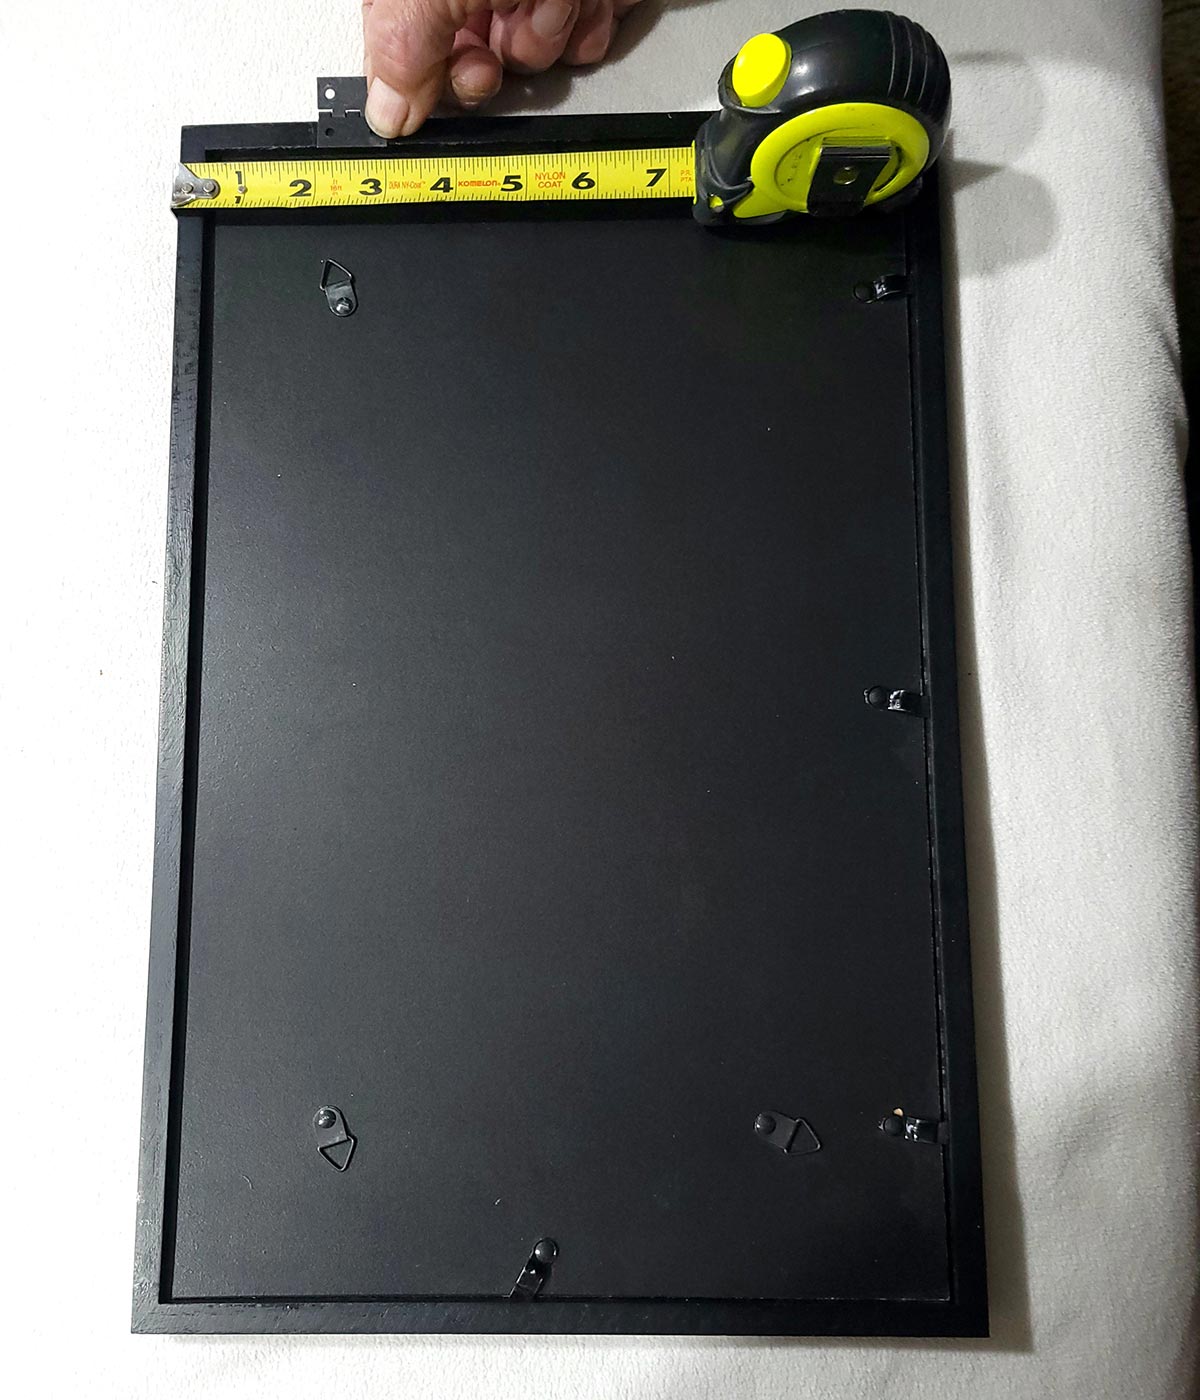
Thinking outside the box (and knowing that there was absolutely no way to find a door that would match the wood color without enlisting a cabinet maker, which would be costly), I figured I could use the picture frame as the “door” and open up access that was behind the TV mount. I ordered a few small hinges and a magnetic catch from Amazon — and I was off to the races.
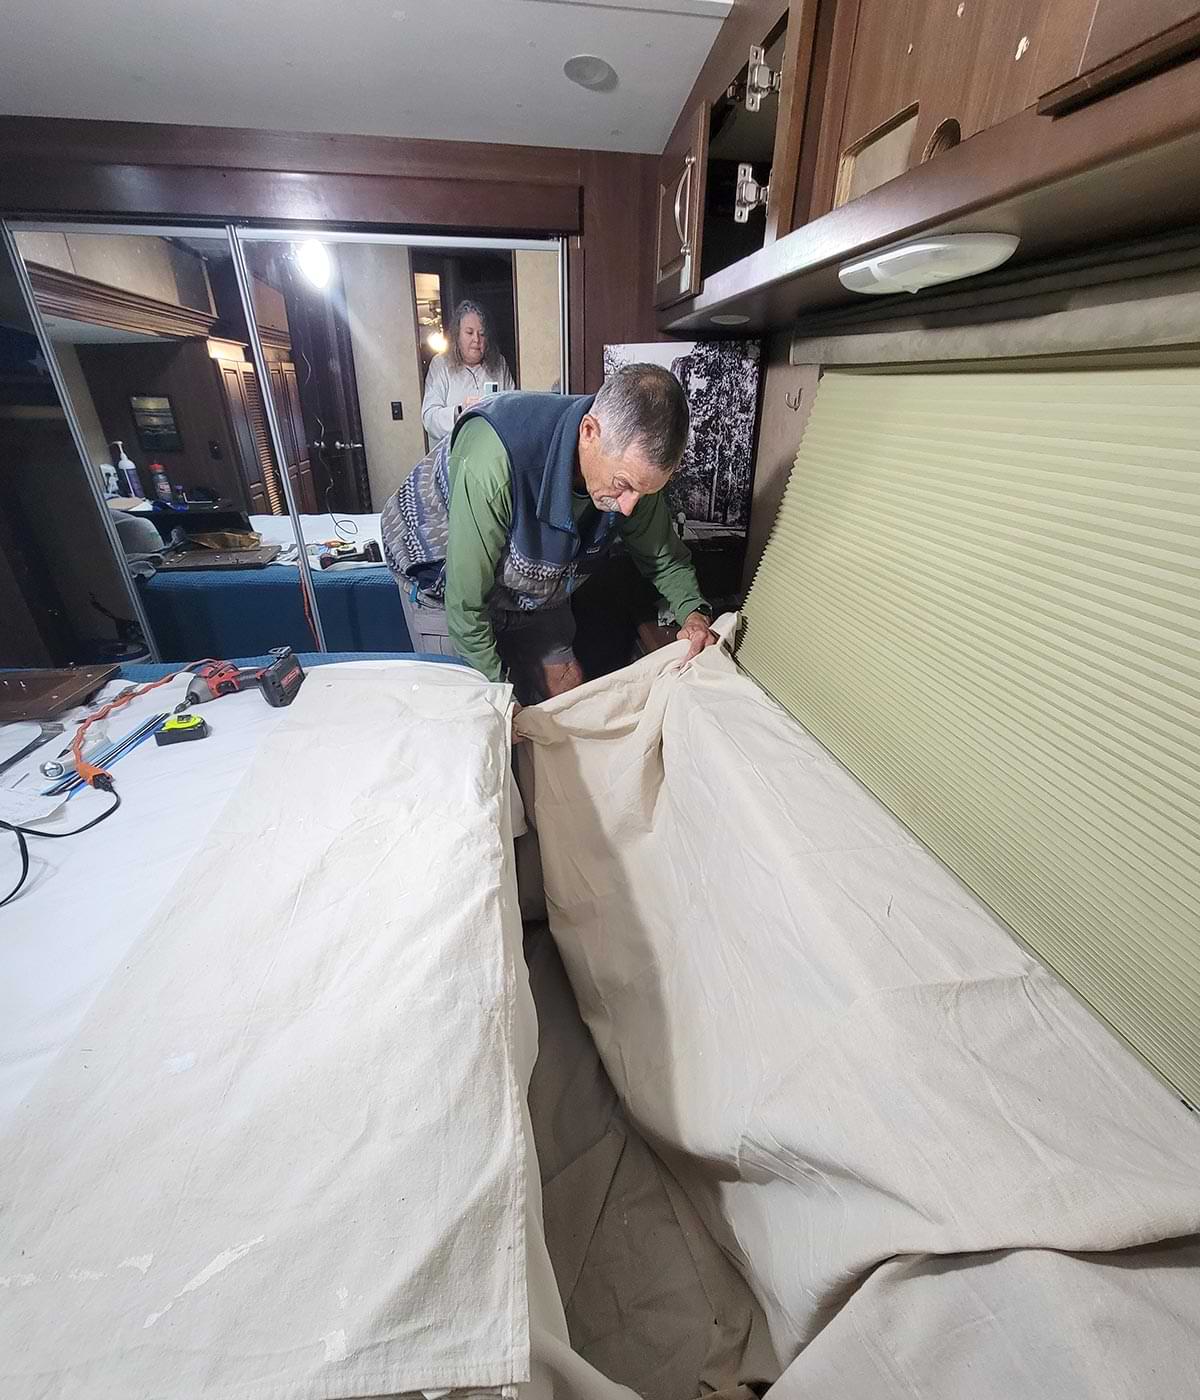
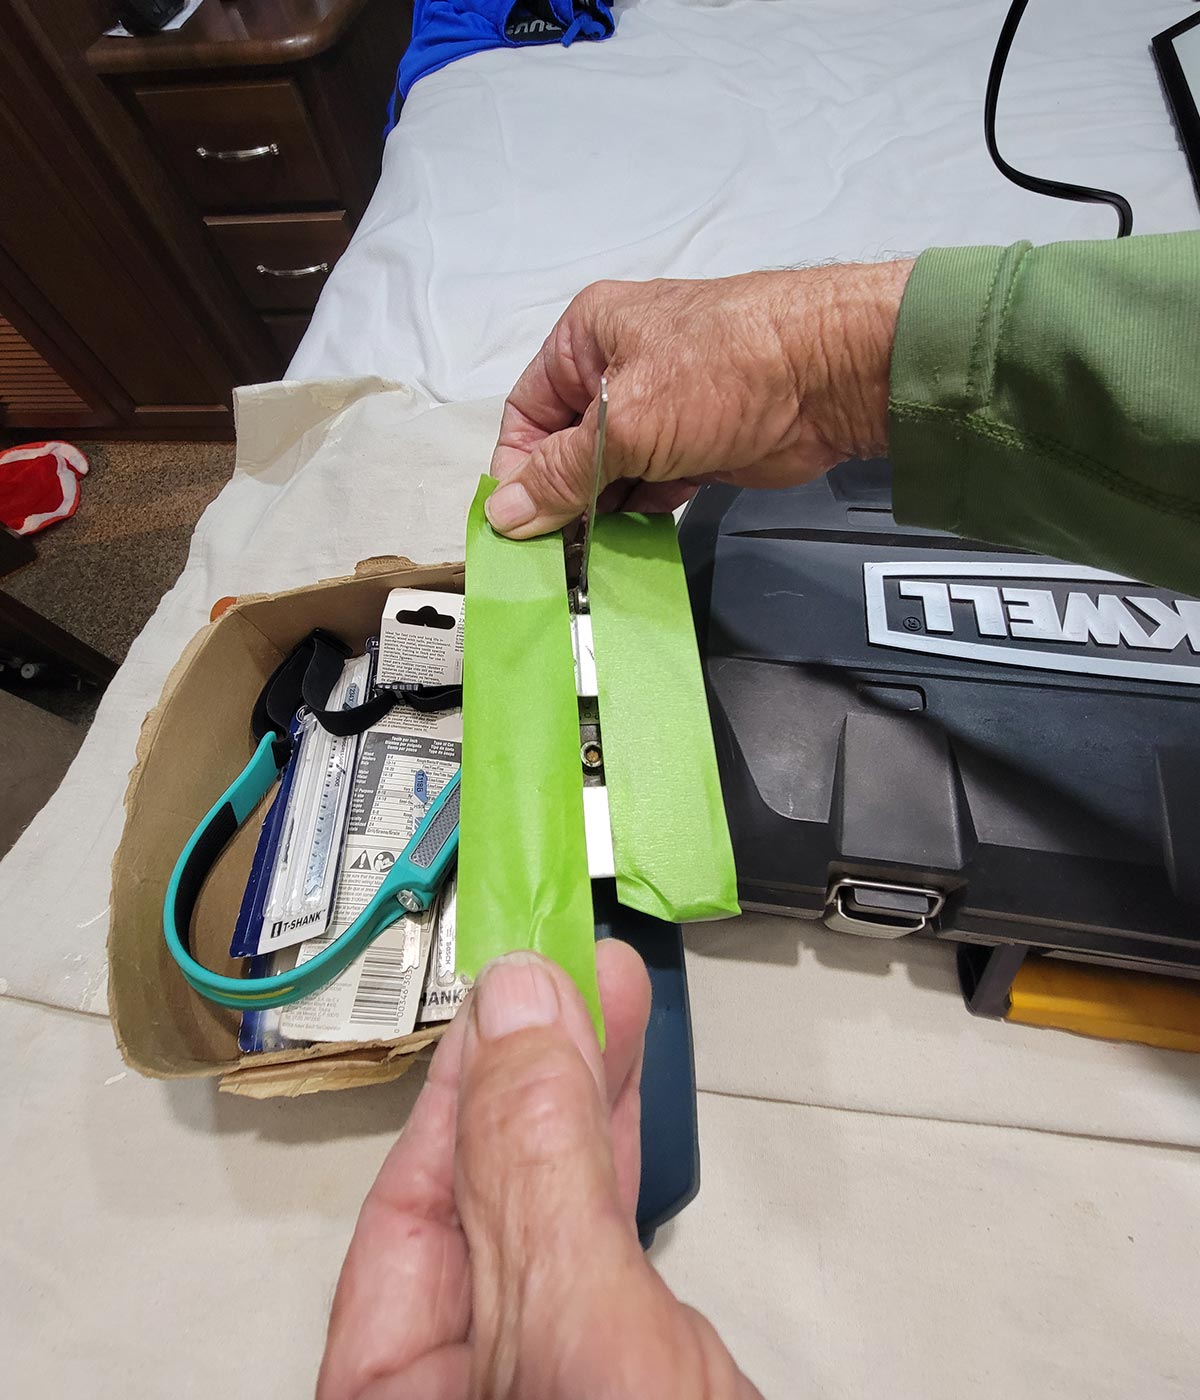
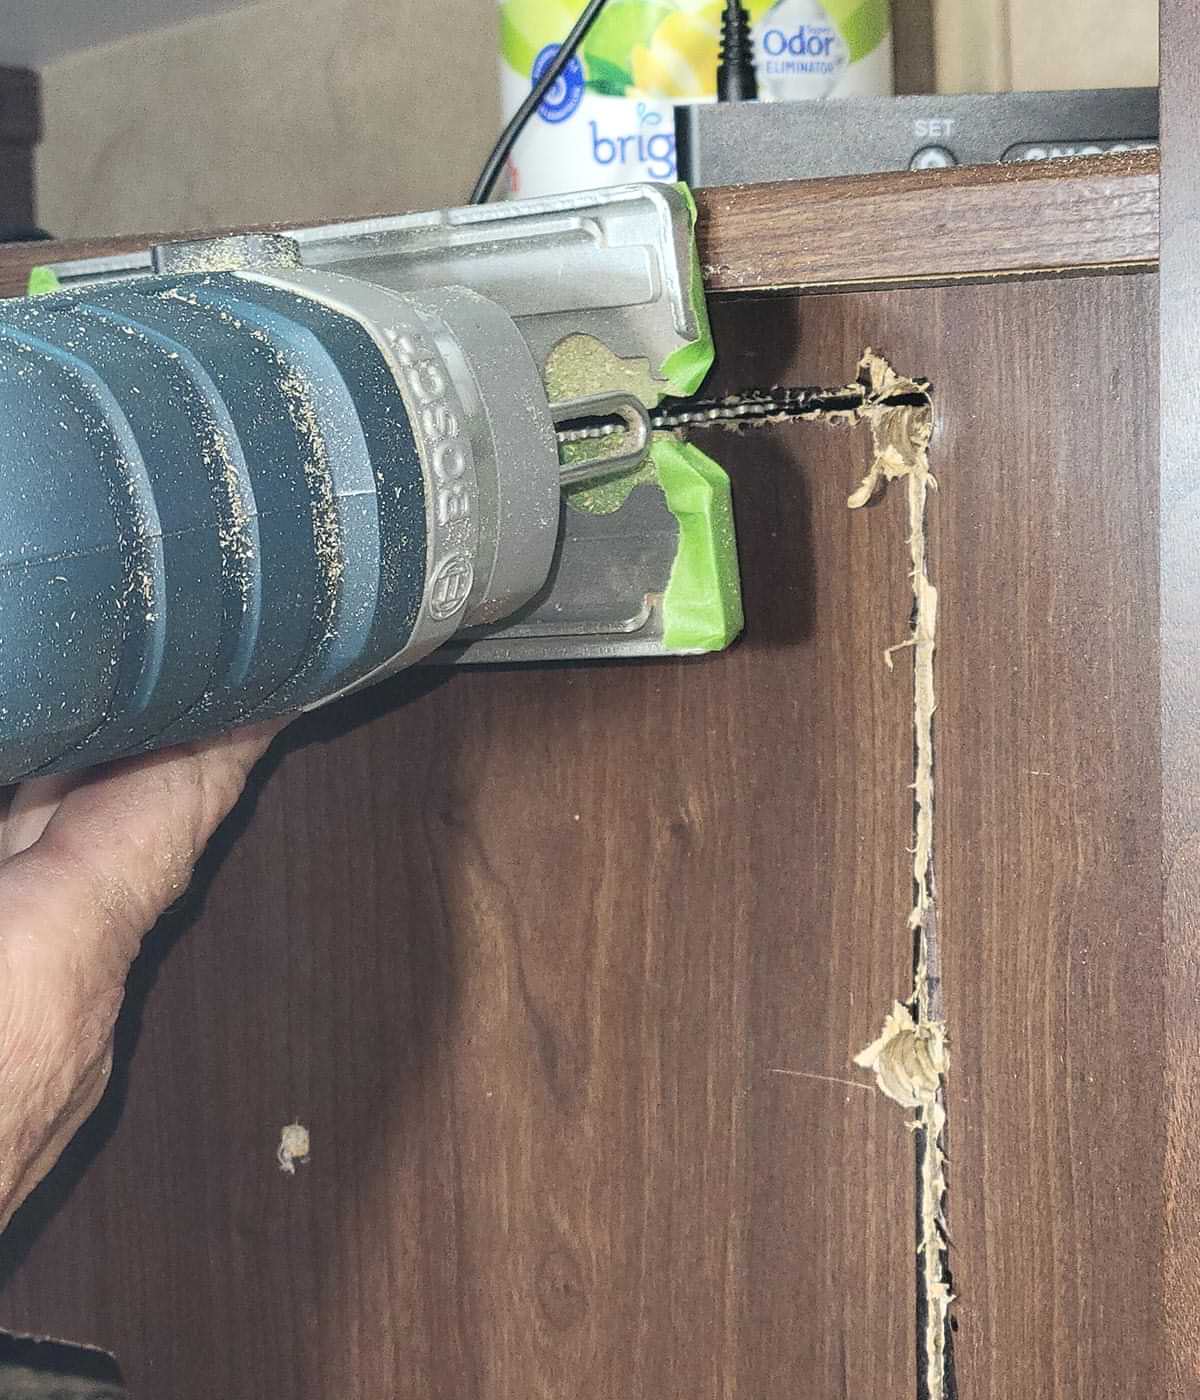
Cutting the hole through a wall that was reinforced with ¾-inch plywood to support the weight of the anticipated TV seemed like a daunting test, and of course promised to be very messy with sawdust and wood particles going everywhere. Fortunately, I had a good jigsaw and a very sharp extra-long blade, which was needed because it was not possible get all the way down into that recessed area with the jigsaw to make the cut. Before starting the project, I covered the foot of the jigsaw with masking tape to prevent scratching or damaging the finished surface of the cabinets while trying to cut a large rectangular hole; drop cloths were spread out to catch the wood shrapnel.
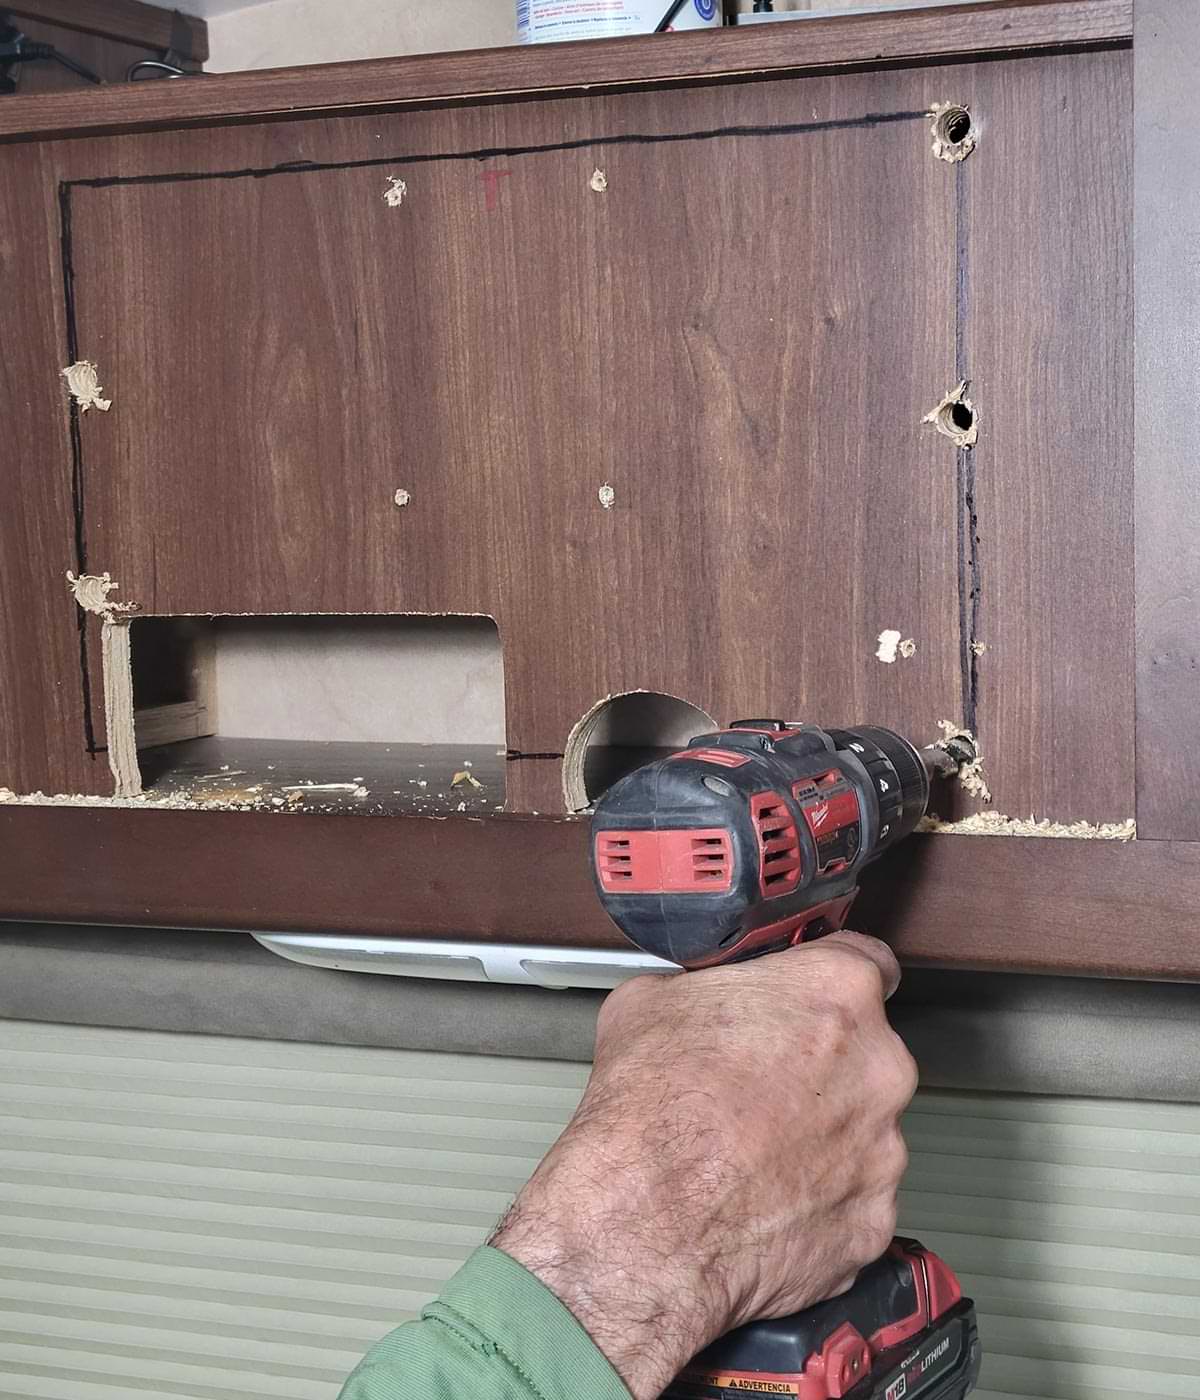
After marking the outline for the cutout, large holes were drilled in several places to make room for the jigsaw blade when cutting in different directions.
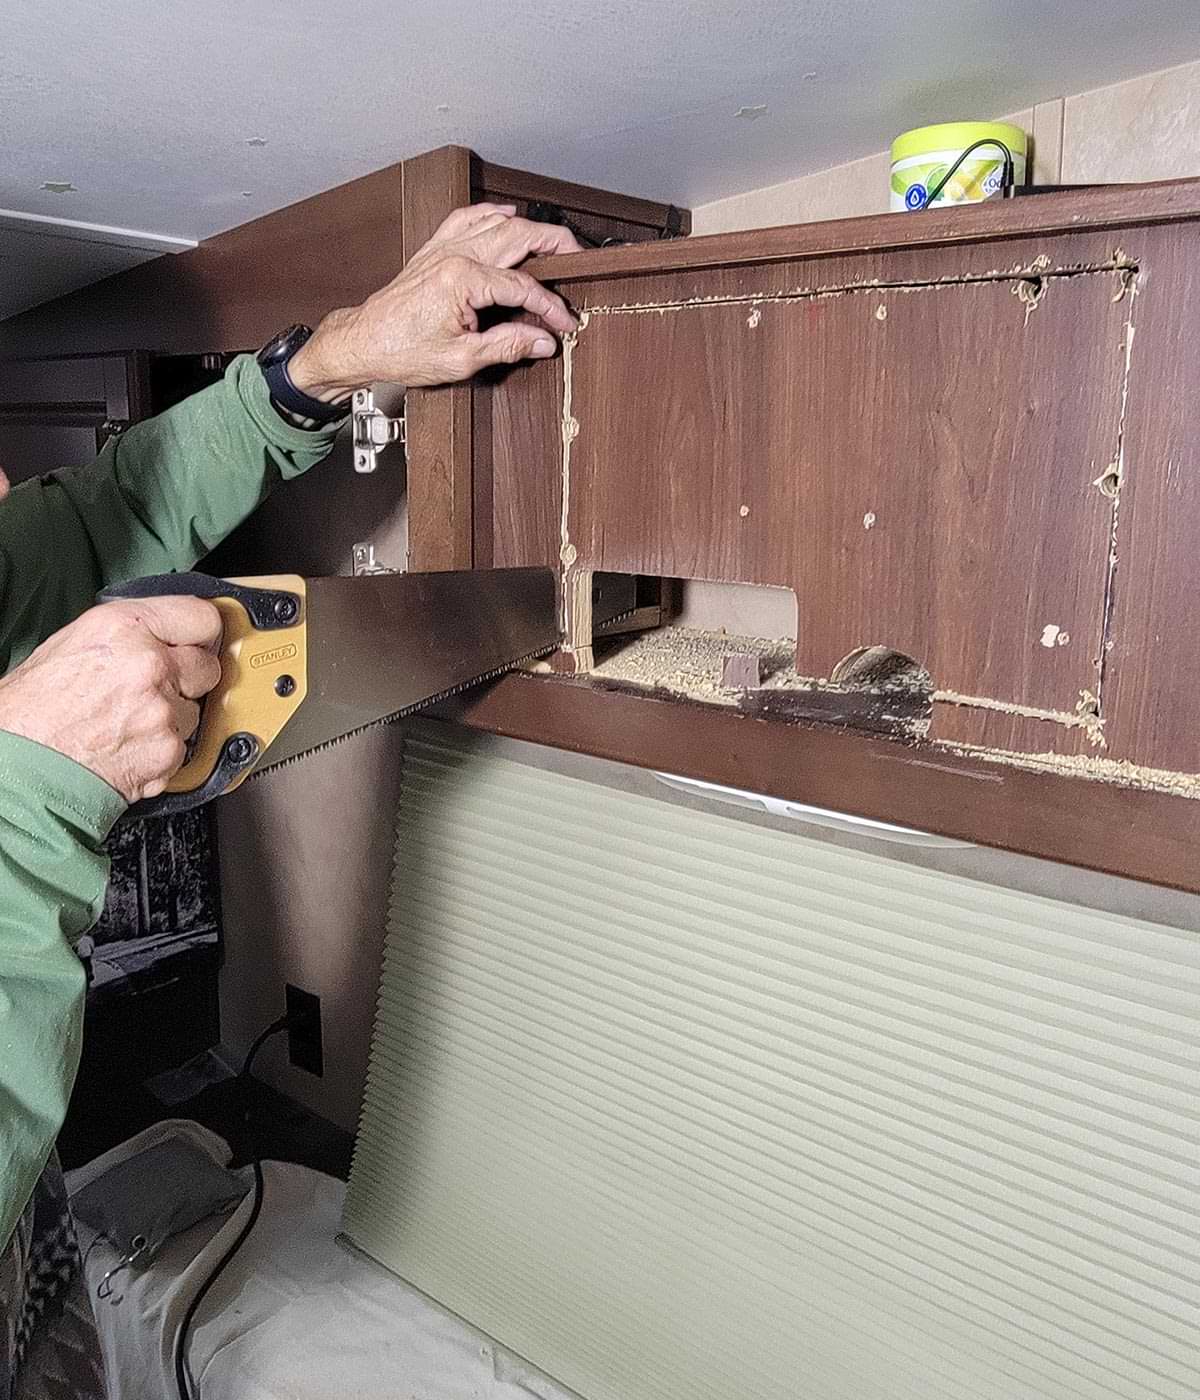
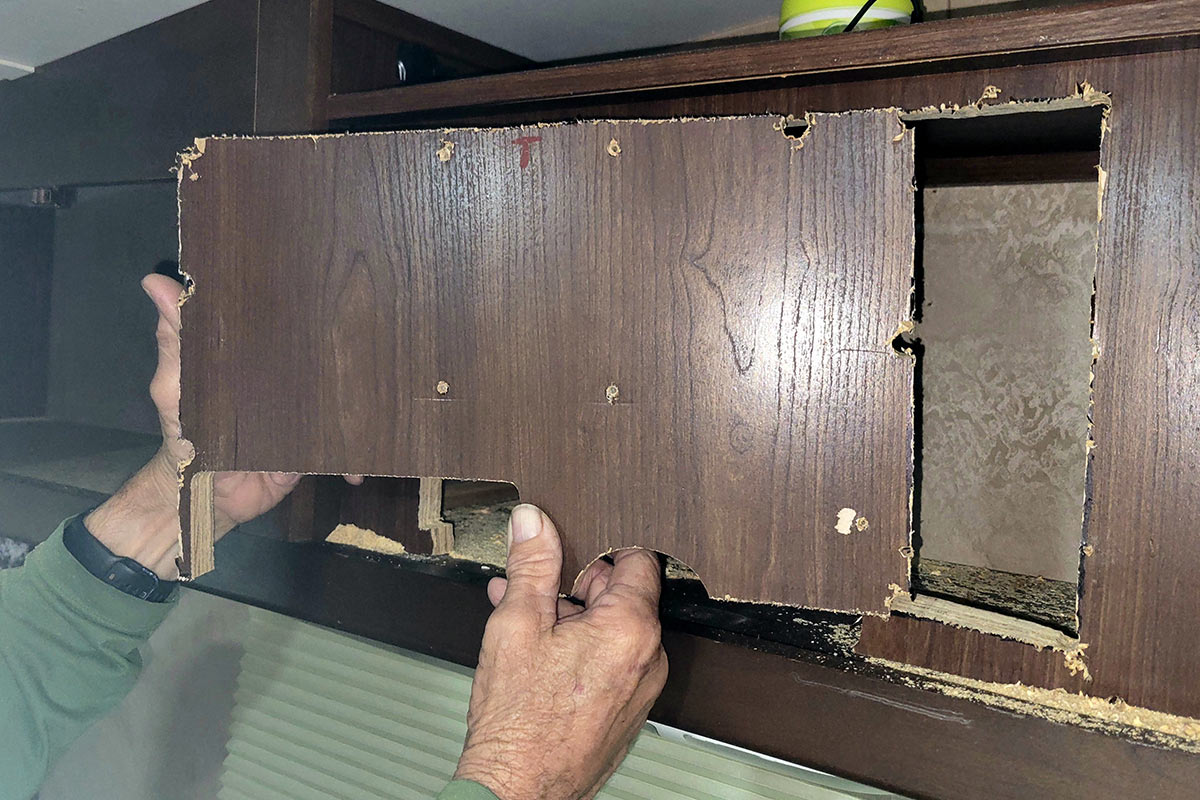
The only snag when cutting the hole was the raised perimeter that made it impossible to lay the jigsaw flat against the wood panel that held the TV. Also, it was impossible to get the jigsaw into the corner to make the final cut. A handsaw was used to cut through the last bit of wood.
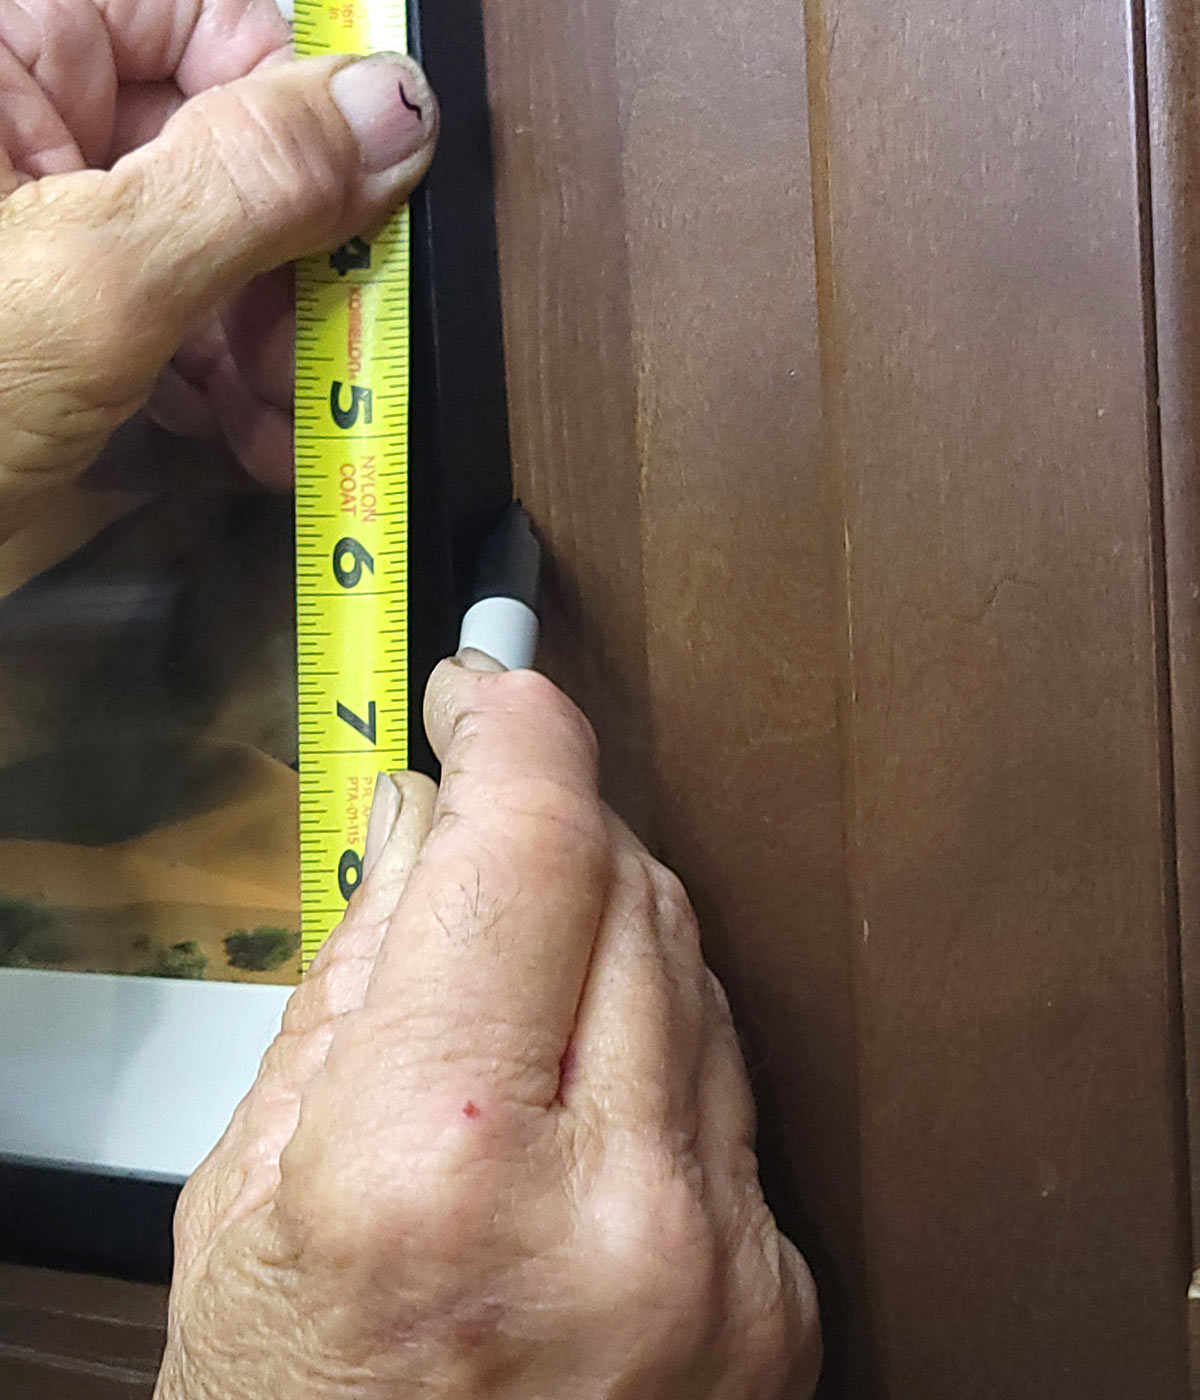
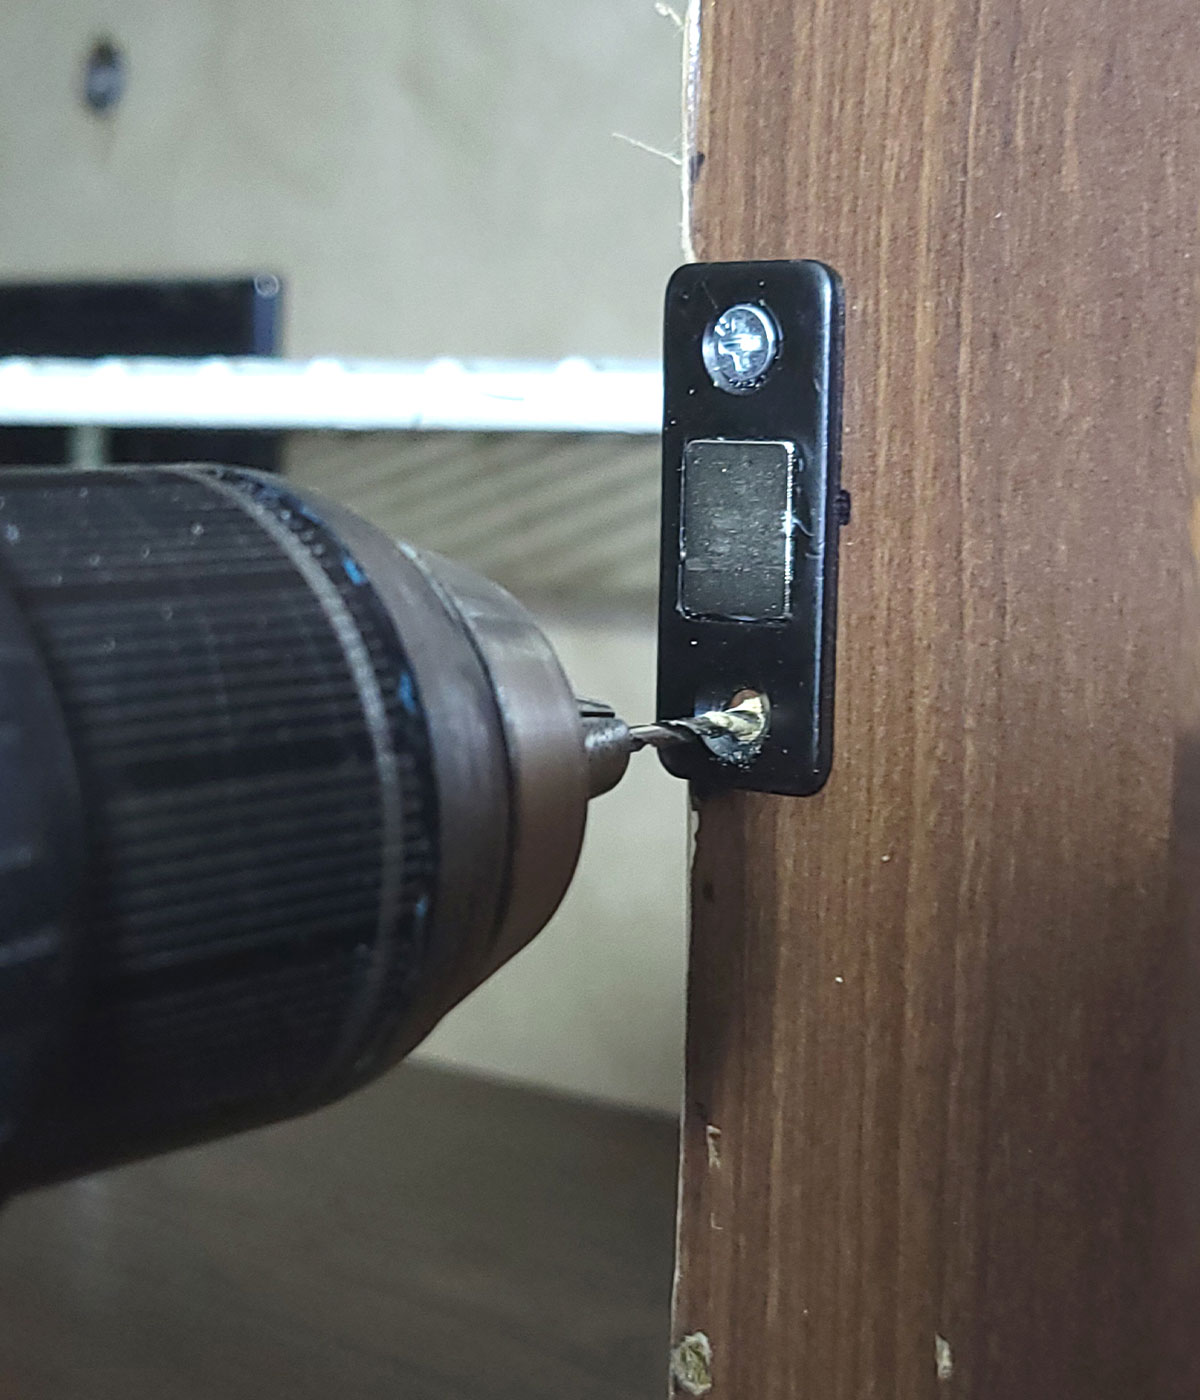
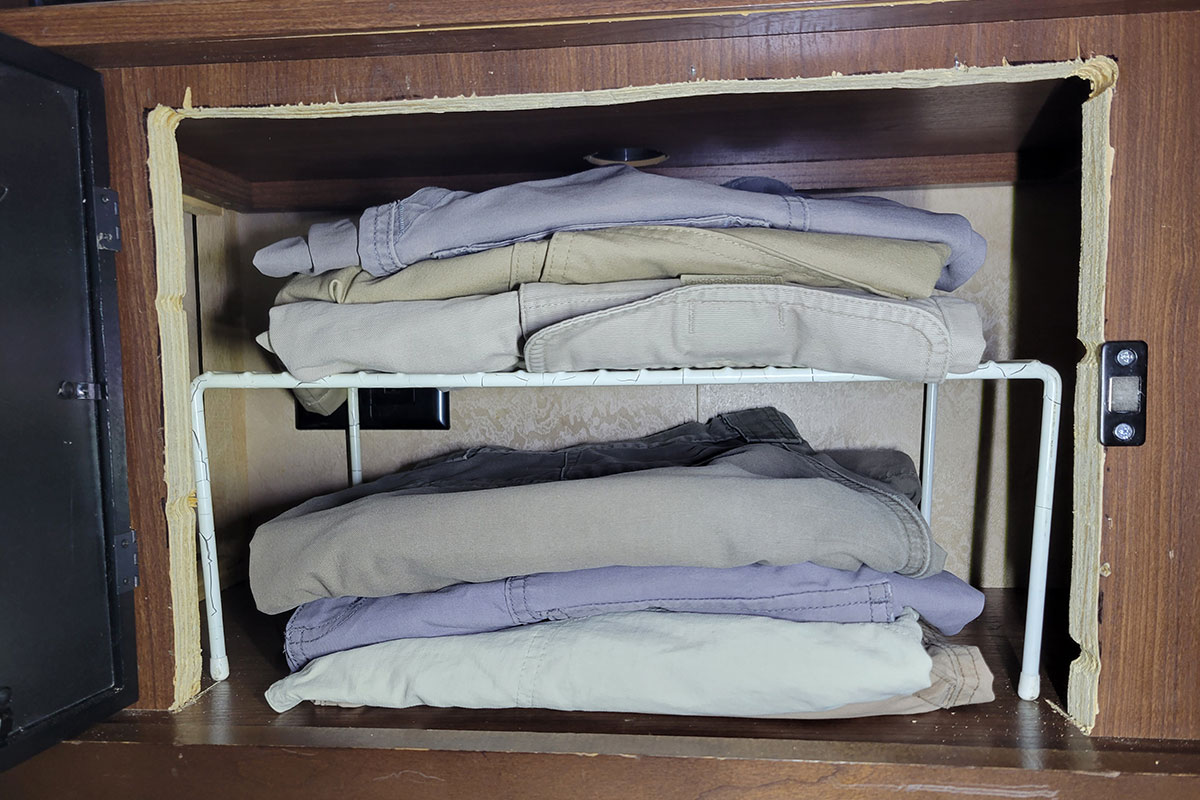
After a lot of measuring to make sure the picture frame would be centered, the hinges were installed on the picture frame and one of the flat magnet sets were attached to keep the “door” closed tightly. The magnet catch can be purchased at Amazon for $10.99 (Google “Cabinet Door Magnets Jiayi 6 pack”). I used the biggest picture frame that I could fit in the allocated space, which provided the extra space for clothing, sheets and/or towels.

Already a Subscriber? Click here for Access to the Full Issues.