The Last Details
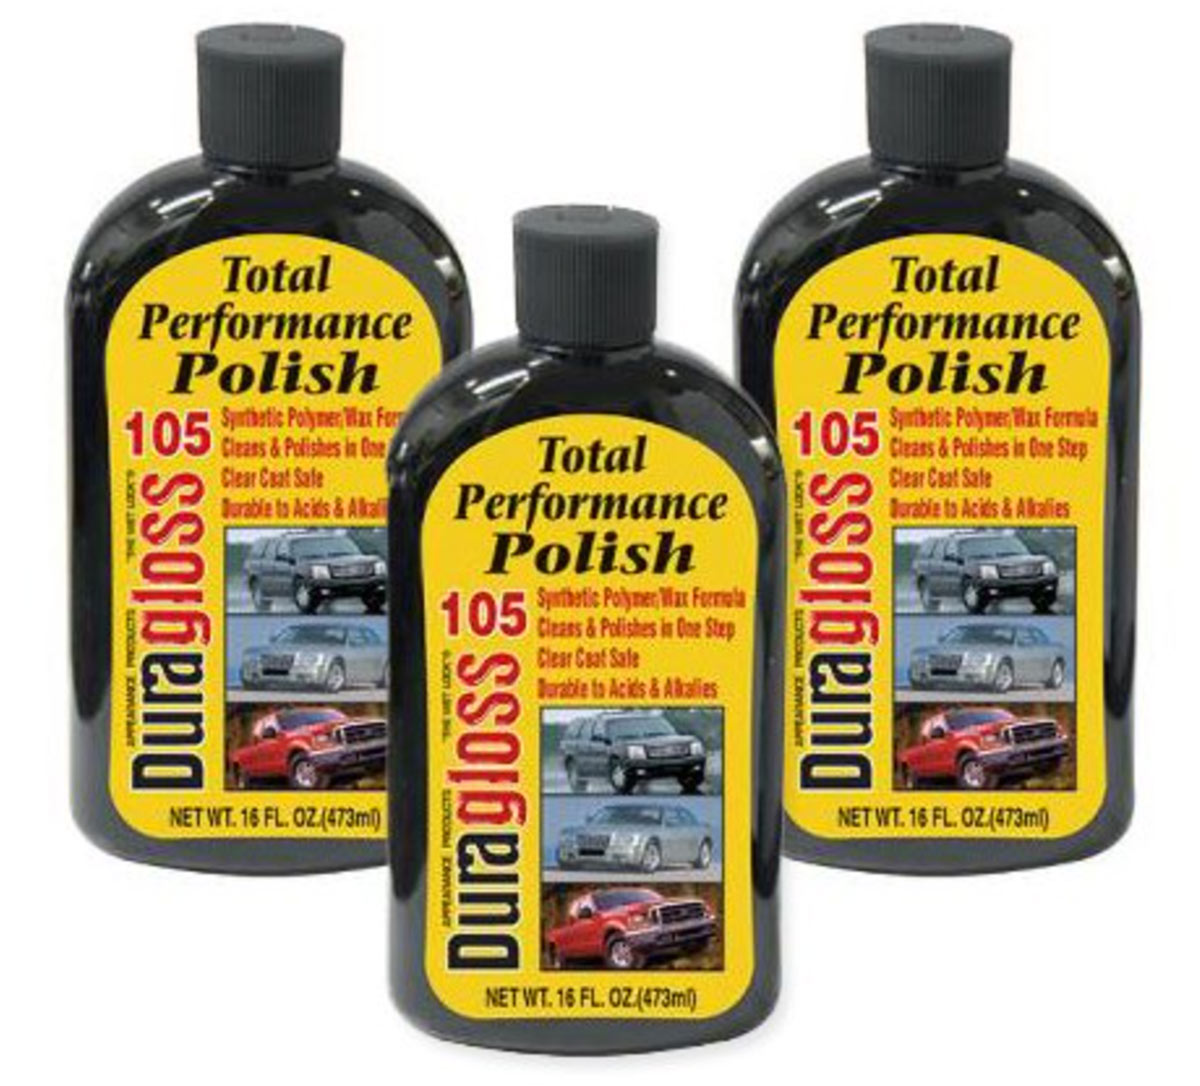
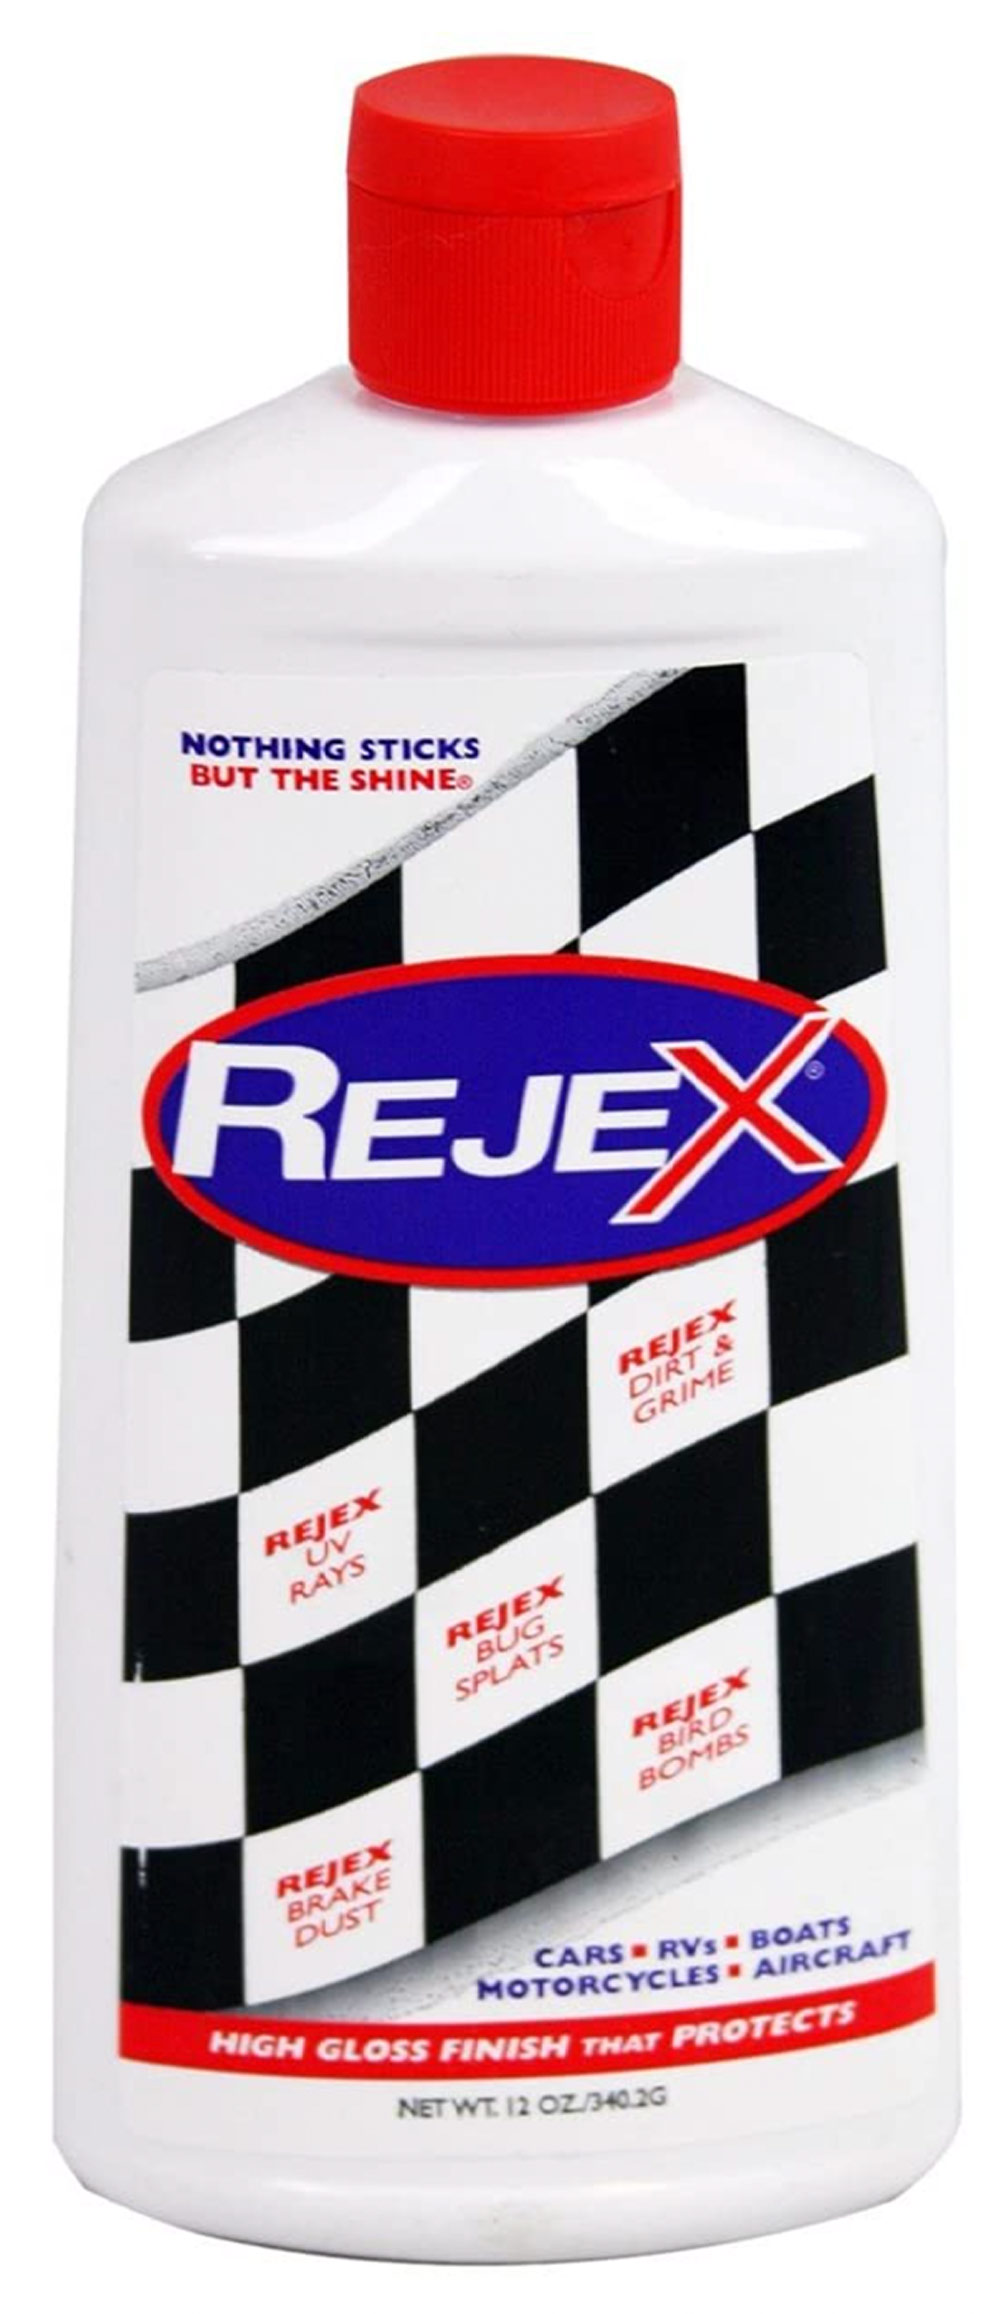
For most of us, a simple one step sealant with a mild polish is all that’s really needed. Paint protection (some call this “step waxing” or sealing) is usually the final step of the process. Using a dual-action orbital buffer with the correct pad will make a huge difference in the time to complete a project like this. There is a lot of surface area involved and, depending on what type of paint protection and polishing you are trying for, it could take anywhere from a few hours to a day or more if you are working alone. Products such as Griot’s Garage Finishing Sealant (griotsgarage.com), DuraGloss 105 Total Performance Polish (duragloss.com) or Rejex (rejex.com) can be used; all are available online and in some stores. They will all do a good job and last many months.
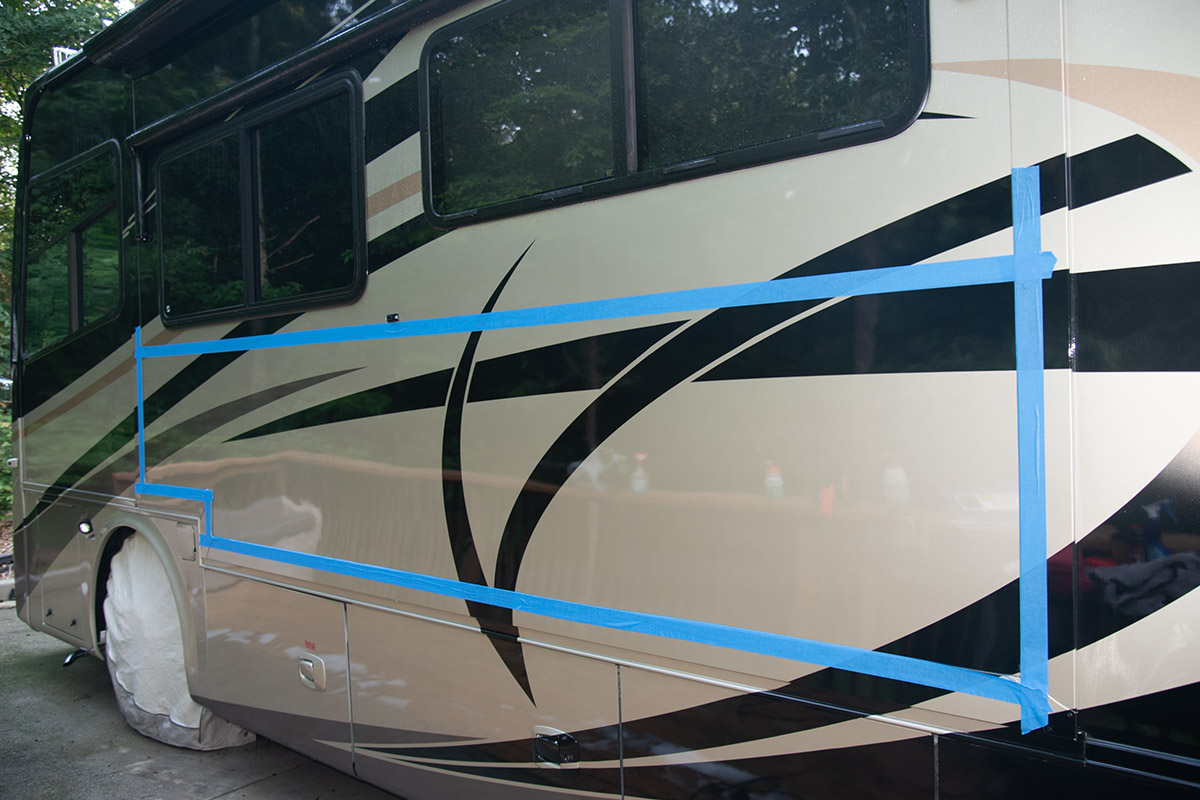
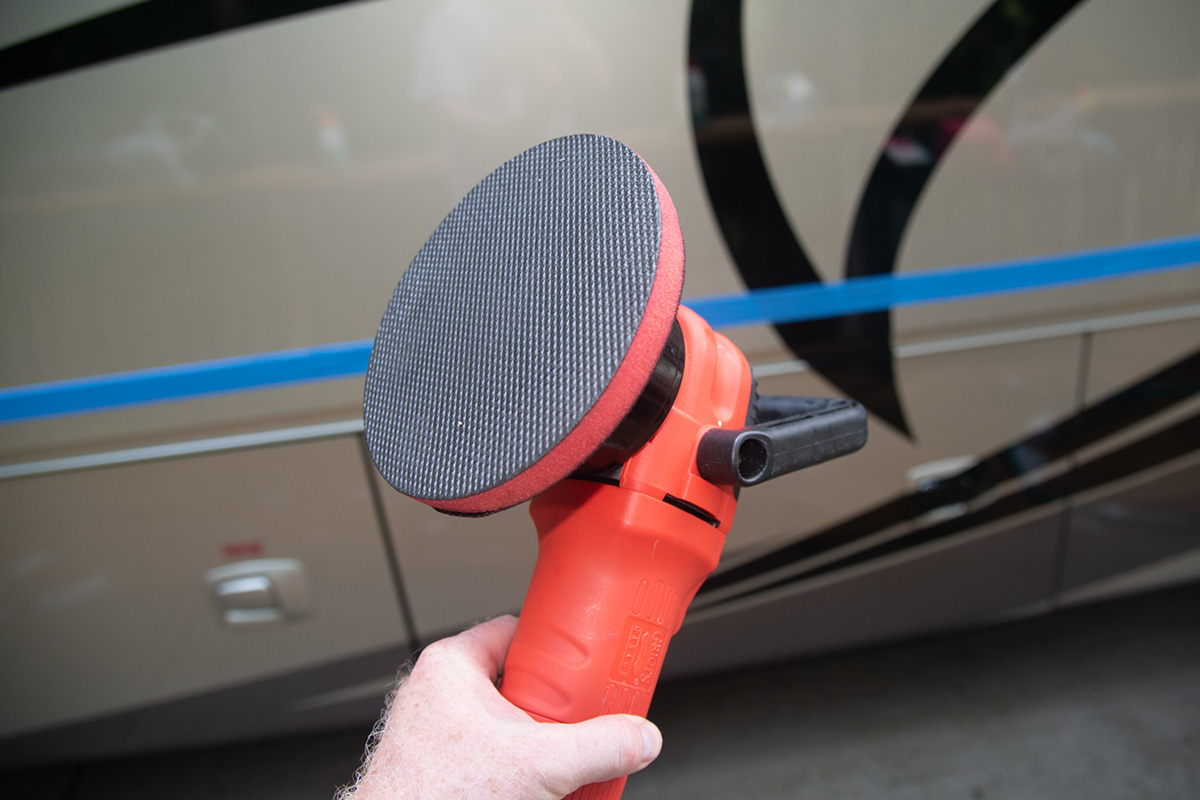
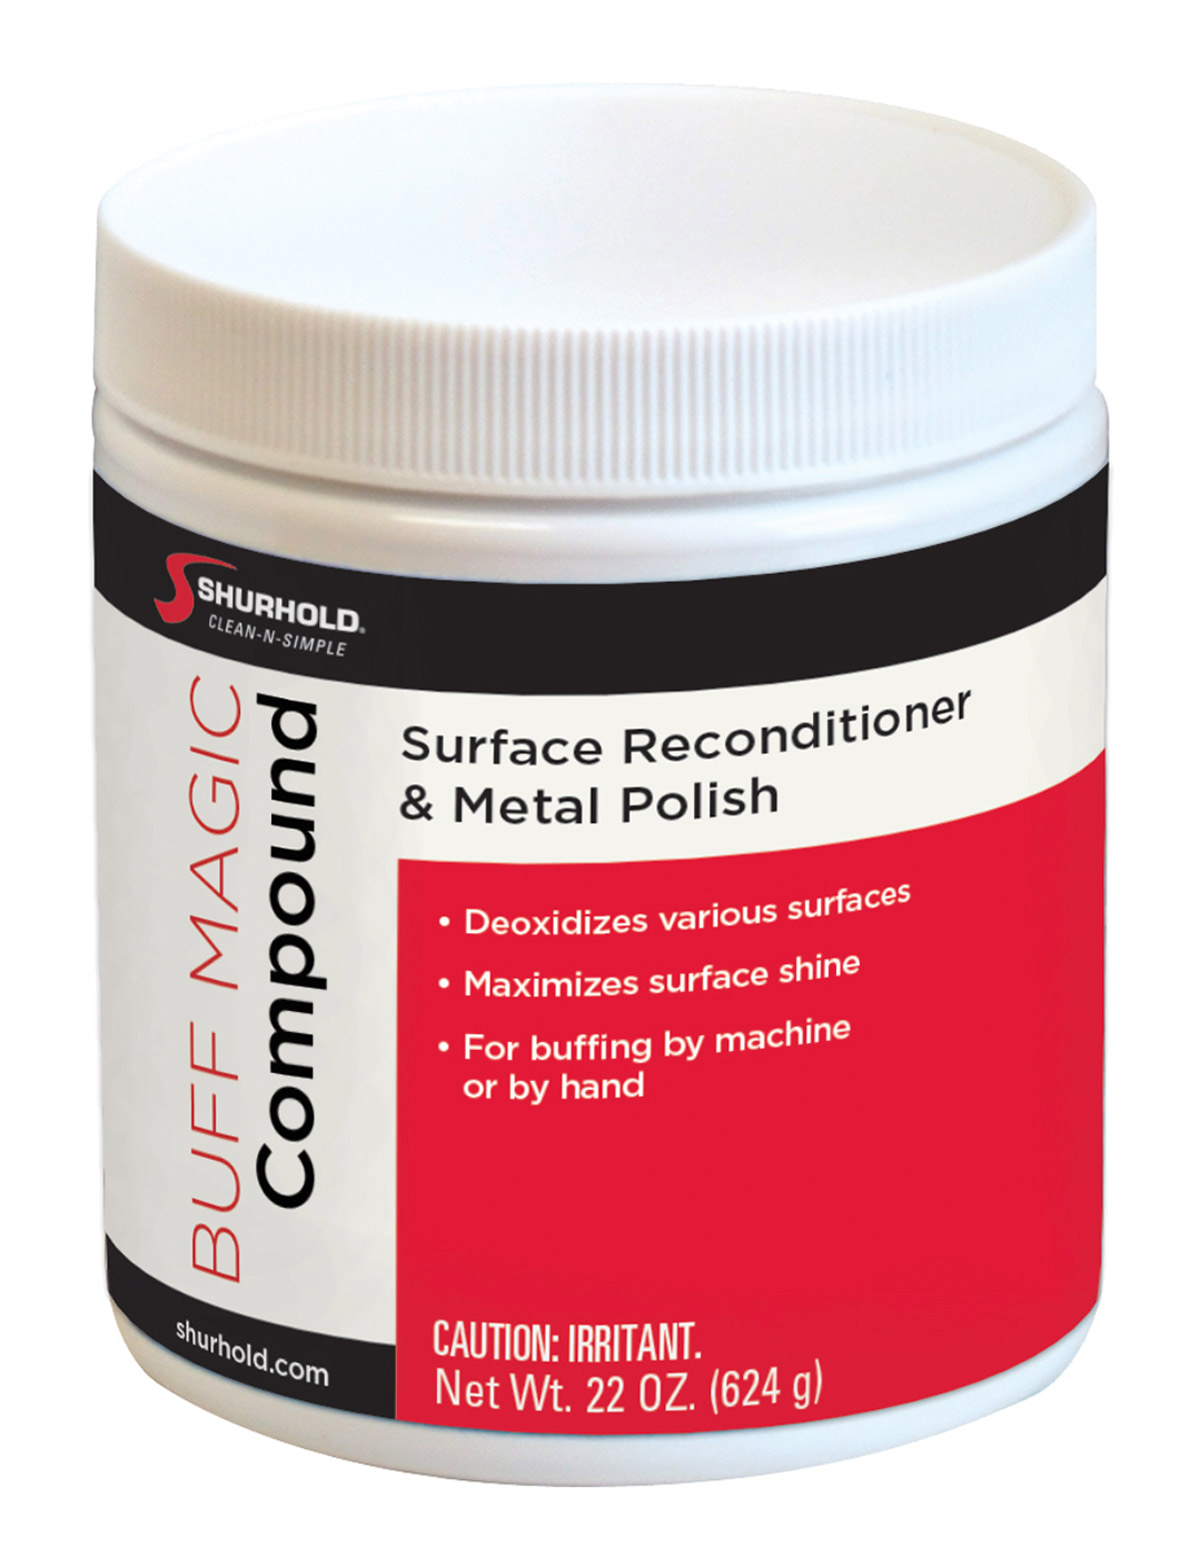
If your paint is heavily oxidized and requires additional polishing (and you are comfortable performing this operation) you can really take the paint to a new level of clarity and shine with enough time and the correct products. Using a power buffer and a cutting pad along with a good polish such as Optimum Hyper Polish (optimumcarcare.com), buff a small area at a time, then remove the polish with a clean microfiber towel. Repeat this step until the entire RV is polished. If the paint is really scratched, it may require two stages of polishing to restore the proper gloss. Some of us also have had great success with Shurhold’s Buff Magic Compound (shurhold.com), which includes abrasive compounds that remove stains and oxidation. The abrasives break down and become ever finer as the product is used completely; excess material is then removed with a clean microfiber towel. It can be used on metal as well as fiberglass, gelcoat and Plexiglass.
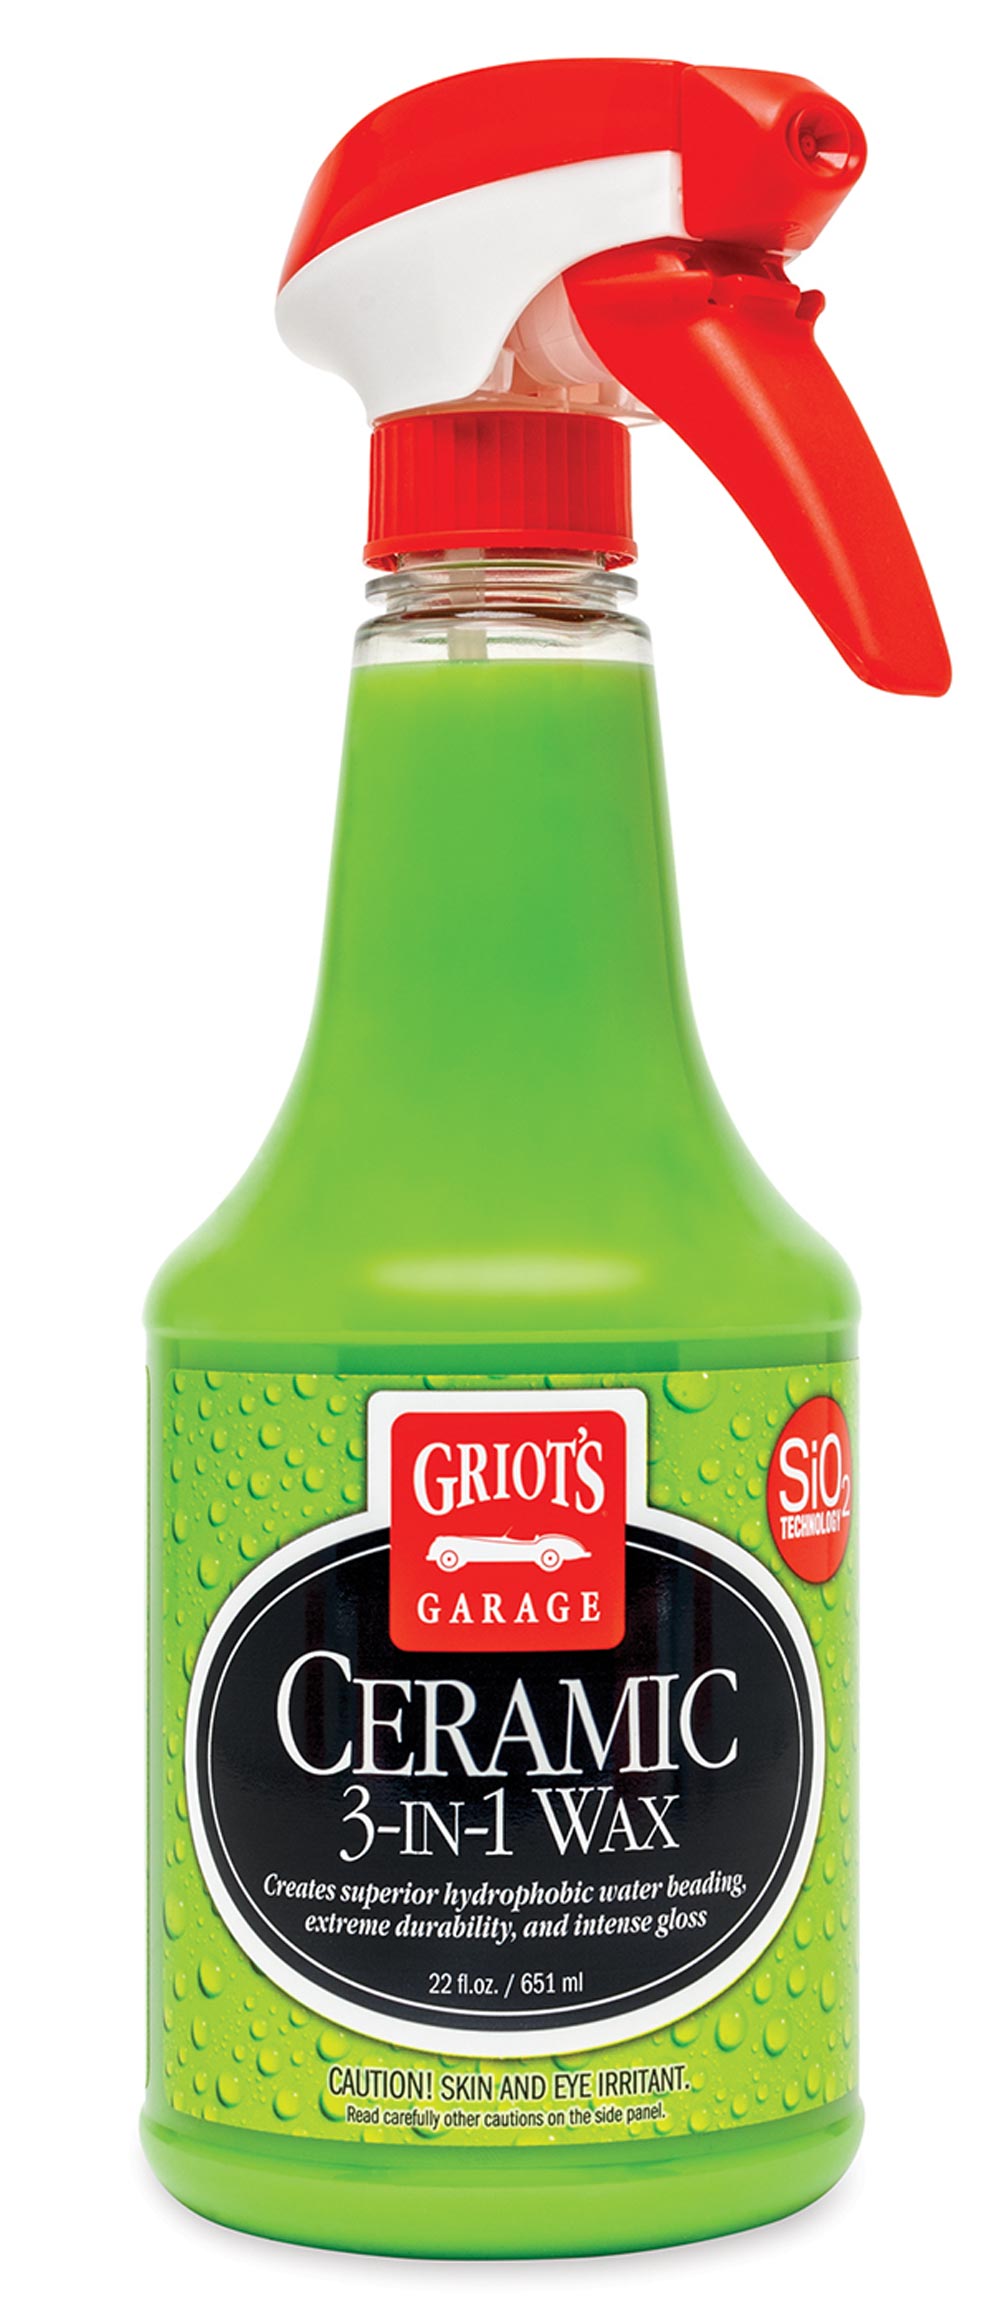
For the best finish, however, you may want to opt for a ceramic coating — which is covered in this week’s accompanying tip from RVExpert.

Already a Subscriber? Click here for Access to the Full Issues.