Tower of Power
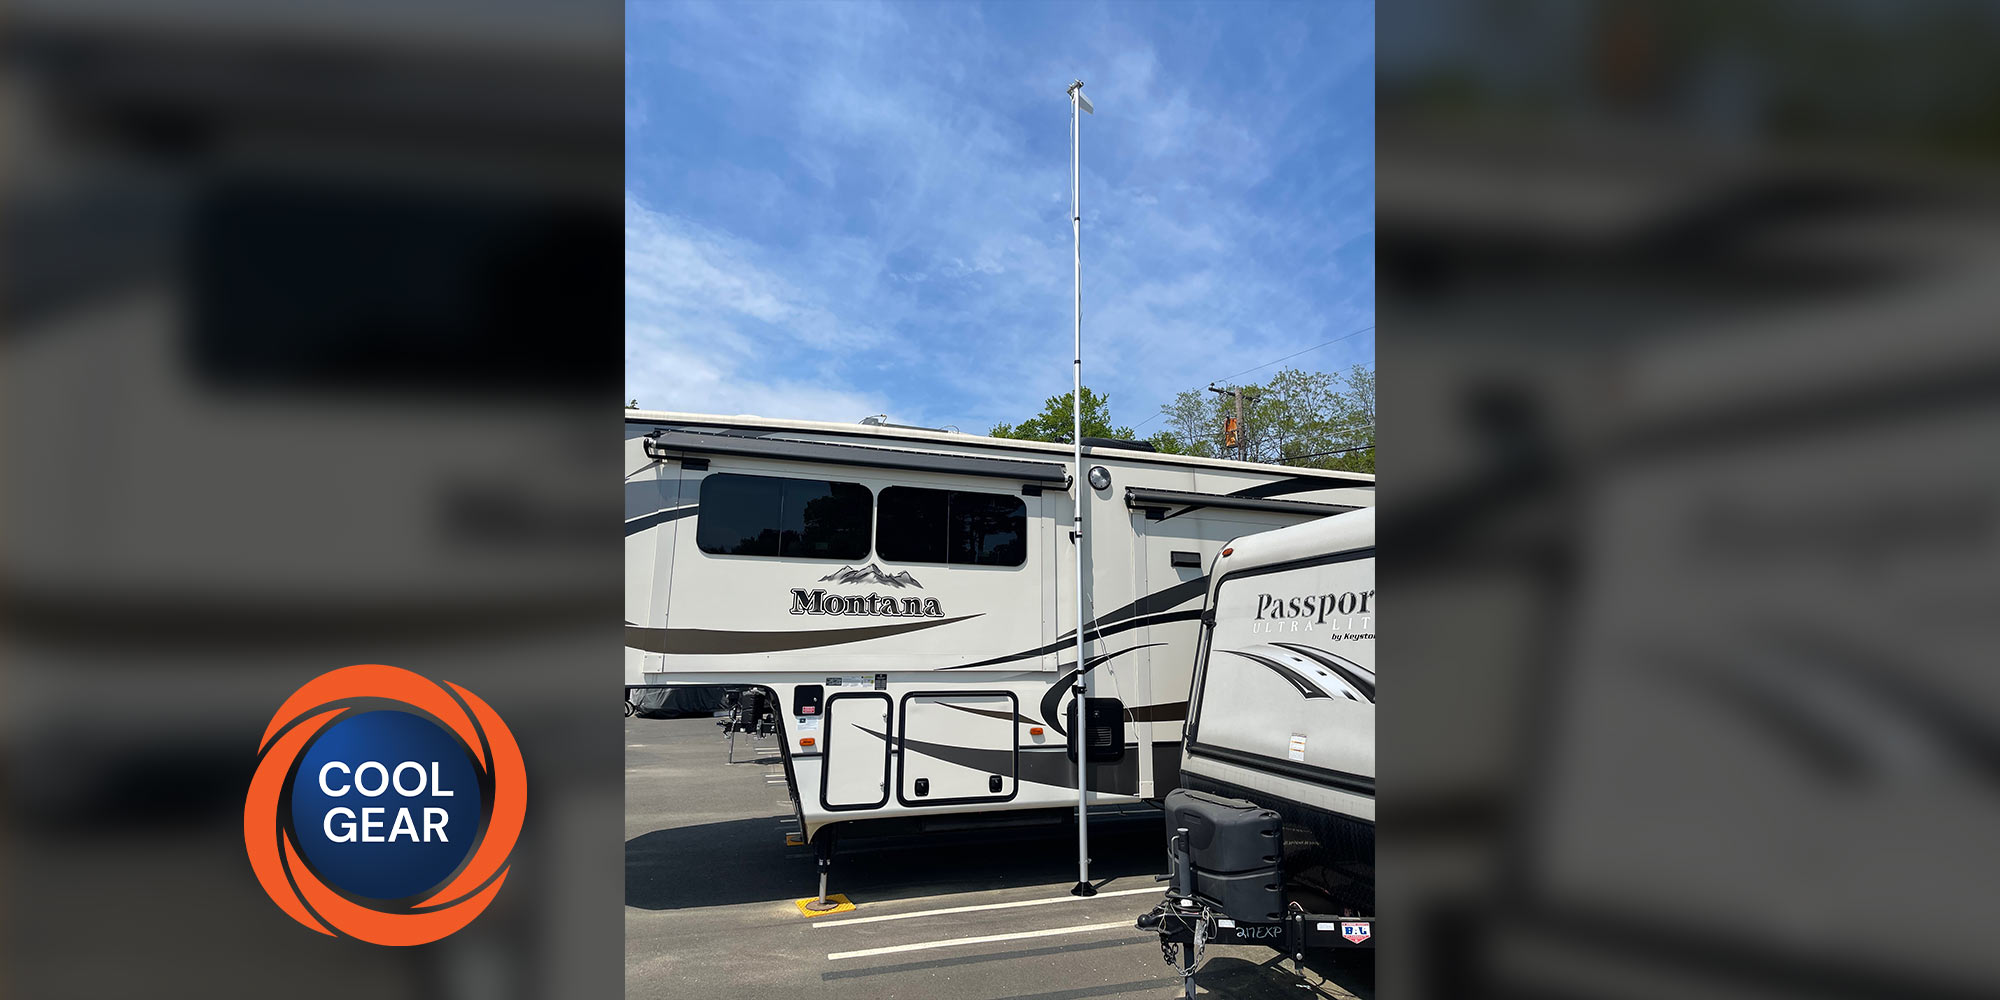
weBoost’s redesigned Destination RV cellular booster brings more power, 5G to parked RVs
It’s amazing how far cellular data and communications have come over the last decade. So much of the continent is peppered with cell sites, there are fewer places where cellular connectivity can’t be found than where they can be. However, just because your device shows there’s service available doesn’t mean it’s usable service. For those of us who work on the road, a solid digital connection is truly essential. To help with that, Wilson Electronic’s weBoost cellular repeaters for vehicles and RVs should be considered essential gear.
To be fair, cellular repeaters are not a panacea for all connectivity problems. Having installed and tested many of these units over the years, we have found that there are times when the improvement is minimal — or even times when the booster is actually detrimental to cellular operation. Knowing when to use a booster is just as important as determining what system to select.
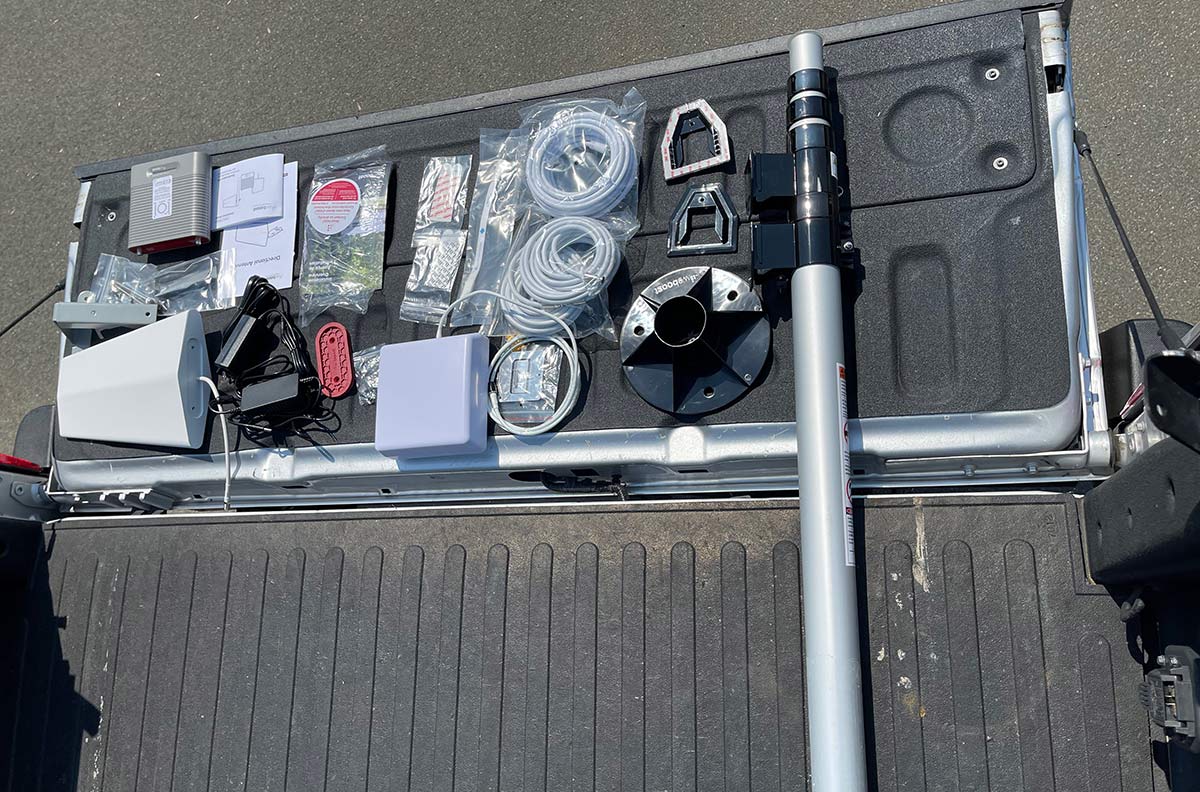
weBoost’s Destination RV booster system brings some notable improvements to the connected traveler. The newest system from Wilson Electronics offers 5G capability and a maximum gain of 65dB in comparison to the 50dB of the company’s Connect RV 65 system.
Unlike the weBoost vehicle-mounted units, the Destination RV and its predecessor, the Connect RV 65, utilize a 25-foot tower that is clipped to the side of the RV to hold and aim a directional antenna that is pointed toward the closest tower for your provider. Finding that tower can be done manually, turning the antenna until it works best, or you can download a smart-device app to help locate towers from all providers. One such app we found for Apple iOS is Find Tower.
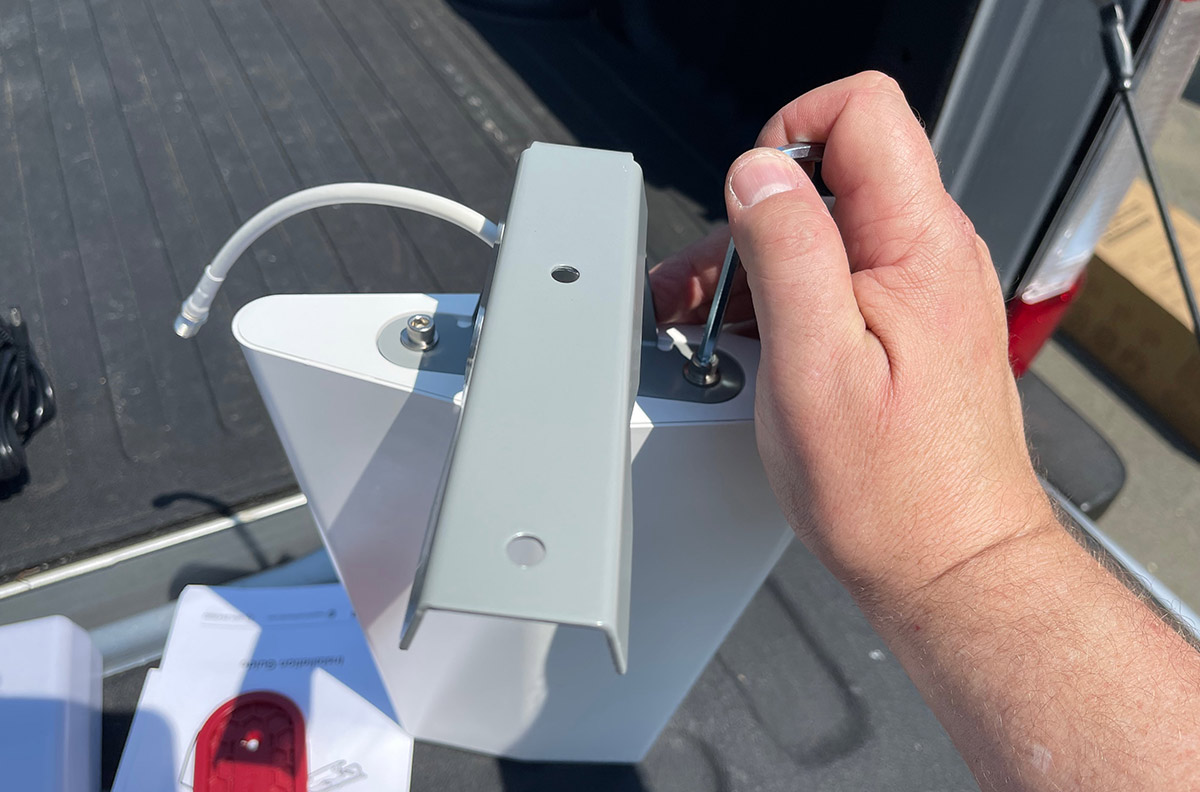
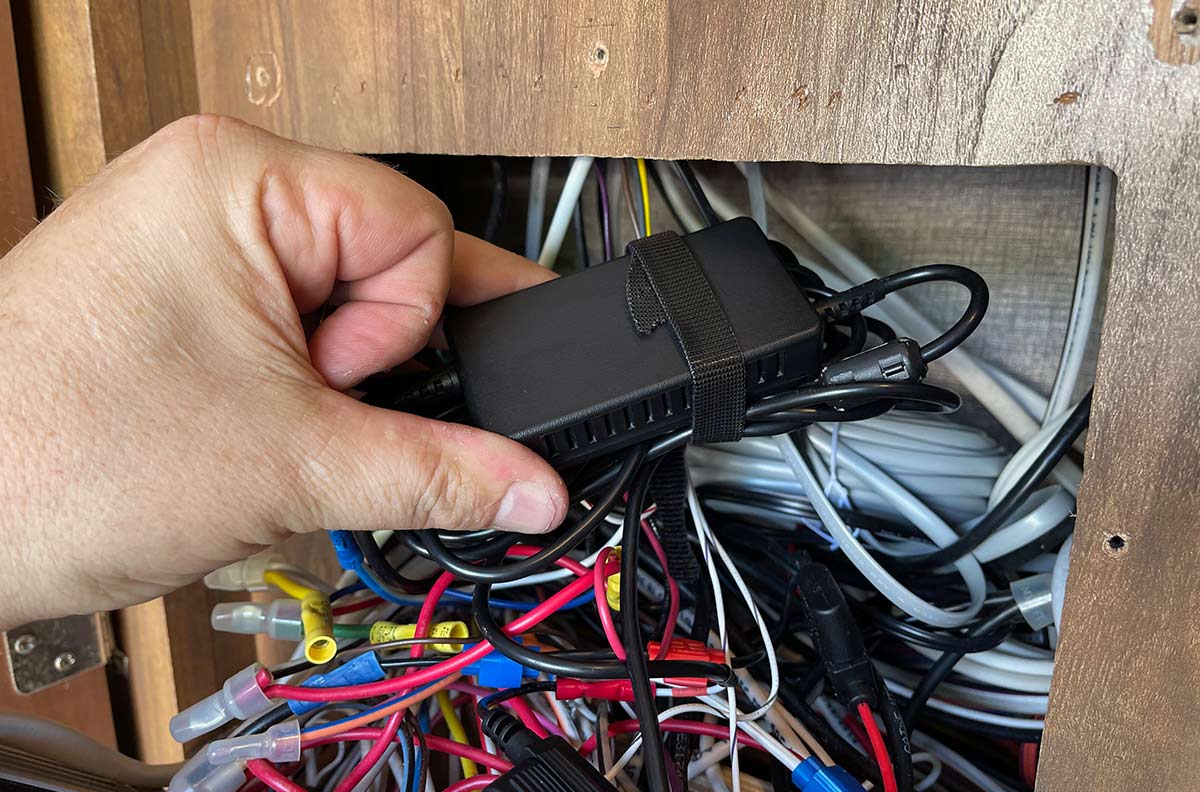
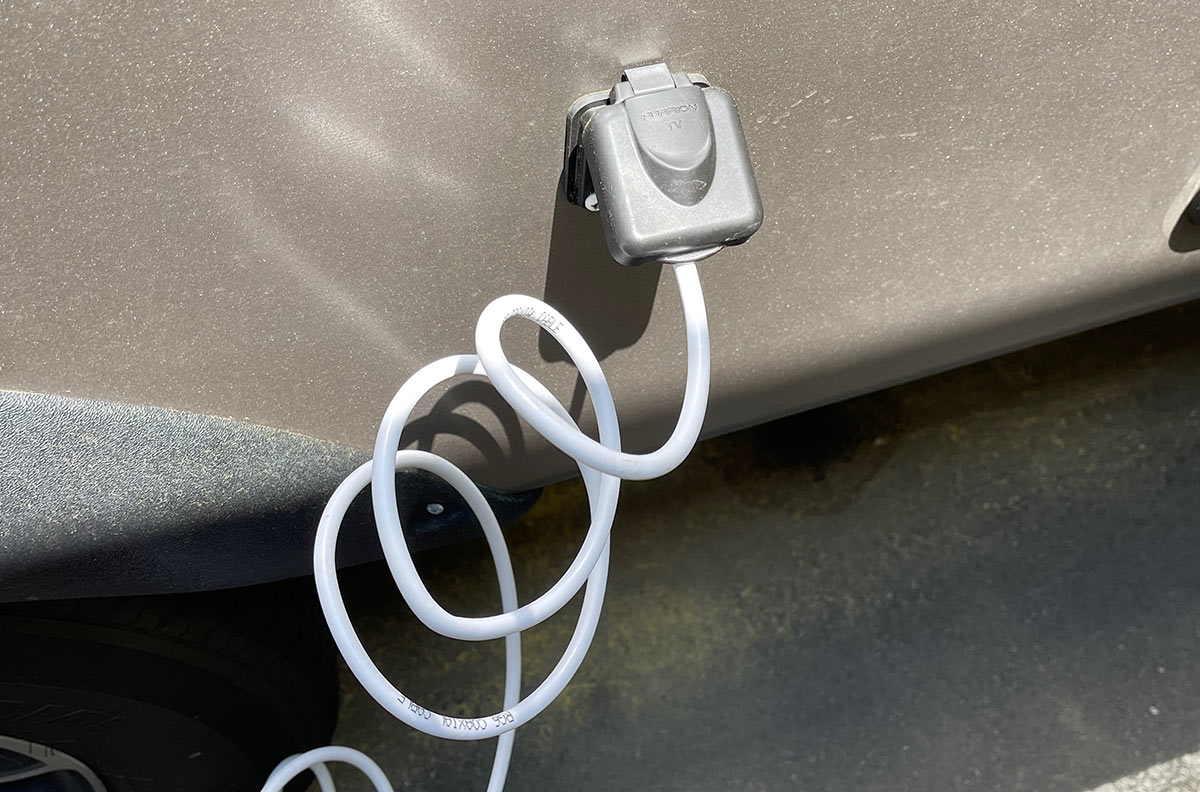
During installation of the system on a Montana fifth wheel, we realized owners should consider permanently installing the system, using a CATV input jack on the RV for the cable connection. This is a much better solution than feeding the cable through a window or slide-out seal — it will make set up much easier and quicker. Also, be sure to follow the directions for antenna separation carefully. Know, too, that when collapsed, the antenna tower — which is a telescoping mast — fits neatly in a pass-through compartment, but won’t fit in a standard storage compartment.
We found the Destination RV system to greatly improve our communications while at the Elkhart Campground in Elkhart, Indiana. Surprisingly, the closest Verizon tower is across the Indiana Toll Road, and the signal is pretty weak inside the RV. With the weBoost Destination RV installed and operating, the signal and throughput increased nicely. The only problem we’ve experienced is the plastic cover would easily fall off the antenna, a situation which was easily fixed with some glue.
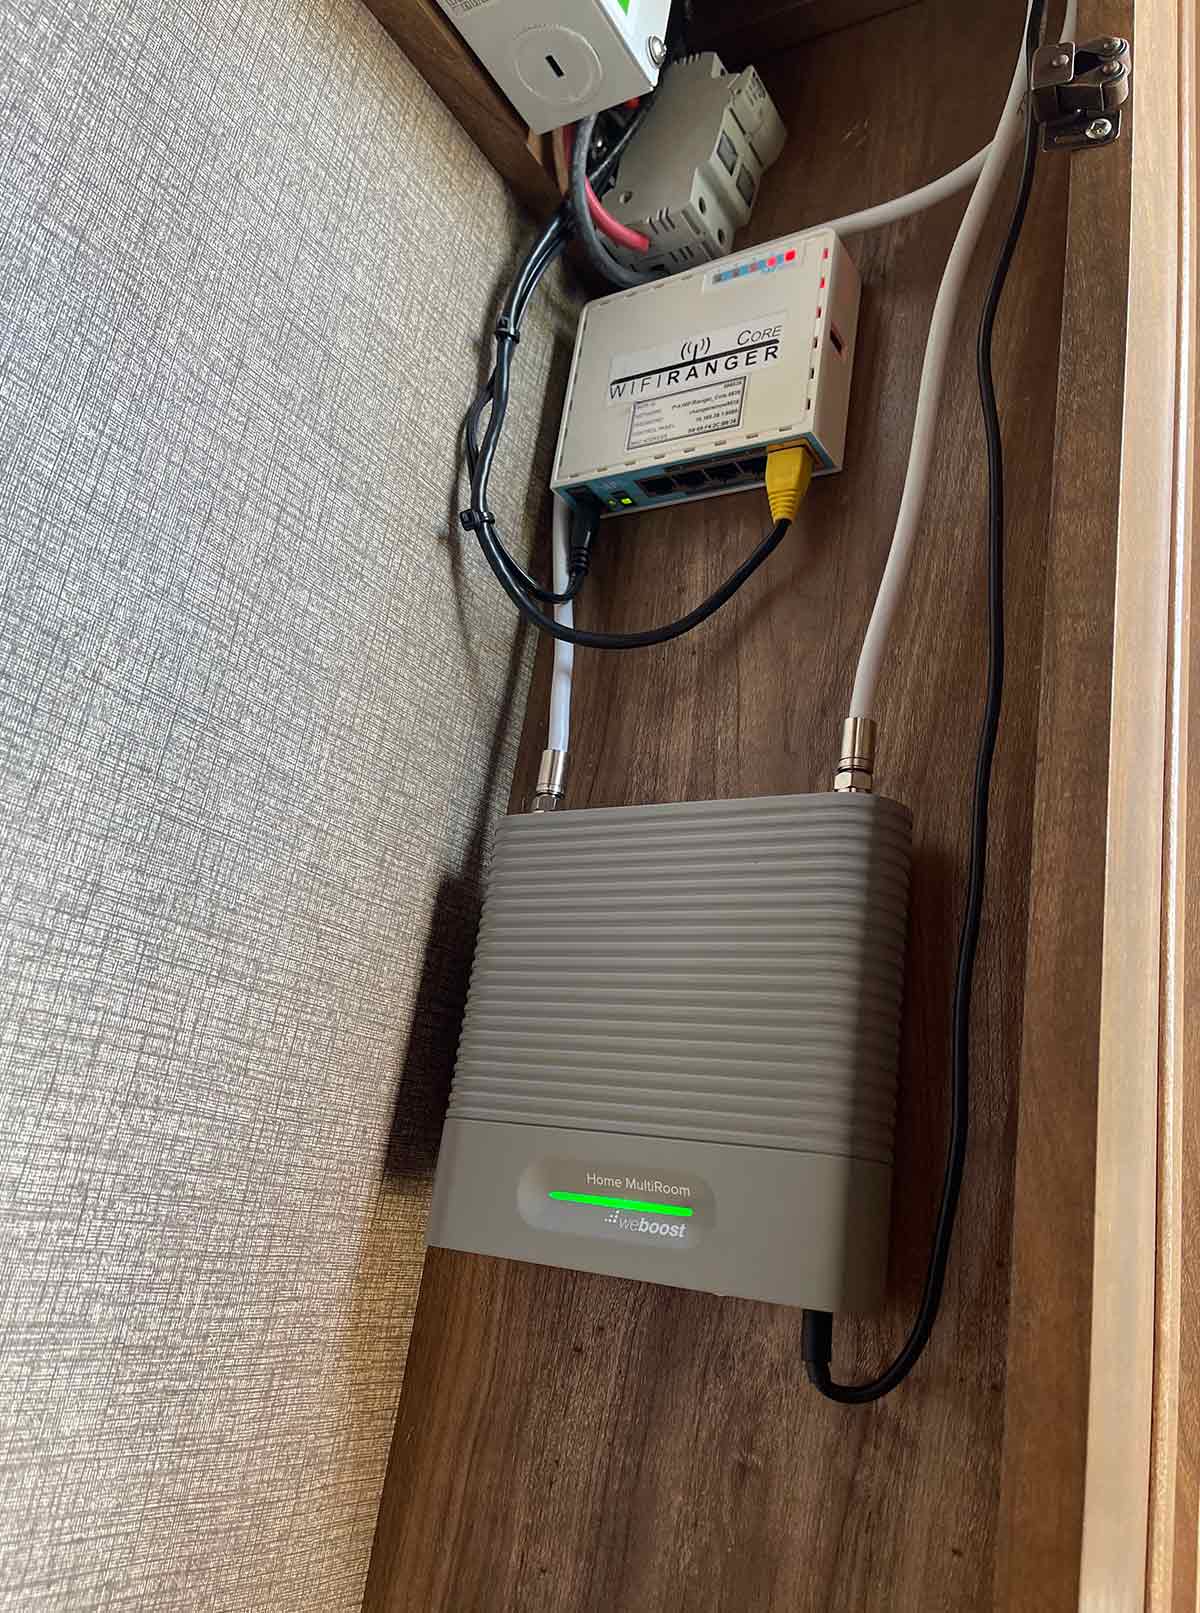
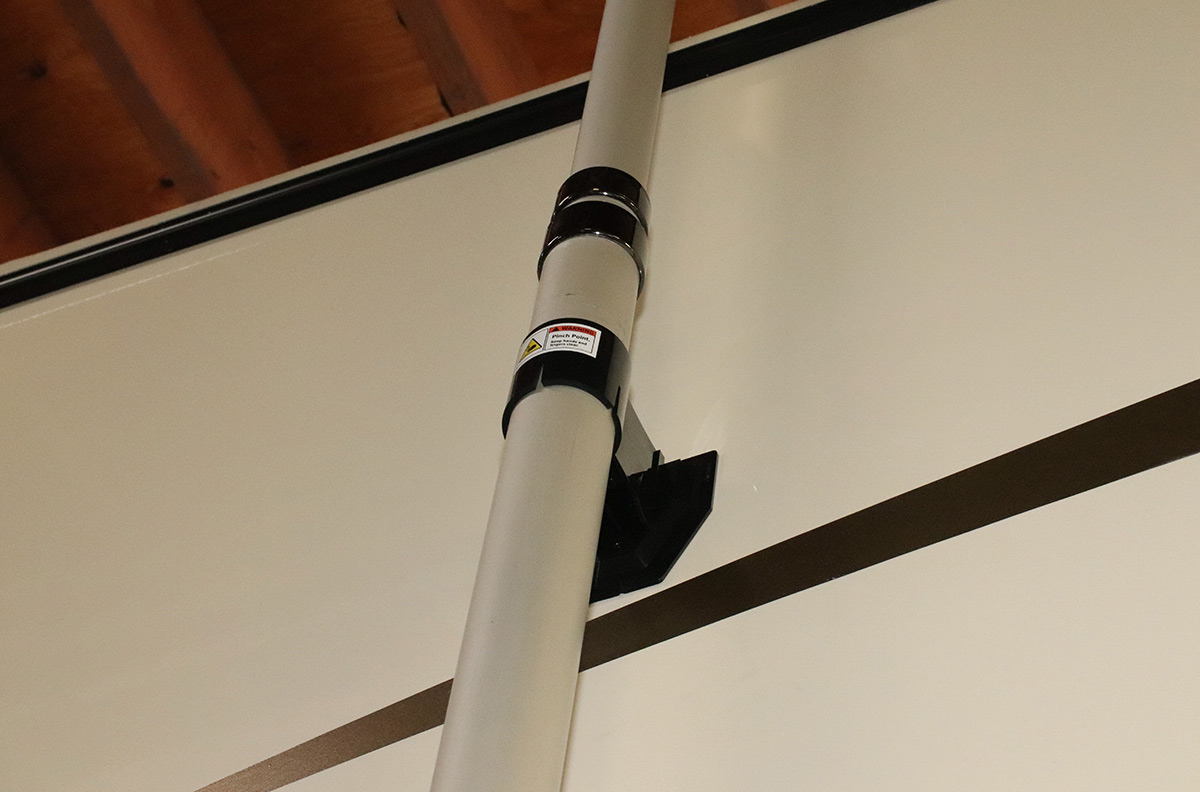
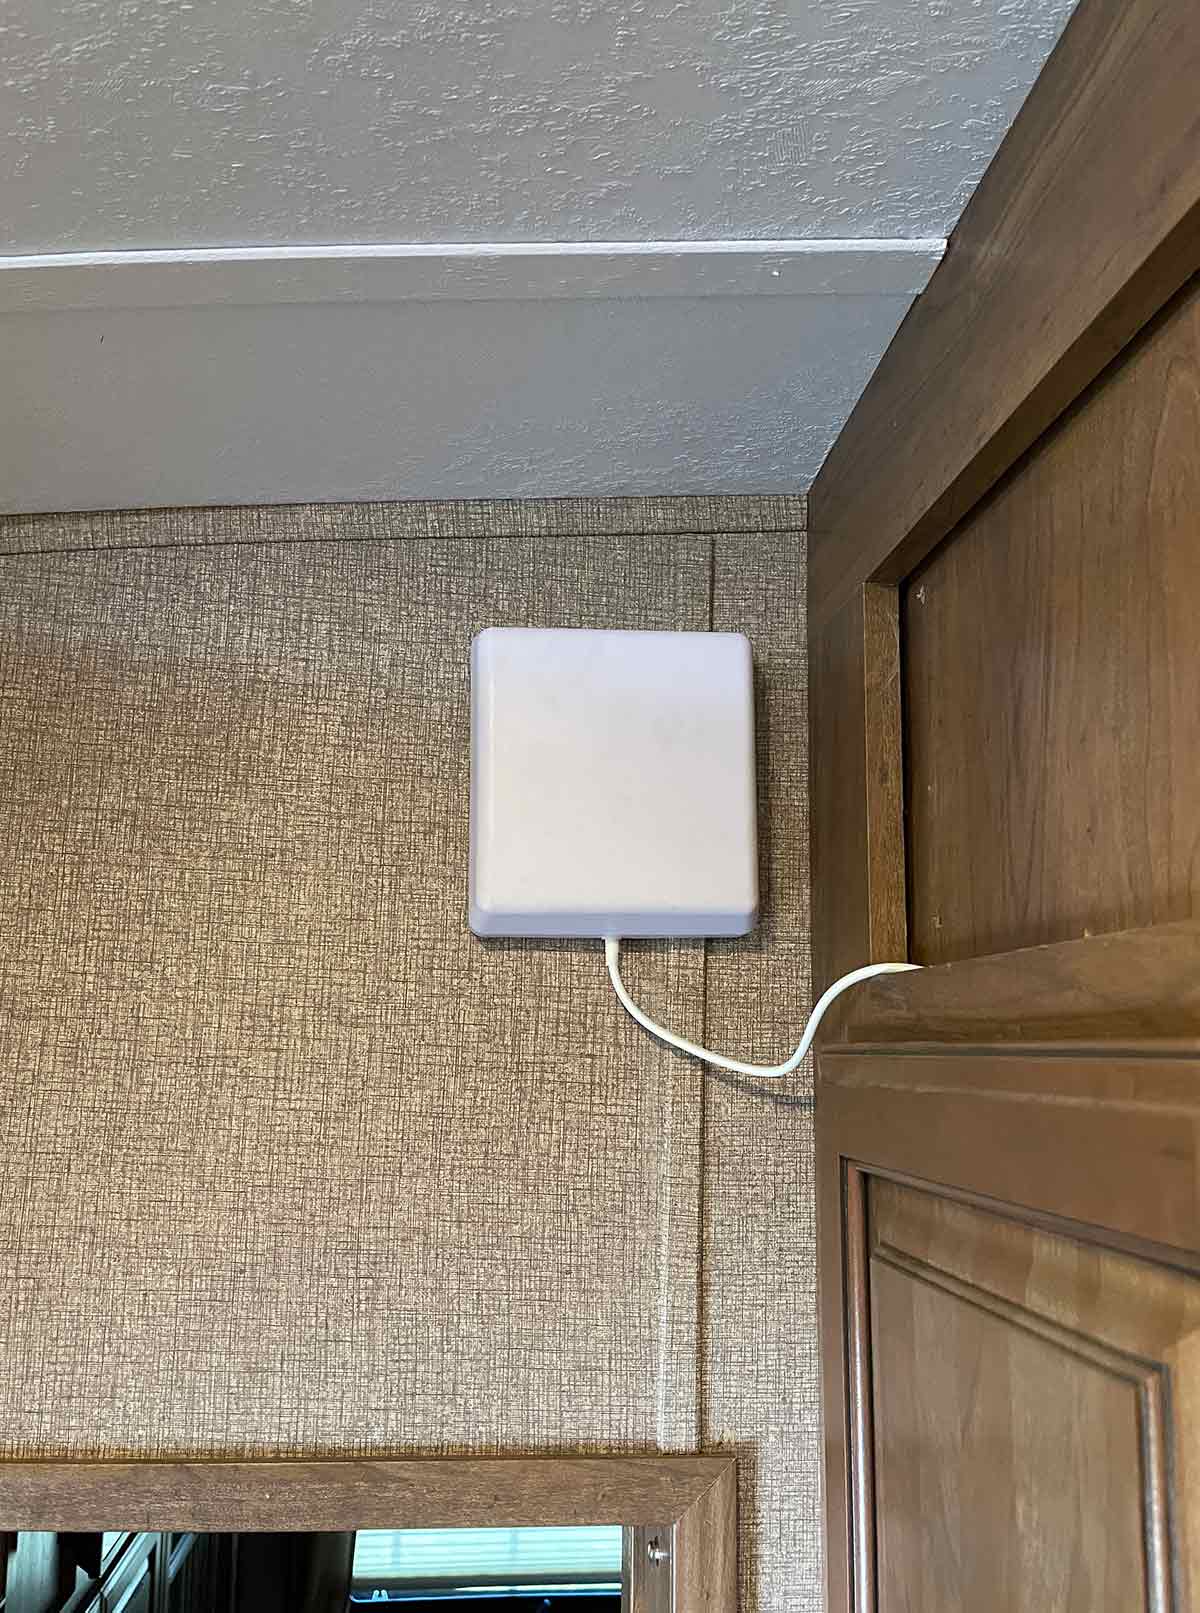
There’s no question that having to set up and aim the antenna requires extra time and effort versus the vehicle-based models, but the increase in reception is worth it — especially if you’re working and parked for a while. The initial installation takes a few hours when making it more permanent, (depending on the RV), but setup at the campsite takes maybe 10 minutes. As with all Wi-Fi routers and access points, it is recommended to shut the unit off before disconnecting the antenna or traveling.
Already a Subscriber? Click here for Access to the Full Issues.

