Water Slide
Replacing the bulb seal around slideouts will keep moisture and debris out of the interior — and the job is easier than you think
Slideout room extensions are marvelous additions to any RV. They also can be somewhat problematic if not maintained properly. The sheer nature of slideout design makes them susceptible to moisture intrusion, which can lead to sidewall and floor damage.
A common solution is to attach a wiper seal that also acts like a squeegee when the slideout is extended or retracted, along with a set of bulb seals that close off any gaps when the slideout flange is tucked up against the sidewall in either the extended or retracted positions. The combination usually works well, but intense sun exposure will eventually damage the rubber compound of the seals, leading to tearing and general disintegration.
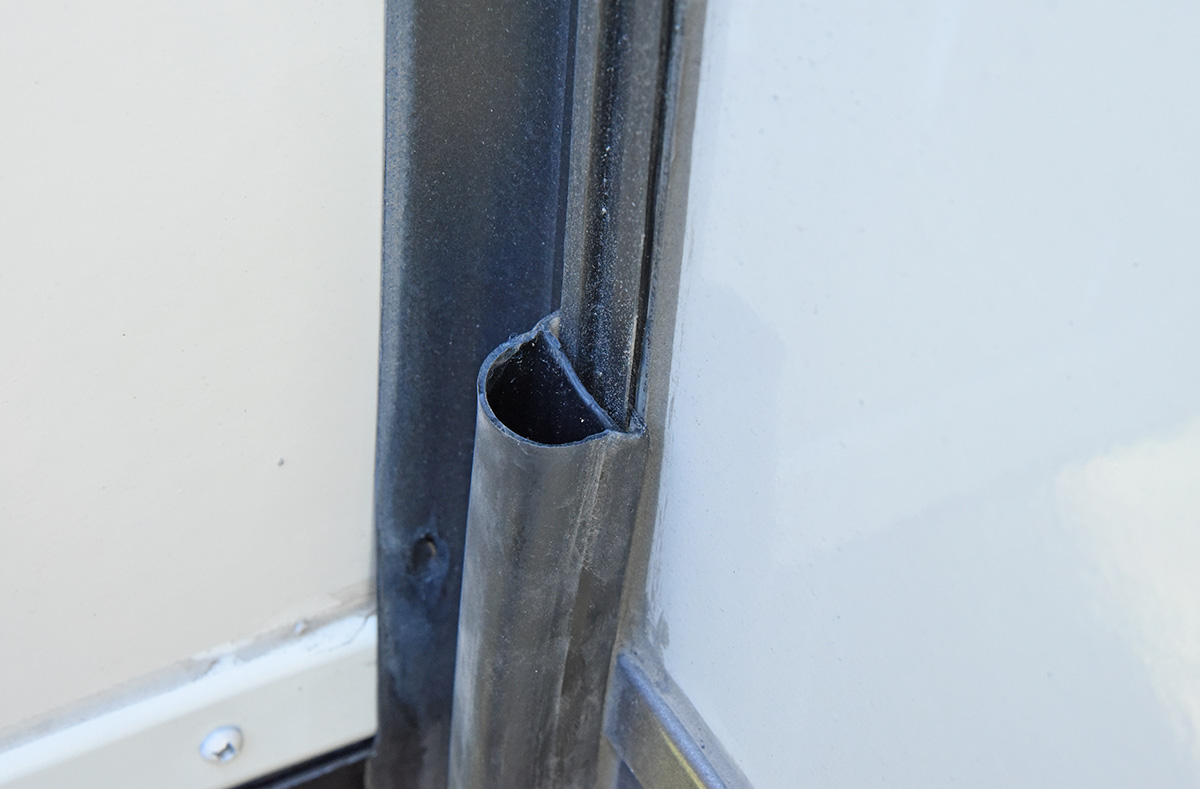
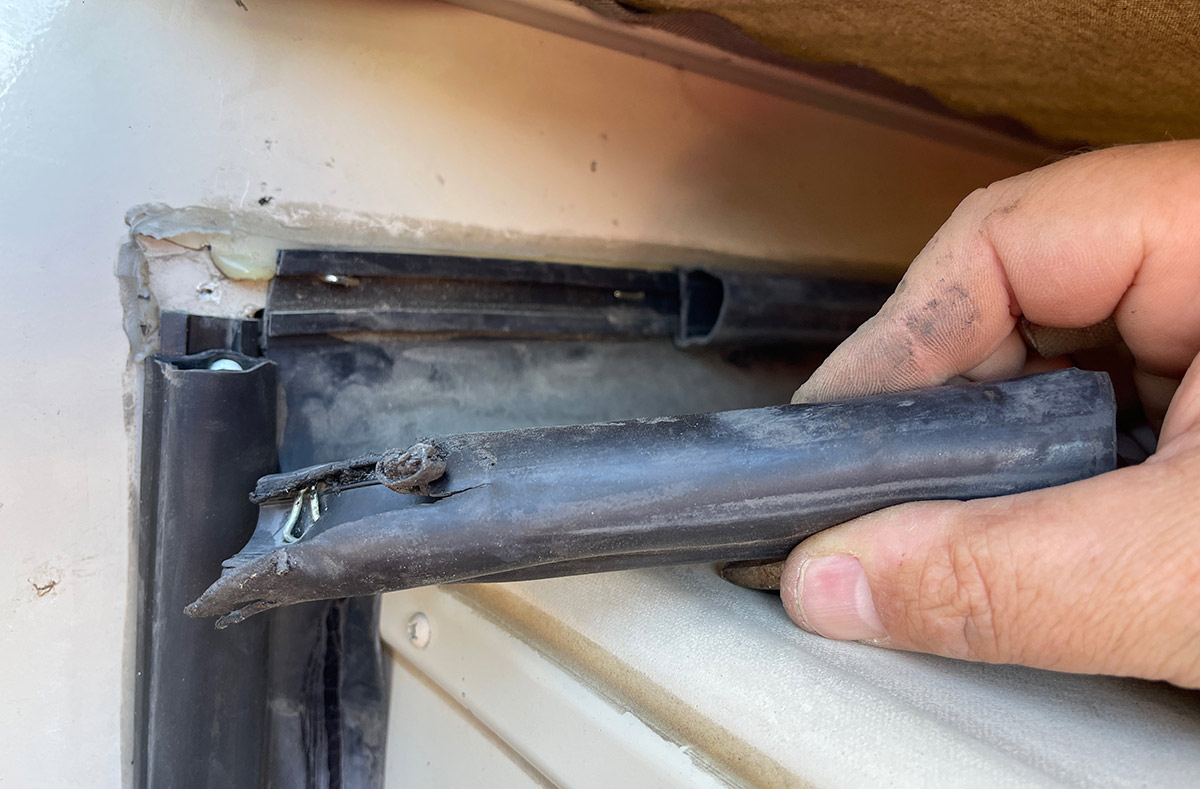
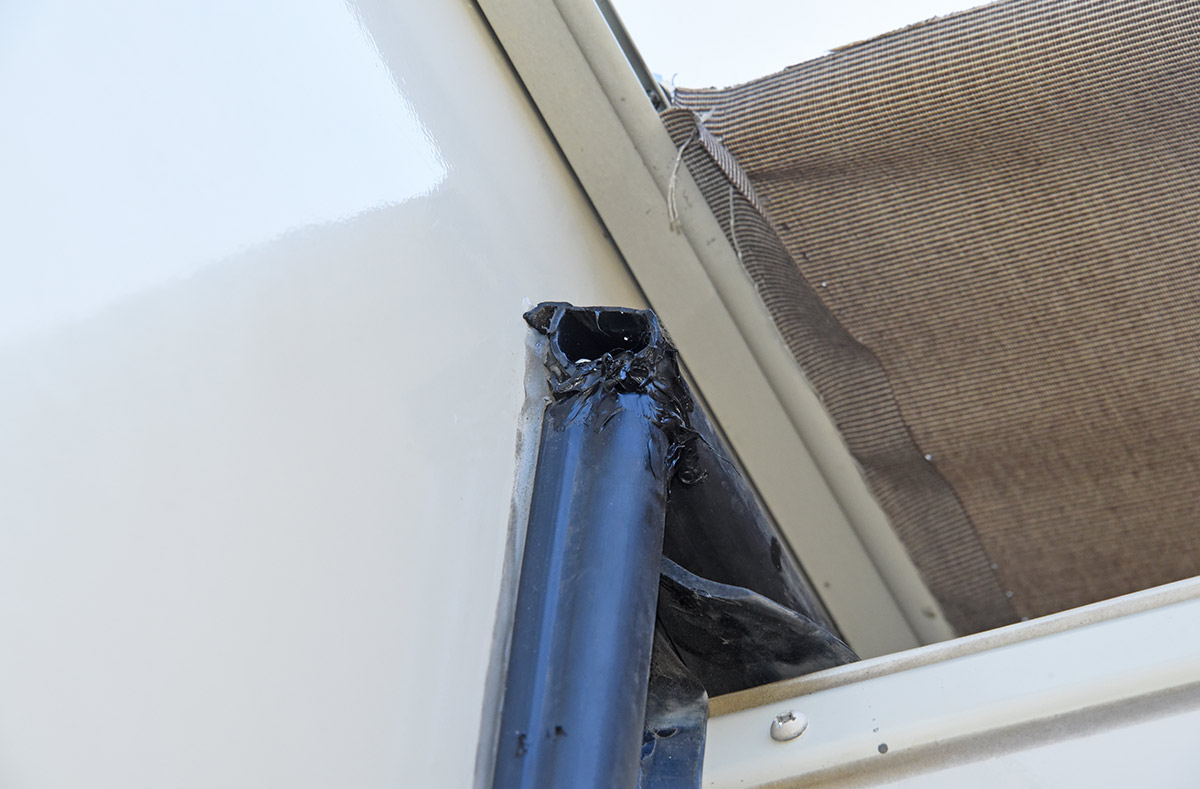
Once the deterioration begins, the bulb seal, in particular, will shred and begin peeling away from the sidewall. The fix is not difficult, but you have to determine the type of seals that are used for your RV. For this project, bulb seal that’s molded to a H-configured mounting track was required.
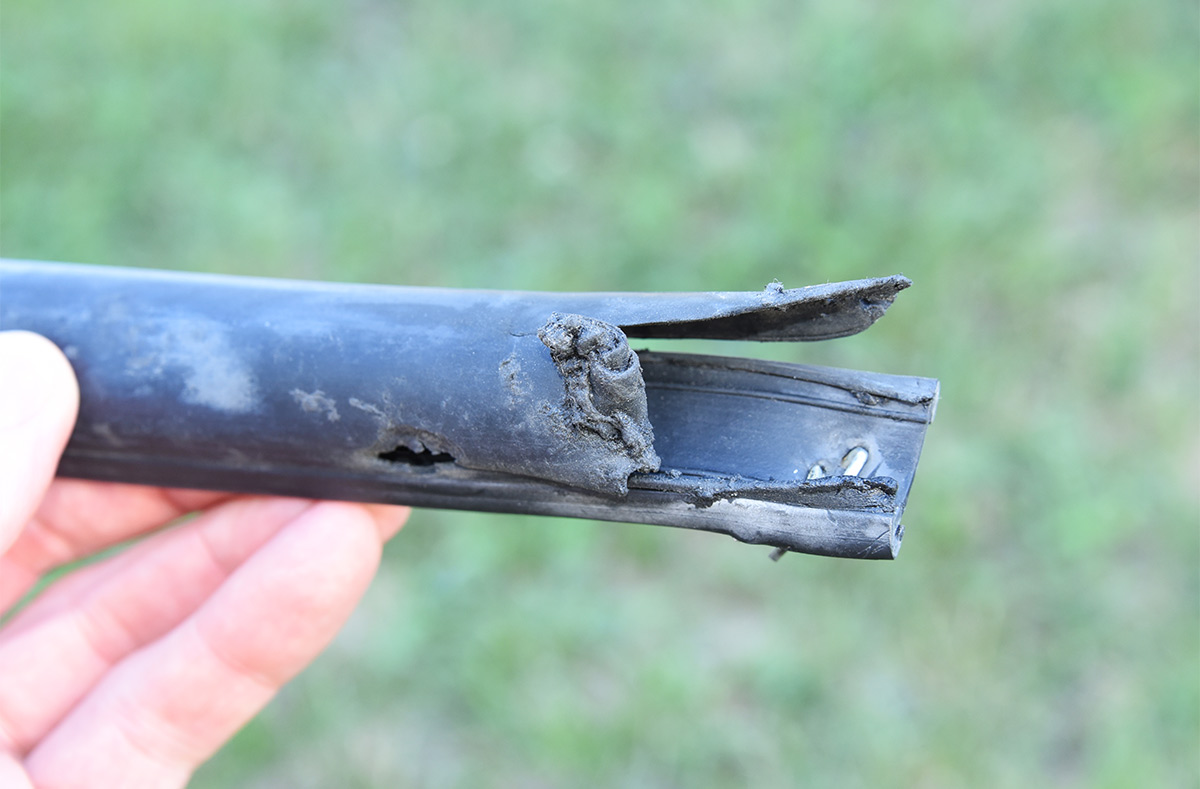
It was easy to identify the areas that were damaged by sun exposure, which typically start with a small hole or crack and then spreads throughout the length of the bulb seal. Rather than attempt to patch up only the affected areas, we decided it was best to replace the majority of the bulb seal at the same time. The only areas left alone were under two of the three slideout toppers that shade the rubber from the sun. The ends on the third slide were exposed to the intense sun for a long period of time and deteriorated, so rather than remove the topper, we cut off a portion of the damaged seal and added a short length of new material, gluing the two together with high-quality, black RTV silicone. This is not the preferred repair procedure, but it works well if you’re on the road (as we were) and don’t have a second person to help remove the slideout topper.
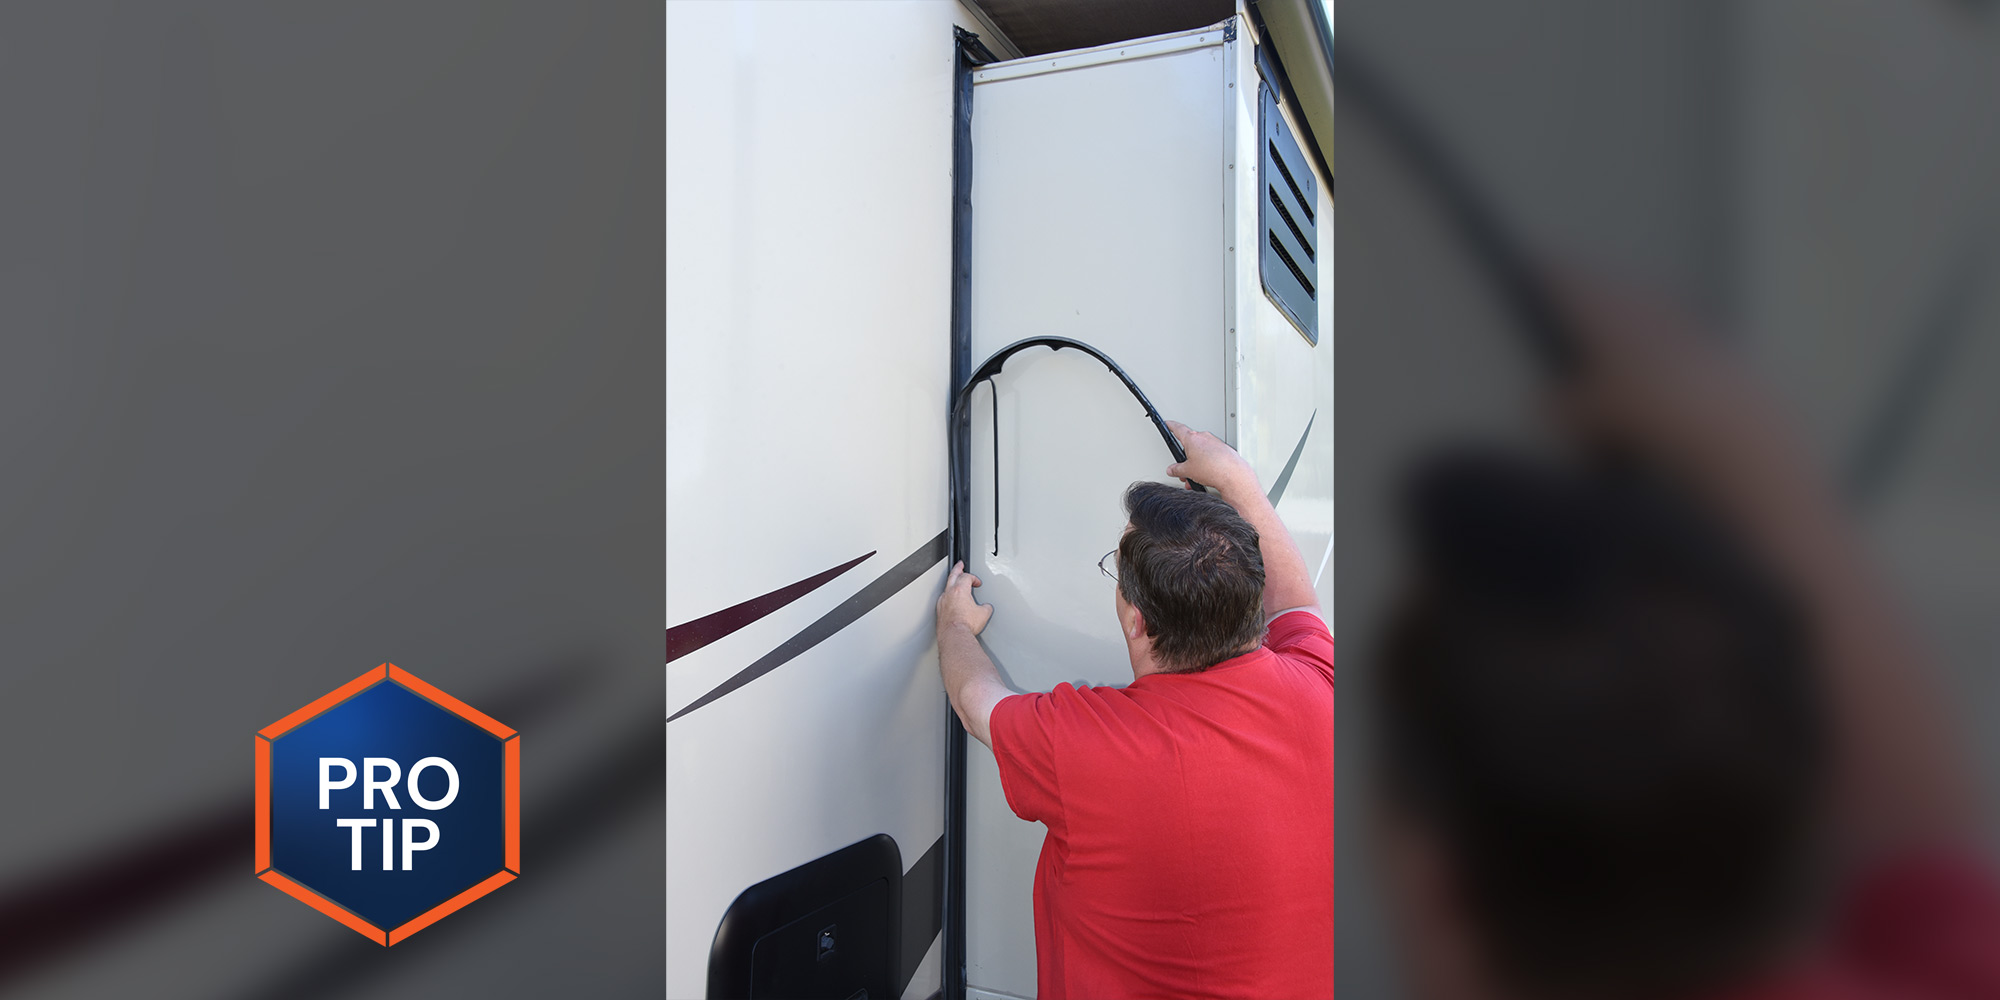
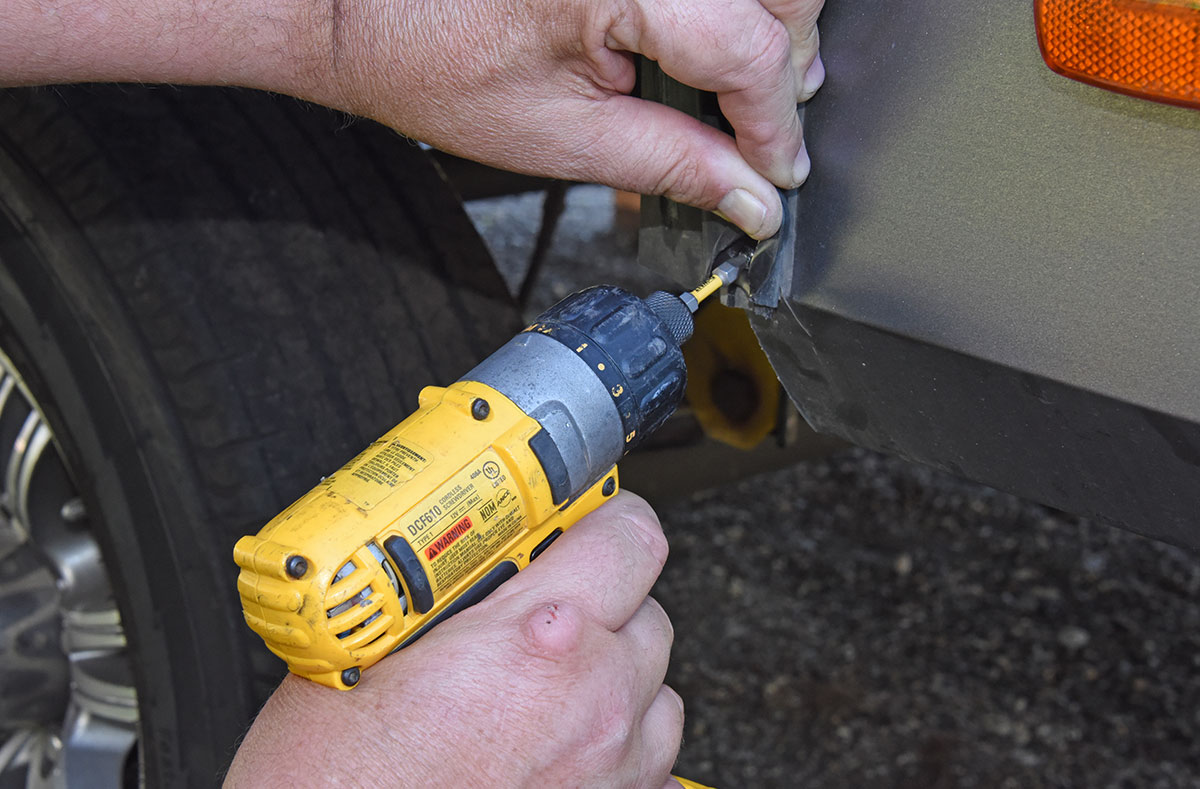
The general process begins by freeing the ends of the damaged bulb seal, which can be held in place with a screw, staple or sealant. Once free, the bulb seal is simply pulled away from the mating H-track or slid off from below or the side, depending on vertical or horizonal positioning. It only takes a few minutes for this part of the project. New material was attached to the tracks on the sidewall, and the ends were secured with the existing screw in the same hole. In about an hour, the bulb seal was replaced around all three slideouts.

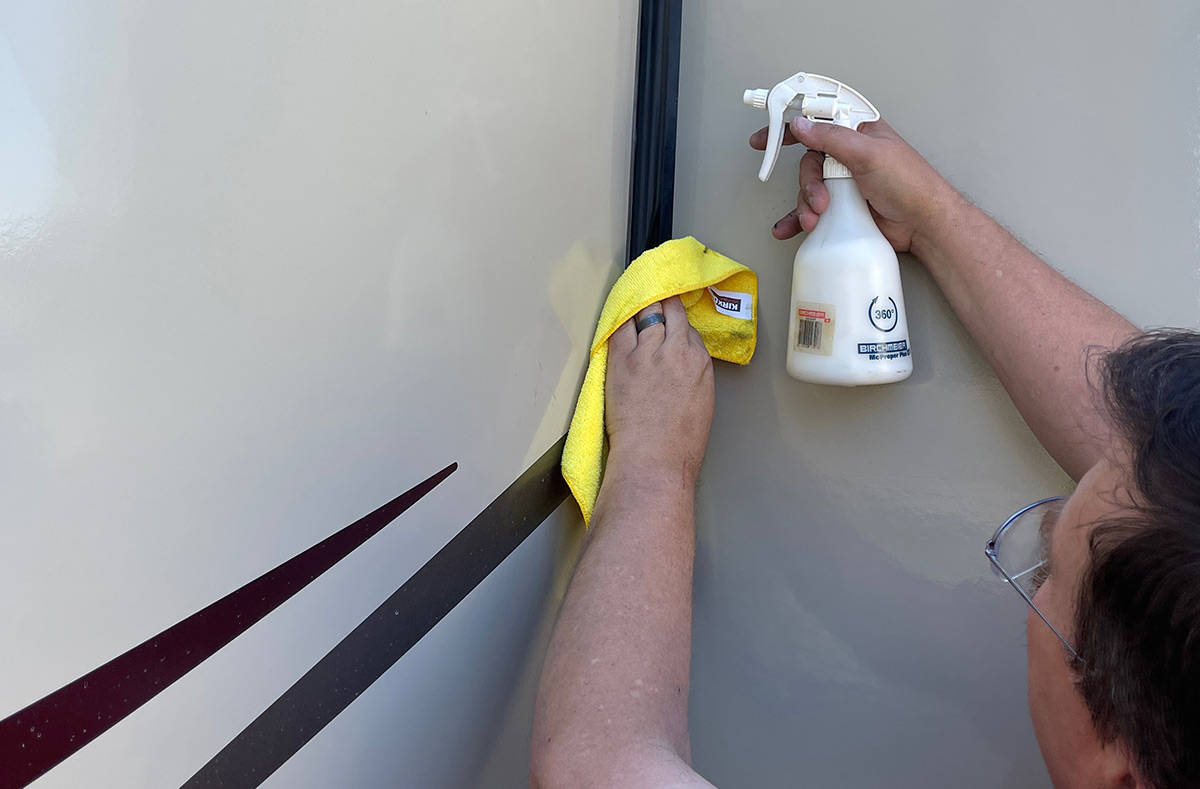
Although bulb seal is fairly resilient, longevity can be extended dramatically by following a few simple maintenance procedures. Inspect the integrity of the seal on a regular basis and keep the rubber clean using soap and water. Treating the surface with a petroleum-distillate-free protectant will shield the rubber from harsh UV exposure. Aerospace 303 Protectant is an excellent product for this purpose and it’s readily available at RV parts stores and online. Applying 303 at least twice a year will greatly extend the life of the bulb seal — and restore the luster of the rubber. Don’t forget to treat the wiper seal at the same time.
Many RVers love to park under trees, but forget to remove the fallen leaves and twigs before retracting the slides. Failing to do so can lead to bulb/wiper seal damage. Slideout toppers help, but they too must be brushed off before rolling up, especially if the fabric is rolled into a protective box.

Already a Subscriber? Click here for Access to the Full Issues.