A Tight Connection - RV Enthusiast Magazine

A Tight Connection

by | Aug 20, 2021 | Accessories, Appliances, Protection, RV/Motorhome

Photos by Chris Hemer
SmartPlug’s replacement for standard RV and marine shorepower cordsets and receptacles improves safety and convenience
When I was a fulltime RVer back in the early 2000’s, I remember the power in my motorhome began flashing and finally “blinked” out on a hot day while I was working on my computer and running the air-conditioner. Looking around for the issue, I glanced out a window and saw some smoke. There was no fire pit in the general vicinity so it quickly became evident that the smoke was coming from my rig or the one in the site next door.

As it turned out, the plug on the motorhome’s cordset melted and was smoking. No flames, fortunately, but the burnt and discolored plug was an uncomfortable sight. The cause of this failure, which I have seen many times as a technician and again on another personal RV, was resistive heating.

Resistive heating is a result of prolonged heavy, but within rating, amp draw on a connection where the terminals — because of design, wear, or both — fail to make a tight connection. The slight space between the terminal contacts begins to arc and creates abnormal heat. The more heat, the worse the contact gets, eventually leading to a more significant event and failure.

Moisture adds to the problem. Over time, corrosion can help amplify the terminal gap, increasing the arcing and heating. This is especially common, for example, in the connection between the RV cordset and extension cord, pigtail, or plug-in surge protector where the connection is exposed to rain. However, it can also happen to an unsealed exterior RV connection.

Marine environments are far harsher than those experienced by RVs mainly due to salt water exposure. Recreational boaters frequently had to deal with power-connection issues like those mentioned above, which led to the invention of the SmartPlug. The Seattle-based company soon realized RVers can suffer from the same dilemmas and began marketing to the RV community.

the typical pins on a twist-lock (left) versus the SmartPlug (right)
As seen in this comparison between the typical pins on a twist-lock (left) versus the SmartPlug (right), the SmartPlug establishes greater contact to maximize electrical transfer — the company claims a 20x improvement.
thermal image of a SmartPlug
This thermal image of a SmartPlug and a typical twist-lock under load is quite telling. According to Smart Plug systems, the SmartPlug protects against overheating through its sleeve design and locking system, while its weatherproof seals maintain a dry connection. There’s still a fair amount of play with a typical twist-lock connection, which can lead to arcing. Photo: Smart Plug
The SmartPlug is very different from power cords that use twist-lock connections. First is the form factor: Instead of twisting in to secure the connection and then securing a fine-threaded (and fragile) plastic ring, SmartPlug just pushes straight in and locks itself in place using spring locks on either side. This reduces the wear on the pins inside the connection, keeping the connection tight without movement. Twist-lock connections also can become loose, weakening the connection, which can be the result of a plastic ring that does not keep the whole thing together — a common issue with 30- and 50-amp connectors.

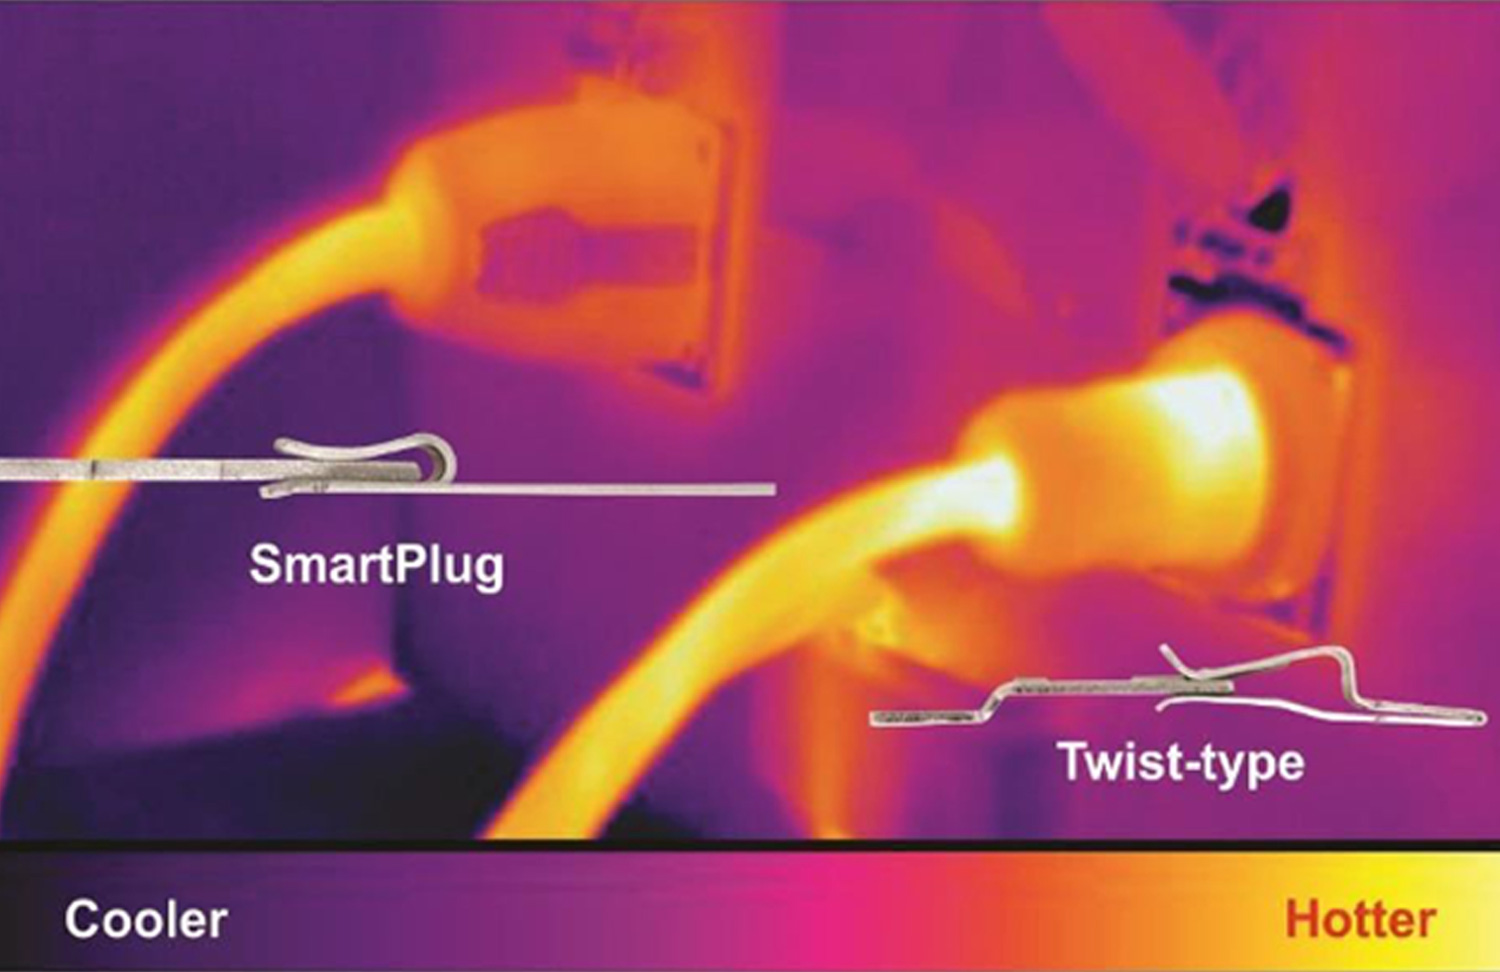
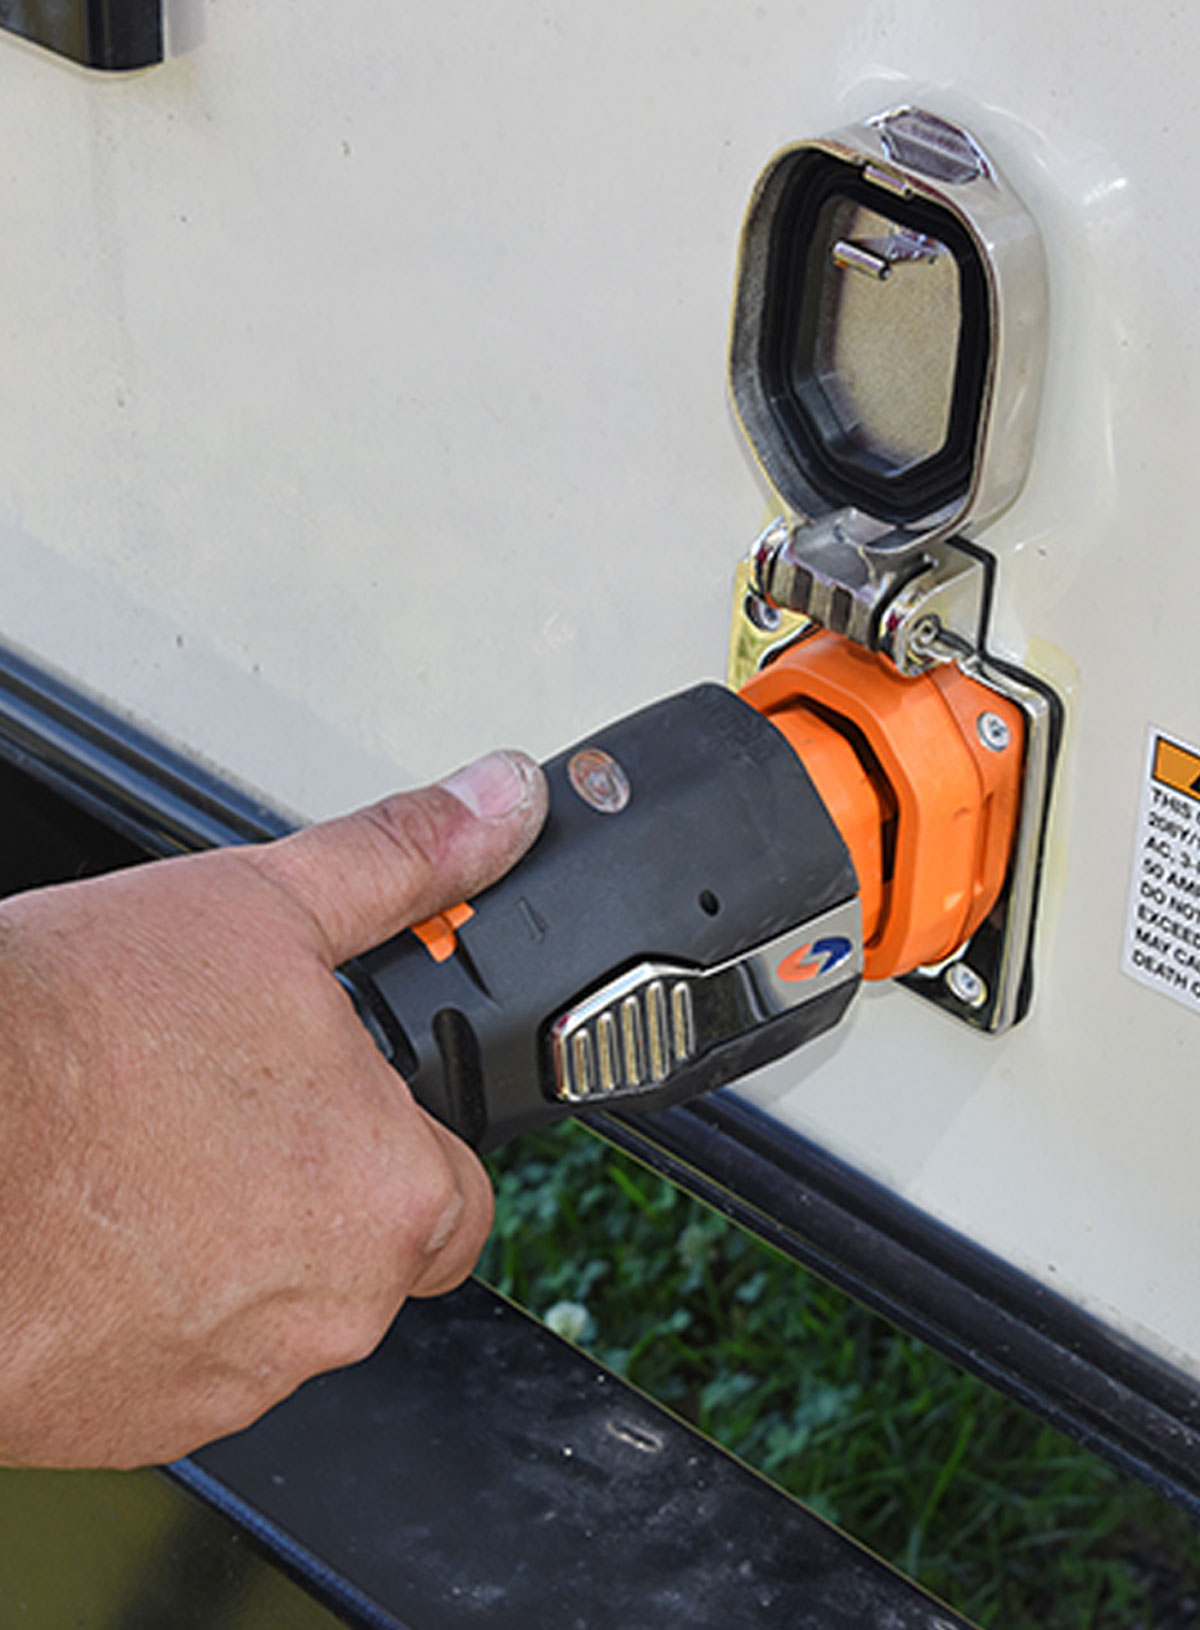
Second, SmartPlug uses much heavier-grade pins that are also larger, providing a tighter connection. This upgrade by itself can reduce or even eliminate resistive heating.

SmartPlug components
SmartPlug components, like the ones shown here, are available individually or as a kit. We installed the chrome Smart Plug receptacle with the 50-amp cordset. Note the plastic protector for the end of the cord.
Third, the SmartPlug connection is gasketed and, therefore, watertight — again, eliminating the corrosion that contributes to resistive heating. The system includes a snap-on protective cover on a lanyard to guard against moisture and damage to the open end of the cordset when not connected to the RV. Once closed, the SmartPlug receptacle on the RV is also watertight.

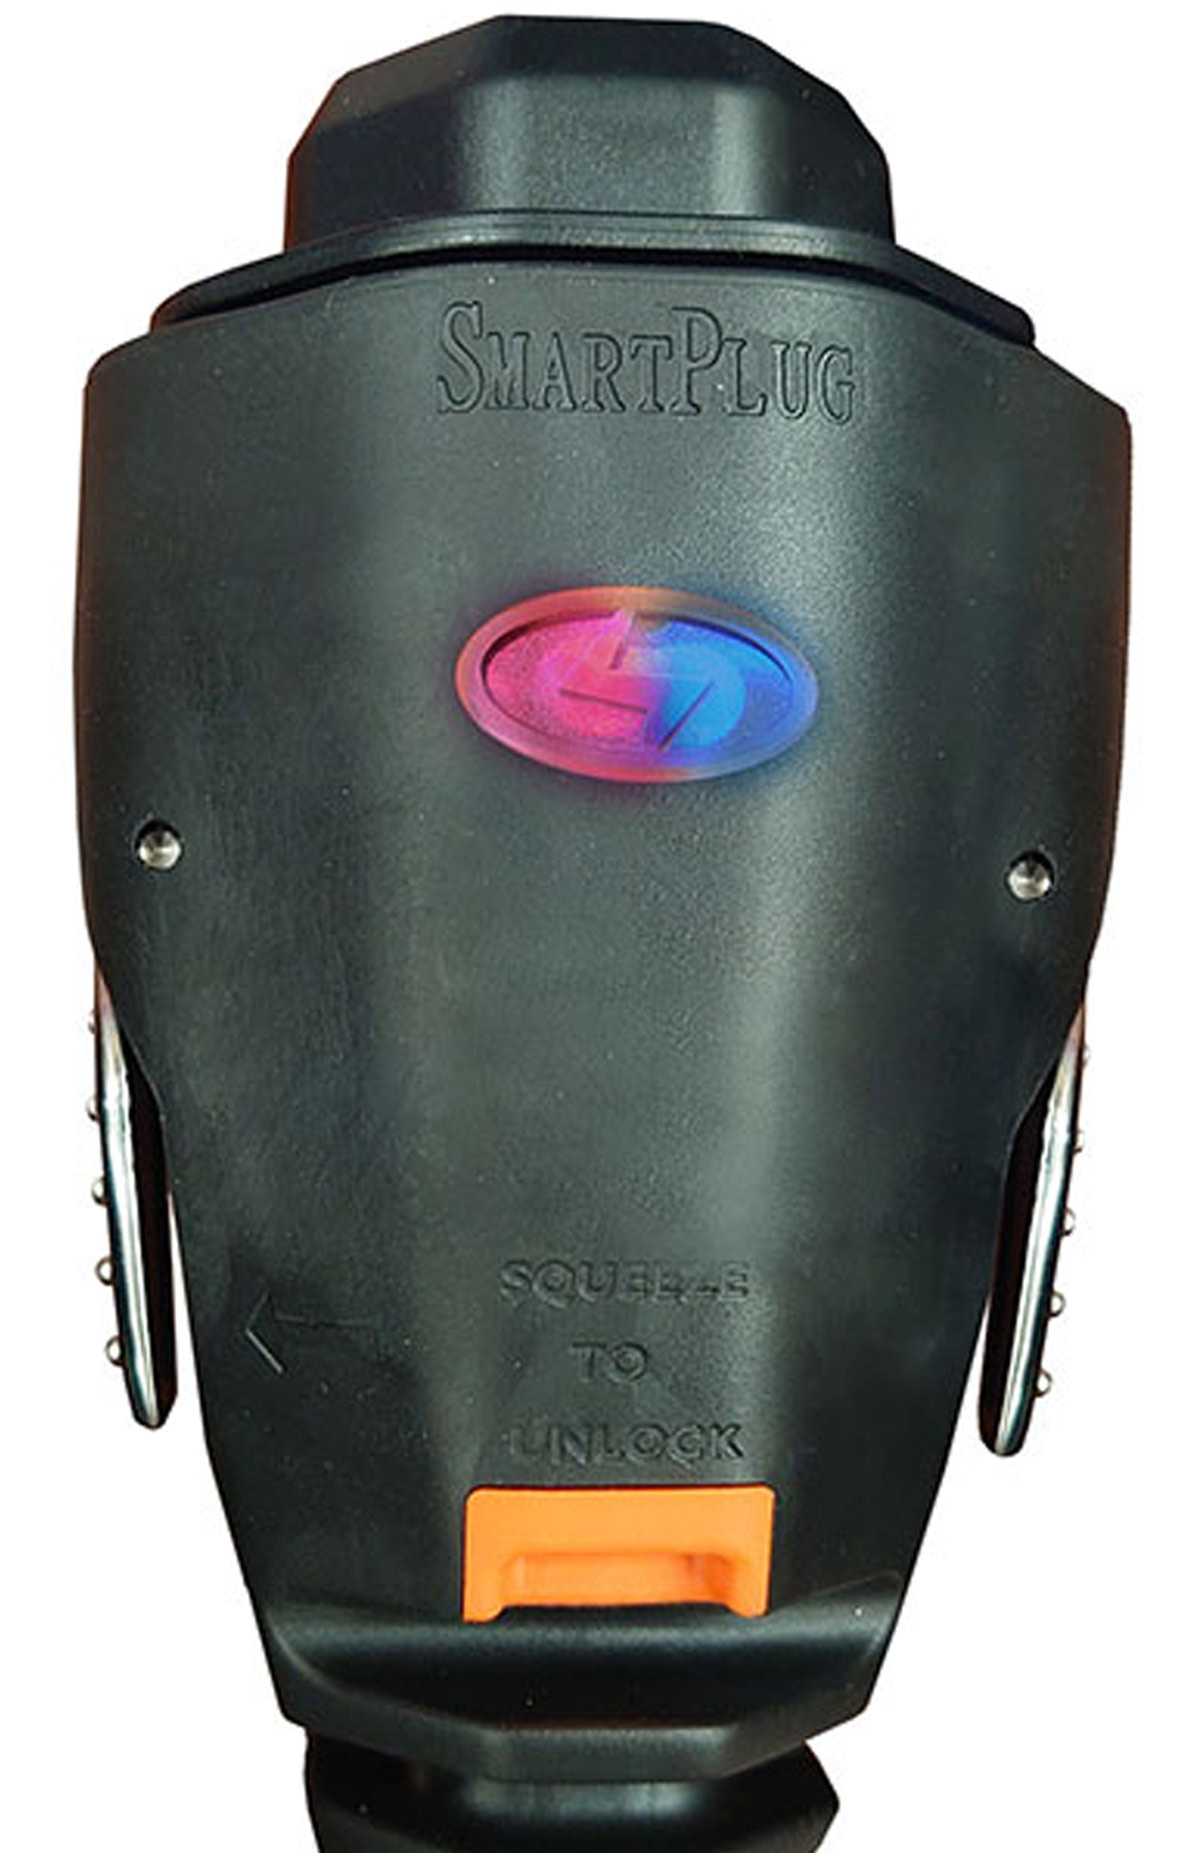
Fourth, the latest version also includes a second LED on the cordset plug that indicates shorepower polarity — which helps indicate whether you have a safe connection.

The SmartPlug is available in 30- and 50-amp versions as a replacement cordset end and RV side receptacle for existing cables, or as a complete cordset with easy-pull shorepower plug and softer insulation jacket that doesn’t stiffen in cold weather. Anyone who has had to deal with a standard 50-amp cord will appreciate the flexibility of the Smart Plug cable. In fact, RV Enthusiast Publisher Bob Livingston has been using the Smart Plug cordset for a number of years and said the difference is dramatic, especially in cold weather.

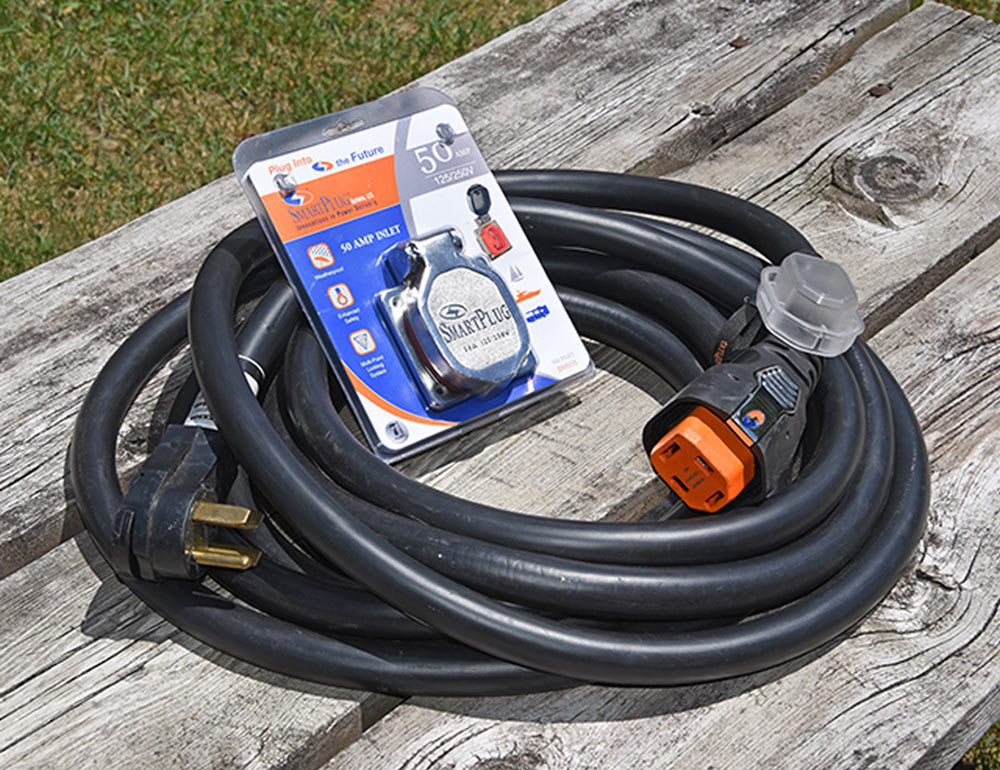
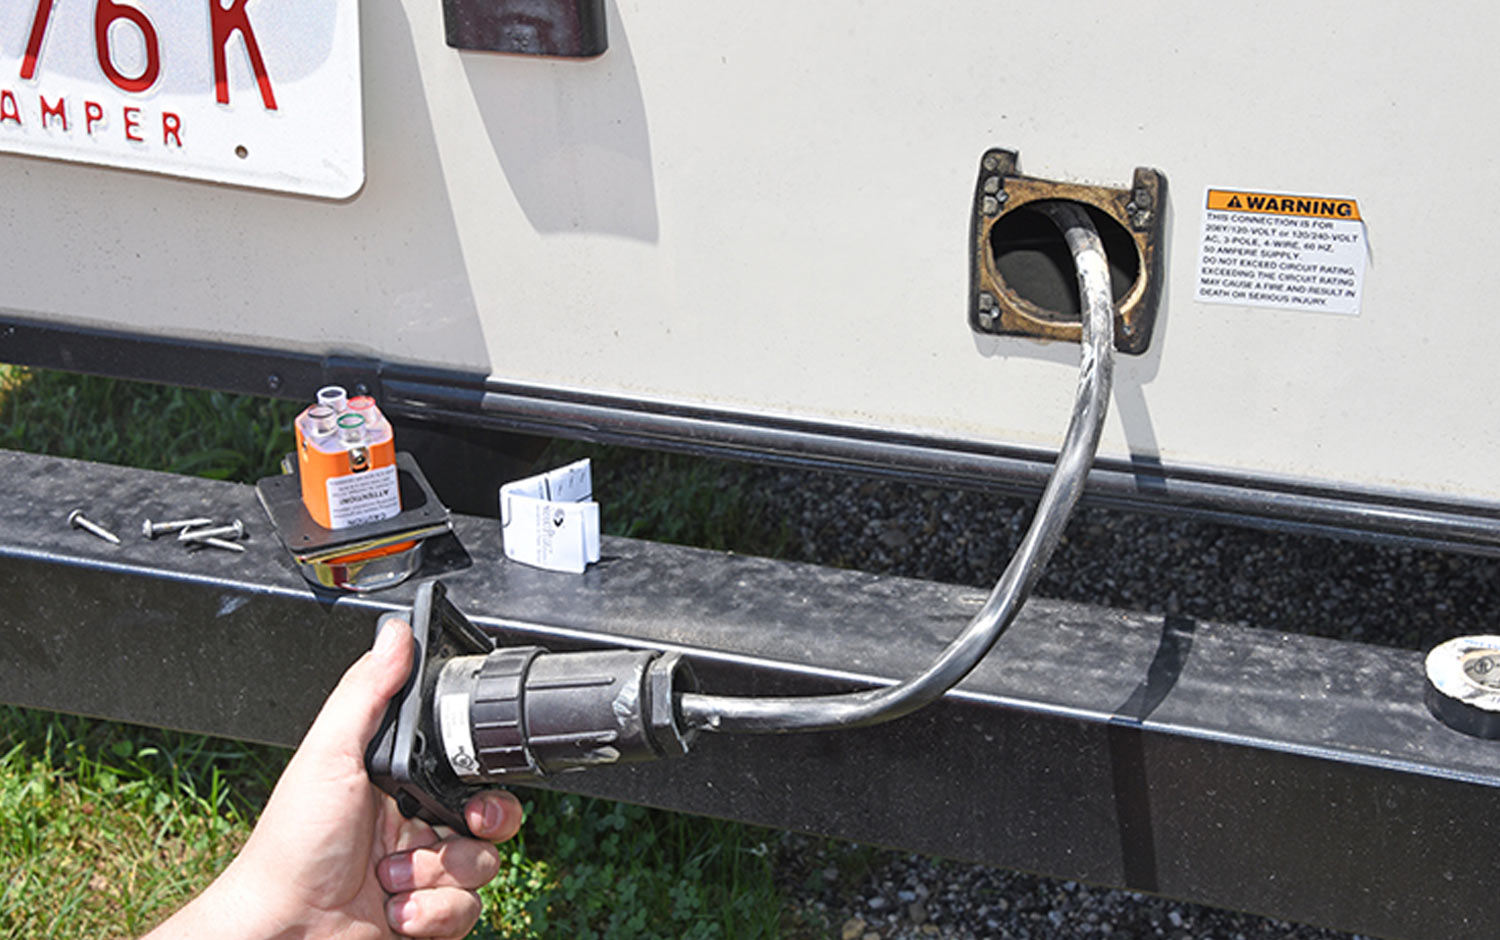
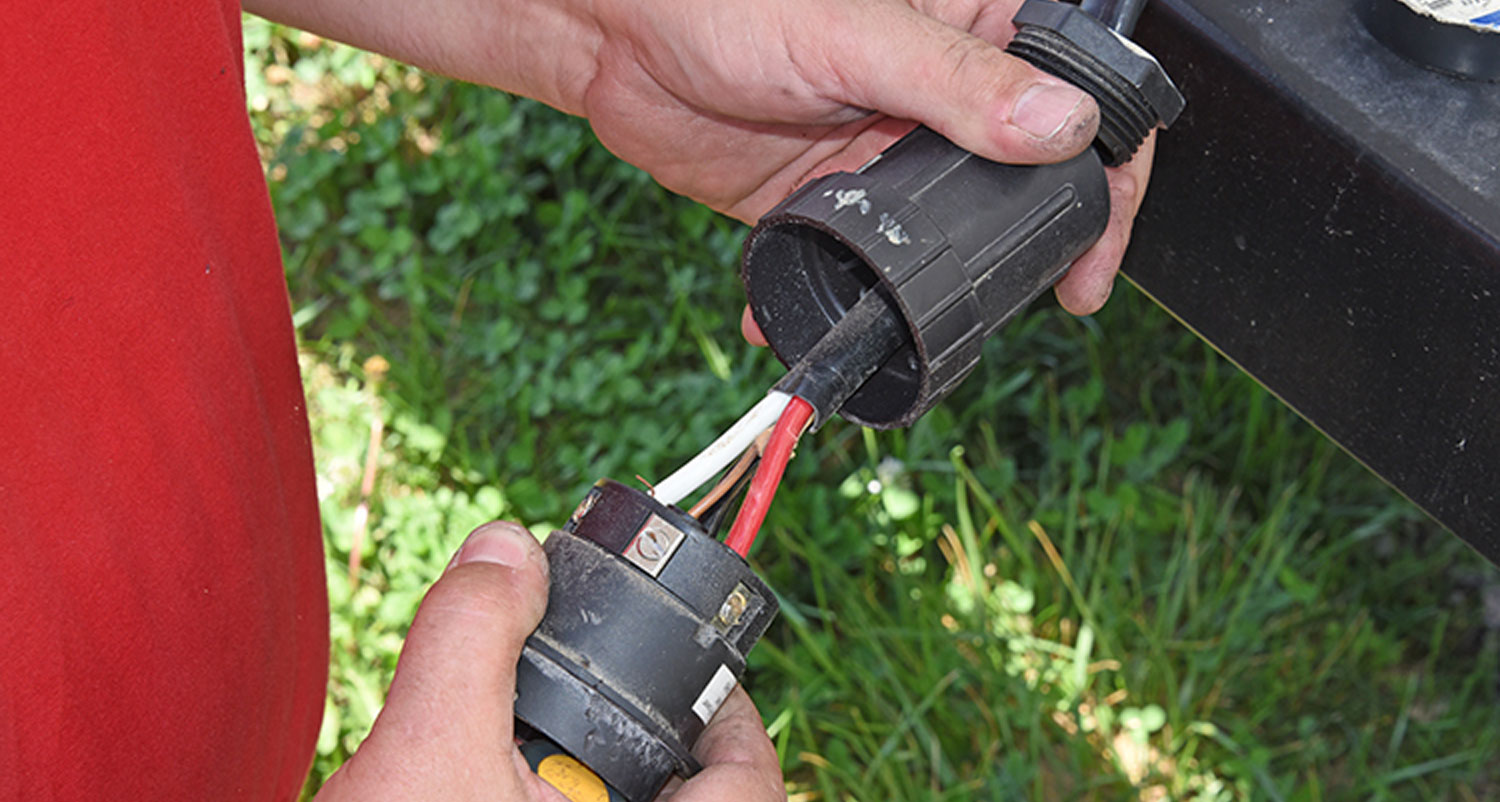
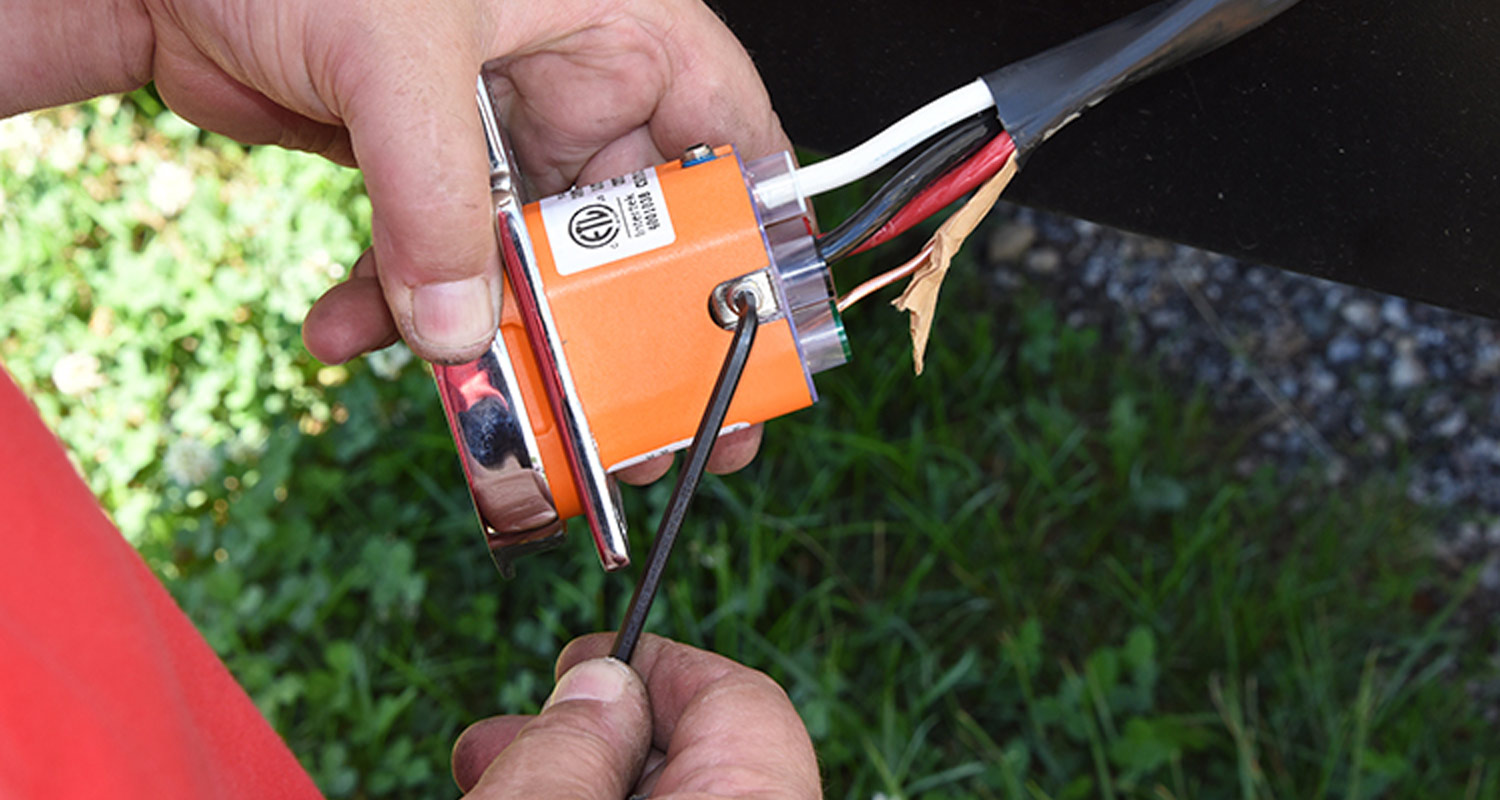
Kits start under $150 and go up from there. Expect to spend $400+ for the 50-amp cable and hardware kit in chrome. We installed a chrome SmartPlug 50-amp system on a 2015 Montana fifth-wheel, replacing a legacy twist-lock which, as it turned out, was broken inside from an over-torqued set screw.

receptacle replacement process
The receptacle replacement process is pretty straightforward. If you have enough cable, you can just cut the old receptacle off and strip the new wires accordingly. You can also disassemble the old one and — provided it isn’t internally broken like the one in this test installation — you can save the step of stripping the cable.
broken screw for the L1 hot leg
Once disassembled, a broken screw for the L1 hot leg was identified. There was also a stray wire sticking out of the neutral terminal.
clean the surrounding wall, slide the new gasket over the cable and make the connections
Once the old receptacle and gasket are removed, clean the surrounding wall, slide the new gasket over the cable and make the connections. Allen screws are used to secure the wires into color-coded ports with guards to protect against accidental stray wires making contact.
The unit is secured to the wall with user-provided screws
The unit is secured to the wall with user-provided screws. The holes lined up perfectly in this case, but may not always. The old gasket had discolored the fiberglass, but most of the area was covered up by the new receptacle.
To connect, lift the door, press the plug in until the two side metal latches click
To connect, lift the door, press the plug in until the two side metal latches click into place, then lower the door to lock it onto the plug.
a reverse polarity LED on the connector
The Smart Plug includes a reverse polarity LED on the connector, which can help prevent damage to to electric appliances and accessories.
Sources:

Smart Plug Systems
(206) 285-2990
www.smartplug.com
https://amzn.to/2Vl1rzw

Get Updates
Subscribe today and never miss an issue!
Get all the latest tips and news to keep you moving on that open road!
RV Enthusiast January/March 2024 Issue
Current Issue
January/March 2024
Spring is back in bloom and with it we are proud to present our latest issue of RV Enthusiast! The January/March issue covers furnace failures and how to fix them, the best batteries for boondocking, quick and easy weekend projects, PLUS so much more!

Already a Subscriber? Click here for Access to the Full Issues.

Share This