Hot Topic
Photos by Lori Swaffer
If you’re like most RVers, you turn on the appliances and just expect them to work, never thinking whether there’s a finite life to trouble-free service — especially when the RV is used full time. Unfortunately, size requirements to fit into tighter spaces inside motorhomes and trailers dictate appliance function and maintenance. Couple this consideration with the weight limitations to comply with chassis and tire ratings (as well as balance) and RV appliances typically are not built to withstand endless years of rigorous service like most home appliances.
Case in point: the electric heating element in my Suburban water heater.
While it still functioned, its days were numbered after being in service full time since 2010. Frankly, it’s hard to believe it didn’t burn out long ago.
While replacing a friend’s electric element I had an epiphany: Since mine is on borrowed time, I needed to make a change before it stopped working. Granted, when these heating elements cease to function you can always switch the operation to LP-gas — but if you’re in a site with full hookups you might as well take advantage of the electricity, which is normally included with the fees you’re paying. Besides, these days you never know when replacement parts become backordered.
Early Failure
My friend’s RV was only three years old, so I was rather surprised the element burned out. But the RV was purchased used and had been winterized, so in all likelihood someone flipped the switch ON with no water in the tank — causing the element to burn out quickly. I was able to determine that the heating element was toast by checking whether it had 120 volts AC at the element and if it was drawing any current. Using an induction amp meter, current registered zero, it should read somewhere around 10 amps while the water heater is in heating mode.
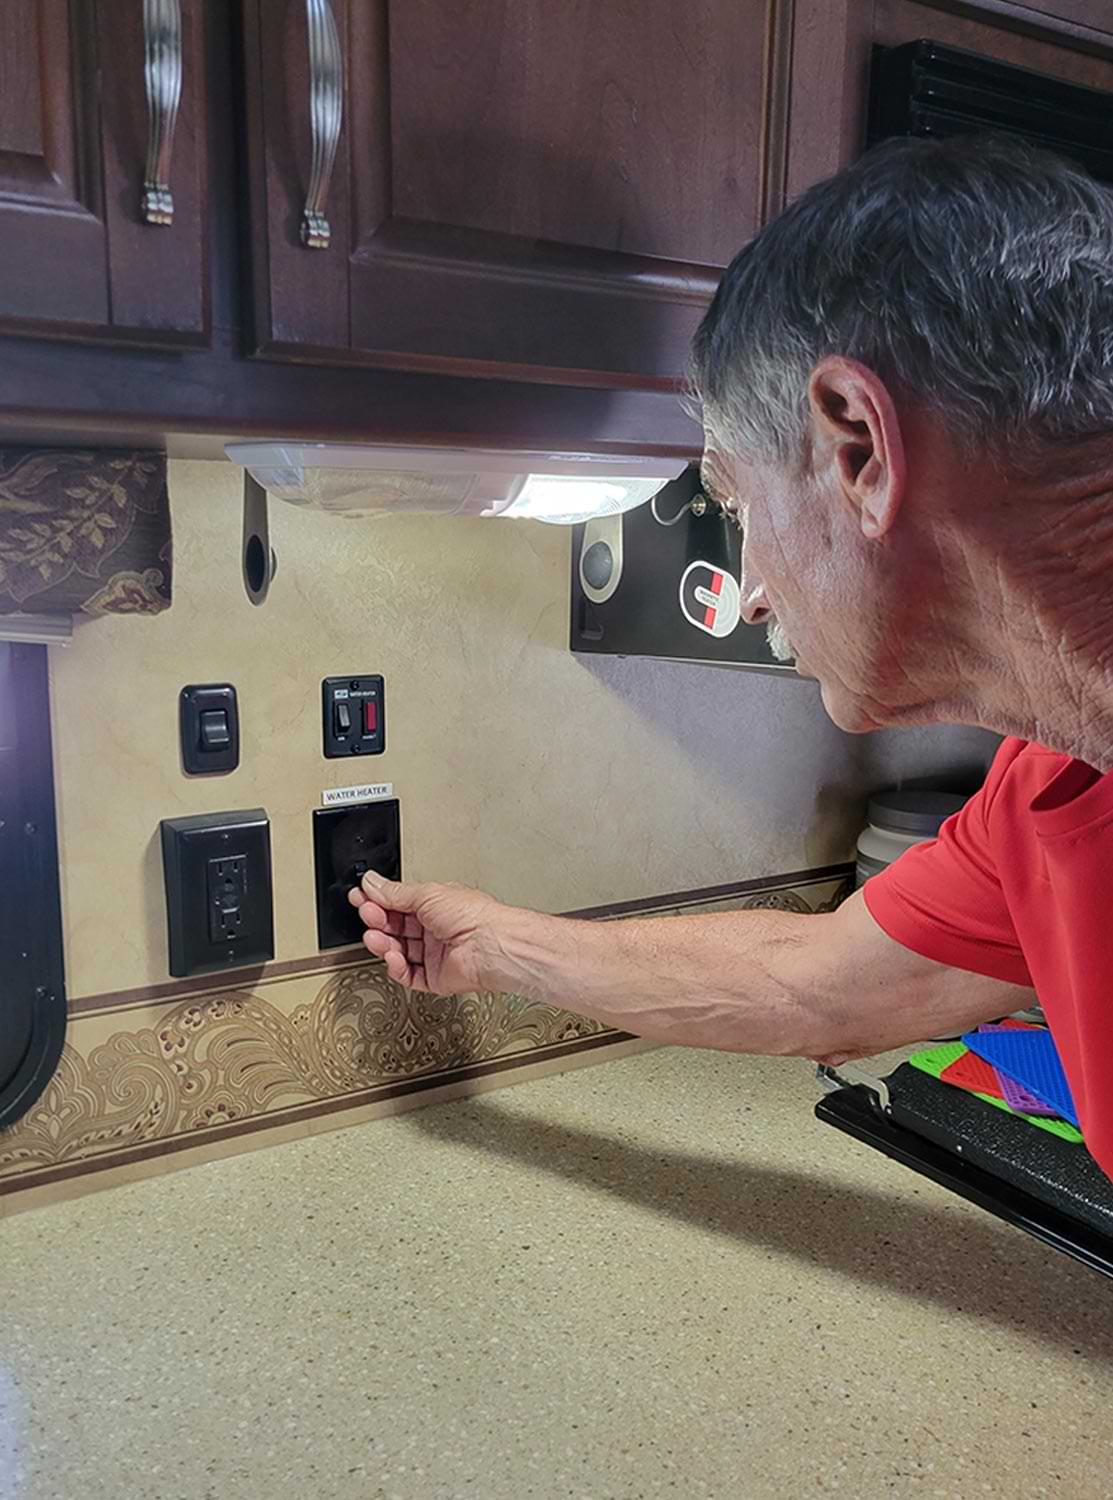
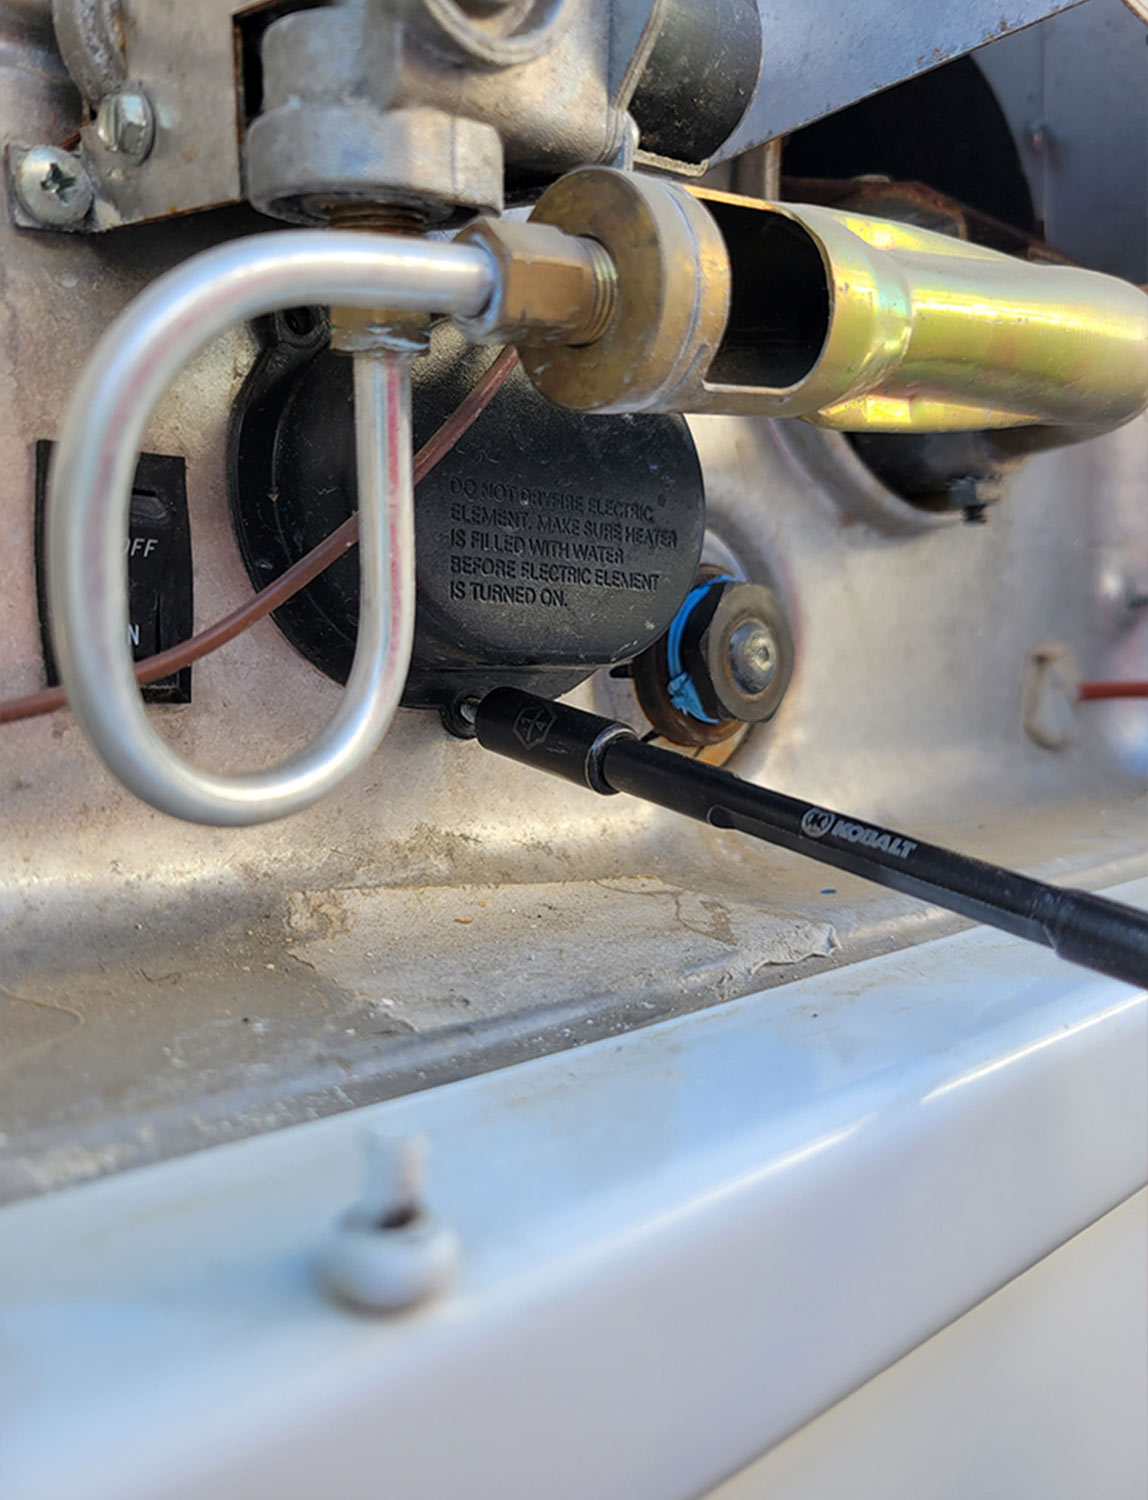
It’s imperative that the switch for the water heater be turned off before changing the element. Never allow this switch to be On when the tank empty. Another switch is in the lower left face of the water heater compartment — not all RVs will have an interior switch.
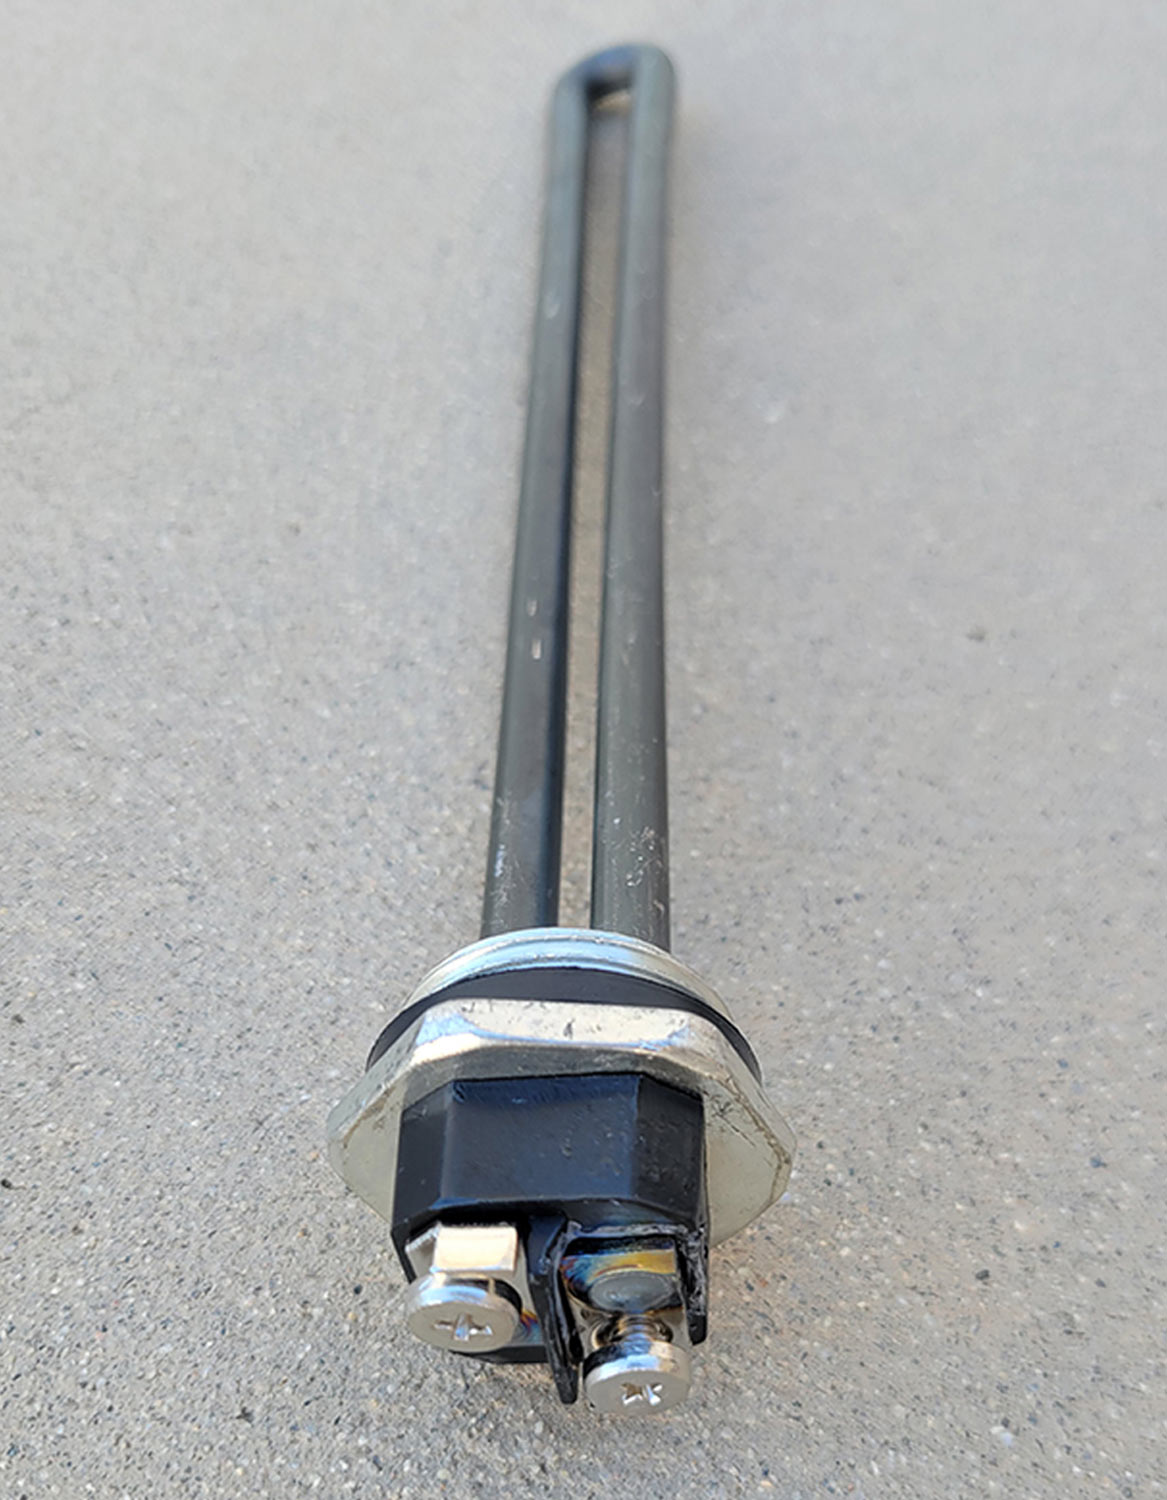
While there are several replacement parts with unfamiliar names on the market that are cheaper, I decided to go with the Suburban OEM element. You can acquire the Suburban 520900 Water Heater Element with Gasket for SW-Series-120V on Amazon for $15.98.
Hey, This is Easy to Do
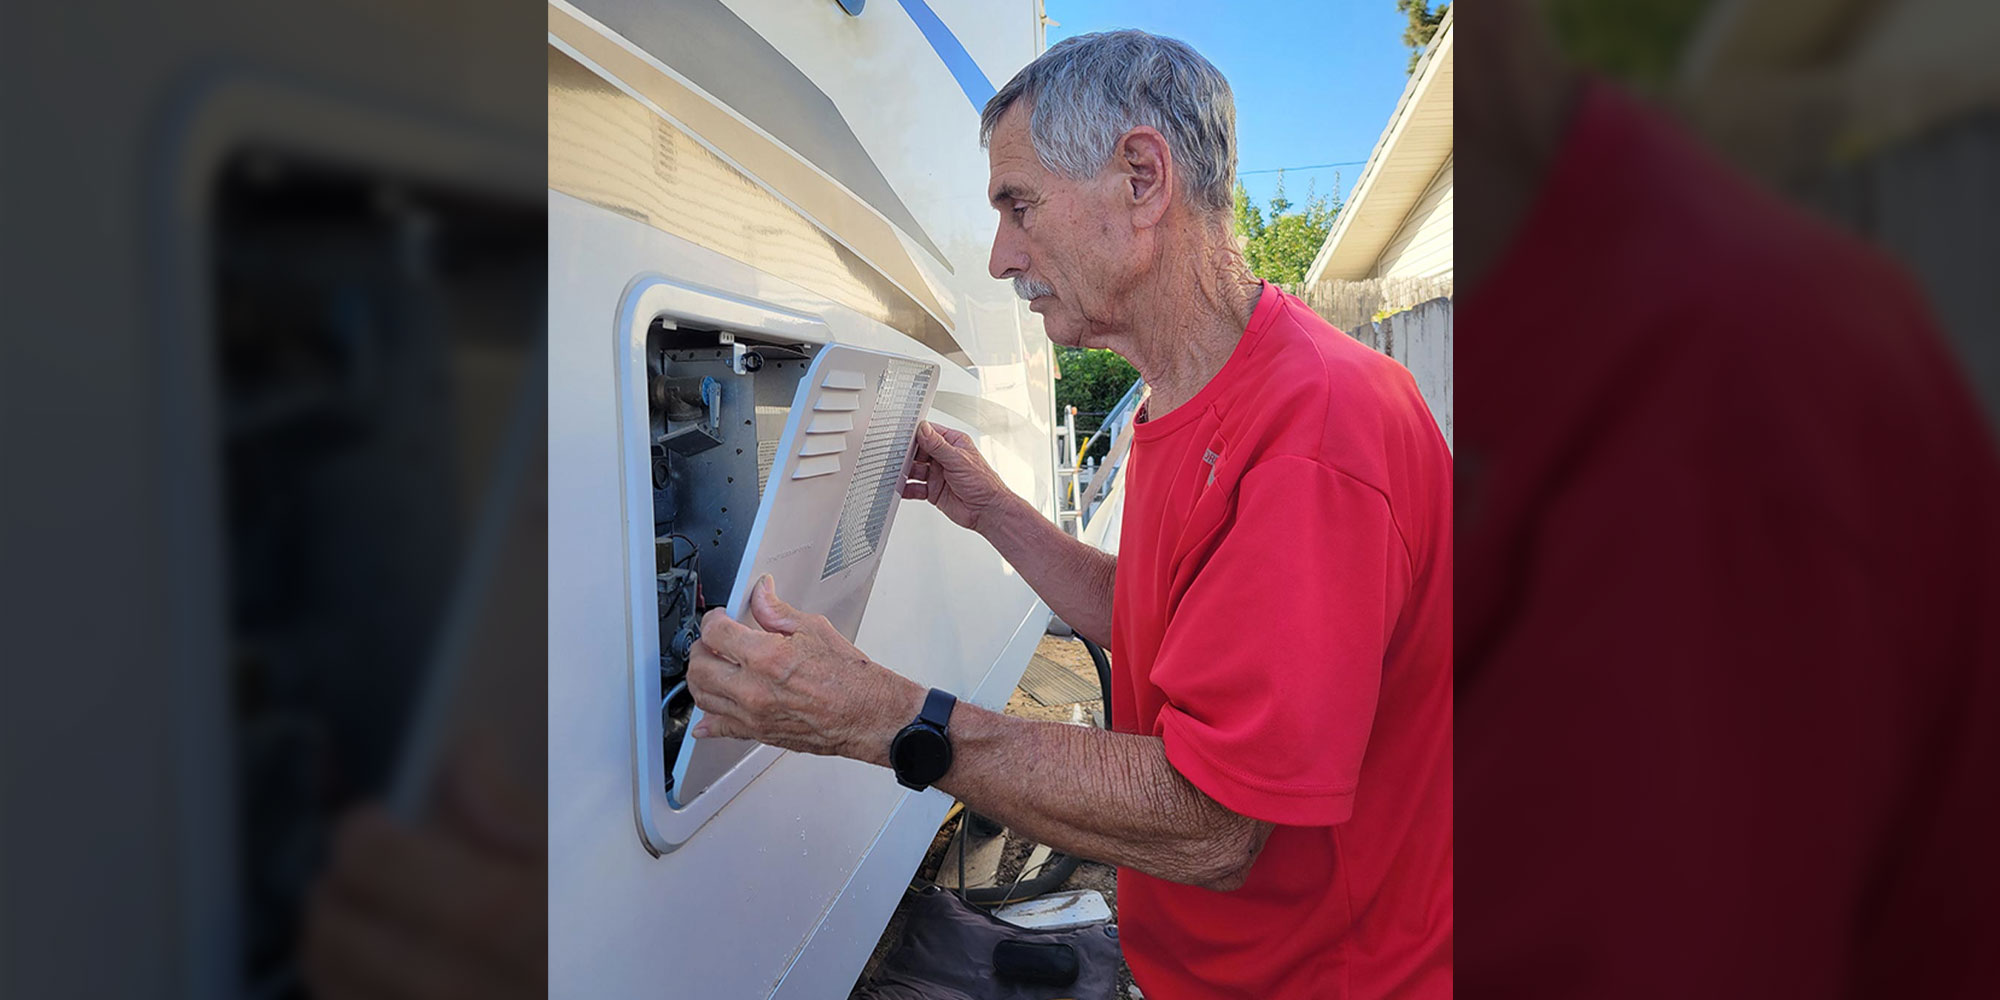
Refreshingly, the heating element is quite simple to replace, albeit with a little grunting to break it loose from the tank (as explained later). In preparation, turn off the switch that’s usually in the monitor-panel cluster inside the RV. There’s also another On/Off switch in this unit right next to the heating element. Know, however, that some manufacturers do not add the interior switch; if this is the case, make sure the switch in the water heater compartment is in the Off mode. It’s also always best to unplug any source of 120-volt AC power from the RV, just to play it safe.
You can also drain the tank first, which may not be a bad idea if it’s time to check the condition of the anode rod. In either case, do not attempt any repairs until the water in the tank has cooled.
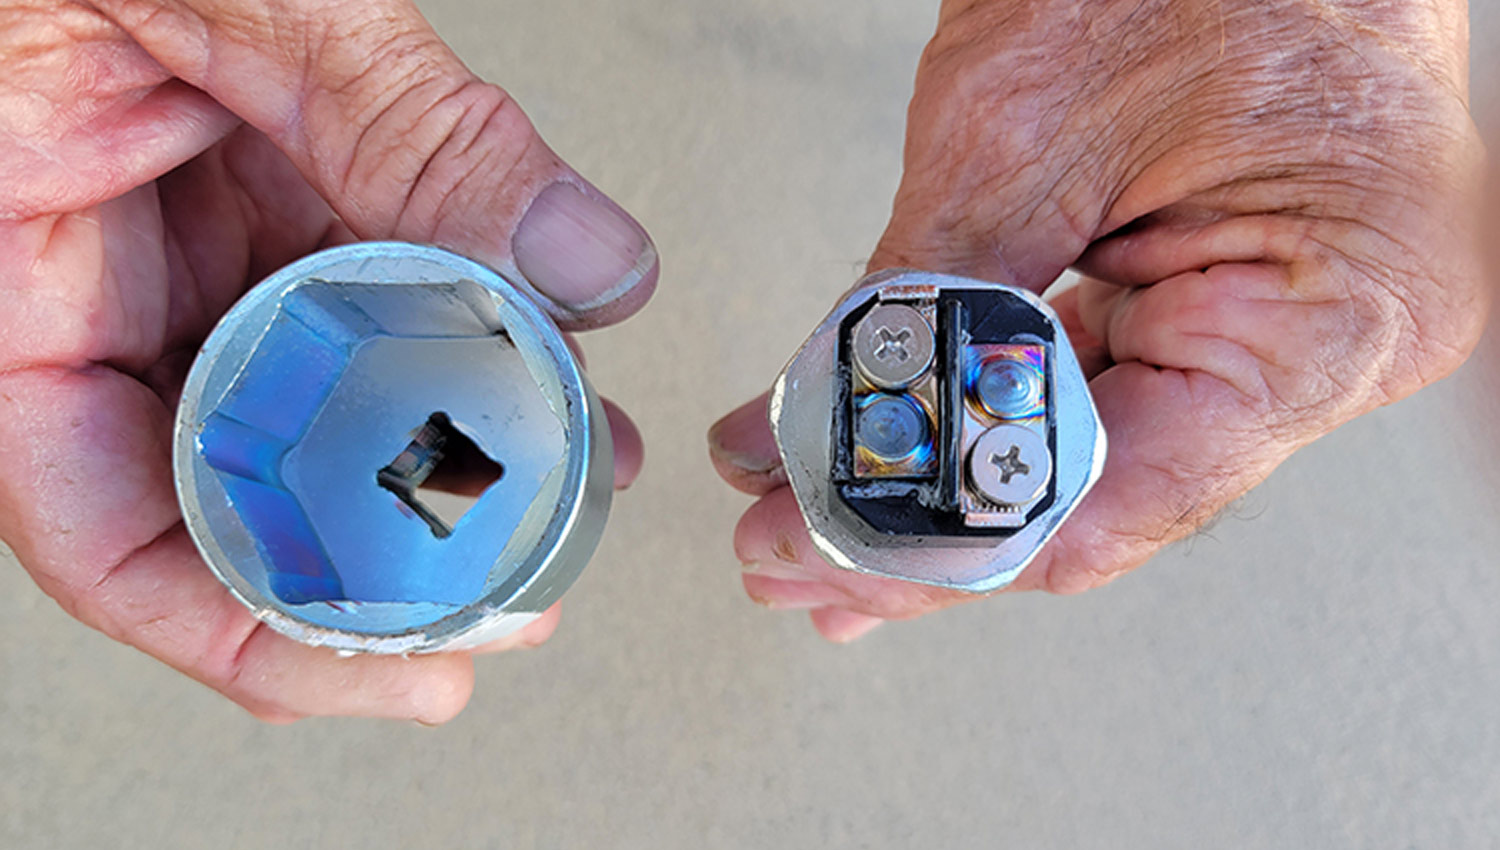
Normal sockets will not fit the heating element properly — and in many cases won’t even clear the metal faceplate. Camco sells a socket for a ½-inch drive specifically for this purpose.
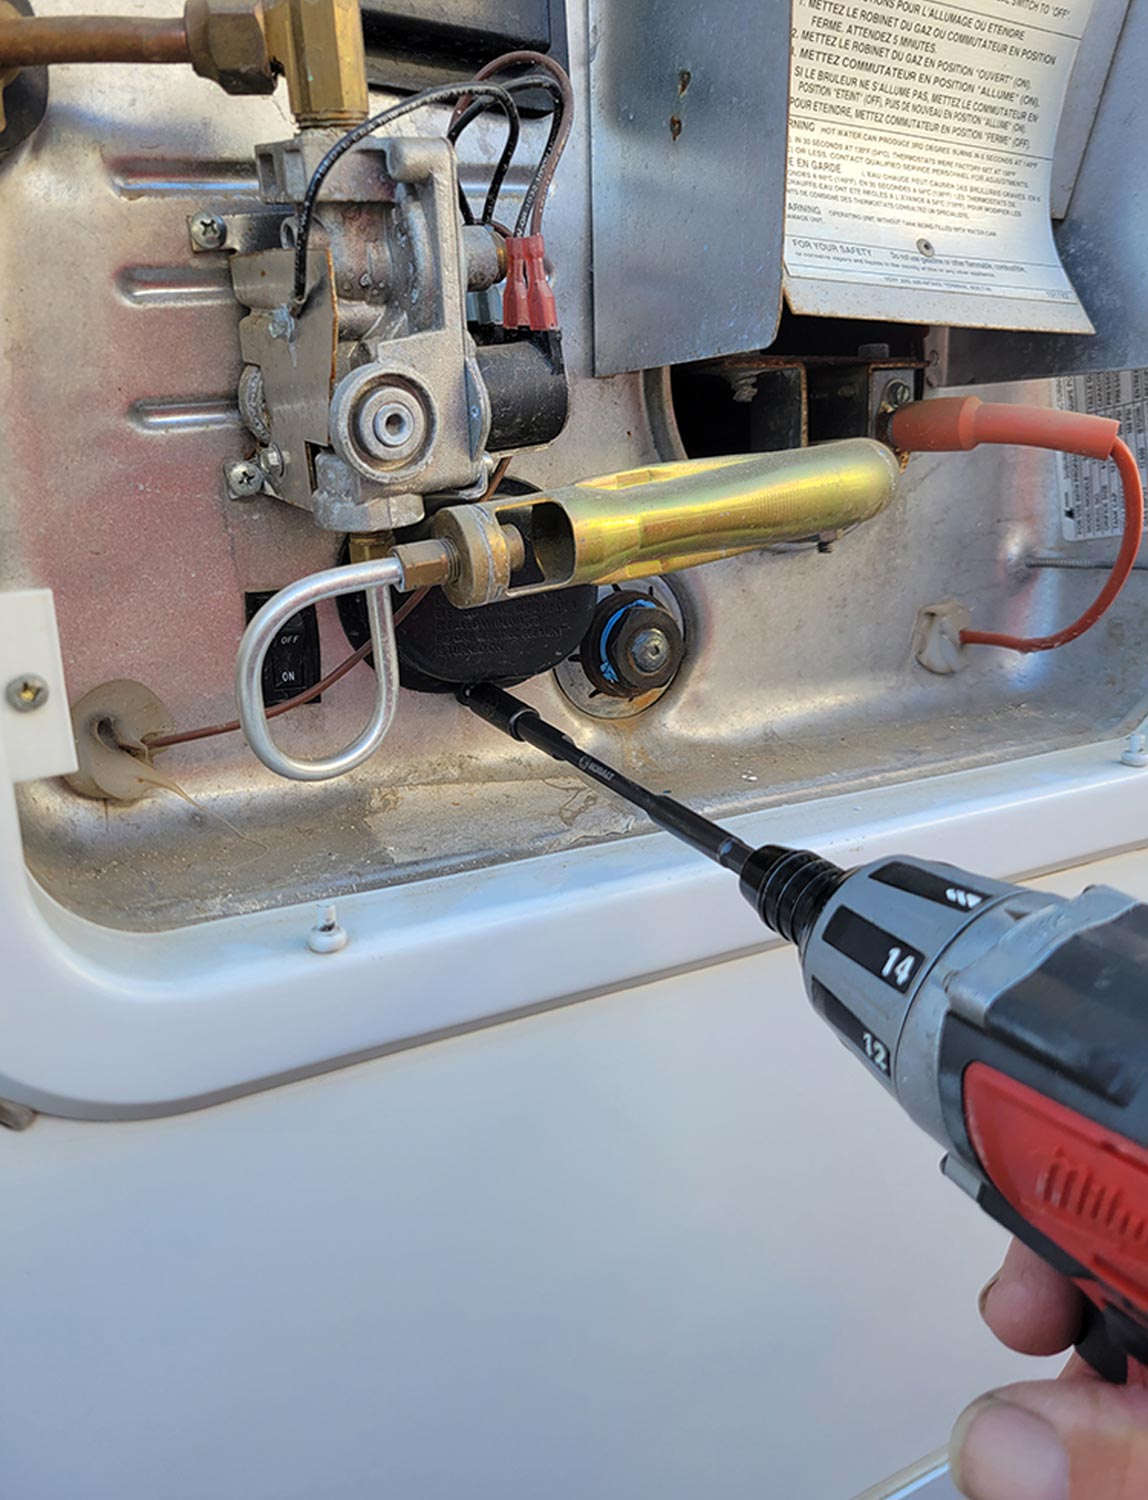
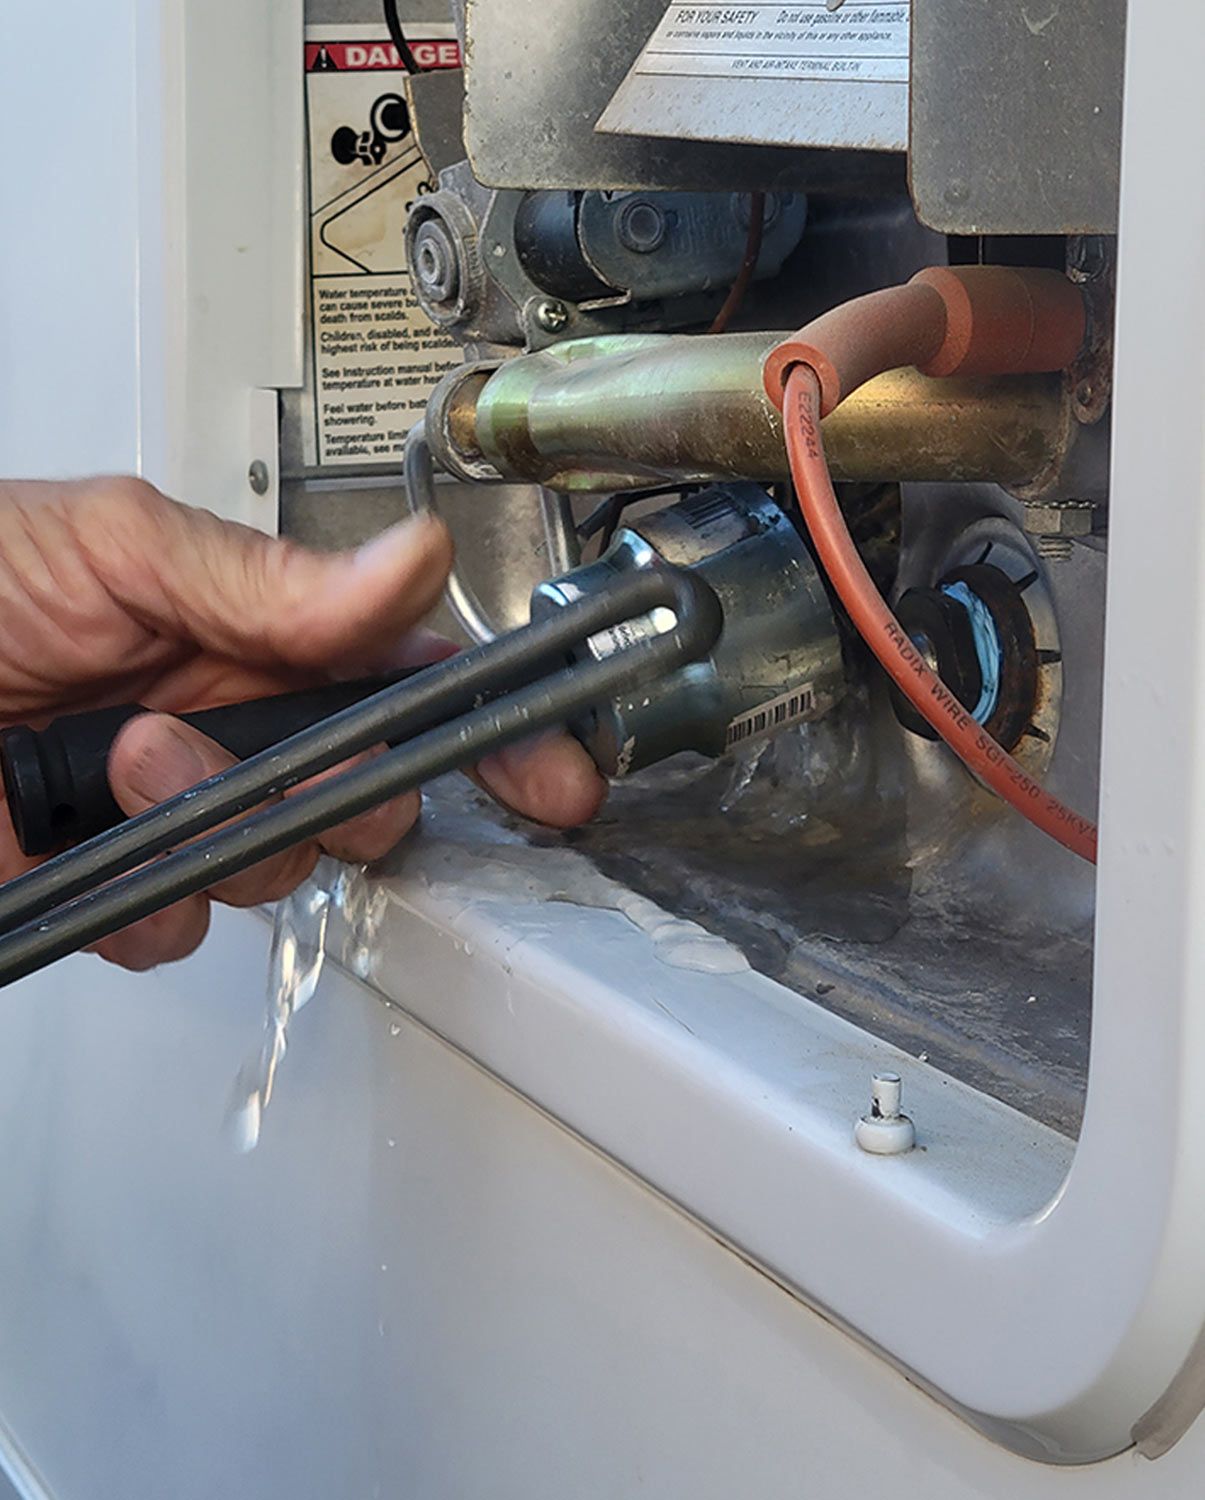
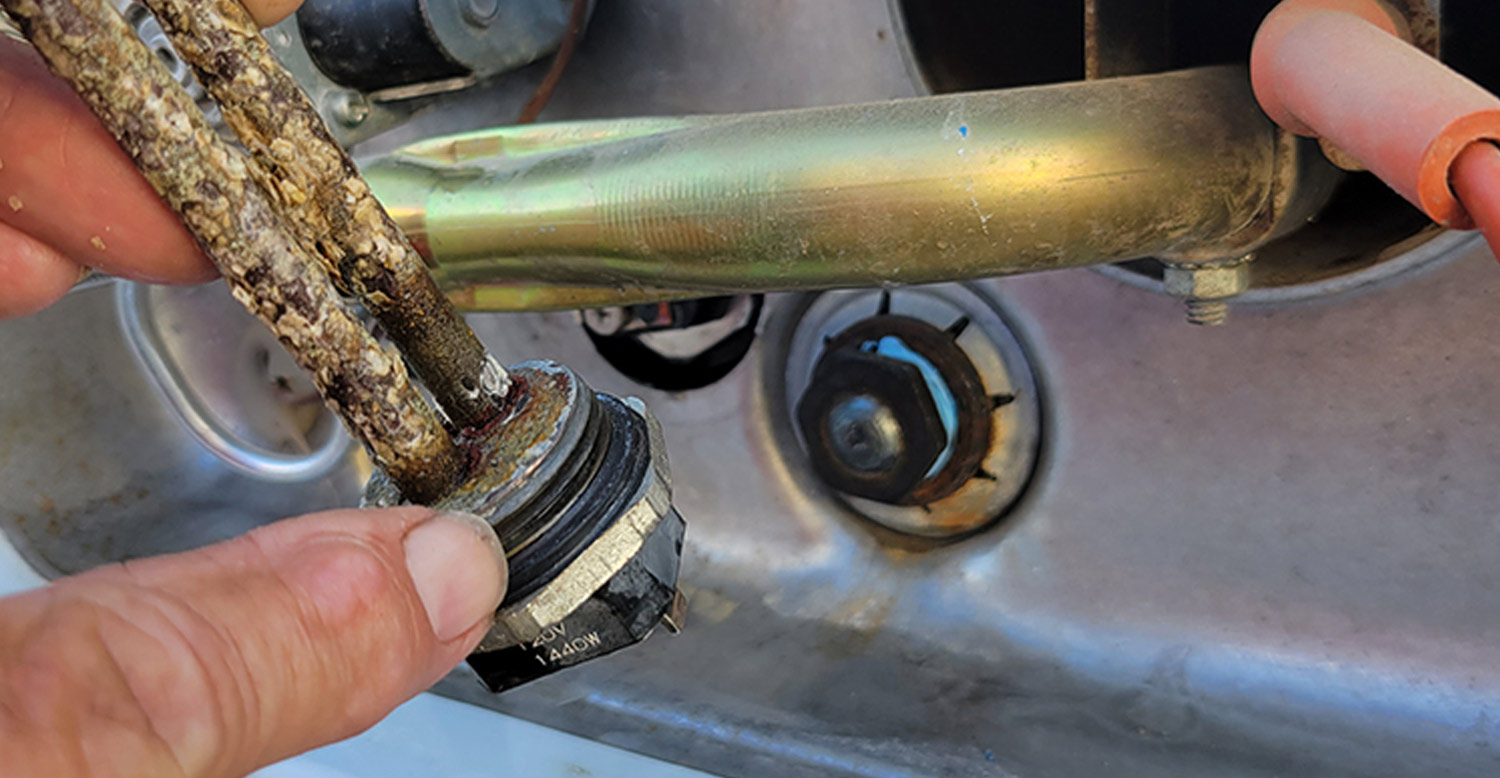
Before trying to unscrew the element, remove the black and white wires from the heating element; there’s no slack in the wires to rotate the element. Don’t worry about identifying the wire positions since the element is not polarized. Attach a 6-inch extension to the new socket and a heavy-duty ratchet. Don’t be alarmed if the element is hard to break loose; after many years of being in this environment, you may in fact have to use a piece of pipe as a breaker bar if you don’t have a commercial counterpart. The calcium build-up over the years almost cemented the element into my friend’s water heater; I needed to use a 4-foot length of pipe on the end of the ratchet handle to break it loose. Once it popped loose, the element came right out. Be prepared: As you’re pulling the old element out, have the new one ready to go because if you didn’t drain the tank water is going to flow out and you’ll need to screw in the new element quickly.
The screws are removed from the plastic cover to access the heating element. Care must be taken not to tear the gasket around the cover. If the gasket tears during removal of the cover, use a silicone adhesive to hold it in place while reinstalling the cover.
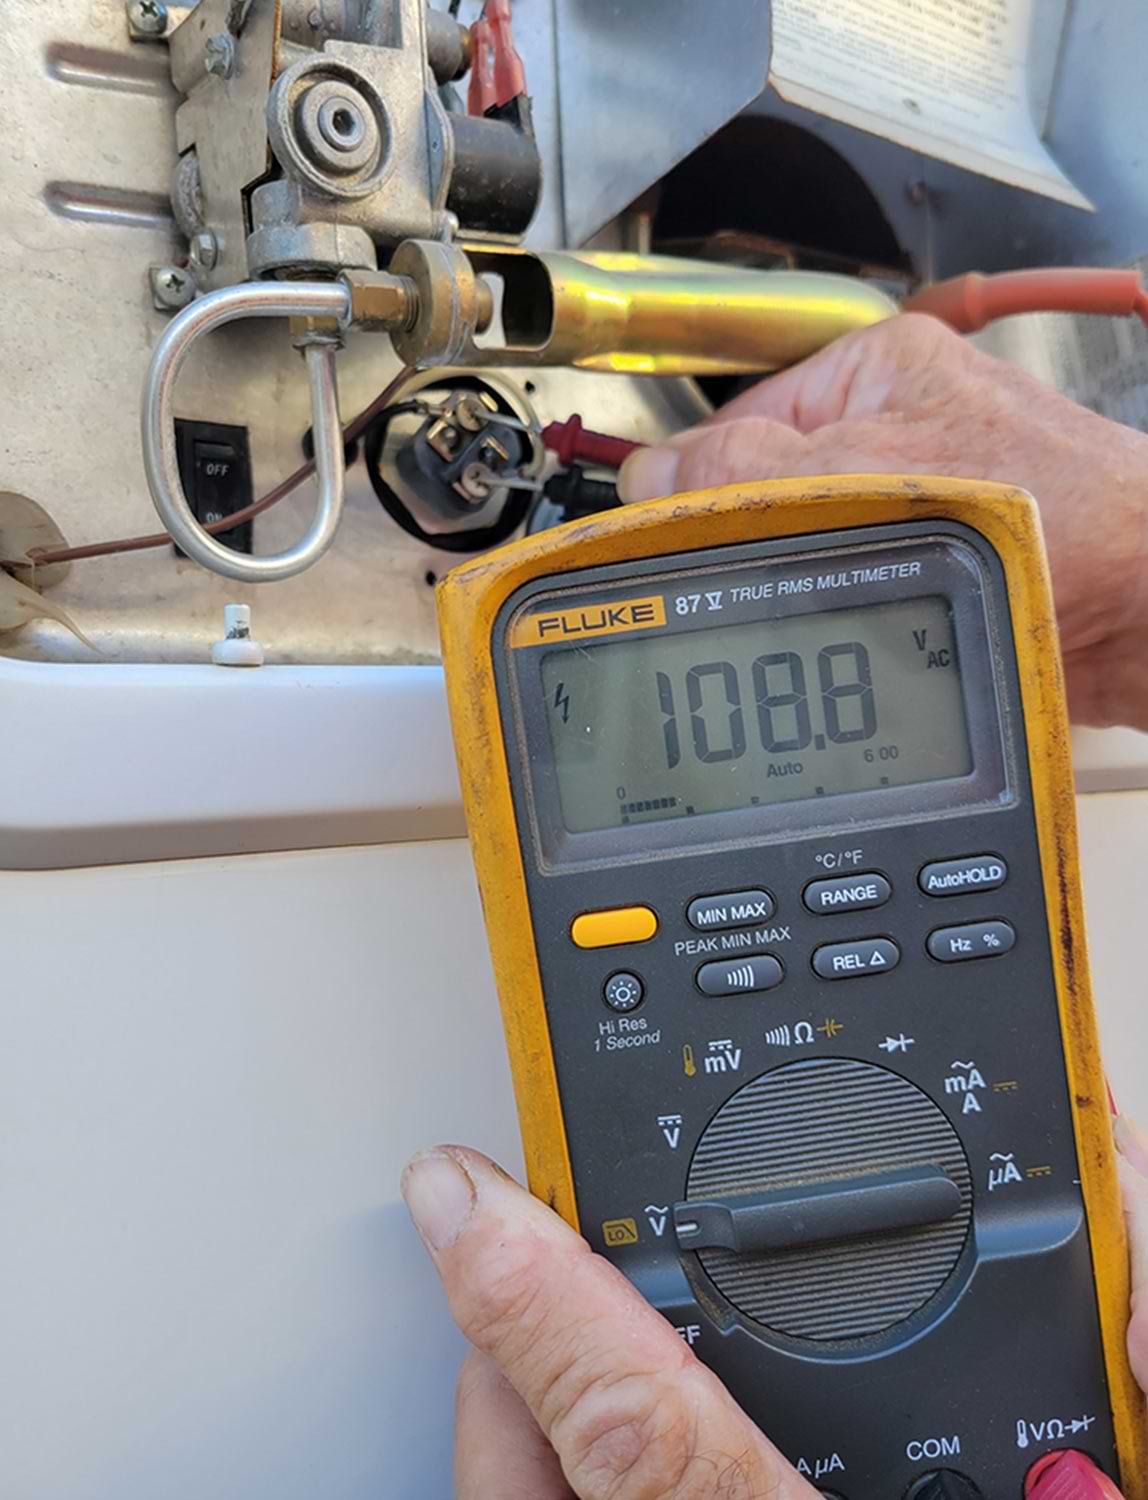
To determine whether the heating element is burned out, check AC voltage across the white and black wires. If there’s no voltage, first check the circuit breaker. If it’s okay, you’ll have to backtrack the circuit to find where the voltage stops and make necessary repairs.
Checking for Leaks
Open the hookup spigot or turn on the demand pump to pressurize the system, then open a hot-water faucet inside the RV to purge air in the system. Outside, keep an eye on the bottom of the gasket to ensure there are no droplets forming. Re-connect the black and white wires and install the cover that was removed for testing. The cover has a gasket around it and sometimes it can tear. It’s not a major problem if the gasket isn’t airtight; you can hold it in place with silicone while positioning the cover. Once you’re sure the tank is full of water, turn on the switch(es) and wait for the water to get hot. I tested the new heating element with the induction ammeter after it was installed and it was drawing 9.8 amps, so I was confident it was going to get hot, which it did. Again, never operate the heating element without water in the tank.
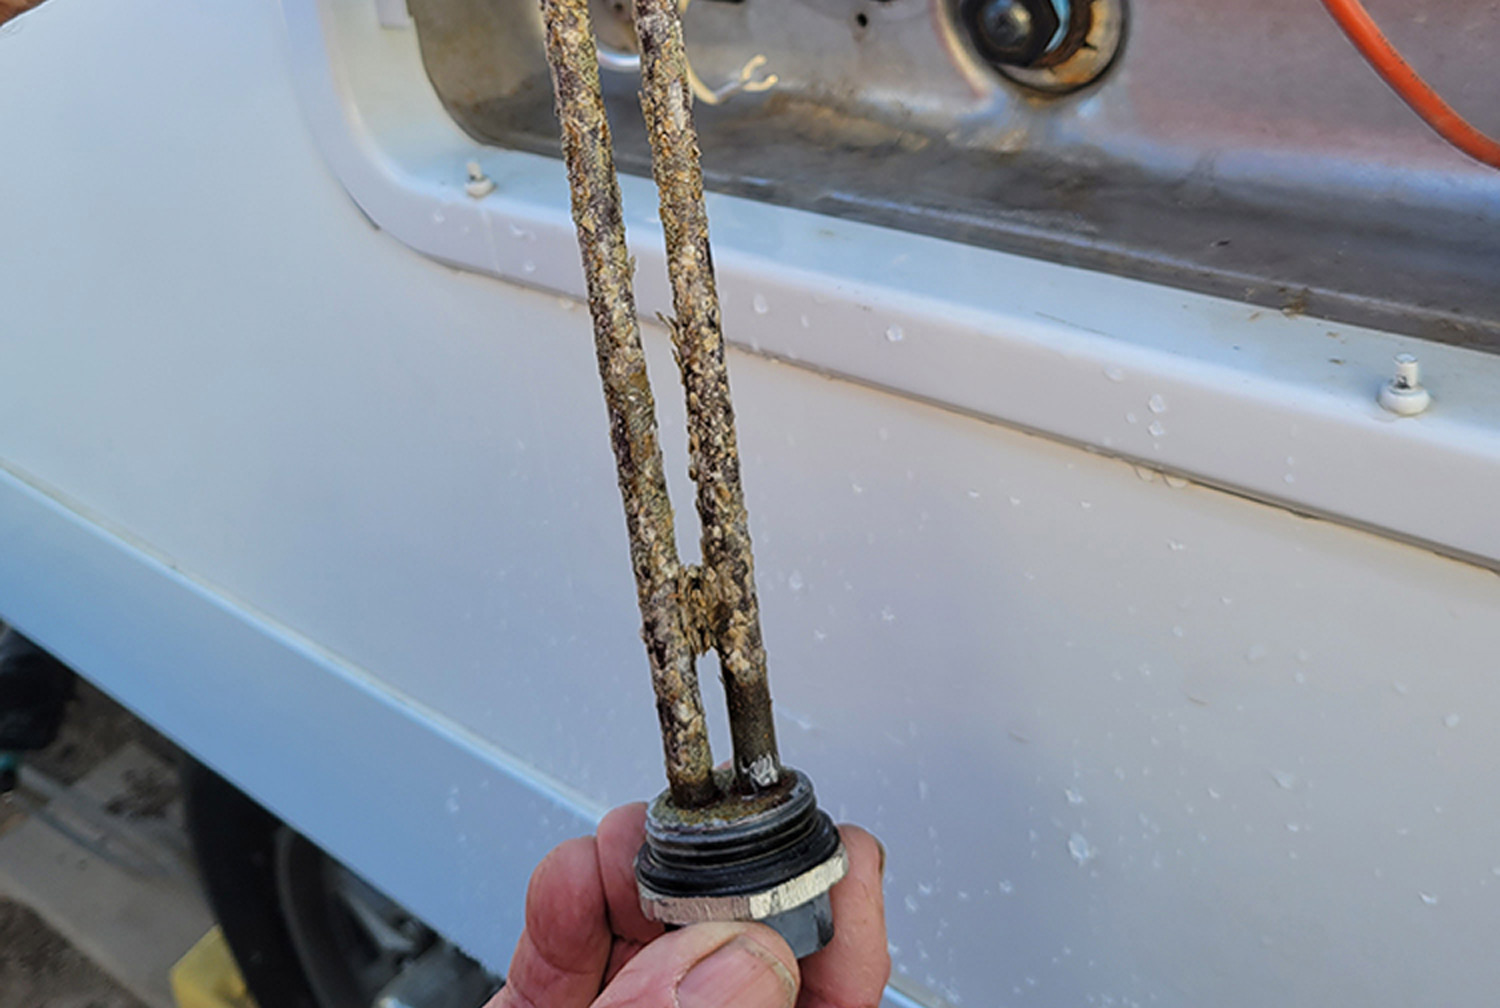
I couldn’t believe the amount of corrosion and water deposits on the heating element; it could not have been efficient at that point since it had to heat up all the corrosion and other deposits before getting to the water. I recommend replacing the heating element every five years if it’s under full-time service to ensure optimum performance (you can likely extend that replacement interval if the RV spends significant time in storage). Since the process is so simple, it doesn’t hurt to pull the element out every few years and inspect its condition.
Occasionally, simple, inexpensive projects reap big rewards. This is one of them.

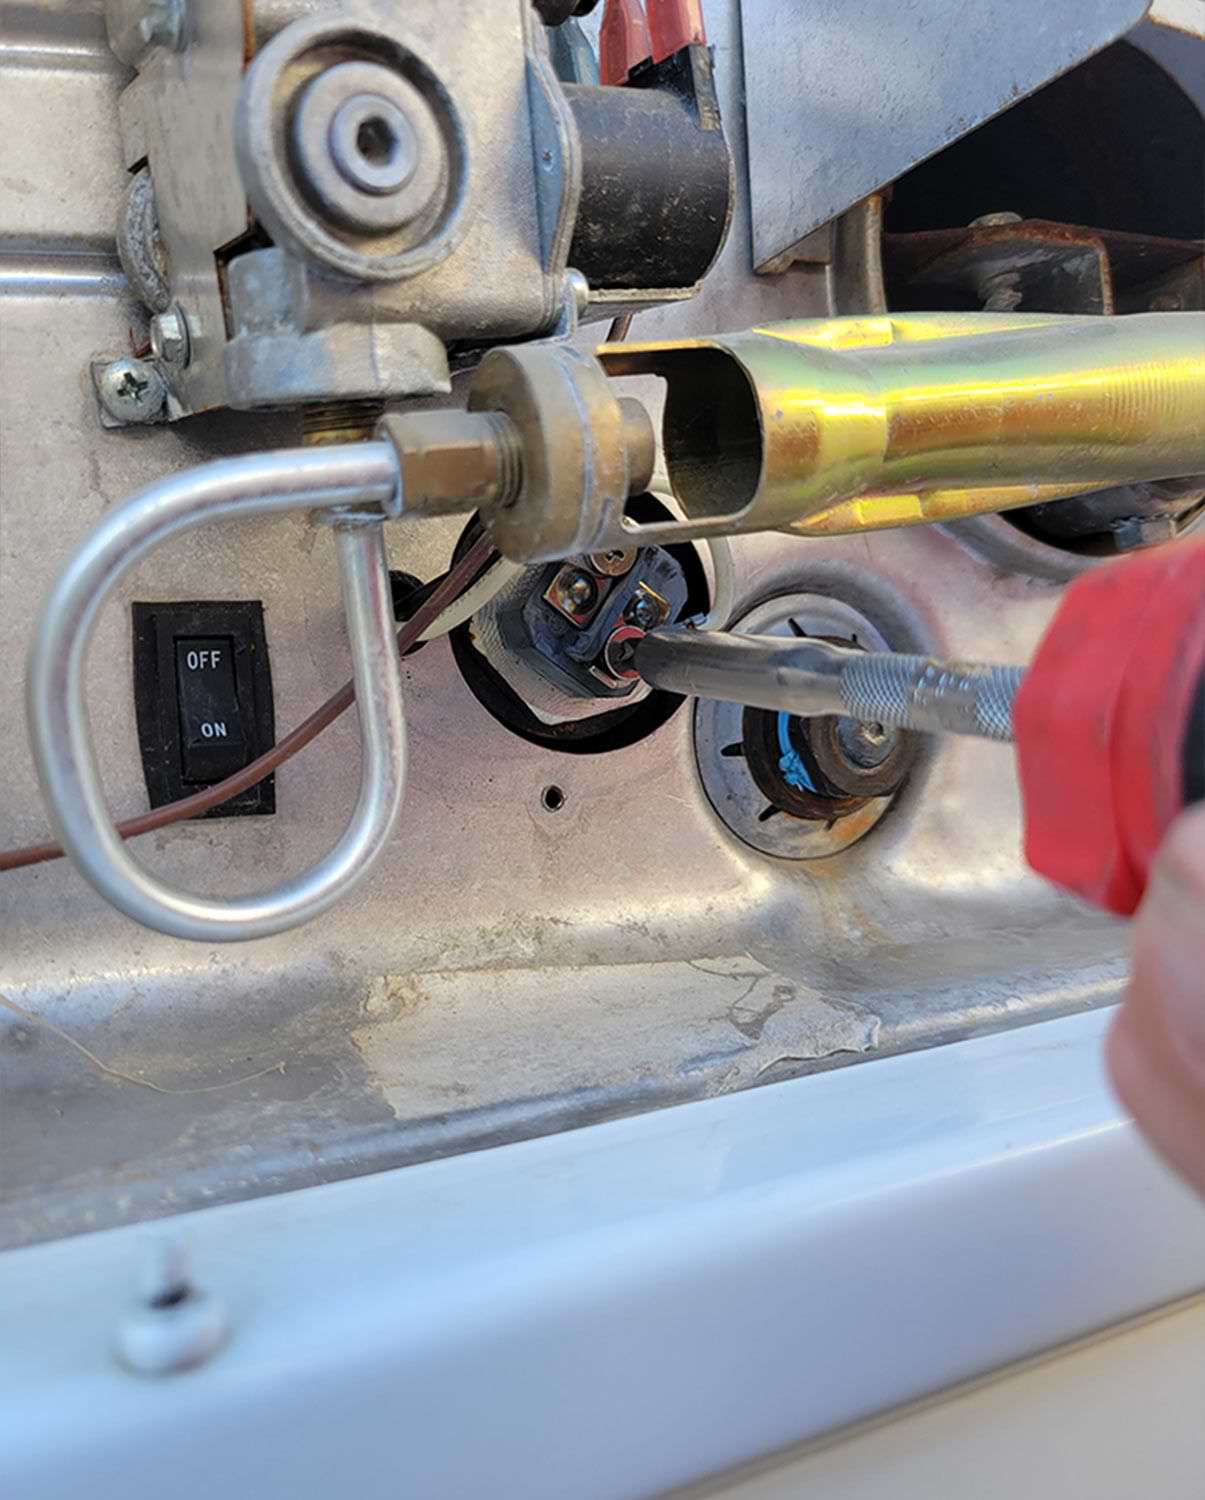
Loosen the screws on the heating element to remove the wires. There’s no need to record wire position because the element is not polarized. These screws may become corroded and be difficult to loosen without an impact driver or large screwdriver.


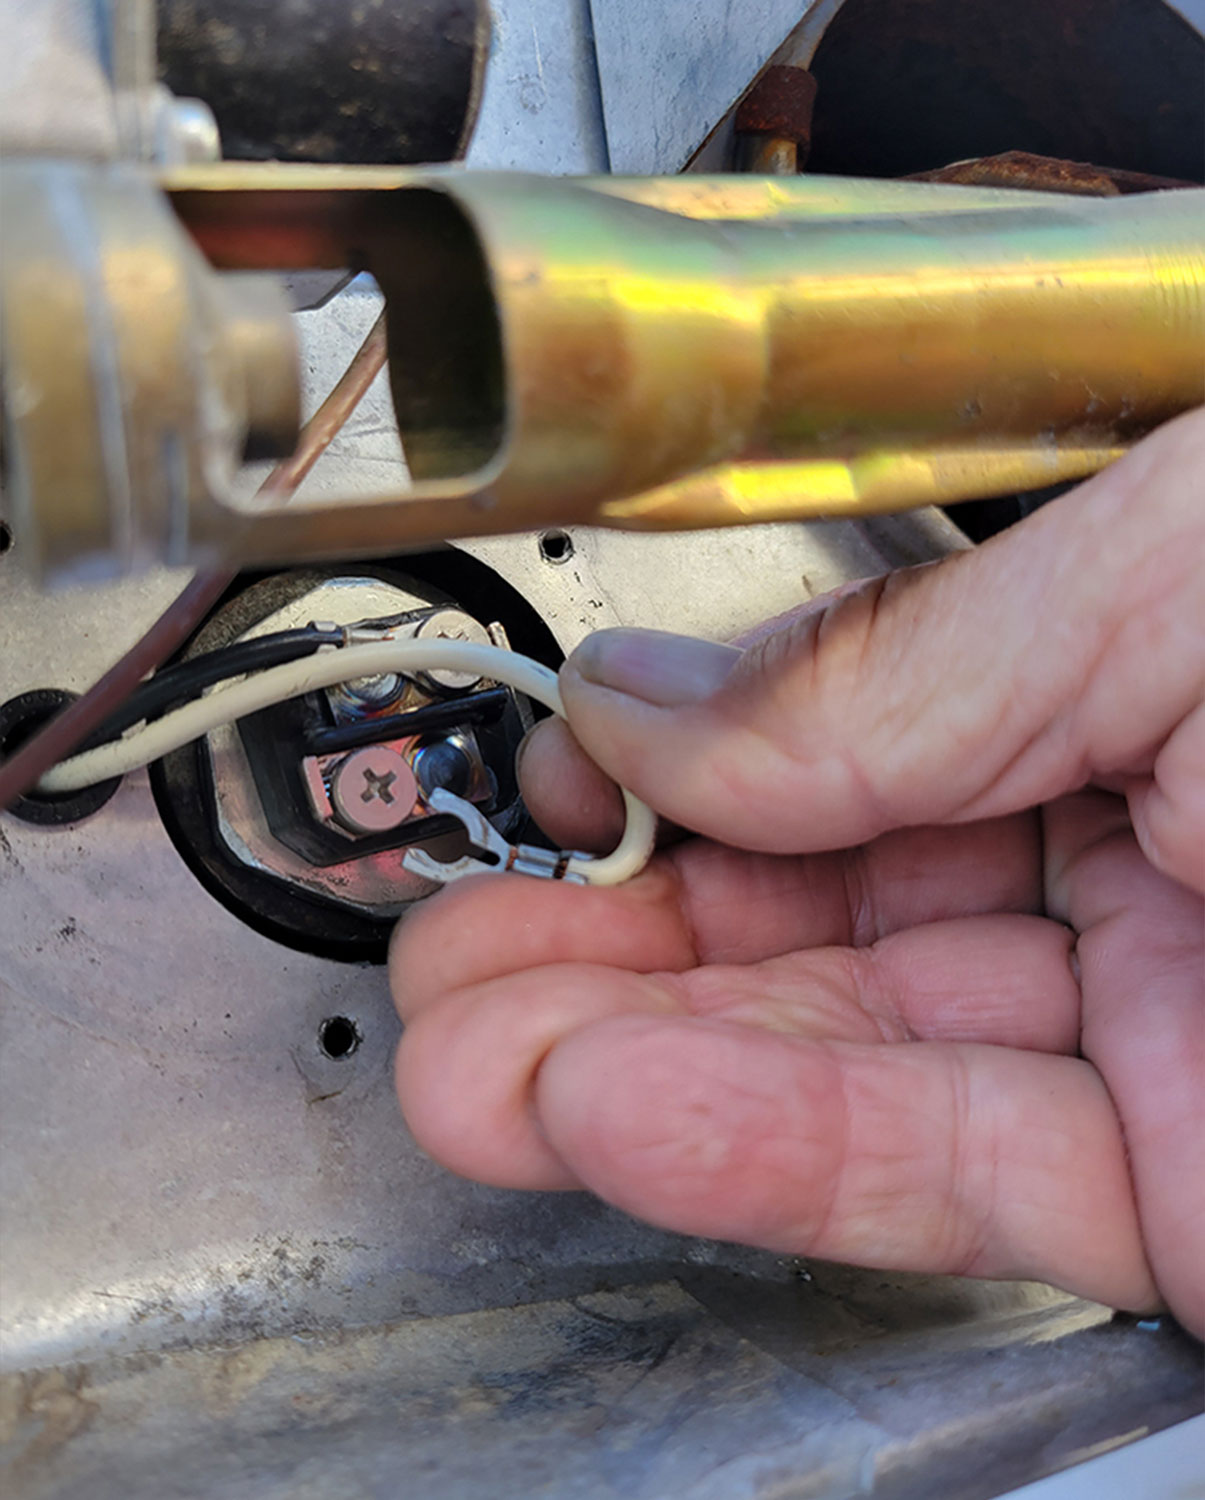
Once the new element is in place, you’ll need to reconnect the black and white wires. Make sure the screws are tight enough to prevent the wires from coming loose, which can lead to wire damage.

Already a Subscriber? Click here for Access to the Full Issues.