Rapid Cooling - RV Enthusiast Magazine

Rapid Cooling

by | May 12, 2023 | Climate control, Electrical, Repairs and Upkeep

Photos by Bob Livingston

Modifying an existing rooftop air-conditioner with a RV Airflow System’s patented foam plenum insert takes cold-air velocity to a new high — and inside temperatures to a new low.

Summertime brings hot weather — and most RVers venturing into regions where the temperature soars must rely on their rooftop air-conditioners to be comfortable. Most RVs have one or two air-conditioners, and many are now outfitted with three to keep the inside temperatures cool. While the Btu ratings of these air-conditioners suggest that they are capable of getting the job done, inefficient mating to the roof ducting can compromise the flow and cooling capacity. RV Airflow Systems (rvairflow.com) has designed an aftermarket modification kit that improves efficiency dramatically, while taking the noise level down substantially.
RV Airflow Systems kit components
The RV Airflow Systems kit is fairly simple and includes the AFS foam insert, two duct inserts, adhesive-backed foam gaskets, two Styrofoam spacers (not shown) and some aluminum tape.
I fight the heat frequently with my 36-foot fifth wheel, where I elected to have only one air-conditioner to make way for a power roof vent in the bedroom to exhaust the hot air when boondocking. In an attempt to improve air flow — in an admittedly underrated system for the size of the fifth wheel — I modified the plenum with 1-inch waterproof foam to force more cold air through the ducted ceiling registers. This upped the ante quite a bit, but there was still room for improvement. As I realized afterward, I should have gone with the RV Airflow Systems solution in the first place — and probably still will.
AFS foam AC component
Ducting in AFS foam part
The unique design of the AFS foam distributes the air more efficiently through the air ducts. Air is ramped right into the duct, which improves air velocity without obstructions.
To understand how the product works, you also need to understand what happens when you turn on your air-conditioner. Basically, when the fan blows the air through the condenser into the plenum straight down onto the air-shower plate, it cavitates and swirls as it tries to force the cold air into the duct openings. Physically, this creates a problem, and the resulting loss of pressure is tremendous. The other problem is the return air chamber, which is way too small and not filtered properly, so it does not have enough return air volume through the evaporator and limits the amount of discharged air. But there’s also yet another issue with ducted rooftop air-conditioners: If the divider between the plenum and the return air is set too far back, airflow will (again) be diminished. Combine the inherent inefficiency of mixing cold air with heat radiating through the roof and into the very ducting that has to distribute air to the other end of a fifth wheel and you can see how maintaining cool inside temperatures can be challenging.

I guess you could say that many systems really need to be redesigned. In fact, some of the newer RVs are getting away from ducted ceilings and using a direct discharge, which manufacturers claim is more efficient. For those of us with older RVs, installing the RV Airflow Systems foam changes the paradigm.

Making the Conversion
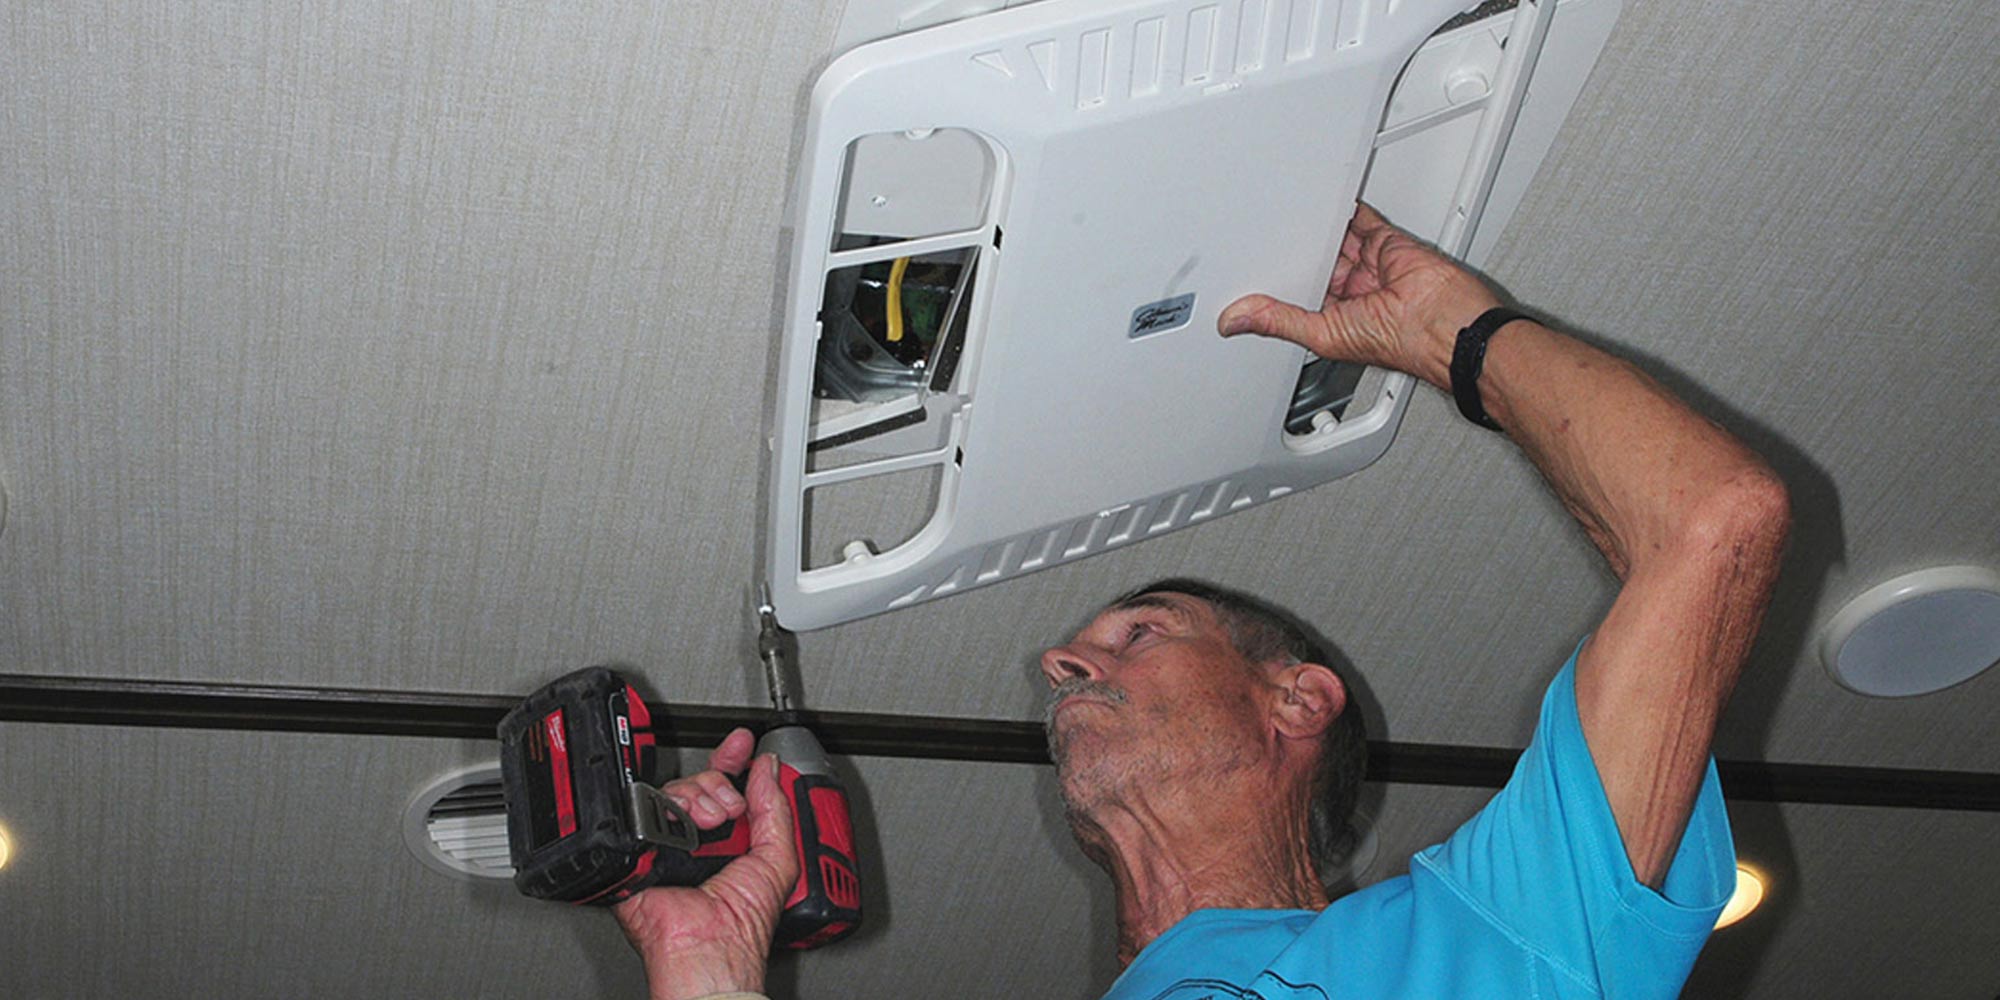
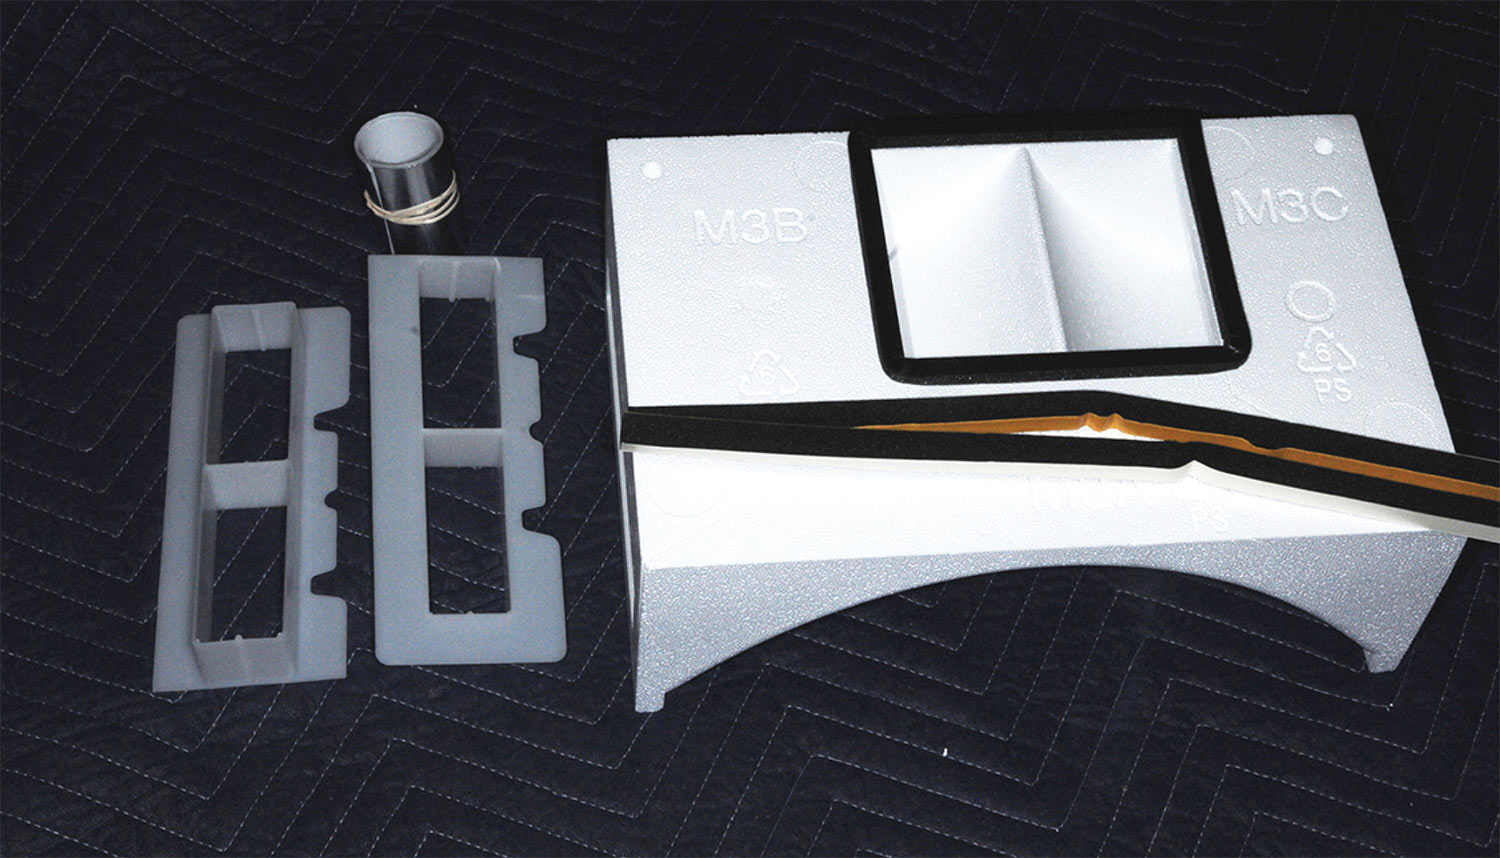
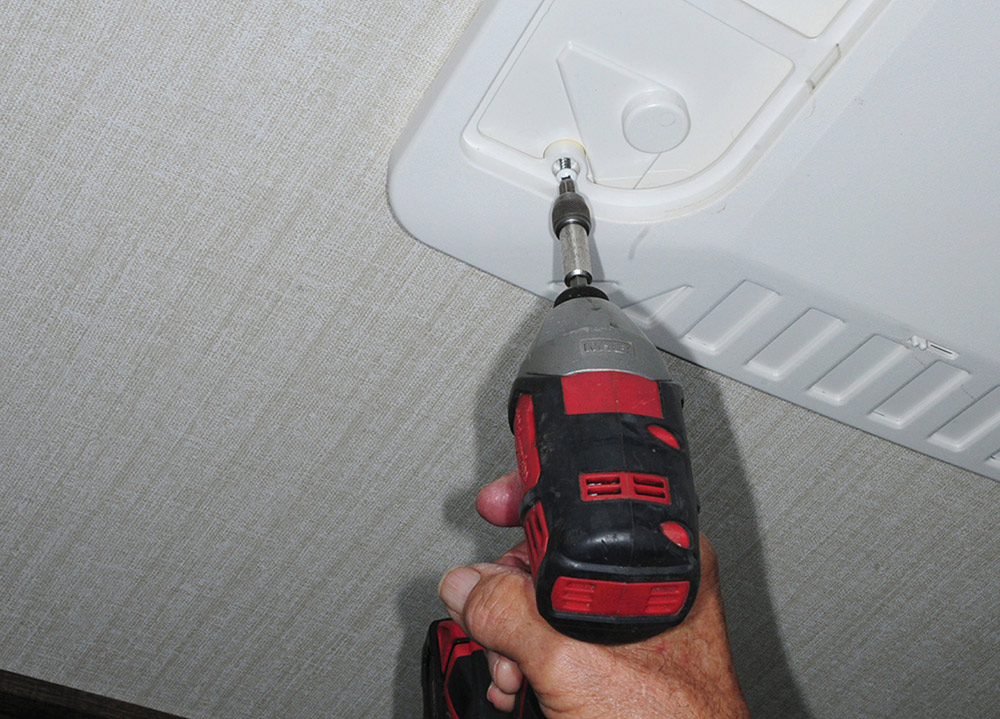
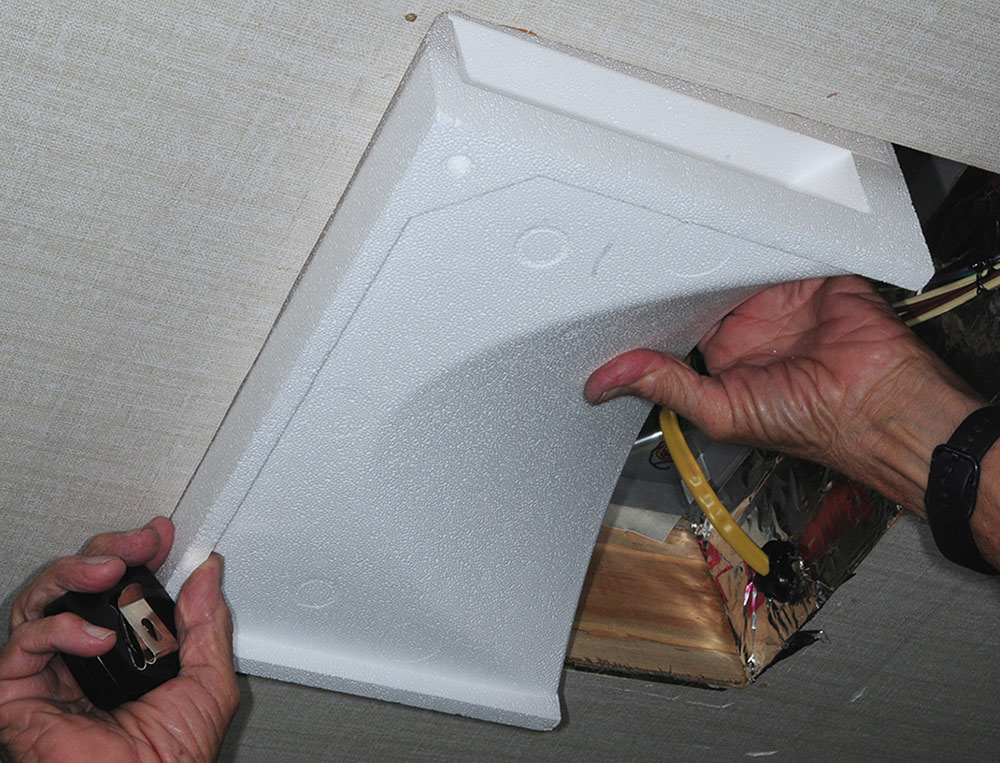
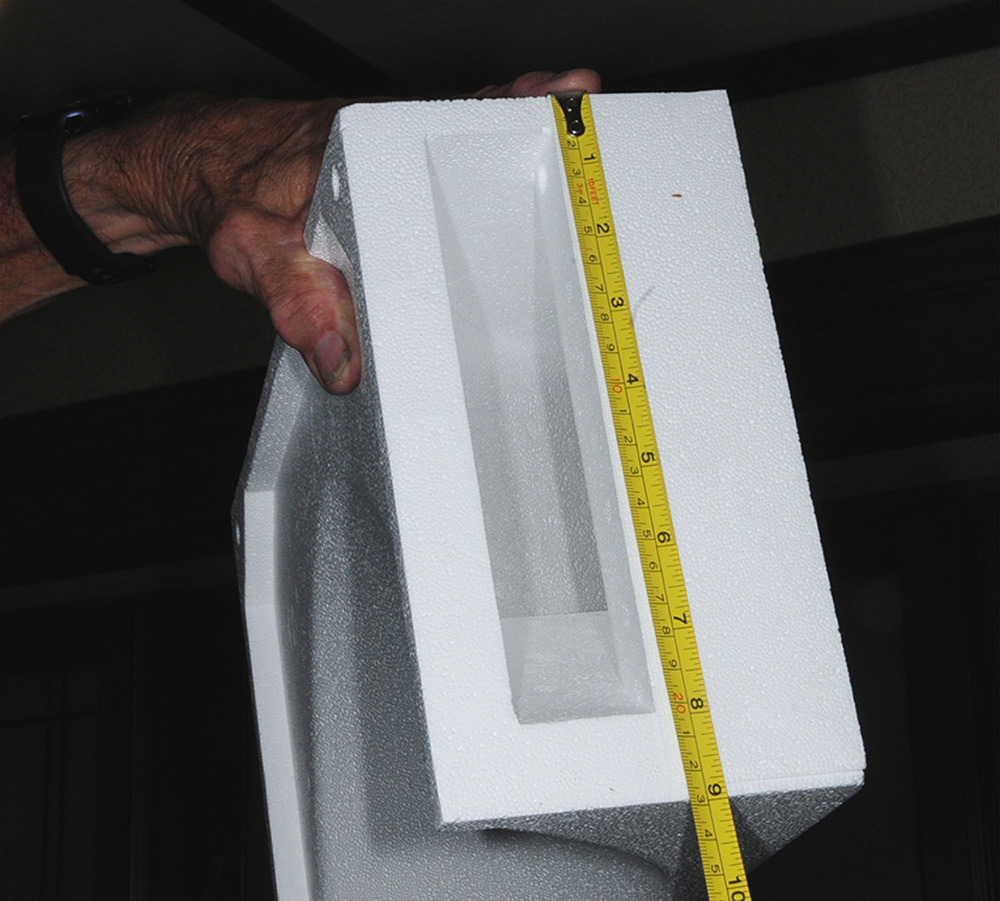
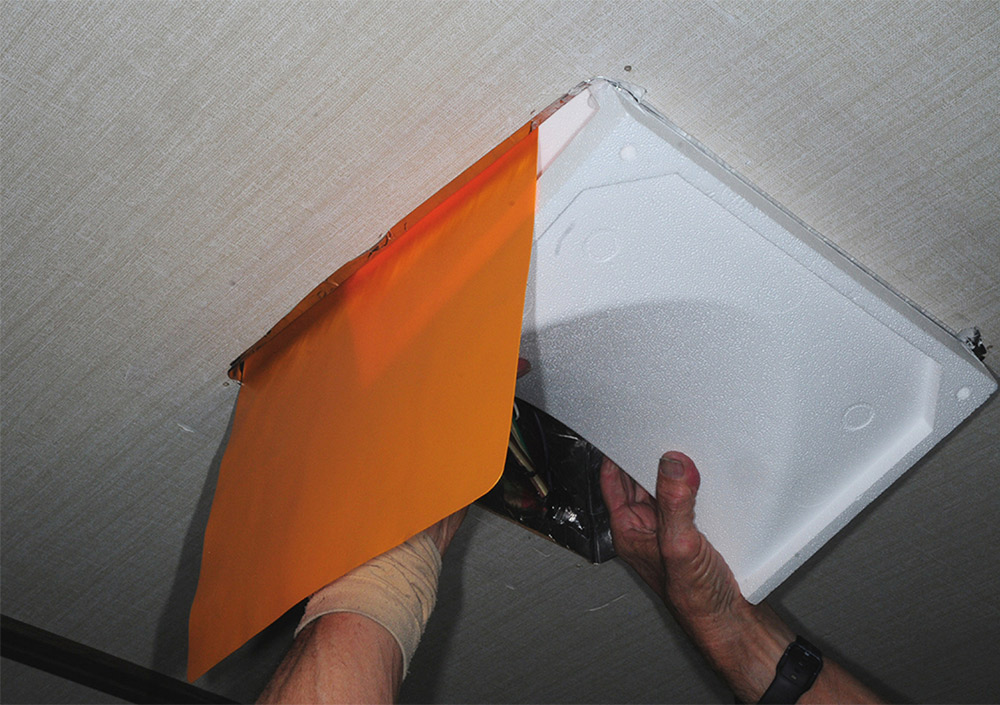
When I opened the box with the RV Airflow Systems kit, I could see that it was quite simple to install. For this project, two kits were ordered for installation in a 2017 Grand Design Solitude fifth wheel that was equipped with two Coleman Mark 8 series air-conditioners, both rated at 15,000 Btu. This 38-foot fifth wheel is located in Palm Springs, California, one of the hottest places in the United States. The RV Airflow Systems AFS foam is designed to be installed by a do-it-yourselfer and will probably take around 1 ½ hours. The instructions are easy to follow, and the company offers a comprehensive video on its website that dispels any mystery to the installation.

Unscrewing AC cover
Removing air-shower plate
It only took a few minutes to remove the ceiling assembly and air-shower plate under the air-conditioner. The air-shower plate was discarded.
The custom-designed, convex AFS expanded polystyrene foam at the heart of the system allows considerably more airflow across the evaporator, which in turn increases air volume into the plenum — boasting efficiency improvements of 40 to 50%, and as a bonus reduces some of the fan noise emanating from the air-conditioner ceiling assembly/air-distribution box (ADB). The only drawback is the elimination of the “quick cool” feature built into the ADB, which is inconsequential if you only have one air-conditioner and need to distribute the air throughout the interior.

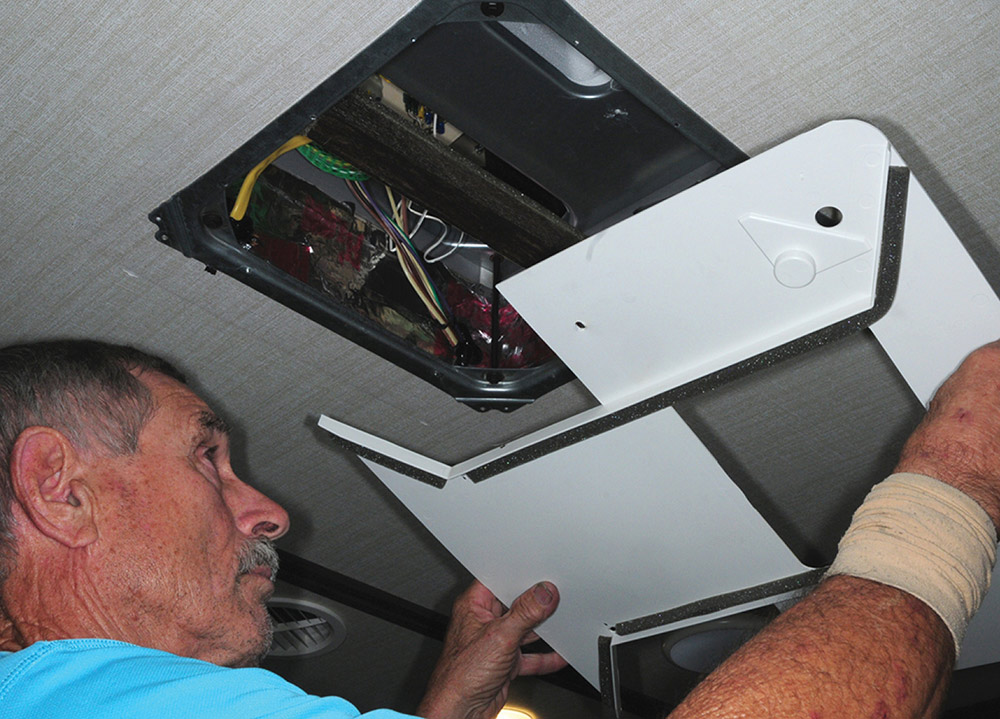
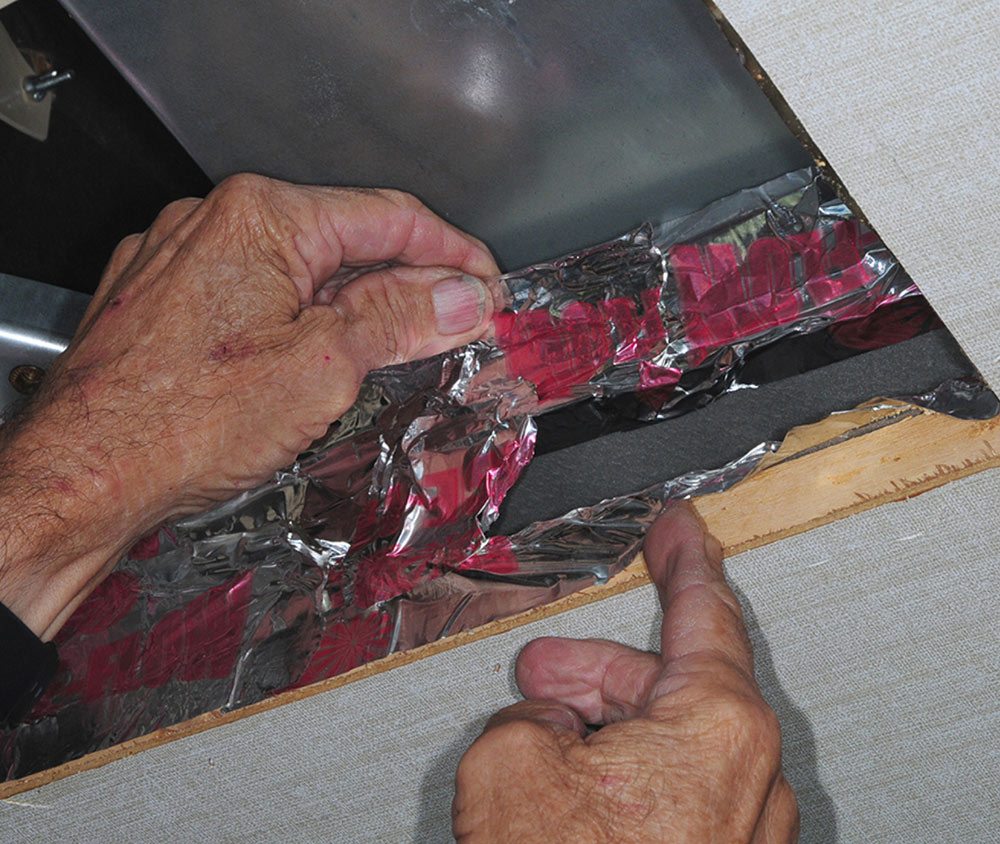
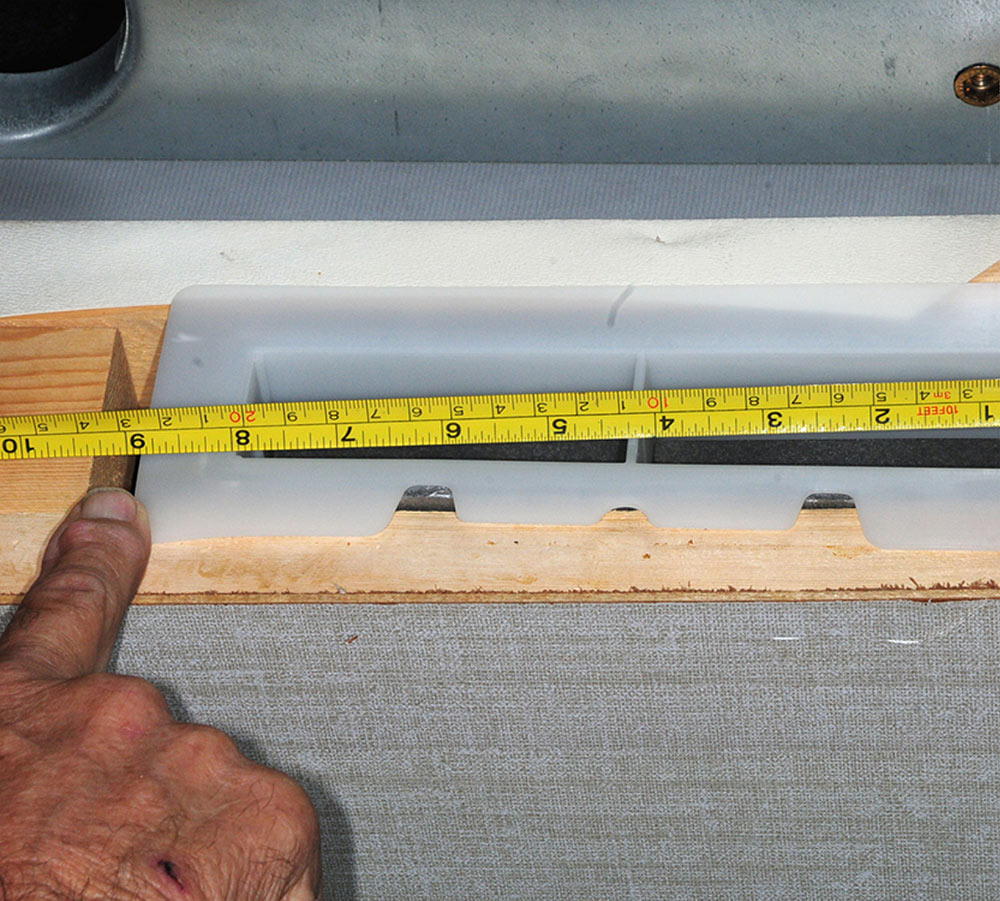
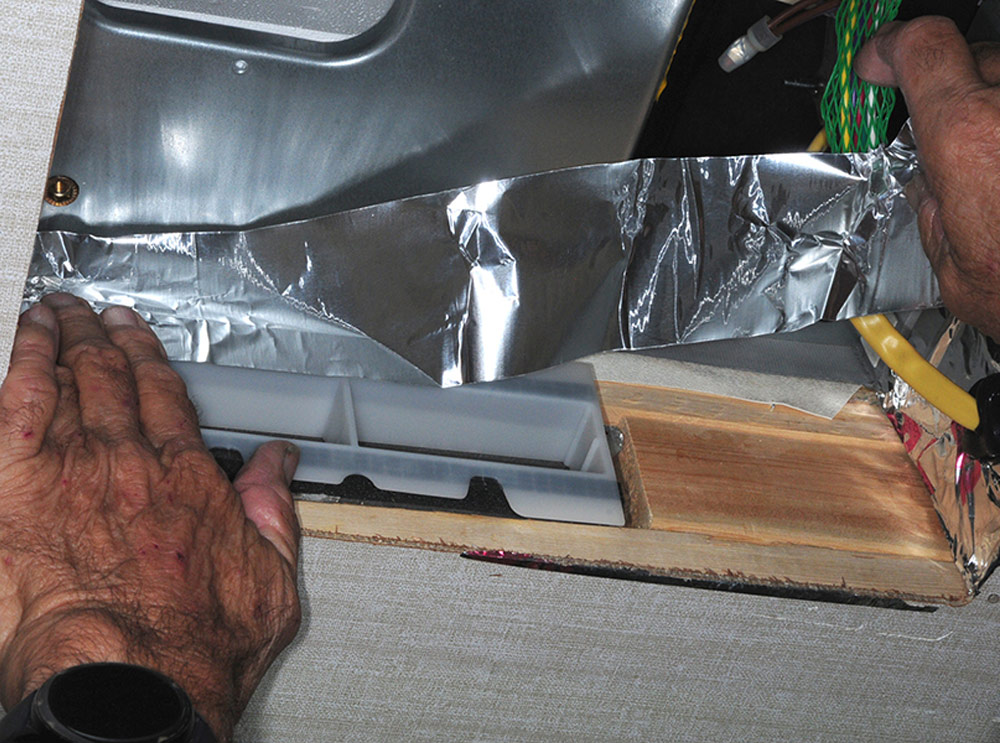
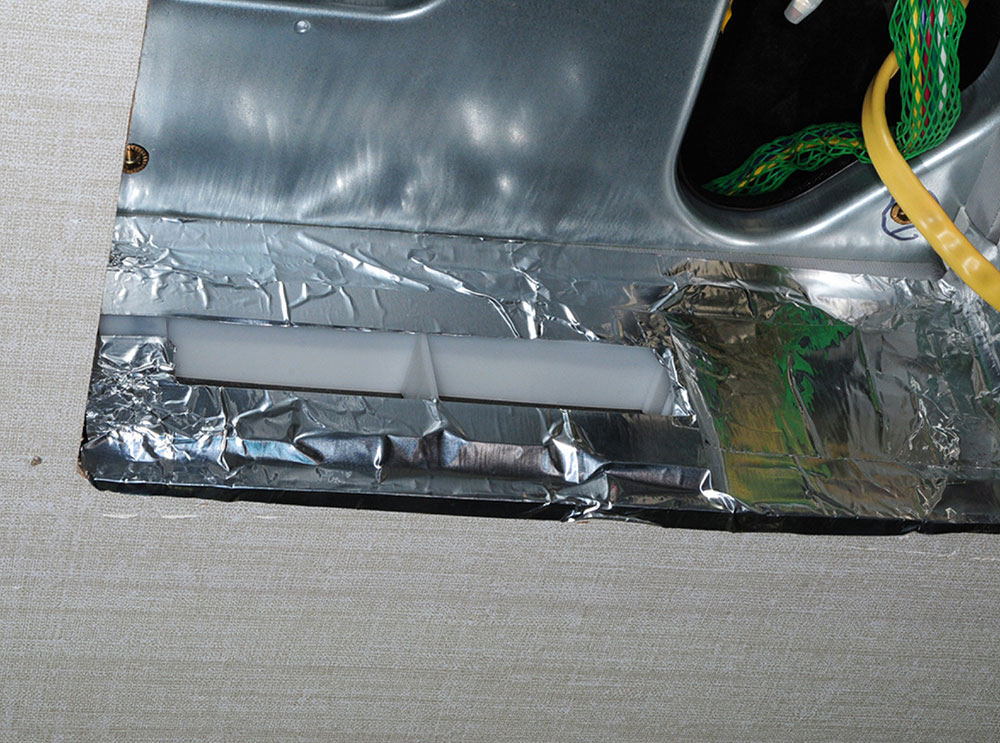
Once the ADB was dropped and the air-shower plate removed, it was noted that the divider between the return air cavity and plenum was never securely attached and air pressure had been pushed halfway into this cavity. This caused the return air to pull in part of the cold air from the plenum, creating far less efficiency. Had this fifth wheel been in a humid climate, quite a bit of frost and ice would have built up on the evaporator. The separator was discarded for this installation, so this issue was solved.

Removing old air separator
The air separator between the two cavities was installed incorrectly, allowing the cold air to be sucked into the return air chamber. Basically, the unit was recirculating the cold air, limiting the velocity through the ducting.
Removing lag bolts
Four lag bolts were removed from the mounting plate and set aside. These bolts hold the air-conditioner to the roof.
Next, the plenum area was prepped for the AFS unit by removing any loose foil tape in the plenum area. You’ll also have to remove and discard any factory-installed duct inserts, if so equipped. The AFS unit was test fit by gently placing it up into the plenum — being careful not to damage the foam — and the two rear lag bolts were inserted temporarily through the foam. They threaded easily, so it was not necessary to move the air-conditioner upper unit to center the holes (sometimes the upper unit can be installed off-center from the factory). If an adjustment is necessary, remove the AFS foam and gently lift the air-conditioner; when the seal releases, you will be able to move it side-to-side or front-to-back.

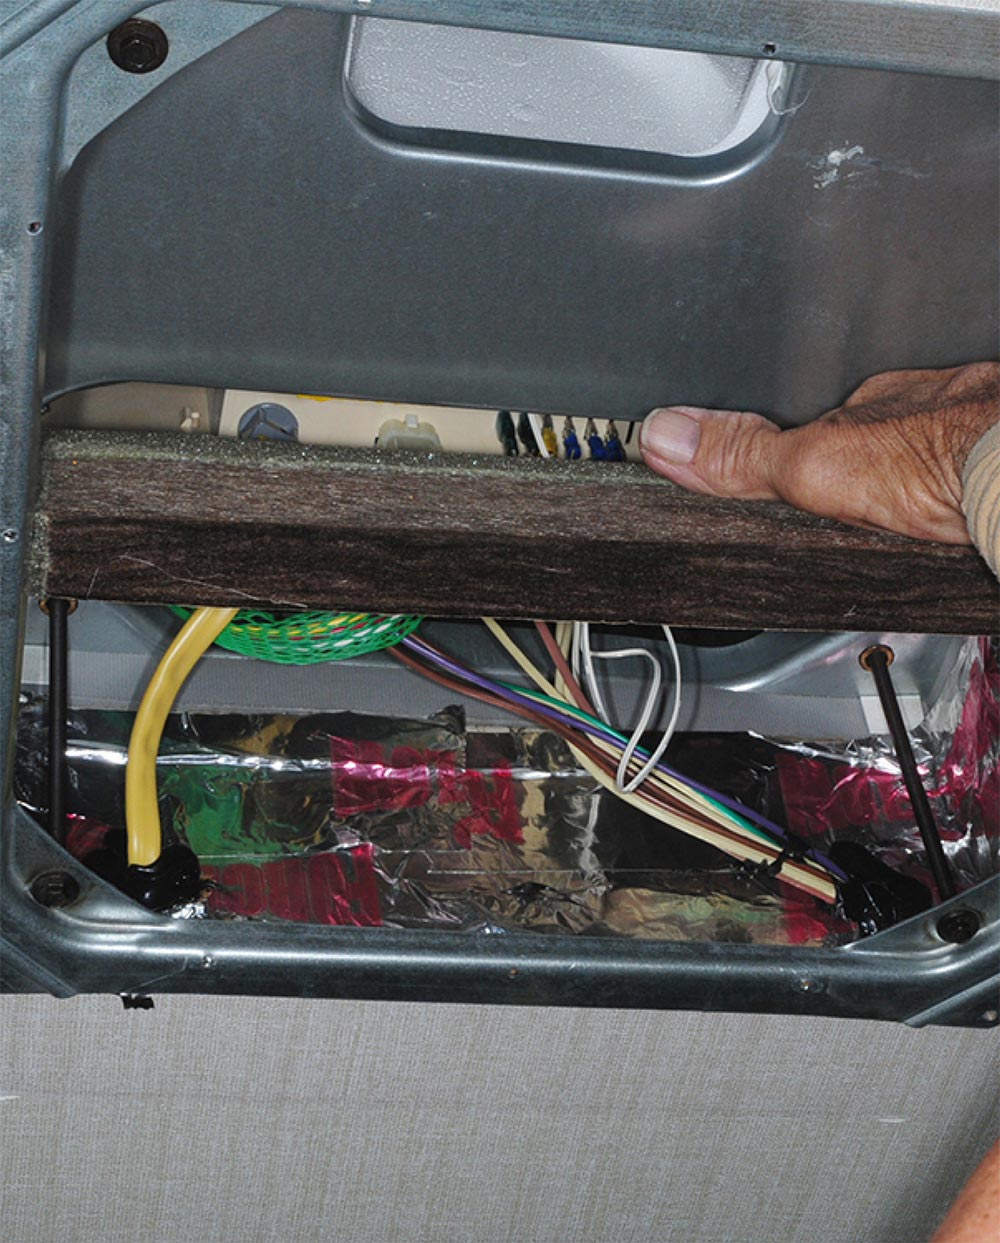
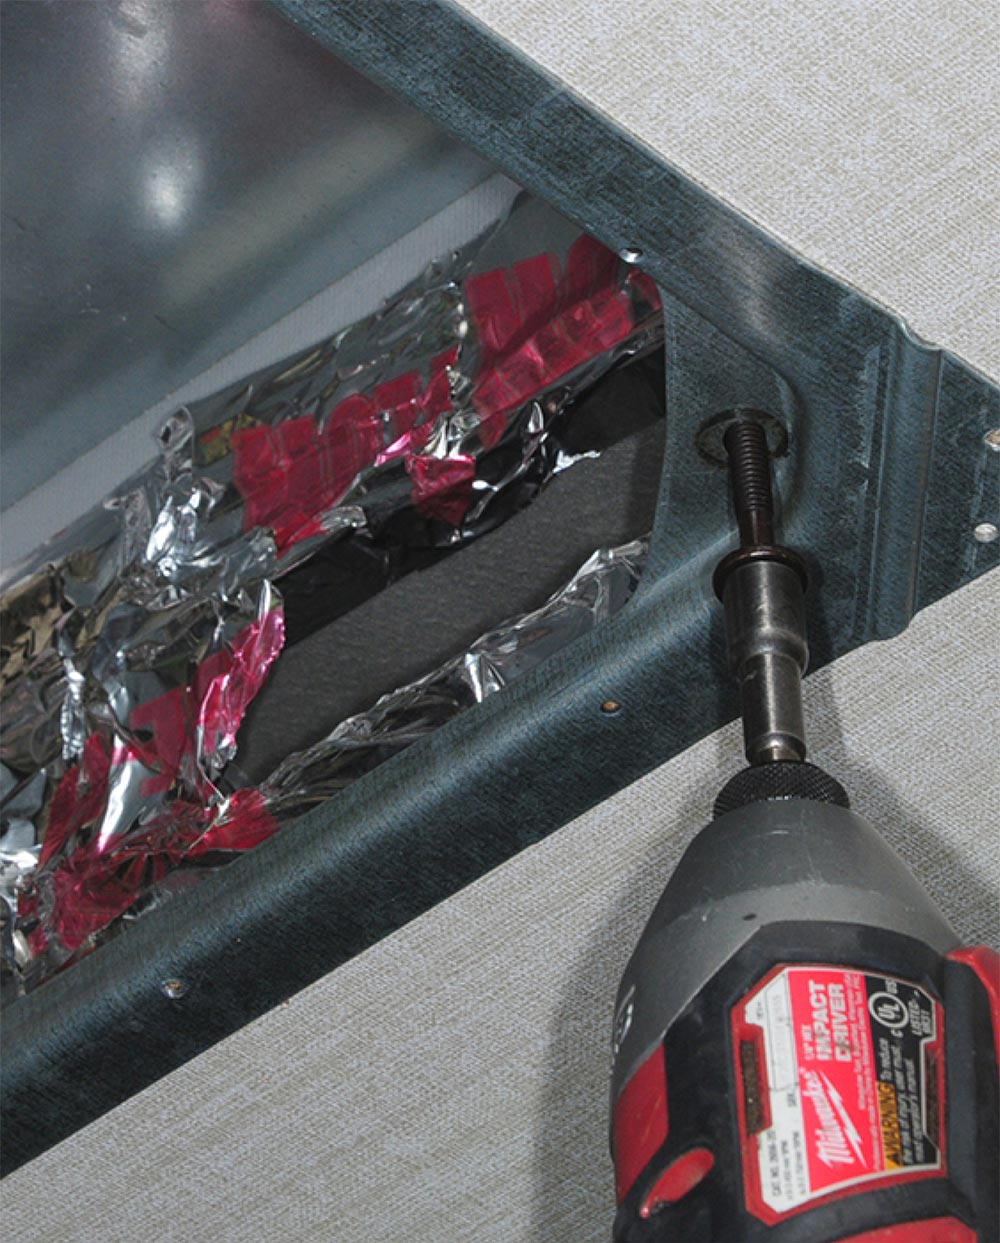
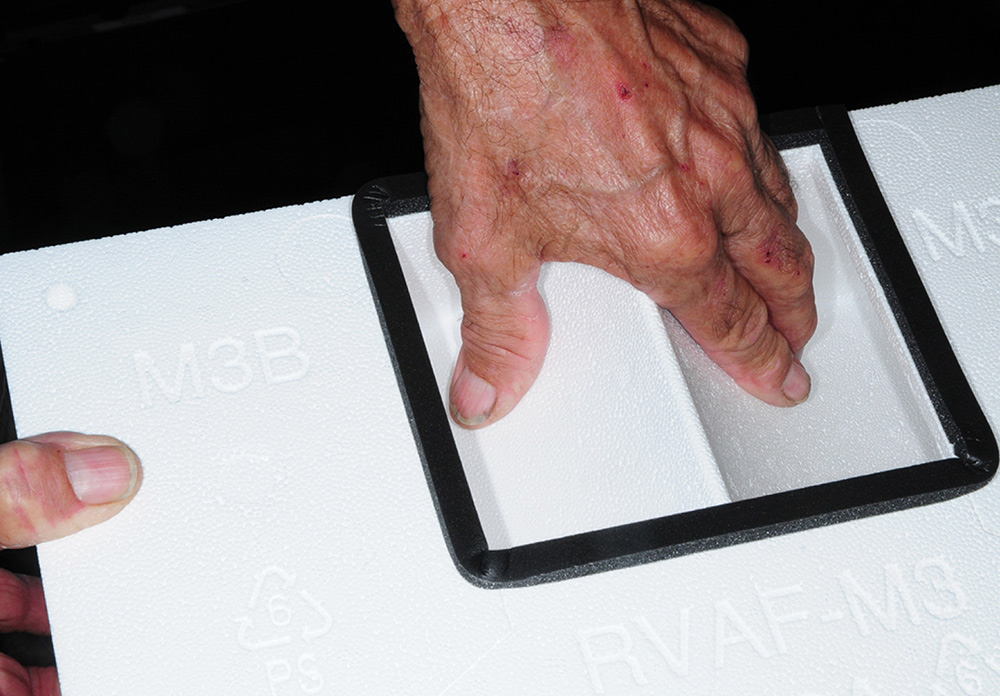
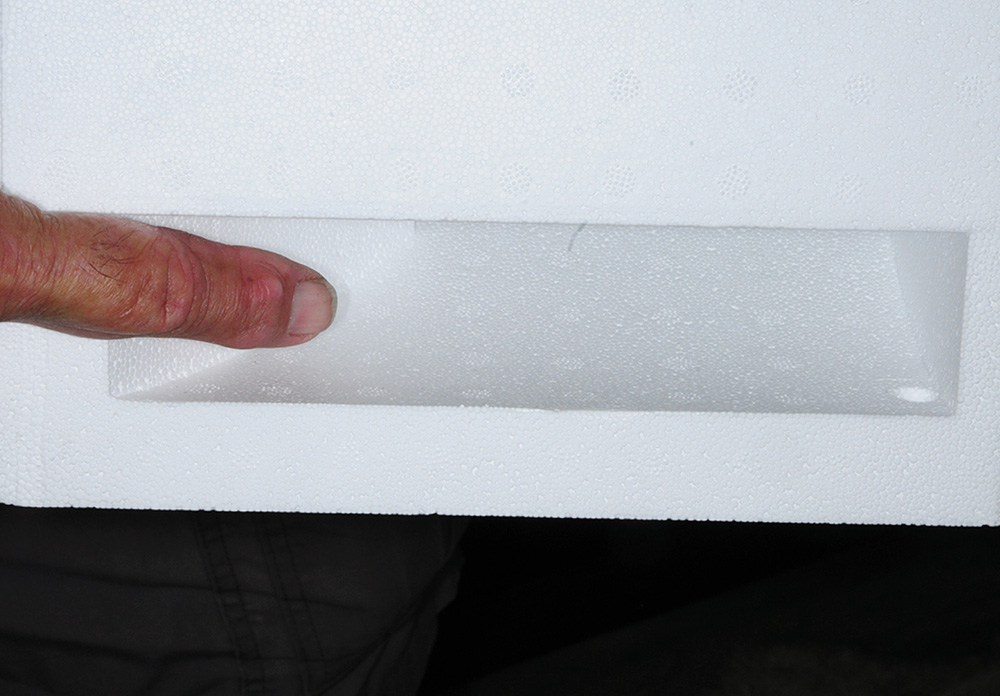
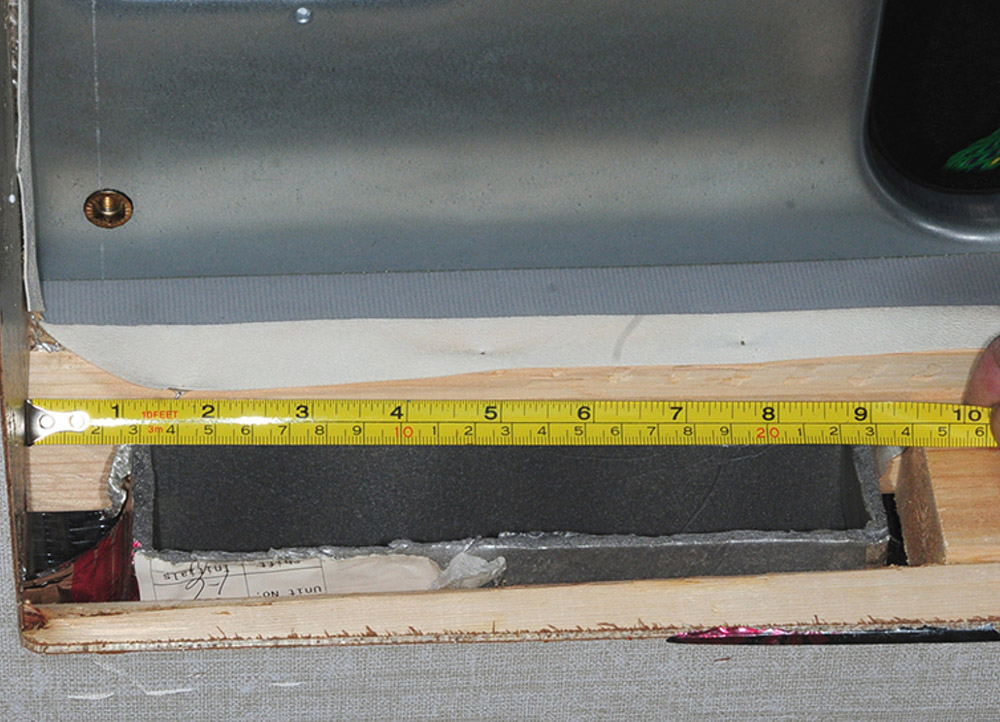
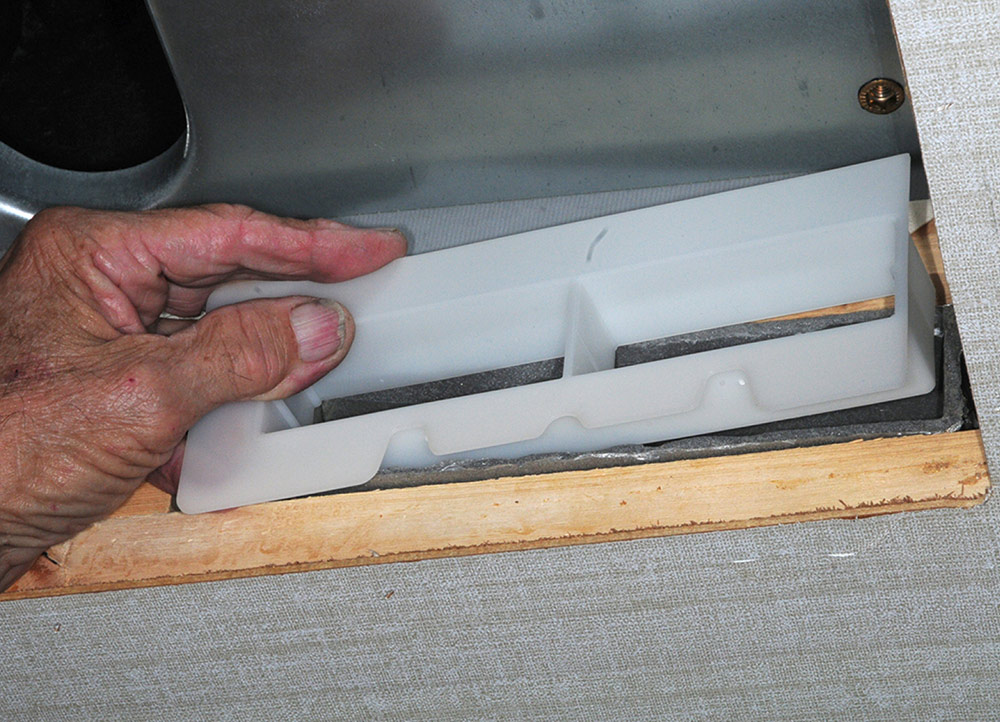
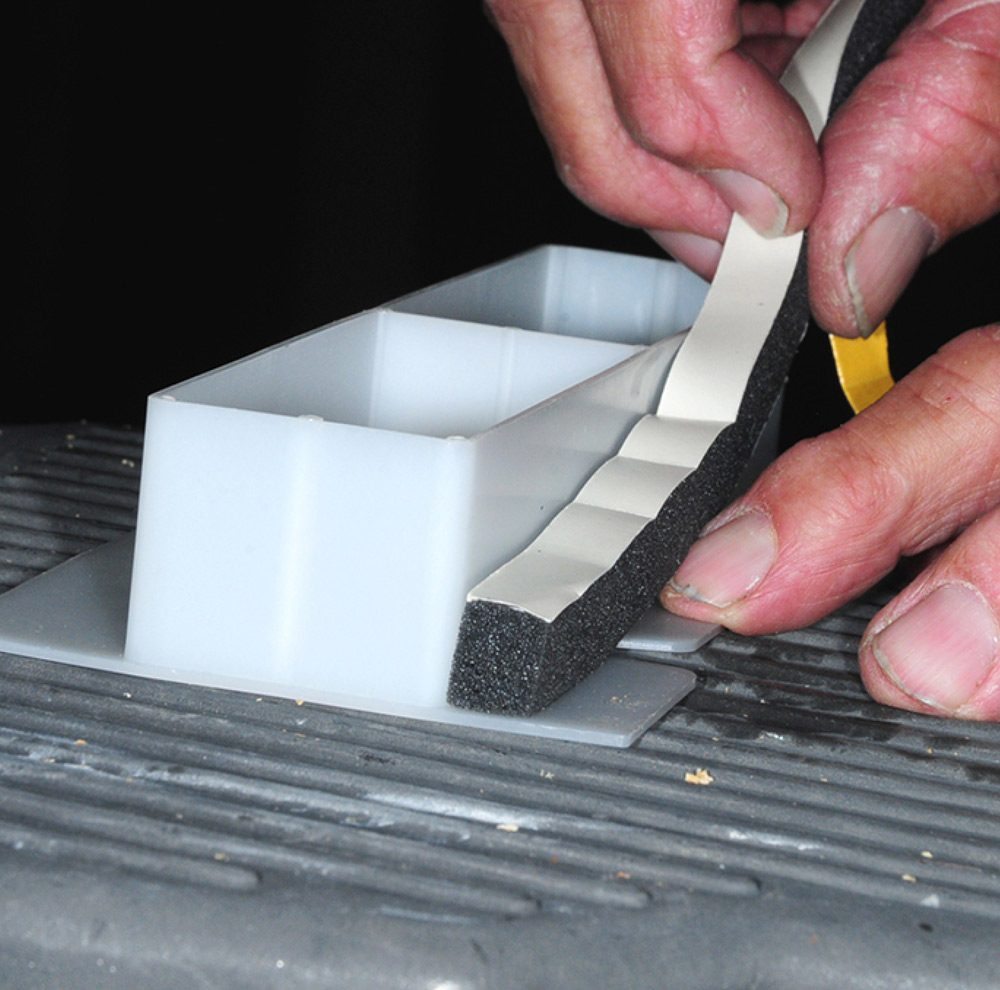
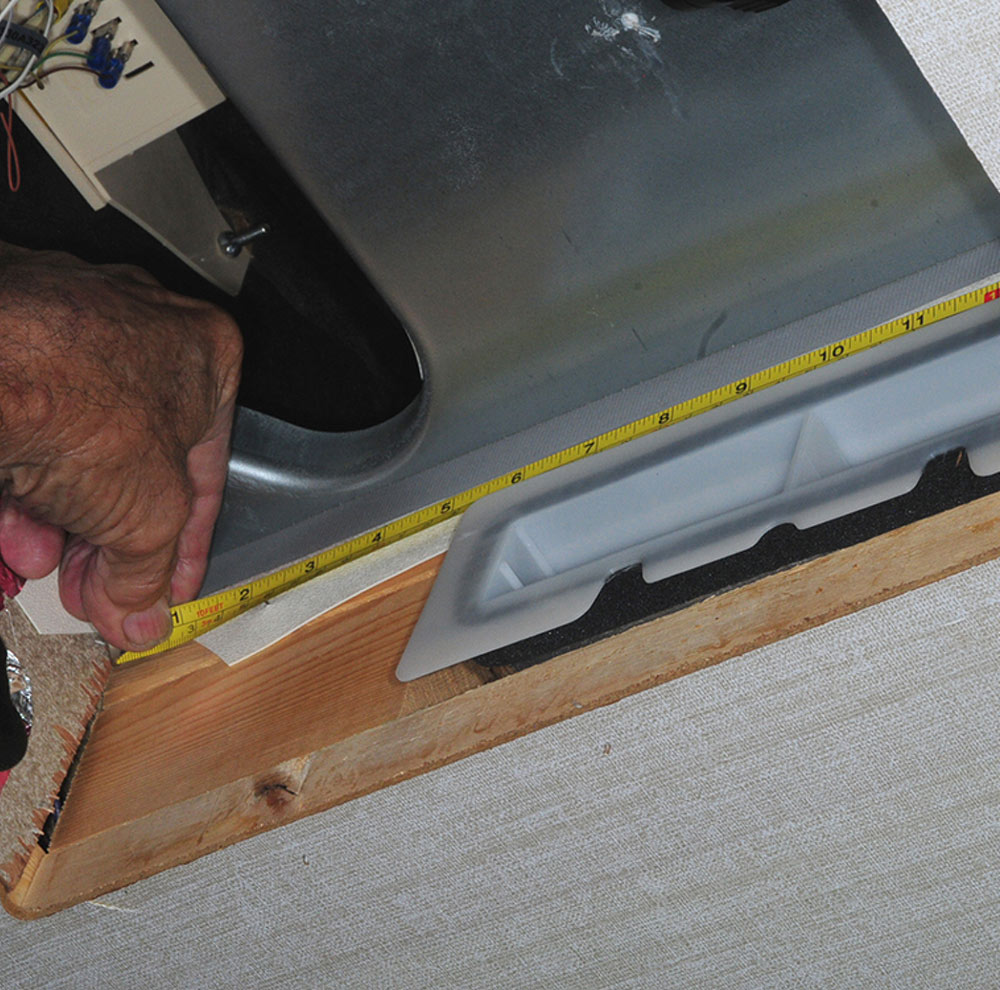
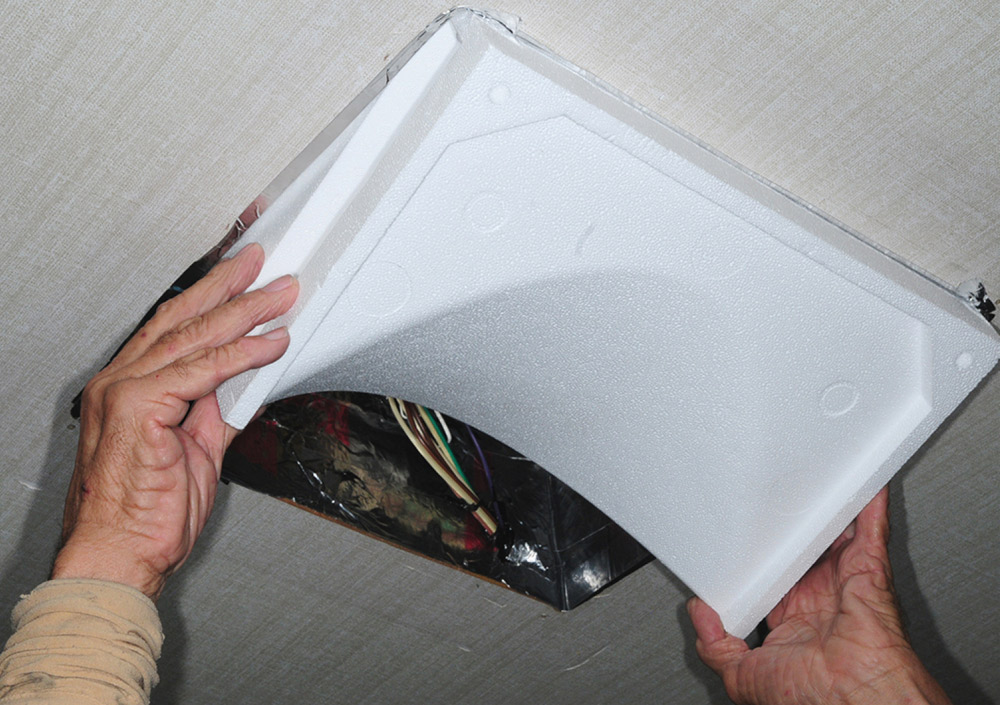
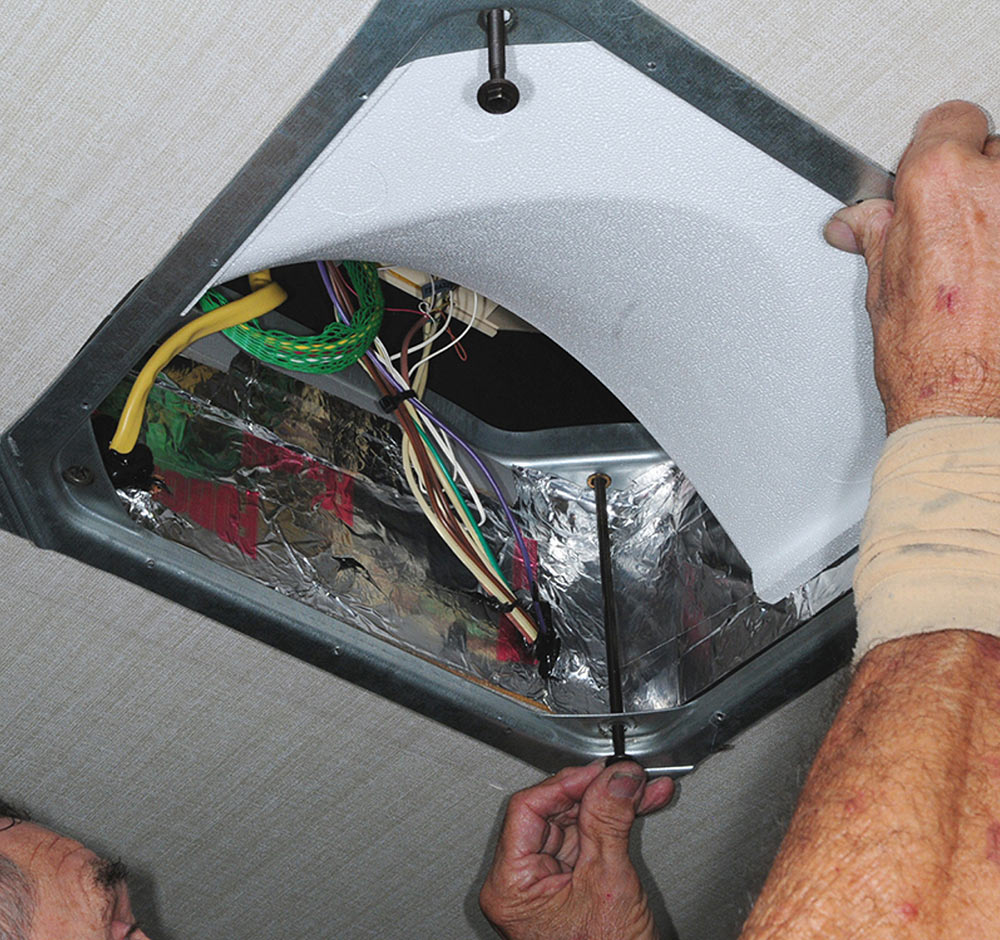
After confirming the fit, the AFS unit was removed in order to install the duct inserts; the kit comes with 1-inch duct adapters, which we needed for this project after measuring the duct opening from the top of the mounting bracket and from the top of the plenum duct. The adapters were sealed with aluminum tape on all sides. It’s possible to trim the duct adapter, if needed, with standard tin snips, making sure the sheer edge is to the rear after dry fitting. We had to make a few minor modifications because of the location of the ducting. Once that was done, the strip of foam gasket was applied around each duct insert, making sure they would be as tight as possible.

Removing old aluminum tape
All the original aluminum tape from both cavities must be removed and discarded. New tape was applied later in the process.
Test fitting AFS
The AFS was test fitted into the cavity to determine if any trimming was necessary. No trimming was needed for this installation.
Measuring the ducting inlets
Measurements were taken at the ducting inlet on both sides to determine if the duct inserts needed to be cut. Since the trailer duct openings were so close to the end of the opening in the ceiling, the plastic inserts were cut to fit.
Test fitting duct insert
Once the duct insert was cut, it was test-fitted into the ceiling duct opening. The adapters were needed to make them fit properly.
After turning on the air-conditioner, the area was tested for air leaks. Air-conditioning-type aluminum ducting tape was used in several places where air was felt or could possibly result in a leak down the road. Aluminum tape was used to seal all the edges. This is a judgment call after checking out the installation.

Right from the get-go it was obvious that airflow was stronger than before the installation of the AFS foam modification — and it was quieter. Both the rear and front air-conditioners were checked with a decibel meter before and after the installation. At the ADB, noise level was reduced from 83.5 to 76.3 decibels. While sitting on the recliners in the living room, the noise level went from 69 to 63 decibels. Lying in bed, the noise level from the bedroom air-conditioner was lowered from 69.4 to 68.2 decibels.

Measuring AFS foam duct dimensions
Measuring duct insert dimensions
It’s important that the AFS foam and the duct inserts line up properly. Measuring and modifying the duct inserts allows for a very close fit to ensure that the highest possible volume of air will flow through the roof ducting.
Temperature reduction was also impressive. At the beginning of the test, the outside temperature was 81 degrees; inside, the living room was 87 degrees F and the bedroom 91 degrees F. After running the air-conditioners for 21 minutes, the bedroom temperature dropped to 79 degrees F and the living room was at 78 degrees F.

Most impressive, however, was the aforementioned increase in airflow. While the company claims improvements of 40%-50% on most conversions, we had no way to really test this other than seat-of-the-pants, but it was immediately noticeable. For an investment of $180 for each air-conditioner and a couple hours of time, the addition of the RV Airflow Systems AFS foam insert can easily substantiate the company’s claim of “it’s like having a second or third air-conditioner.”

Applying adhesive foam tape around duct insert flange
Adhesive foam tape was applied to the duct insert flange before installing permanently into the ducting opening in the ceiling.
Taking measurements for aluminum tape
Applying adhesive foam tape around duct insert flange
Applying aluminum tape around ducting
Aluminum tape applied
Amazingly, there were many places where air could leak, so the taping process is critical to preserve efficiency. Here, the areas around the duct insert were taped liberally; this is one circumstance where more is better. Make sure the tape is smooth as possible.
Tying up wires and moving them out of return-air cavity
The RV Airflow Systems kit is fairly simple and includes the AFS foam insert, two duct inserts, adhesive-backed foam gaskets, two Styrofoam spacers (not shown) and some aluminum tape.
Installing AFS foam into cavity
Using thin sheet as shim
The installation of the AFS foam starts at a 45-degree angle being careful to avoid damaging the foam. There are no fasteners for the foam, which is press-fit into the opening. Here, a thin plastic cutting board was used as a shim to help guide the foam past the duct inserts. The plastic worked perfectly, but in a pinch the installation instructions can be folded in half to facilitate this process. Just remember to remove whatever shim is used. Once seated, the AFS was sealed with aluminum tape (not shown).
Checking mounting plate holes
Here, the holes in the mounting plate are checked to make sure they line up with the AFS. If the manufacturer did not get the mounting plate centered, the upper air-conditioner unit will have to be lifted and adjusted slightly.
Reinstalling ceiling assembly
Re-installing air filters and grates
The ceiling assembly was re-installed without the air-shower plate. Before re-installing the filters into the ceiling assembly, they should be cleaned with warm water and a mild soap. Make sure they are dry before running the air-conditioner.
Pro Tip
If the air-conditioner(s) is several years old and has not been serviced, I recommend doing so before the installation of this product. If the evaporator and a condenser are dirty, efficiency will have been further diminished before the installation of the new parts.
Get Updates
Subscribe today and never miss an issue!
Get all the latest tips and news to keep you moving on that open road!
RV Enthusiast January/March 2024 Issue
Current Issue
January/March 2024
Spring is back in bloom and with it we are proud to present our latest issue of RV Enthusiast! The January/March issue covers furnace failures and how to fix them, the best batteries for boondocking, quick and easy weekend projects, PLUS so much more!

Already a Subscriber? Click here for Access to the Full Issues.

Share This