Technically Speaking – Q&A: June 2022
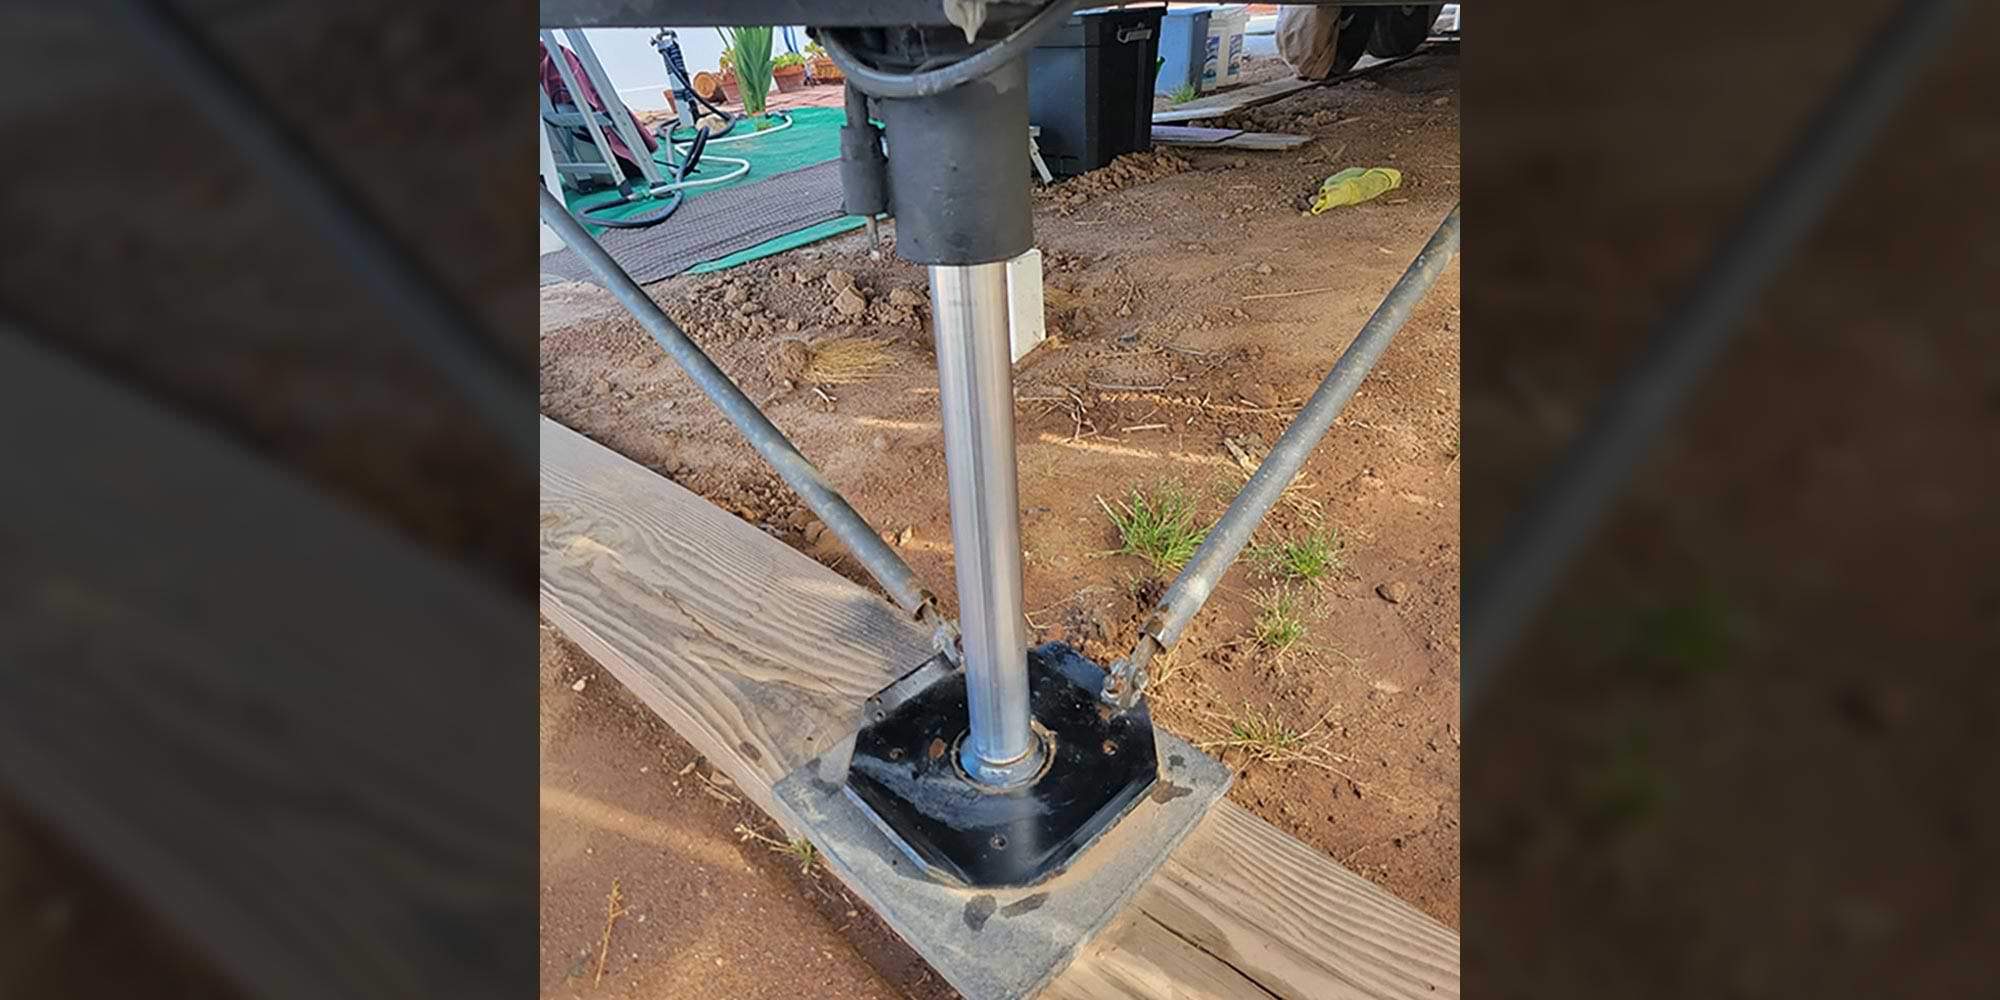
Leveling Jacks Not Leveling
— Brian Hunt
Brian, since I have the same system on my fifth wheel, I have become very familiar with the operation of the Bigfoot components. There was an update on both the keypad and the control board several years back, which eliminated the rear Leveling Sensor. Because of the rigid frame used by some manufacturers (like your Carriage), the rear Leveling Sensor was eliminated because it did not work correctly. If you have not eliminated that sensor, now is the time to do it, and you’ll need to update the control board and keypad. If you already updated the system, it’s likely the problem lies with the control board. The keypad simply tells the control board what to do. However, having said that, I would replace both the control board and the keypad for better reliability.
I’ve had trouble with my keypad in the past with the buttons not making contact after many years of service. This is typically not fixable. Go online and search for Bigfoot parts and you should be able to find what you’re looking for. Another good option is to look on eBay; if you can find the parts, the pricing may be better. As you know, everything has gone up in price, if you can even get the parts. I found the parts on eBay for a lot less money.
Voltage to the control board should not be the issue since the front jacks work with the keyfob. Just for the heck of it though, I would check (with a multimeter) to make sure that there’s enough of voltage at the control board. You should see a minimum of 10.8 volts DC at this point.
Amp Gauge Install Clarification
— Brian Amos
Brian, thank you for pointing this out. It’s a good thought, but there are a few caveats. The goal of installing this basic ampmeter is to give the user a general idea of the amount of amperage draw from the inverter.
When you are watching TV, for example, the amperage should stay fairly constant; most of the other appliances and accessories powered by the inverter when unhooked will function in the same manner. If you record the amperage draws from individual appliances and accessories and multiply those figures by the number of hours (or fraction of an hour) they are typically run, you’ll get a fairly good idea mathematically of how long your batteries will last without re-charging when hookups are not available.
Of course, more sophisticated meters, like those from larger inverters and solar systems, record amp hours and percentage of available battery power in real time, but this tip is really targeted at those with smaller inverters and/or simple solar systems, like the portable models.
The meter presented in the tip (Baylite DC-5-120V 100A Mini Digital Current Voltage Amp Meter; sold by Amazon) is simple to hook up and does not require a lot of knowledge or tools. A meter with a shunt, like the one you suggested, requires a lot more experience with DC wiring. To hook up the shunt, all of the negative cables for one, two or three or more batteries have to go to the shunt first, which is not always an easy task. Those owners capable of doing the wiring can opt for the model you suggest (Baylite DC 6.5-100V 0-109A LCD Display Digital Current Voltage Power with 100-amp current shunt). Thanks for embellishing on this tip.
Lubricating the Hitch and Ball
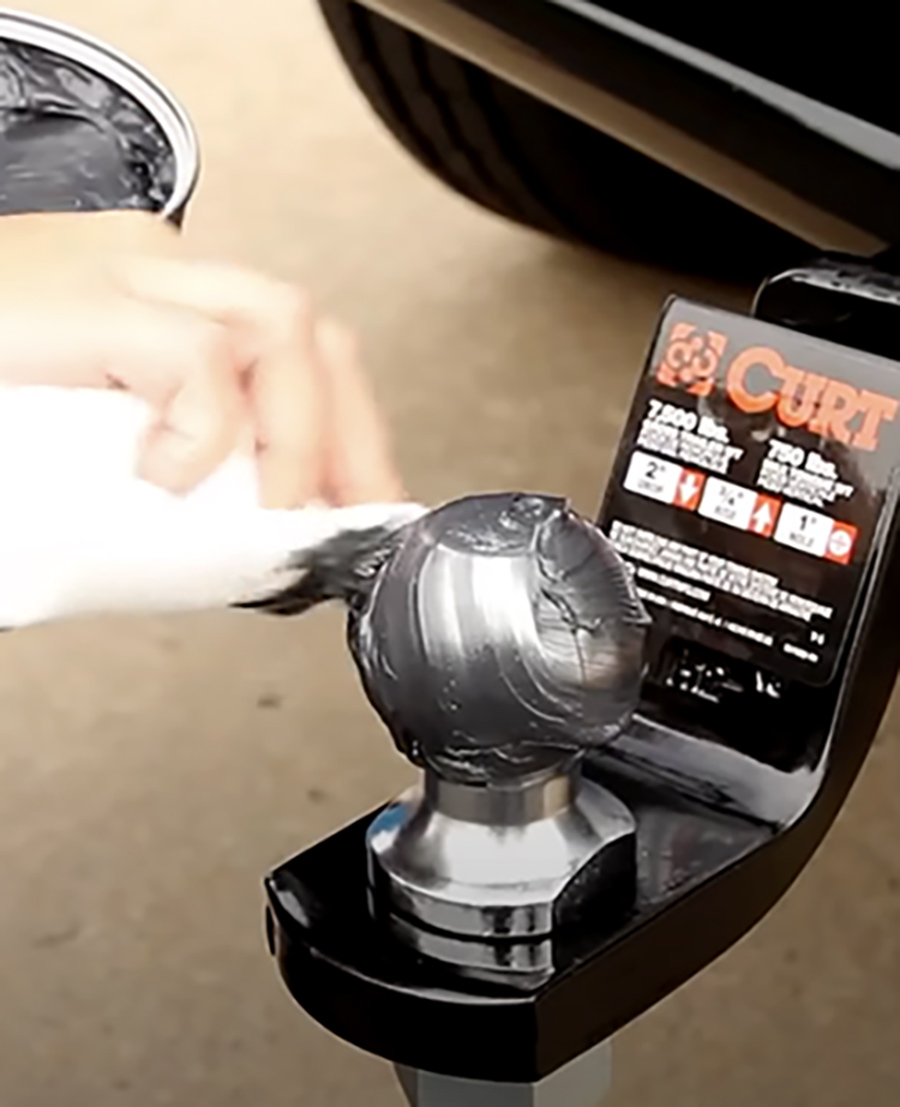
I have a travel trailer that I pull with a pickup truck. Hook up is with a hitch ball and I use sway bars. I have a two-part question. First, is it okay to lightly grease the ball to prevent the squeaking sound and help with hooking and unhooking the trailer? Second, I always use sway bars and I was wondering if I can lightly grease them also?
— Fred Sess
It’s always a good idea to grease the hitch ball — not only to prevent abnormal wear but also to reduce the annoying squeaking. On the other hand, it’s a bad idea to grease a friction-type sway bar (control). Friction created by tightening the flat bar in the outer housing is what reduces sway. If you grease this bar, you’ve defeated the purpose of the sway control.
If you’re calling the equalizing bars “sway bars,” then you’re talking about a different scenario. The ends of the equalizing bars should be greased at the point where the bars rotate in the ball mount. Usually, you can see where the lubrication needs to be applied — at the two points that are wearing through the paint. Over time, the excess wear will make the bars less effective and they will need to be replaced. While it may seem like overkill, the bars should be cleaned and greased every time you hook up — it’s amazing how much dirt will be attracted during use and when stored (typically on the ground) while in camp.
Use a thin coat of white lithium grease for the ball and equalizing bars (although for the ball, any automotive grease will work). Don’t use too much or the excess grease will just make a mess and run down the side of the ball and ball mount. You might consider purchasing a ball cover online to prevent spreading grease all over your pants and/or legs. These covers are fairly cheap; it’s a known fact that at some point in time you’re going to rub against the ball and make a mess.
Periodically clean the ball and apply fresh grease; like the equalizing bars, dirt is attracted easily over a short period of time. While you’re at it, don’t forget to grease the inside of the coupler when performing your cleaning chores.
Where’s the Water Pressure?
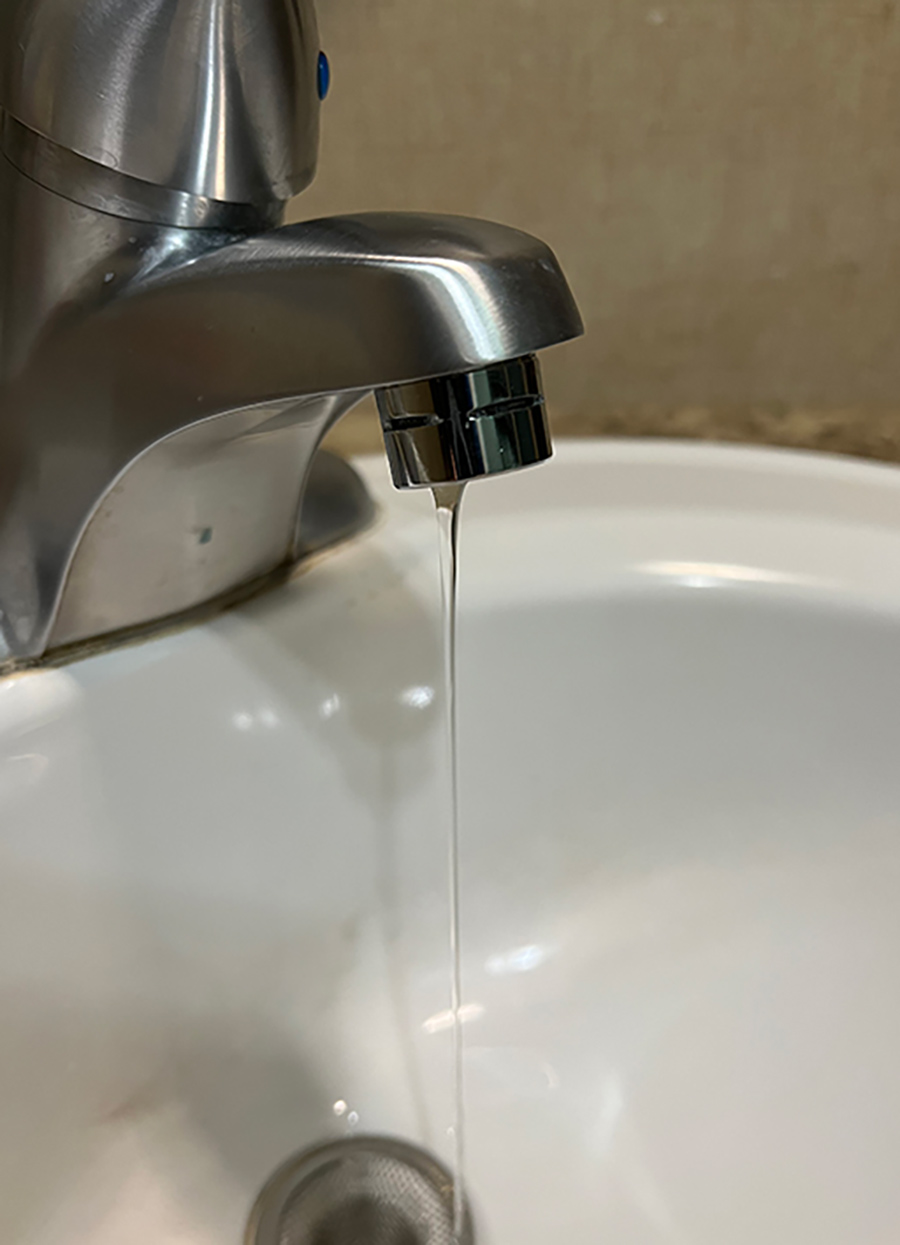
— Mary Lake
Mary, I’ve seen this so many times I can’t even count that high. The bargain regulators just can’t manage water that has a lot of calcium, which is probably your problem. They regulate the pressure by restricting the opening. I suggest that you change to a small all-house regulator where the pressure is regulated by a diaphragm, which is much more effective. Most RV systems are fine with around 50 psi, which is the preset pressure for most house regulators. I’ve seen too many owners who have simply removed the regulator to increase water pressure. This is a bad idea since the water lines and fittings cannot handle high pressure, which is found in most RV parks.
Go on Amazon and just type in “small house water pressure regulators” and several models will pop up — but don’t get lured into cheap one. The better models are made of brass and will likely last the life of the RV. Make sure the model you choose has internal threads so that you can use adapters to install it on the hookup water bib to attach the hose to anf filter and/or city water inlet. These fittings are usually available at local home improvement/hardware stores. You can also search the Internet and Amazon for these adapters.
You should also clean the aerators on your kitchen and bathroom faucets. They get clogged with calcium and the pressure goes down substantially. You can try cleaning them with Lime-A-Way or a similar product, but it may not be worth the effort. New aerators are inexpensive and readily available. There are no screens or aerators in the shower; if the pressure is very low in the shower, then it’s got to be the pressure regulator.
Are you stymied by a technical problem with your RV? Write to RV Enthusiast Technical Director Bill Gehr at [email protected]. Bill will answer inquiries as space permits.

Already a Subscriber? Click here for Access to the Full Issues.