Power Loss Puzzle - RV Enthusiast Magazine

Power Loss Puzzle

by | Oct 1, 2022 | Accessories, Electrical, RV/Motorhome

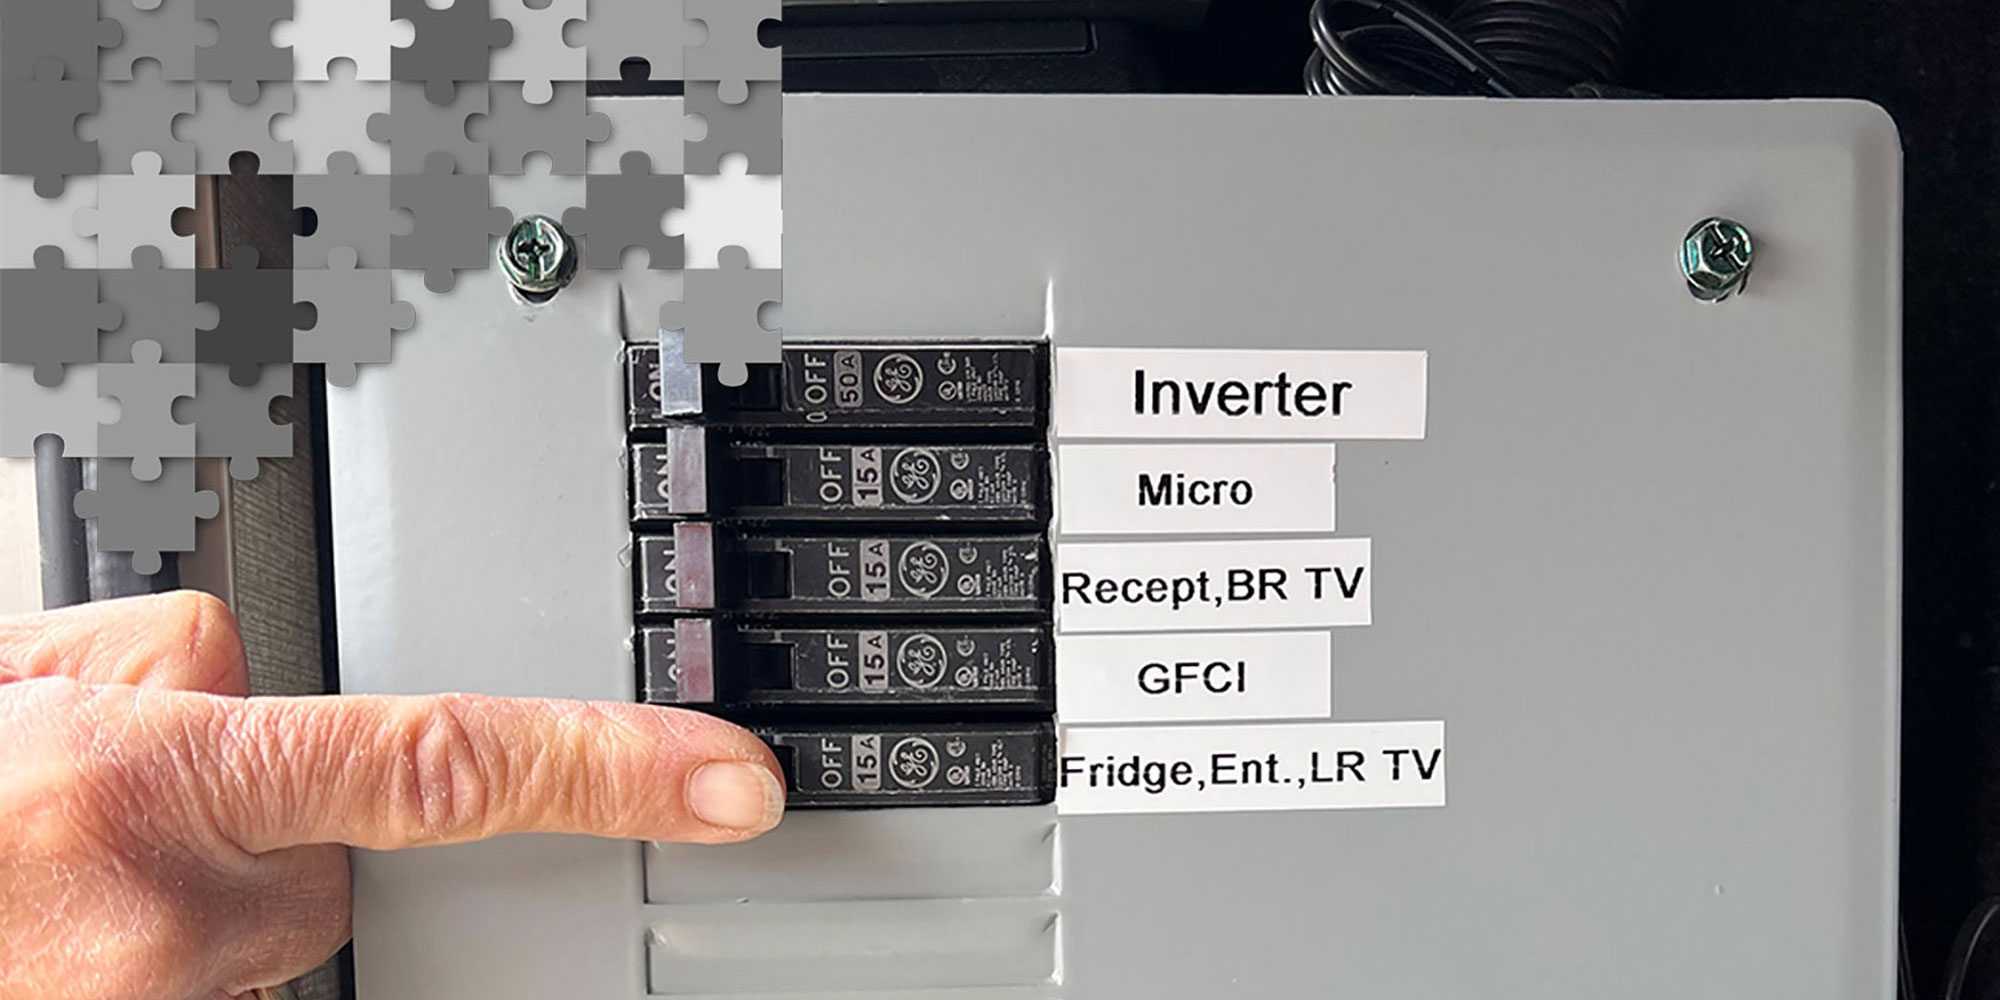
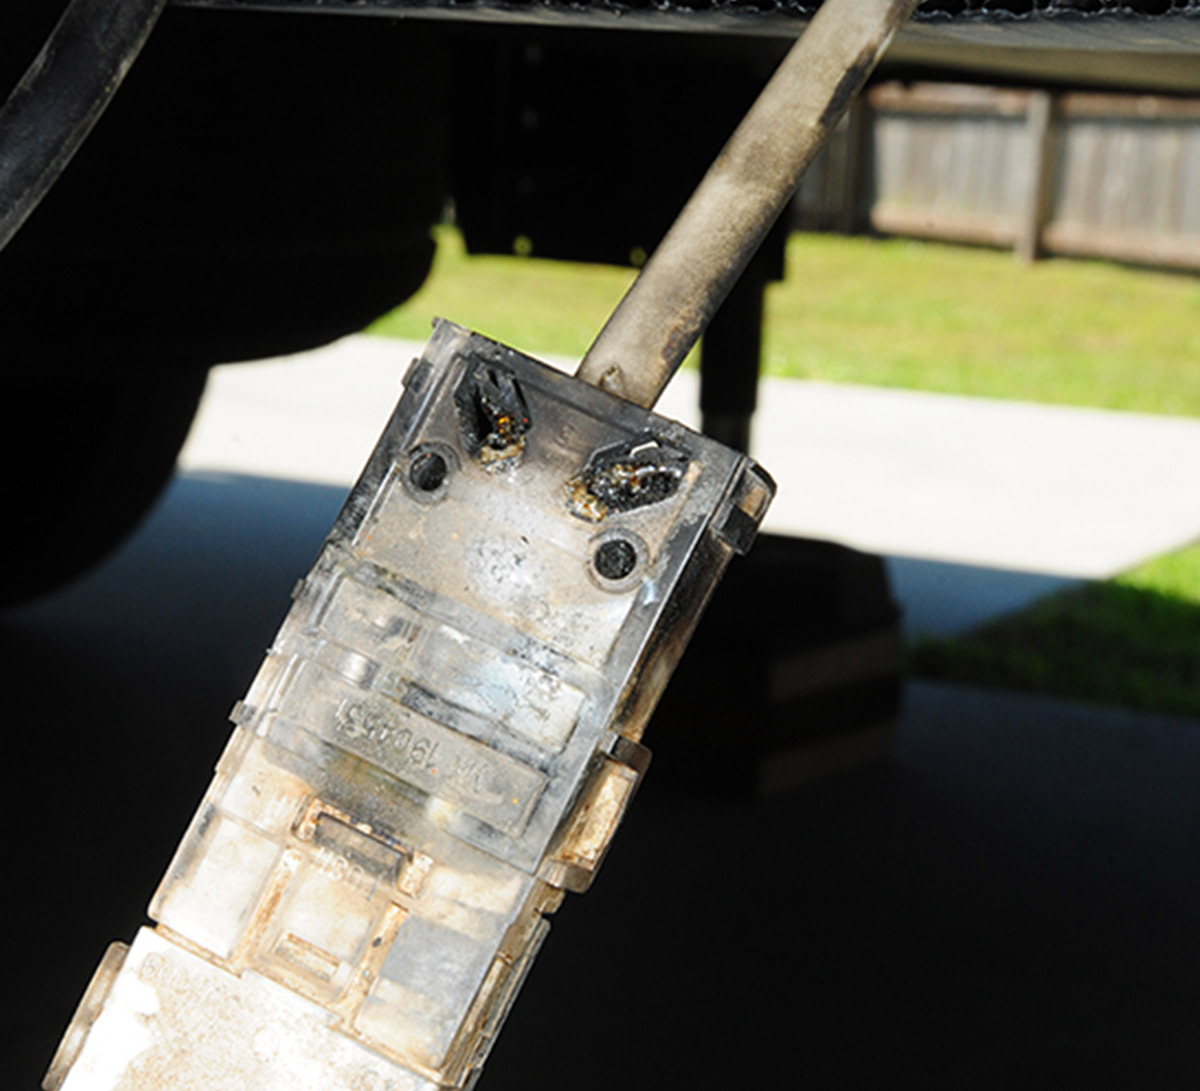
After the refrigerator and electrical devices in the slideout quit working, the search for the short causing the breaker to flip was on. In the end, a failed Molex connector, damaged by moisture, was the culprit. A little creativity restored the “juice.”

It happened — as is so often the case with an RV — without warning: All of a sudden, the 120-volt AC power went off at the outlets inside the slideout room of my fifth wheel that were powering the refrigerator, TV and other electronic devices. As I discovered, the breaker in the subpanel for the solar inverter was flipped and multiple attempts to reset it failed. A thorough search for the culprit eliminated all the other circuits in the fifth wheel — and resulted in the discovery of a shorted Molex connector under the belly pan out back. These connectors are commonly used make it convenient to disconnect power to the slideouts, but they can be exposed to moisture and many times are not secured properly.

So, they burn up.

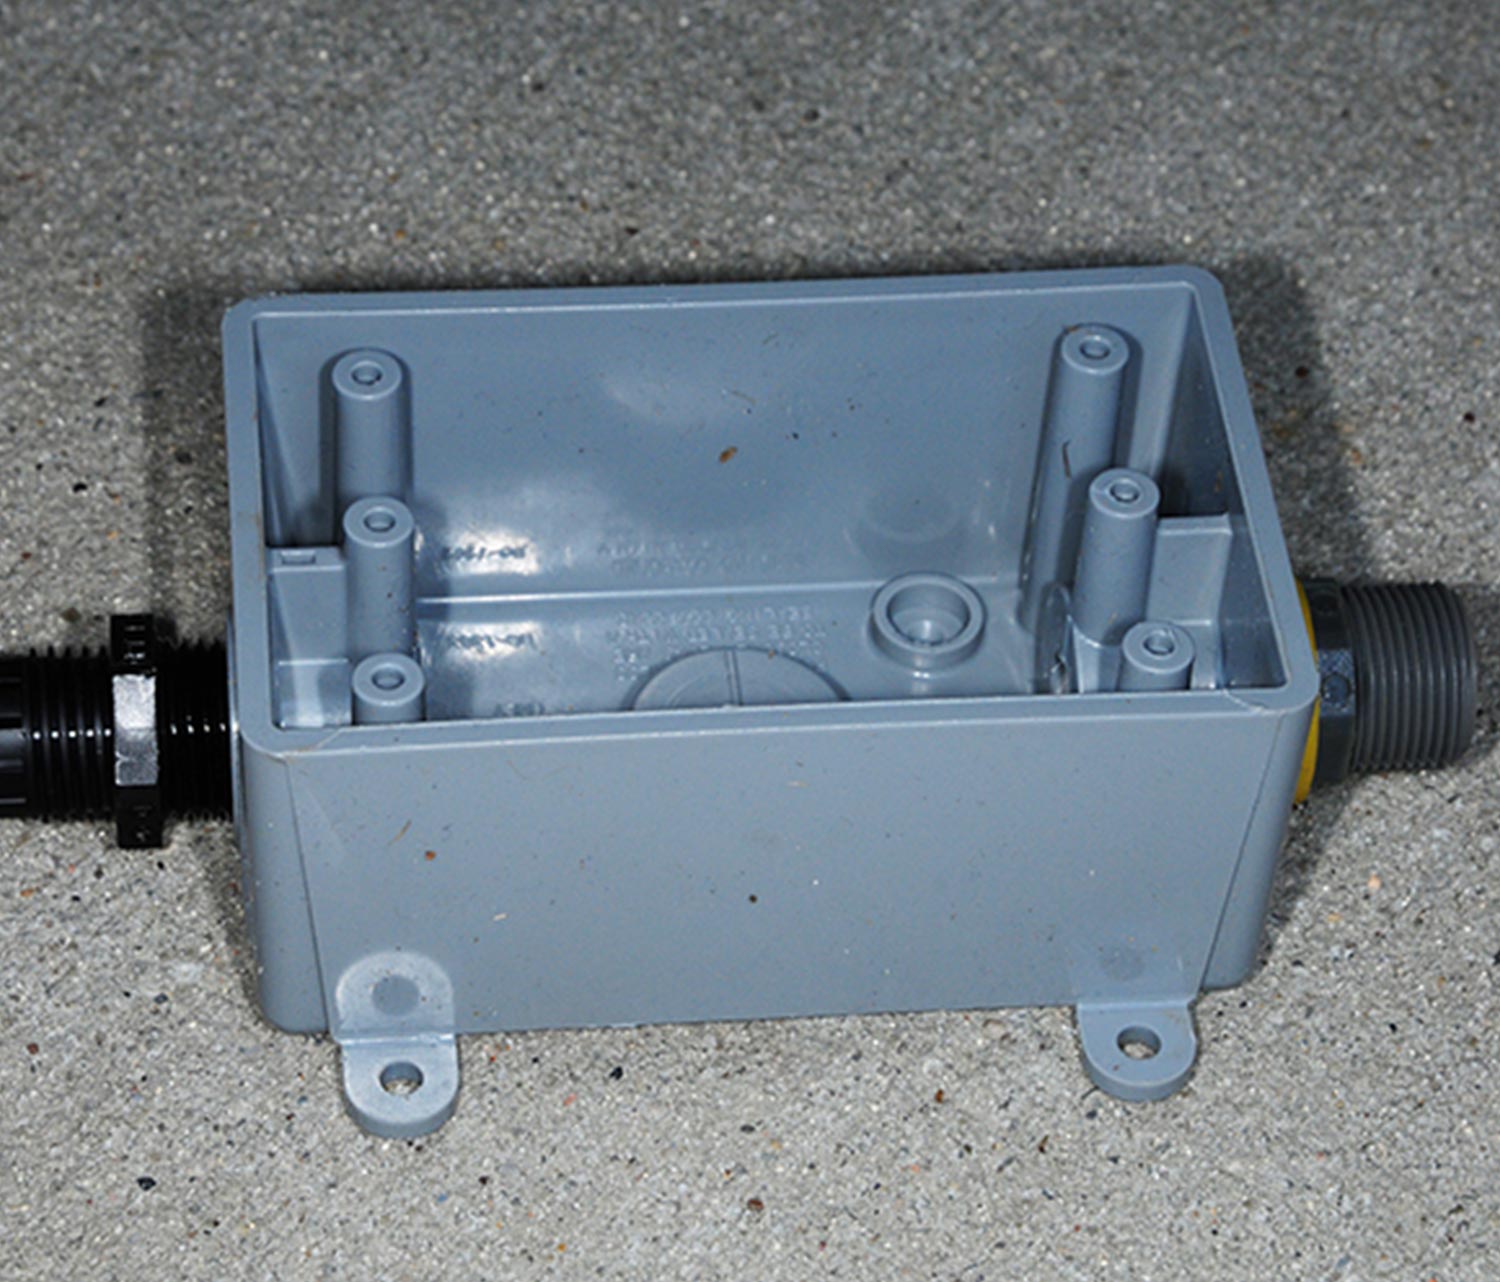
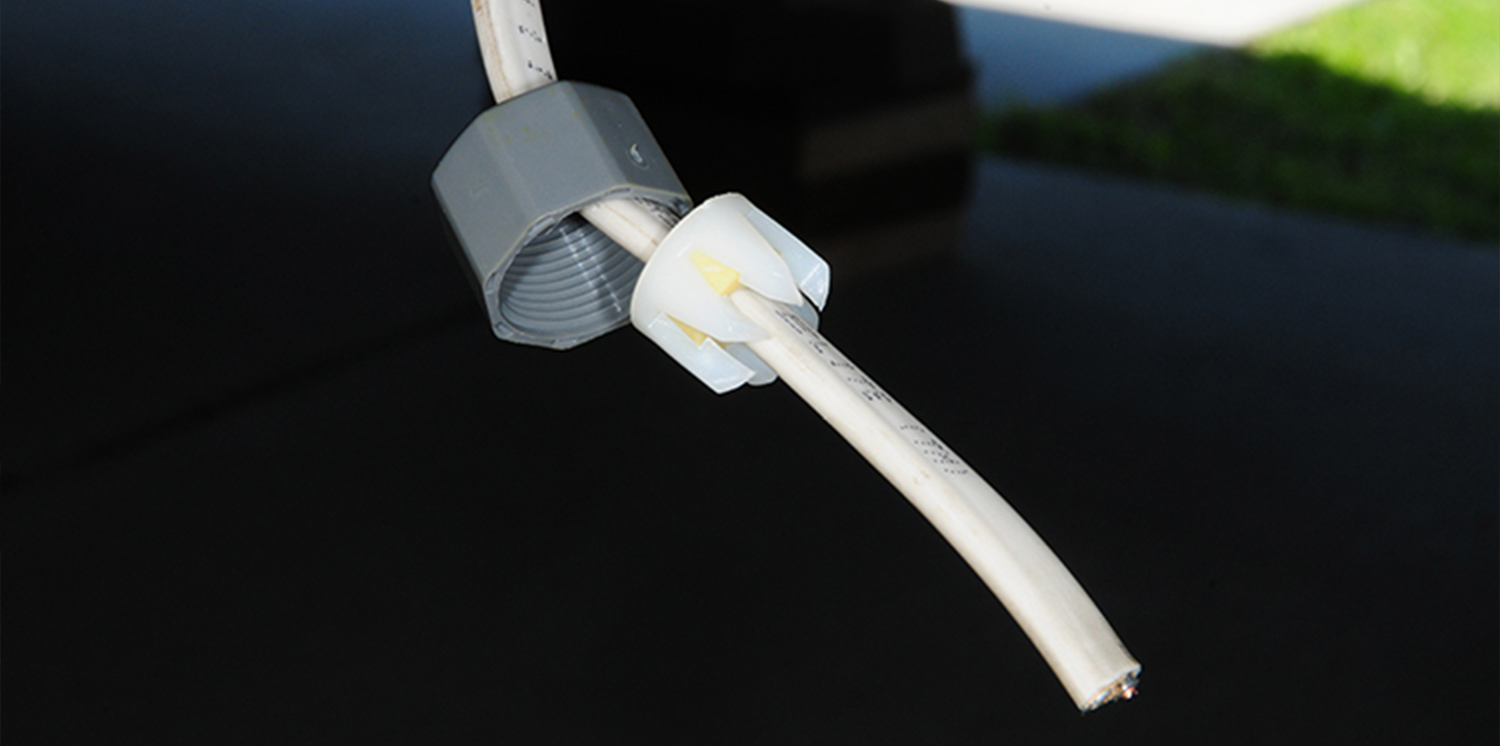
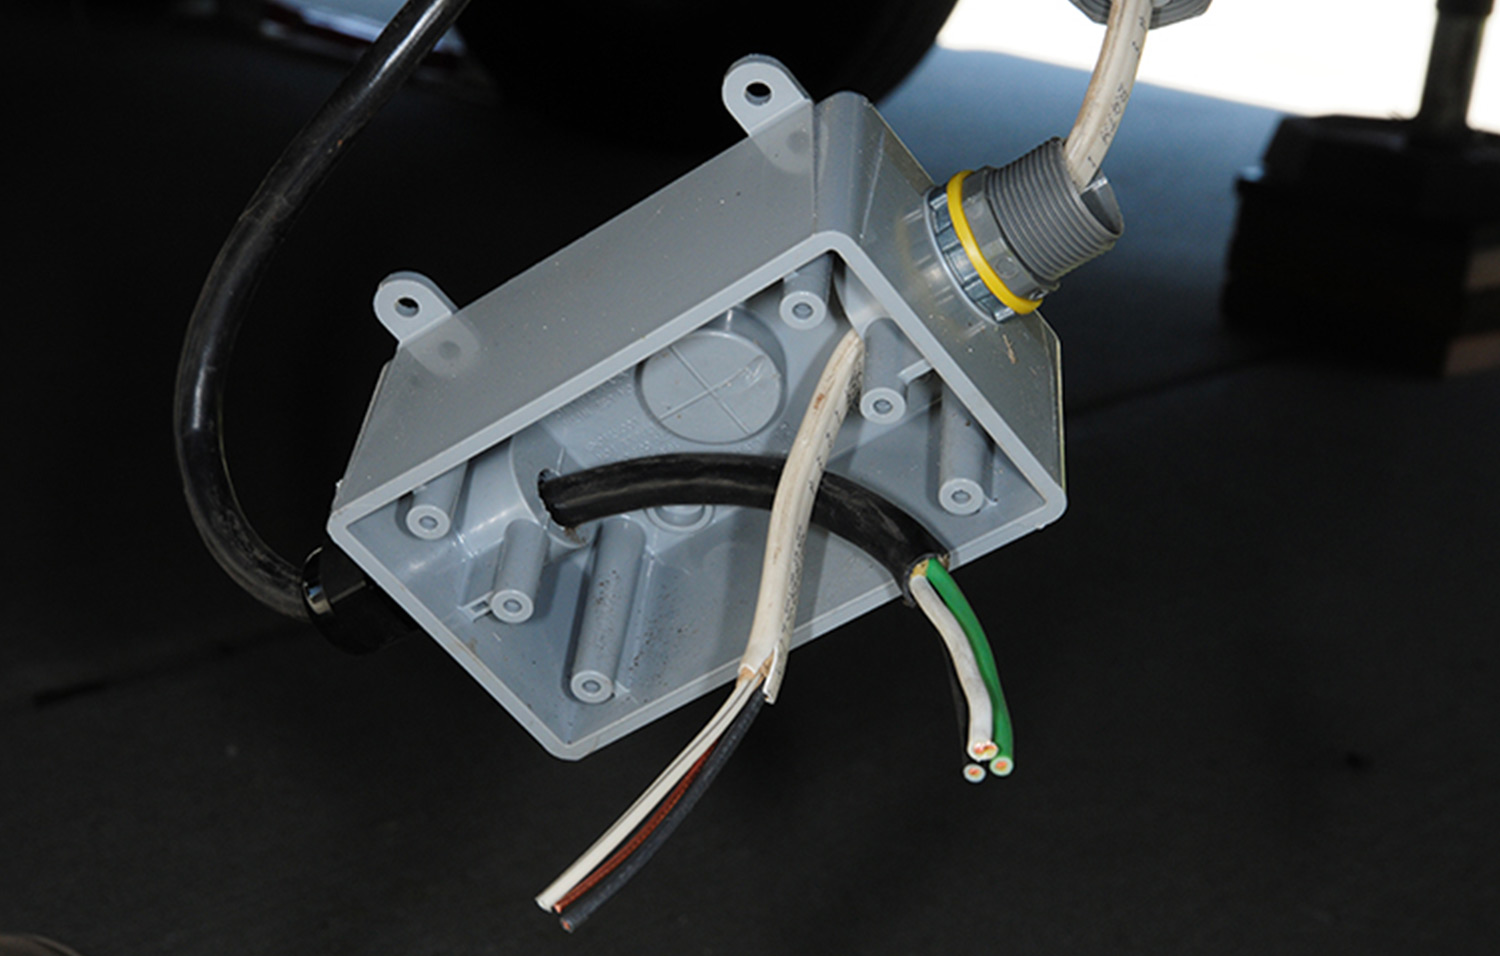
Of course, the failure was while in an RV park located in a small town, precluding us from locating a new Molex connector quickly; it was going to take a few days via Amazon. Rather than wait to restore power — we didn’t want to go without our refrigerator and TV — I improvised by purchasing a few electrical parts at a local hardware store. They included a waterproof junction box and strain relief fittings, along with a few wire nuts. Total cost was around $45; these parts are commonly found in hardware and home improvement stores.

Gaining access to the Molex connectors required opening the edges of the underbelly to locate the failed part. It was immediately obvious that the Molex connector had failed since the wires and plastic casing were blackened from the short. Unfortunately, all these connectors were laying loose on the belly pan, clearly indicating that exposure to moisture created the failure. Molex connectors are convenient to wire and make disconnection a snap, but they are not waterproof.

Before attempting the fix, make sure the power to the RV is disconnected; while the breaker in the “Off” position is supposed to shut down power to the circuit, it’s best to simply make sure there is no power to the rig. Romex wire was routed from the sub panel in the front storage compartment to the vicinity of the slideout room, and the cable to the slideout receptacles was comprised of three stranded wires. Cables routed to the Molex connector were cut off on both sides to begin the re-wiring.

The Molex fitting that connected the 120-volt AC wires to the slideout room receptacles was shorted due to moisture. This connector was laying on the belly pan floor and damp from recent hard rains and road splashes. While this type of connector is easy to wire and disconnect when service is necessary, it’s not waterproof.
At the time, a replacement Molex connector was not available locally. We didn’t want to wait for an Amazon delivery, so basic electrical parts were purchased from a nearby hardware store. The junction box here is waterproof, as are the cable fittings, which double as strain relief.
Once the failed Molex connector was cut away from the wires, a nut and ferrule — which provide strain relief — were slid onto each cable. The cable from the slideout room is made from stranded wire, which allows for more flexibility during movement; the cable from the subpanel is Romex.
the junction box with wires fed through
the junction box with wires organized and secured with electrical tape
Enough slack was provided inside the junction box to make it easy to strip the insulation and connect the cable leads using wire nuts. As part of our personal routine, we sealed the wire nuts with high-quality electrical tape for another layer of insurance against separation and shorting.
junction box with the covering reattached
Once the wiring was done, the lid for the junction box was attached using two screws and — this time — was cable-tied off the floor of the belly pan.
After installing the waterproof fittings, the wires were routed into the junction box — leaving enough slack to make sure there was room to strip the insulation, twist the color-coded wires together and install the wire nuts. Normally, wire nuts ensure continuity, but we have always wrapped them with high-quality electrical tape for extra insurance. The new junction box was cable-tied securely off the belly pan, which is something you might consider doing for the other Molex connectors in the area while you’re in there making the repair.

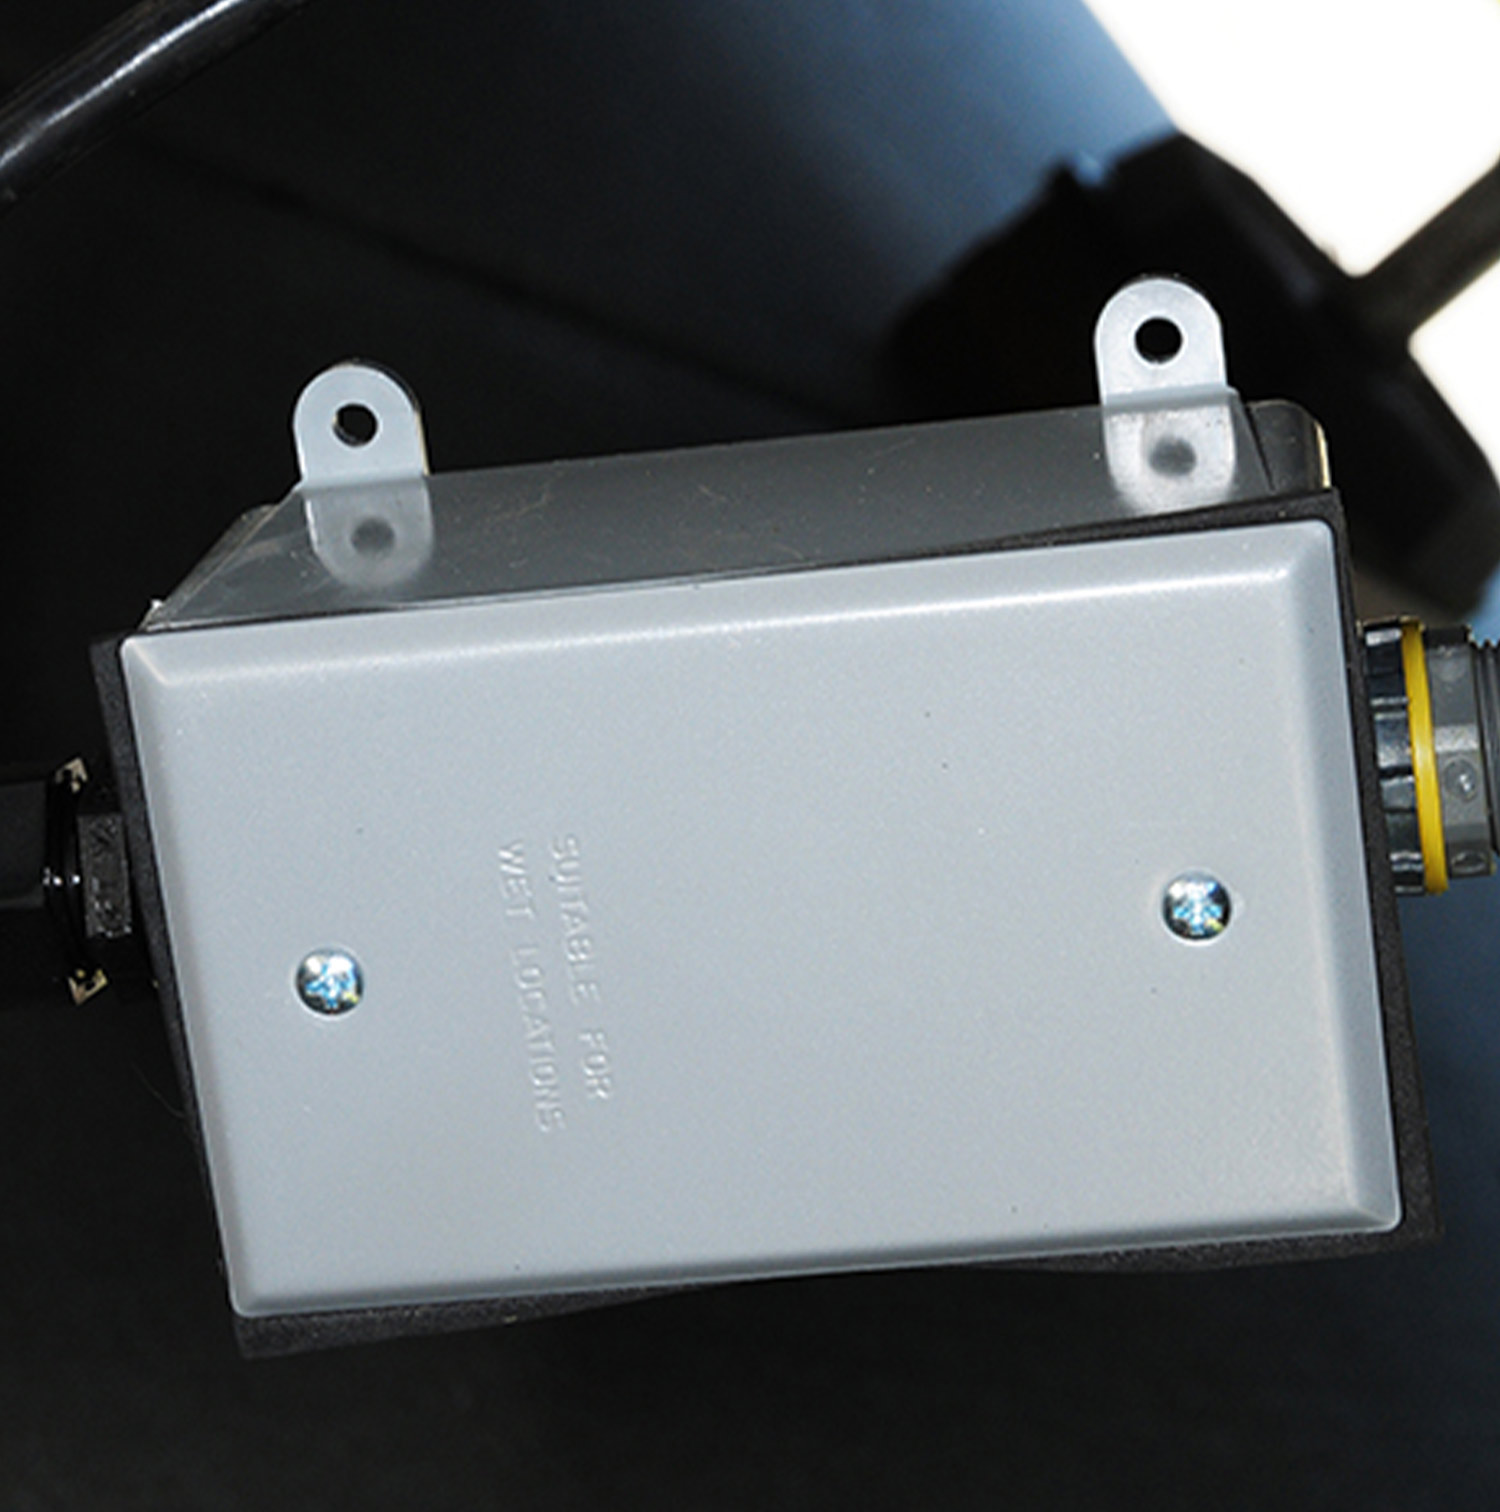
Granted, it will now take a little longer to disconnect the wiring inside the new junction box should it be necessary to remove the slideout or work on the circuit, but the chances of that are slim — and the wiring is better protected. Once everything was tucked in place, the fifth wheel was connected to the hookup power, the breaker was flipped back on — and we were back in business.

Get Updates
Subscribe today and never miss an issue!
Get all the latest tips and news to keep you moving on that open road!
RV Enthusiast January/March 2024 Issue
Current Issue
January/March 2024
Spring is back in bloom and with it we are proud to present our latest issue of RV Enthusiast! The January/March issue covers furnace failures and how to fix them, the best batteries for boondocking, quick and easy weekend projects, PLUS so much more!

Already a Subscriber? Click here for Access to the Full Issues.

Share This