Glass Panes
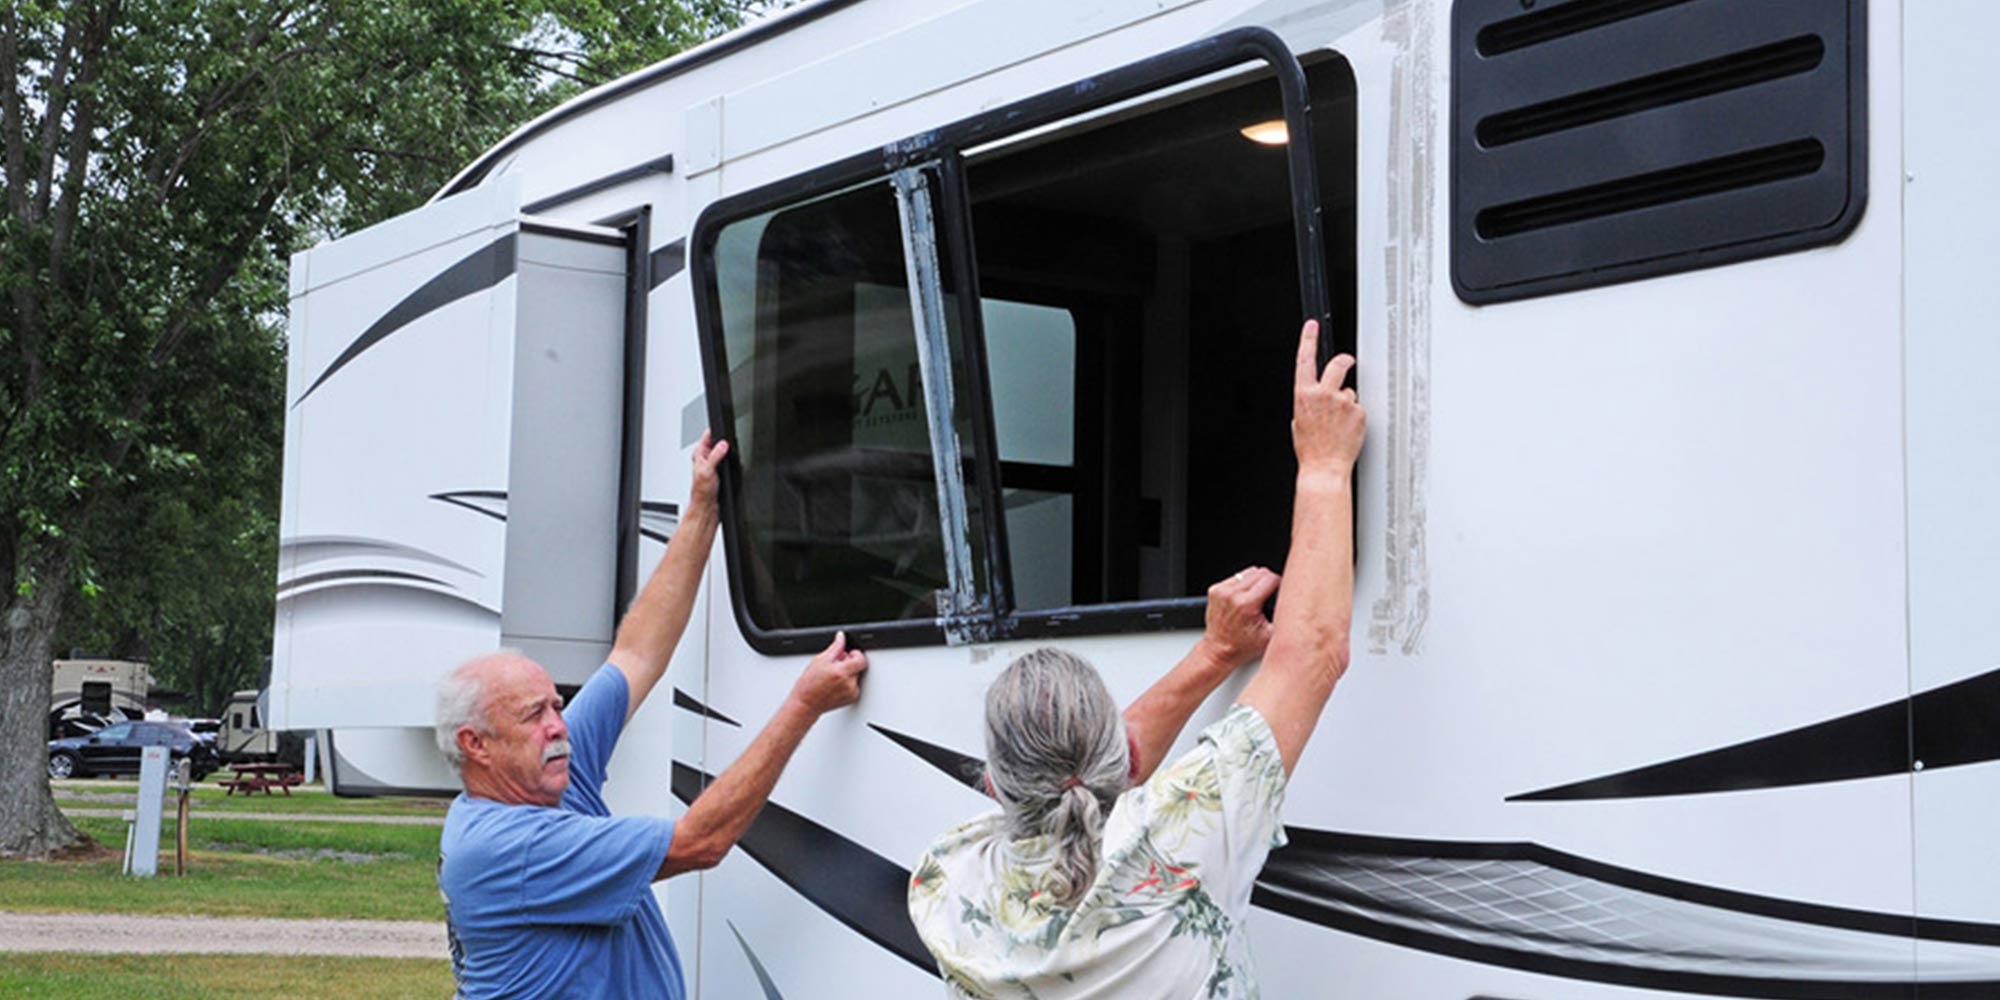
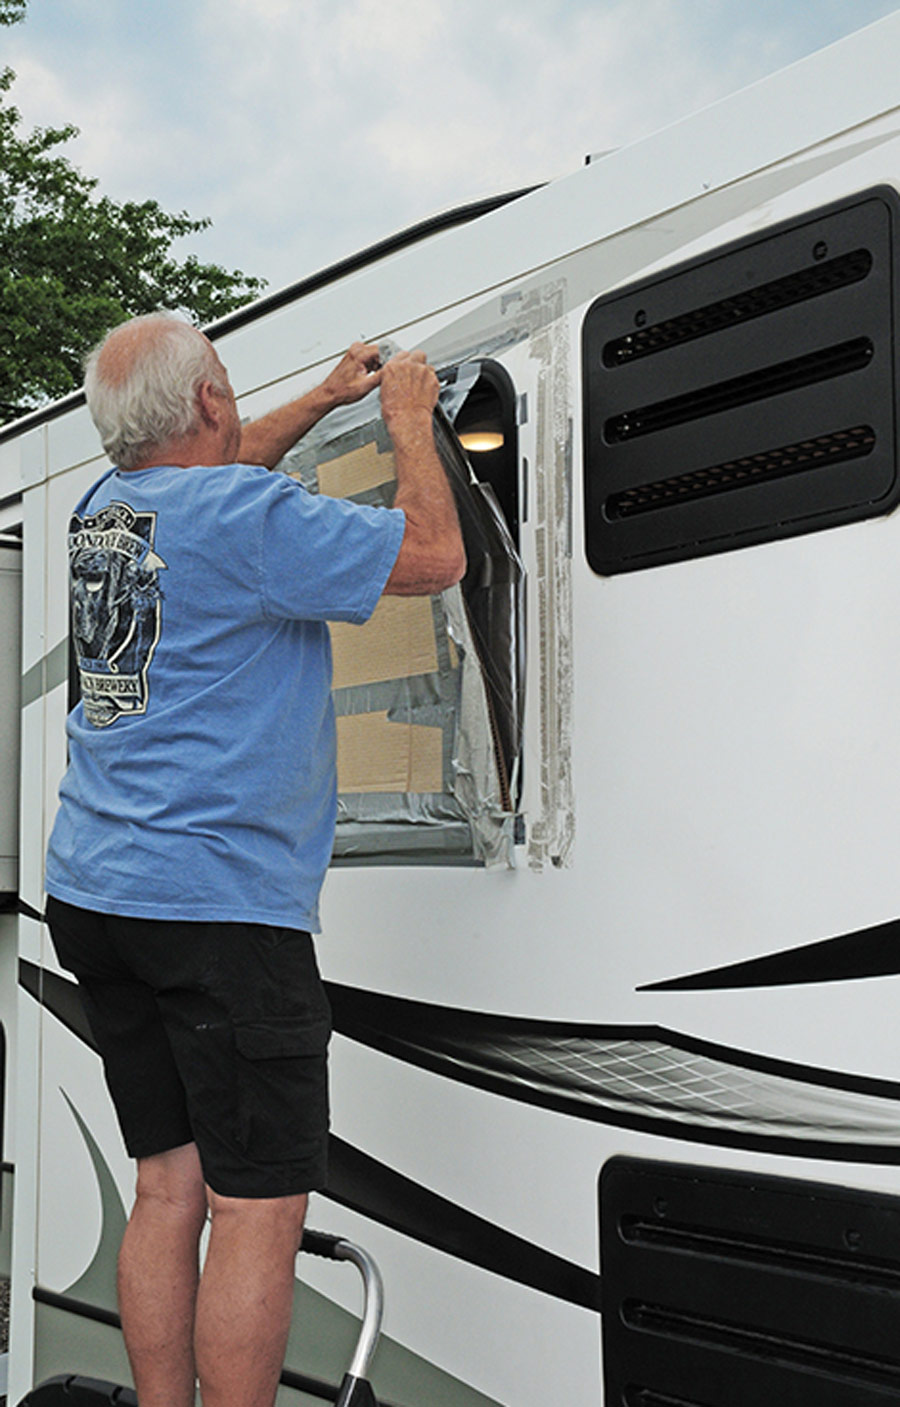
Since rain was in the forecast, my heavy-handed friend filled the void with plastic and cardboard, all held in place with artfully applied duct tape. It wasn’t exactly breathtaking, but it did the job. Unfortunately, searching for the right shop to replace the window presented an issue for my friends, who were just a few days into their inaugural cross-country journey. And, with RV suppliers working overtime to keep the OEM channels full of product as record numbers of people rediscover RVing, it wasn’t just trying to make an appointment at a reputable shop that was problematic — replacement parts also are tough to come by right now.
Fortunately, there are two good resources for procuring replacement RV windows: Clear Vision Windows (clearvision.com) and Easy RV Window Replacement (easyrvwindows.com). Both companies offer online services that will guide the owner through the process of finding a replacement window. You will have to go through several measurement sessions and provide make and model information (including the VIN and manufacturing date), but in most instances, the proper window will be available. You just have to be in a place where you can receive it.
As luck would have it, the folks at Tiara RV in Elkhart, Indiana (www.tiararvsales.com) were able to order the window (cost was $211) and a day later we performed the installation right onsite at the Elkhart Campground (www.elkhartcampground.com).
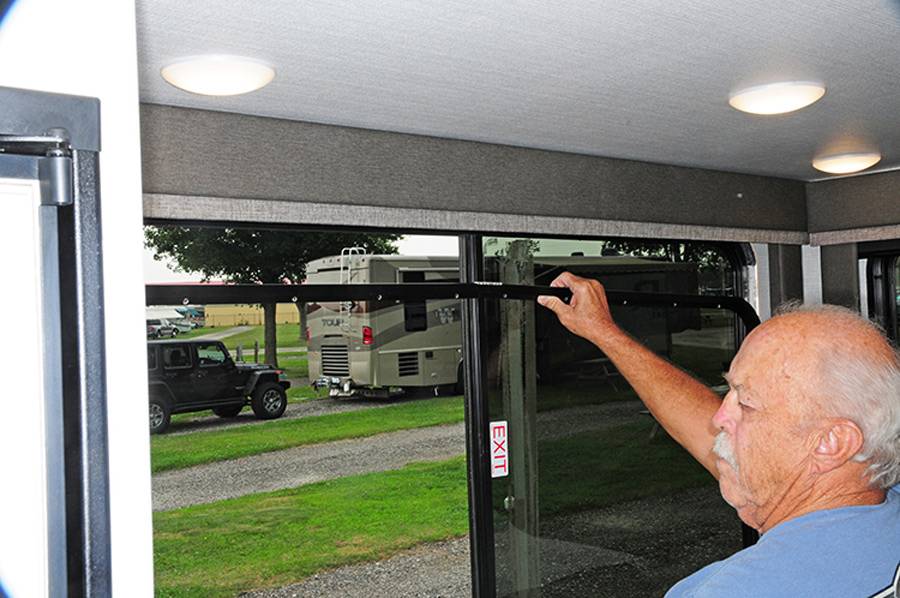
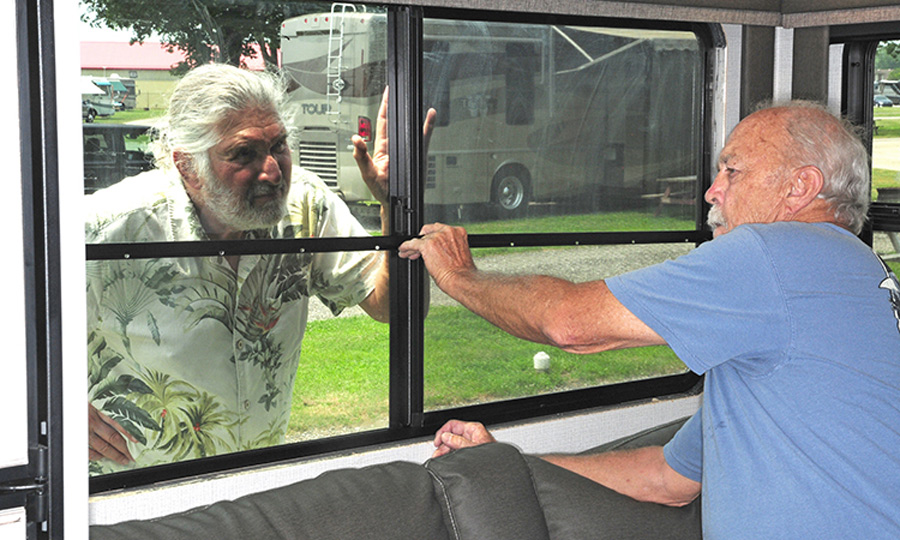
Replacing a window isn’t a particularly difficult installation, and just about anyone with basic mechanical aptitude can do the job, but a window of this size is heavy and requires a second person to make the swap.
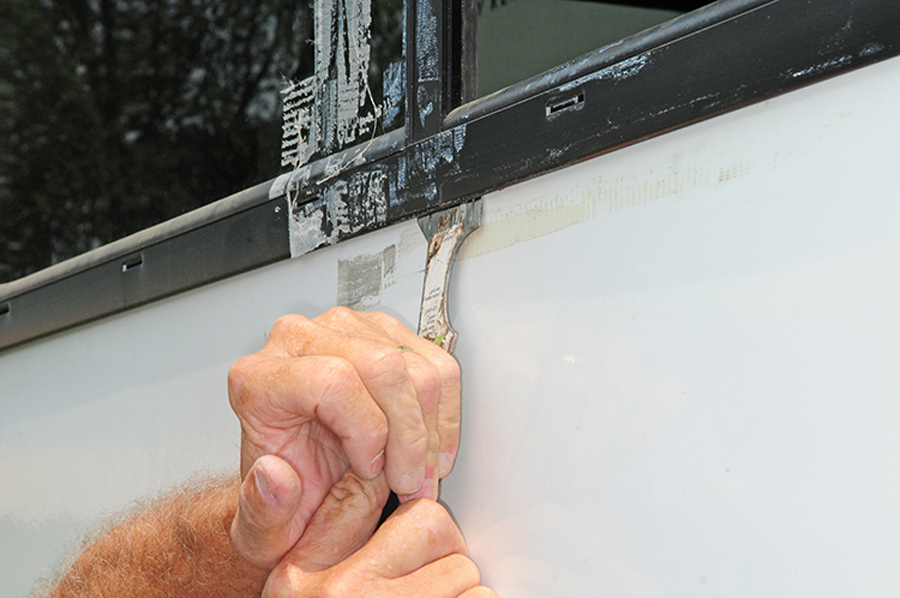
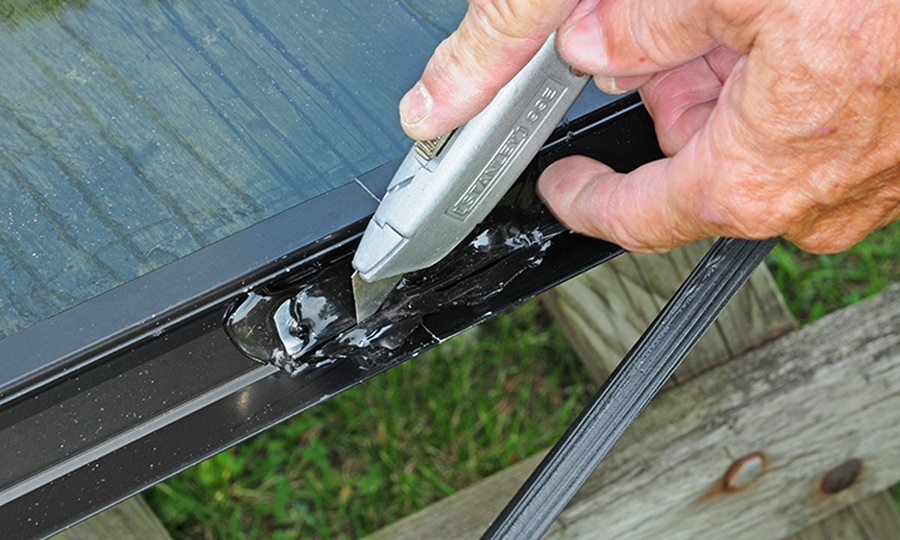
Once the inner frame was free, the window was carefully pushed outward with a second person guiding the process. At first, the window did not want to budge, but a little prodding with a putty knife allowed the rubber seal to release while leaving no residue on the exterior wall.
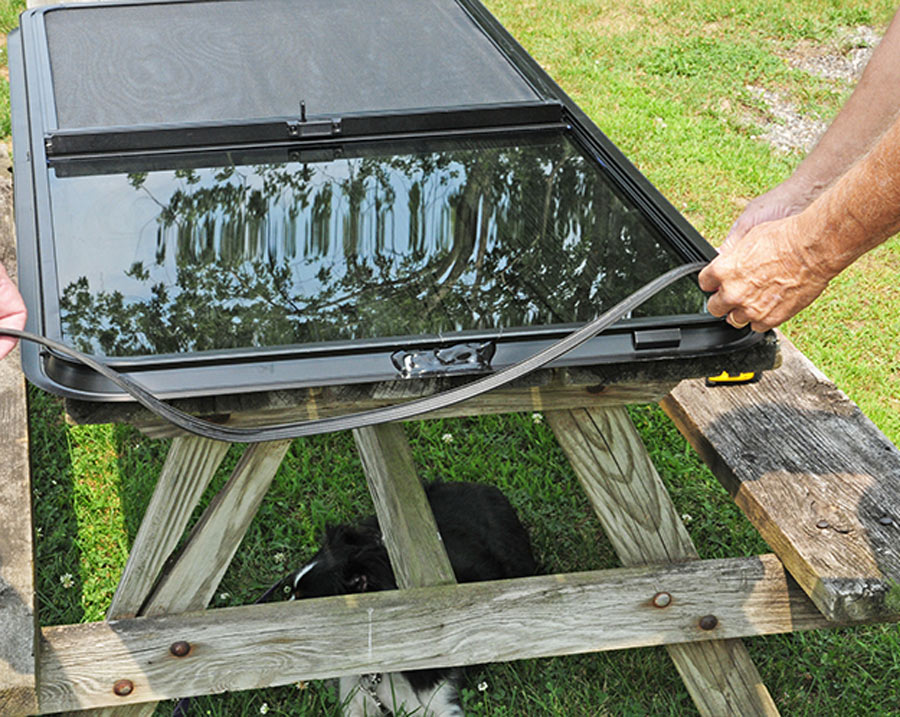
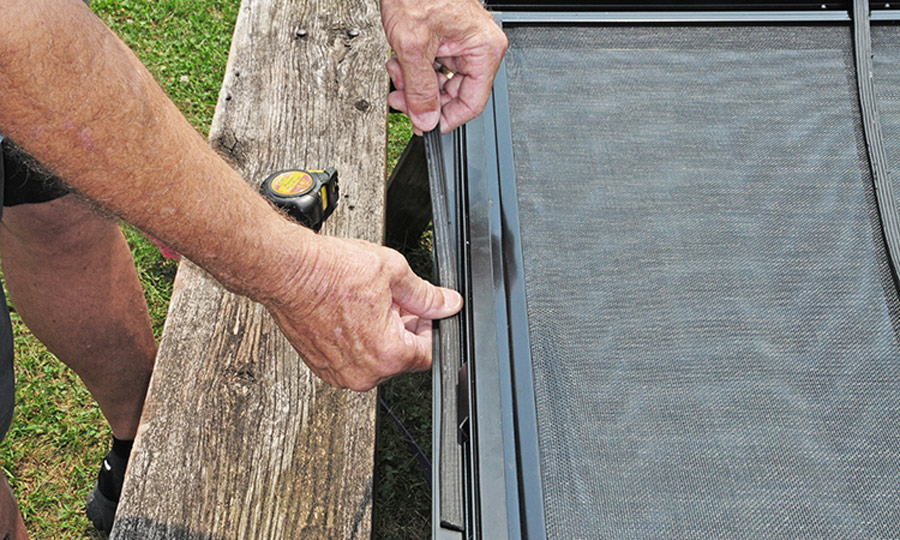
Since a new seal was not provided with the new window, we carefully removed the rubber material, which retained its original shape and was good enough for re-use. However, we didn’t have any thin, two-sided tape to apply (recommended), so we gambled that there was enough stickiness left in the rubber to keep it in position on the new window flange while the window was seated. It worked, but the owner will need to keep a close eye on any leakage and repeat the process, if necessary, when he gets home.
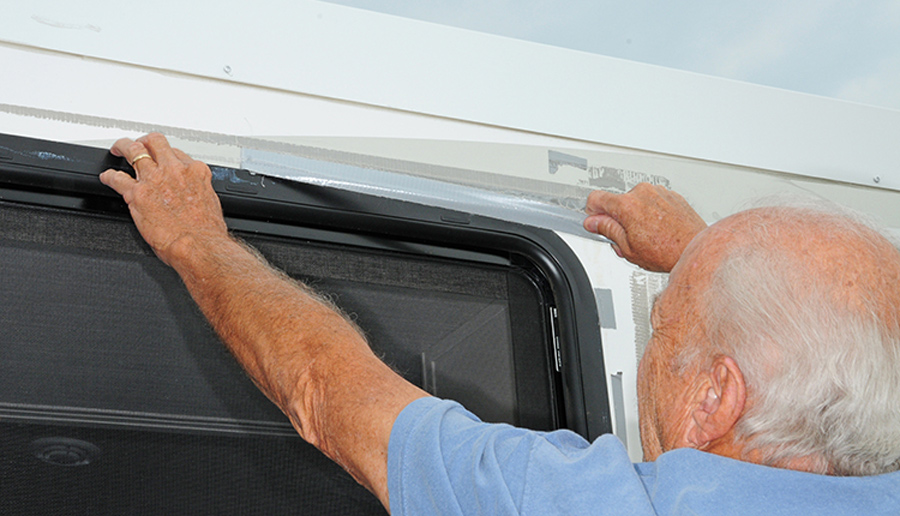
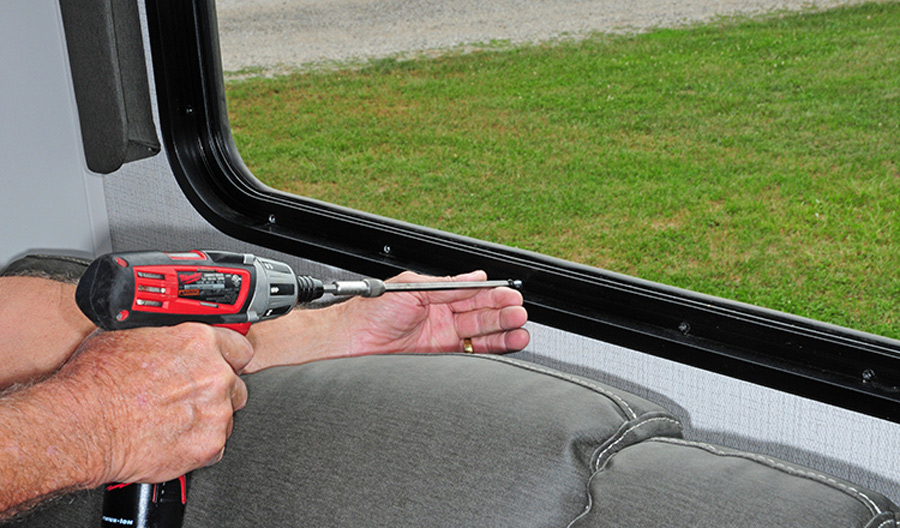
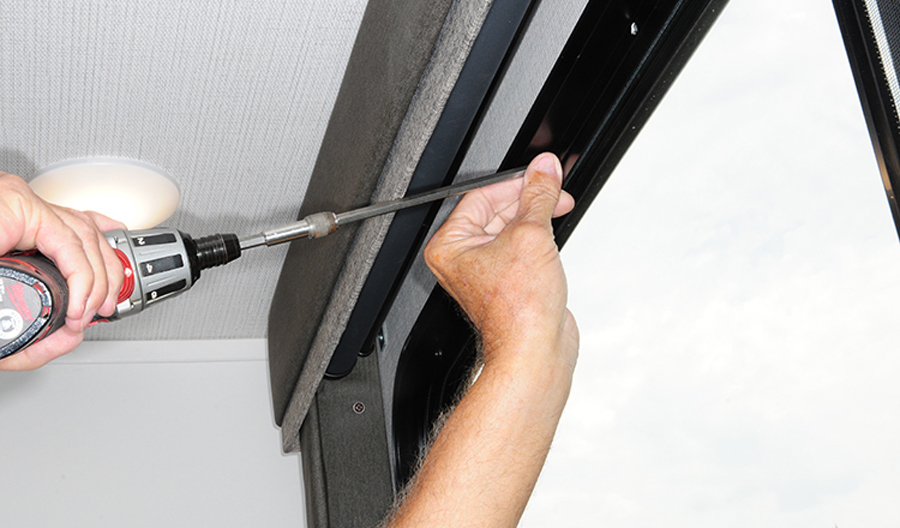
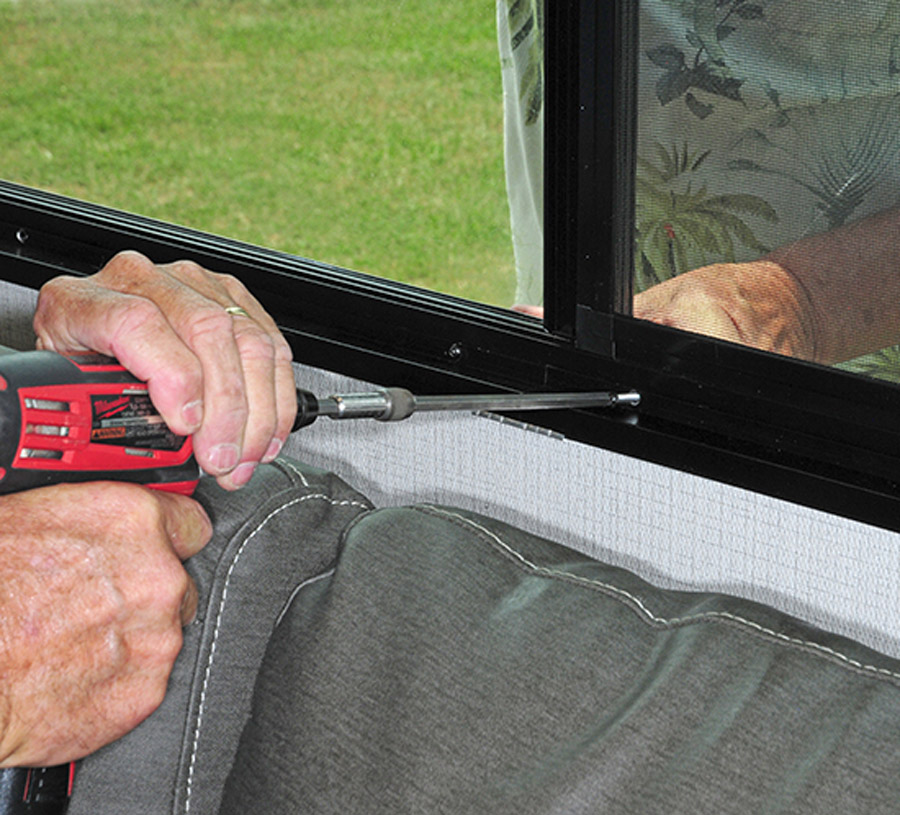
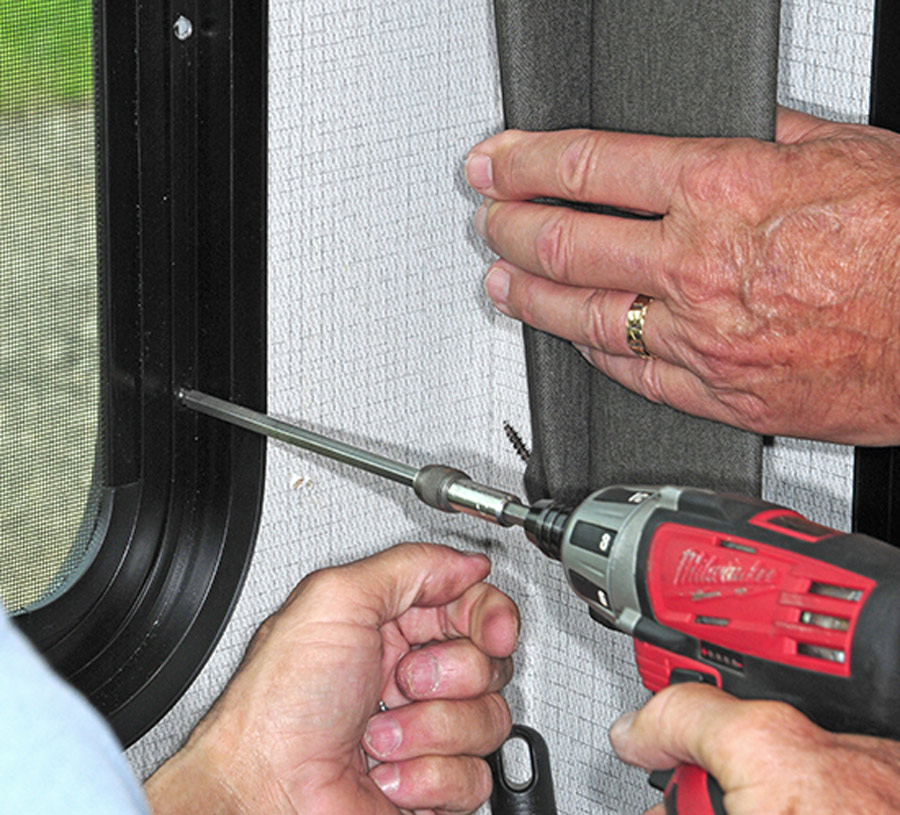
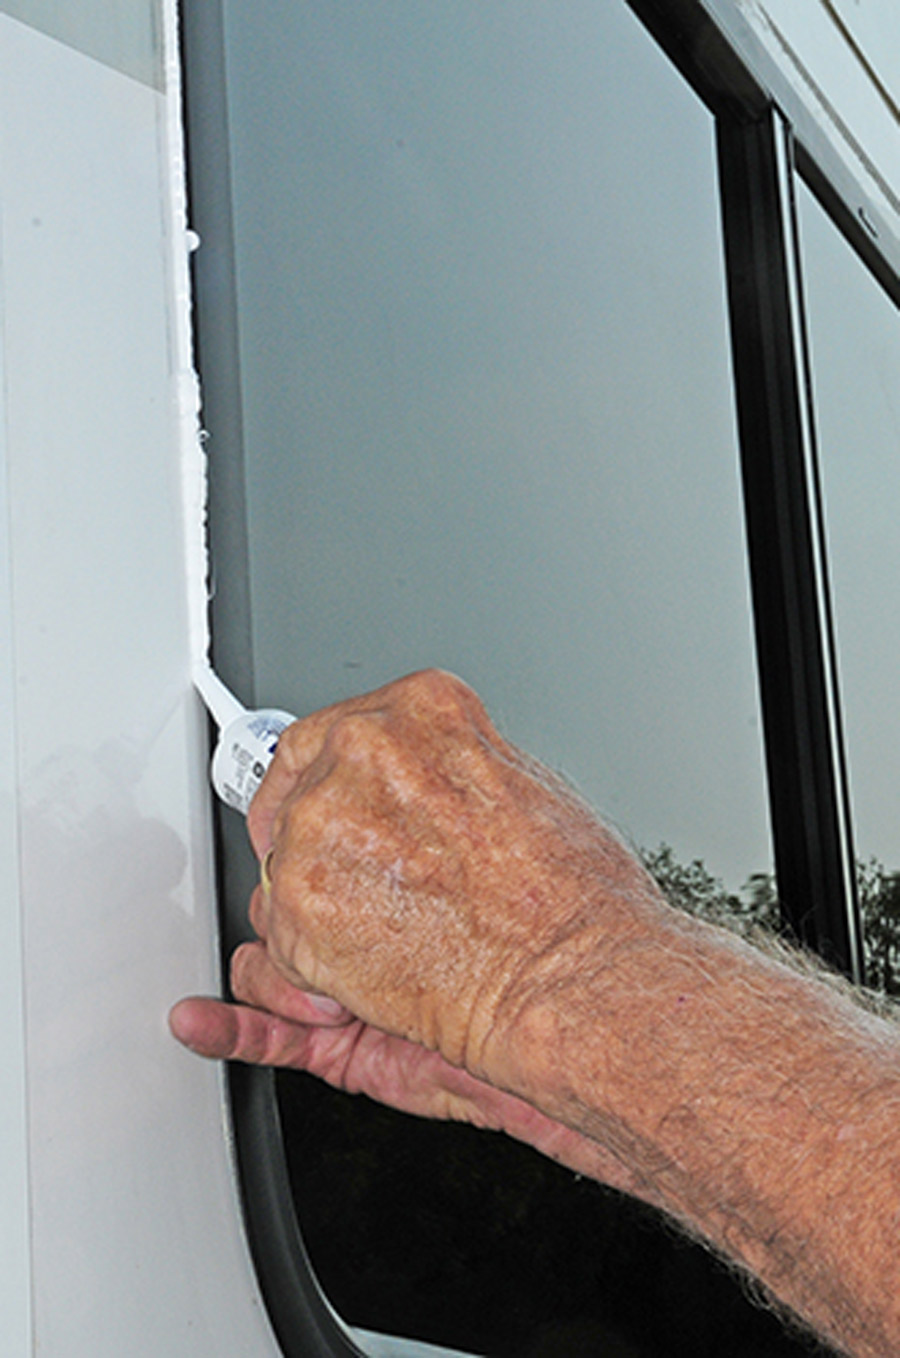
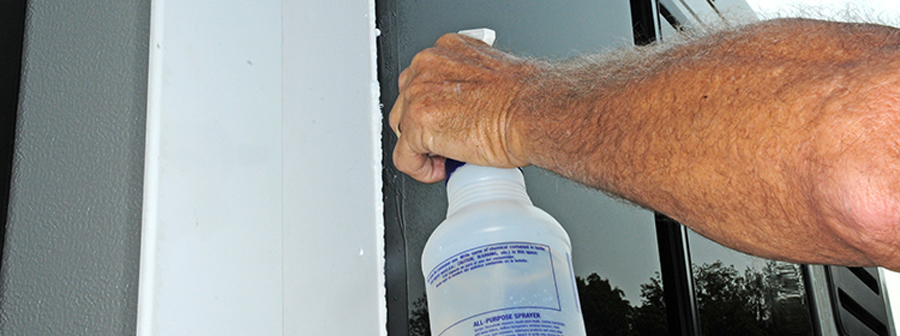
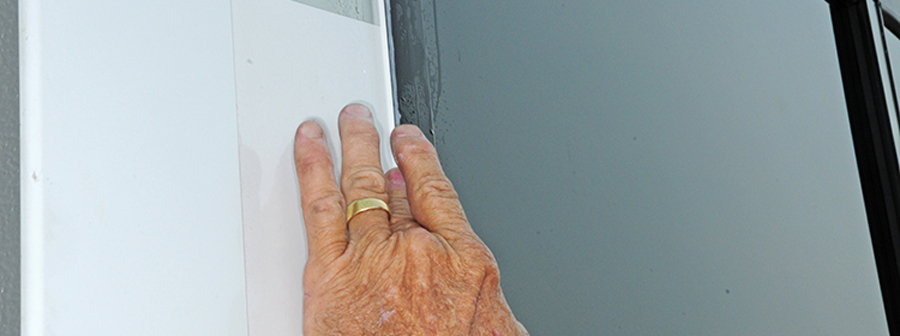
The window was fitted into the wall opening and the remainder of the project was devoted to driving the screws through the inside frame and into the window and running a bead of silicone around the top and sides of the window frame. Care is needed to keep the screws as straight as possible so that they get a good bite into the window frame, and someone must be on the other side to apply direct pressure to the area where the screws are being tightened.
Already a Subscriber? Click here for Access to the Full Issues.

