Basic RV Maintenance: Exterior Seals & Sealants
Undetected damaged seals and failing sealants can cost unsuspecting RV owners thousands in repairs related to water-intrusion damage.
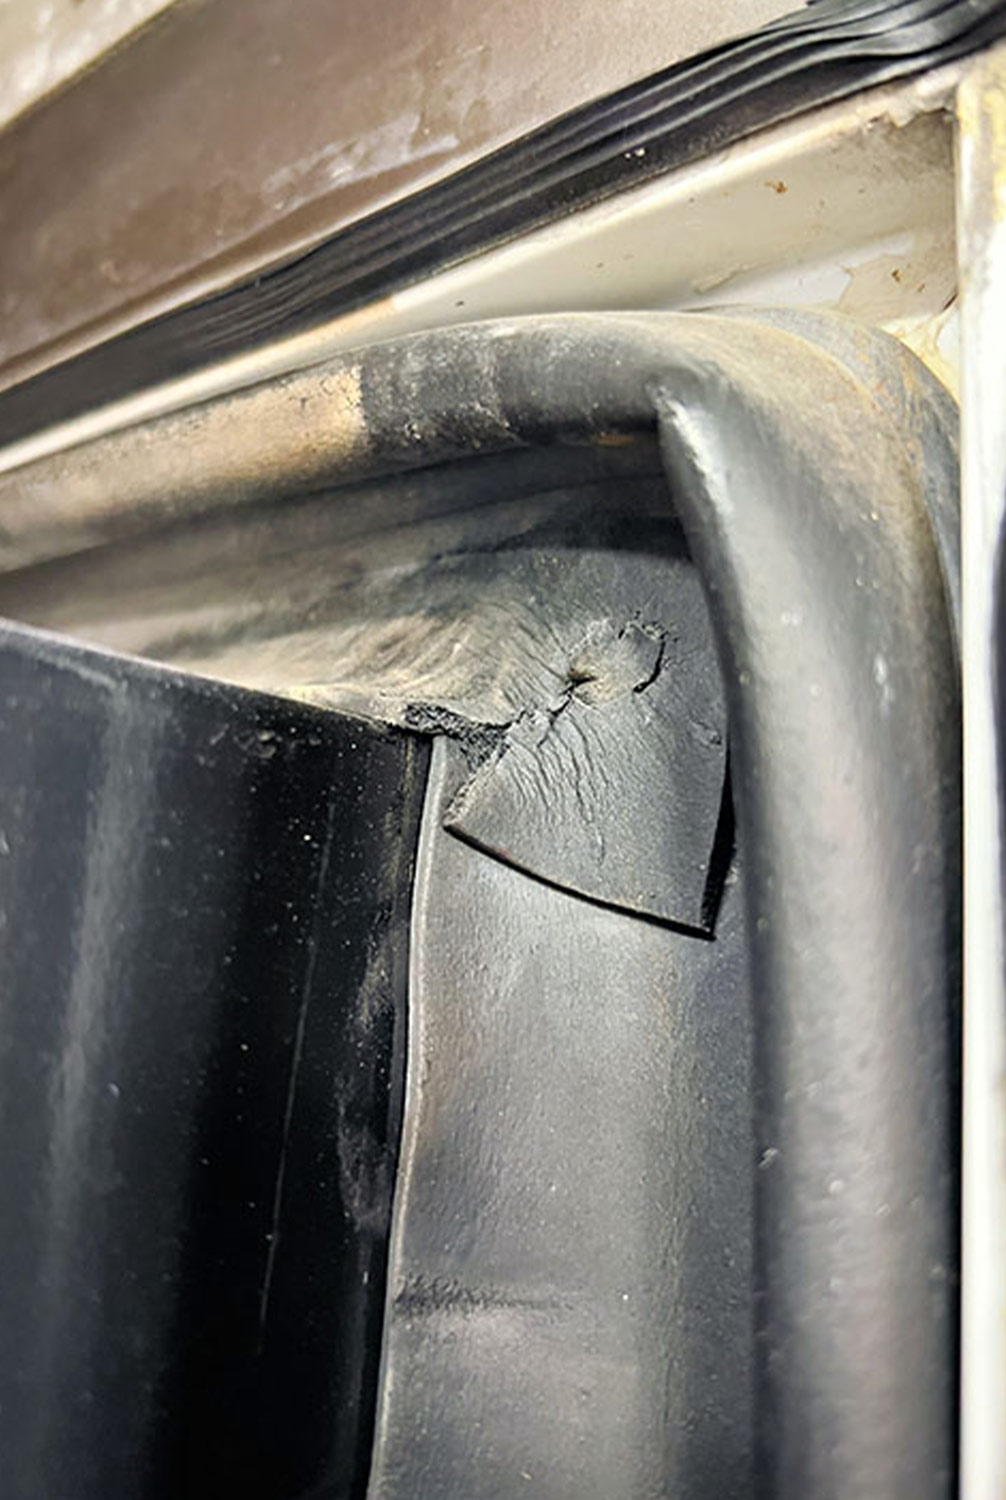
During that time the rip in the seal allowed water from rain, dew, melting snow and ice to slowly work its way into the slide and down to floor level — where it slowly saturated the wood subfloor of both the slideout and the coach. The first time the owners became aware of the problem was when one of them walked past the beautiful hardwood entertainment center — and the floor flexed just enough to crack a couple of tiles.
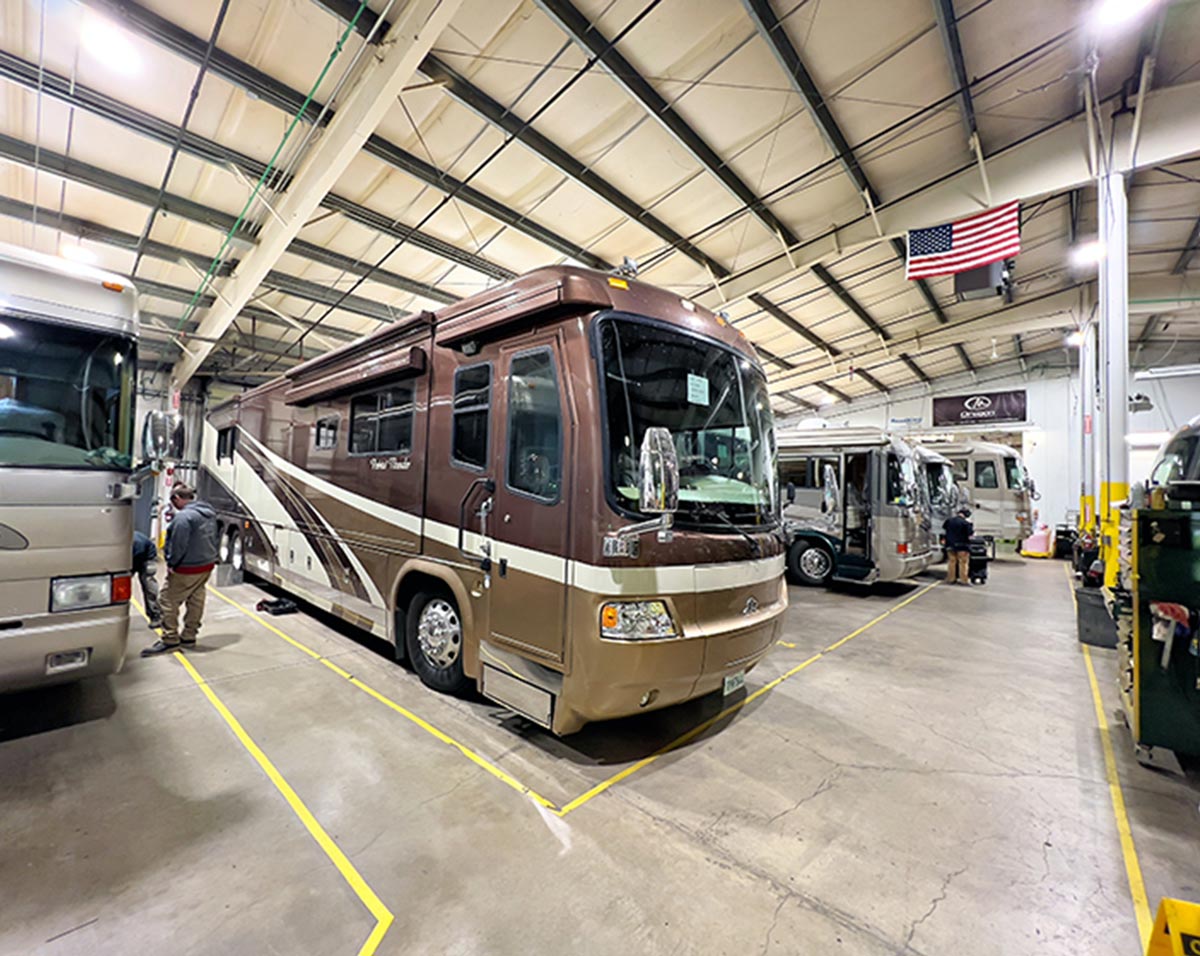
Concerned, they drove their six-year-old luxury motorhome to Oregon Motorcoach Center (OMC) in Eugene, Oregon, where closer inspection by service techs revealed why the floor flexed, the extent of the water damage, the likely cause of the water leak(s) and the cost to make the necessary repairs.
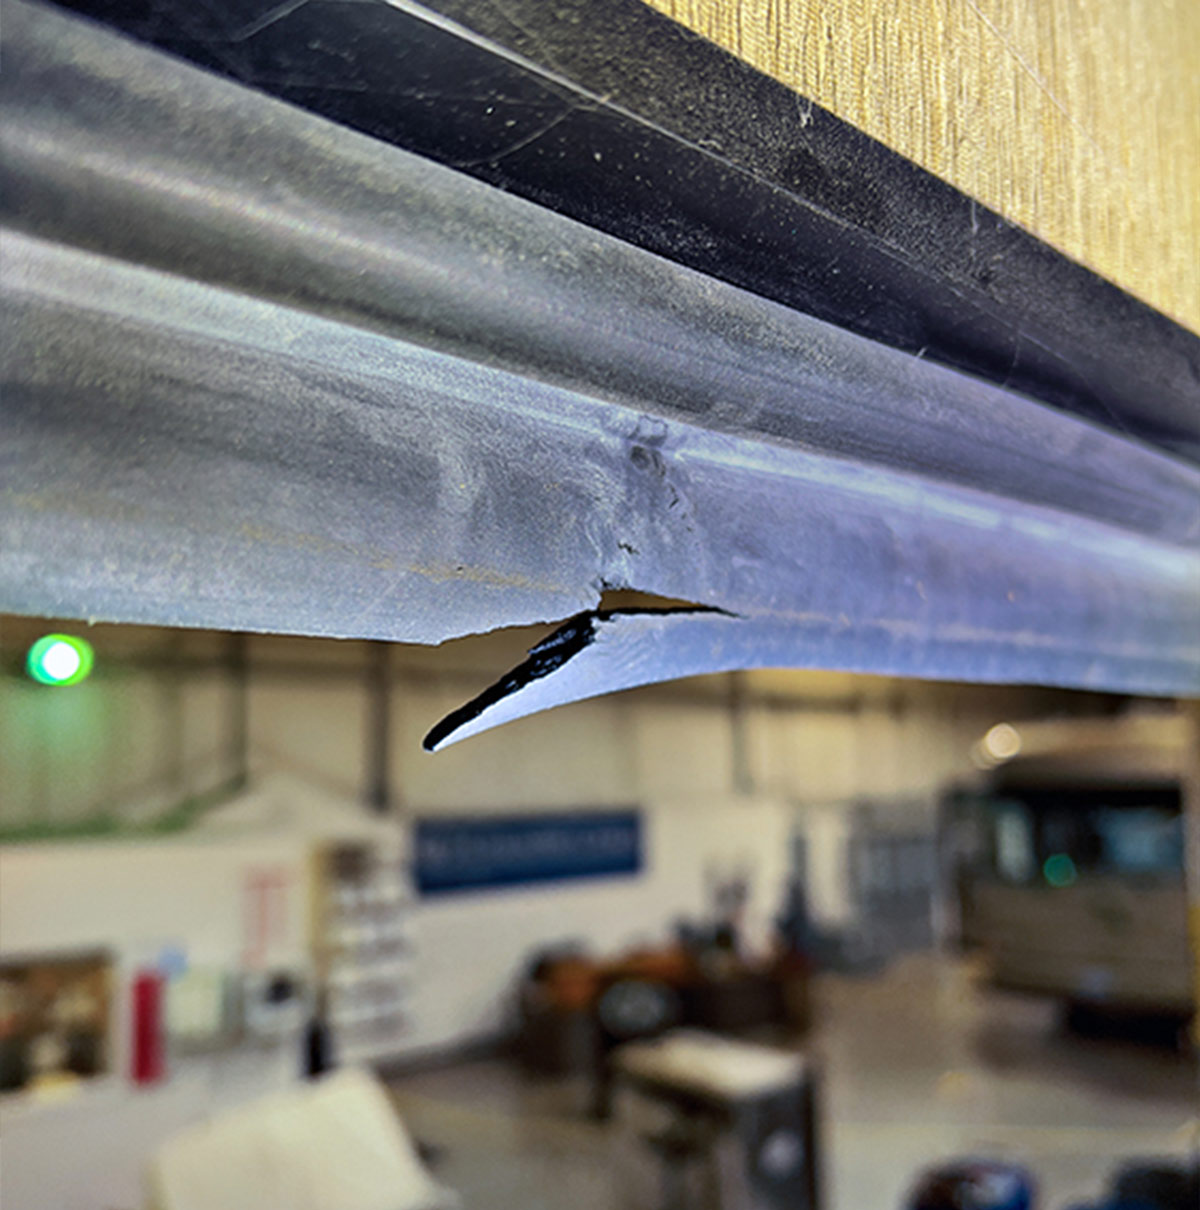

In all, the damage the little twig did to the wiper seal along the top of the wall slideout — in addition to cracks in the slideout wiper seal corners that added to the water intrusion — eventually cost the owners more than $40,000 in repairs to get their motorhome back on the road.
An Ounce Of Prevention
That’s a big bill, one that might force many RV owners off the road for good. But it didn’t have to happen. If you are an RV owner, setting aside the time to inspect the RV’s exterior, along with the preventive maintenance required when an issue is found, can literally save tens of thousands of dollars in unnecessary repairs over the life of an RV.
“The main thing I try to stress to our customers is closely inspecting their RV at least once a year,” said Matt Bryan, OMC assistant service manager. “Better still, RV owners should do a thorough walk-around twice a year, inspecting all the seals and seams for tears, looseness or voids in sealant. The same applies to inspecting the RV’s roof.
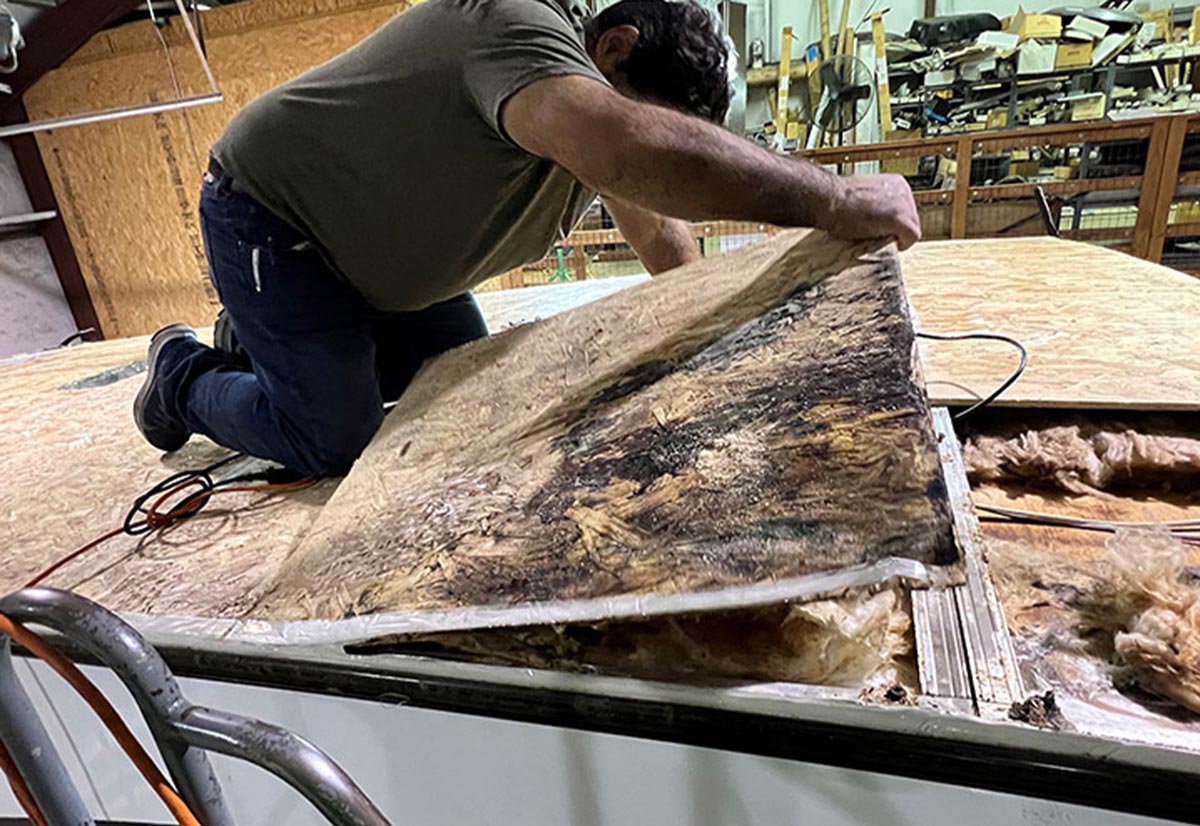
“If you can catch bad seals early, or tiny holes in seam and molding sealants, you’re going to save a lot of money by preventing water damage,” he added. “Once you start seeing the effects of water damage, such as stains in the walls, ceiling, or floor, it’s been leaking for a while and you already have a big problem.”
Obviously, the first place to inspect is the roof. Look closely at the base of anything and everything attached to, or set into, the roof to make sure the sealant used to keep moisture out and the roof watertight is doing its job.
If the caulking or sealant is dry, cracked, has pinholes or voids of any size or type, it needs to be completely removed and a fresh sealant applied. Applying new sealant over old doesn’t provide the same water intrusion protection as applying it directly to the base surfaces. All the old sealing materials need to be removed and the underlying surfaces cleaned before laying down new sealant.
This also applies to marker lights. Leaks around marker lights also go undetected. Water leaking down the inside of the windshield, or staining the headliner/roof, is most often caused by a leaking marker light seal. These seals need to be checked at least once a year.
Scraping off old sealant from around an RV’s roof vents, skylights, A/Cs, satellite dish, horns, antennas and the belt moldings that go across the front and rear caps on some motorhomes, and then applying a fresh layer of new self-leveling sealant, is what RV service technicians call a “Peel & Seal.” According to OMC’s Bryan, this type preventative maintenance job takes about a full day at a repair shop, depending on the size and type of RV. At today’s labor rates hovering around $150/hour, that’s about a $1,200 investment to ensure water intrusion from the roof shouldn’t be an issue for several years.
“I don’t have an answer for typically how long of a life roof sealants have,” said Bryan, who has been a motorhome RV technician for nearly 30 years. “Some coaches come in and the sealants have been on the roofs for 15 years and they still don’t leak. Other coaches we see are only a few years old and the roofs are already leaking. A lot of it has to do with the preparation and how well the sealant was applied to begin with.”
Bryan, Tom Carrier at Carrier RV, and other RV repair experts we spoke with recommend that an RV’s roof should be washed and inspected at least annually, with a peel-and-seal done every five or so years depending on the condition of the sealants, the climate, how much the RV is exposed to the elements, and the age of the coach or trailer.
The good news is many RV owners can do this job themselves, saving the cost of having a pro do the work. You won’t get it done in a day’s time, but your wallet will appreciate the added time required. There exists a wealth of information online, from basic cleaning and maintenance to step-by-step videos showing roof replacement. Just be sure the material you are using as a reference is from a respected source. Companies such as RV Roofing Solutions (rvroofingsolutions.com) offer quite a bit of information, while you can also find easy-to-follow videos for everything from determining roof material to applying roof coatings and new roof membranes at Dicor Corp. (dicorproducts.com), an industry leader in sealant technology.
Slideout Wiper Seals a Big Problem
Aside from leaks originating around roof components, the wiper seals that surround the top and sidewalls of RV slides are the biggest contributor to water damage in RVs. They wear out over time, or get damaged in some way, and RVers seldom keep a close eye on these critical seals’ condition.
“When wiper seals start deteriorating, they’ll get cracked, the corners come unglued, the lips no longer stay tight against the slide’s roof and walls, or the rubber start tearing,” said Bryan as he pointed to a coach in their massive repair facility in the midst of getting a complete “re-seal” that includes replacing all the wiper seals.
“There’s not a lot of maintenance an RVer can do when it comes to wiper seals other than keeping them clean and applying a spray-on conditioner to help them last a little bit longer,” Bryan said. (Camco, 3-In-One, Thetford, 303 Aerospace Protectant and others make spray-on conditioners for this purpose.) “The main thing with slide wiper seals is just to keep them clean and well-maintained.”
When a slide’s wiper seal does need replacing, RV enthusiasts will probably find the task best left to an RV service center. The reason is some types can be difficult to access unless the slide is “released,” which is something a qualified RV technician, with the proper tools and equipment, is best qualified to handle.
That’s not to say it can’t be done. If you want to tackle this, we have covered replacing bulb-type slide wall seals on our RV Enthusiast website to show the process on the easier-to-access RV slides.

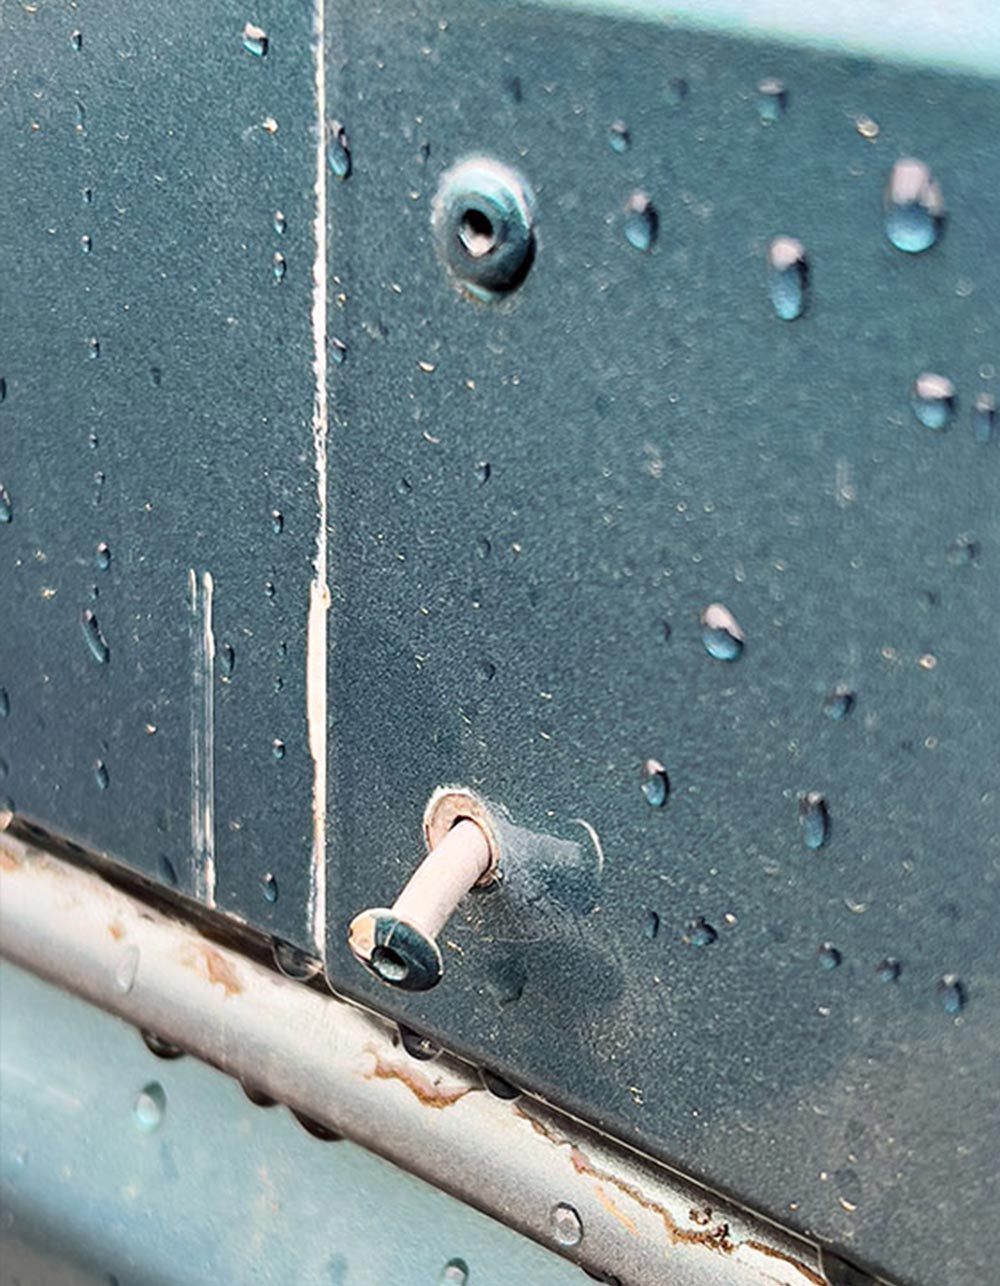
Another area that RVers tend to overlook when it comes to sealing a coach from water intrusion is the sidewalls themselves. A motorhome is a rolling box on a frame. The frame flexes — and as it does, the box flexes and twists.
This flexing movement of the body is almost imperceptible to those inside, but over the miles and years of road abuse it’s enough to eventually cause overlapping seams along the sidewalls to separate, rivets to pop loose, screws to back out, cracks to form along slide corners, sealant beads to lose grip and belt moldings to come unglued.
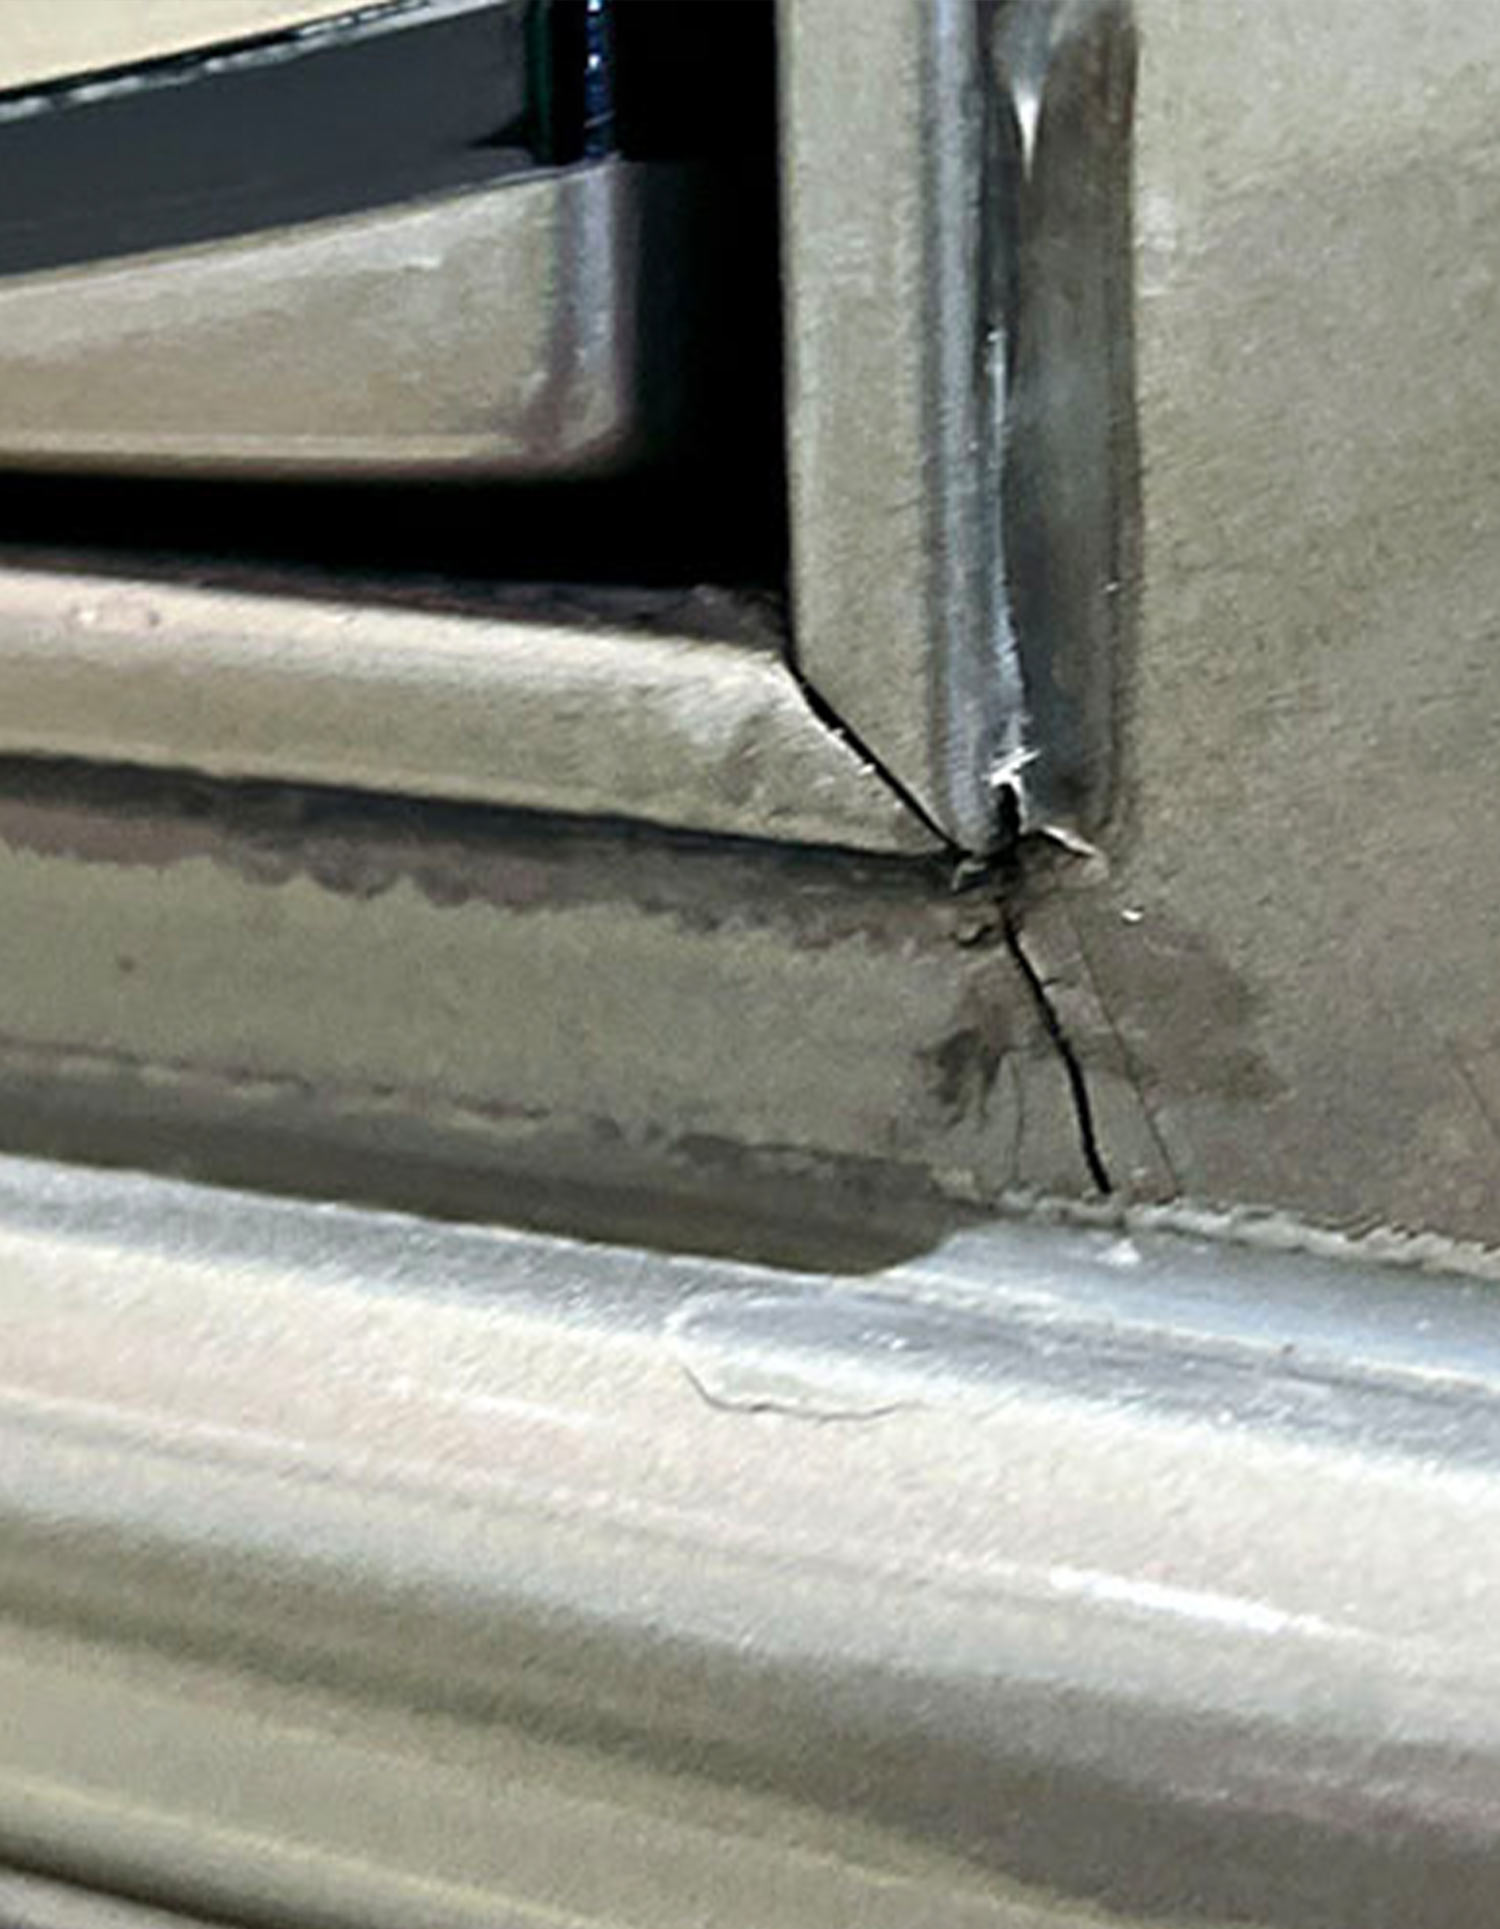
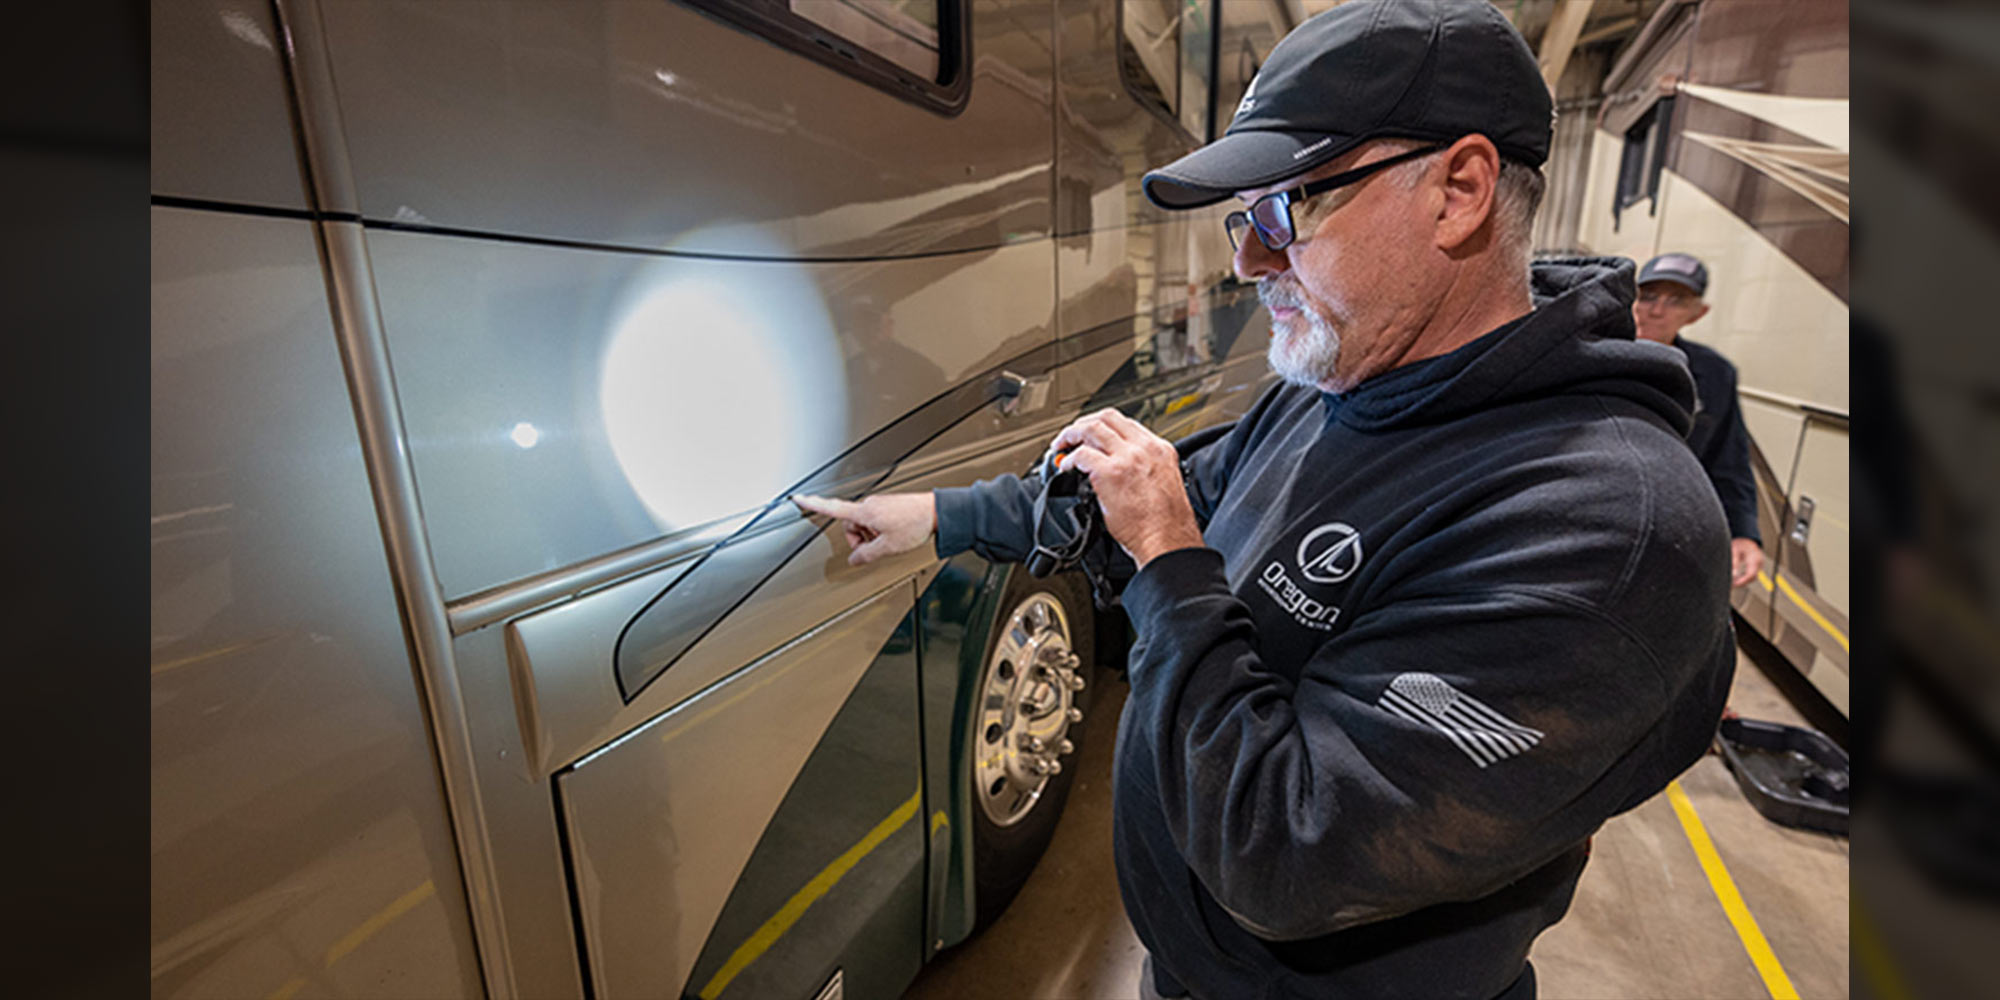
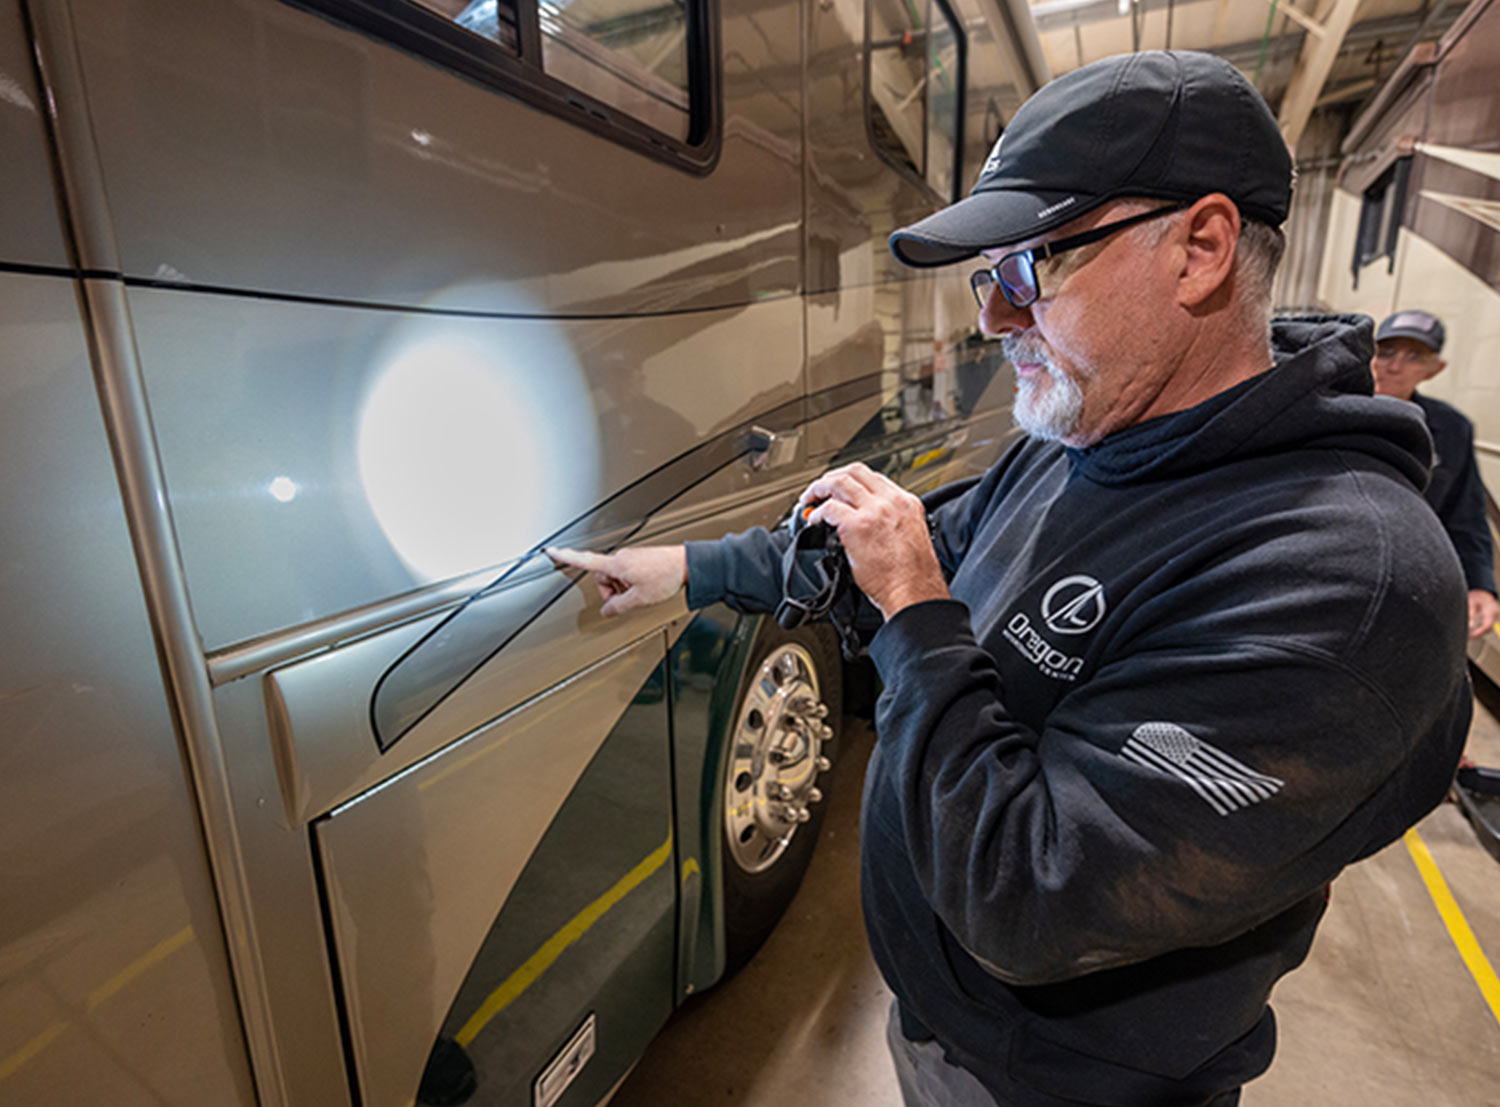
According to Bryan, this is not a time to cut corners. Inspecting a motorhome’s sidewalls can take a half-day or more per side; he advises RV owners to take their time — and use a flashlight to closely inspect every inch of every seal around windows and cargo compartment doors to the body seams and belt moldings.
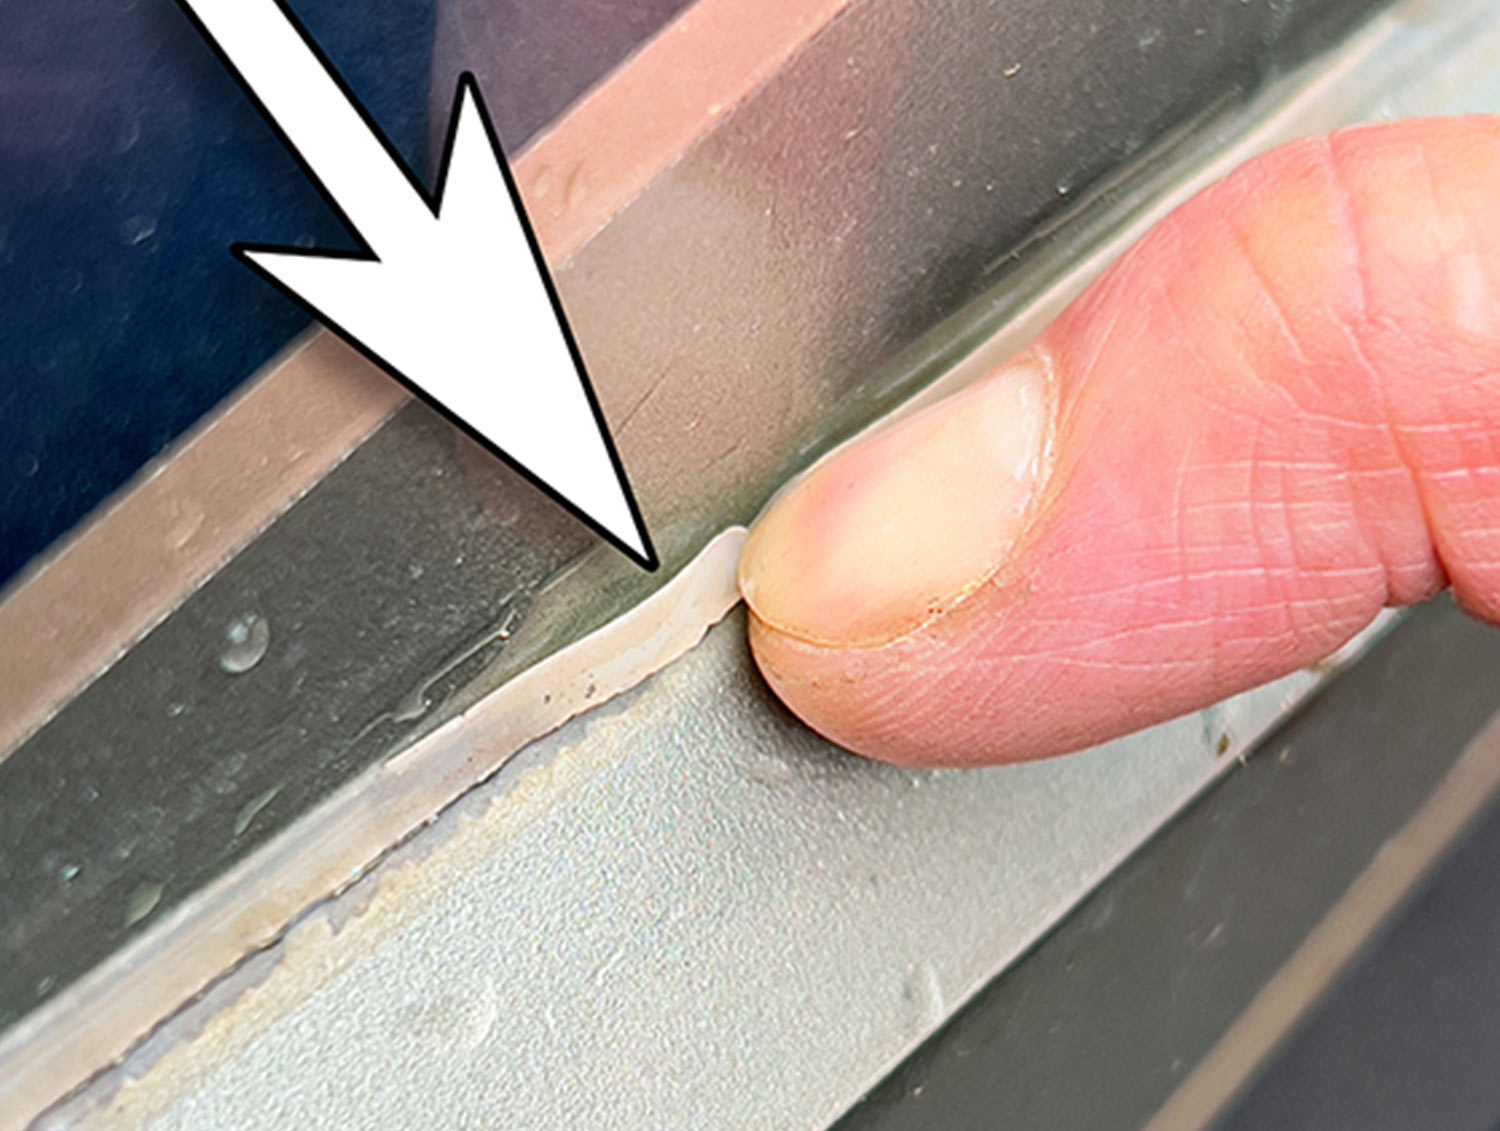
“I like to gently apply a little pressure with my thumb along body seams, trim and belt moldings to make sure the body panels are still glued tight,” he said. “If there’s any separation, then that seam has to be sealed with a silicone or urethane sealant. If that seam isn’t sealed, water intrusion is a given.”
He also gently runs a finger along the top of all exterior moldings to make sure the thin bead of sealant is still adhered to the body and molding. Bryan says it’s not unusual for a coach to come in to the shop with the trim sealants on the outside appearing to be just fine — until the finger test. This is a simple inspection all RV owners should do at least once a year.
Another troublespot Bryan said RVers should pay close attention to when it comes to sidewall seams and moldings are voids or pinholes in the sealant.
“During your inspection you’ll probably notice voids here and there in the sealant beads. They’ll be tiny spots. You can quickly re-seal them and it doesn’t cost very much to touch them up,” he said. “However, if you let these little voids go for years without being addressed, it could cost a lot of money to repair the ensuing water damage.”
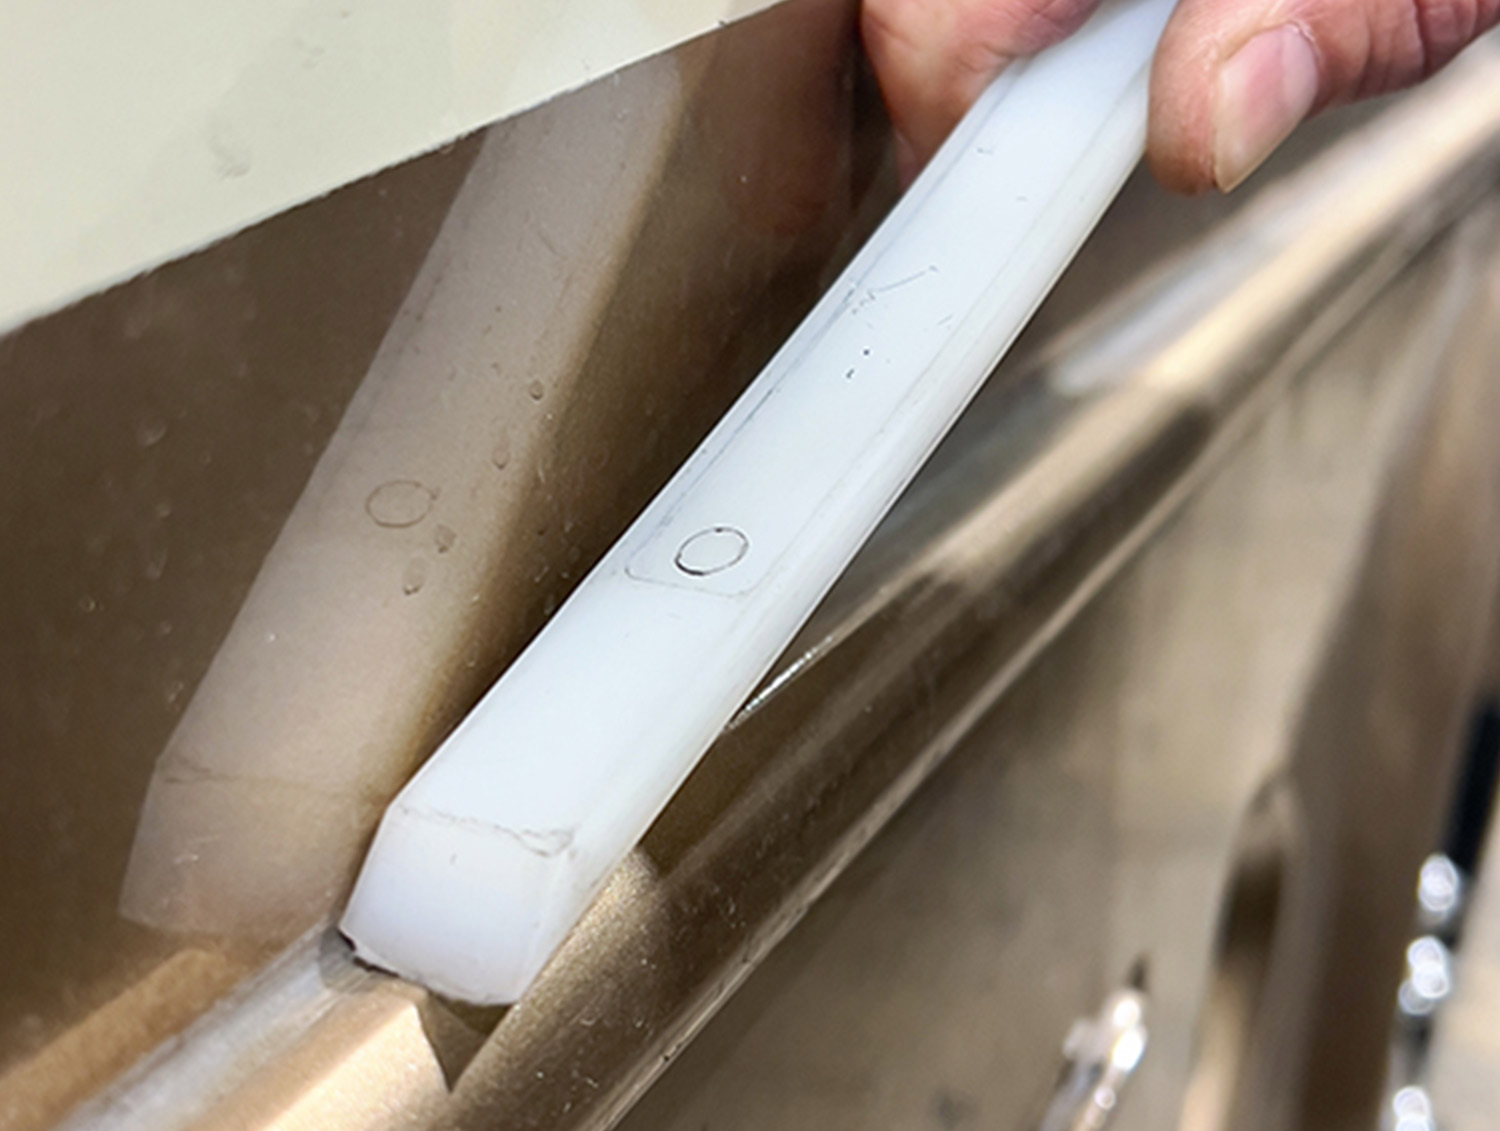
When loose or damaged sealant is found, DIYers should only use a plastic, tapered chisel end stick tool, aka a “putty bone,” to remove the sealant so the body finish isn’t scratched or the paint chipped. Once the old sealant is removed, Bryan recommends re-sealing using a clear or body-colored silicone sealant.
Check Cargo Compartment & Window Seals
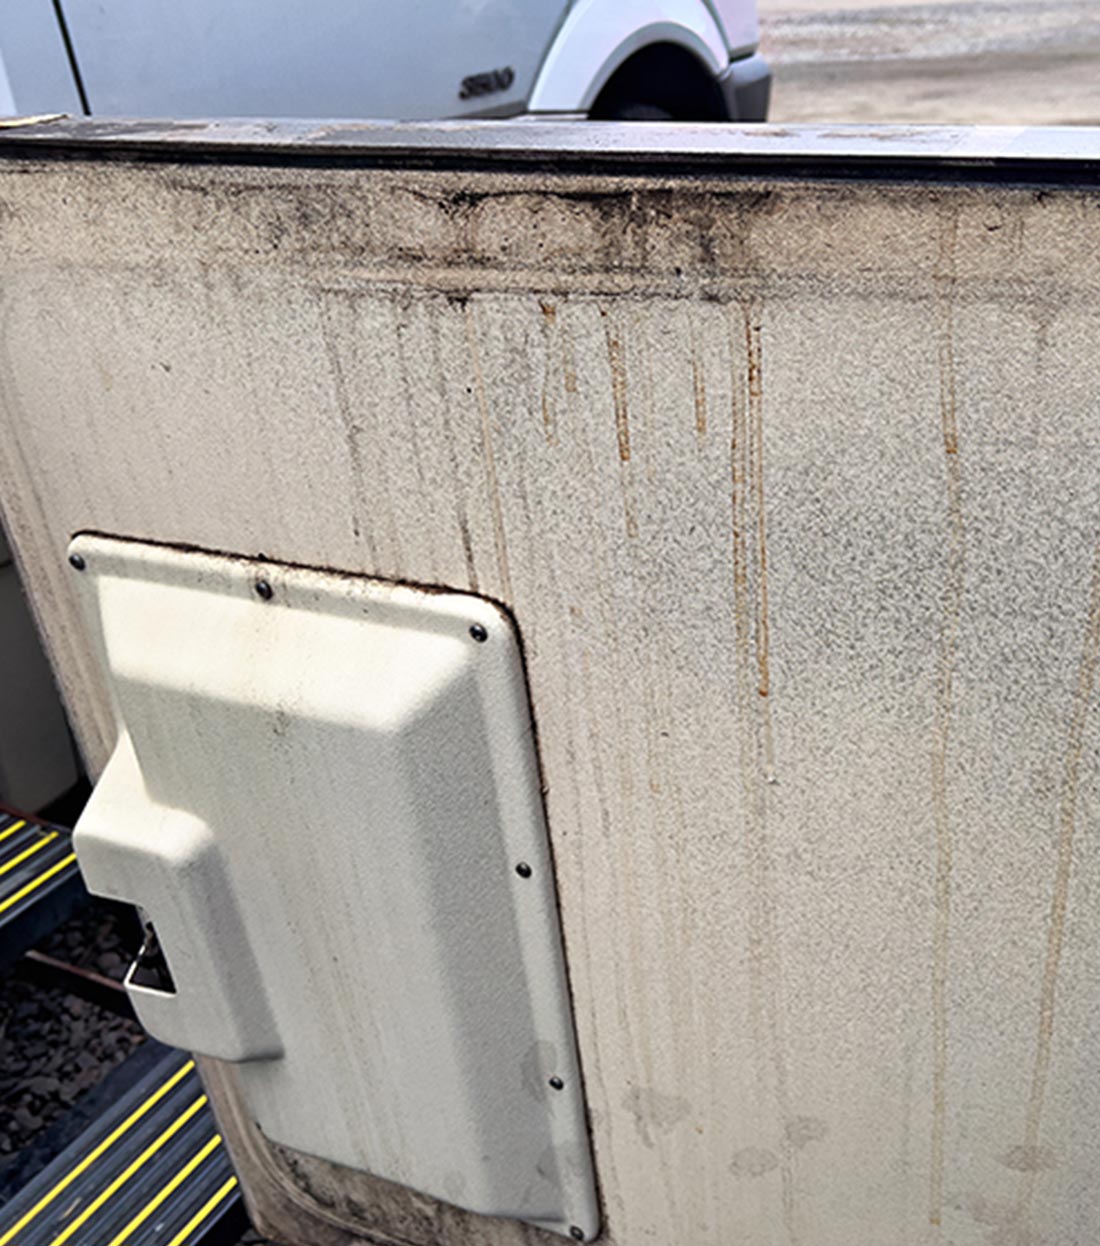
The seals on the inside of cargo and other exterior compartments are also sources of water intrusion. Open every door and take a close look at the backside. Are there water streaks running down it? Is the floor of the bay or bay carpet wet? If so, the trim seal around the door isn’t doing its job.
This means the cargo door seal needs to be replaced. If it’s ignored, the wood floor will begin rotting out, or the carpeted metal floor will be a become a wonderful breeding ground for mold.
If the door seals are “J”-type, Bryan recommends replacing them with a more effective soft “D”-style rubber molding. Some RV compartment doors use Trim Lok style moldings, some use 3M tape-on or other peel-and-stick seals. It depends on the RV.
Lastly, inspect every window seal. They are also a common cause of water intrusion in RVs. Silicone sealant is cheap. Fixing water damage isn’t.
Best Time to Have RV Repairs Done
On the other hand, if you would rather have the pros handle the inspection and necessary repairs, schedule to have the work done in the wintertime when you’re not using your RV. That way you can drop it off and come back days or weeks later instead of either having to stay with it while the work is being performed or miss a planned trip should the shop find itself backed up.
“One thing that really adds to the repair costs in an RV is when customers want to stay in their motorhome while we’re repairing them,” said OMC owner and General Manager Matt Carr. “We have to bring the RV in, take it apart and then put it back together so the owners can take their coach back out for the night. That’s repeated the next day and the next until the work is done. Doing this just adds to the expense of repairing the coach.”
It also pays to schedule repairs, be they a “re-seal,” “peel-and-seal,” or other job, months in advance. These days places like OMC, Carrier RV, Bish’s RV and other RV repair centers around the country are usually booked solid with service work for weeks or months out.

Already a Subscriber? Click here for Access to the Full Issues.